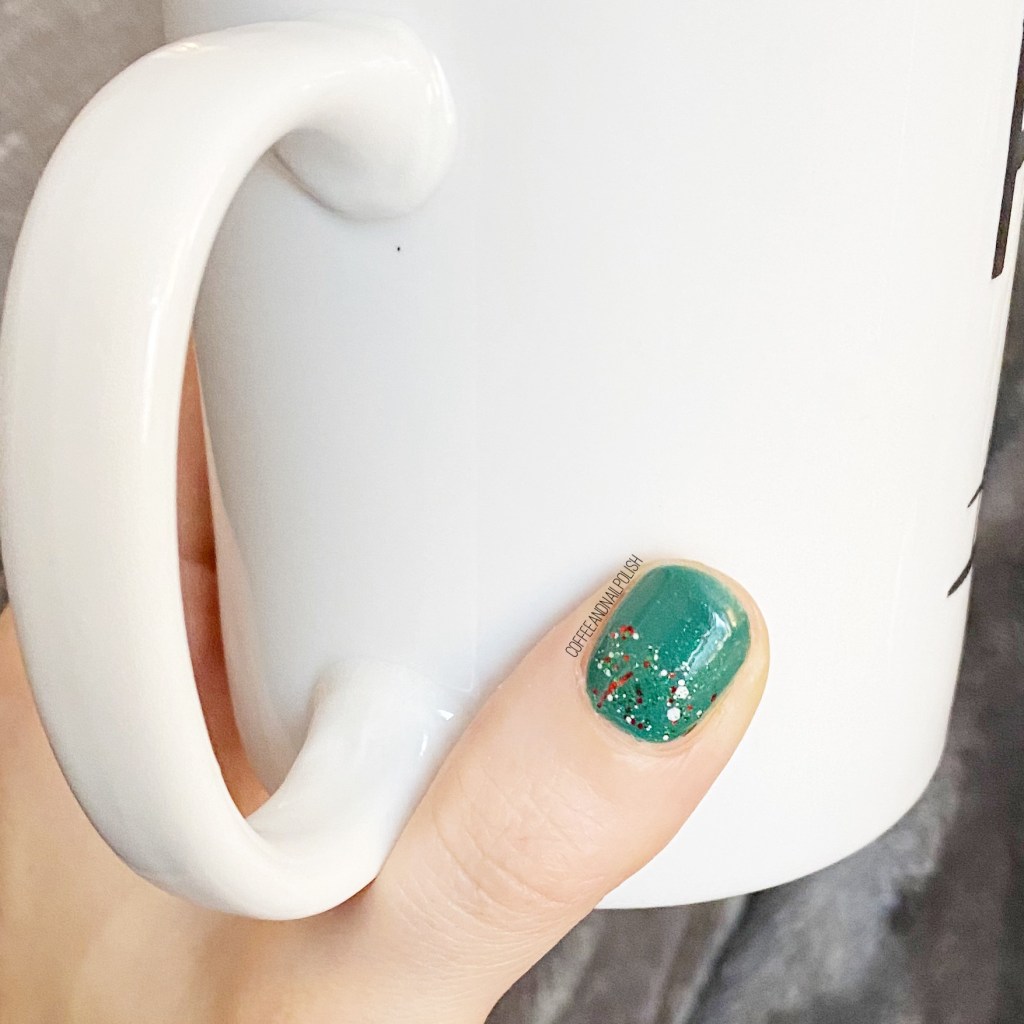
Christmas-y Glitter Gradient 🎄❄️

Hello lovelies & happy Tuesday! I know, I’m switching this thing up by posting on a Tuesday. I decided this week that I’m doing to (try) & post a Christmas design every day leading up to Christmas Eve! I just have so many design ideas I want to share!

Today is a simple but effect look — a glitter gradient. Glitter gradients are definitely one of the best I-have-no-time-to-do-nail-art-but-I-want-fancy-nails designs but they take virtually not extra time to do. This one especially doesn’t require any tools at all—I just dabbed the glitter on using the nail polish bottle brush.
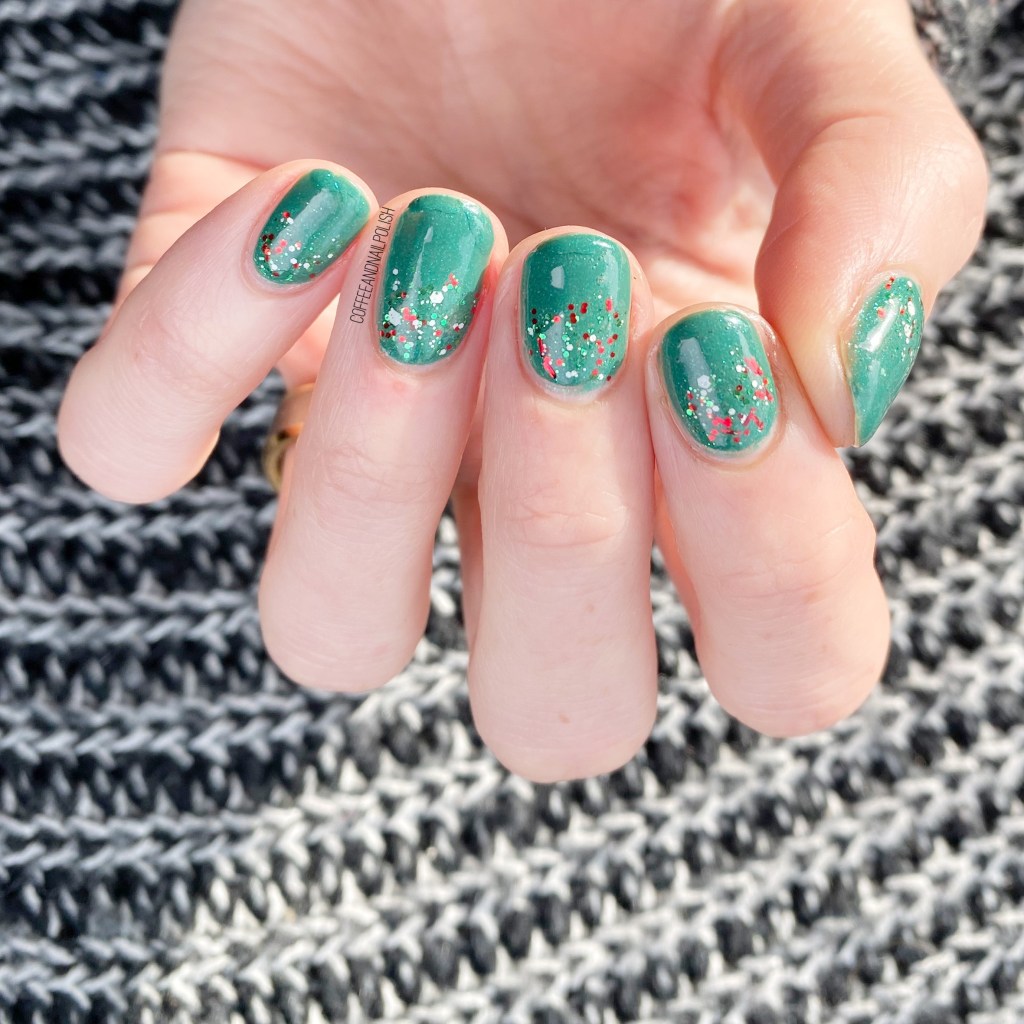
For this manicure, the polishes I used were:

  • Base Coat: Sally Hansen Hard As Nails
  • Top Coat: Sally Hansen Miracle Gel Glossy Top Coat
  • Icing Emerald City
  • Icing Santa Baby

How cute is that glitter on top of the green of Icing Emerald City? This is one of my favourite Christmas glitters of all time (I shared swatches of it last year), & I’ve done some version of this glitter gradient every year, with different base colours, because it works so well.

Also the polish is scented like candy canes when dry, even 5 years after I bought it, which I think is so much fun! The glitter also has a variety of different shaped glitters, which I really like, because it gives good dimension to the gradient so that it pops on the nail! In fact, I had a lot of people comment on my nails at work, which always brings a smile to my face!
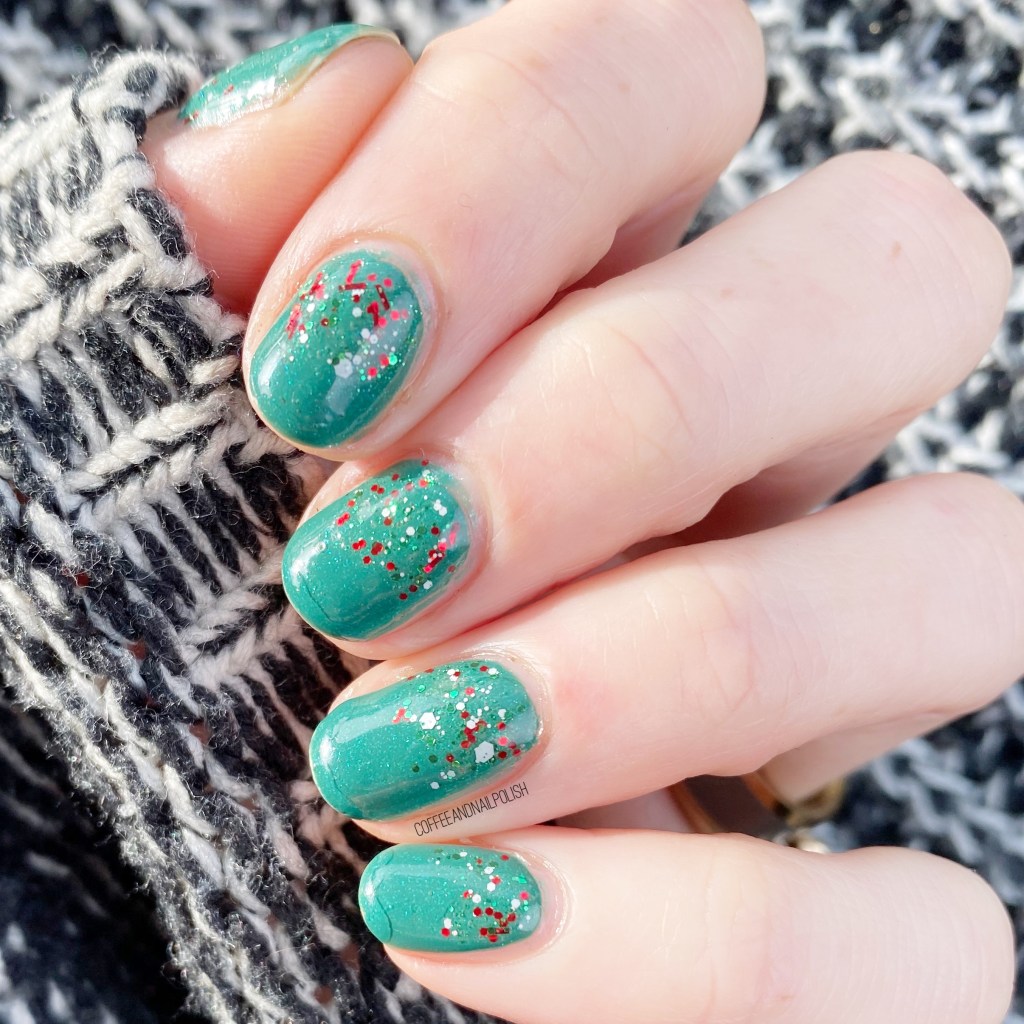
What do you think of this glitter gradient? Are you a fan of this type of easy nail art design? What holiday design/polish are you currently wearing? I’d love to know, so please share down in the comments below!
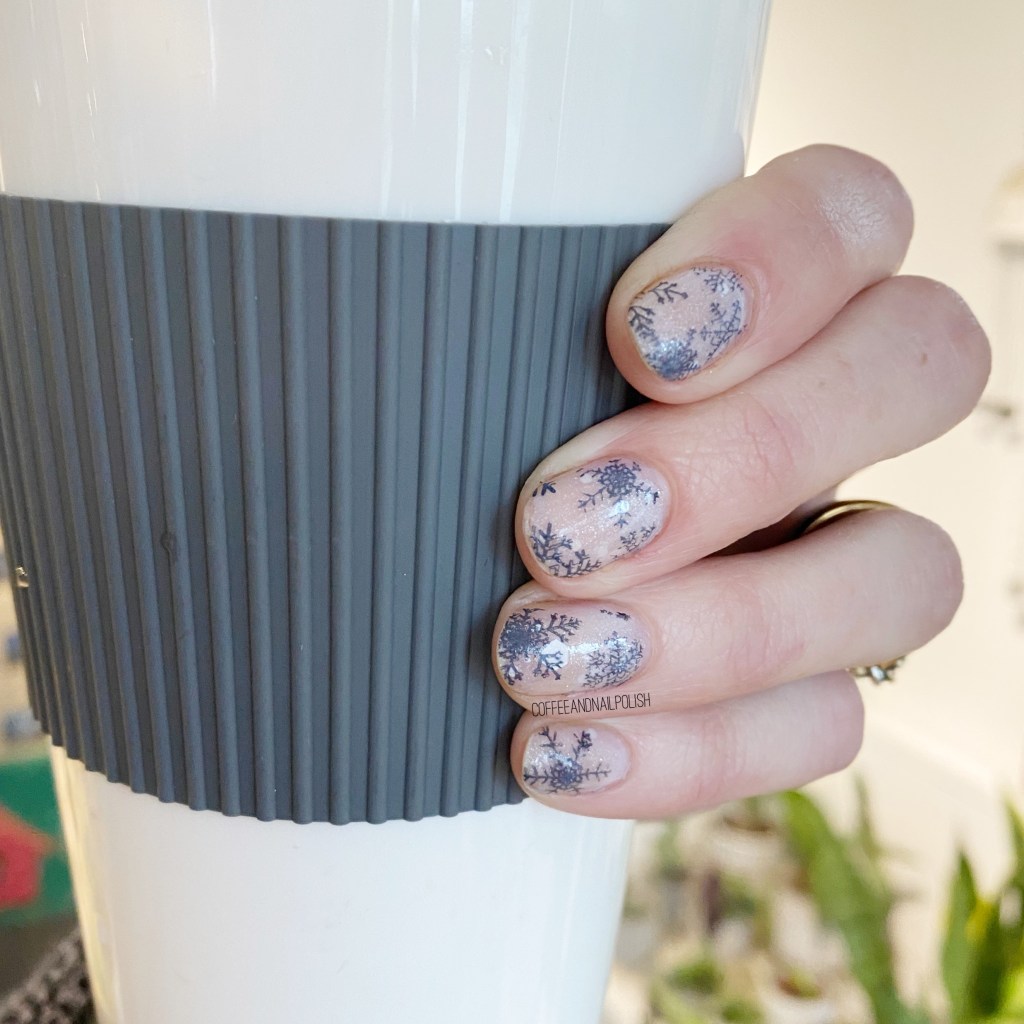
Dainty Snowflakes

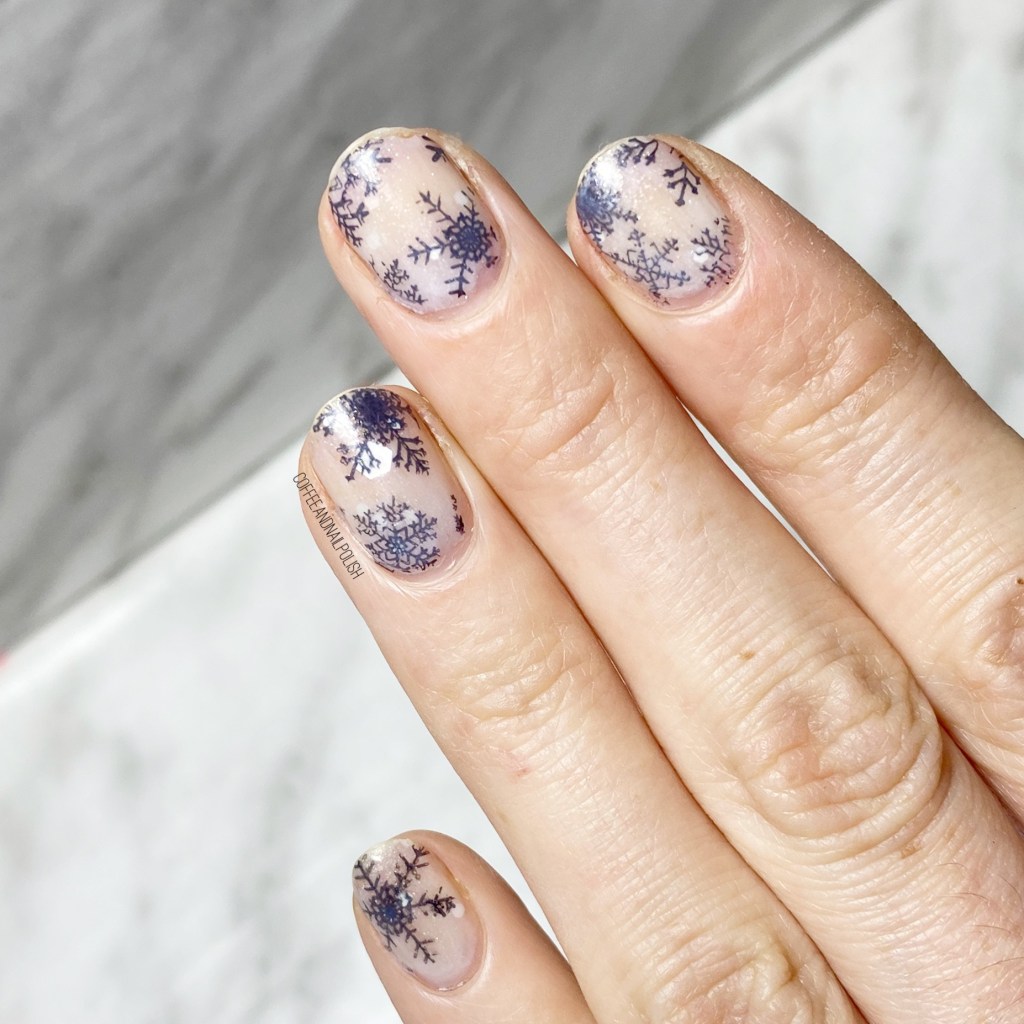
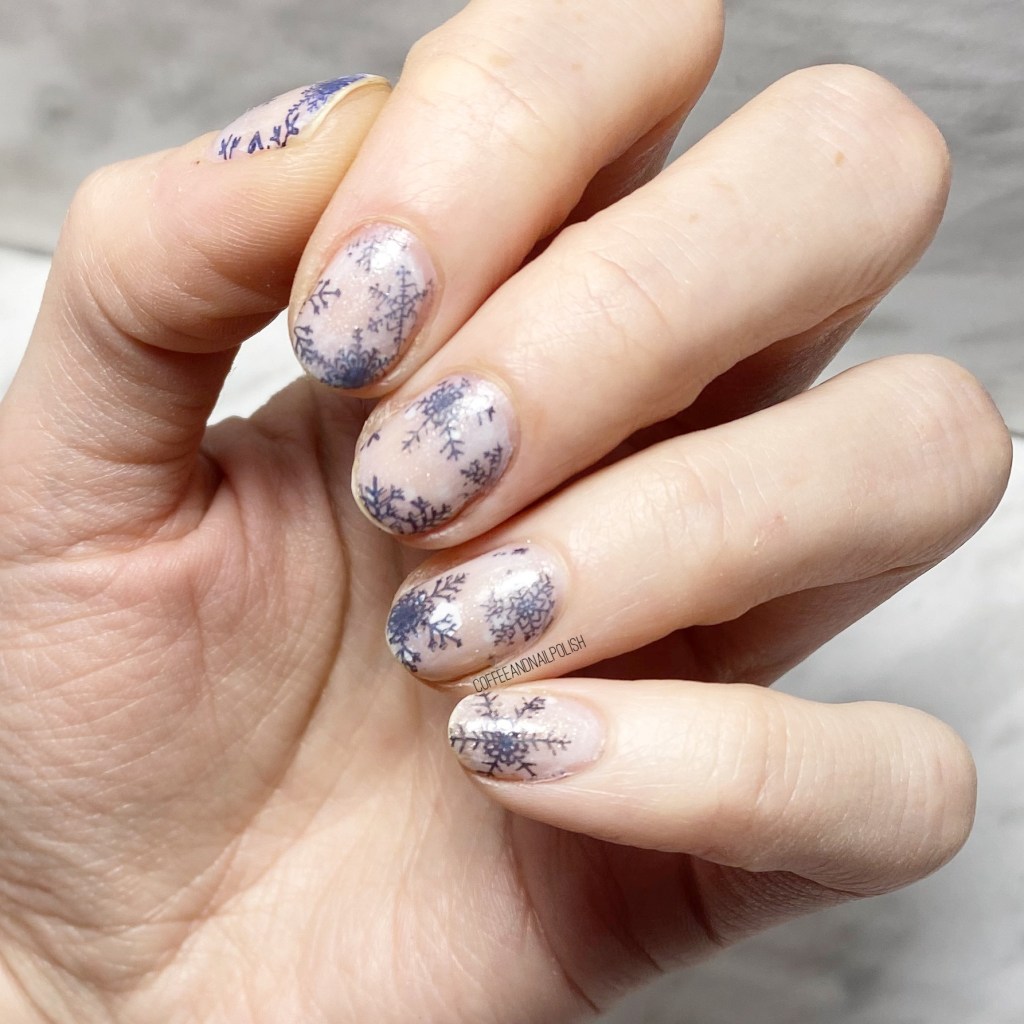
Hello lovelies! & happy Monday. It’s beginning to look a lot like… December. & a green one at that. But I really, really wanted some snowflakes on my nails — even if the weather feels more like October than a month before Christmas, that doesn’t me I can’t pretend!

For this manicure, the polishes I used were:

  • Base Coat: Sally Hansen Hard As Nails
  • Top Coat: Essie Gel Setter
  • Quo by Orly The Boulevard
  • OPI Pirouette My Whistle
  • China Glaze Chillin’ With My Snow-mies
  • Essie Bobbing for Baubles
  • Born Pretty Store Stamping plate BP-L032 (item #23268)
  • NailStuff.ca Clear Stamper (COFFEE10 saves you 10%!)

First up, I created a jelly sandwich for my base using Quo by Orly The Boulevard, OPI Pirouette My Whistle & China Glaze Chillin’ With My Snow-mies. I thought it was the perfect dainty base for some snowflakes overtop. Also, I so rarely pull out Chillin’ With My Snow-mies, & it’s kind of sad. It was one of those polishes I bought simply because the name made me laugh, but I should definitely pull it out more.

I was also super, super happy with how my snowflakes stamped. They turned out so opaque, it made me so happy. Nothing worse than going to stamp an image, & it barely picked up, or the polish is just too thin & it looks like a shadow.

What do you think about these snowflake nails? Do you have snow where you are? Let me know in the comments below!

SWATCH SUNDAY — Starrily Diamond Rain

Hello lovelies & happy Sunday!

We’ve almost reached the end of November, which is kind of insane, & Christmas is less than a month away. So you know what that means… gimme all the glitter! I figured for today’s Swatch Sunday I would pull out a gorgeous glitter gifted to me a few months back (by my nail fairy godmother Victoria at NailStuff.ca!): Starrily Diamond Rain.

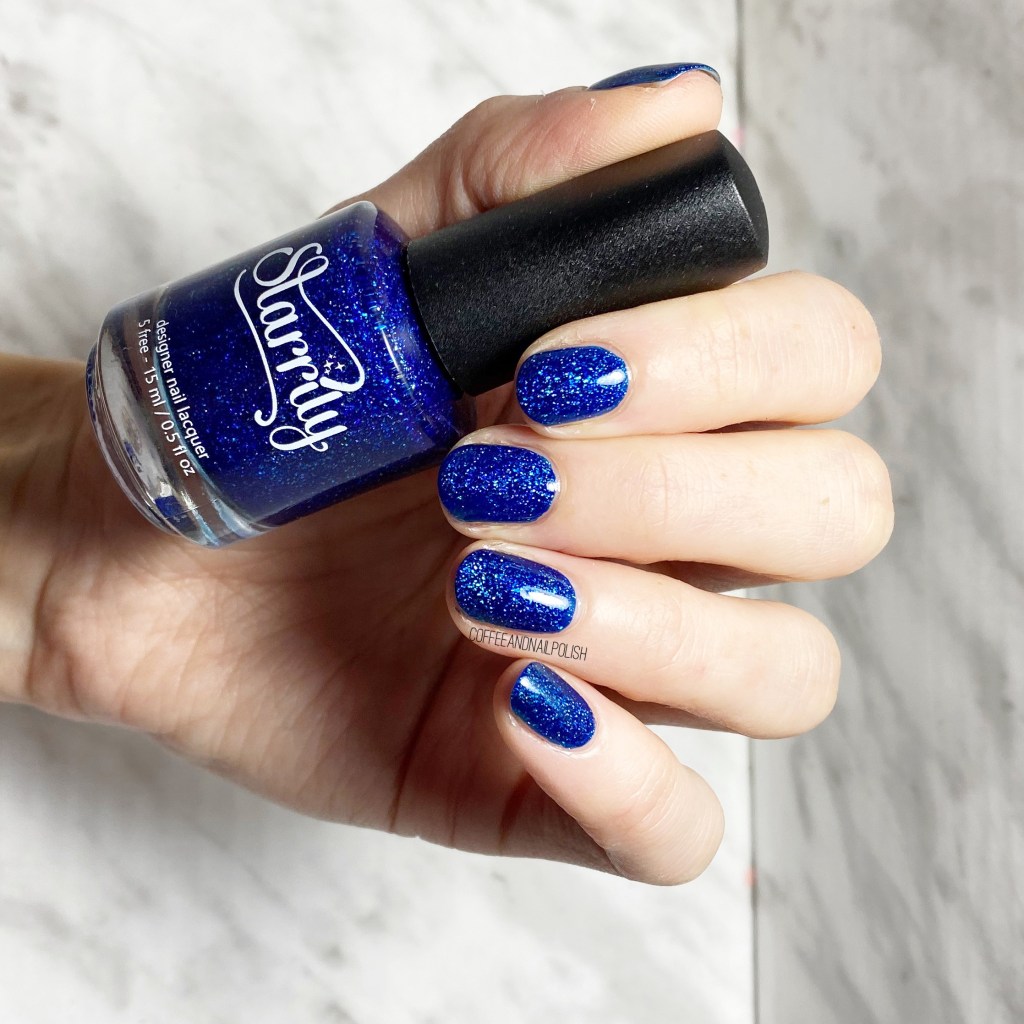
2 coats + Essie Gel Setter Top Coat

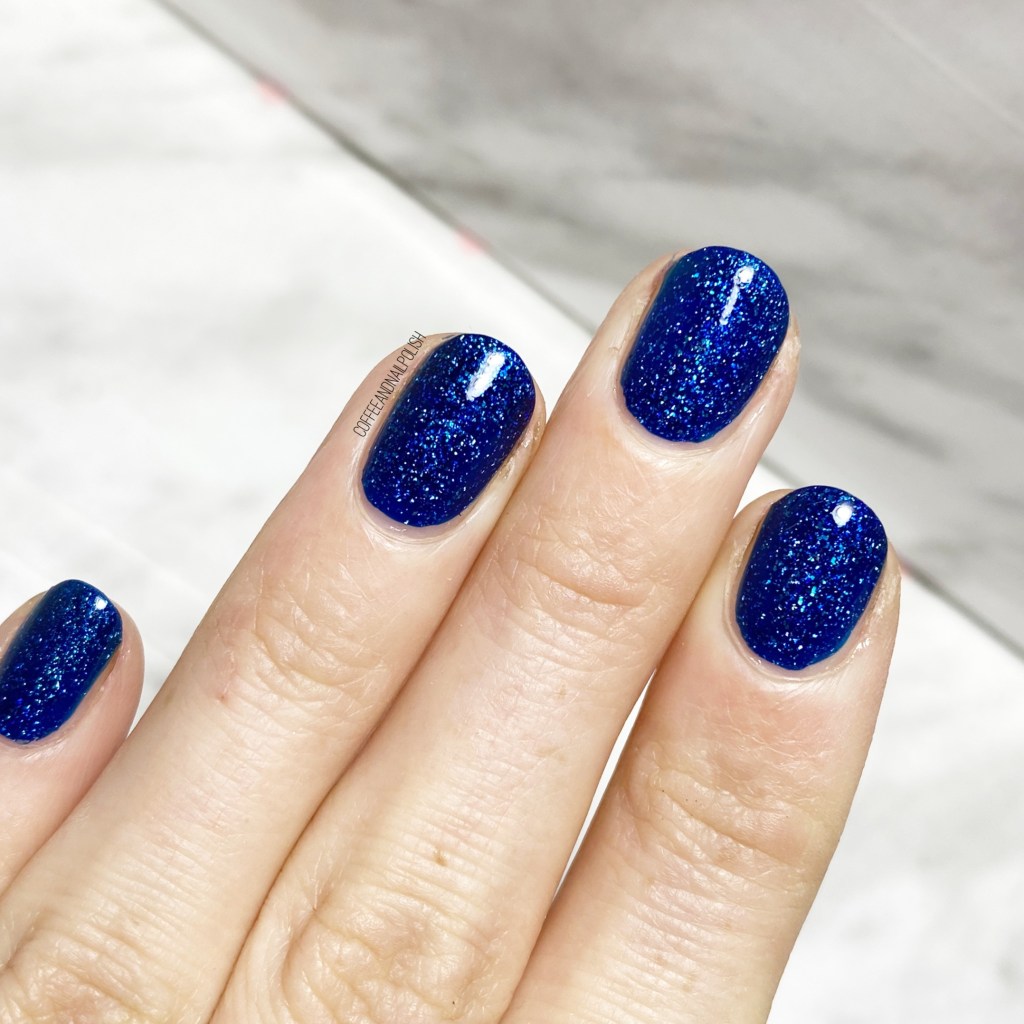
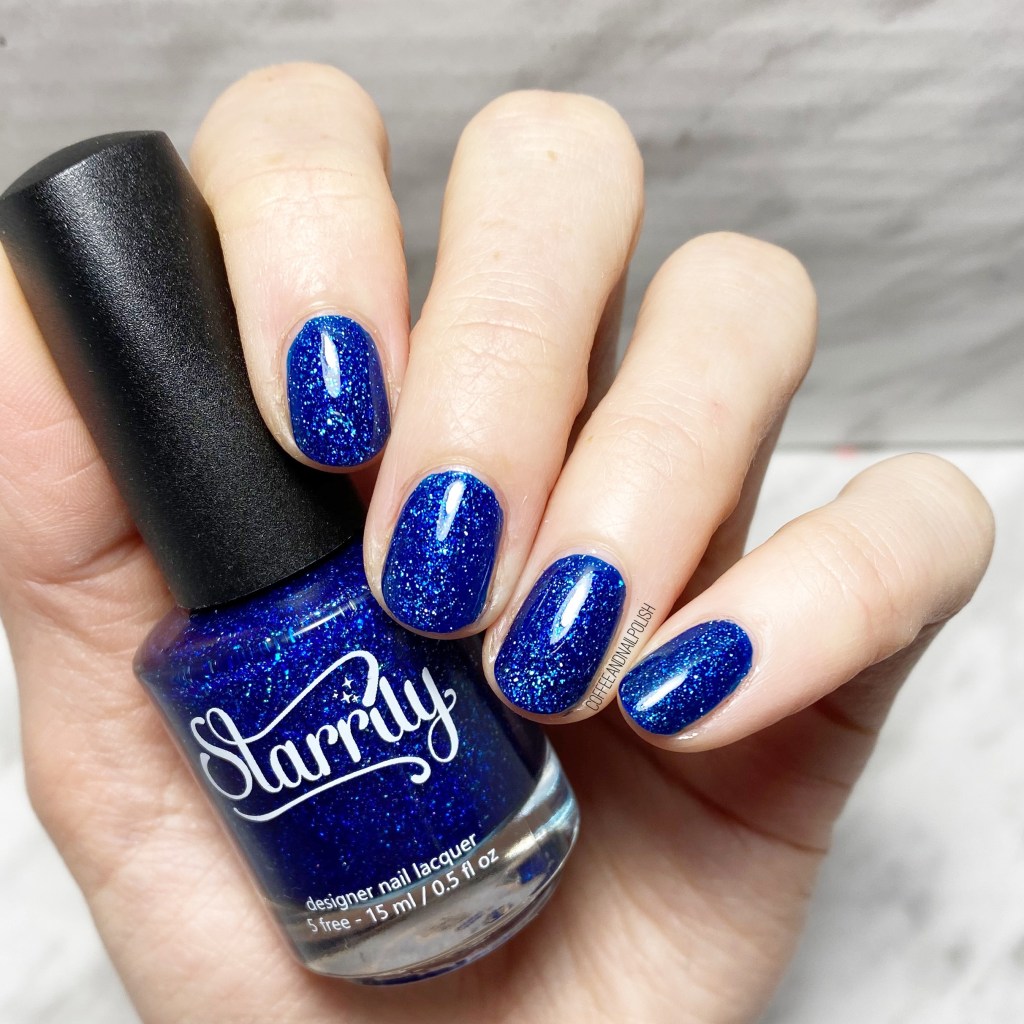
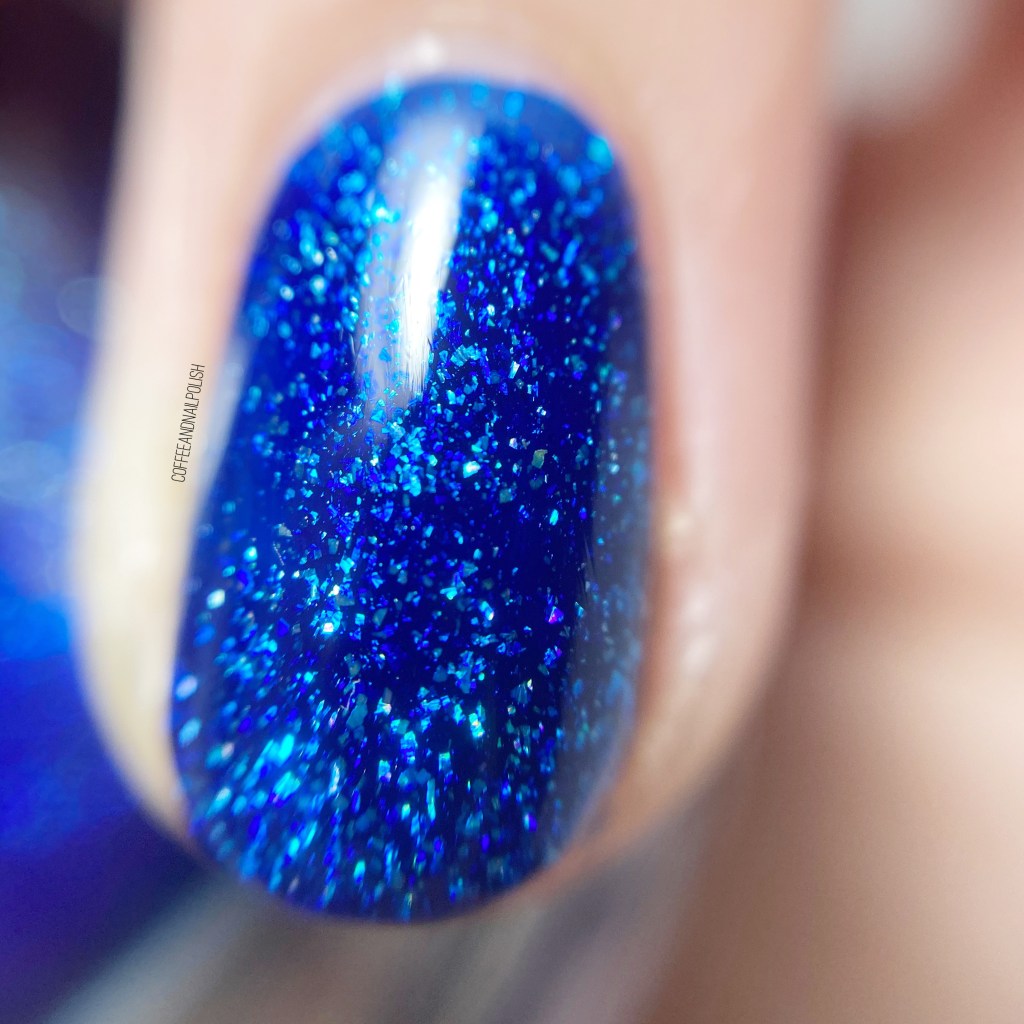
Starrily Diamond Rain is a beautiful dark sapphire blue shade packed full of holographic flakes. It was released as a collab shade between Starrily & Kelli Marissa & apparently inspired by the Diamond Rain of Neptune.

The formula of this polish is very, very nice. I applied two coats for my swatches above, & I found it was the perfect opacity for me. The glitter is very thick & dense, which means it sparkles from every angle.

I don’t know about you, but the holiday season just makes me crave glitter in every colour, but blue is definitely one of my favs. As you can see in the above macro, the polish is very dense with glitter. That’s exactly what December needs… all the glitter. Our area has recently gone into stricter restrictions, & Christmas is… up in the air. So I definitely need some fun, beautiful glitter to cheer myself up! & this is the perfect polish for that.

For my Canadian friends, NailStuff.ca is currently having a Black Friday Sale, with deals on all the polishes (including this one!) so I definitely recommend checking it out! & you can even use my affiliate code COFFEE10 to save a little extra!

What do you think about this shade? Do you love glitter this time of year? What is your favourite glittery shade? Let me know in the comments below!

SWATCH SUNDAY — Sally Hansen Miracle Gel Hue There?

Hello lovelies & happy Sunday! I hope you’re excited for some fun & festive nail polish!

I don’t know about you, but once the middle of November hits, I tend to start thinking holiday nail polish — & holiday nail polish for me usually means glitter! Earlier in the week, I was out at Shoppers with the hubby, & happened across a display for new Sally Hansen shades. One side had Complete Salon Manicure shades, & the other had some fun new Miracle Gel shades, including some glitter toppers & new shades (plus new matte & glossy top coats!)

While I definitely would have loved one of everything, I decided to stick to one shade & couldn’t pass up this beautiful holographic glitterbomb called Hue There?

Continue reading “SWATCH SUNDAY — Sally Hansen Miracle Gel Hue There?”

Fall Inspired Glitter Gradient

Hello lovelies, happy Tuesday!

It’s been… well I can’t even remember how long since I last wore a glitter gradient. Even though it’s been hot & balmy weather, I was feeling some darker, Fall-esque nails. So I decided to grab a few fun (& Autumn appropriate shades) from deep, deep in my nail polish stash.

I mean, if Starbucks can release Pumpkin Spice today, I think a little dark polish is okay.

For this manicure, the polishes I used were:

  • Base Coat: Sally Hansen Hard As Nails
  • Top Coat: Essie Speed Setter
  • Hard Candy Zombie
  • Maybelline Color Show Rose Bling

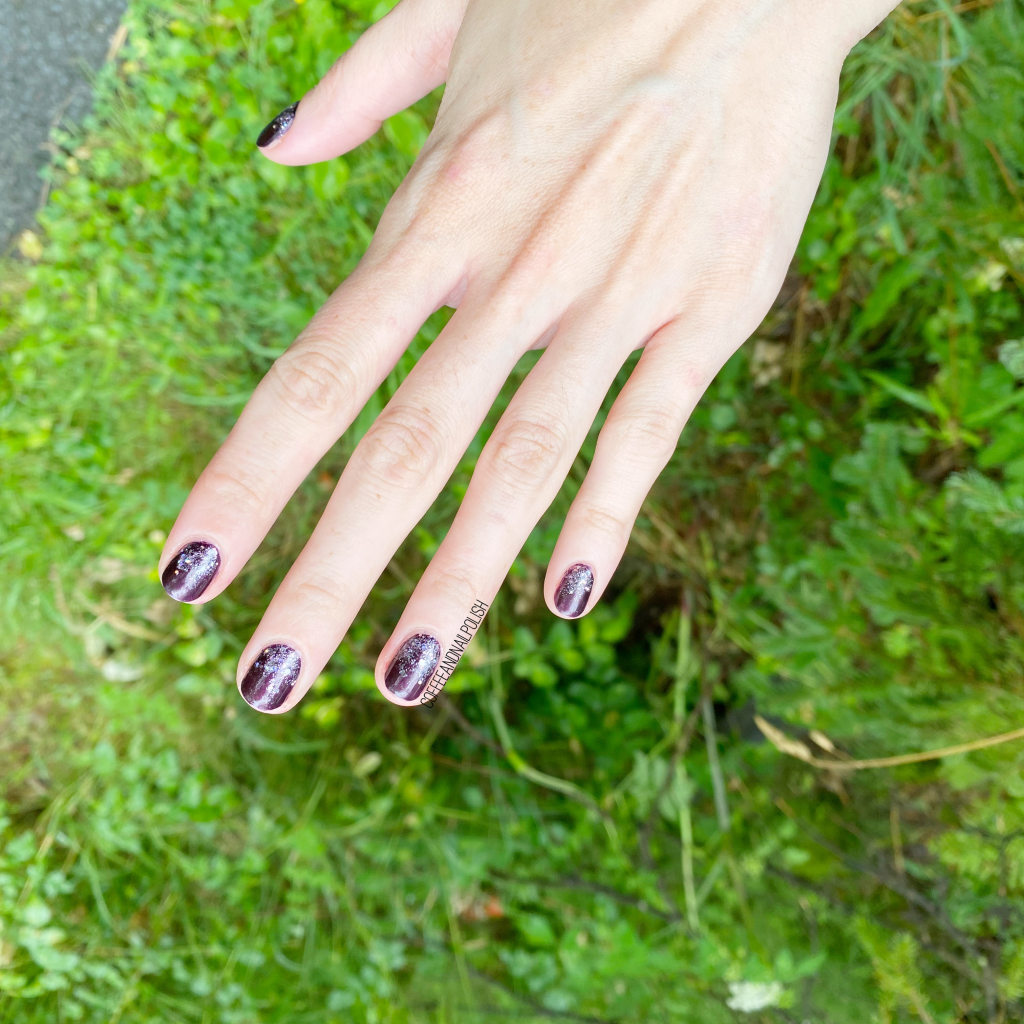
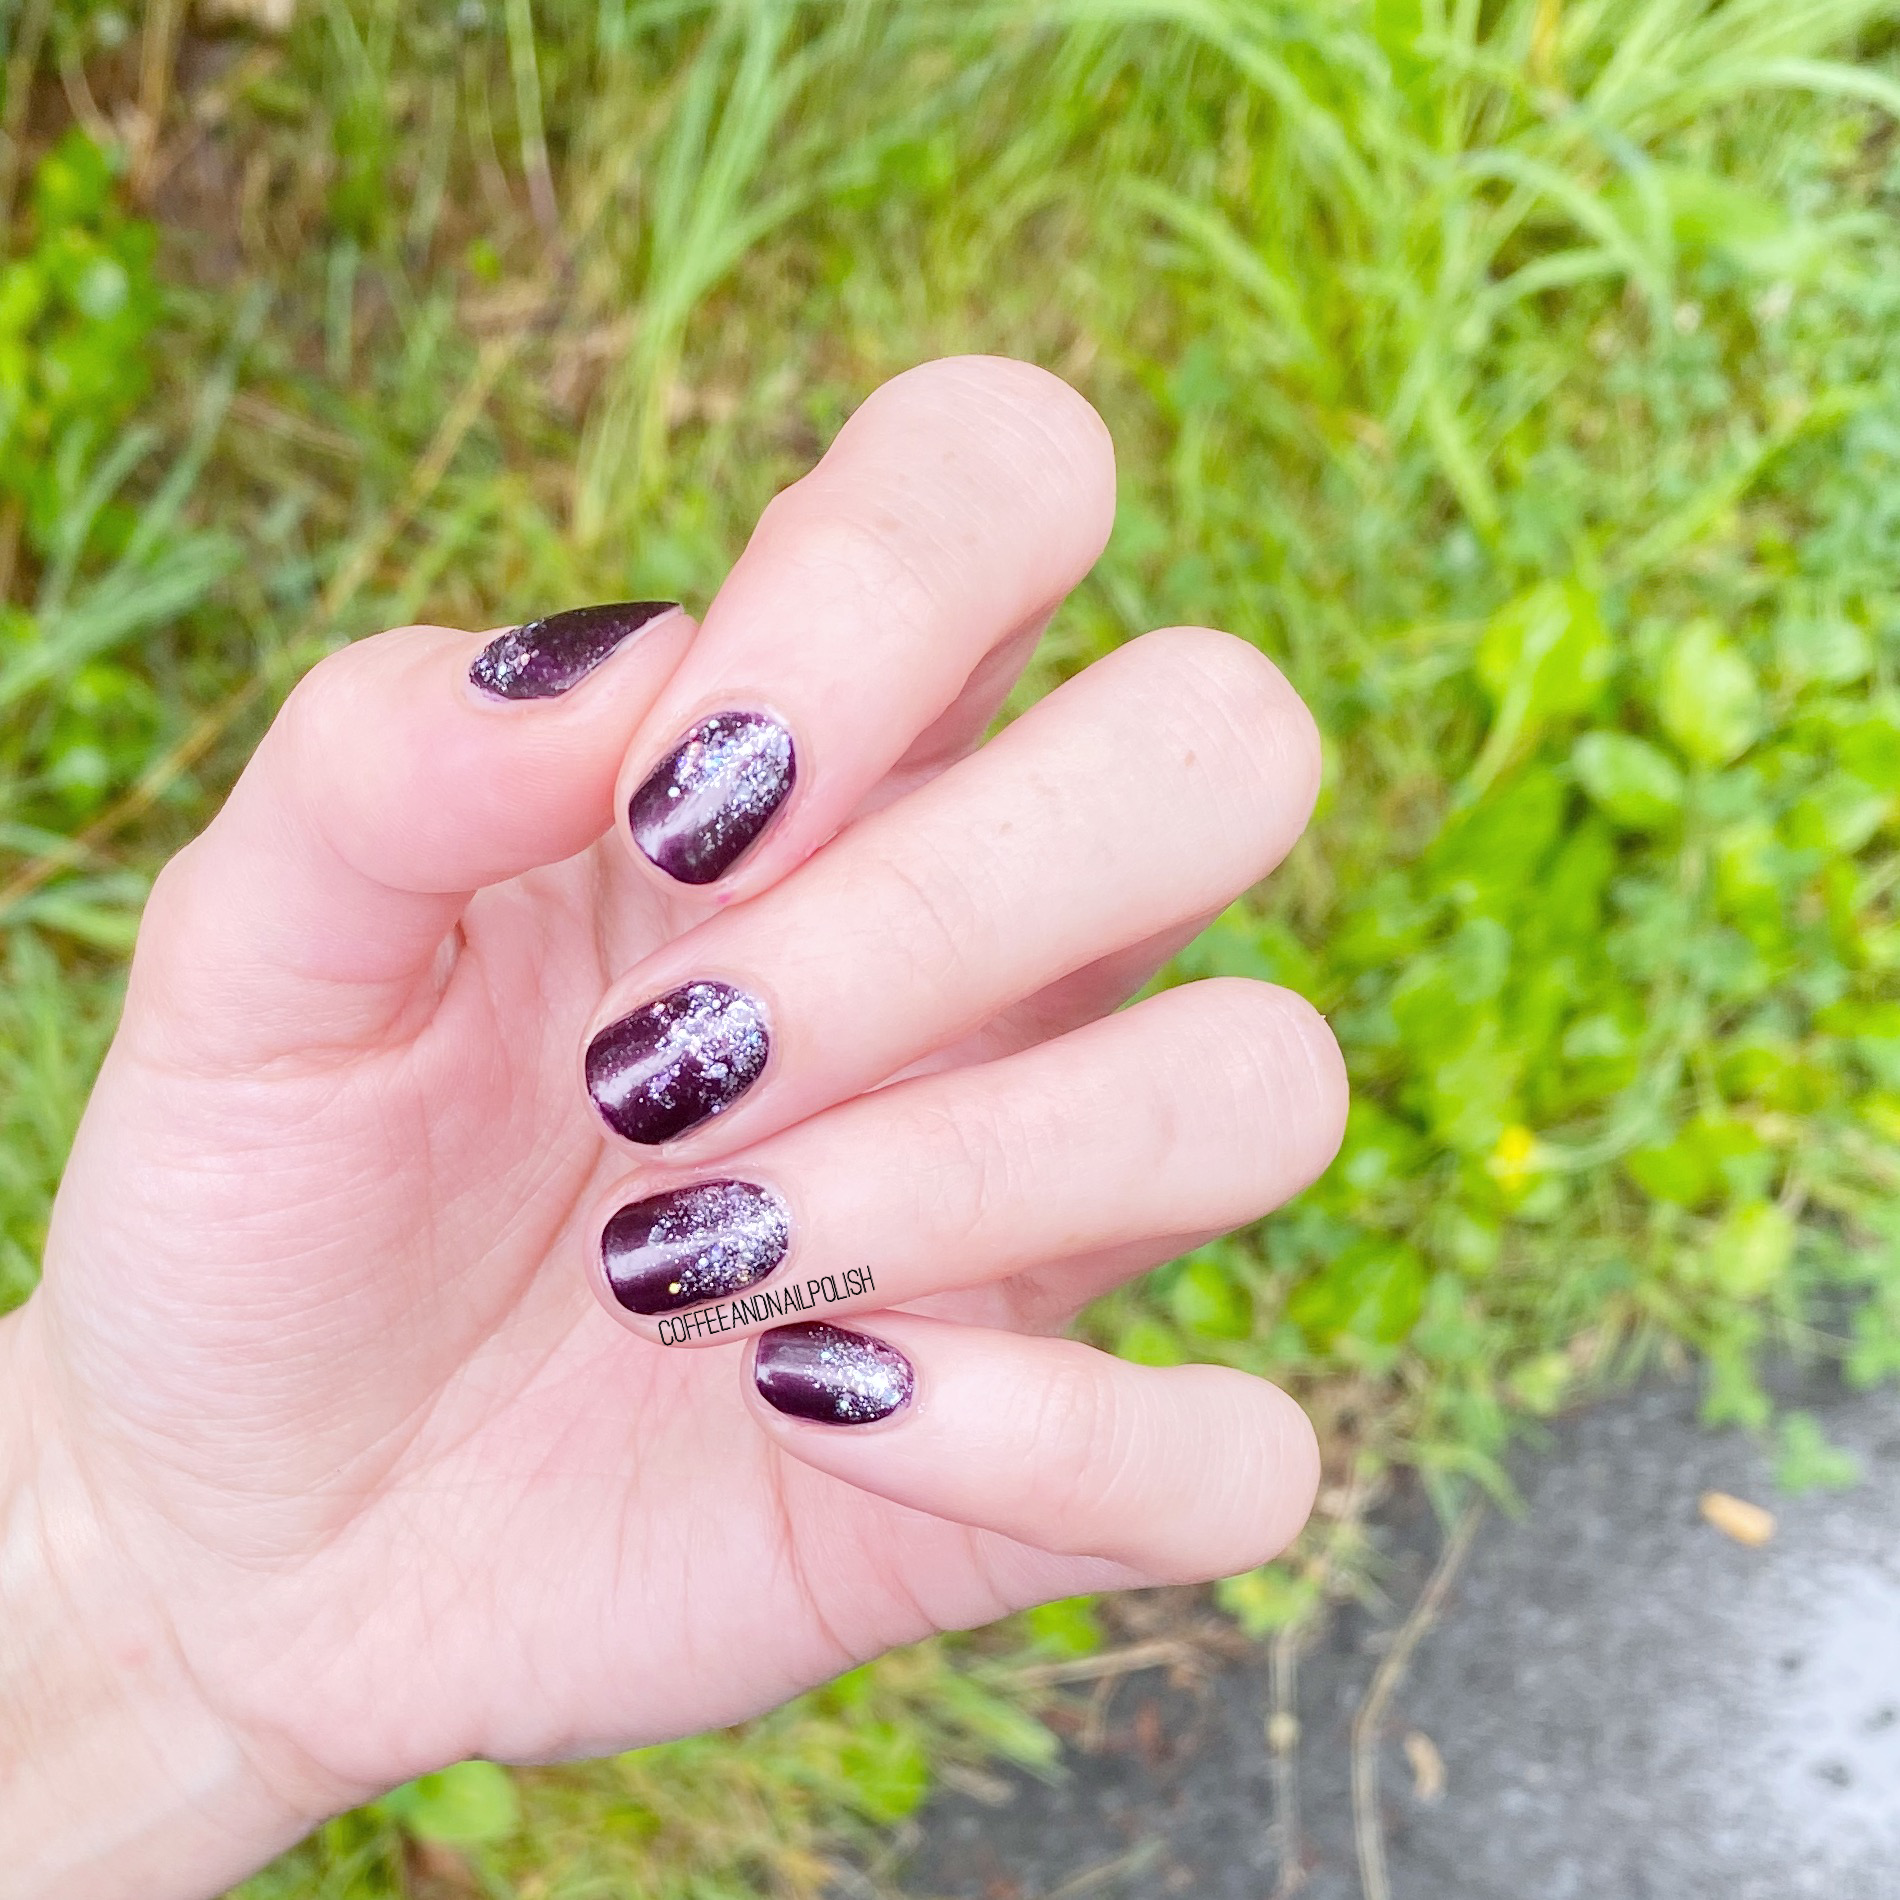
I’ve always really enjoyed glitter gradients because they’re so quick & easy. In fact, I created this gradient without even using a sponge… just the bottle brush itself! So it really does cut down on application time, & the clean up is even more minimal!

& Oh my, after wearing this combination, I really I think I want to find some more fun glitters — most of my glitter is like pink, or purple, or silver, or gold. I need some bronze-y shades, or something! A nice Fall shade that will pair with a dark purple or burgundy perfectly! I might need to go through my stash a bit better, & see what glitters I’ve forgotten about.

What do you think about this glitter gradient? Are you enjoying this Fall manicure transition or would you like to see a bit more brightness or neon before September? Let me know in the comments below!