Recreating my Wedding Nails (on my shorties) 11 years later! ✨👰🏻‍♀️💅💍

Hello lovelies & Happy Saturday! I know I don’t often post on Saturday, but today was a special exception with a special nail design!

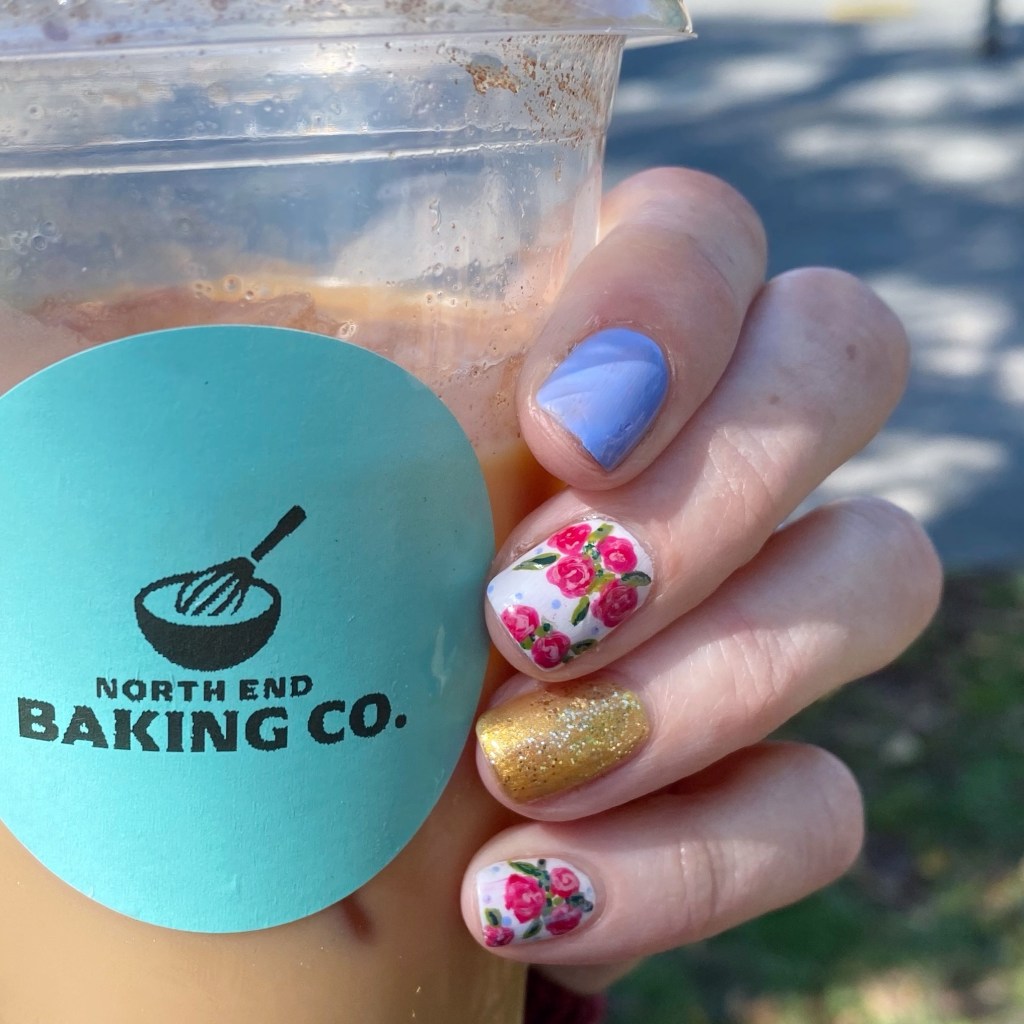
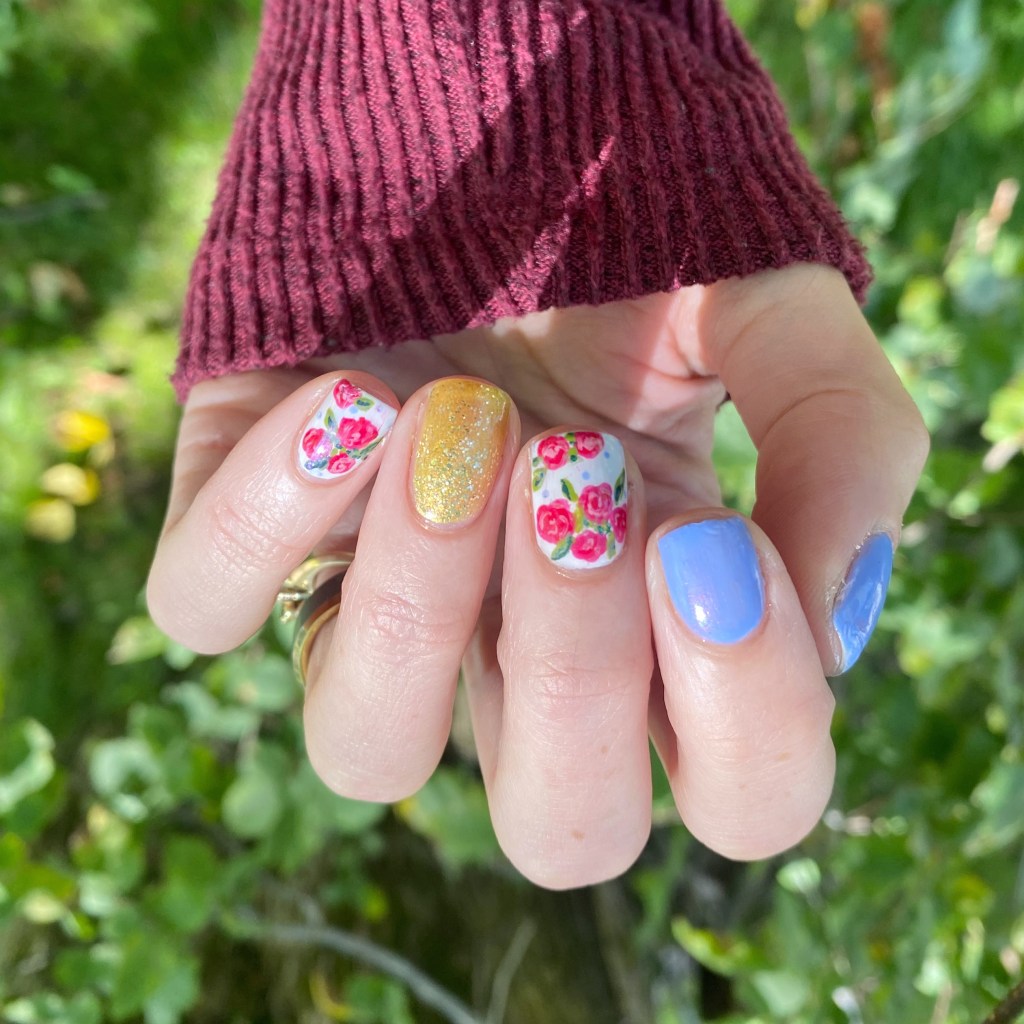
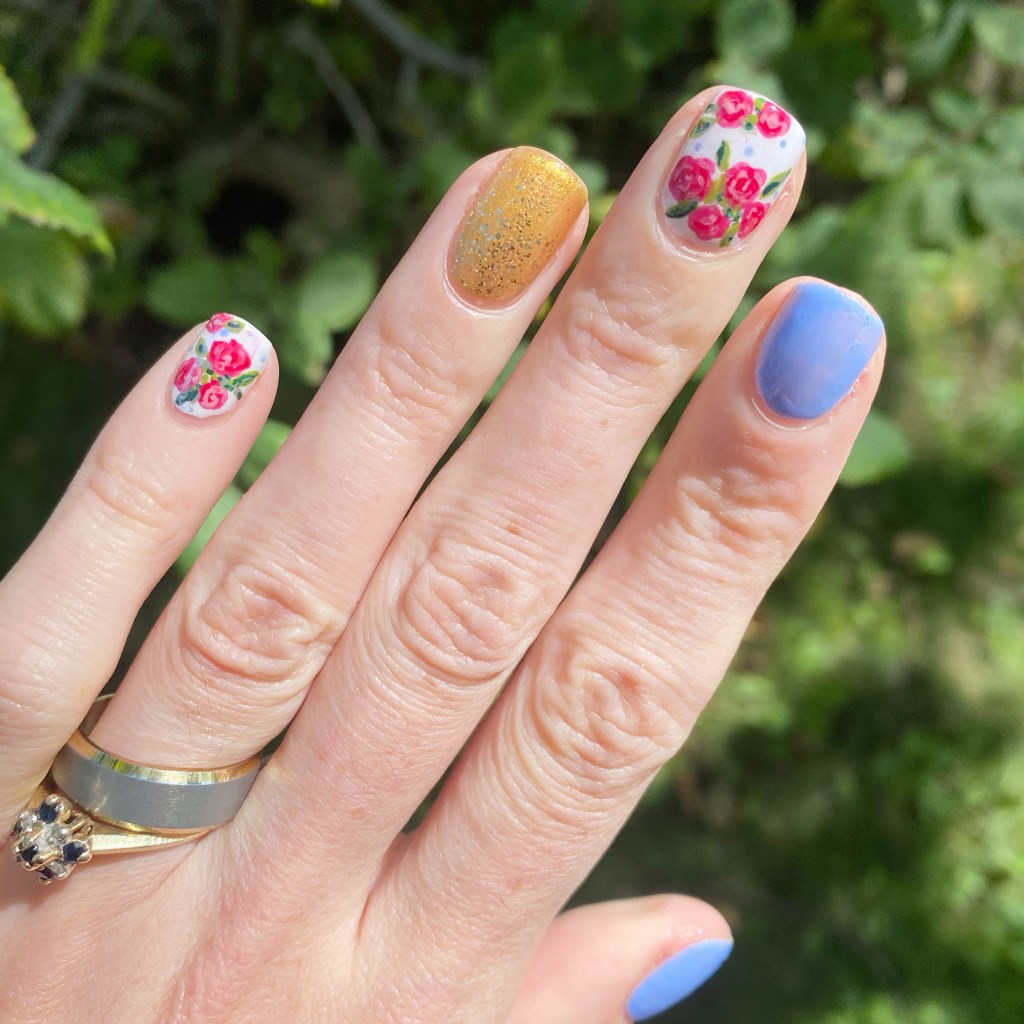
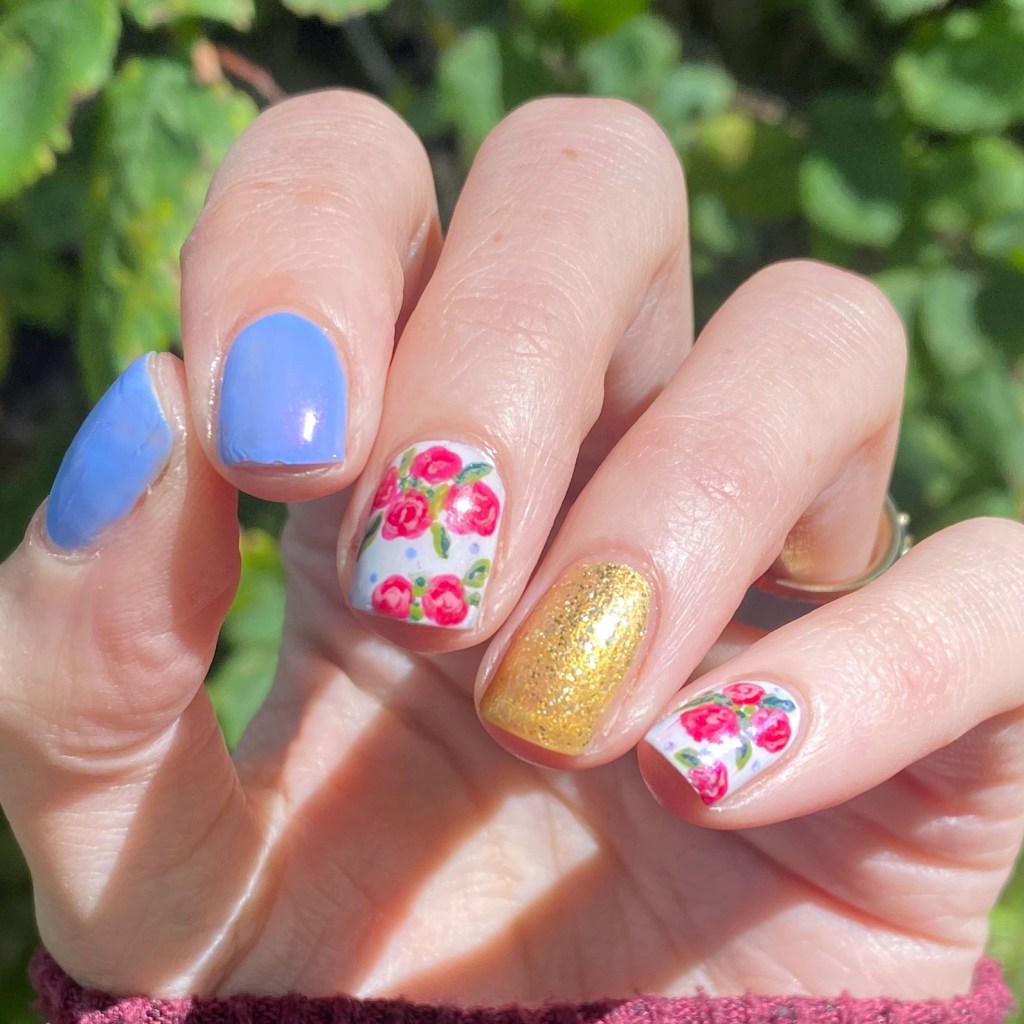
I really wanted to recreate my wedding nails in honour of my wedding anniversary, especially as I’m rocking some serious shorties right now. So in honour of the occasion, here’s a brand new version of a very special design.

The polishes I used for this manicure are: 

  • Base Coat: Essie Hard To Resist Strengthner
  • Top Coat: Sinful Colors Power Paint Top Coat + Essie Speed Setter
  • Essie You Do Blue!
  • OPI I Cannoli Wear OPI
  • China Glaze Champagne Bubbles
  • Sally Hansen Miracle Gel Good As Gold
  • Essie Brides No Grooms
  • Essie She’s Pampered
  • Essie Into the A-Bliss
  • Essie Willow in the Wind
  • Essie Sew Psyched
  • Essie Off Tropic
  • NailStuff dotting tool
  • NailStuff 7mm Liner Brush

For those curious, here are my original nails I painted for my wedding day, & my recreation I did in 2018.

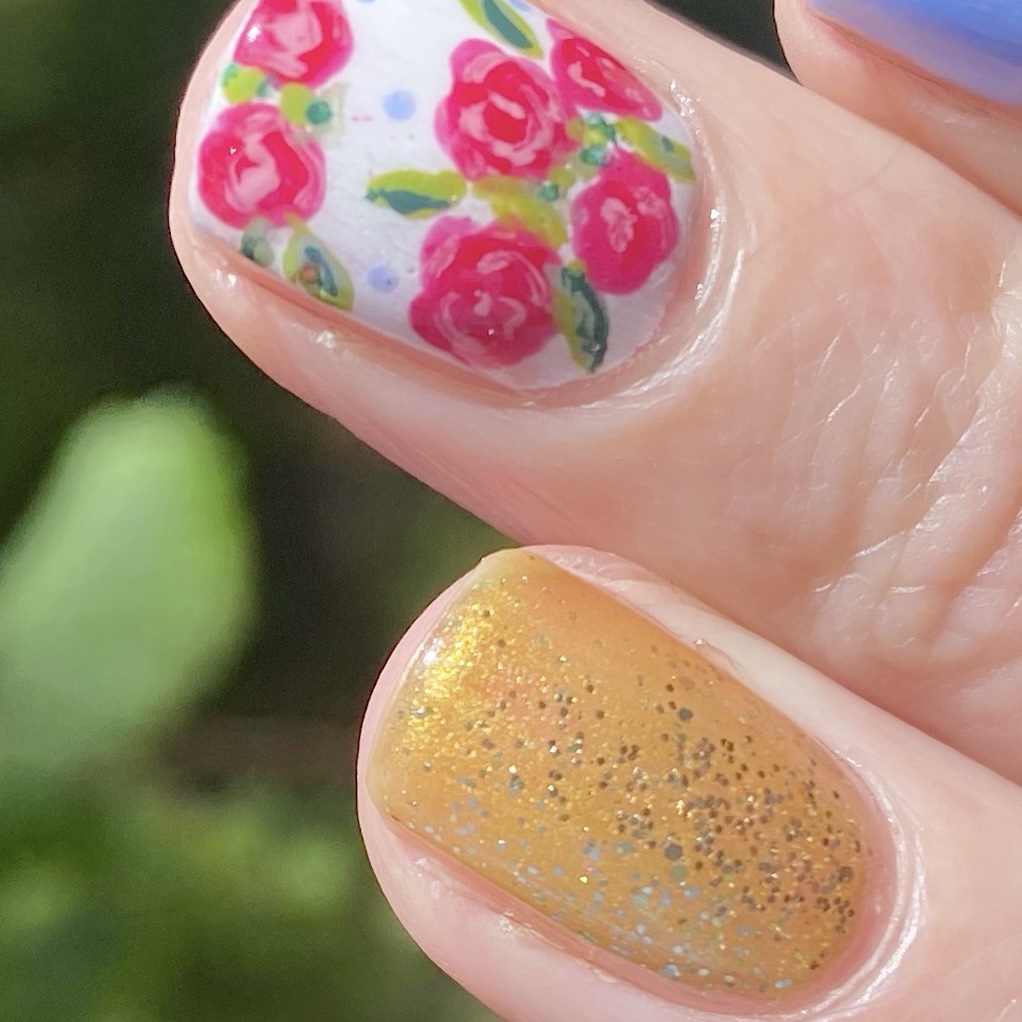
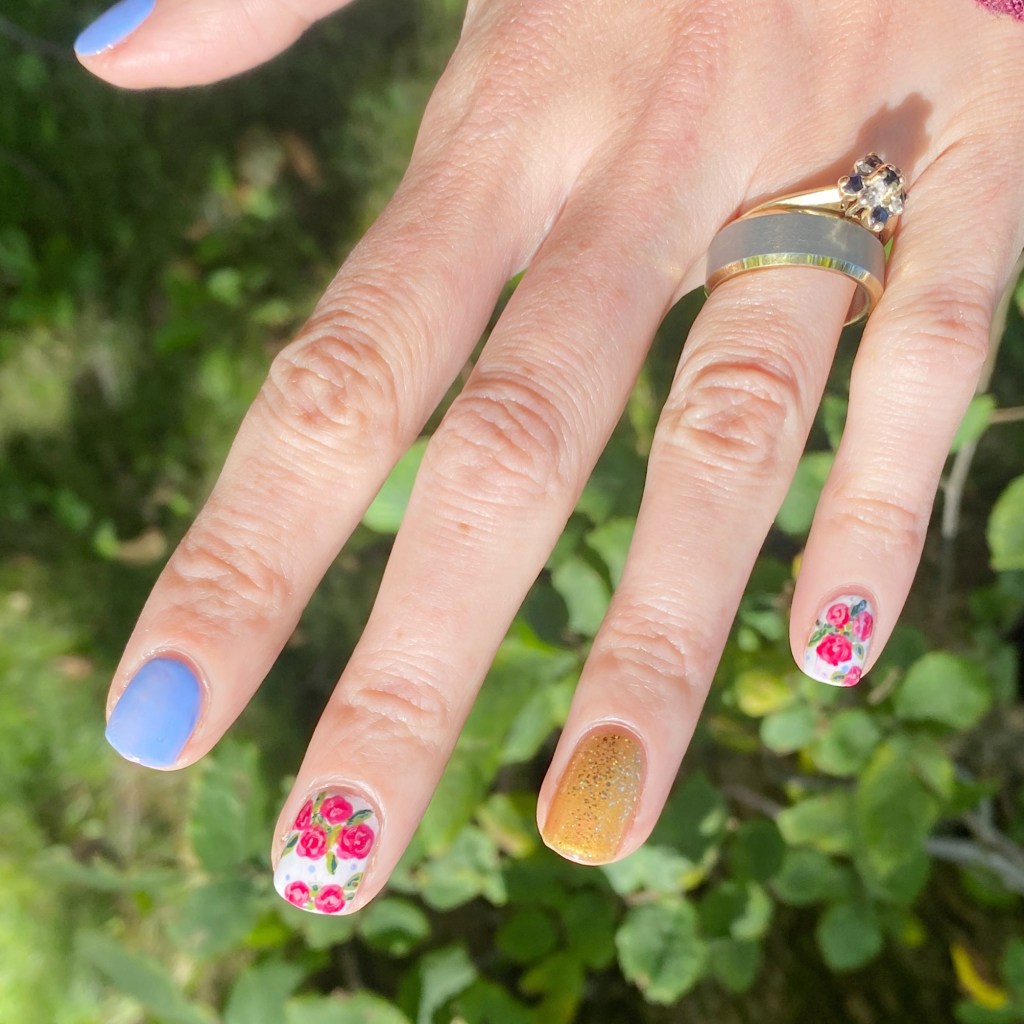
I was absolutely obsessed with my original nails that I painted back in 2015 for my wedding day — it was really important to me to create a beautiful design I would love for years, & years to come. & again, when I recreated them I equally loved the design!

But you know what? I think I love them the most on short nails! Long nails look beautiful no matter what, but trying to recreate the exact same look on nails 1/2 the size really makes them pop! The only thing from my recreation I’m not 100% sold on is the much more yellow gold, but it definitely gives it a more colourful vibe. (& the right amount of sparkle! ✨)

What do you think about this anniversary look? Do you love a floral look as much as I do? I’d love to know if this design holds up all these years later. I certainly adore them as much as I did all those years ago & wouldn’t change a thing about the nails I had on my wedding day.

Let me know all your thoughts down in the comments below!

🖤

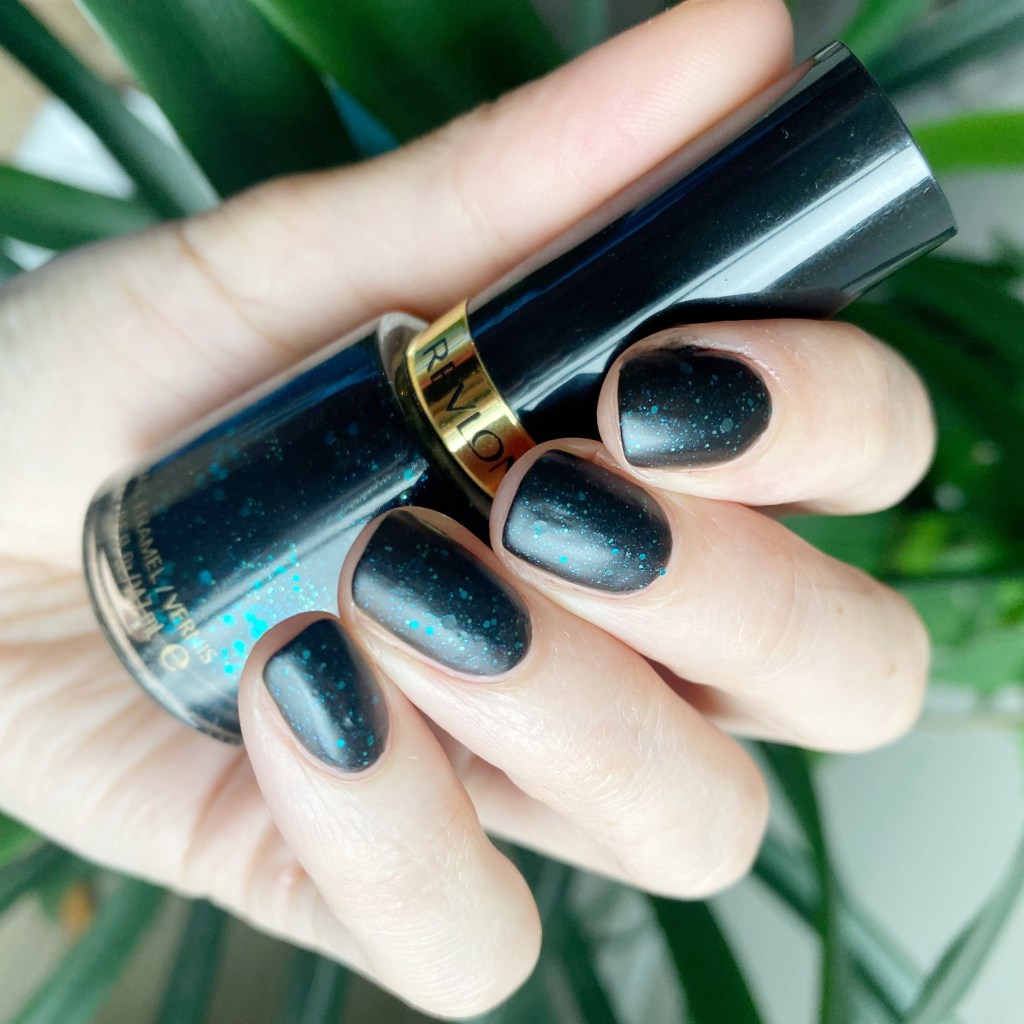
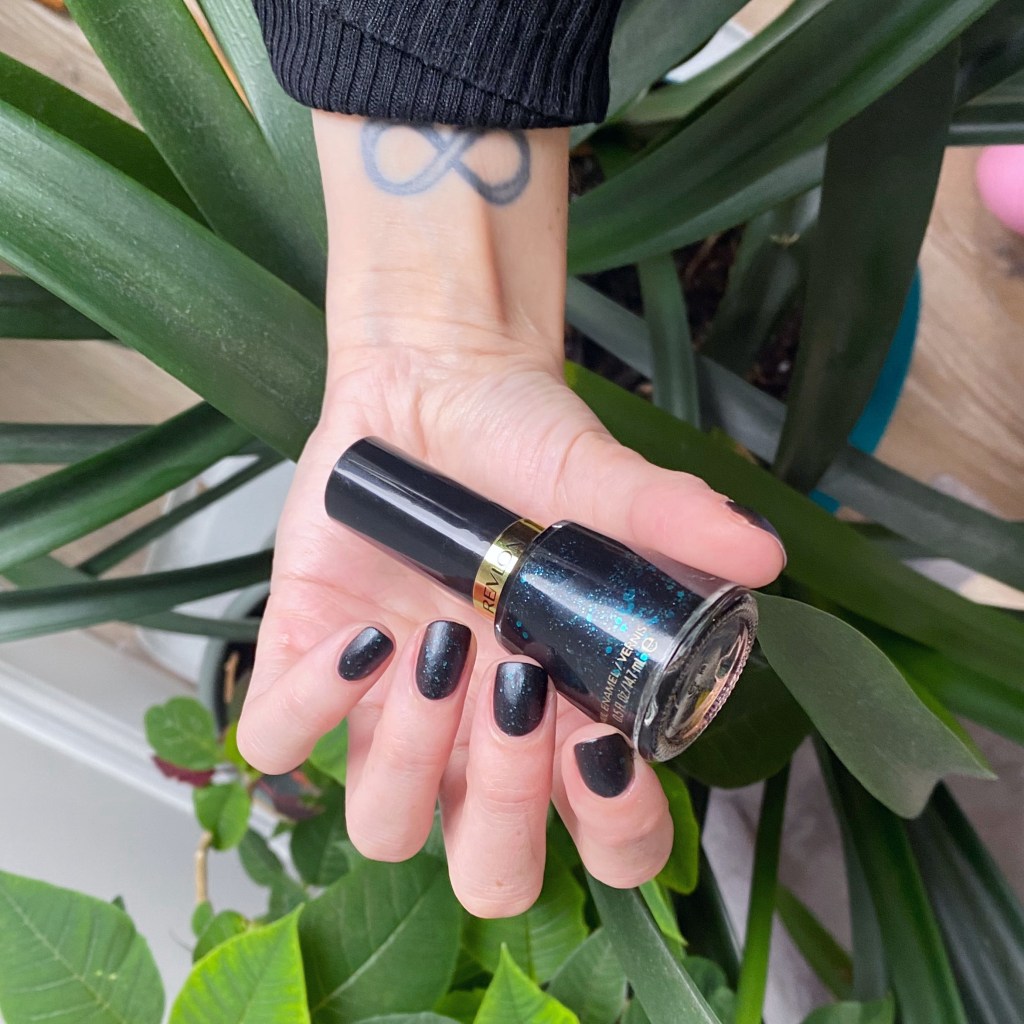
SWATCH SUNDAY — Revlon Elusive (2013 Evening Opulence Collection)

Hello loves & happy Sunday!

I hope everyone is enjoying their first full weekend of September (& long weekend). I am in full Autumn swing, & enjoying a bit cooler weather. I just want to pull out all my plaid, & go on a thrift hunt for a brand new pair of knee high boots. It also means I want to wear nothing but dark tones on my nails, & today’s Swatch Sunday pick is perfect for that!

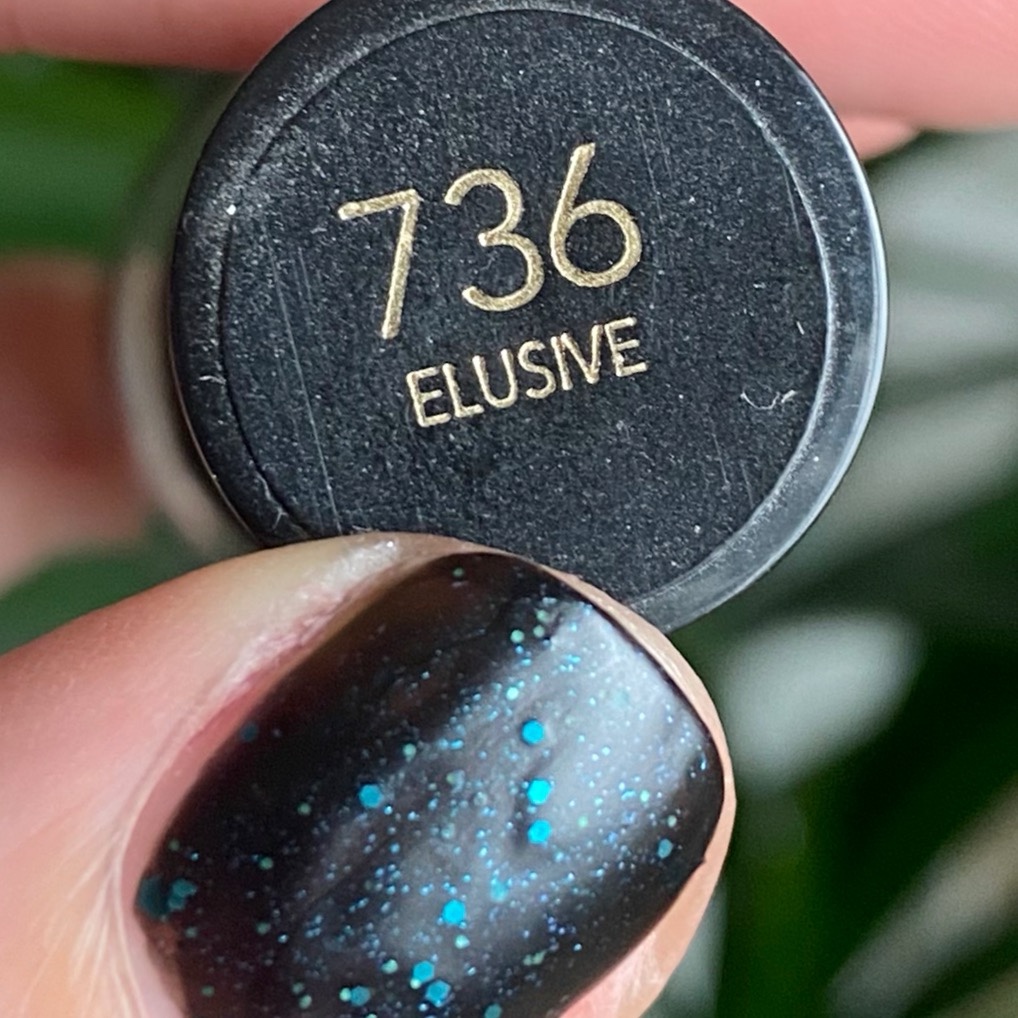
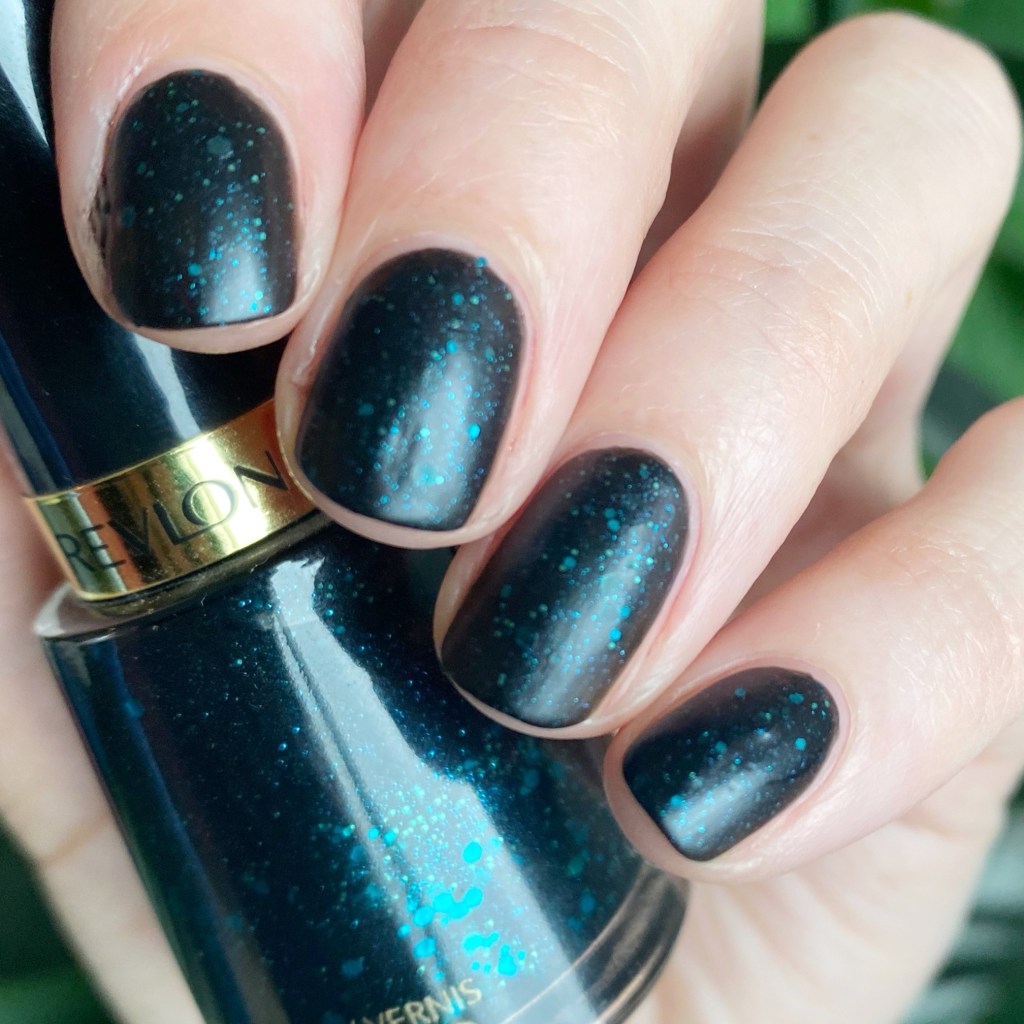
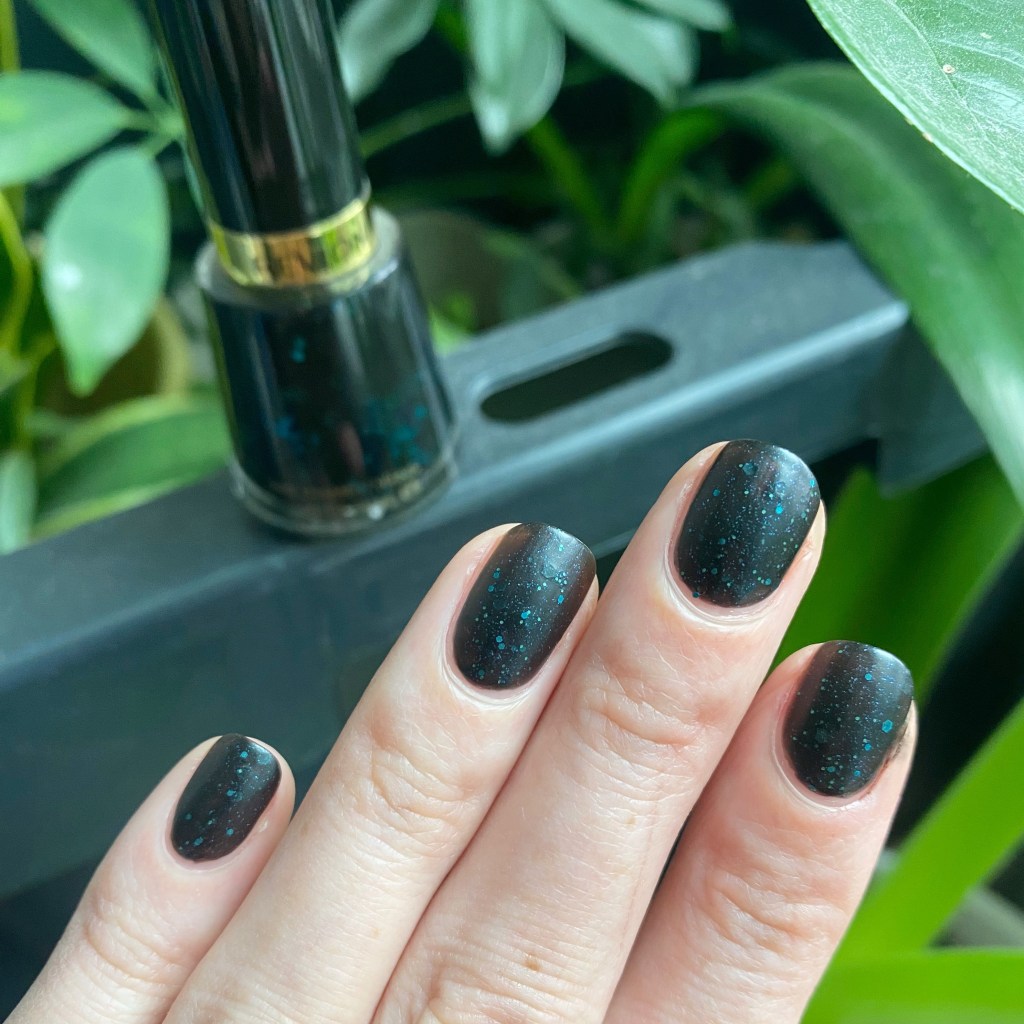
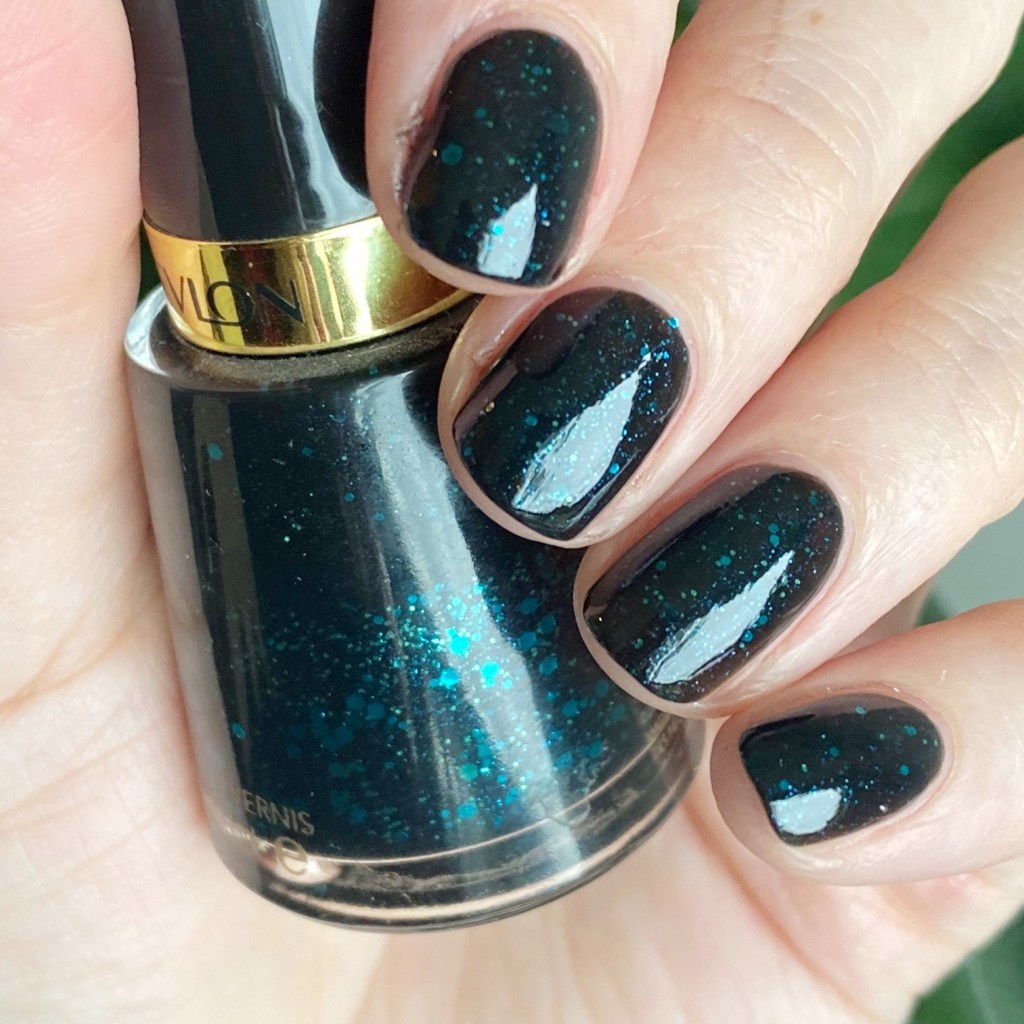
This is Revlon Elusive from the 2013 Evening Opulence Collection.

2 coats, No top coat.

This beautiful black jelly glitter was originally released back in 2013, & having Googled the collection — the advertising is very 2013, if you know what I mean. I believe it was released for Fall/Winter, so this colour is fitting in perfectly for the Autumn season, but also wouldn’t look out of place at a holiday party.

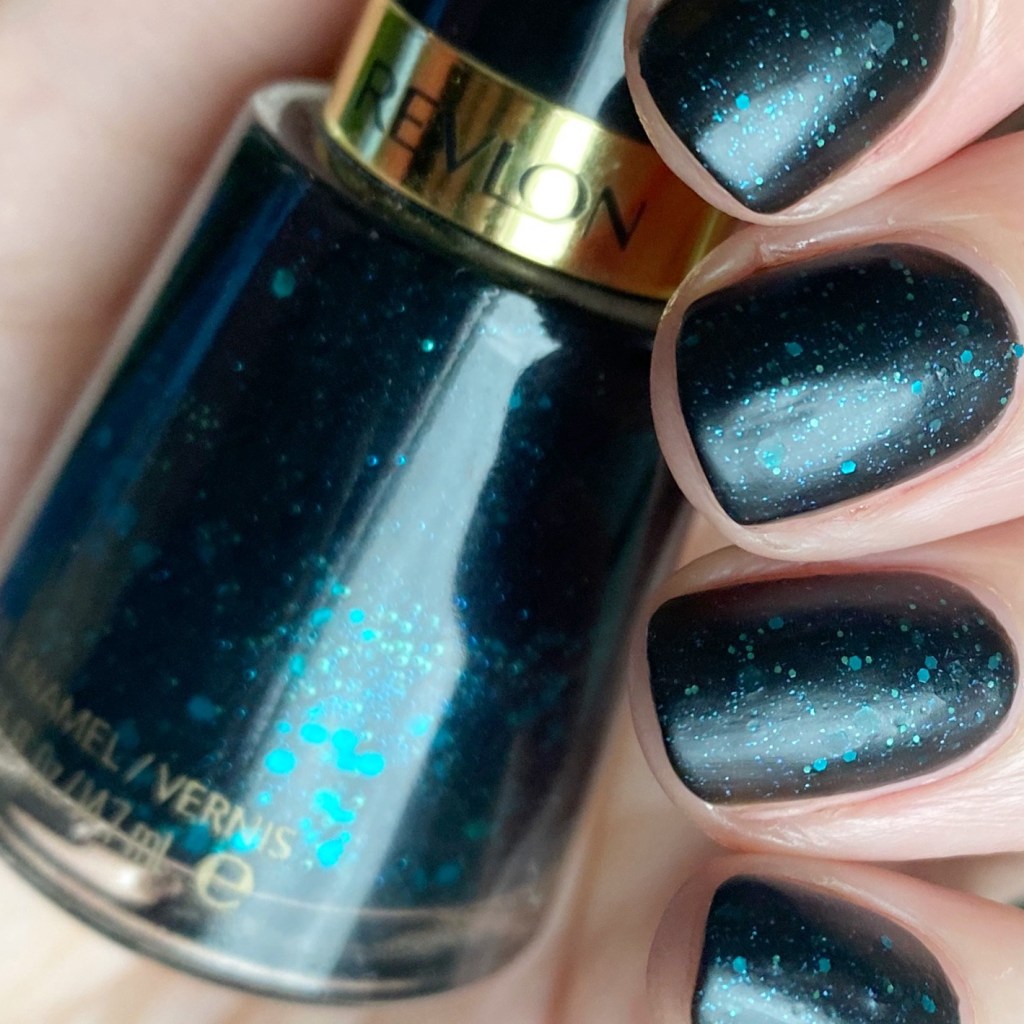
This base is a thin-ish black jelly, packed with multi-sized teal glitters. It dries matte, which I was a bit nervous about because I was worried it would be too textured, but it dried fairly smoothly for me which is a win in my books! I applied 2 thin-ish coats for coverage, although it does look a bit translucent in some photos so some people might feel more comfortable with either 3 thin coats, or 2 more thickly applied coats.

My only complaint — it did chip during my shift at work. Now that could be the fact that it’s a 13 year old polish, or it could be that my top coat is getting okay. Definitely won’t stop me from wearing it again!

Also, I had to apply top coat to see what it would look like shiny, & I do feel like it makes the glitters pop a bit better, but honestly I love it both ways. Giving me a glitter like this, & I will always be a happy girl!

What do you think about Revlon Elusive? This shade was obviously released back in 2013 so it’s no longer in circulation. I would love to see Revlon do a throwback collection with some of these glitter shades they used to do. Plus, Y2K & 2010s fashion is making a comeback, so let’s bring it back on our nails!

Have the best Sunday darlings!

♥︎

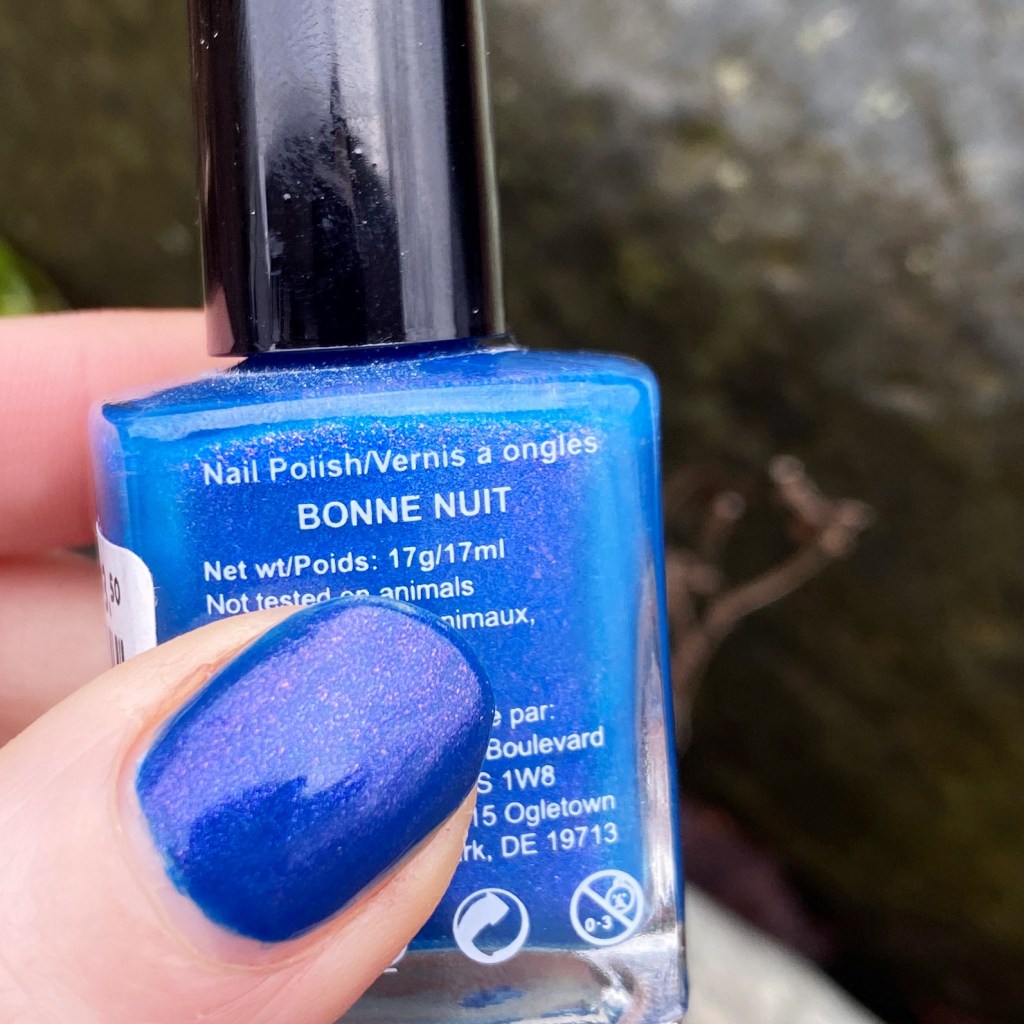
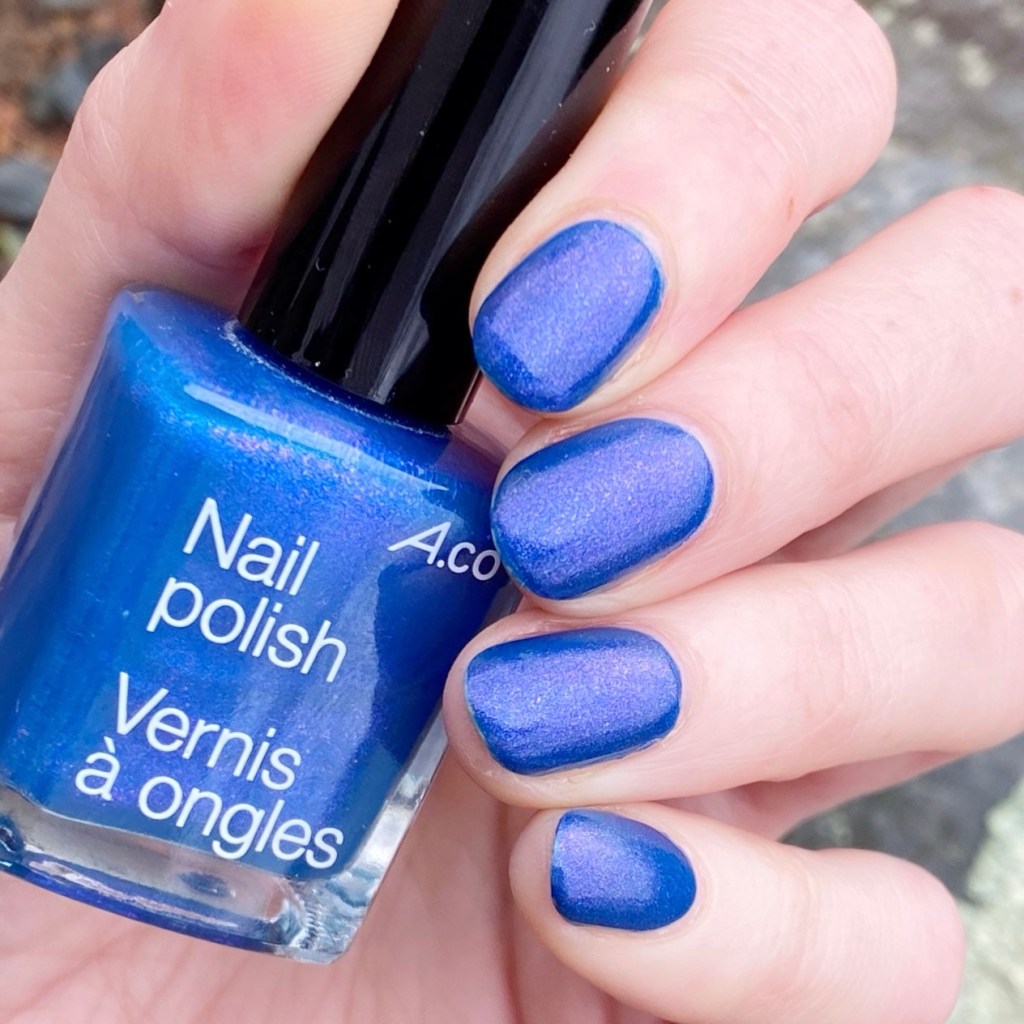
SWATCH SUNDAY — ACO by Ardene Bonne Nuit

Hello lovelies & happy Sunday! I hope everyone is having a lovely weekend. We’re halfway through January & that’s kind of crazy.

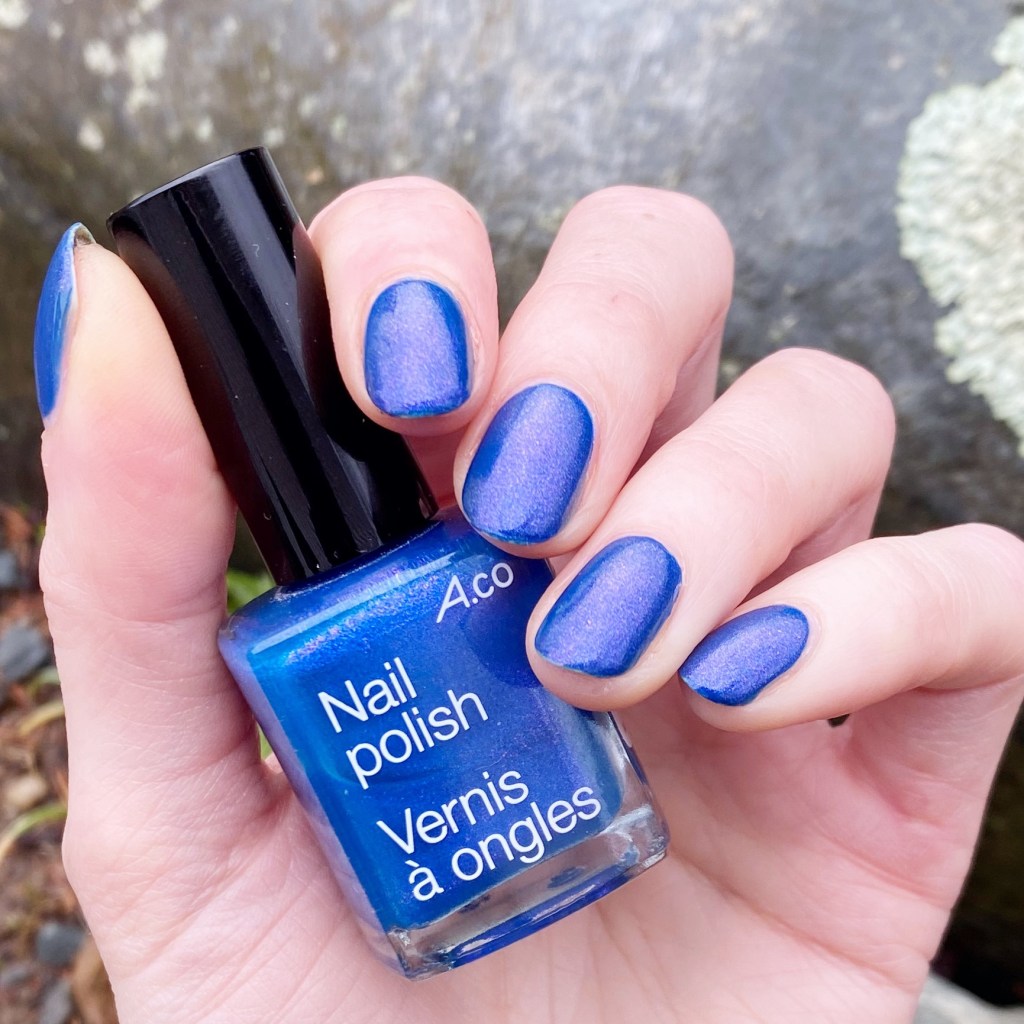
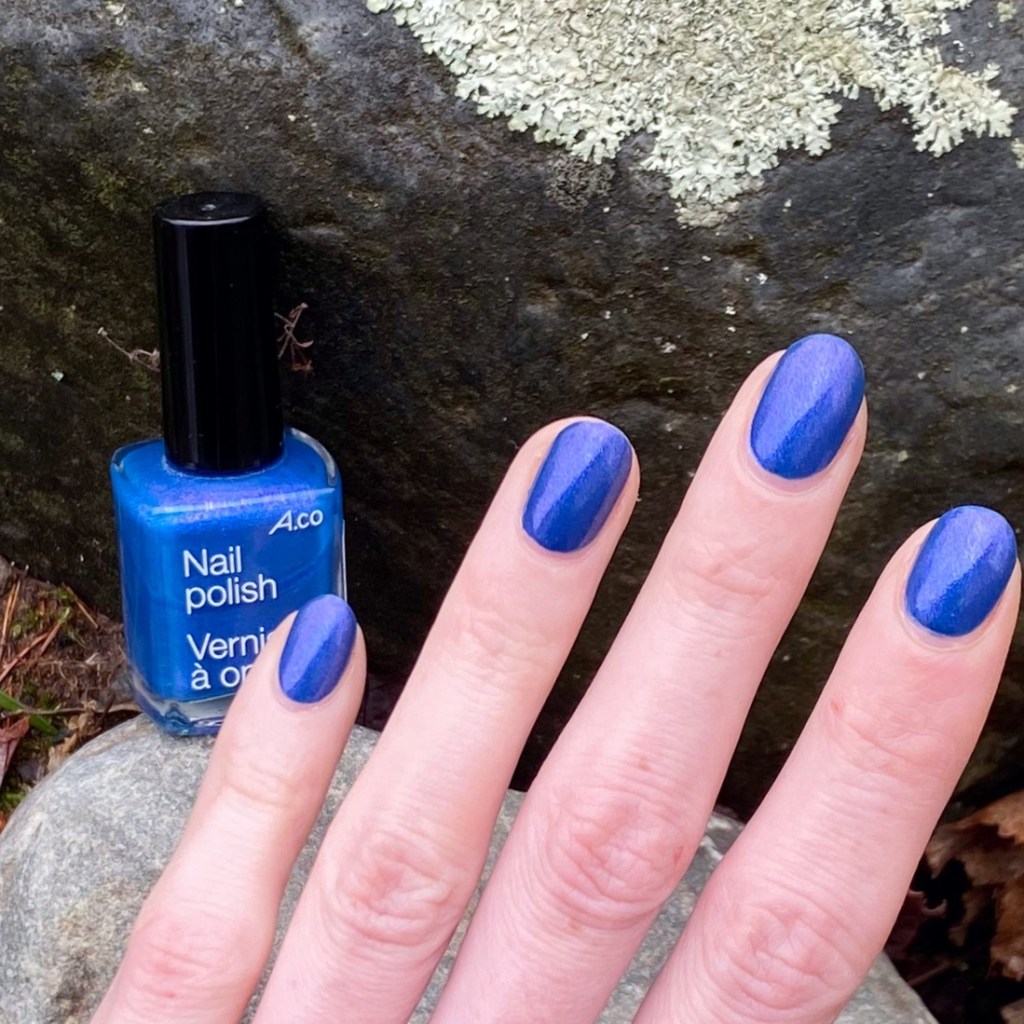
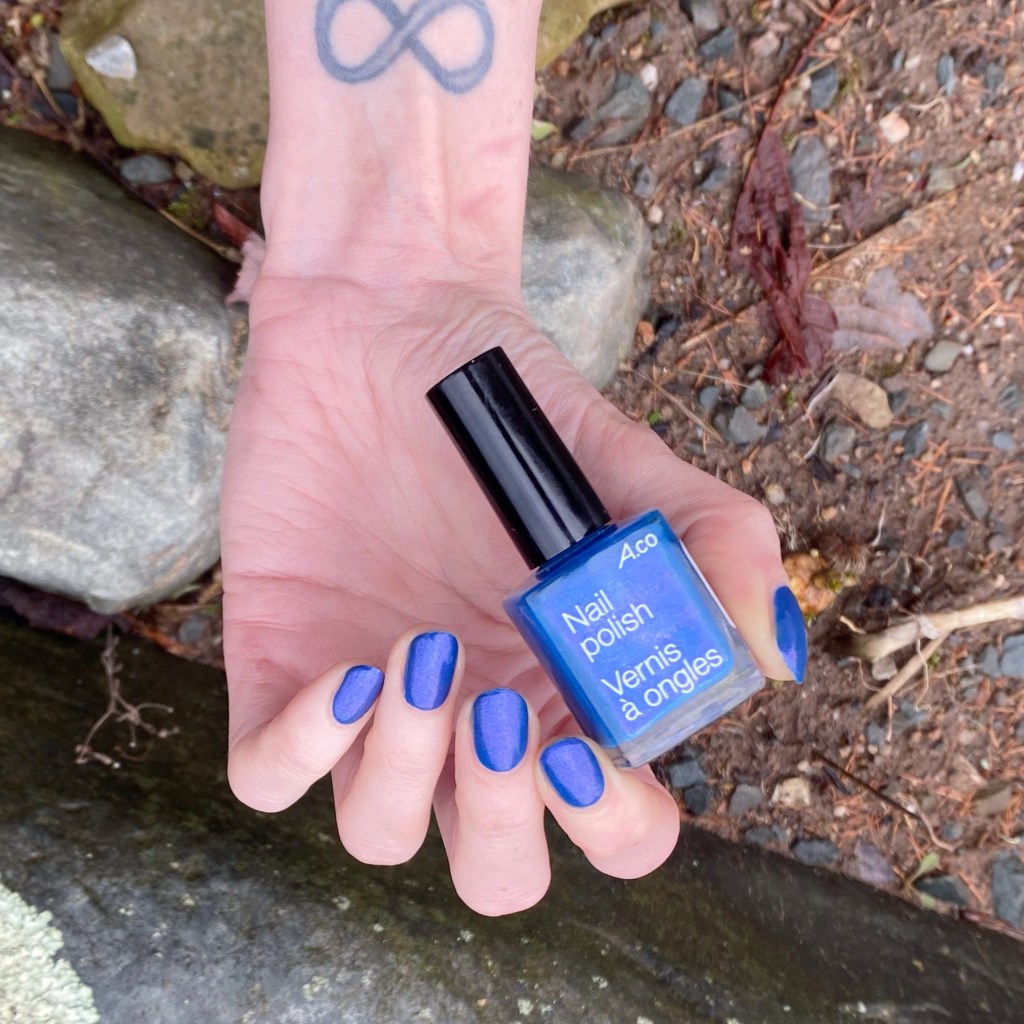
But everyone in my social media feeds keep taking nostalgic trips back to 2016, so I thought I would do the same — only with nail polish! & back on 2016 I was all about the Ardene brand of nail polishes, so I thought I would share a beauty from that time: Aco by Ardene Bonne Nuit.

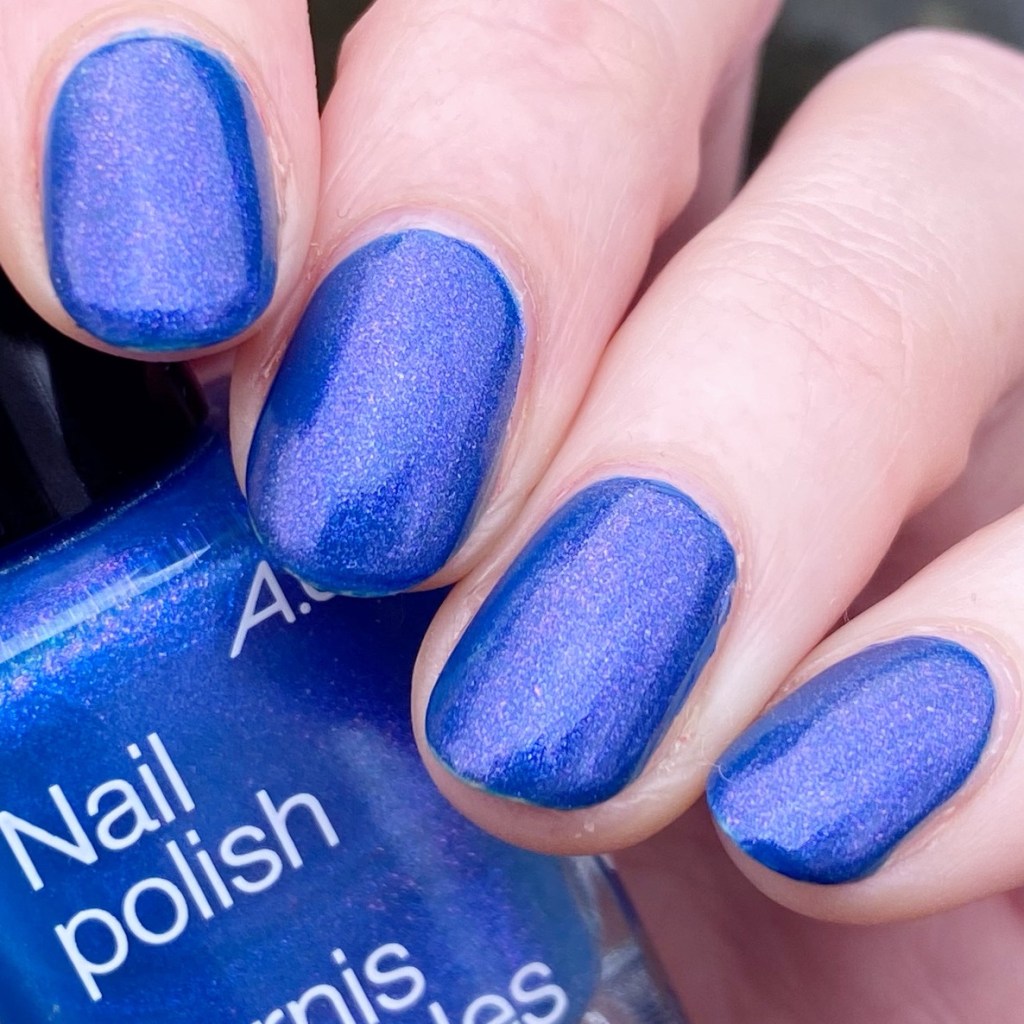
1 coat over Rimmel Blue Eyed Girl + top coat.

So yes, I did use some under-polish for swatching this beauty because it. is. thin. But I think it applies beautifully & you really get that shift of colour from blue to a purple hue. There is a nice micro glitter shimmer as well, which I remember loving a lot in the mid-2000s!

Now this shade is definitely a relict of another time, because Ardene no longer sells this brand of nail polish. I still have a drawer of this brand in my stash, that I stare at frequently, & every so often pull out for nostalgia sake. I also love that they were so trendy when it came to finishes, at a very affordable price point!

What do you think of this very mid-2010s nail polish? Do you remember what shades you were obsessed with circa 2016? Let me know what shades you were obsessed with back then, & if they are still top of your list 10 years later!

Happy Sunday loves!

🖤

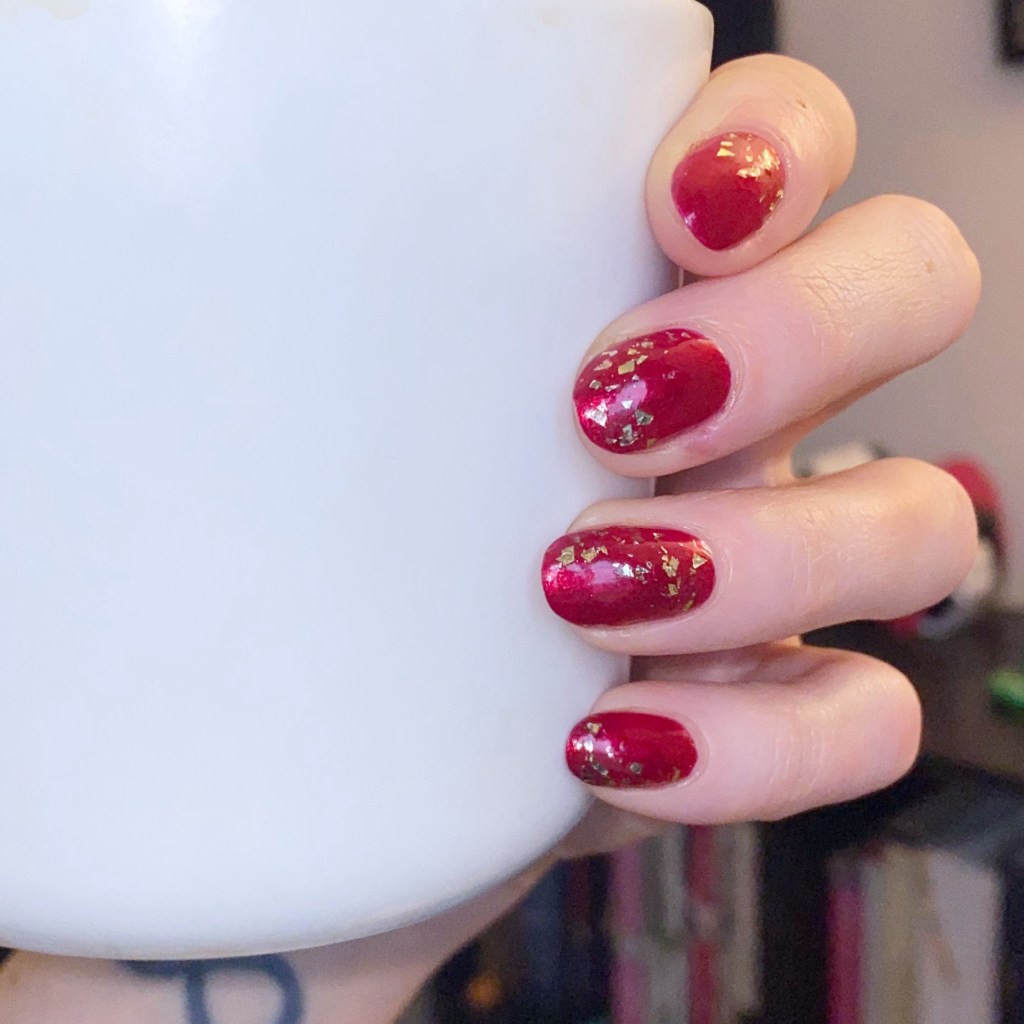
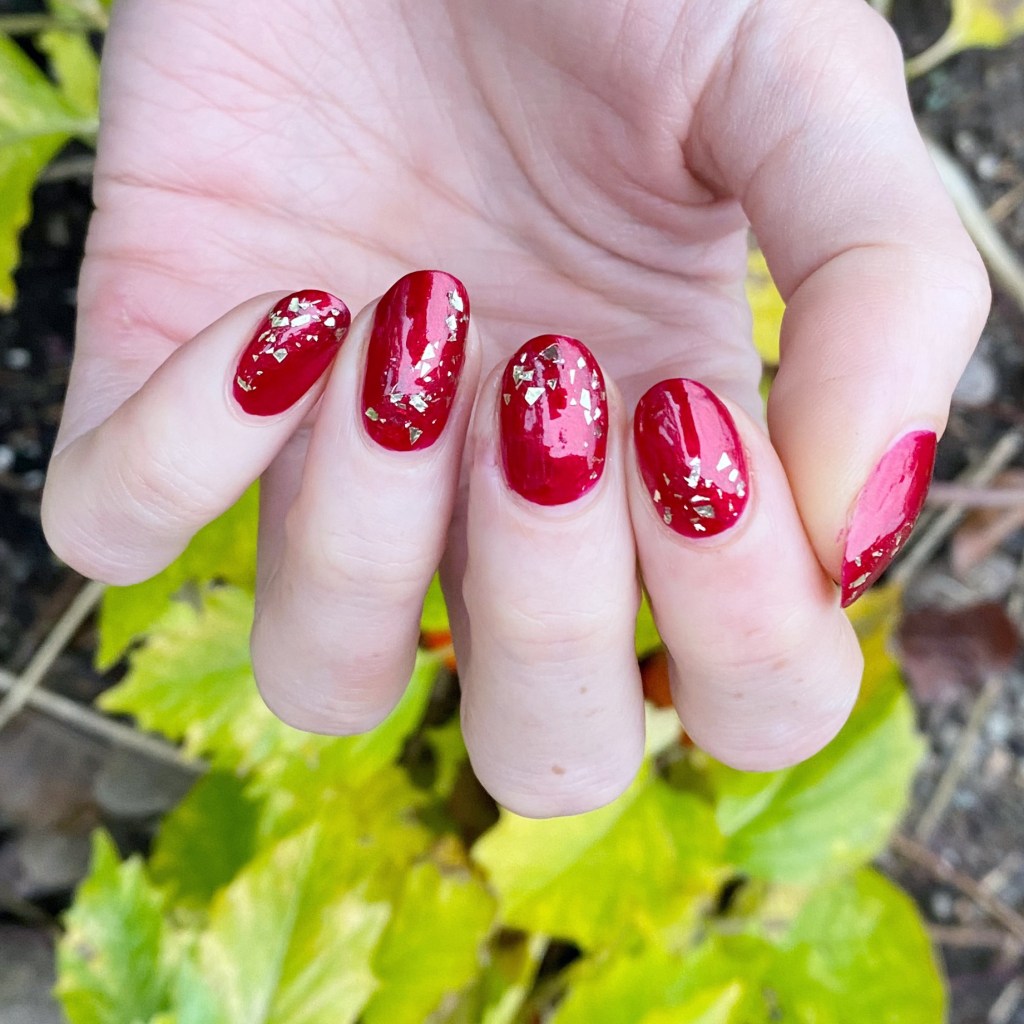
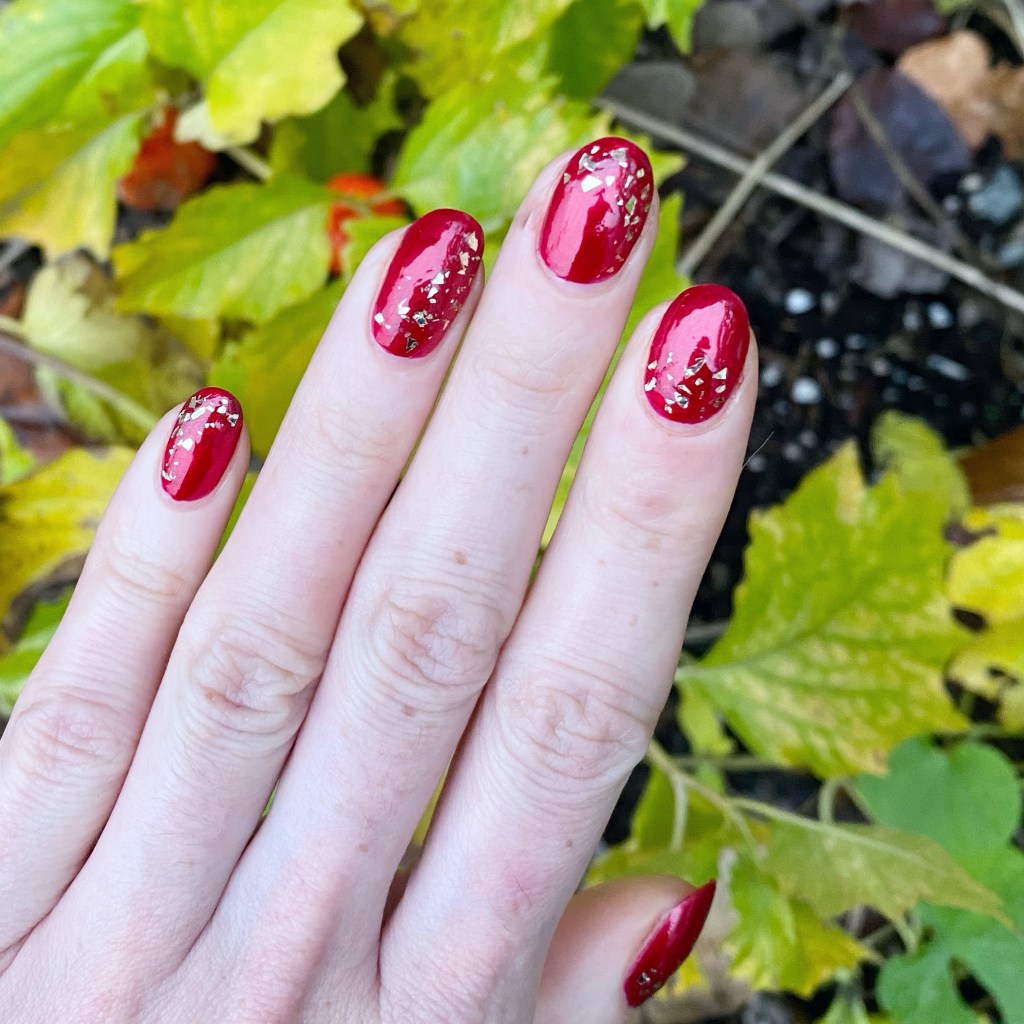
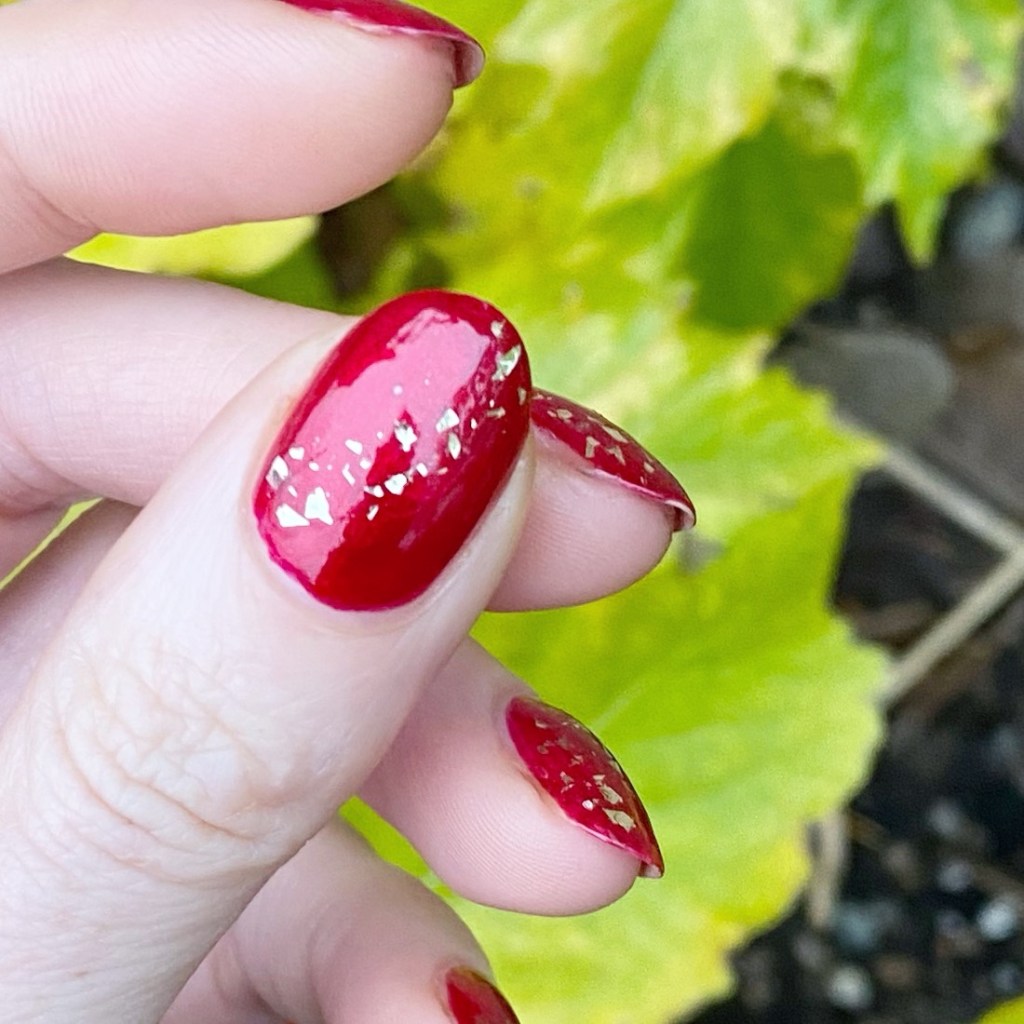
Red & Gold Shattered Glitter Placement ✨❤️

Hello lovelies & happy Wednesday! It’s another chilly wet Winter day, & the January vibes are just not it. Have I mentioned I’m not a fan of Winter?

But I have just the thing to cheer myself up… new (sparkly) nails! There is nothing that I love more than some sparkle when I’m feeling down, & I recently pulled out a glitter topper I had almost forgotten I owed. The end result was another perfect glitter placement design.

I’m never going to get tired of these!

The polishes I used for this manicure are: 

  • Base Coat: Sally Hansen Miracle Cure
  • Top Coat: Seche Vive Gel Like Top Coat
  • Orly Color Blast Garnet Luxe Shimmer
  • Sinful Colors Twilight Twinkles
  • Small dotting tool

I know this isn’t a super complicated look — still trying to ease myself back into nail art inspiration — but I love how these look. They’re just fun, & pretty, & I never get tired of red nail polish. I also feel like these would be so pretty for February & Valentine’s Day nails!

What do you think about these red shattered glitter nails? Do you love? Also — as always, if you can think of any glitters similar to these in different colours, let me know. I used to have a holographic silver one by Color Club that dried up that I’m desperate to replace!

Happy Wednesday

🖤

Sideways Glitter Gradient using Olive & June’s New Flash Glitter Gel Polishes

contains PR/gifted product

Hello lovelies & Happy 2026! We made it!

I hope everyone had a wonderful Christmas season, & holiday. It was definitely a weird one this year, but we survived & it’s a brand new year. I decided to take a bit of a break at the end of the year, BUT I did end 2025 with sparkle. Just before Christmas, I was sent some amazing nail mail from Olive & June featuring their brand new Flash Glitter Gel nail polishes — which was an amazing Christmas surprise!

So naturally I needed to wear these gorgeous shades for New Years Eve, & I decided to attempt a gradient using all these shades. I’ve not done a ton of nail art with gel polish, but I’m so happy with my sideways gradient! It looks like a rainbow going across my nails. I was definitely a little nervous going in, but I am so beyond in love with how this design turned out!

The polishes I used for this manicure are: 

  • Base Coat: Olive & June Peel Off Base Coat
  • Base Coat: Olive & June Gel Base Coat
  • Top Coat: Olive & June Gel Top Coat
  • Olive & June Gel Sparkly Pink Drink (rose gold)
  • Olive & June Gel Pop Fizz Mani (gold)
  • Olive & June Gel Mani on the Dance Floor (grey silver)
  • Olive & June Gel Karaoke is a Good Time (purple)
  • Olive & June Gel Out Past Curfew (black)
  • Olive & June Gel Rosé Rhymes with Partay (pink)
  • Flat Nail Art Brush

I have to say — creating this gradient was not as hard as I thought it would be. The longest process was curing between each layer, but they came together so beautifully. & compared to other gradients, they were much harder to mess up. I used a flat nail art brush (clean up brush) to blend the two shades together, & it worked so perfectly. I’m kind of sad I wore these with a peel off base coat, because I could have easily worn these for a full week instead of just the night.

This was my first experience with flash glitter, & I get it now! The way it sparkles under flash is incredible. It makes me feel like a disco ball in the best possible way — & I think we all need to sparkle a little more this year. That’s definitely on my list of New Years resolutions for this year.

If you’re interested in trying out these Olive & June Glitter Flash Gel polishes, they have the whole set listed online (including gel lamp), or you can purchase the shades individually. They also have really cool Flash Glitter press on nails which I have not tried, but look really really cool, & would be a great option for someone who doesn’t want to (or cannot) wear gel nail polish!

What do you think about my New Years Eve nails — did I start my 2026 on the right foot finger? Let me know all your thoughts down in the comments below, & what your resolutions are for this year!

♥︎