Good morning lovelies & happy Tuesday! We all survived Monday, & today is looking to be a beautiful day.
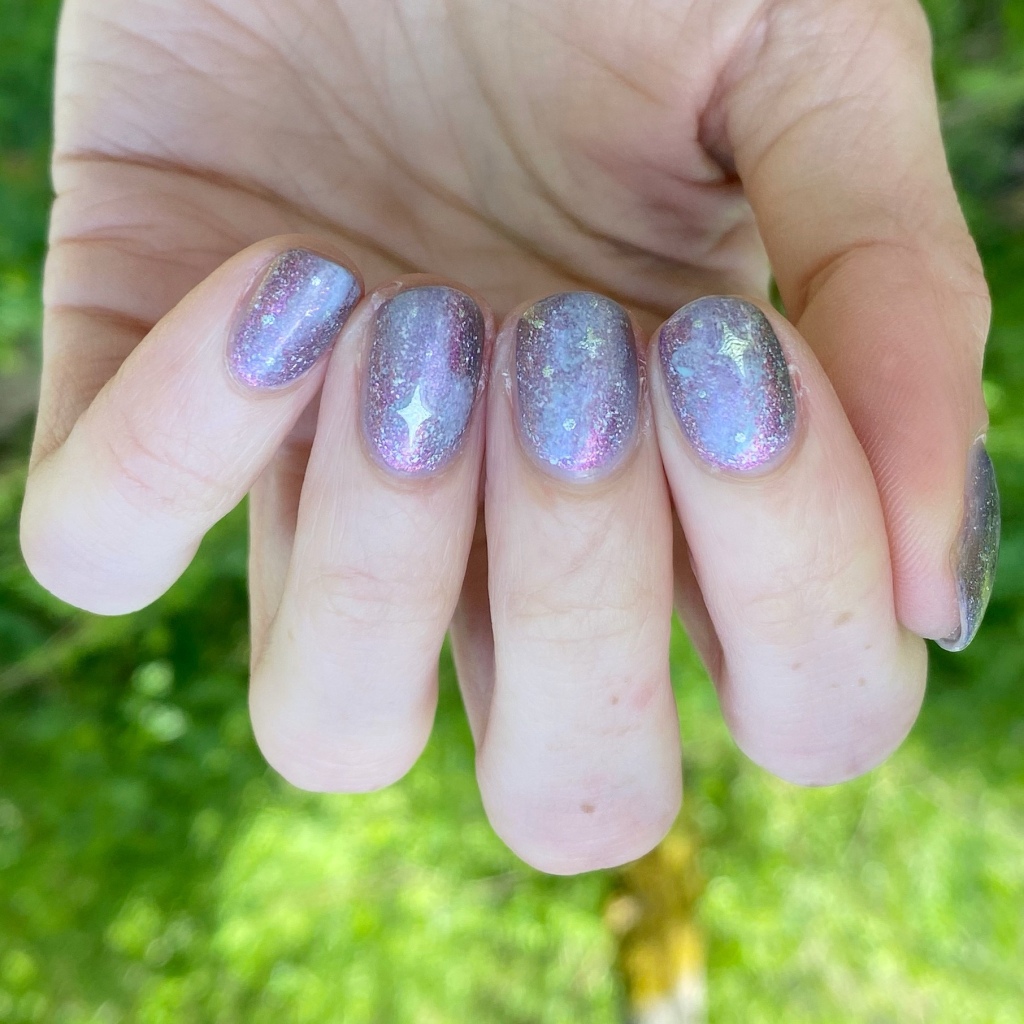
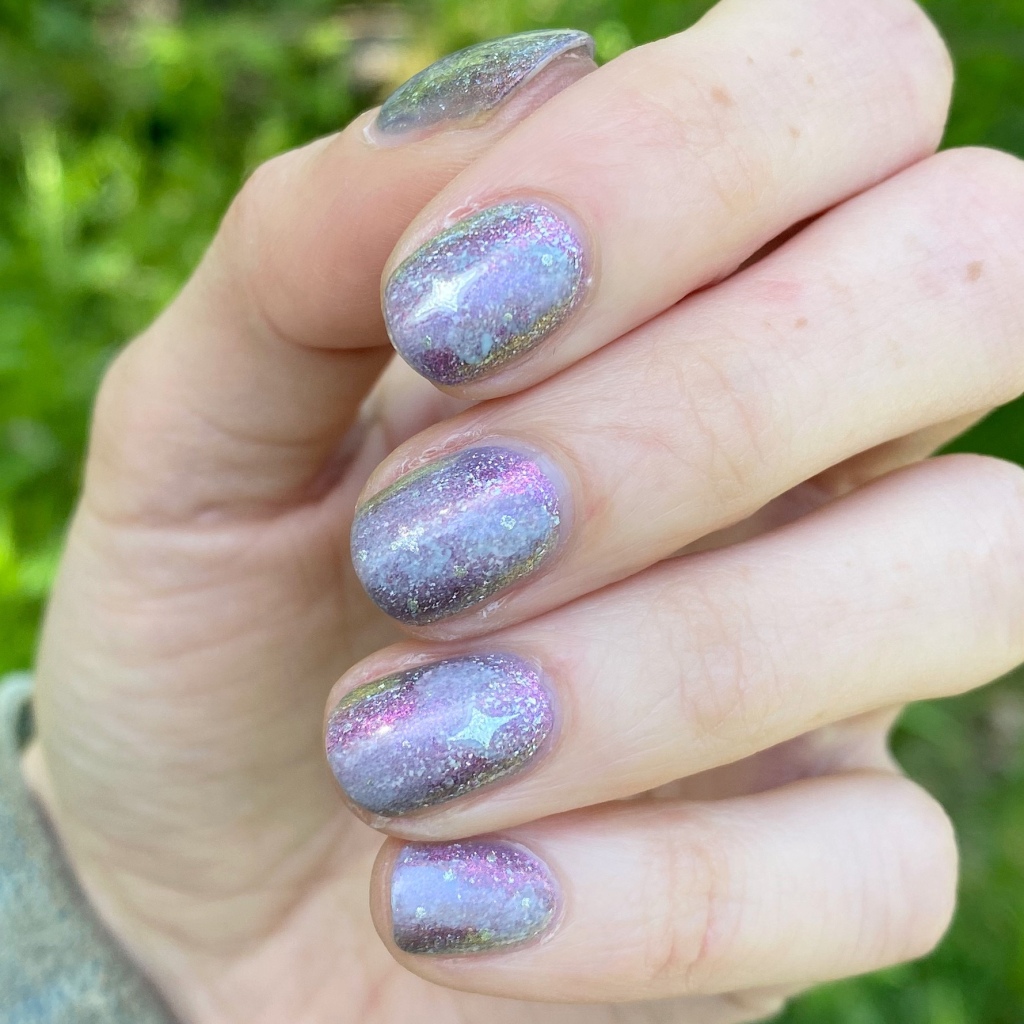
Today I’m sharing a somewhat simple to do nail art look, that is still super eye catching! As I’ve been mentioning, I’m absolutely obsessed with layering glitter over nail polish lately. It’s my go to look. But sometimes, I still want something more which is where this nail art look came from. I loved the flakie over blue look, but it felt like it needed something more.
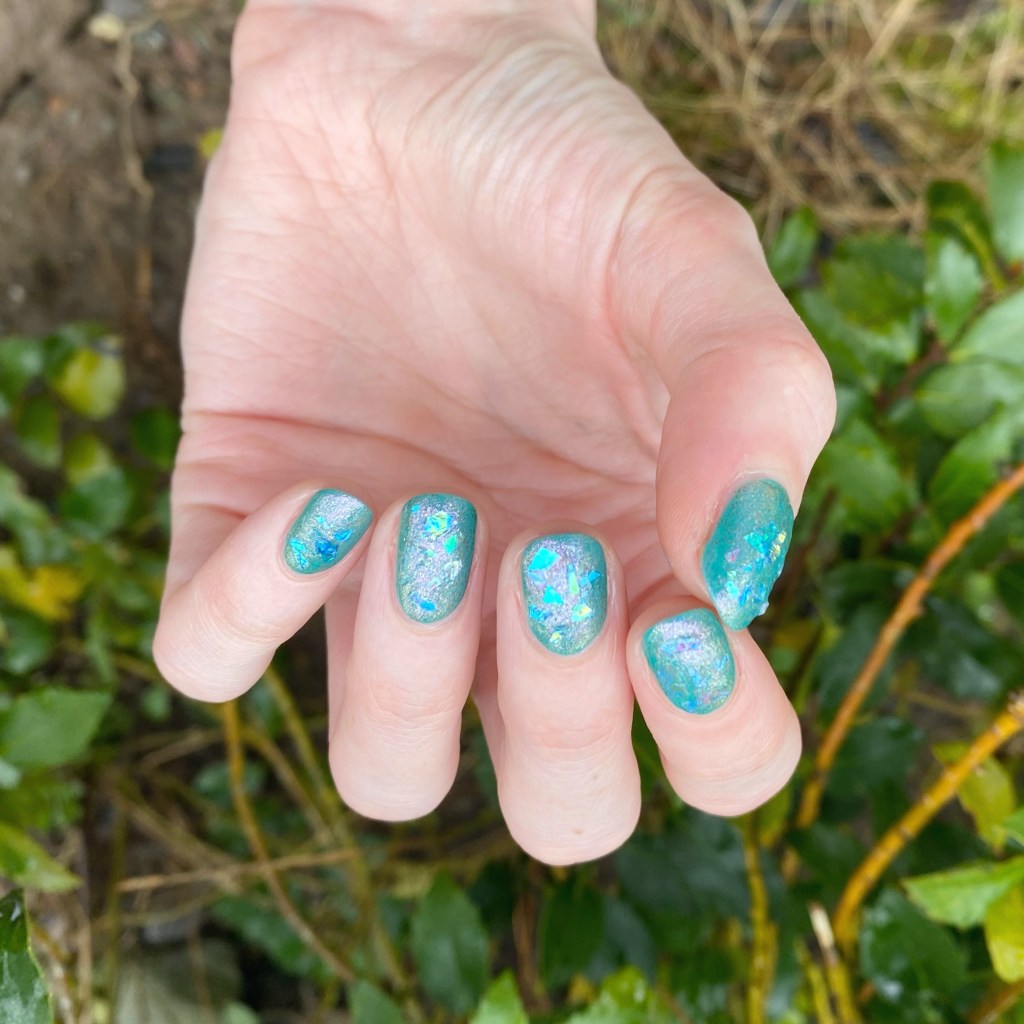
Thank goodness for nail art stripers!

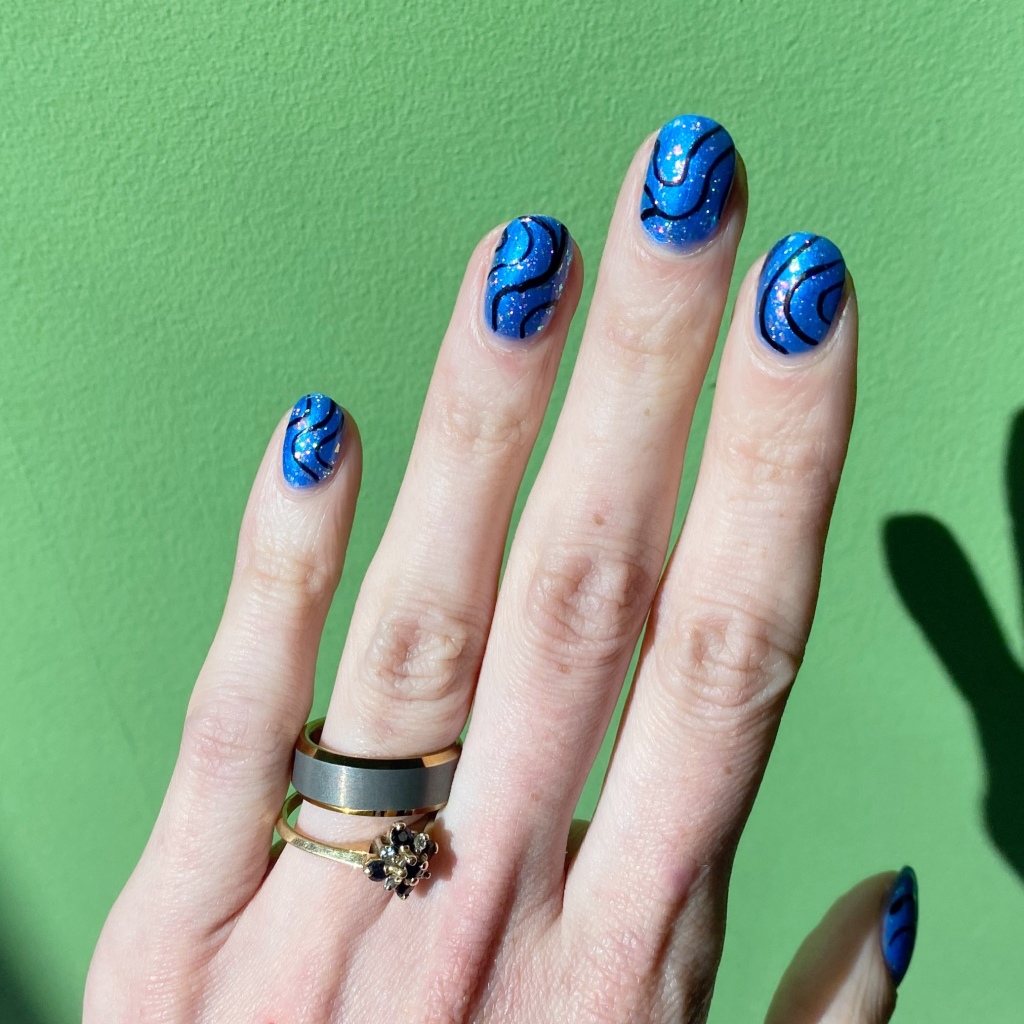
The polishes I used for this manicure are:
- Base Coat: China Glaze Calcium Gel Fortifer
- Top Coat: Seche Vive
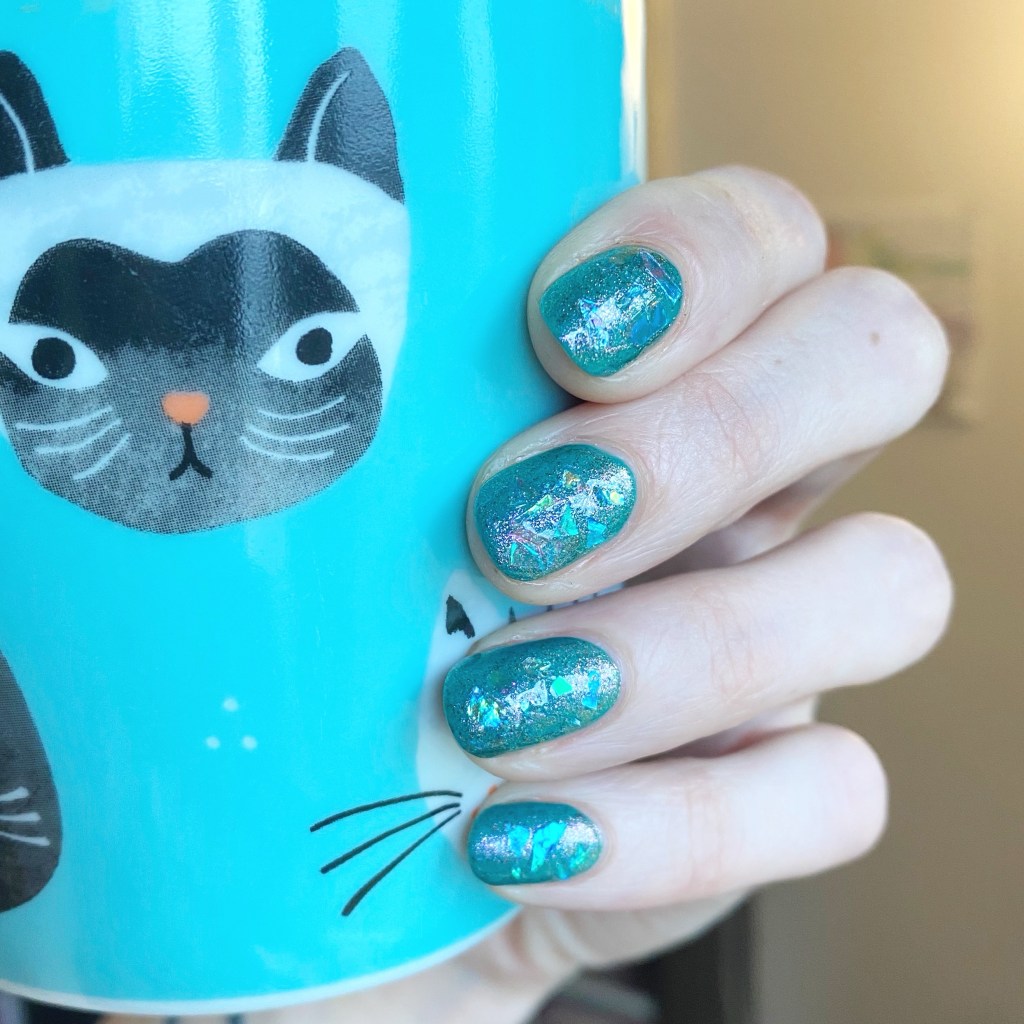
- Ardene Blue Tide
- ‘Ard as Nails Fairy Flakes
- Quo by Orly Nail Art Striper Black
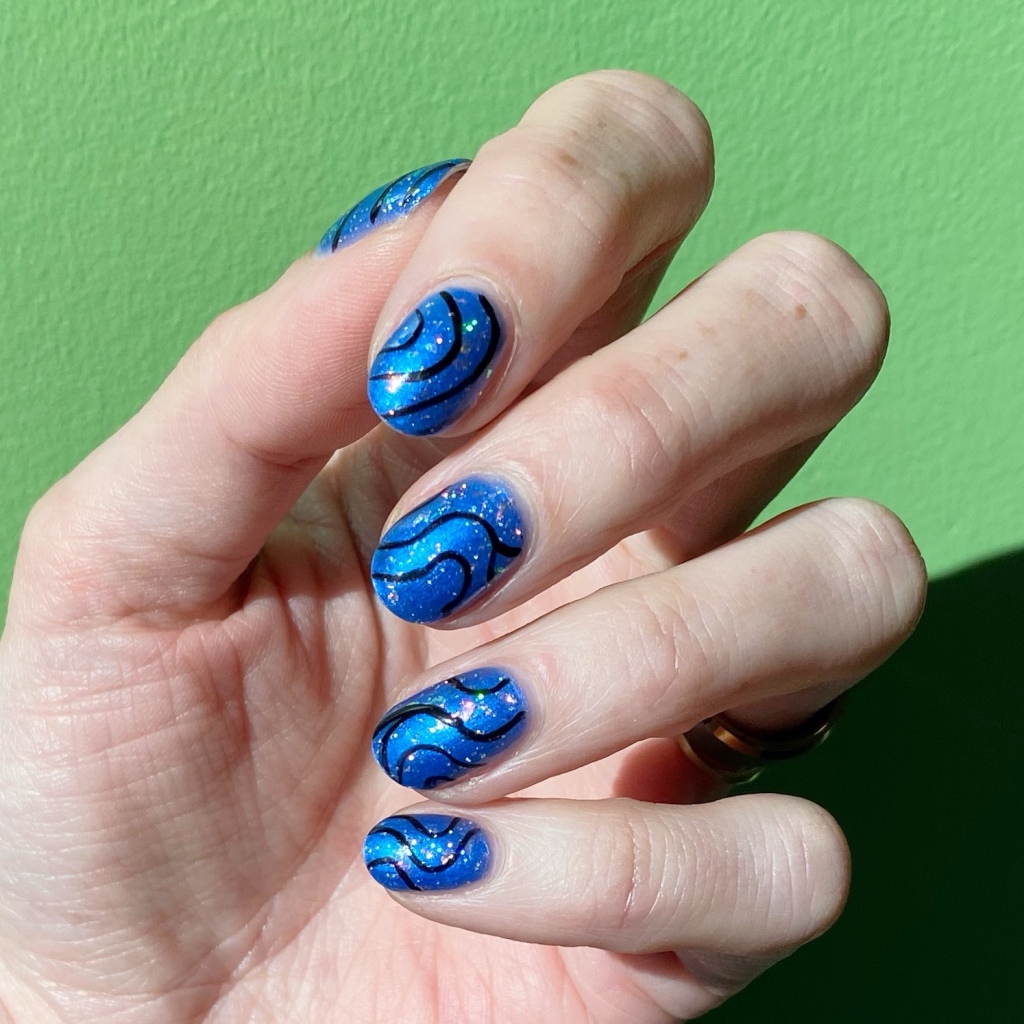

This look was sort-of inspired by this previous look. After applying to my base, I saw that design in my Instagram feed & realized I wanted to wear something like that. & I’m so in love with the eye catching result. Obviously, you can never go wrong with glitter (as is my new motto) but it’s fun to add something a little extra to the look.
& seriously, these took no time at all to create which is even better!

What do you think of my blue abstract stripes? I definitely am hoping to get more time for more complex nail art soon, but in the mean time I’ve really been loving these simpler looks so I hope you’re enjoying them too!
Happy Tuesday!
♥︎