Hello lovelies & happy Thursday! It’s almost the weekend! I hope everyone is having a lovely week so far.
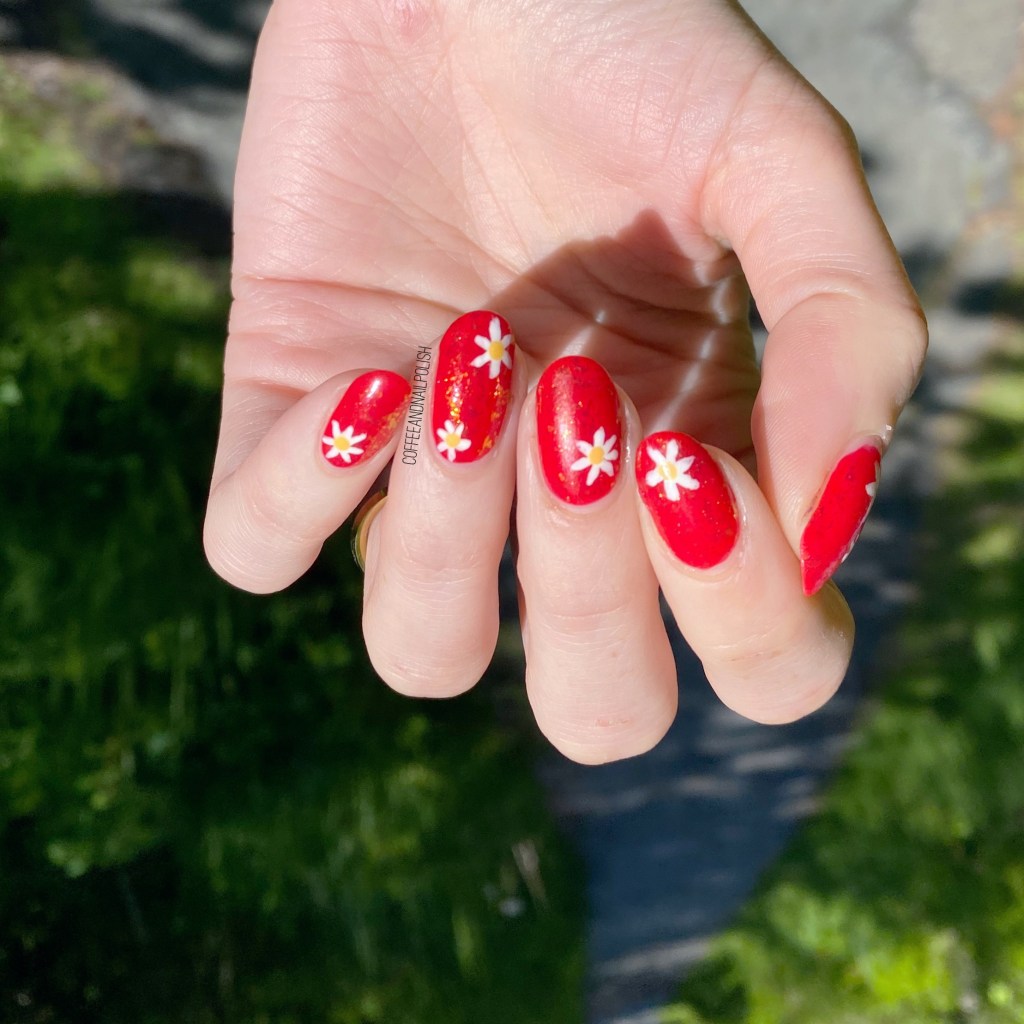
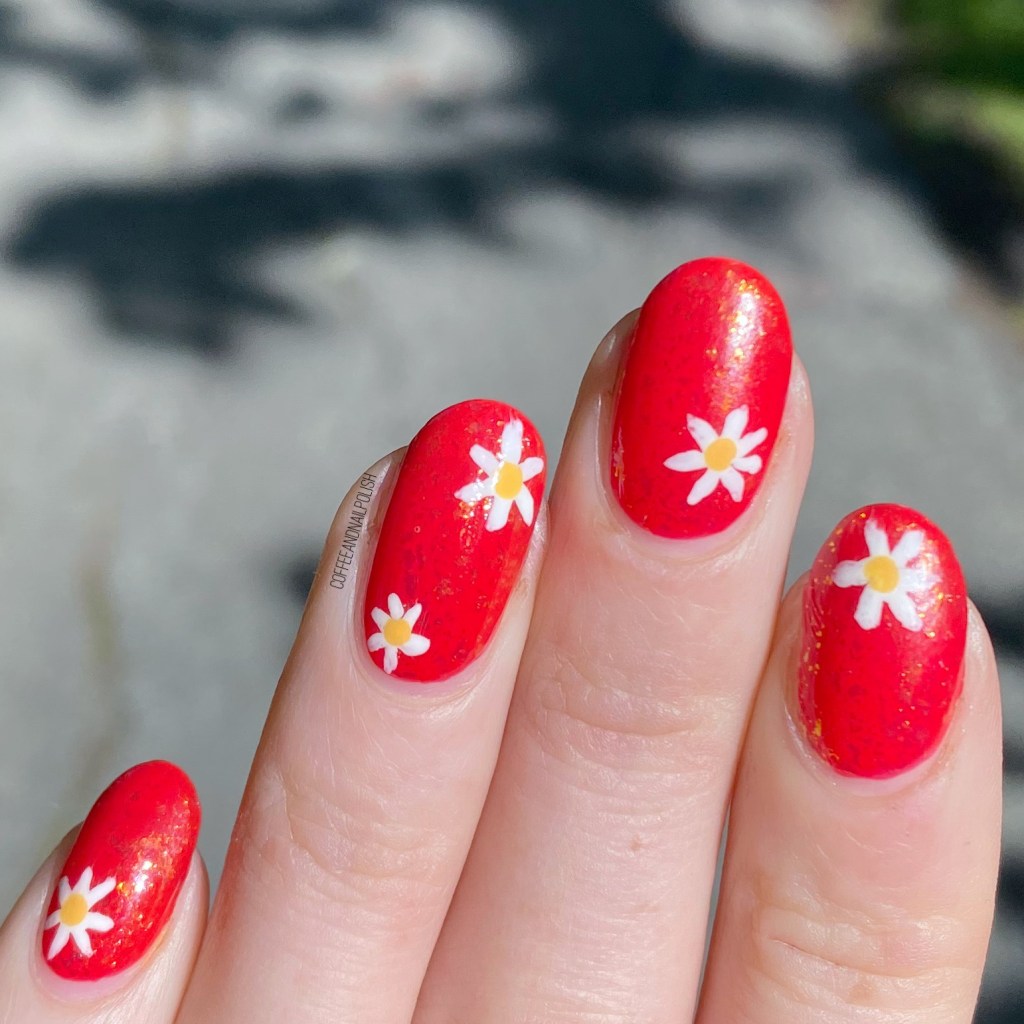
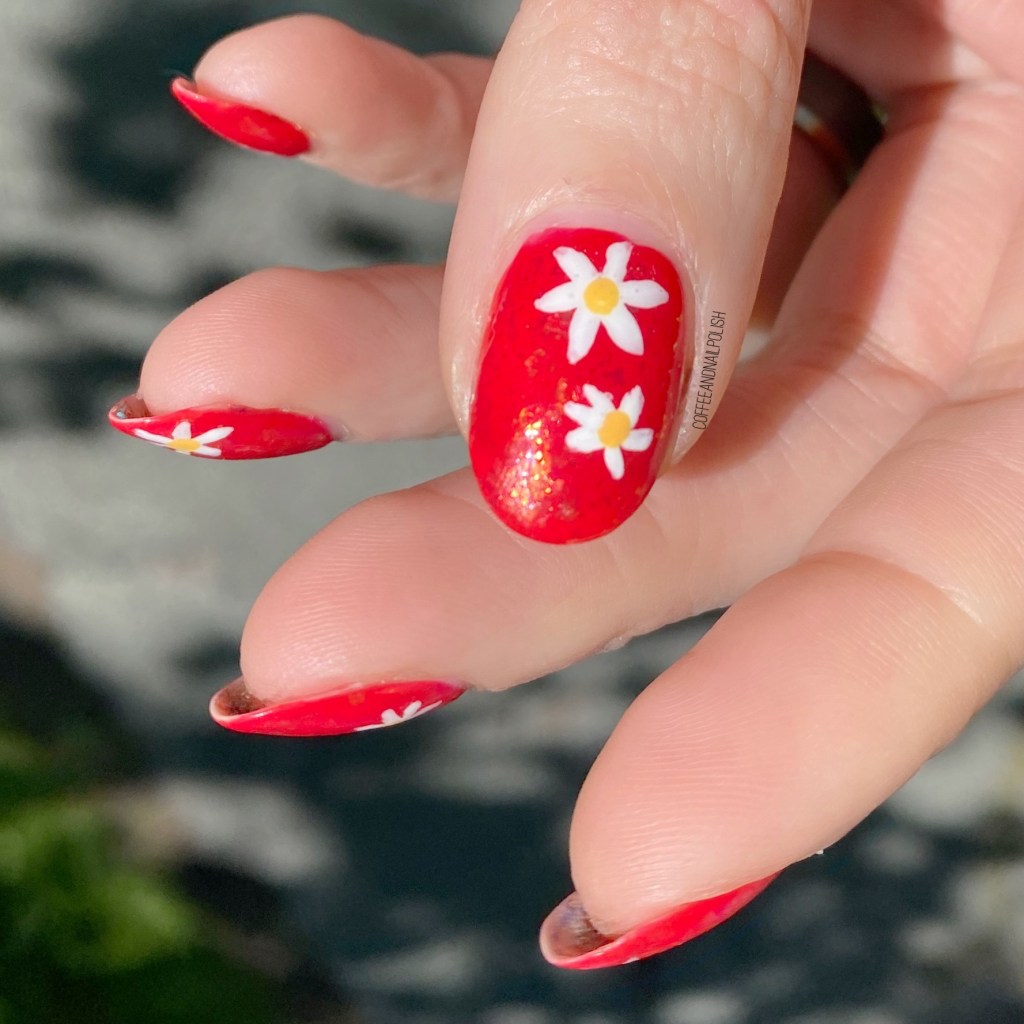
Today I’m excited to show off the manicure I was wearing for National Nail Polish Day — & yes, that more red nail polish haha. I figured I wanted to wear nails that were all encompassing of my personality, & red nails with daisies just did that!
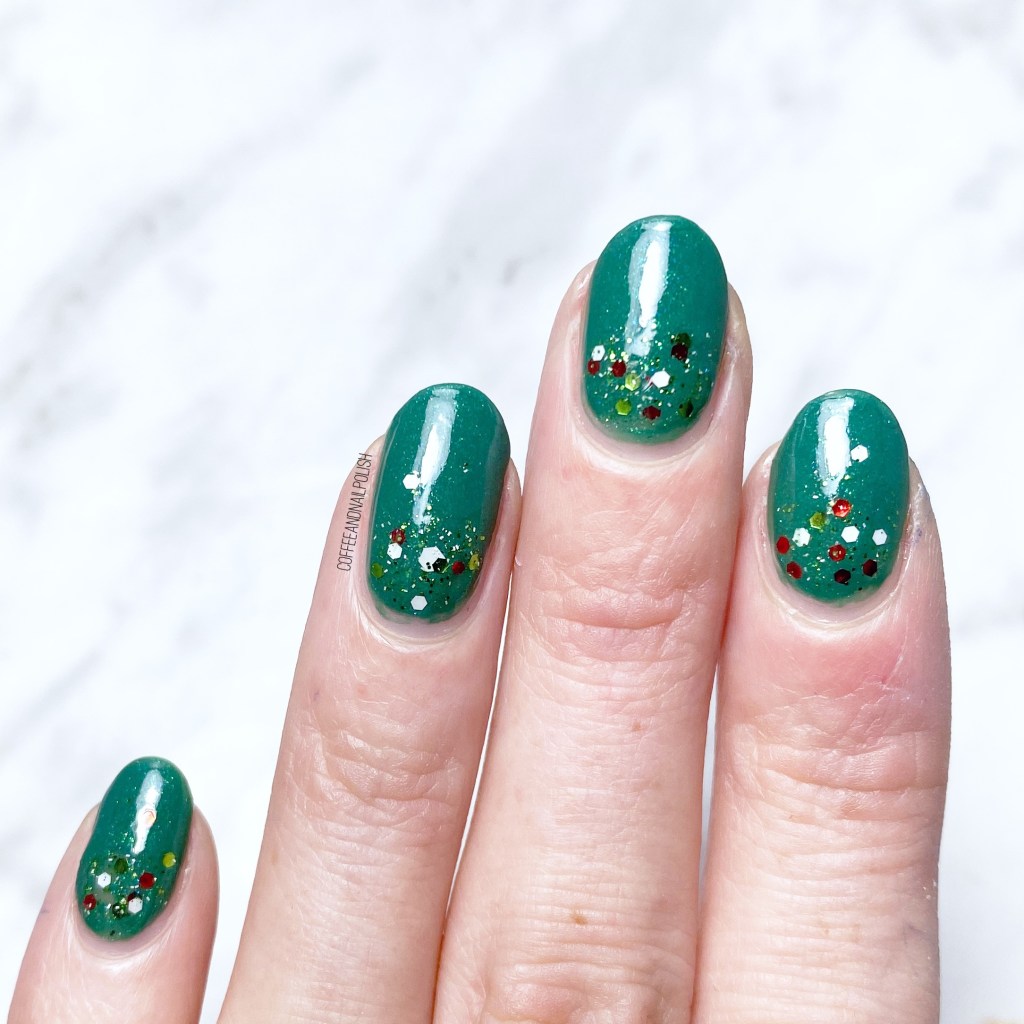
The polishes I used for this manicure are:
- Base Coat: Essie Hard To Resist Glow & Shine
- Top Coat: Essence Extreme GEL Top
- Essie Too Too Hot
- Essie Shine of the Times
- Essie Blank Page
- Essie Check Your Baggage
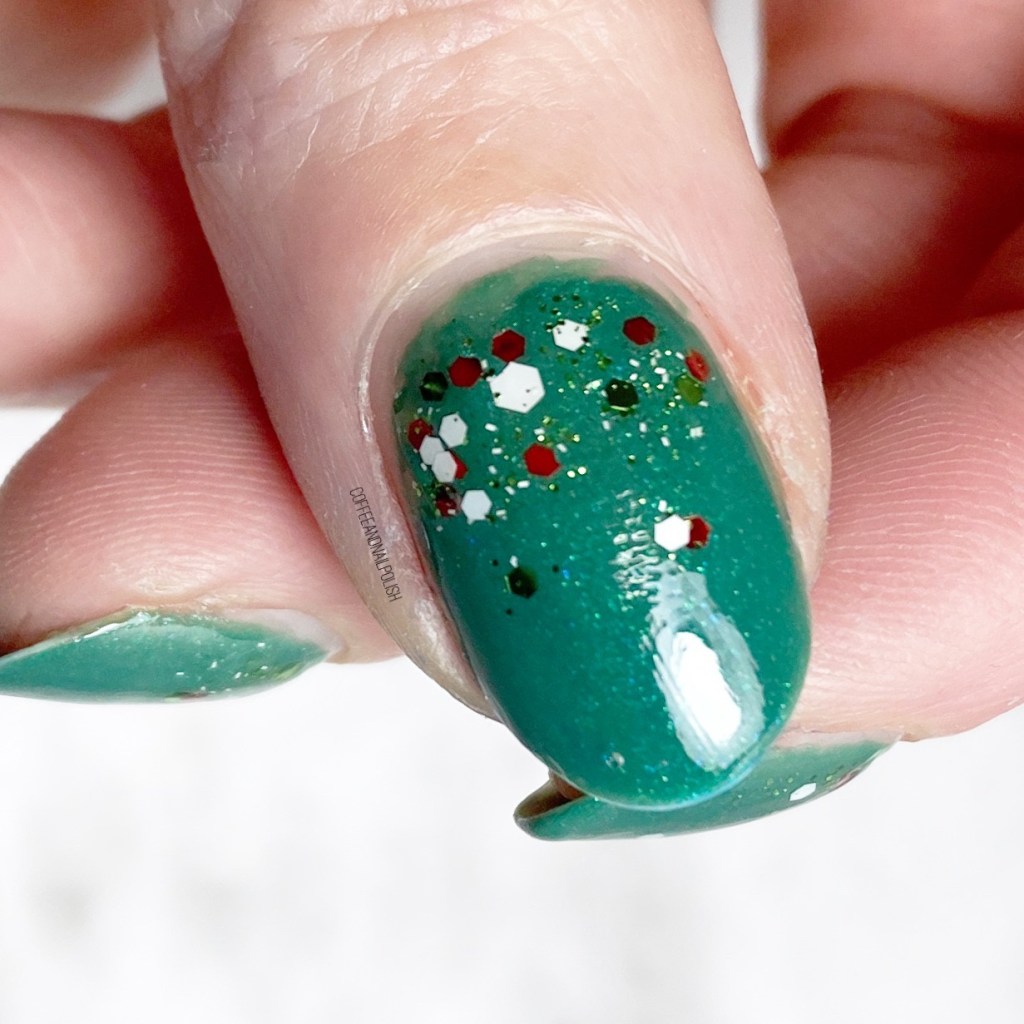
- NailStuff.ca Dotting Tool Trio
- NailStuff.ca 4mm Micro Detail Brush

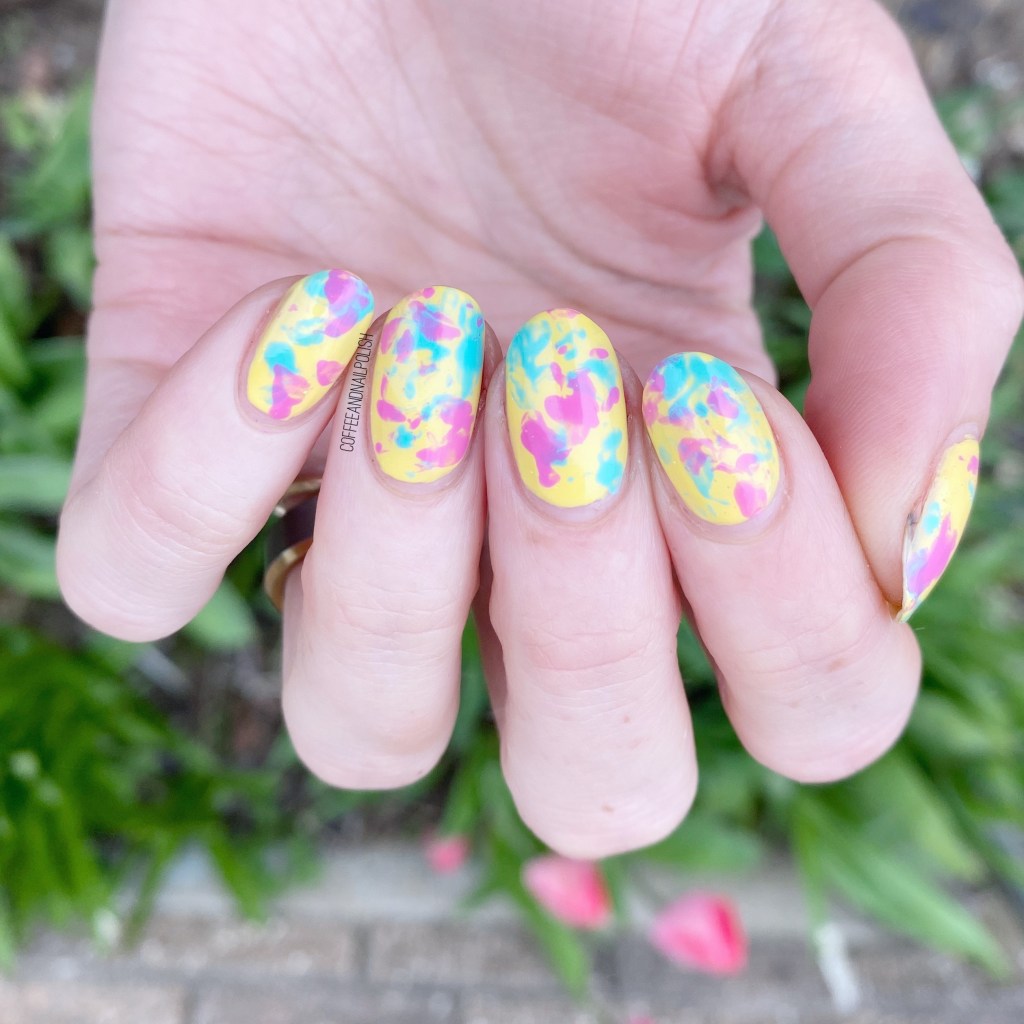
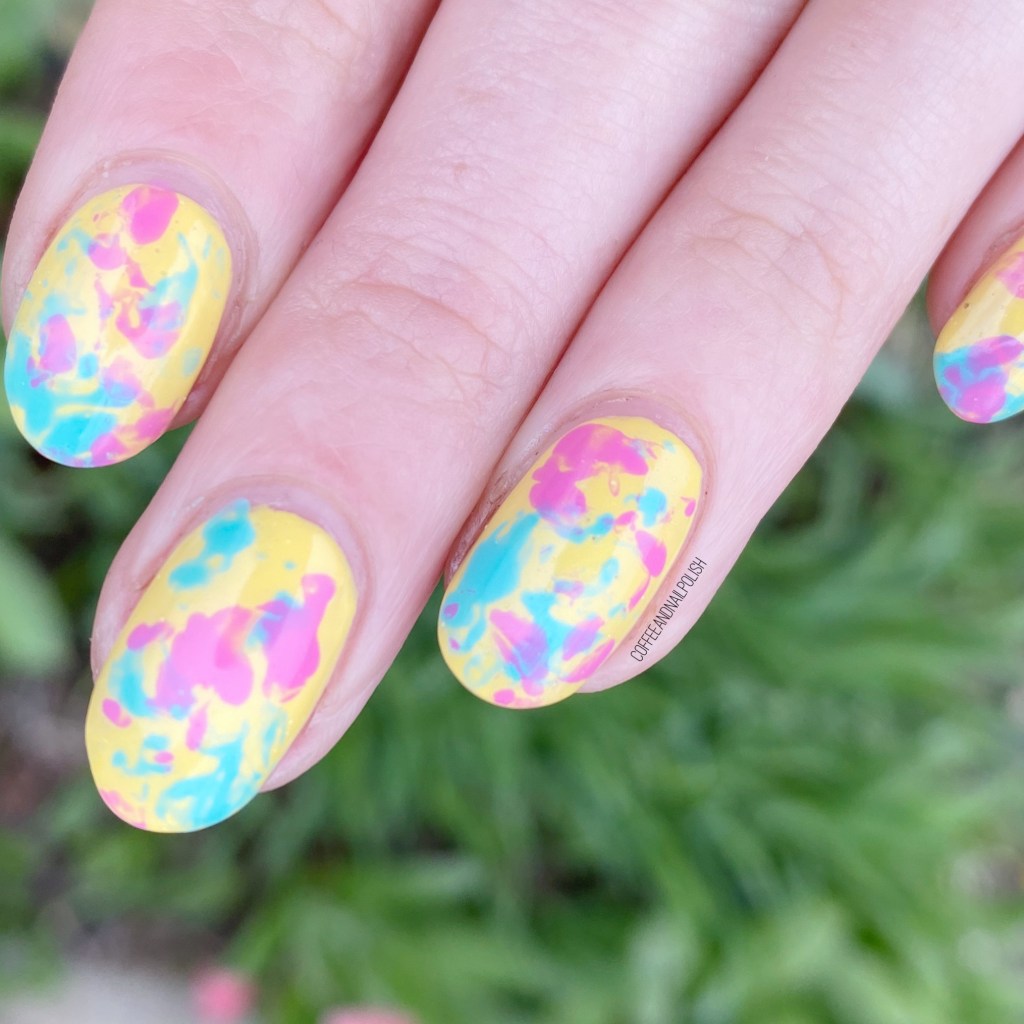
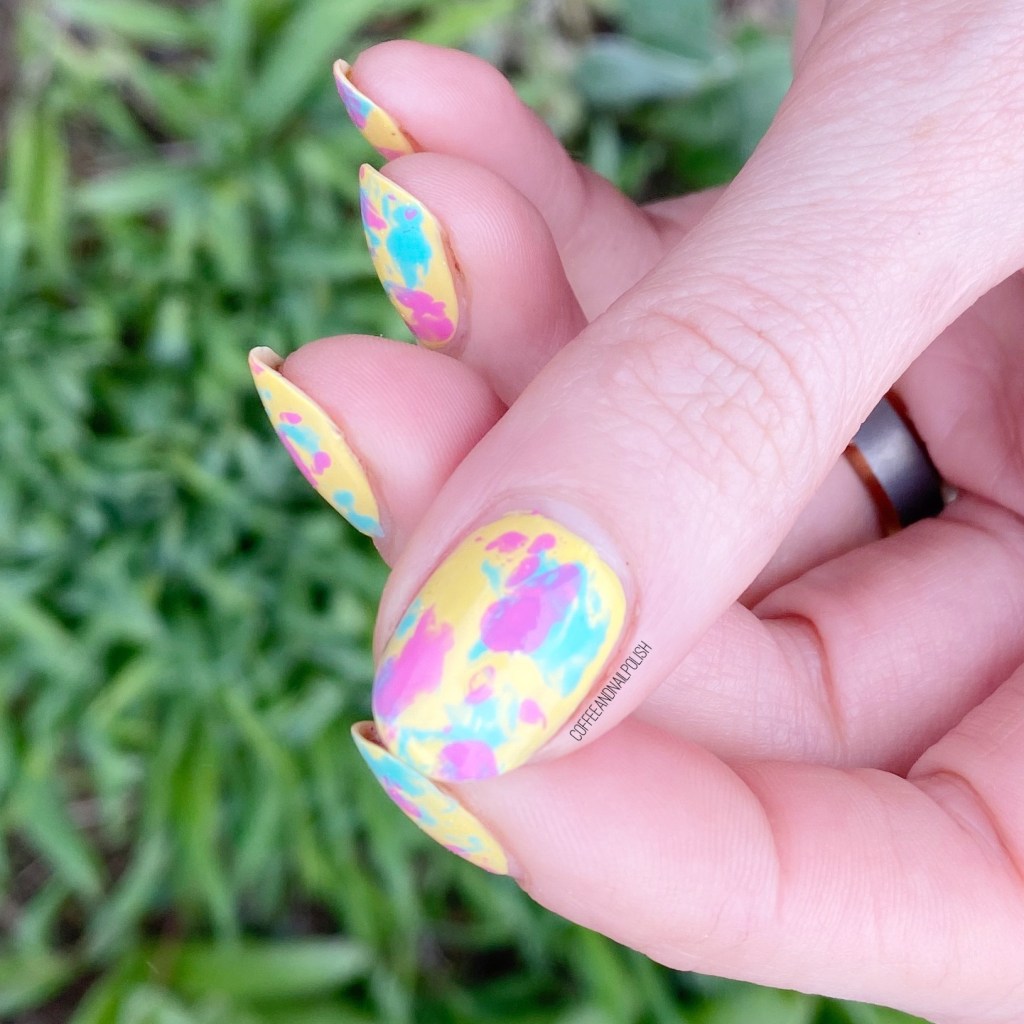
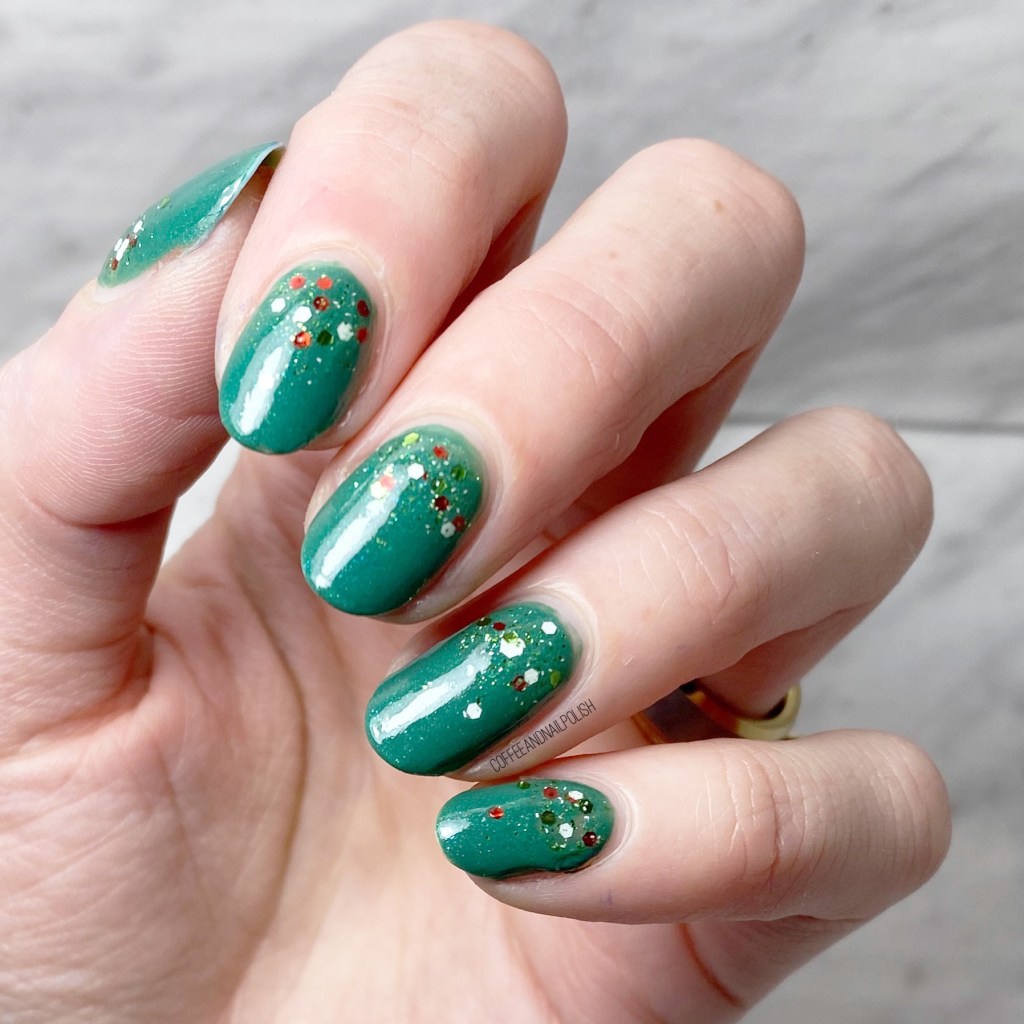
First off, check out how long my nails currently are! I know I’m enviably due for a break, just because I work a job that is not the kindest of hands/nails, but for right now I’m just going to bask in how long & beautiful they are right now.
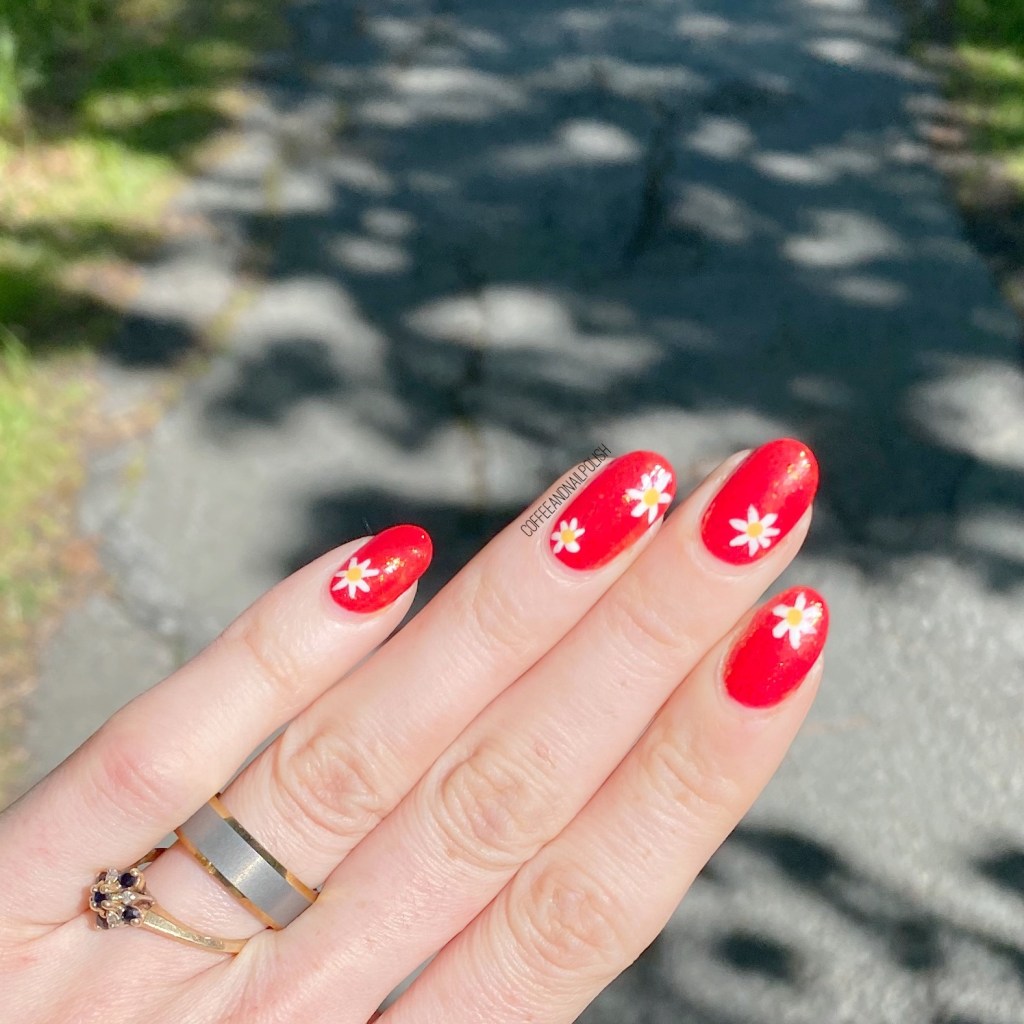
Second, I’m so excited for beautiful sunny outdoor shots. I’m living for the sunshine. Not only does it make my nail pictures look lovely, but it just makes my mood so happy.
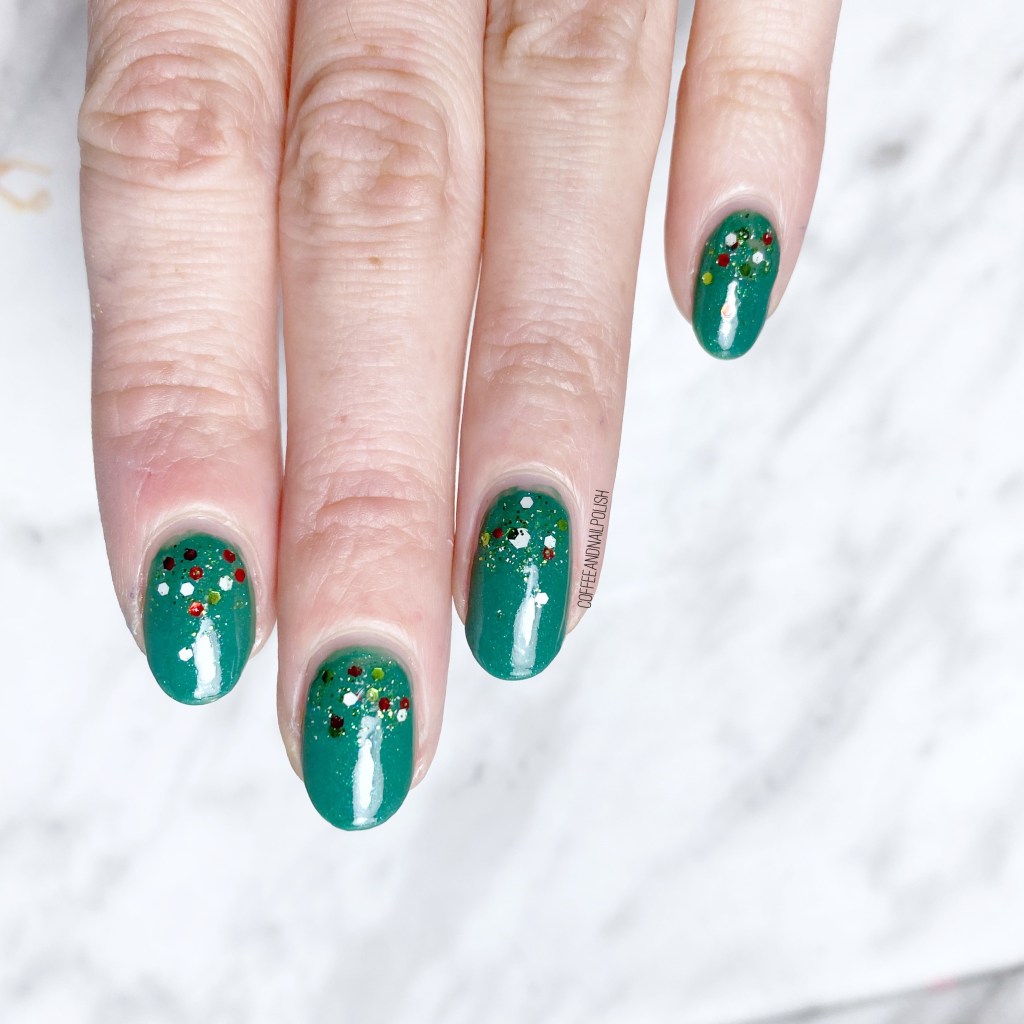
Third, I adore this Essie-centric manicure for National Nail Polish Day yesterday. I think this is the first time I’ve done a manicure with Essie Too Too Hot & obviously I had to top it with Shine Of The Times. Then, I added some daisies because if I’m celebrating a day dedicated to nail polish, I need some floral (my favourite).

What do you think about this vibrant red look? Did you do your nails special for National Nail Polish day? Let me know all your thoughts in the comments below!