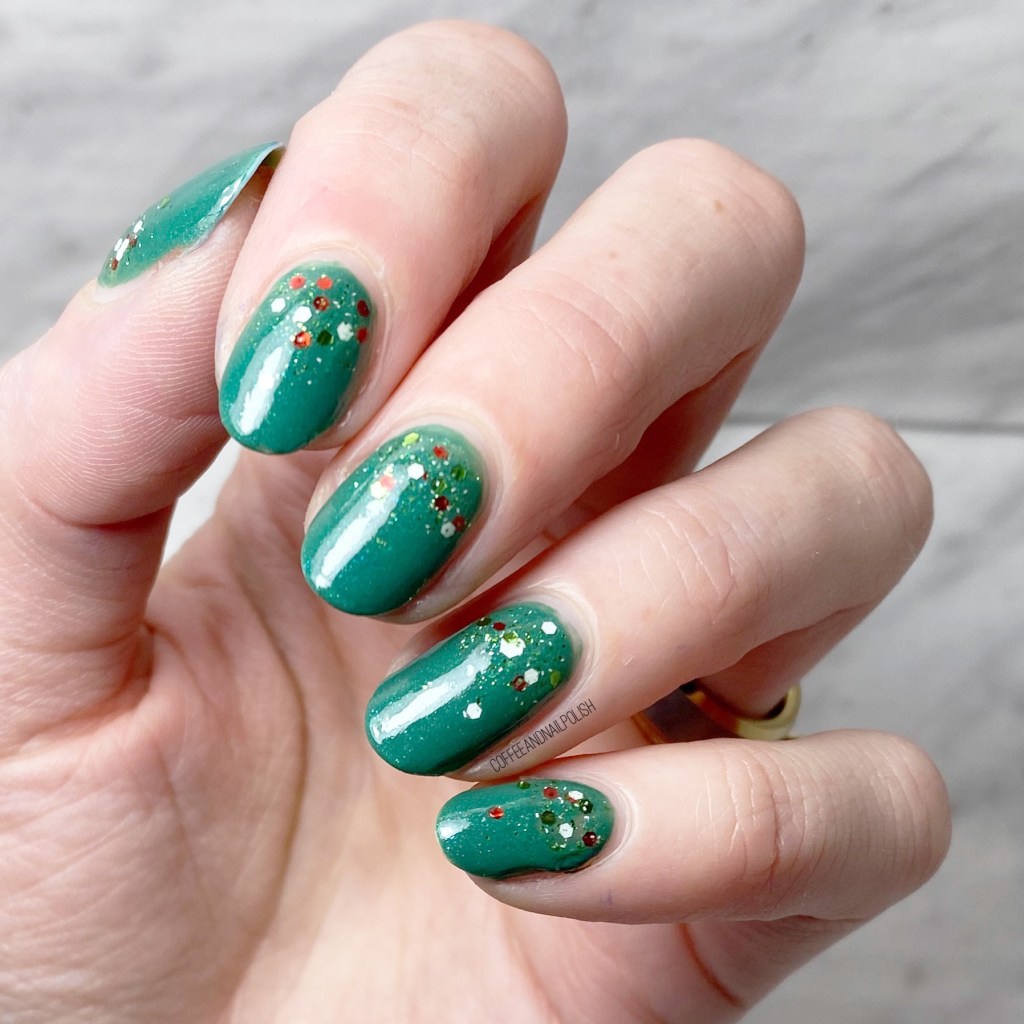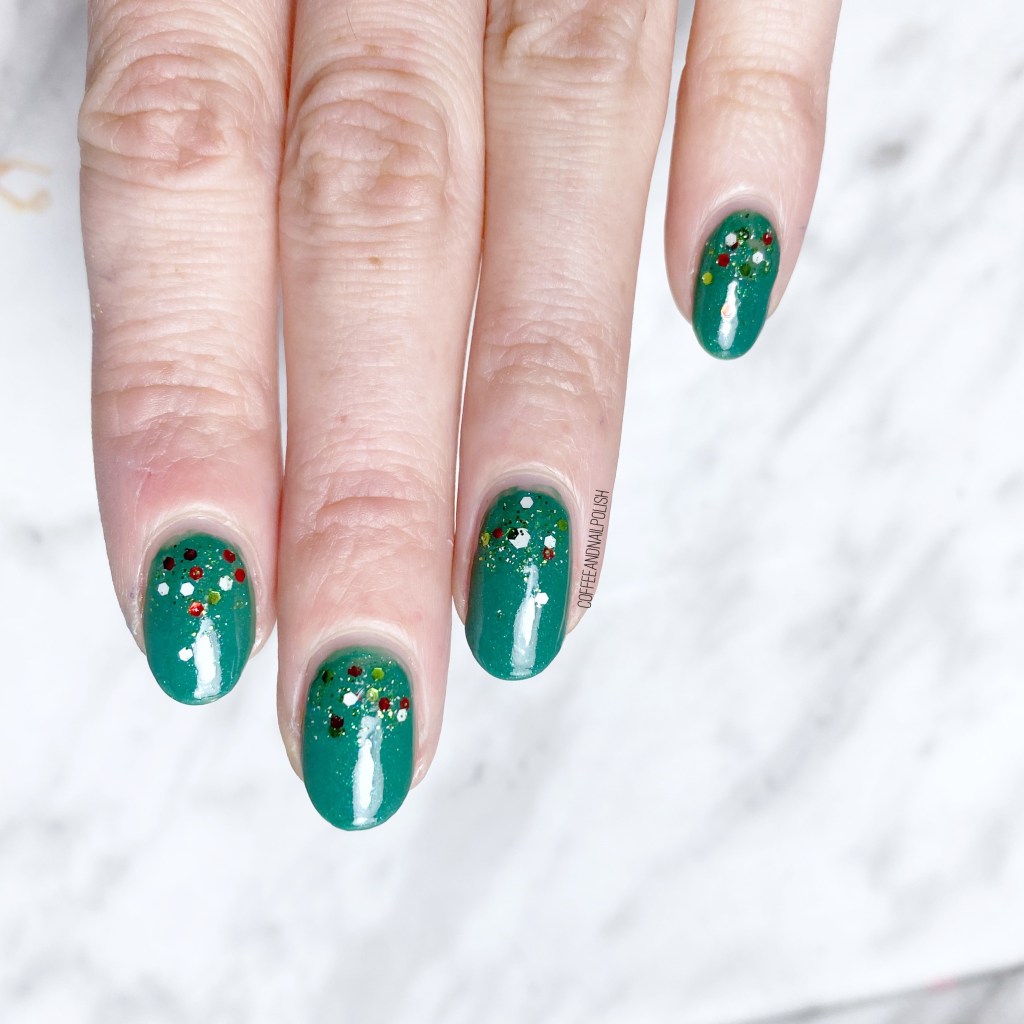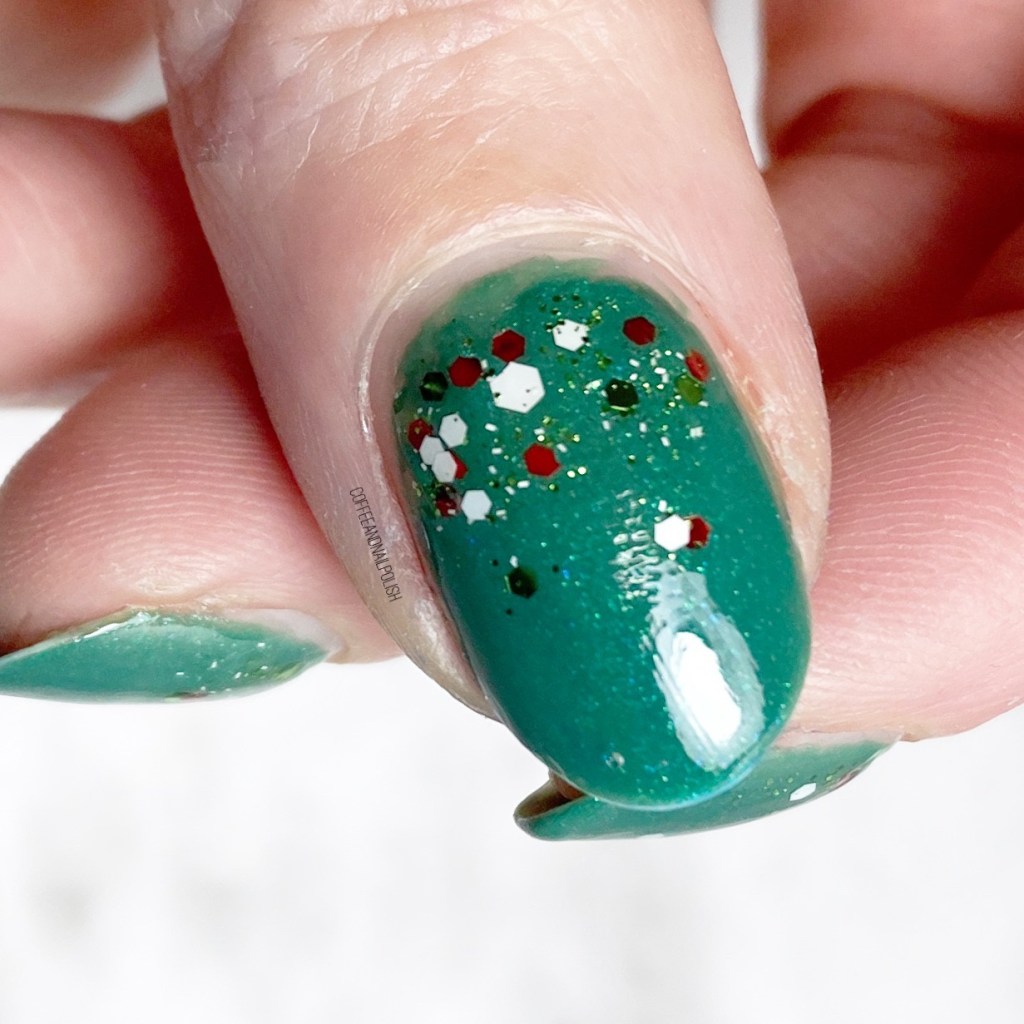
Halloween Glitter Gradient with Sally Hansen x Sour Patch Kids InstaDri

PR Sample/Gifted

Hello lovelies & happy Friday.

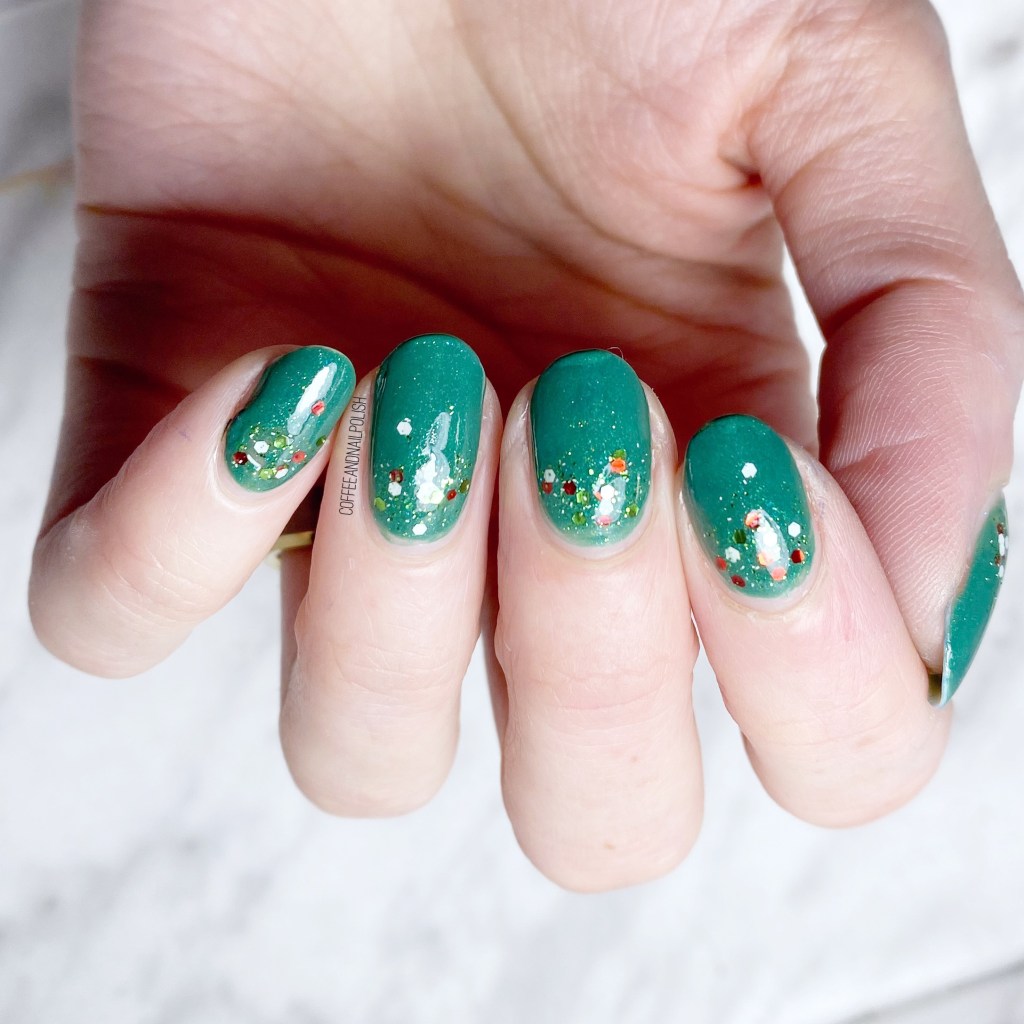
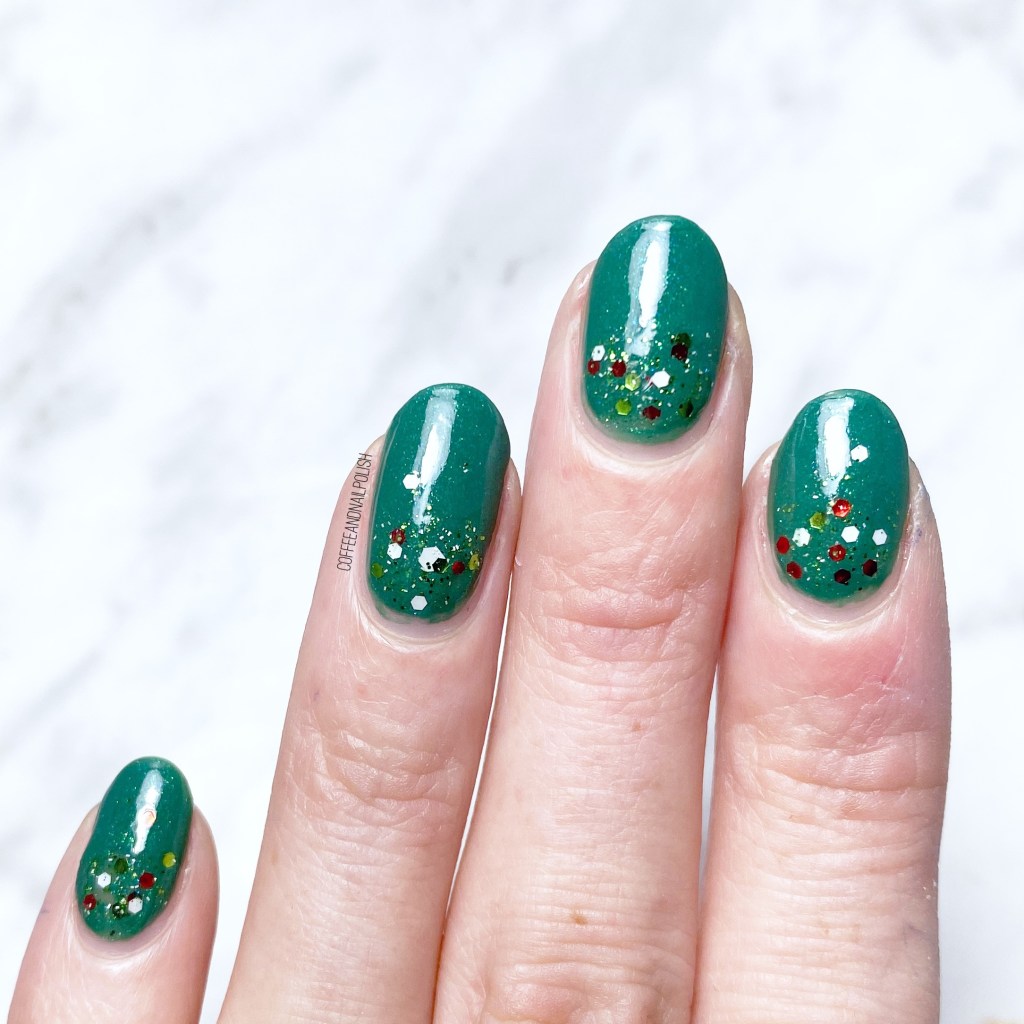
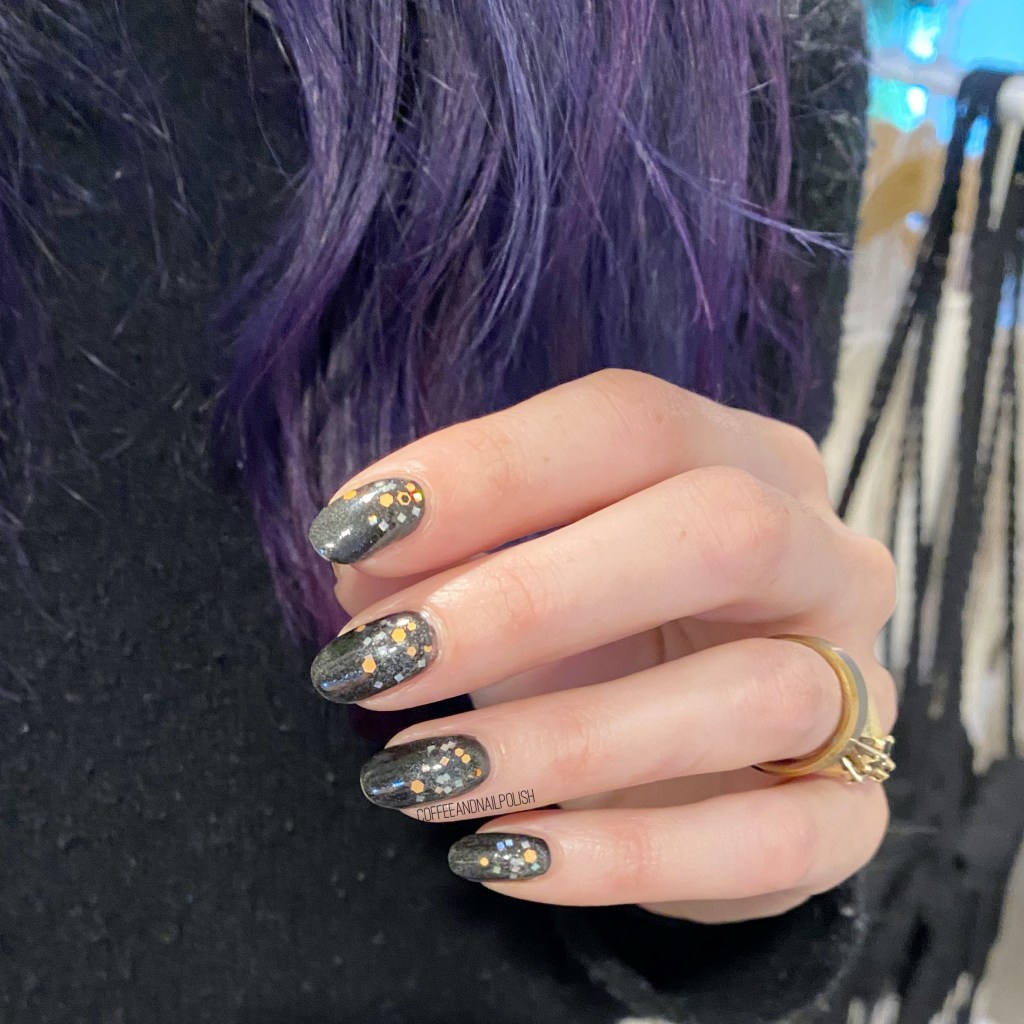
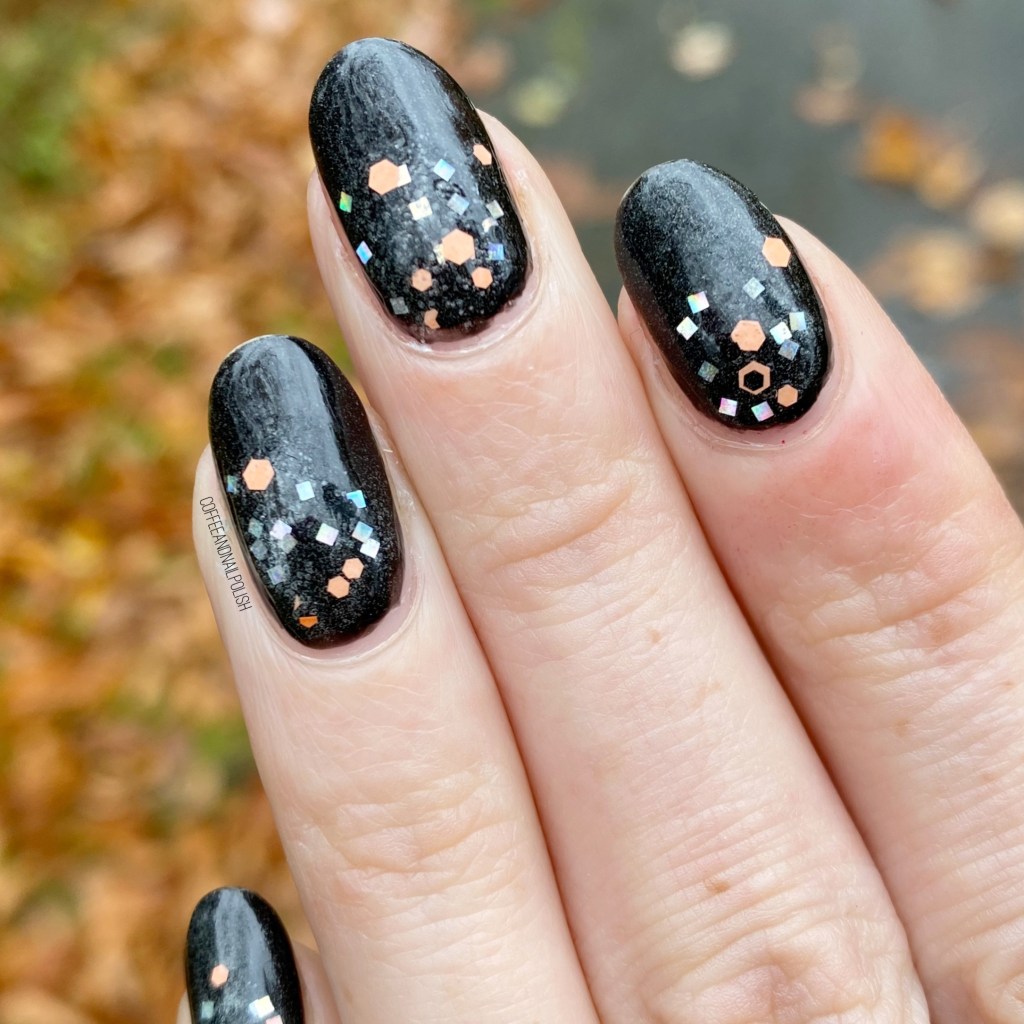
It’s officially 2 days until Halloween, & I’m super pumped. I’m really feeling the spooky Halloween spirit. & I just recently received the most amazing PR package from Sally Hansen this week featuring their amazing Sally Hansen x Sour Patch Kids InstaDri line (& about 2 pounds of Sour Patch Kids… my favourite sour candy!) I will have Swatches on Sunday, but I. The meantime I created this fun & witchy glitter gradient featuring a few of the shades.

The polishes I used for this manicure are: 

  • Base Coat: Essie First Base
  • Top Coat: Seche Vive
  • Sally Hansen InstaDri Ghouls Night Out
  • Sally Hansen InstaDri Hallo-Queen
  • Sally Hansen InstaDri Fab-BOO-lous
  • Latex Free Make Up Sponge

I know I already said it, but I absolutely love how witchy these feel. I will have full swatches coming soon, but this glitter topper — Hallo-Queen — is so pretty. I love the combination of the multi coloured black, orange & holo glitters. It makes for such a perfect gradient. I also used a bit of the glow-in-the-dark polish overtop, although I haven’t really had the time to test it out properly. It’ll be fun for Halloween night though!

What do you think about this witchy gradient? Is this a Halloween nail art look that you were the rock for the big night? Let me know down below all your thoughts on this combination!

Mermaid Gradient Nails

Good morning lovelies & happy Thursday!

How is it almost the weekend again? I’m not complaining, it’s just crazy how this weekend is speeding by. & it’s Victoria Day weekend here in Canada, which has always felt like the kick off to Summer to me! Of course it’s going to be a rainy mess all weekend here in Halifax, but you can’t win them all.

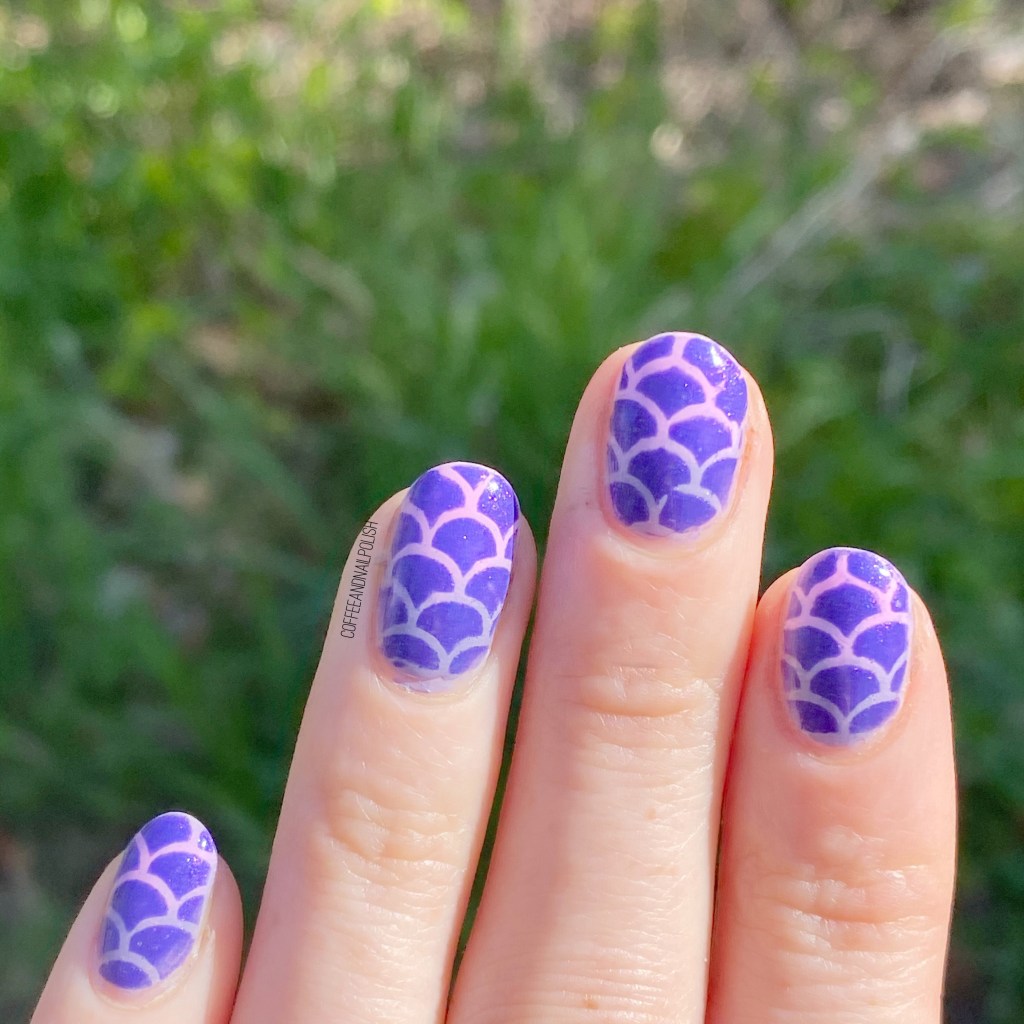
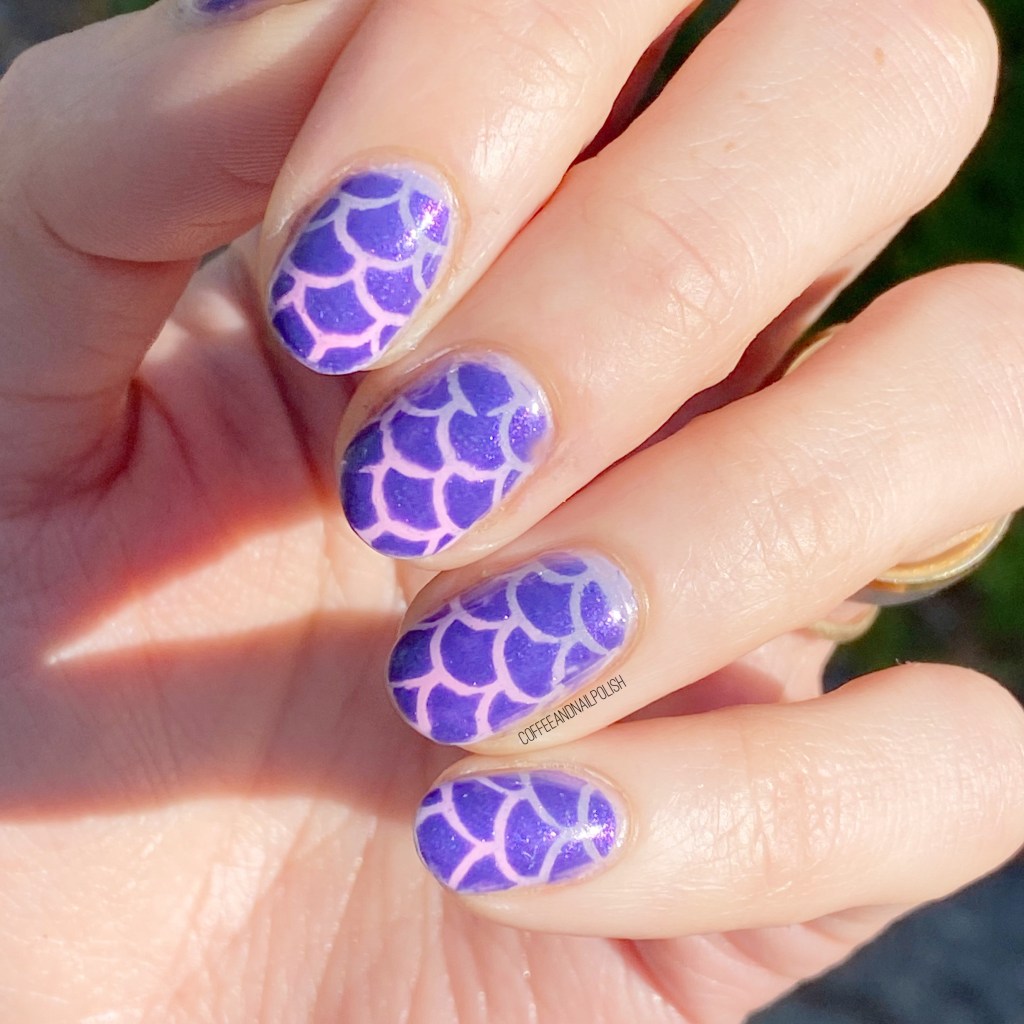
Today I’m sharing some very fun, very Summer-y nails. I’ve been saying forever that I needed to order some new mermaid nail vinyls, so when I placed my Mother’s Day order at Beyond The Nail, I made sure to include some mermaid nail guides in there!

For this manicure, the polishes I used were:

  • Base Coat: Sally Hansen Nailgrowth Miracle
  • Top Coat: Essie Gel Setter + Sally Hansen Miracle Gel Shiny Top Coat
  • Beyond the Nail Blazing Blush
  • Beyond the Nail Honeymoon
  • Beyond the Nail Auburgine
  • Beyond the Nail Mermaid Scale Nail Guides
  • Latex free make up sponge (I buy mine from Dollarama)

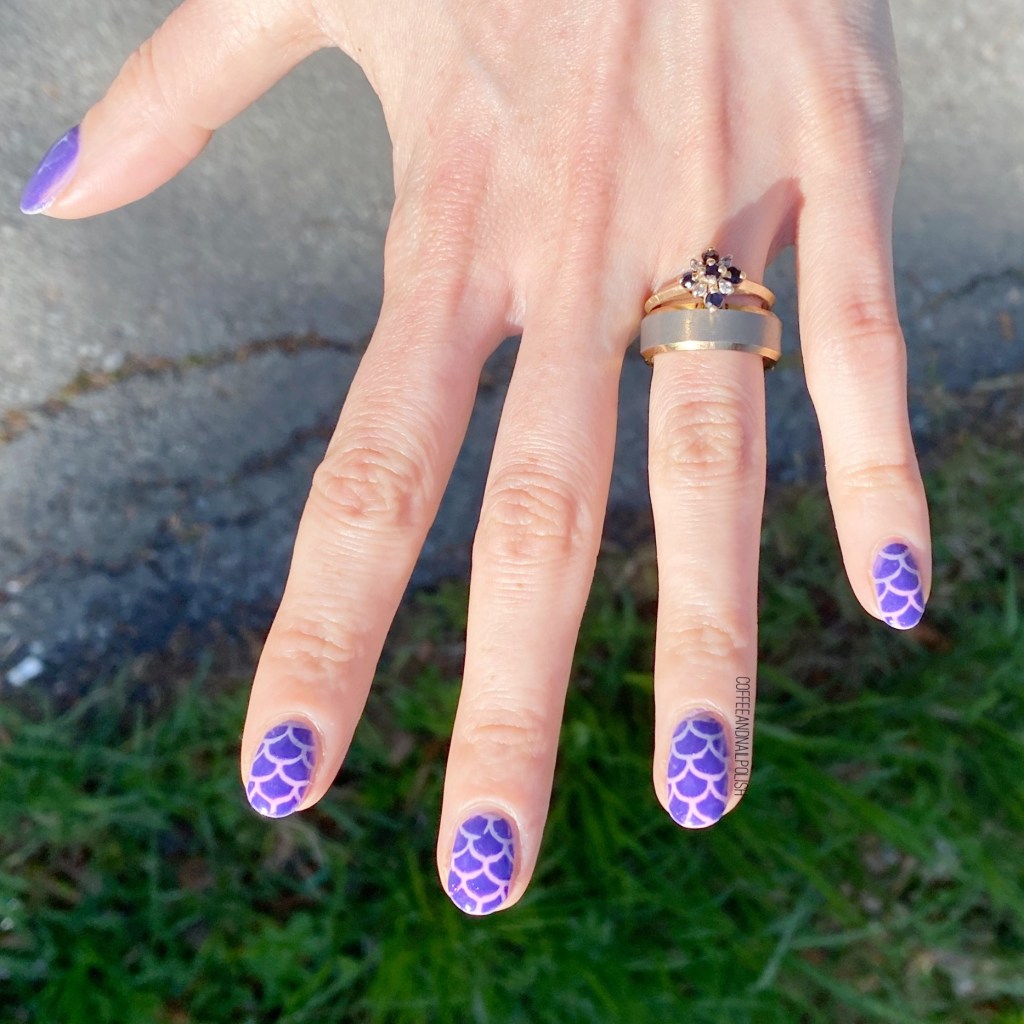
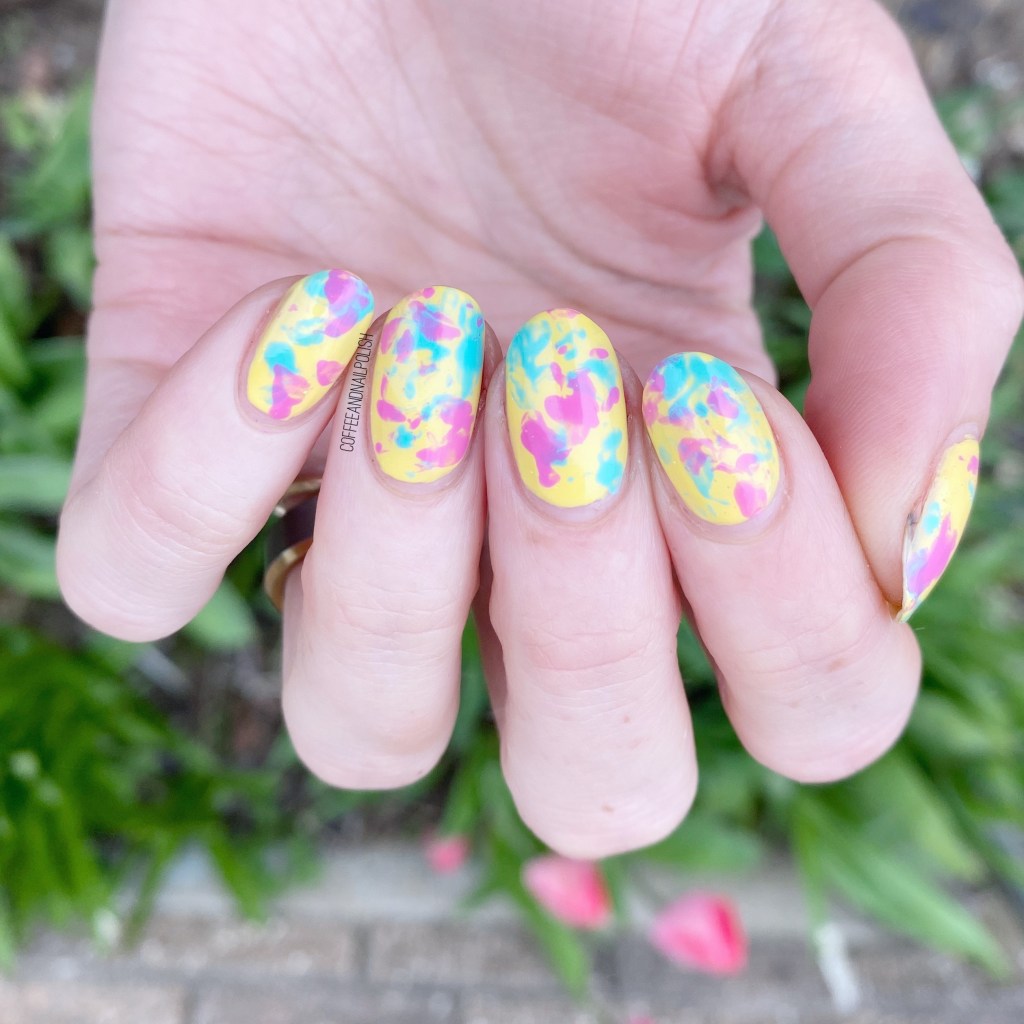
Okay, so I know I call pretty much every manicure I do my favourite, but seriously just look at this design. I’m obsessed!

I decided to go all out with a gradient (another look I haven’t done in a while) for my scale base, then added my Aubergine over top. & I am so freaking in love with how these three polishes look together. Seriously— I wore this design for three whole days, before I snapped my middle finger nail clean off. Plus the combo totally matches my current hair colour combo.

I can’t even begin to explain my love for this look. I also really like the mermaid scale guides because they were super easy to use, & they’re quite large so I managed to split them so I could use one guide per 2 nails. That makes me so happy!

What do you think about these bright & colourful mermaid nails? Does this design scream Summer to you? Have you done mermaid nails in a while? Let me know down in the comments below!

Abstract Dots Featuring Essie

*features gifted products*

Hello lovelies & happy Wednesday! How crazy is it that we’re already half way through the week?

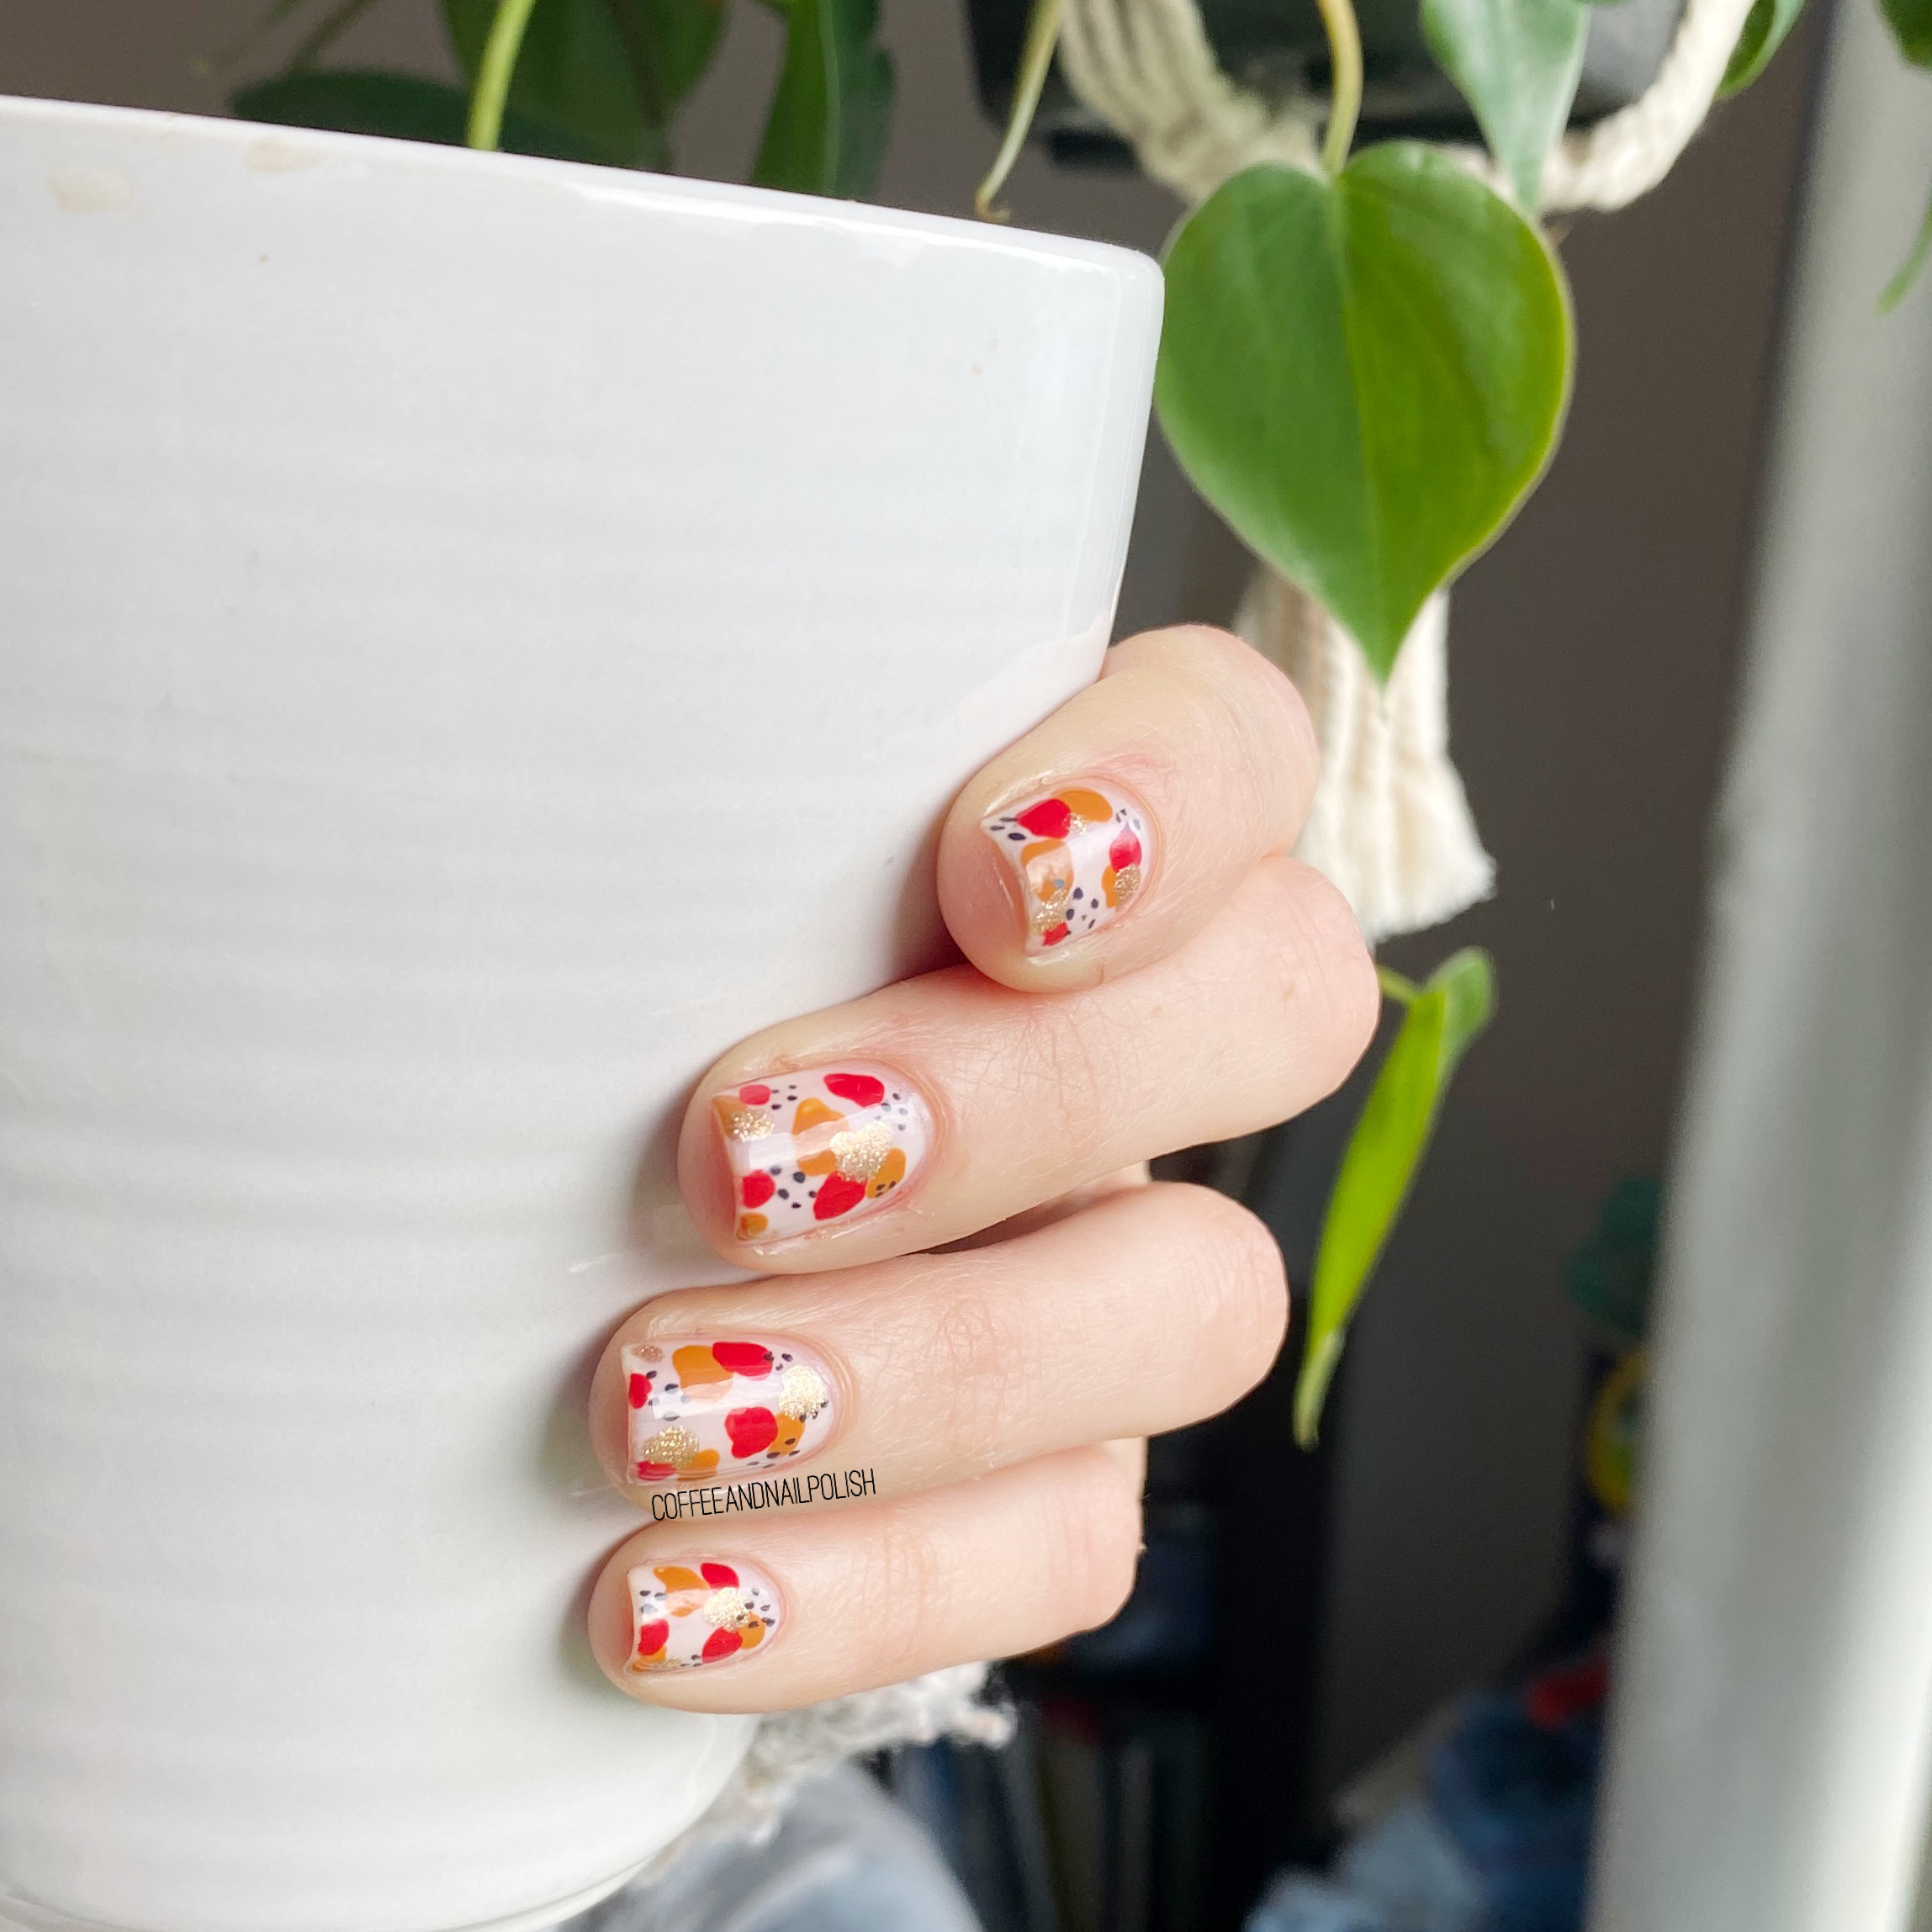
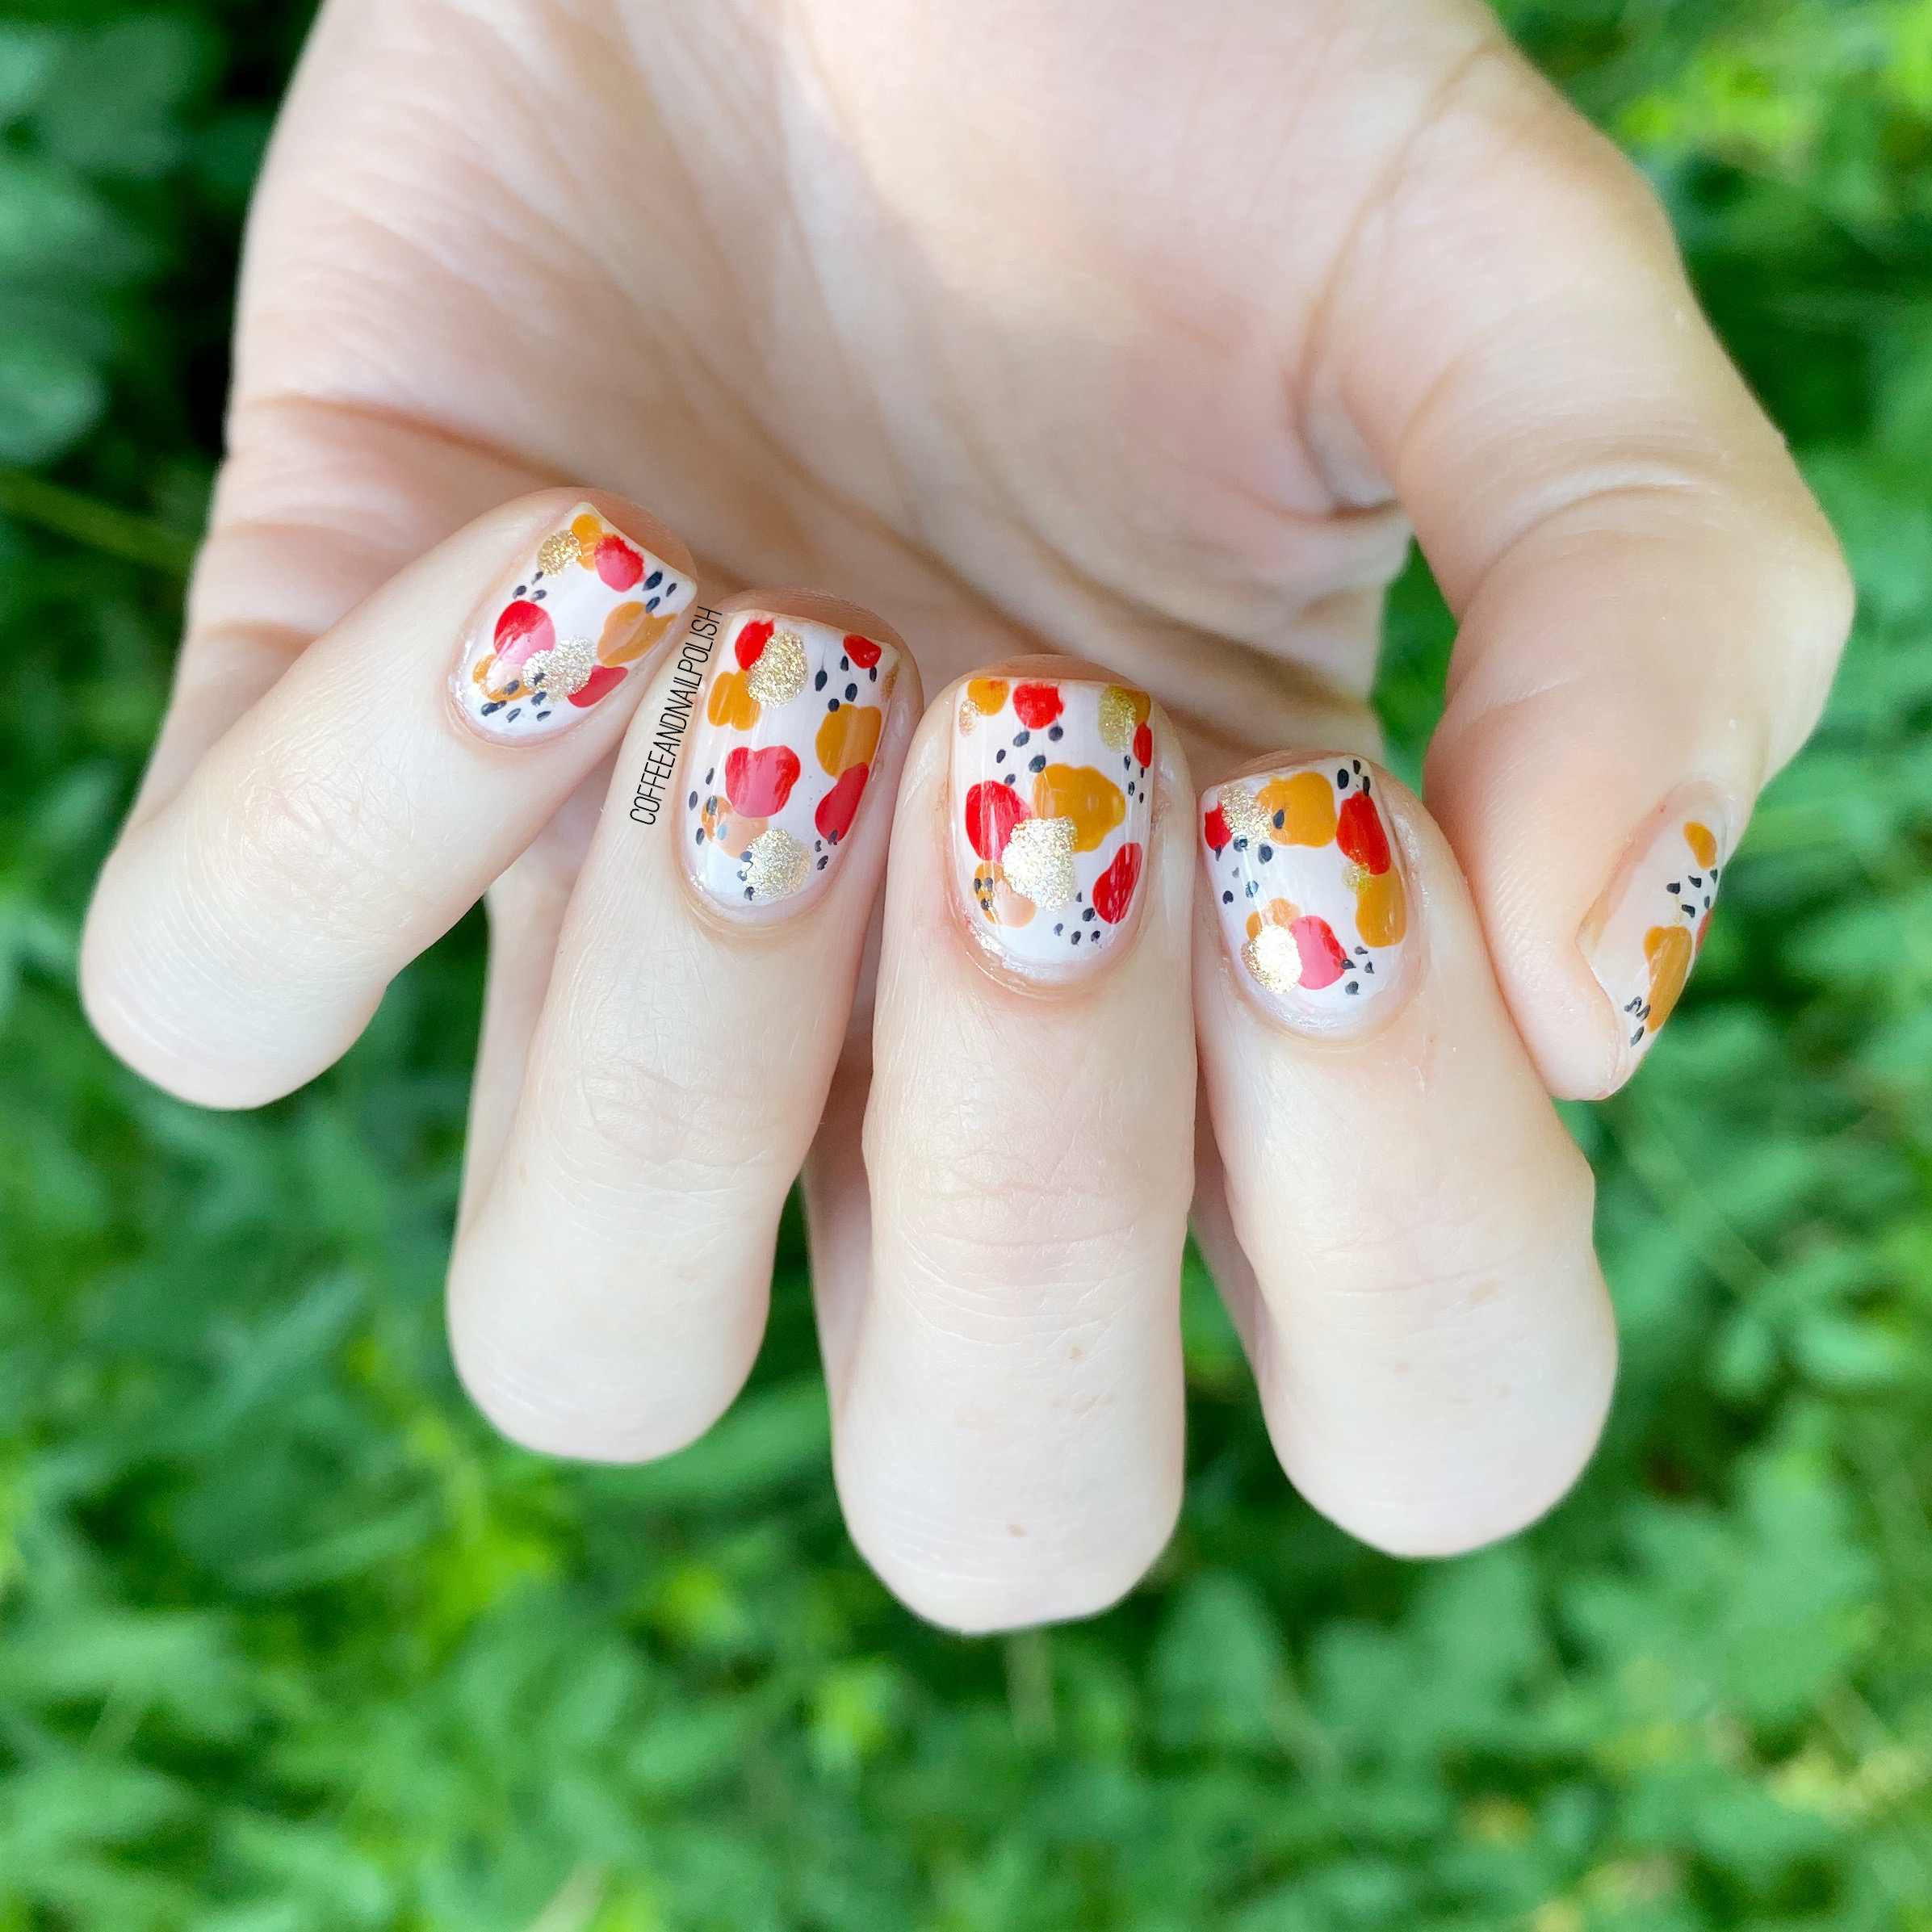
Today I have a fun look to share with you I did with a few of the shades from the Essie Summer 2020 collection! This is actually a redo of a design I did a few weeks ago (& posted on Instagram) that was inspired by @thesammerasaurus. I’ve really been loving Kaf-tan, Spice It Up & Mosiac On Down, & I decided I had to do a design pairing them together. & since I’ve been kind of obsessed with abstract designs, I decided to give this abstract dotticure-ish look another go!

For this manicure, the polishes I used were:

  • Base Coat: Essie Strong Start
  • Top Coat: Essie Gel Setter
  • Essie Ballet Slippers
  • Essie Spice It Up
  • Essie Kaf-tan
  • Essie Mosiac On Down
  • Essie Bobbing for Baubles
  • NailStuff.ca Dotting Tool Trio — I used a medium sized dotter (Use COFFEE10 to save 10%)
  • NailStuff.ca 7mm detail brush (for my tiny navy dots)

Isn’t this just such a cute look? I love it! Besides the fact that the colour options are endless, because you’re not trying to be “perfect” in your dots, you can’t really mess it up! I don’t know about you, but sometimes trying to make my nail art perfect gets me a little frustrated. Plus this nail art took me maybe 20 minutes from start to finish — which is great because I was doing my nails before bed. Haha. So I needed a quick manicure.

What do you think about this design? Are these abstract dots something that you would rock? Let me know all your thoughts in the comments below! & let me know what your favourite quick & easy nail art look is!

SWATCH SUNDAY — Fingerpaints Gorgeous Graffiti

Hello lovelies & Happy Sunday! I hope everyone is having a lovely weekend. The weather here has been a bit grey (at least compared to the balmy weather we’ve been having) so I felt like I needed to make up with it on my nails! & the best way to do it is a good neon polish! So for today’s Swatch Sunday pick, I knew we needed neon.

Today’s pick is FingerPaints Gorgeous Graffiti, a neon fuchsia with blue flakie microglitters. This guy was one of the first FingerPaints shades I ever picked up back in 2015 (I think) so sadly I don’t think still available, at least online. But there are definitely similar shades to be found.

2 coats (no top coat)

I really wanted to show off this shade in its natural glory, which is this beautiful satin matte finish. It took two coats for full opacity, & like any matte shade, it dries quickly so you want to apply your coats quickly. The formula is a bit trickier, but again, that’s a matte polish thing. Usually what I would do is apply my polish, apply a thick top coat (like Essie Gel Setter), & then finish everything with matte top coat. That would smooth out those bumps & lumps you can see, & give you a smooth finish.

Ahhh, I just love this shade! The fuchsia shade is pretty on its own, but then you add in those blue micro flakes, & it just takes it to another level. I love it! It’s one of those shades which is just so striking on its own. I’m actually a little sad my bottle is getting low.

& a close up of this look because I think it’s absolutely stunning. Just look at those flakes! I’m obsessed. I need a topper with those flakies I can add to every manicure!

What do you think about Gorgeous Graffiti by FingerPaints? Would you wear this vibrant shade? Tell me what you think in the comments below! & share your favourite neon.

FASHION FRIDAY — My Top Five Favourite Thift Finds (Ever!)

Hello lovelies & Happy Friday!

I’m back from my mini vacation & feeling refreshed. & feeling ready to get back to blogging! Today’s blog post is all about my all time favourite thrifted pieces.

Once upon a time my closet used to be made up of almost entirely thrifted items! It was almost a game of what I could find — & I’ve found some pretty amazing pieces over the years! So I thought it would be fun to share a few with you guys!

Continue reading “FASHION FRIDAY — My Top Five Favourite Thift Finds (Ever!)”