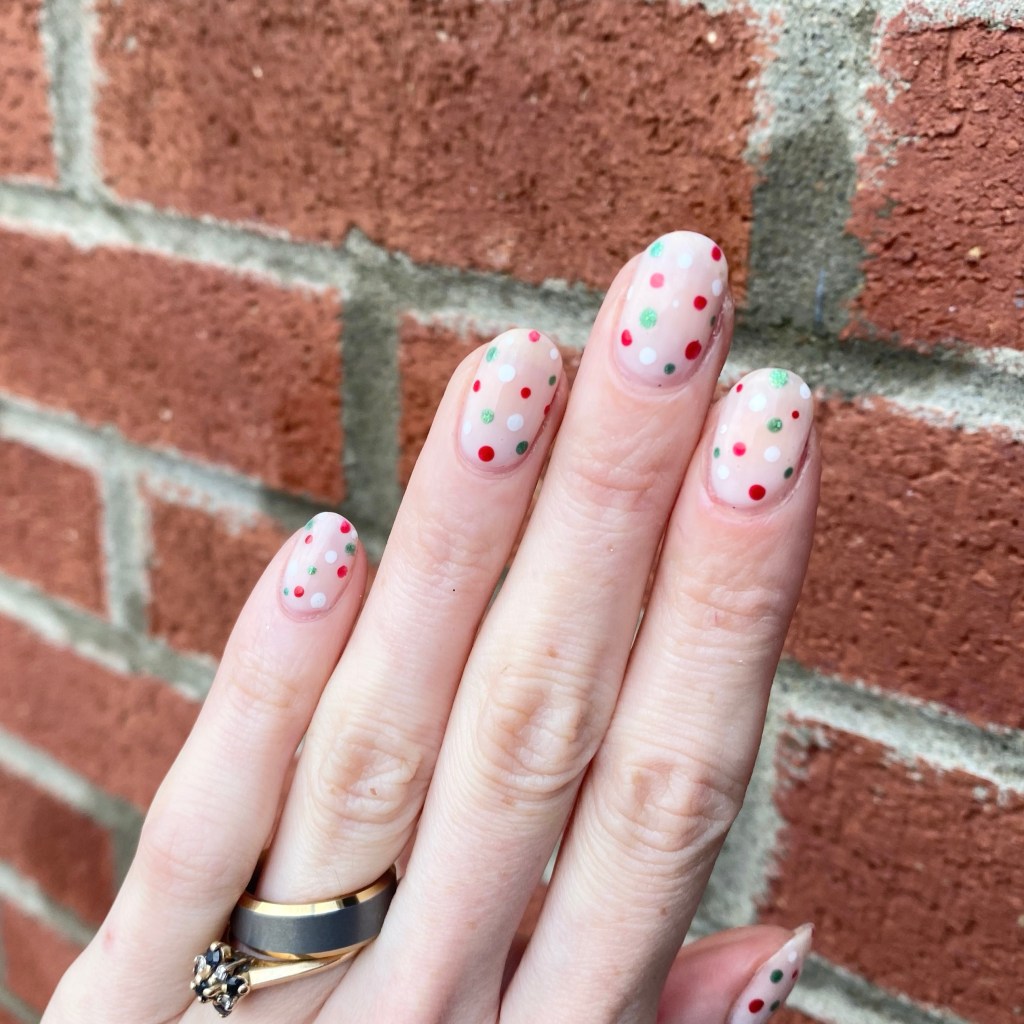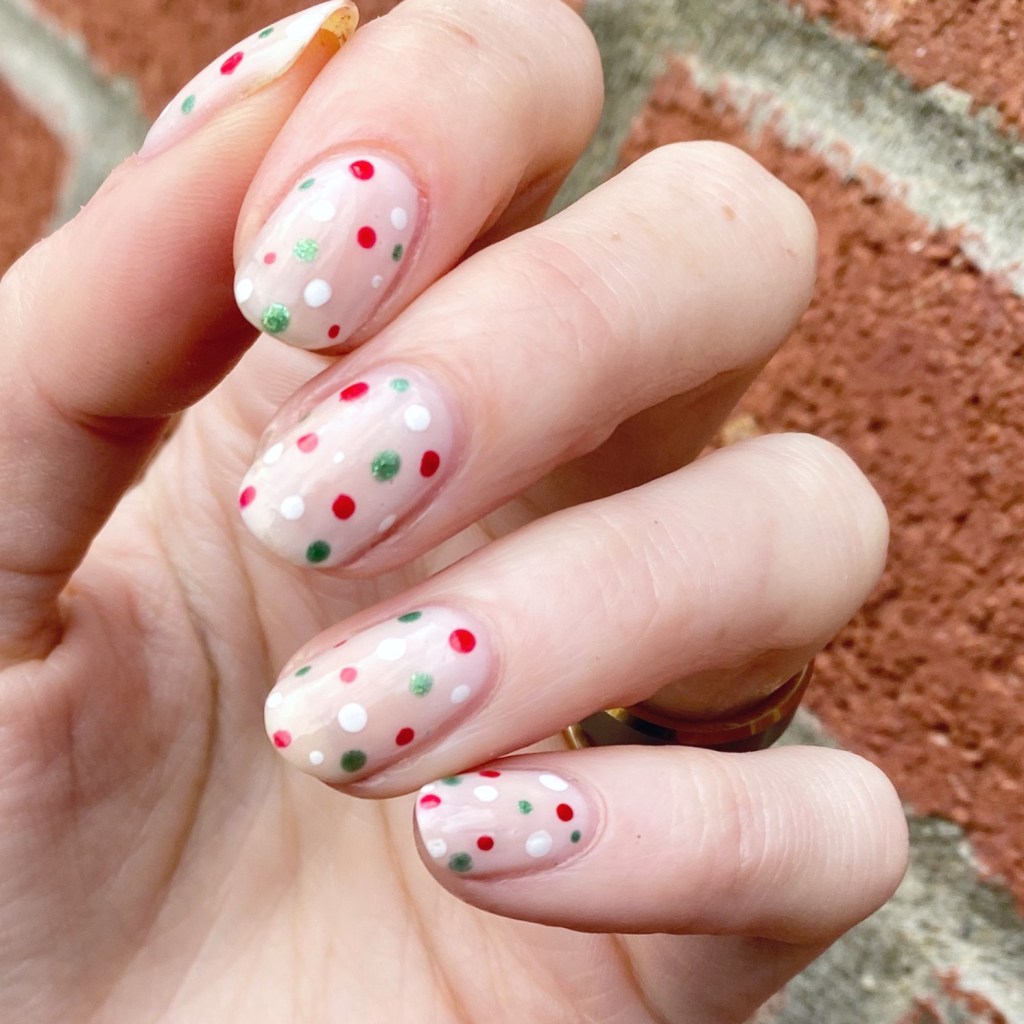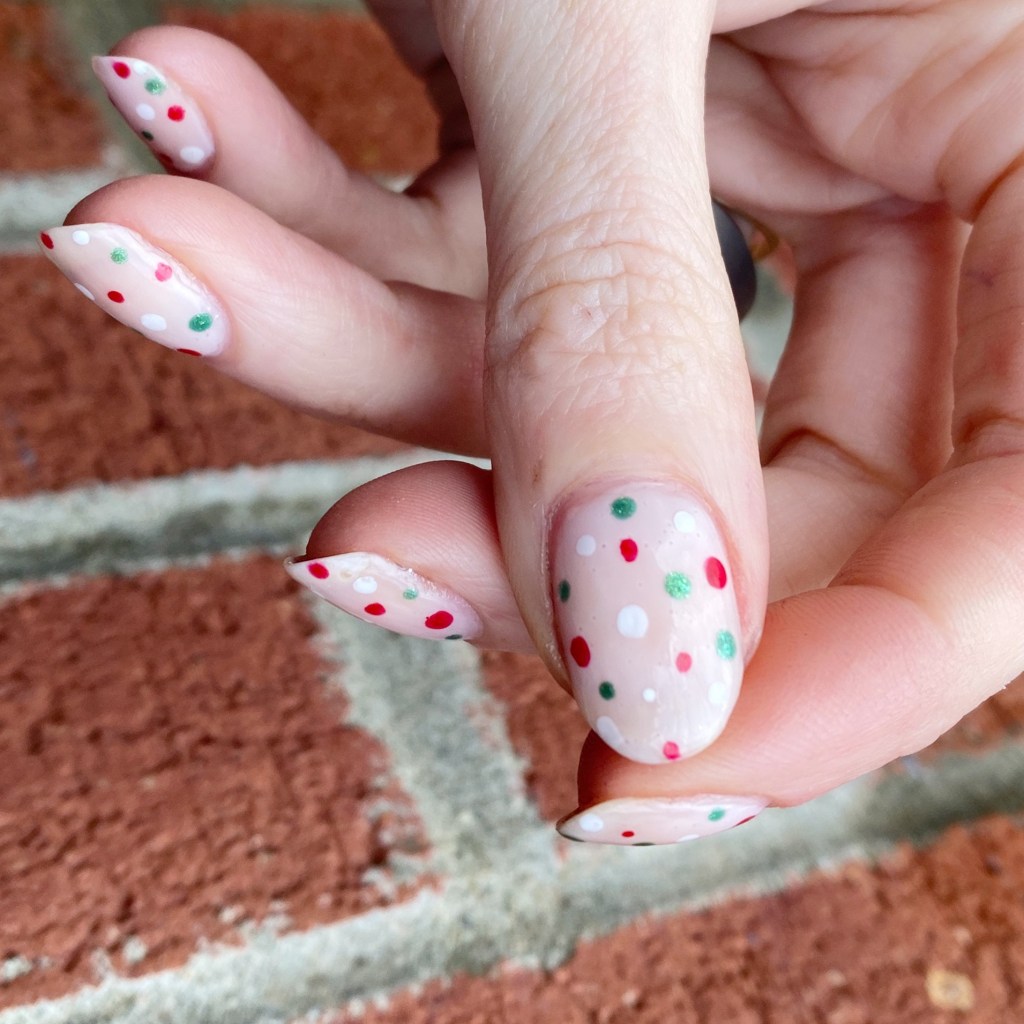
Holly Jolly Dotticure 🎄

Hello lovelies & happy Wednesday! I hope your week is off to a lovely start so far — & if it’s not, well we’re halfway to the weekend!

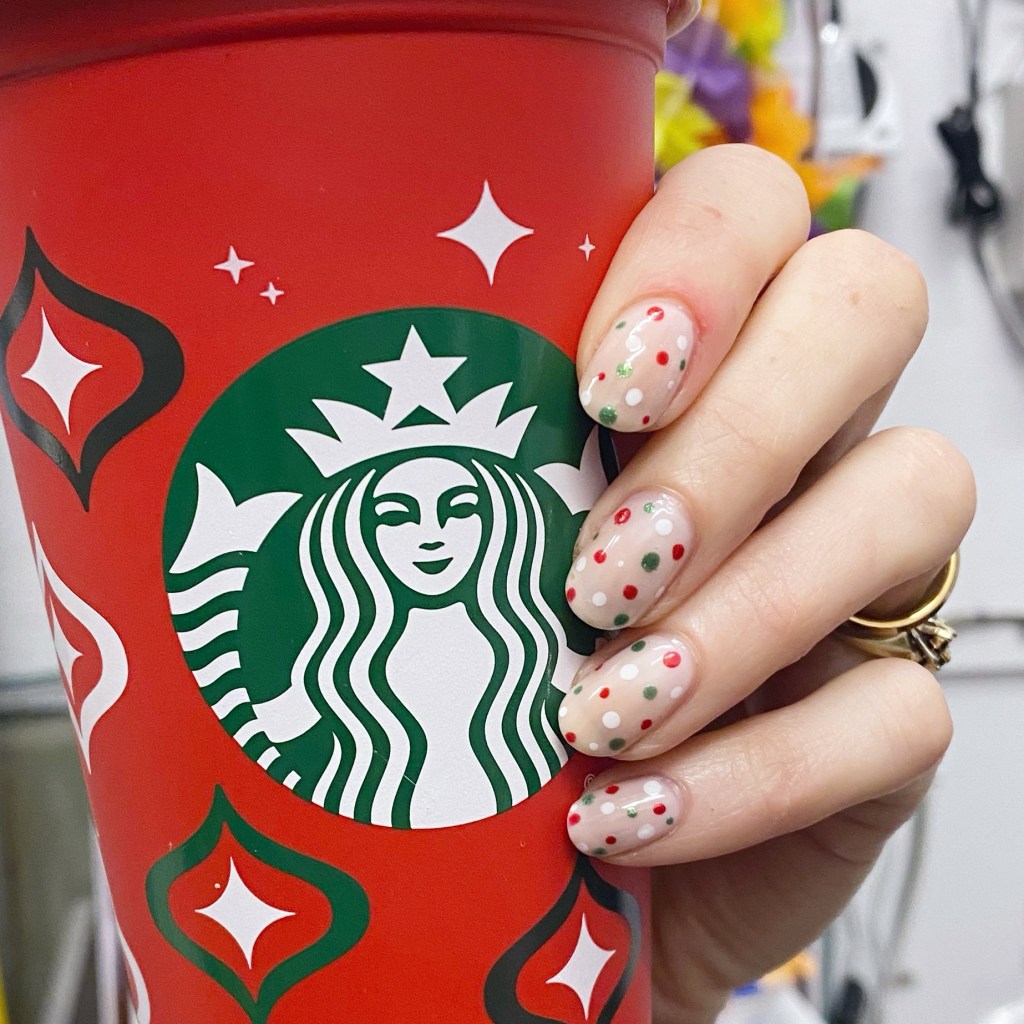
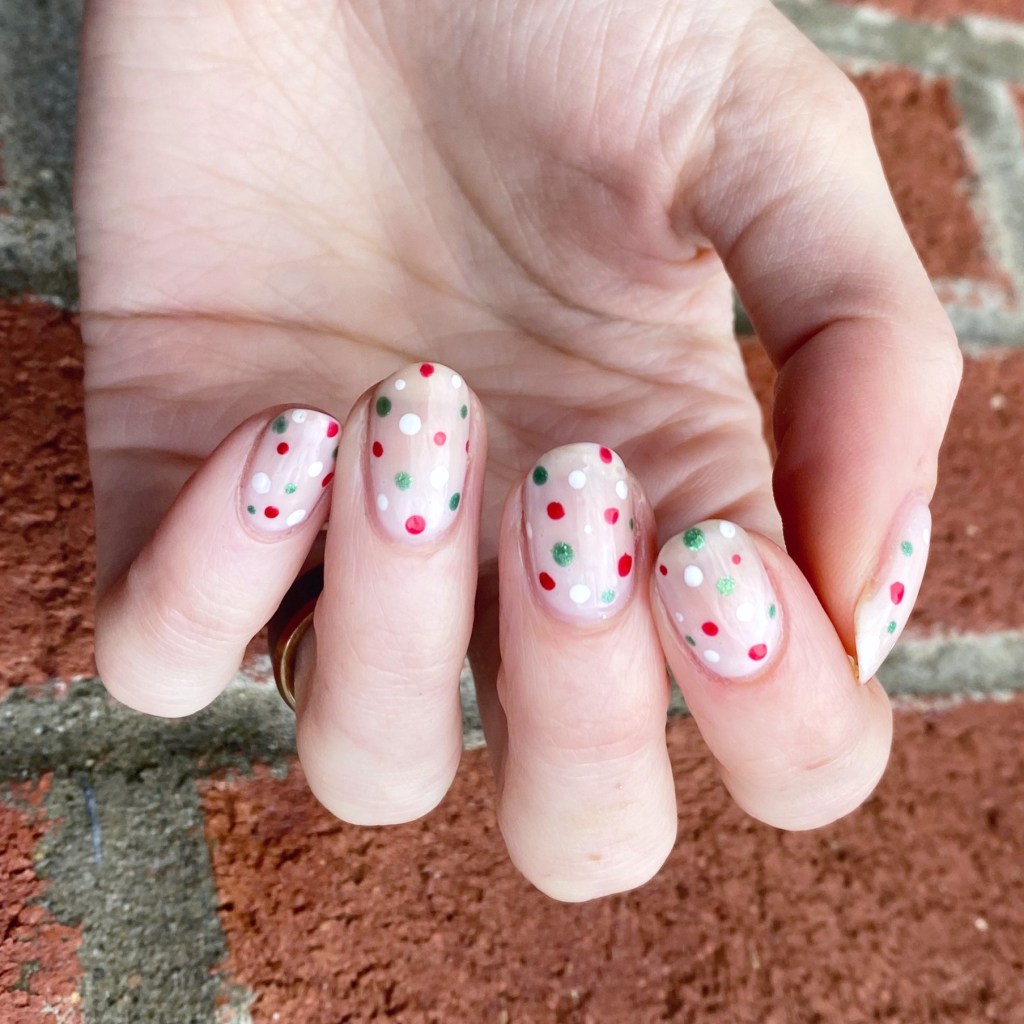
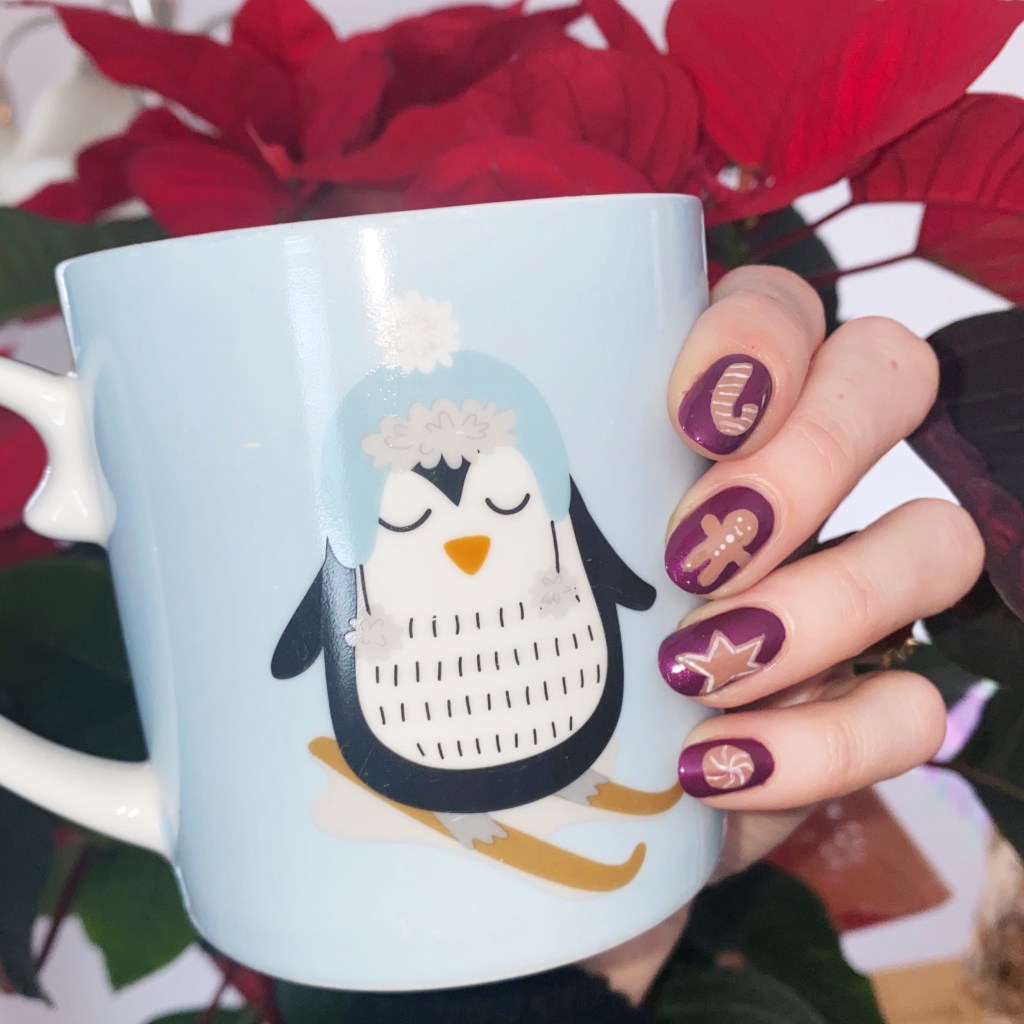
Today I’m officially kickstarting the Christmas & holiday nails with this Christmas inspired dotticure. I wanted red & green, & festive, & I think I captured that look idea perfectly.

The polishes I used for this manicure are: 

  • Base Coat: Sally Hansen Miracle Gel Colour Grip Primer Base Coat 
  • Top Coat: Seche Vive
  • Sally Hansen Miracle Gel has Central Pink
  • Sally Hansen MG A Moo Point
  • Sally Hansen MG Me, My Elf & I
  • Sally Hansen MG Red It Twice
  • NailStuff.ca Dotting Tool Trio

This look was super, super easy to achieve. I started with my semi-sheer base of Central Pink, & then one by one added dots of each colour to my nails, trying my best to make it not look too crowded. Then after I gave the dots a few minutes to dry down, I finished off everything with a thick coat of top coat.

It’s important to wait a few minutes between dotting & adding top coat, just so your dots don’t get smeared. There is nothing worse than a beautiful clean dotticure, & you mess it all up by smearing the polka dots with your top coat.

What do you think of this festive dotticure? Do you like the simplicity of the small polka dots over the sheer base? Let me know all your thoughts in the comments below, & what nail art looks you’re exciting to see upcoming over the next few weeks!

Enjoy your Wednesday loves. 🖤

Simple Swirls

•contains pr/gifted product•

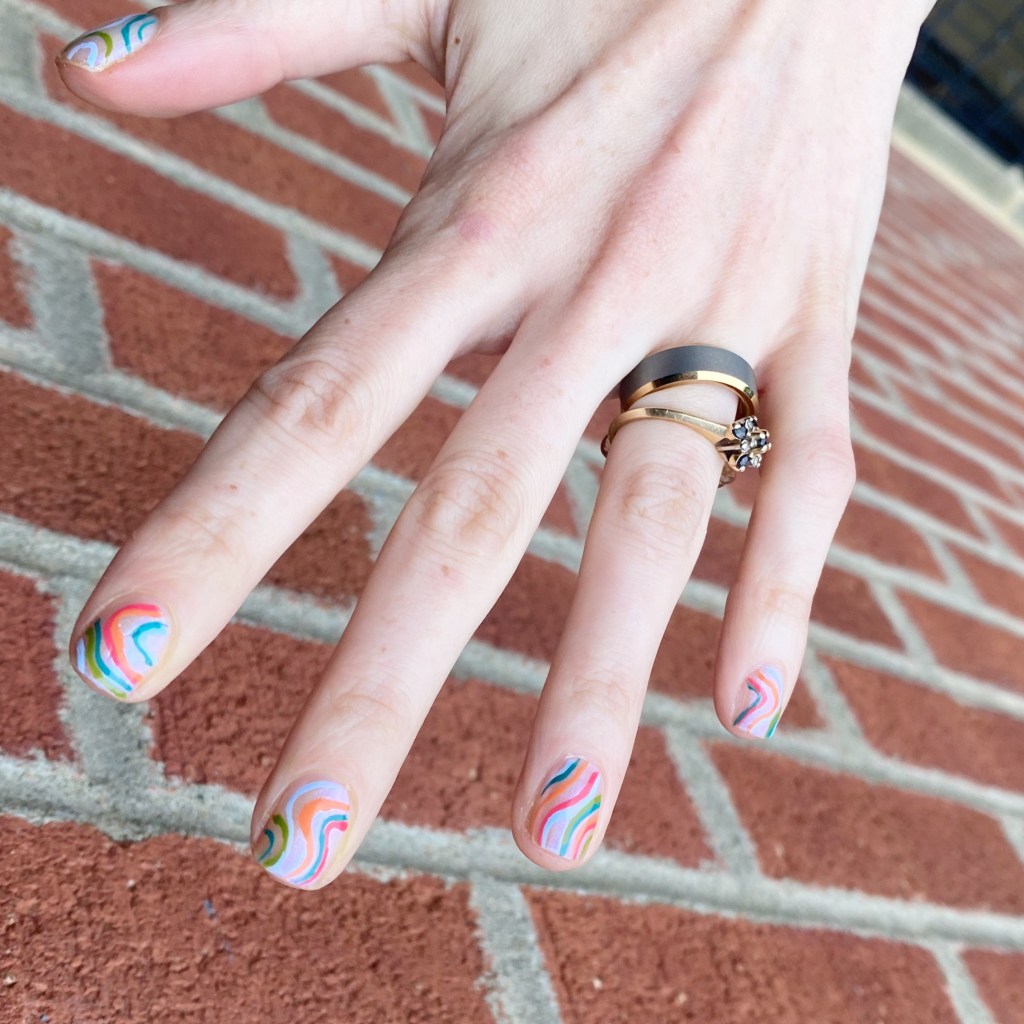
Hello lovelies & happy Monday! I hope everyone is having a lovely start to their week. It’s humid & sticky here today, with not much sun. Not my favourite kind of weather, but that’s okay. Today I have a fun look I actually did before Canada Day, but hadn’t had a chance to post yet. I was feeling so stripes, & ended up going a little more on the abstract side of things (as I usually do.)

The polishes I used for this manicure are: 

  • Base Coat: Londontown KUR Nail Hardener & Base Coat 
  • Top Coat: Seche Vive Fast Dry Top
  • Essie Expressie FX Iced Out
  • Essie Bikini So Teeny
  • Essie (Un)Guilty Pleasures
  • Essie Cute as A Button
  • Essie Willow in the Wind
  • Essie Frilly Lillies
  • NailStuff.ca Mermaid Tail Brush Trio (I used the 11mm liner brush)

In case you’re wondering — yes, I’m still obsessed with these beautiful Essie shades I was gifted. I haven’t yet had a chance to do a floral yet with these shades, but I have it on my itinerary. So many nail art ideas, so little time! But I have to say, all the beautiful polishes I’ve recently been gifted for PR, I have so many ideas brewing inside my head. I’m very excited for all the nail art to come this Summer.

What do you think about this beautiful swirly line design? Such an easy design to do, with minimal time required.

Have a fantastic Monday! ♥︎

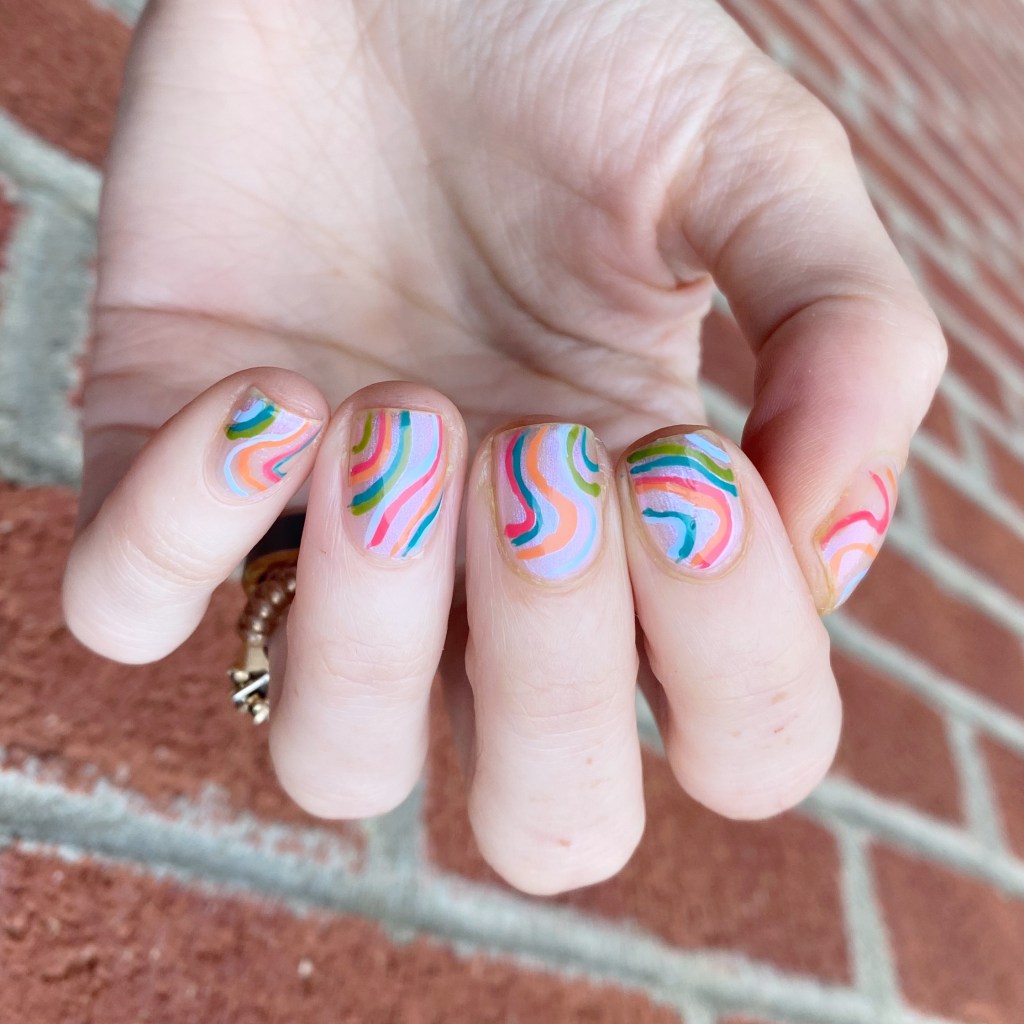
Abstract Shorties

Hello lovelies & happy first day of Summer to those in the northern hemisphere! & it actually feels very Summer like today, which is very exciting. I’m definitely here for it, & all things Summer related.

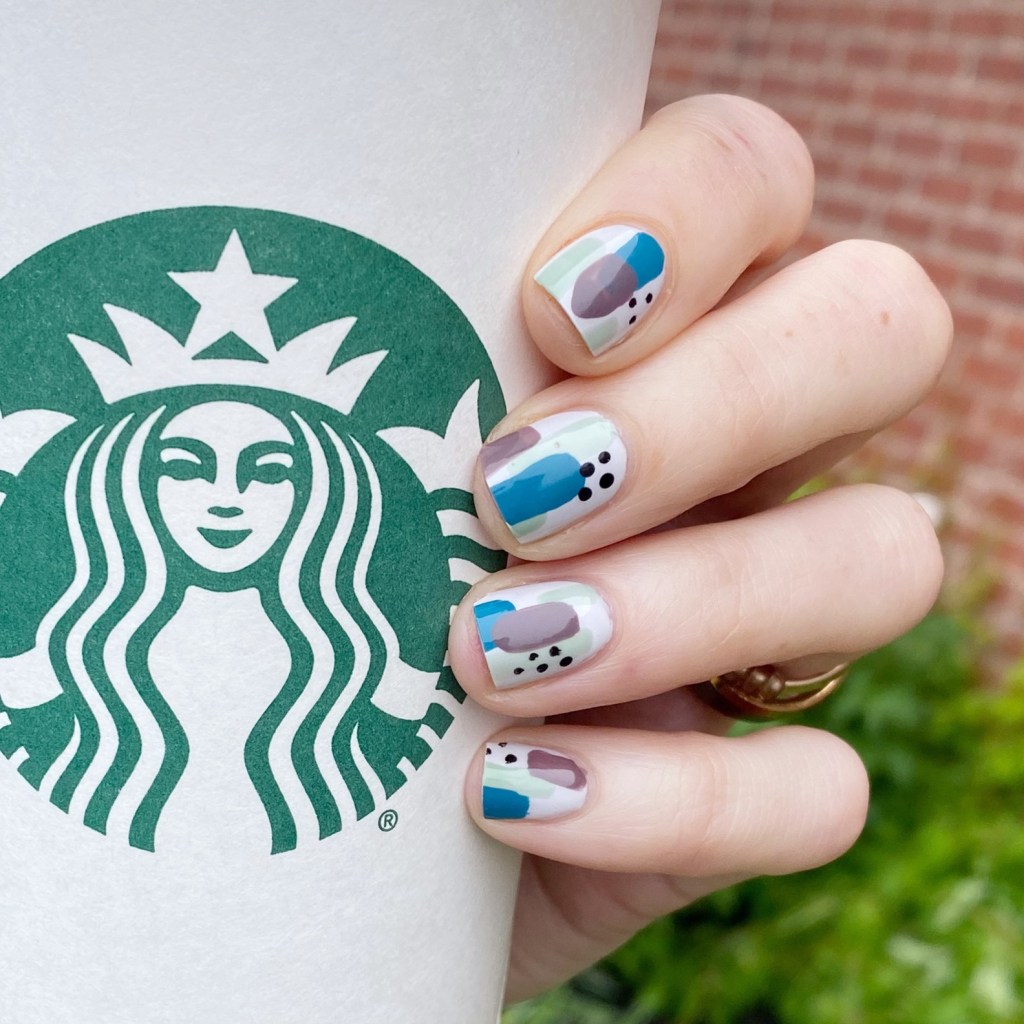
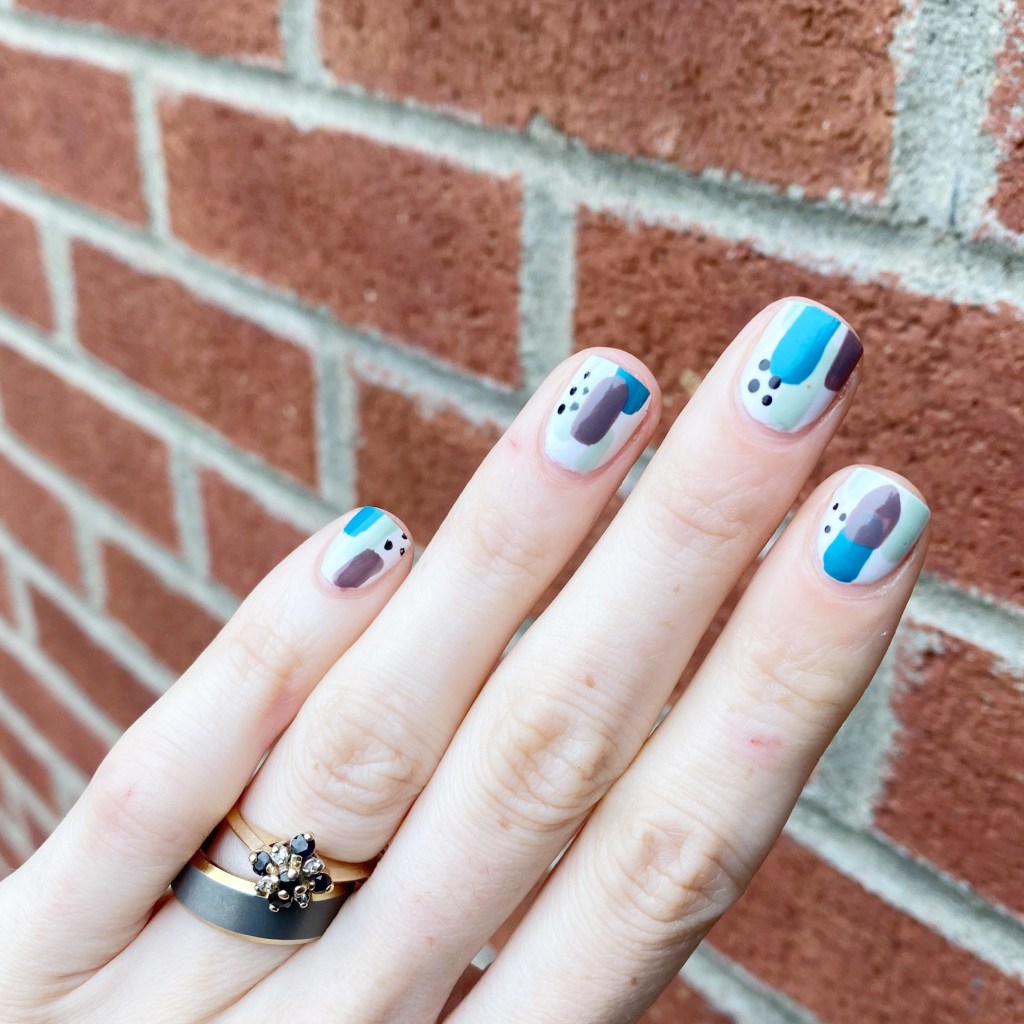
Todays look is a quick abstract design I applied over my base of OPI I Cannoli Wear OPI from my Swatch Sunday post for this week. I wanted to extend my wear another day or so, & decided an abstract look was the perfect way to do that!

The polishes I used for this manicure are: 

  • Base Coat: Londontown KUR Nail Hardener & Base Coat 
  • Top Coat: Seche Vive Fast Dry
  • OPI I Cannoli Wear OPI
  • Essie Revenge’s A Beach
  • Essie Turquoise & Caicos
  • Essie Merino Cool
  • OPI Who You Callin’ Bossy?!
  • Small dotting tool — NailStuff.ca Dotting Tool

As you can see, I’m rocking extra shorties right now thanks to a break on my ring finger at work on Saturday.

Normally I would be upset about it, but I’m kind of enjoying shorter nails right now. I find when my nails are square, I prefer a shorter length to them. Plus I love showing off that you can rock fun nail art no matter the length of your nails!

What do you think of these abstract shorties? Are you a fan of looks like these? Let me know all your thoughts down in the comments below, & what colour scheme you would choose.

Have a lovely Wednesday ☀️

Instagram Summer Treats Nail Art Collab 🍦

Hello lovelies — happy Friday. We have a weekend of rain in the forecast, which I’m so happy for because my entire province has basically been on fire this week, & we’re in desperate need of a reprieve from the heat. So everyone send rain vibes. 🌧️

Today, though, I’m sharing a look I did a week or so back for a nail art collab I joined! You might remember I did another one last month, & it was so much fun I thought I’d do it again! This time the theme was Summer Treats. & my favourite treat of the Summer: ICE CREAM!

The polishes I used for this manicure are: 

  • Base Coat: Londontown KUR Nail Hardener & Base Coat 
  • Top Coat: Seche Vive Fast Dry Top
  • Sally Hansen Good. Kind. Pure. Almond Tan
  • Sally Hansen G.K.P. Rock Steady
  • Sally Hansen Miracle Gel Neons Peach Please
  • Sally Hansen MG Neons Electri-Lime
  • Sally Hansen MG Neons Violet Voltage
  • Sally Hansen MG Neons Lemon Chillo
  • Sally Hansen MG Sugar Fix
  • Claire’s Melon Mania
  • NailStuff.ca 16mm Striper Brush
  • Large Dotting Tool (NailStuff.ca Dotting Tool Trio)

This is actually a recreation of a design I did all the way back in June 2016. I loved it so much the first time, I thought it would be perfect for this nail art collar — with some updates! I love the neon ice cream, I love my glitter “sprinkles”. I just think this whole look turned out too, too cute!

Don’t forget to check out all the beautiful designs on Instagram by checking out the hashtag #summertreatsnailartmanicollab2023 & see all the other beautiful designs that my fellow nail artist created! There are so many cute one!

Have a fantastic Friday! ♥︎

Easy Pop Art Nail Art with Stickers

Hello lovelies! I hope everyone is having a lovely week so far. Today I’m feeling Summer vibes, so I wanted to share a fun pop art inspired nail art I recently did that were super easy to do — especially since they basically involve no actual talent what-so-ever! & isn’t that the best kind of nail art?

The polishes I used for this manicure are: 

  • Base Coat: Essie Hard To Resist Glow & Shine 
  • Top Coat: Seche Vive Fast Dry Top
  • Holographic Top Coat: Starrily Eclipse
  • Essie In The Cabana
  • Olive & June Nail Art Stickers (discontinued sheet)

I recently picked up (well… last Summer) a new bottle of Essie In the Cab-ana which is one of my favourite Summer shades. But adding Starrily Eclipse over top brought it to a whole other level! & I’m definitely obsessed.

I also thought these Olive & June nail art stickers were so cute over top. The black & white stickers feel very pop art to me. This sticker line is long discontinued (I think it’s about 5 years ago I was gifted them) but they do have lots of other cute nail art stickers on their site. You can also find cute nail art stickers through my go to, NailStuff.ca, Deco Miami — although I’ve never tried them — & Amazon, obviously!

What do you think about these fun nail art looks? Do you like easy nail art looks like this?

Let me know all your thoughts down in the comments below.