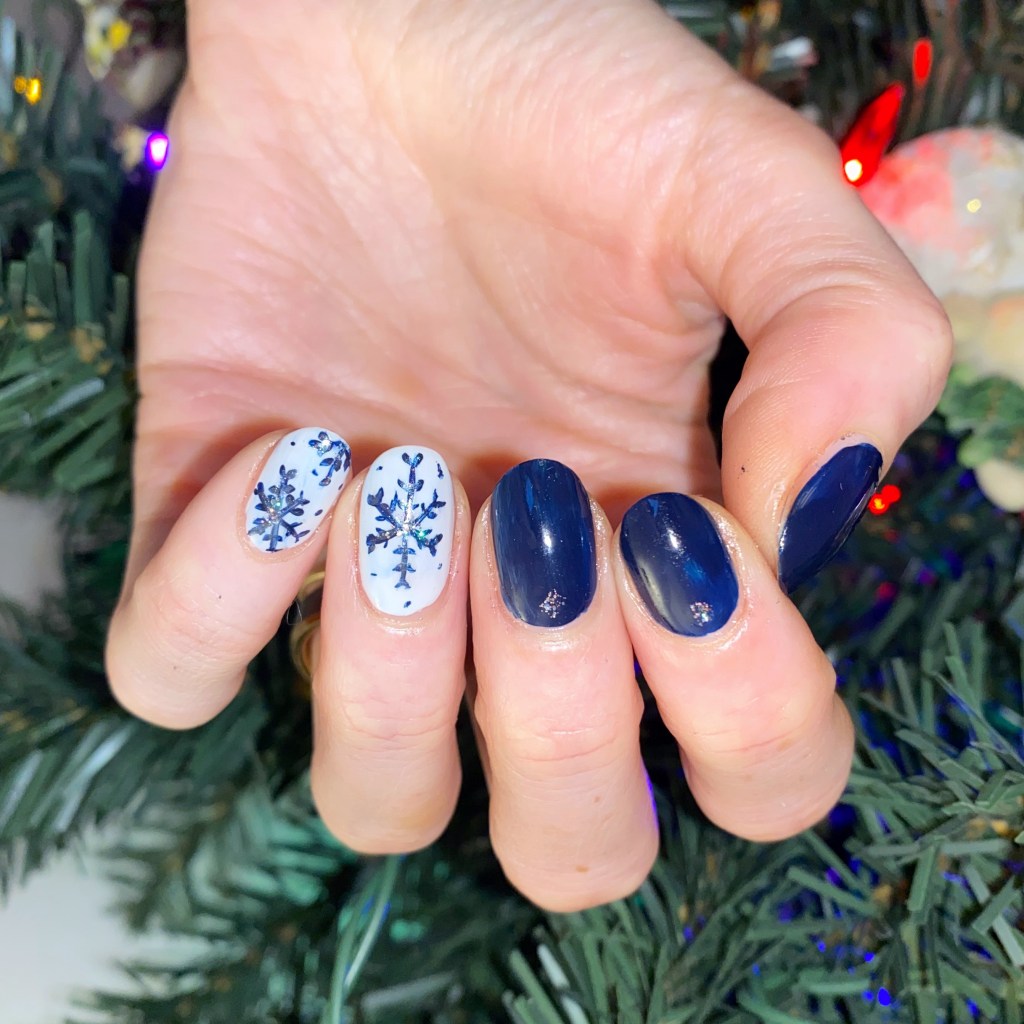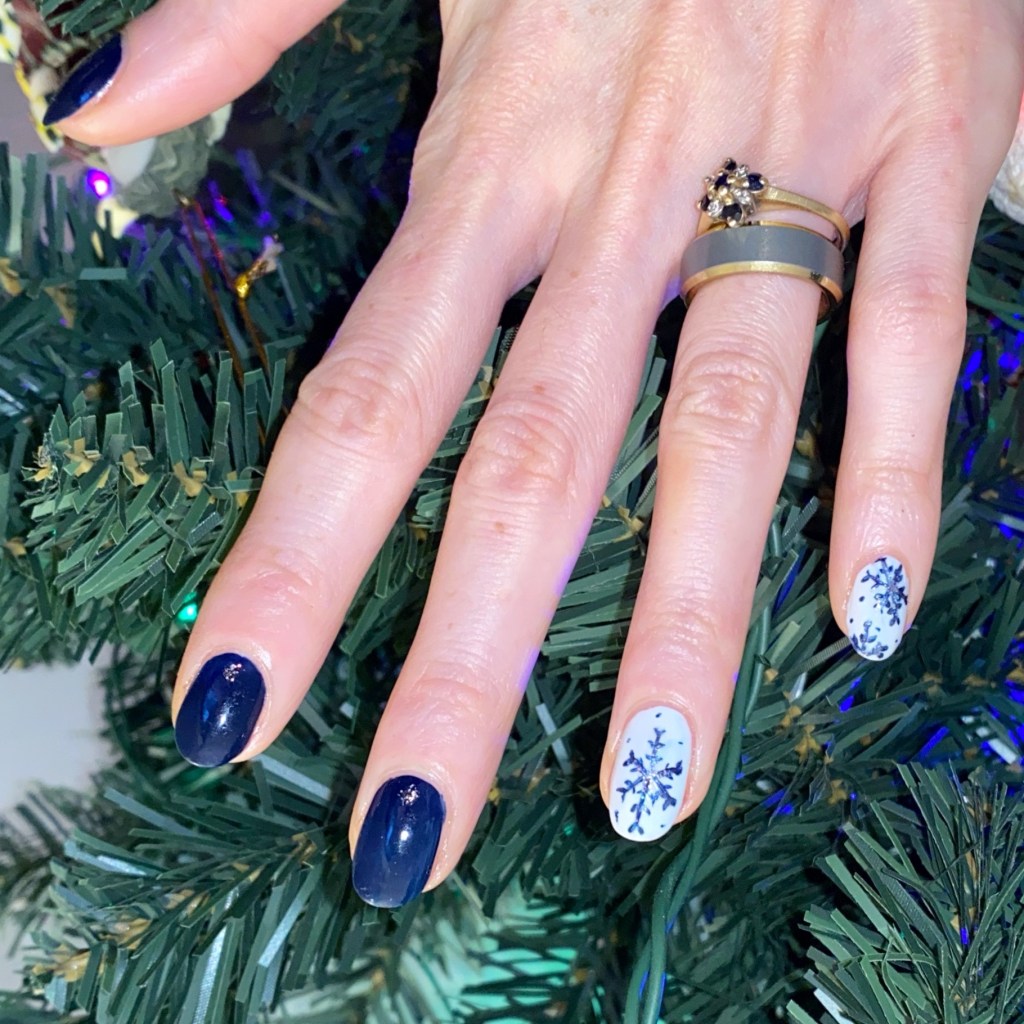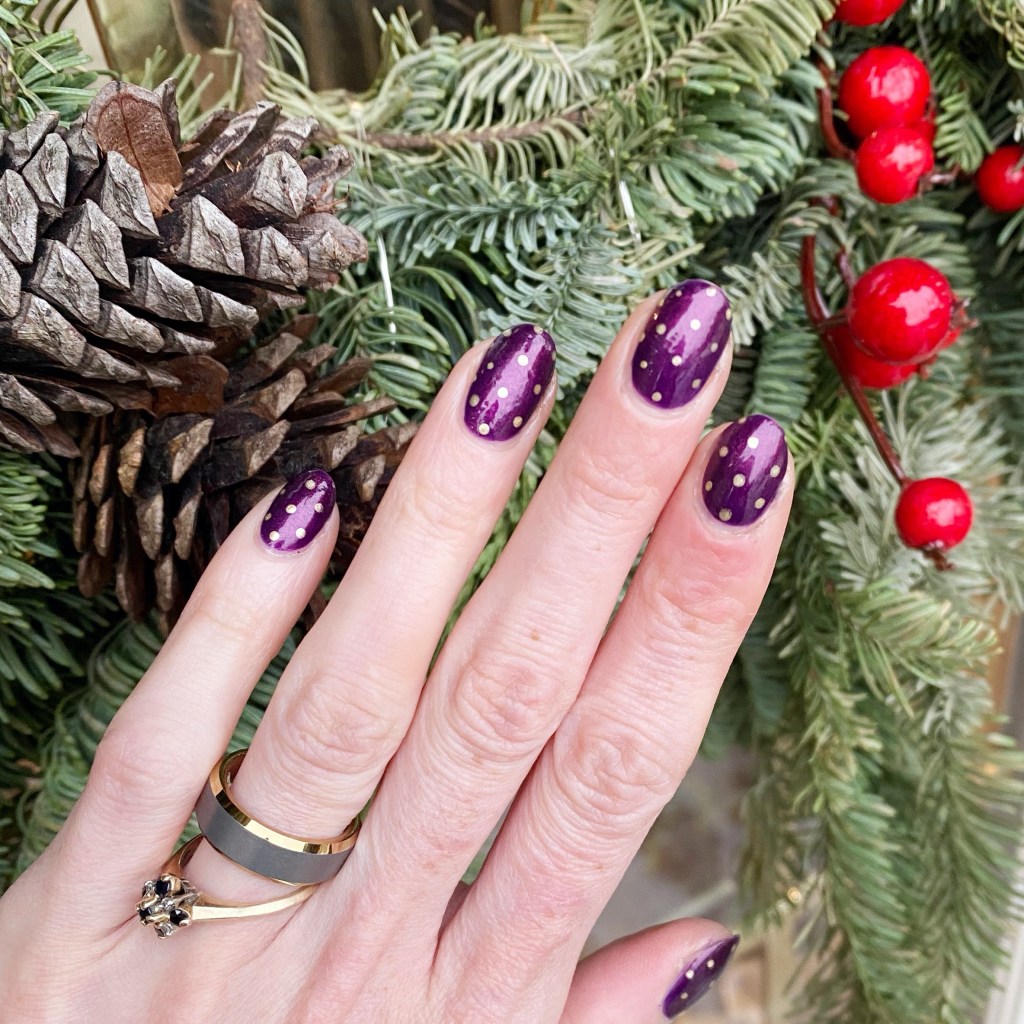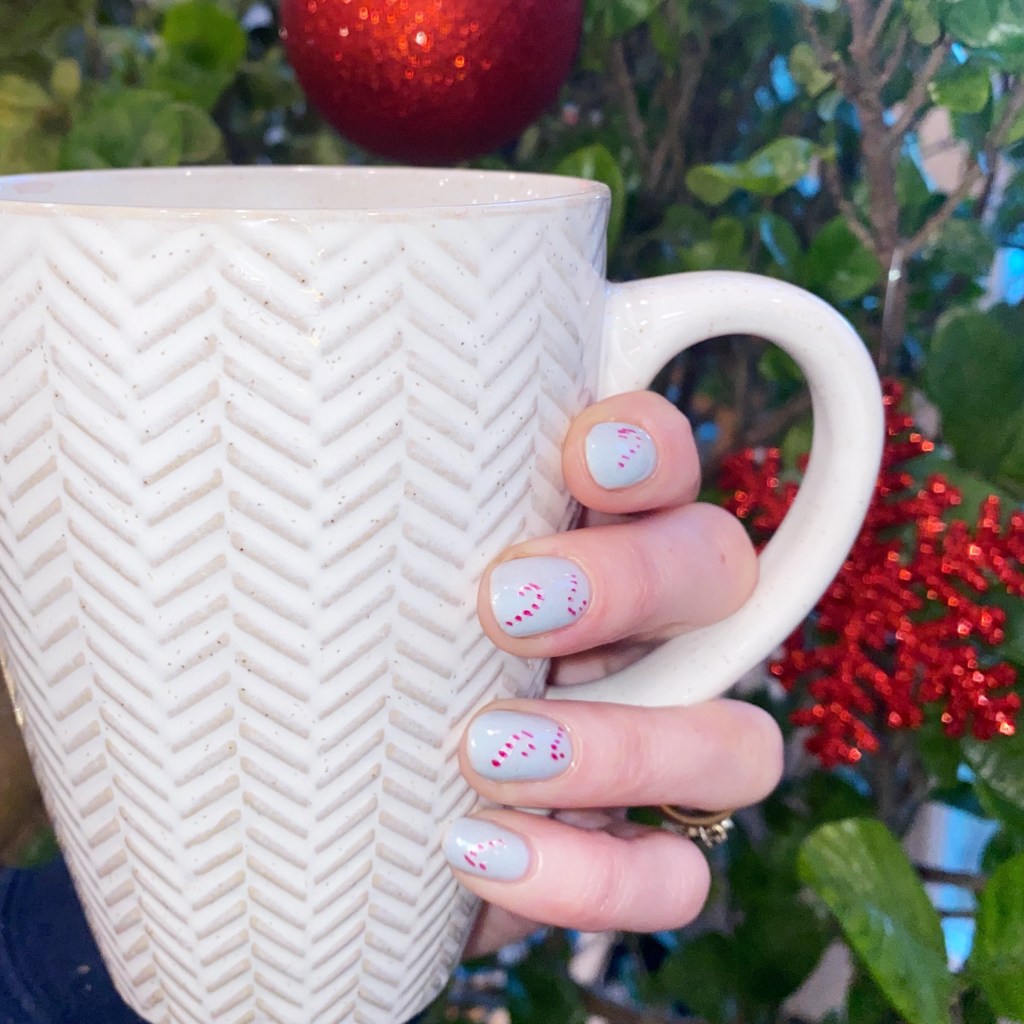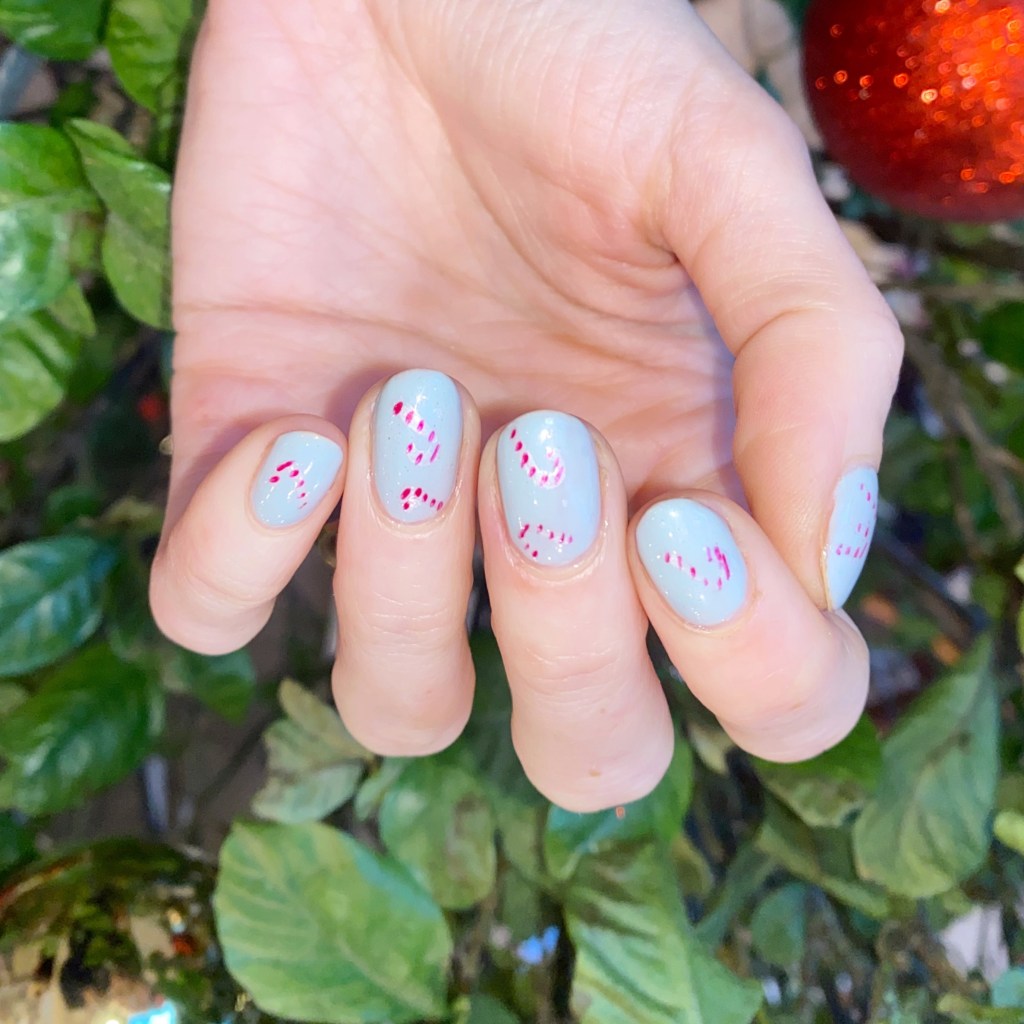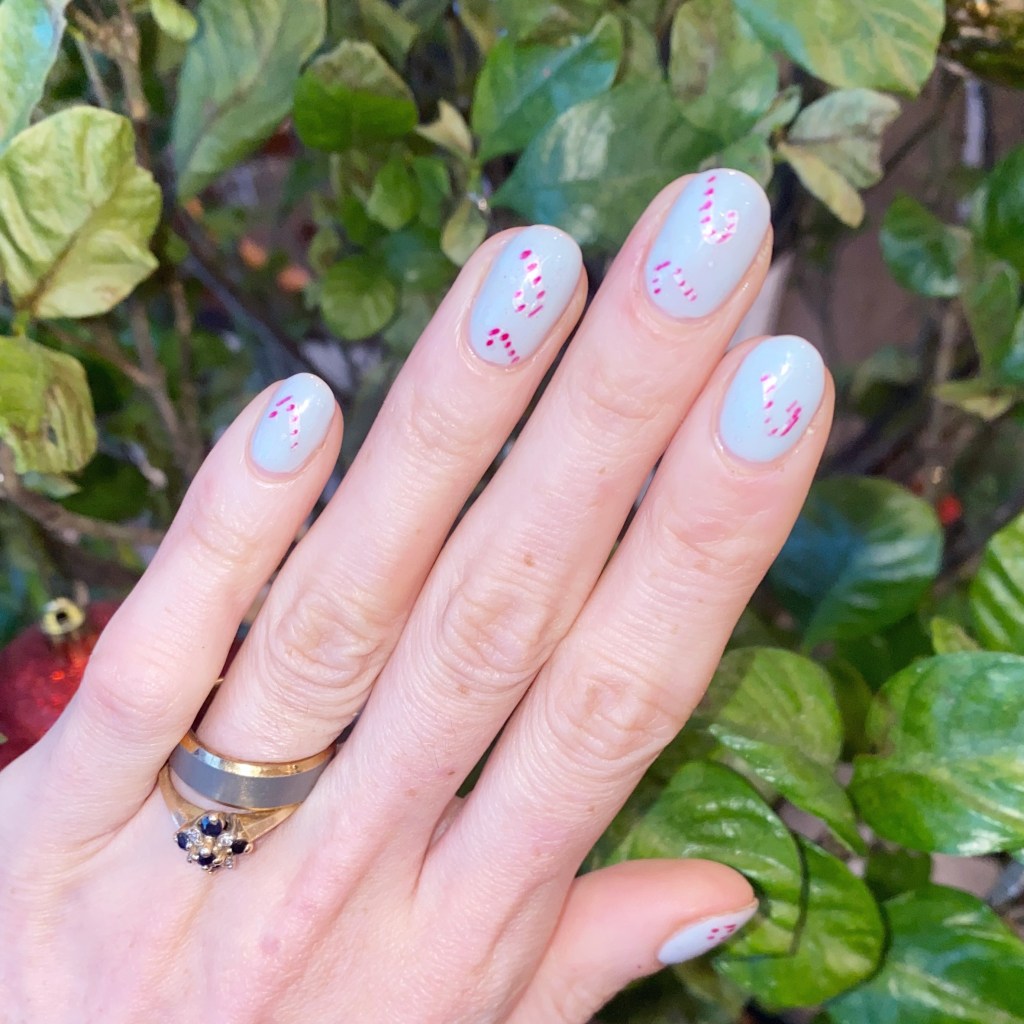
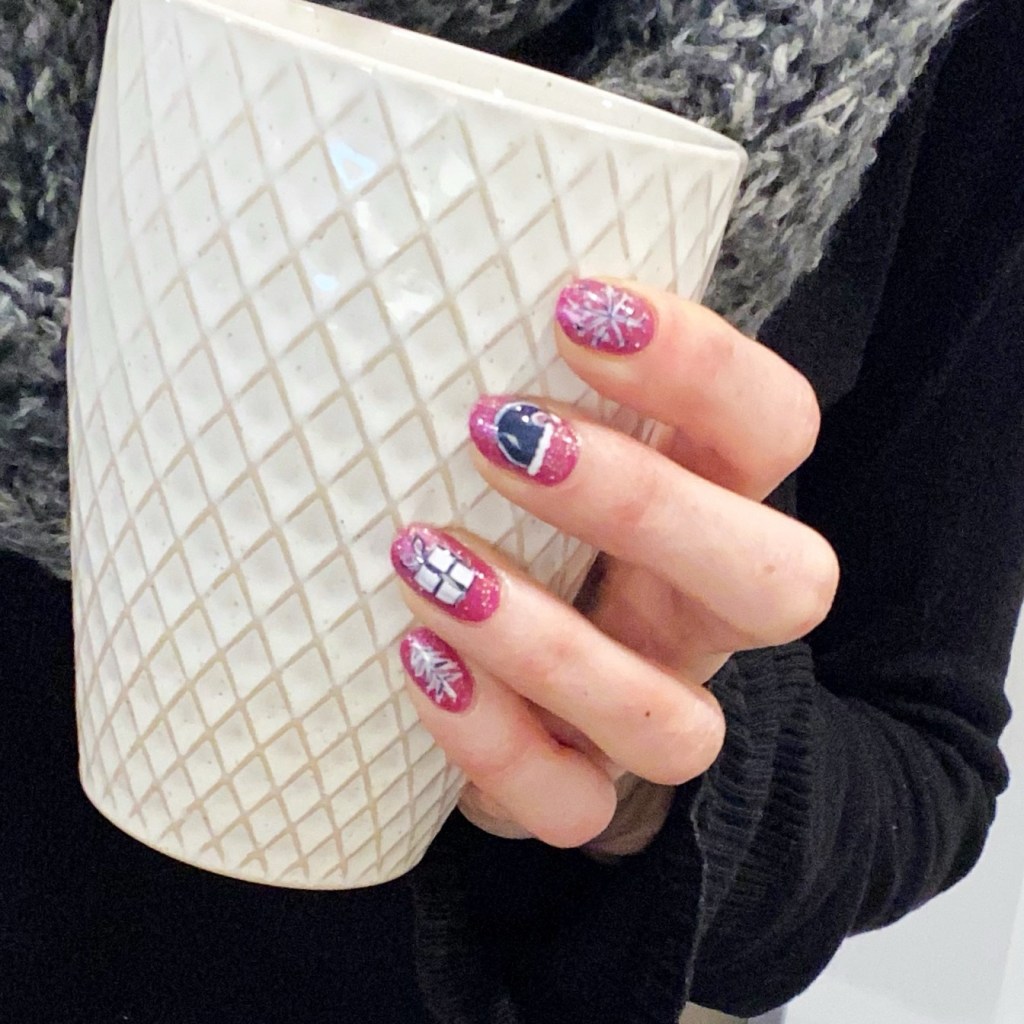
Hello beauties & happy Friday! & Happy boxing day. I hope everyone who celebrates had a wonderful, festive Christmas. This year has definitely been the least Christmas-y feeling Christmas in a long, long time — but I still wanted to make sure I had some festive nails for the occasion.
It’s been a long time since I participated in one of the Instagram Nail Art collabs hosted by @essieyall & @petitenaillover. So I really wanted to join in for one final collab for this year! & end the right right.
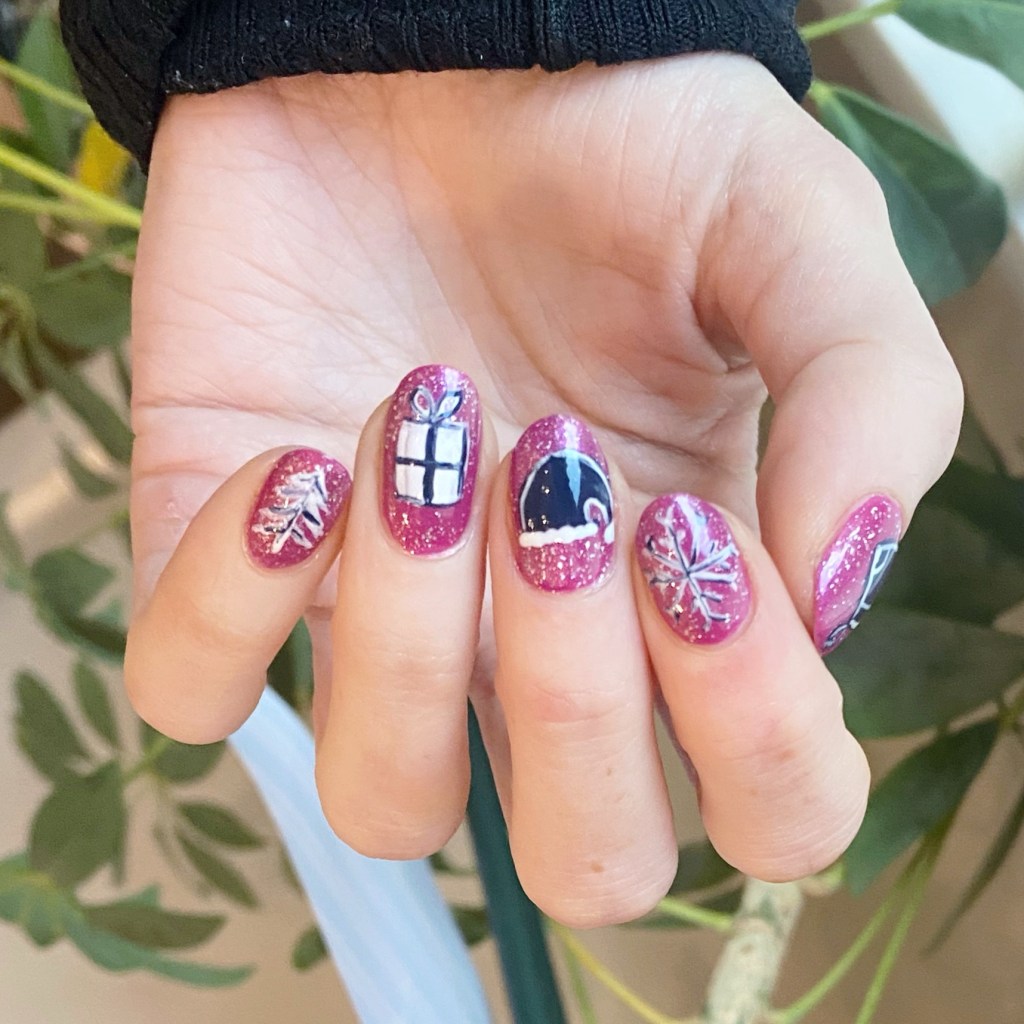
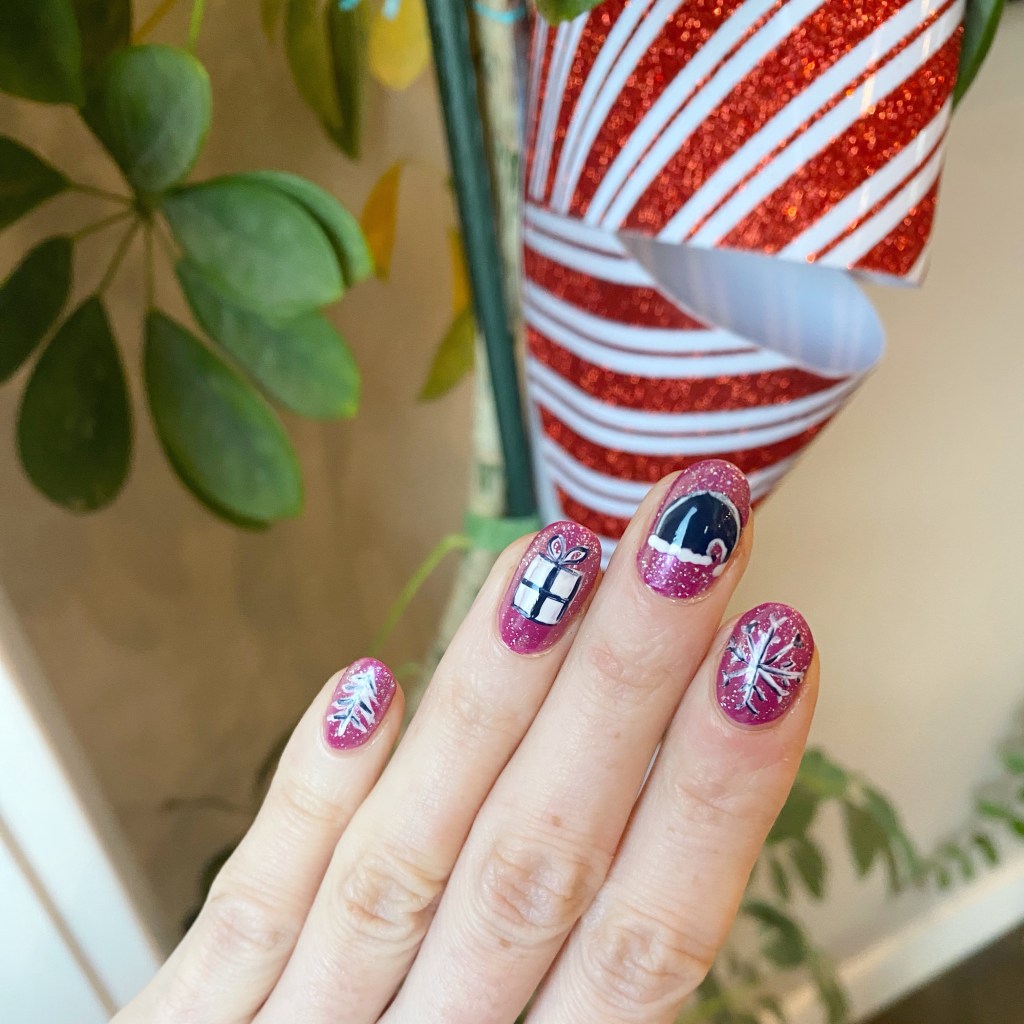
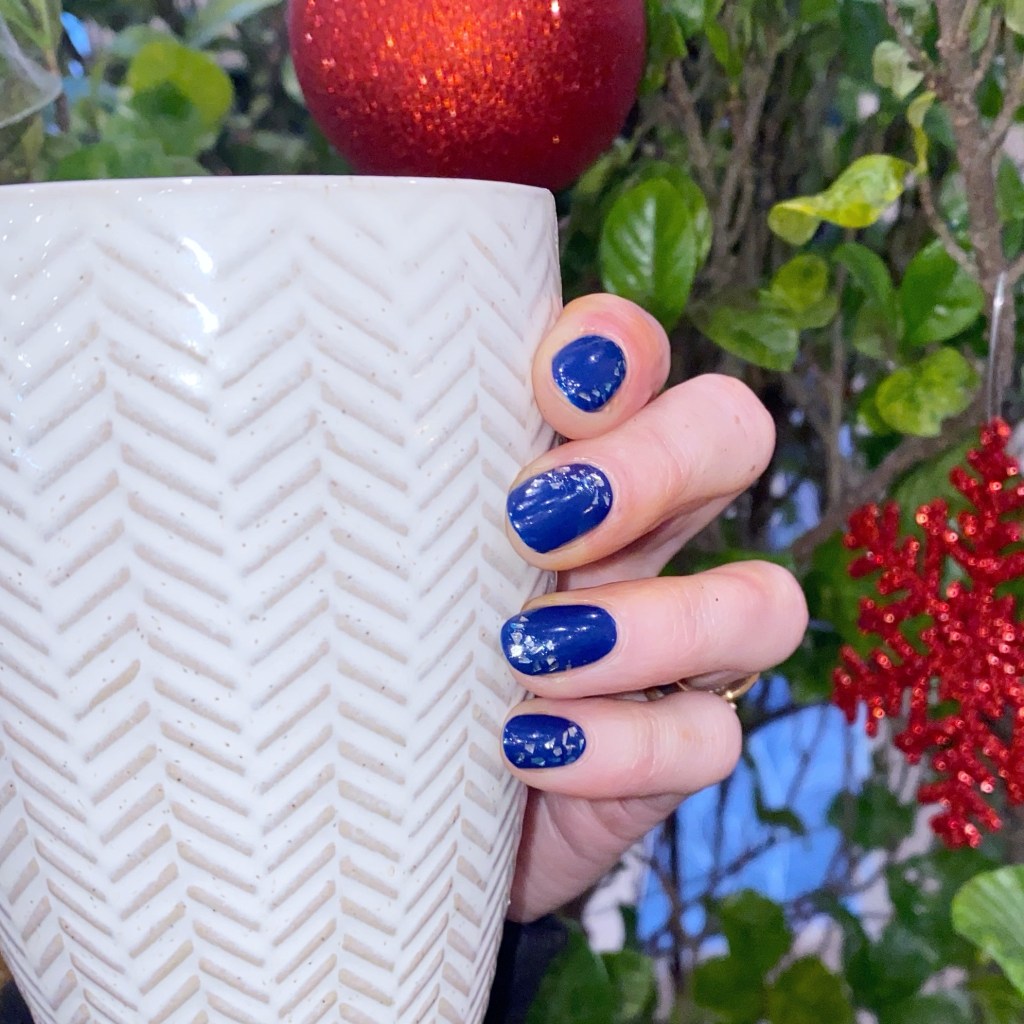
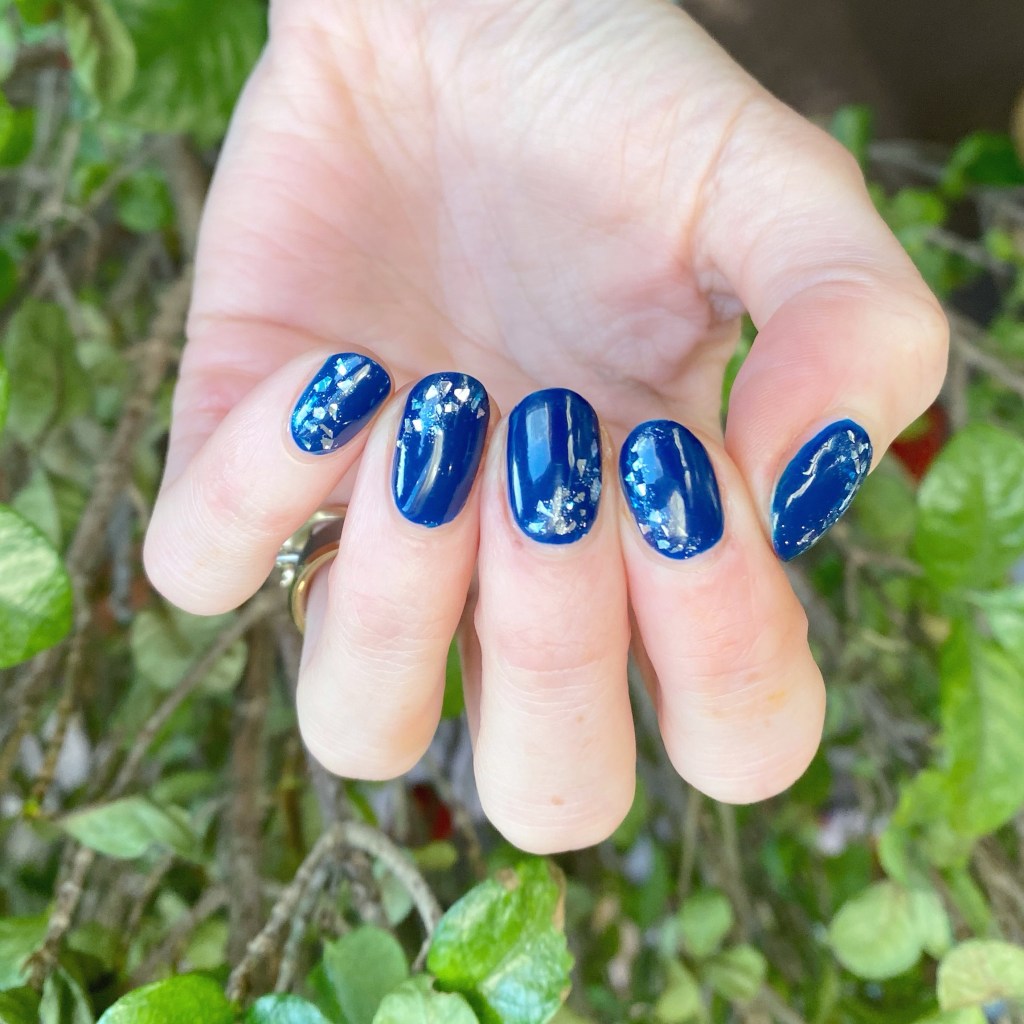
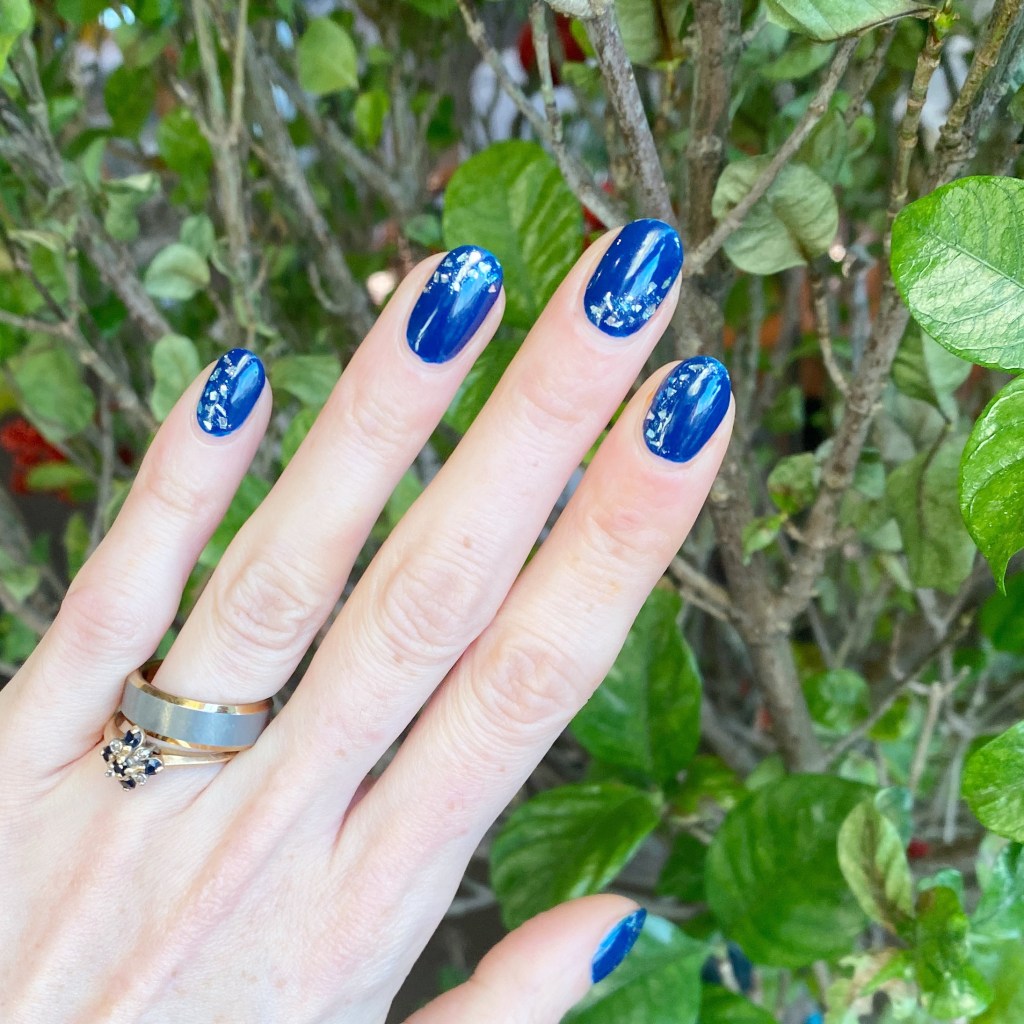
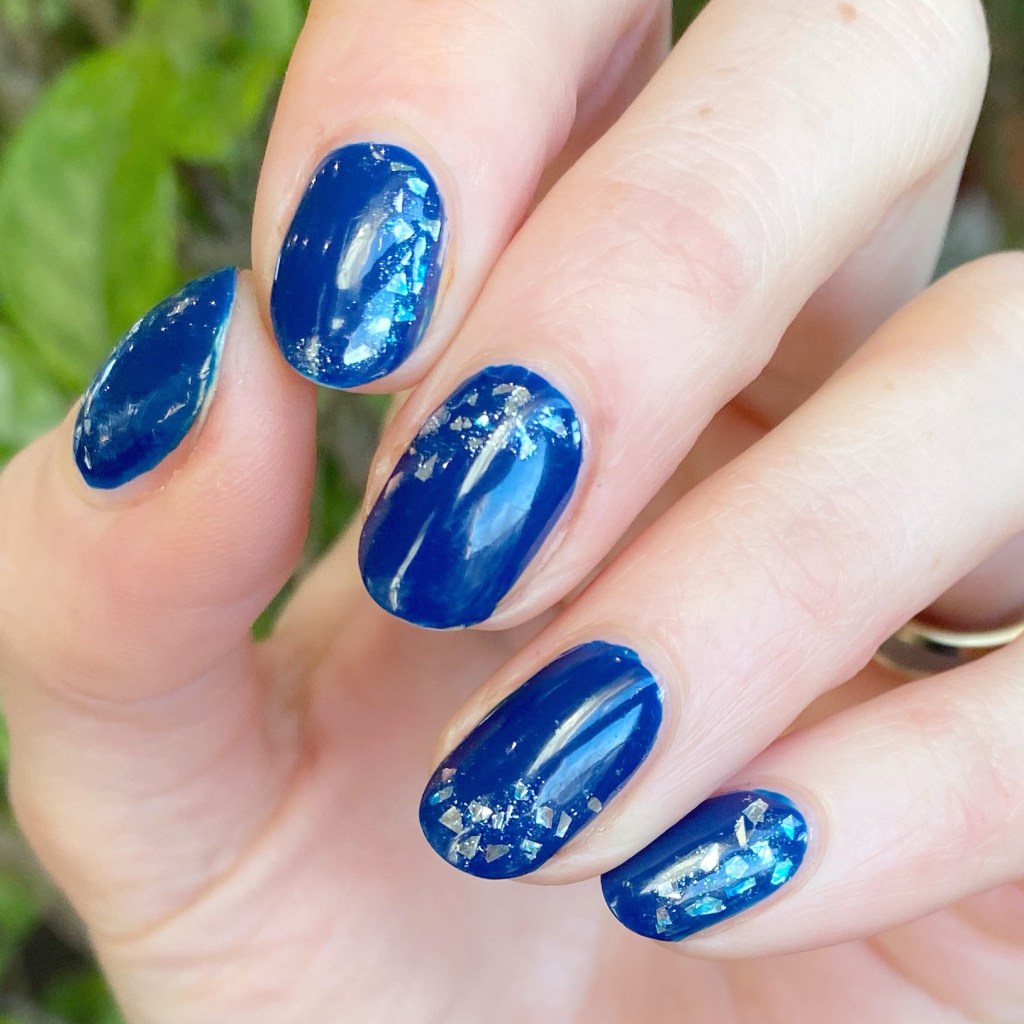
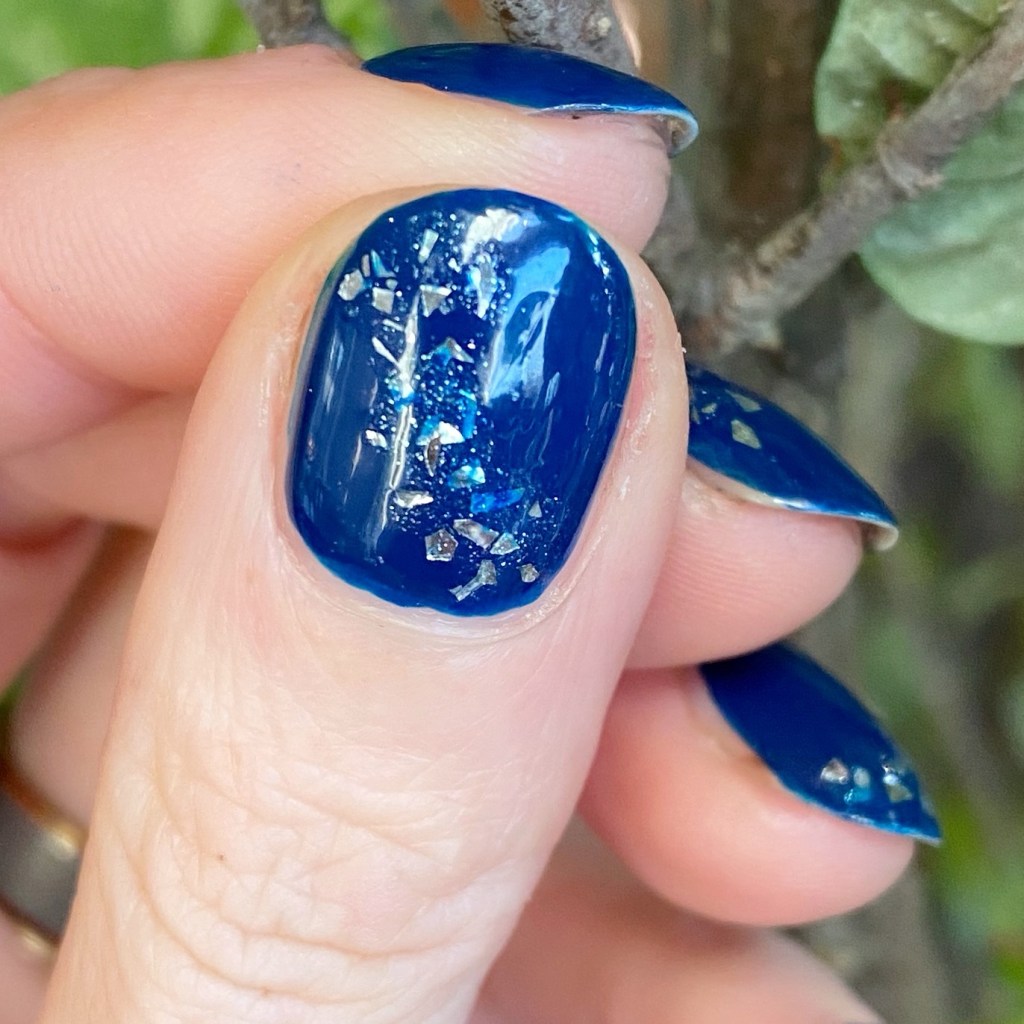
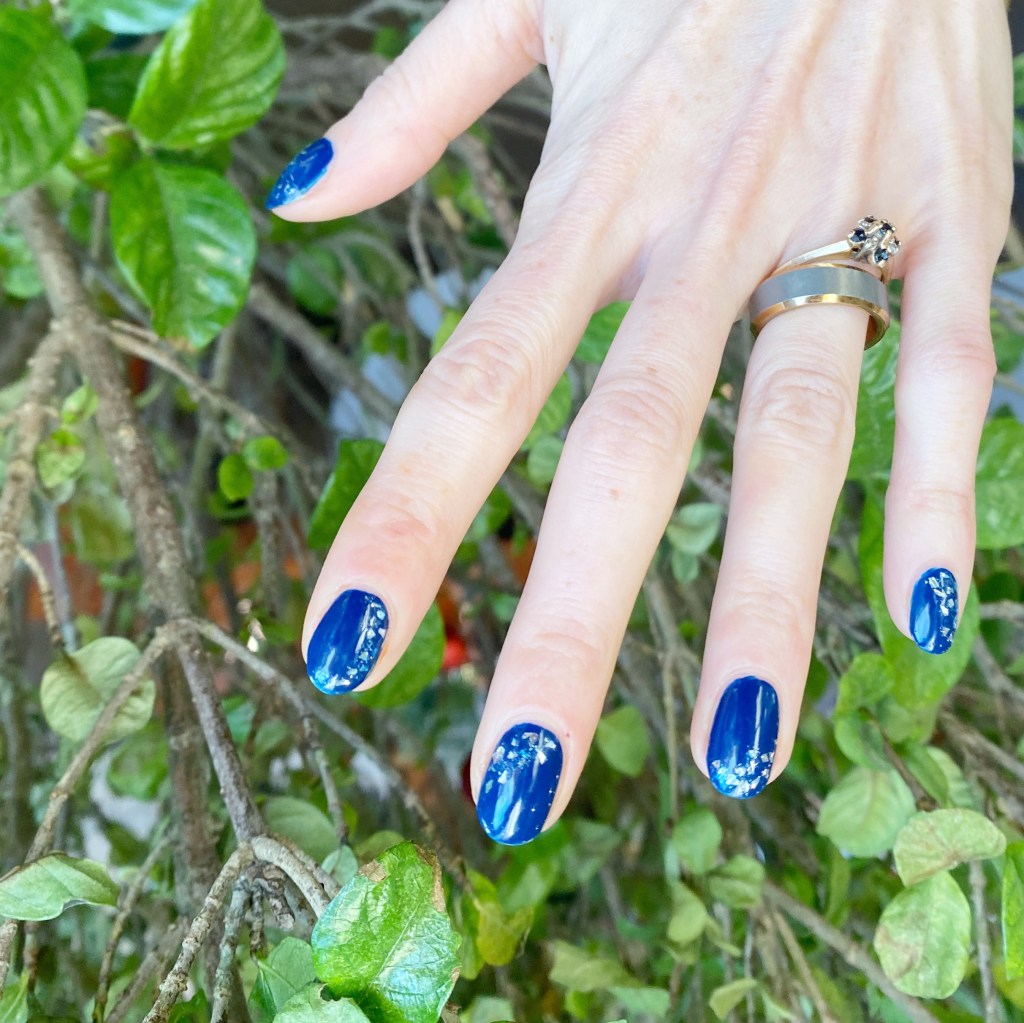
The polishes I used for this manicure are:
- Base Coat: Sally Hansen Miracle Cure
- Top Coat: Essie Speed Setter
- Essie Gel Couture Wider Than I Seam
- Essie Nail Art Studio Lustrous Luxury
- Essie Expressie Feel The Hype
- Sally Hansen Miracle Gel A Moo Point
- NailStuff.ca 4mm Micro Detail Brush

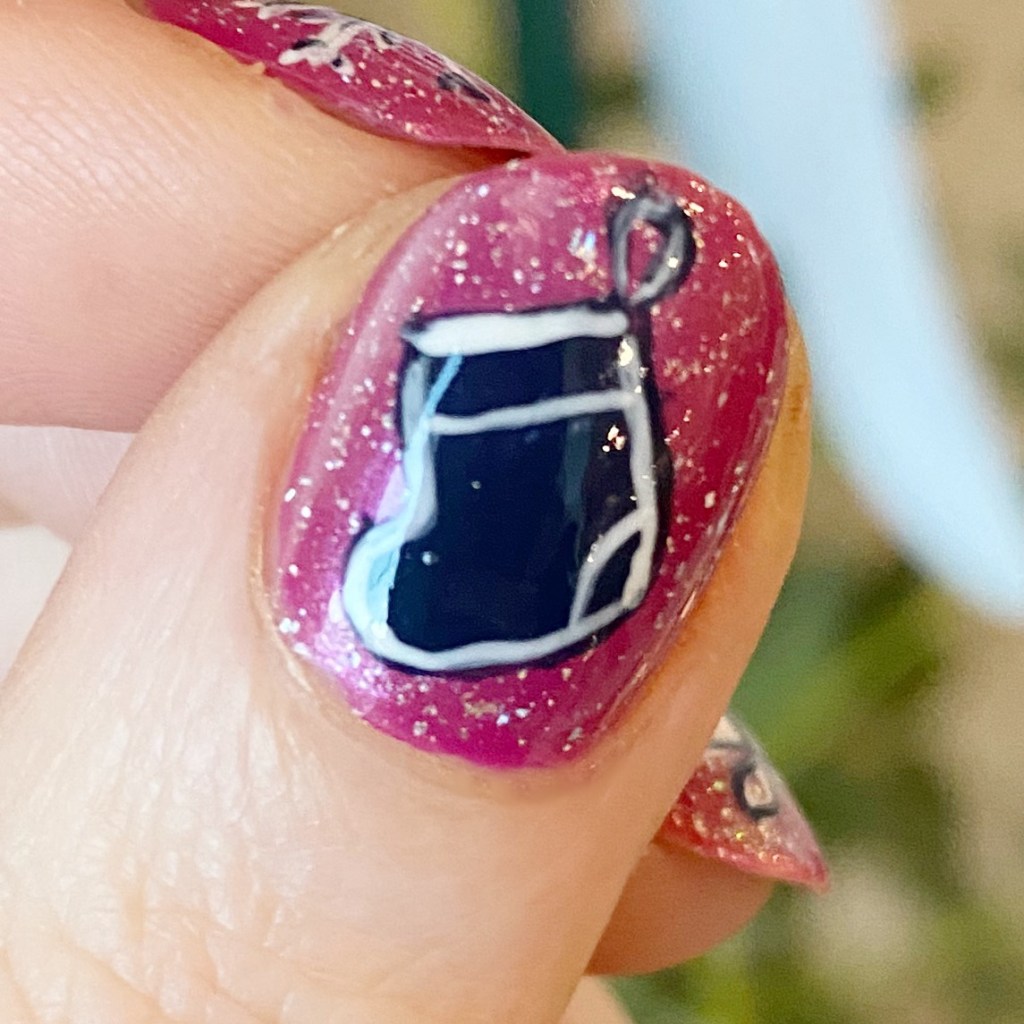
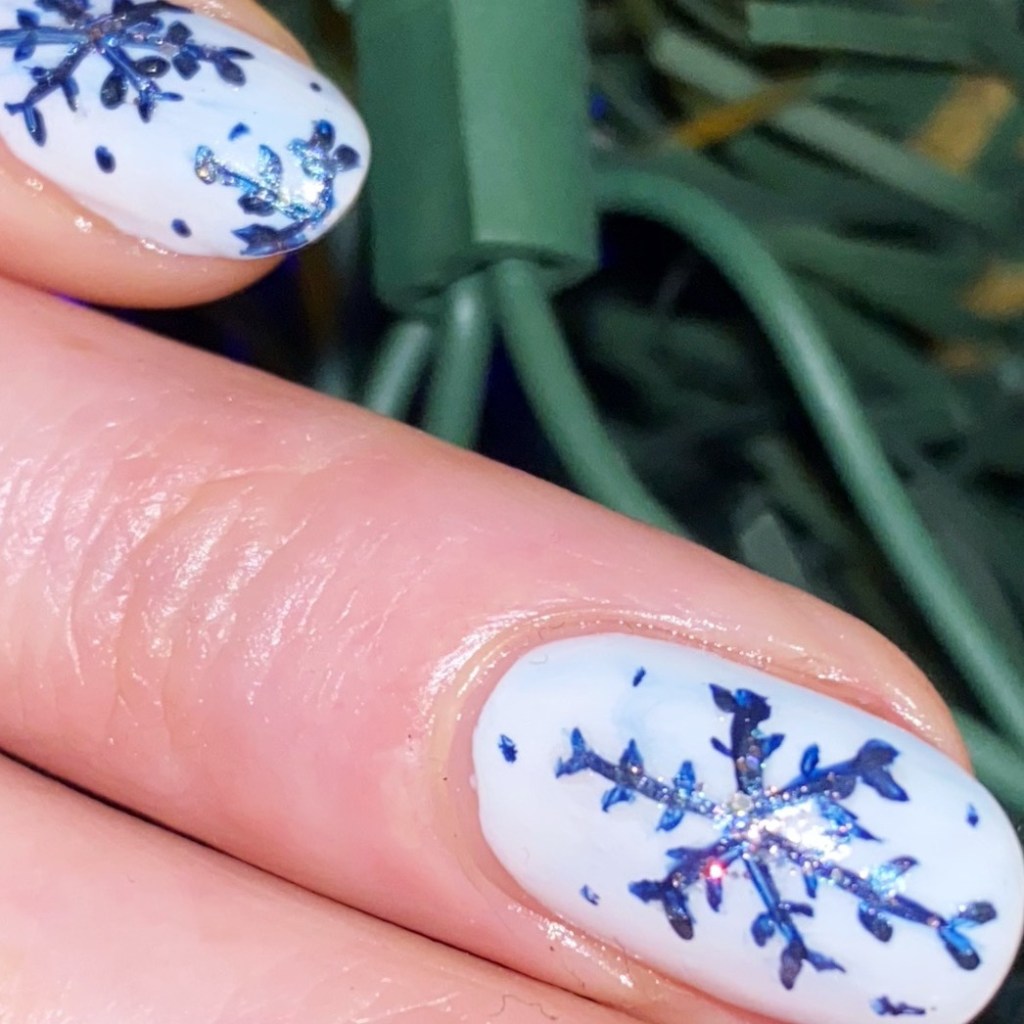
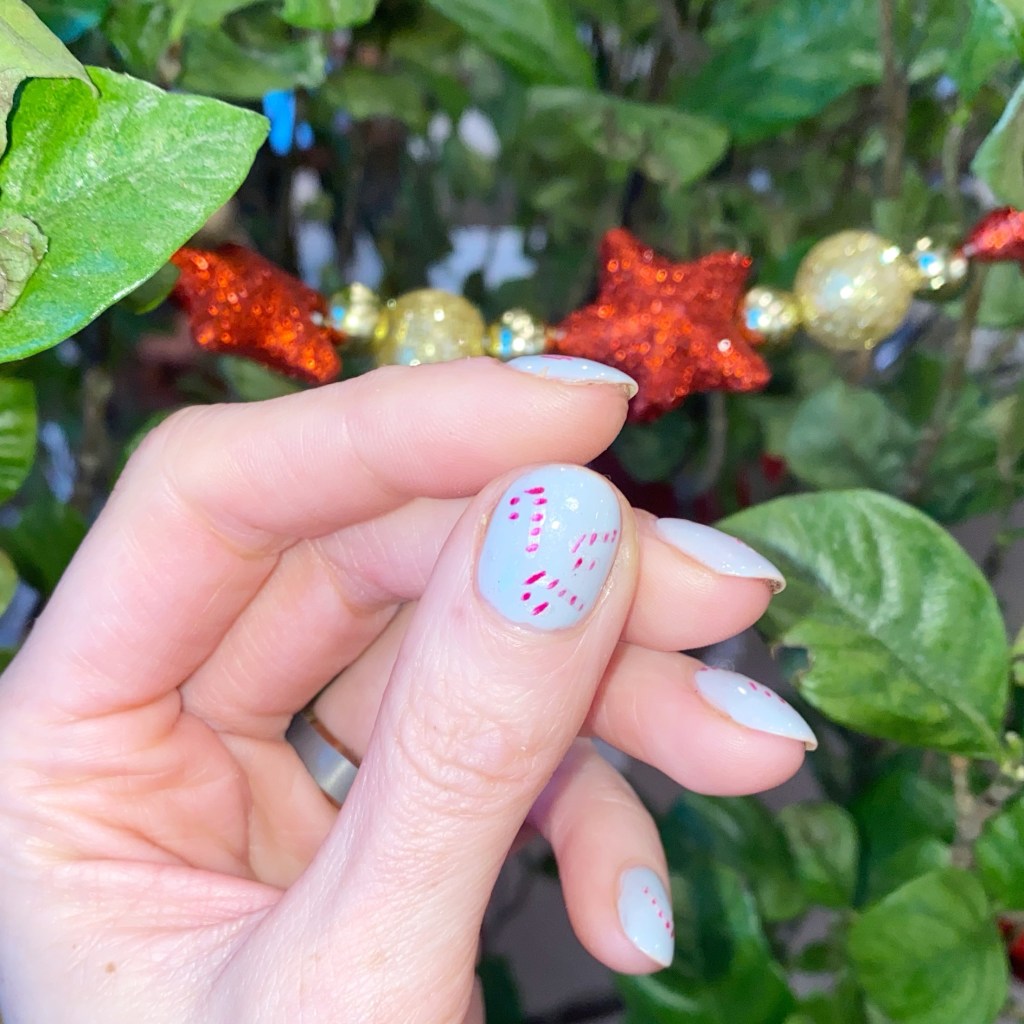
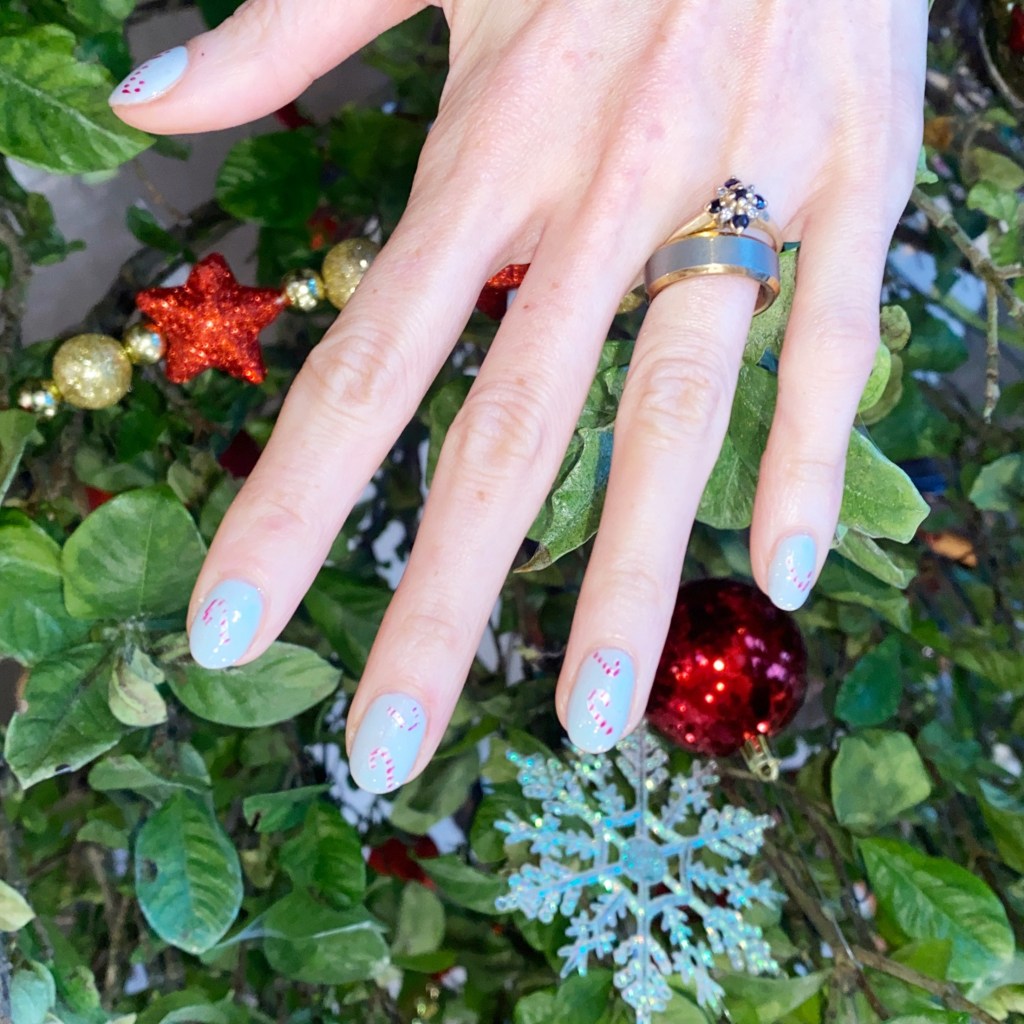
How cute did my little freehand shapes turn out? I’ll wanted a fun Christmas-y look without using red & green. & I had found some (new to me) shades at Shoppers Drug Mart on wicked clearance –like $3 a bottle! — so they inspired me to create this mix & match Christmas design for the collab.
& I really love how they turned out.

Wishing everyone the happiest holiday season ever, & a safe end to 2025. This year has been such a struggle, so I look forward to the New Year, & everything that 2026 holds.
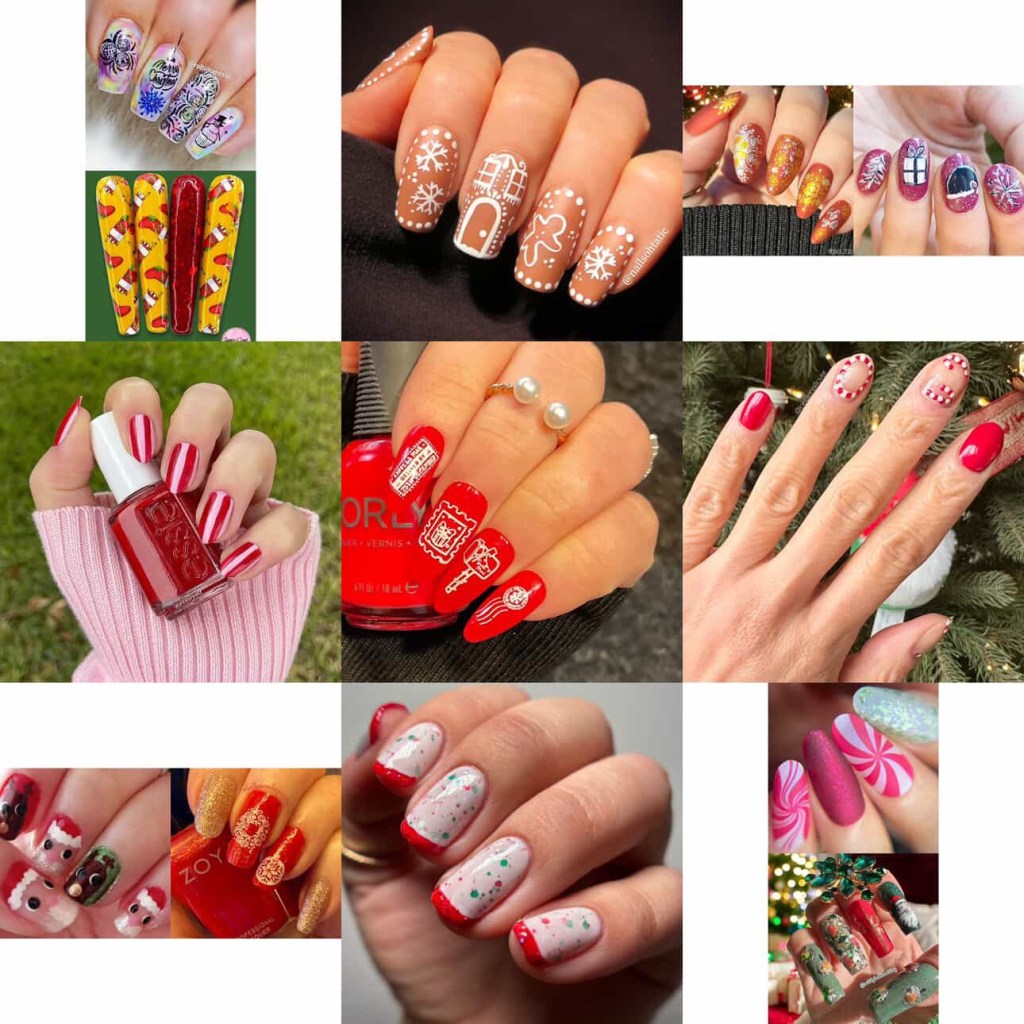
& don’t forget to click over to Instagram & check out the hashtag #christmasnailartmanicollab2025 to see all the other amazing gorgeous designs & nail artists. You might find a new artist you love!
♥︎