Freehand Herringbone Pattern Nails

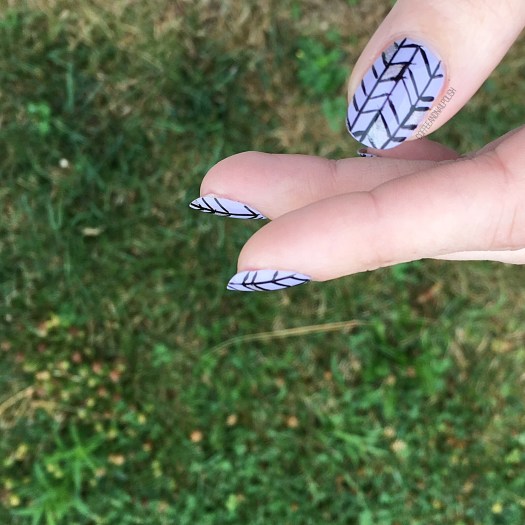
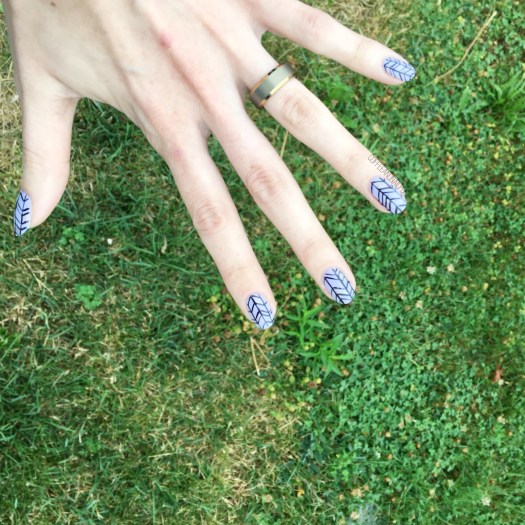
Happy Friday lovelies, & happy almost weekend! Today I’m sharing a fun design I freehanded recently. As I’ve mentioned, oh, about a thousand times already, I bought a new striper a few weeks back, & I’ve been obsessed with them. These are the kind of designs I’ve been doing forever, & they never get old. This look was actually inspired by a mani swap I did with @armstrongnails back in 2015.

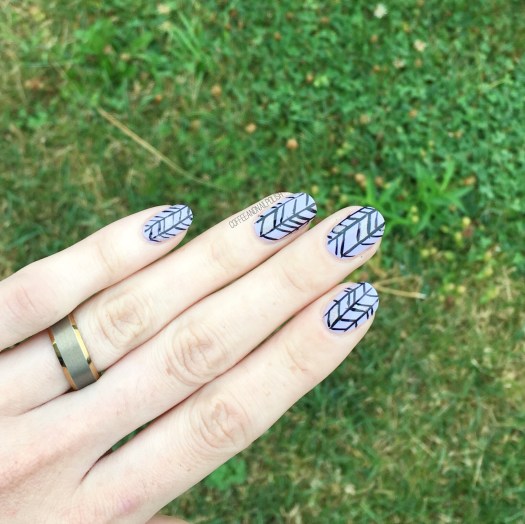
For this manicure, the polishes I used were:

  • Base Coat: OPI Nail Envy
  • Top Coat: Essie Speed Setter
  • Claire’s Mood Nail Polish Pastel Blue Mood
  • Essence We Will Spock You
  • Kiss Products Nail Art Striper in Black
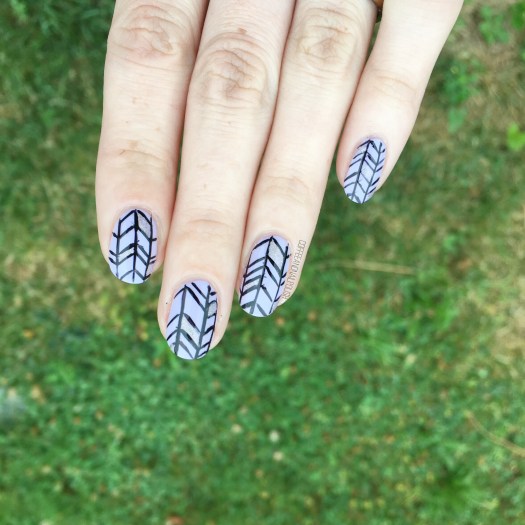
You can always tell how in love with a manicure I am based on how many photos I take of each design. I was a little obsessed with this look. I only wish the holo had showed up a bit better in pictures, but I took these early in the morning before the sun really came out.

This herringbone pattern is making me think of Fall & making me so excited for Fall. 🍁 I already have so many polishes picked out for the season, & I can wait to start digging into my darker shades. You can never go wrong with khaki, plum or navy nails, am I right?

what do you think of this look? What colour are you most excited for this Fall? Share all your thoughts down in the comments below!

Purple & Silver Racing Stripes

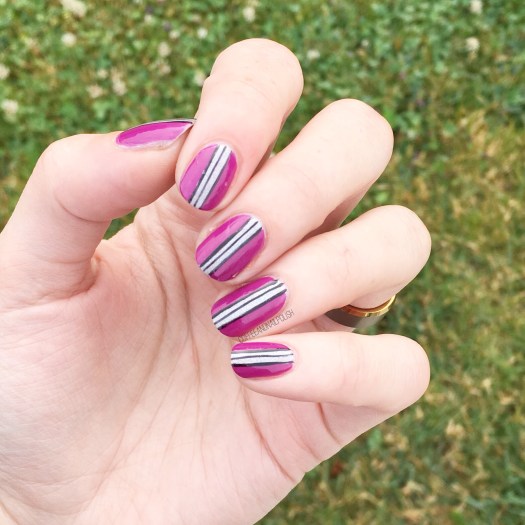
Happy August lovelies. Its that time of year… stores are beginning to set up for back to school & my cravings for all things Fall themed hit hard. Thankfully the 30+ degree weather has been keeping me in a Summer state of mind & keeping neon shades on my nails!

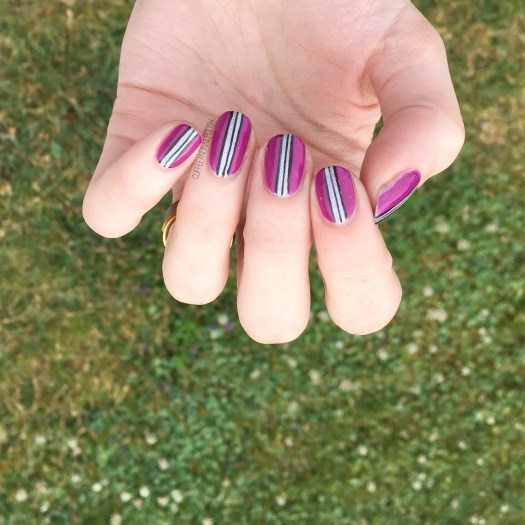
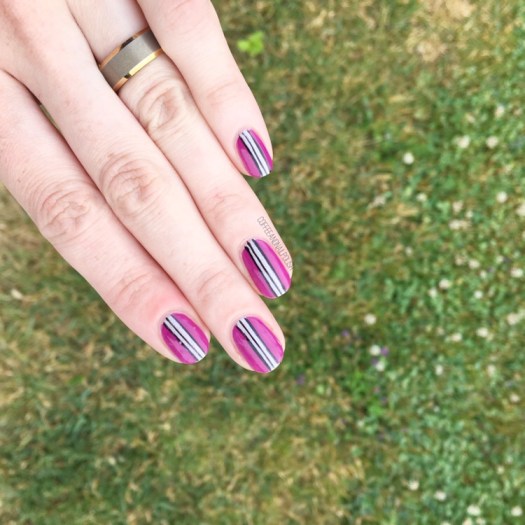
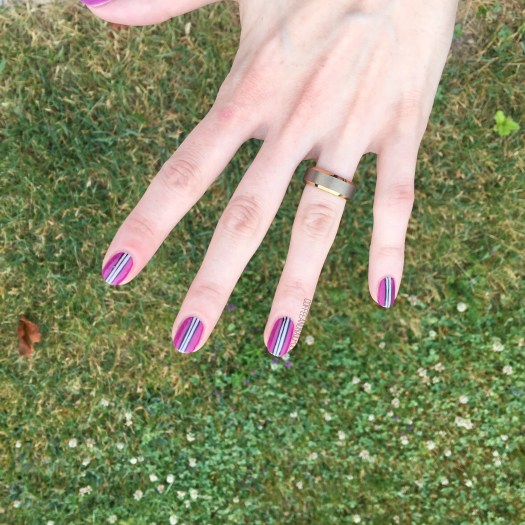
Today’s nails is a simple look that’s easy to do, but makes your nails look way longer than they actually are thanks to the vertical stripes. It’s also a great way to practice your freehand line work! I feel like mine has gotten a little rusty, so I’ve been taking every excuse to practice.

For this design, the polishes I used were:

  • Base Coat: OPI Nail Envy
  • Top Coat: Essie Speed Setter
  • Essence We Will Spock You
  • YSL Beauty Violine Surrealiste
  • Kiss Products Nail Art Striper in Black
  • Born Pretty Store Aurora Rainbow Nail Striping Tape in purple (item #40423) — I used the thickest tape of the 3

Using striping tape for your initial line in the middle makes creating your smaller black lines much easier. & then end result looks so cool! & gives your nails the appearance of extra length. Plus, like I said, for those of us still working on freehanding straight lines, this really helps with practicing.

I just love how these kind of look like racing stripes. Sadly the holo of Essence We Will Spock You didn’t want to show thanks to a hazy morning, but the little hint of holo with the purple looked awesome!

Do you have a trick for making your nails look longer? Let me know your thoughts down in the comments below!

Pastel Sponging & Freehand Geometric Lines

Happy Friday lovelies! Yesterday was spent surviving the craziness of the mall with the big Build-A-Bear event! Our store was insane, mostly from the people who gave up on waiting in the 8+ hour line. Props to anyone who stood in that line & waited it out… you’re the real brave people!

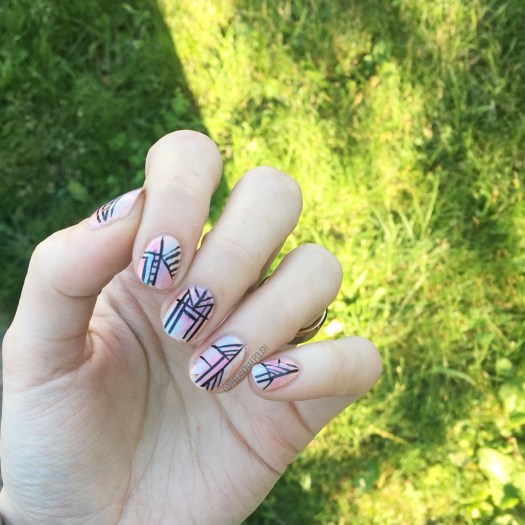
Today’s look was accomplished thanks to some brand new stripers from Kiss! I was in the need of some new ones, & found them on clearance so I knew I had to pick them up. A brand new striper is one of my favourite things for creating crisp lines. & since it had been so long since I’d done a geometric design, I decided to play around a little bit!

For this manicure, the polishes I used were:

  • Base Coat: OPI Nail Envy
  • Top Coat: Essie Speed Setter
  • Essie High Class Affair
  • L’Oréal Royalty Reinvented
  • Sally Hansen Miracle Gel Sweet Tea
  • Sally Hansen Miracle Gel Ocean Daze
  • Essie Splash of Grenadine
  • Kiss Products Striper in Black
  • Kiss Products Striper in White
  • Kiss Products Striper in Silver Glitter

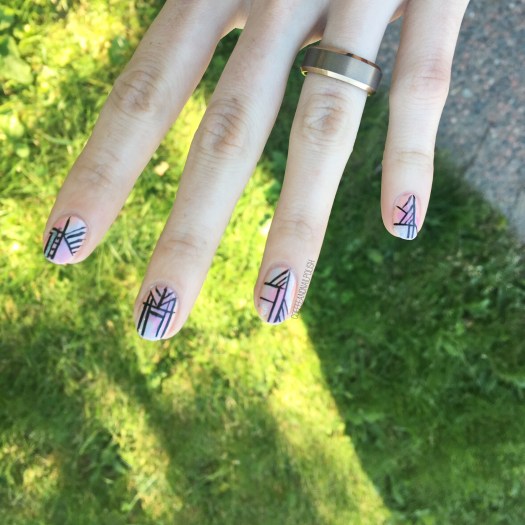
Please excuse the tip wear & chip on my ring finger — I wore these nails for over 2 days before I thought to take a picture of them. I was just to enthralled with how they looked, I completely forgot about photographing them!

If I had to pick a favourite nail, I think it would probably be my middle finger. The design feels very Art Deco. Definitely going to need to try this design again over a gold or bronze. It was be very Gatsby, which is a style I haven’t tried a whole design over. I definitely think it looks really cool over my pastel sponging though.

what do you think about this geometric design? Which nail is your favourite? Let me know your thoughts in the comments below!
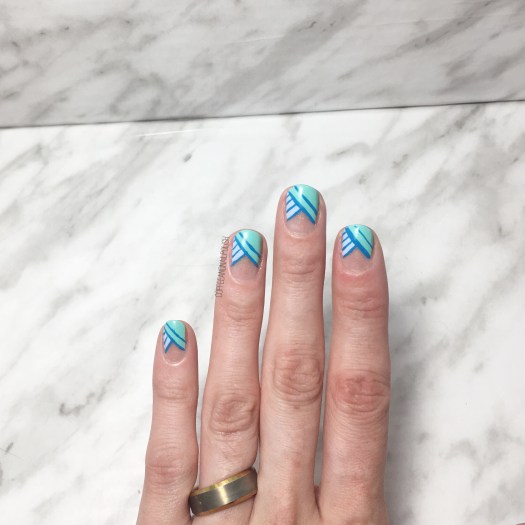
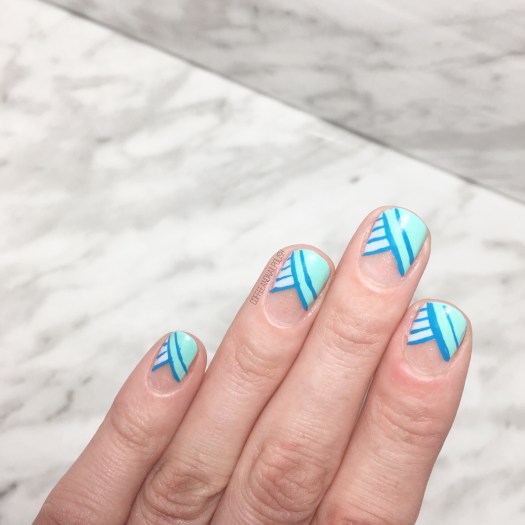
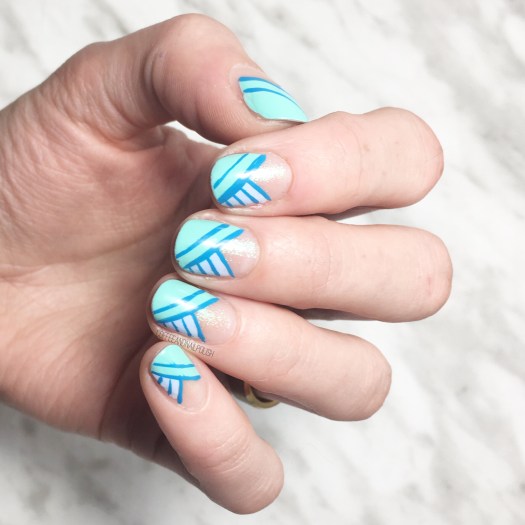
Even More Negative Space Half Moons!

Happy Wednesday lovelies! Who else can’t even believe it’s already Wednesday. It feels like this week is speeding by like crazy. Dreaming of the weekend already… it feels like it’s almost here. Which means spending all weekend (hopefully) barbecuing!

Today’s design is one I actually did back in June, during my super crazy two weeks at work, & never got a chance to share with you! This design was actually what I wore when I had my first Head Office visit at work. I was super nervous as this was the first time I was meeting one of my big bosses, so I wanted to make sure I was representing the brand as best as I could…. right now to the nails!

The polishes I used for this design were:

  • Base Coat: Essie Grow Stronger
  • Top Coat: Essie Gel Setter
  • Icing Mermaid Mint
  • Claire’s Matte Pastel Nail Polish Sorbet Mint
  • Claire’s Matte Pastel Nail Polish Sorbet Blue
  • Jordana Cosmetics Pop Art Nail Design in Blue Abstract

You know what’s awesome about working for a company which is geared towards a tween audience—you always have an excuse to do something fun with your nails! We sell a lot Nail goodies, so I’m always getting inspiration from them! This design was kind of a recreation of an old design that I had done, but with a few different polish picks.

You can seriously never go wrong with a good negative space chevron look. & the colour combinations are endless!

What do you think of this design? Are you as obsessed with negative space chevron looks as I am (I don’t think anyone is!)

Share down below all your thoughts!

Vintage Roses (take #17283)

You know when you did that perfect pair of jeans or shirt or outfit that looks amazing, & fits your perfectly, & just makes you look amazing? You wear it constantly (maybe more than you should), because it just looks so good? That is how I feel about floral & vintage rose nails. & that is why I have ANOTHER floral design to share with you.

This design is actually inspired by an old design of mine, this time using blues instead of pinks. Yep, I’ve done a different version of these simple roses a lot but they never get old to me, so hopefully they’re not tired to you.

For this manicure, to polishes I used were:

  • Base Coat: OPI Nail Envy
  • Top Coat: Essie Gel Setter
  • Essie Find Me an Oasis
  • OPI Angel with a Leadfoot
  • Sally Hansen Complete Salon Manicure Rose to the Occasion
  • Essie Bachelorette Bash
  • Sally Hansen Insta-dri Petal Pusher
  • YSL Beauty Vert D’Orient
  • Essie First Timer
  • NailStuff.ca Mixed Decoration Nail Wheel in Gold
  • Small dotting tool
  • Small detail brush from Bundle Monster

Oooooh these roses over white is definitely one of my favourite accent nails to do. I love all floral nails, but there is something about vintage roses that just looks so good: easy to do, but looks beautiful & complicated every time. Not to mention, roses are one of the easiest florals to do because I find (for me at least), they’re one of ten hardest florals to mess up.

My tutorial on how I do roses is Here.

So what do you think of this design? Are you a vintage roses person or do you prefer other floral? Share your thoughts down below!