Good morning loves & happy Thursday. I know, I know. It’s been a while. Remember when I said February was going to hopefully be an easier month? Well… not so much. Just not in the way I was expecting.
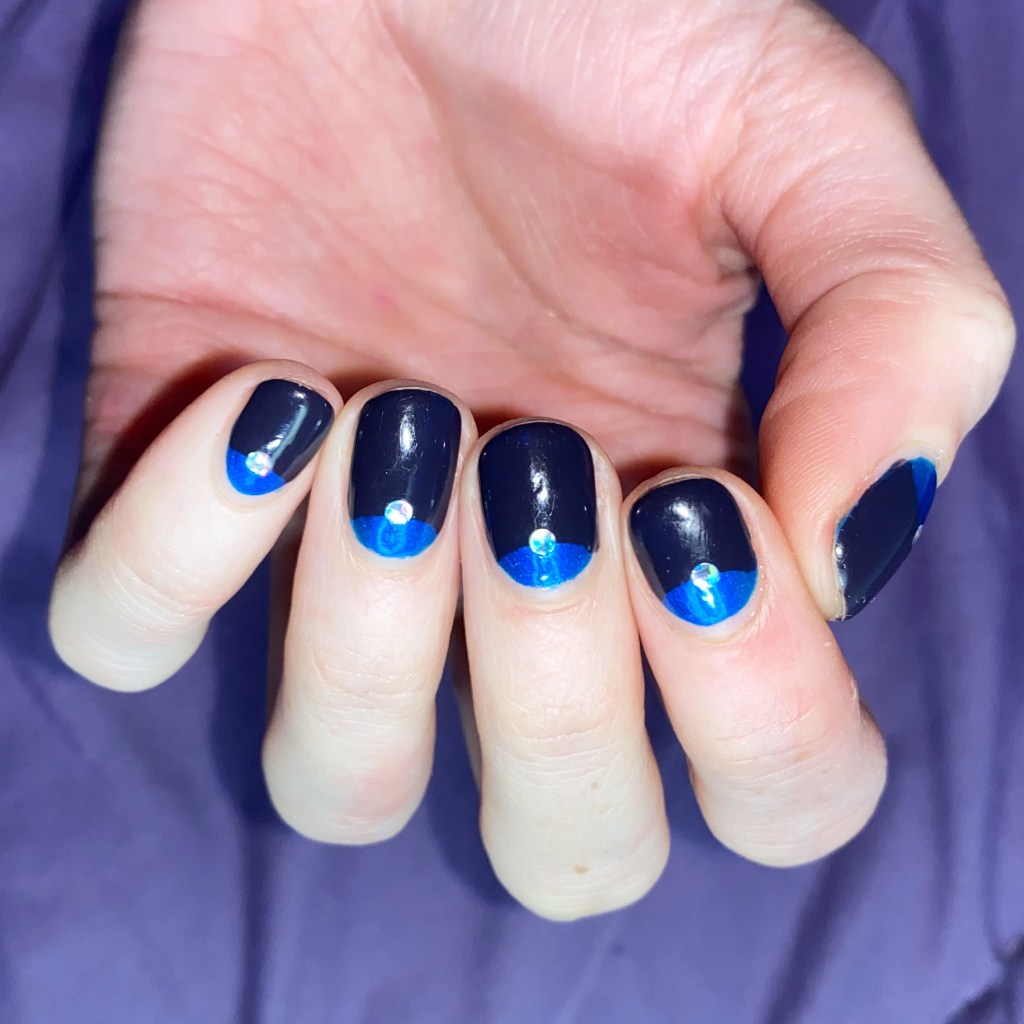
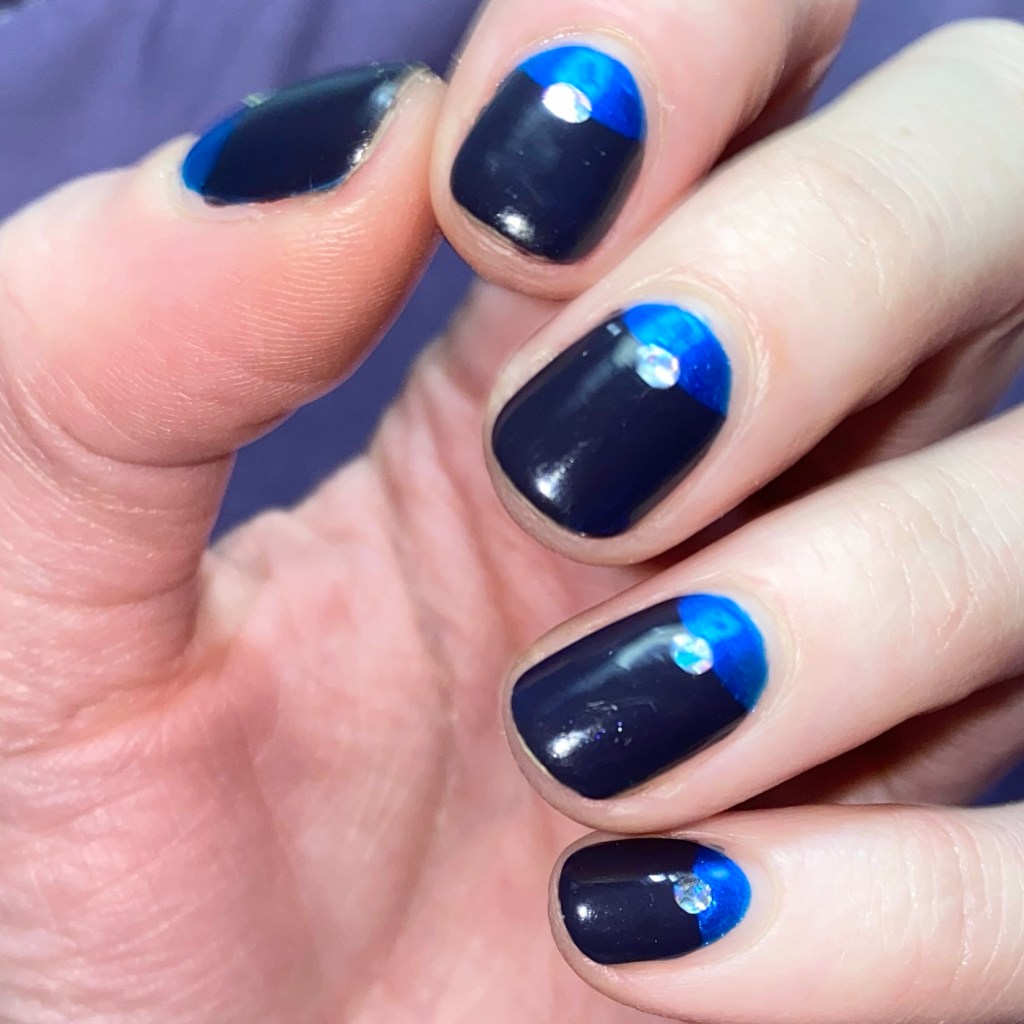
Anyways though — let’s not worry about that & instead focus on my nails! Because that’s why everyone is here, isn’t it? & it’s almost Valentine’s Day, which means I get to show off some V-Day inspired nails. 💅 💘 & I have lots more love inspired looks to come.


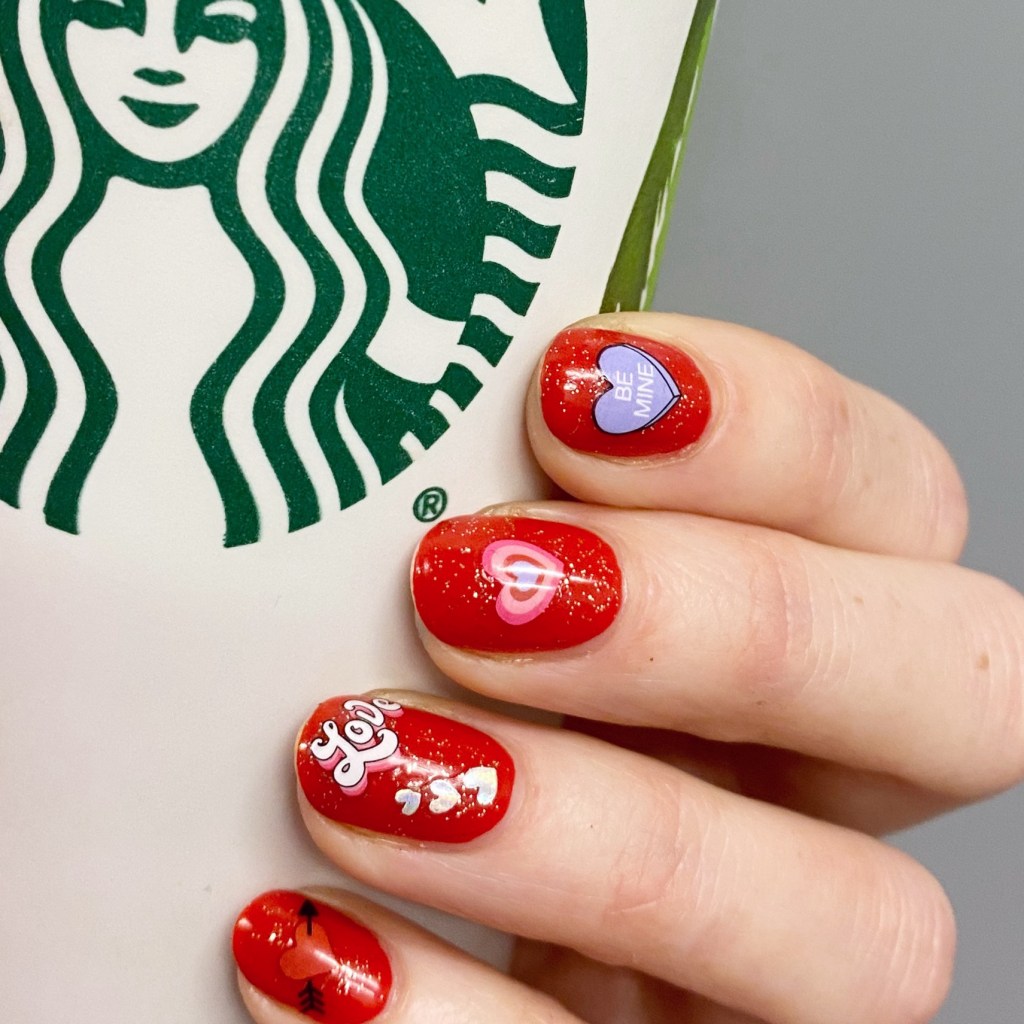
The polishes I used for this manicure are:
- Base Coat: NailStuff Essentials Base Coat *
- Top Coat: Essence Colour Shield Top Coat
- Essie Gel Couture Rock the Runway *
- Ellen Tracy Gold Glitter Topper (no name, my mum got it for me in a set from Winners)
- Valentine’s Day Nail Art Stickers (I don’t remember the brand, but I bought them at Indigo on clearance for like $5)
- Kiss Products rainbow & heart stickers


You would not believe the amount of nail art stickers & decals I have at my disposal that I onlh get to bring out a few times of years. But I do get excited when I have an excuse to use them! Stickers are such a great option when you’re short on time, or tired, or just feeling uninspired or lazy.
That’s why they’re one of my favourite nail art tools!

What do you think of these quick & easy Valentine’s Day nails using these cute graphic stickers? Do you love them as much as I do? Let me know your thoughts down in the comments below, & share your favourite brands of nail art stickers in the comments below.
Happy Thursday
🖤