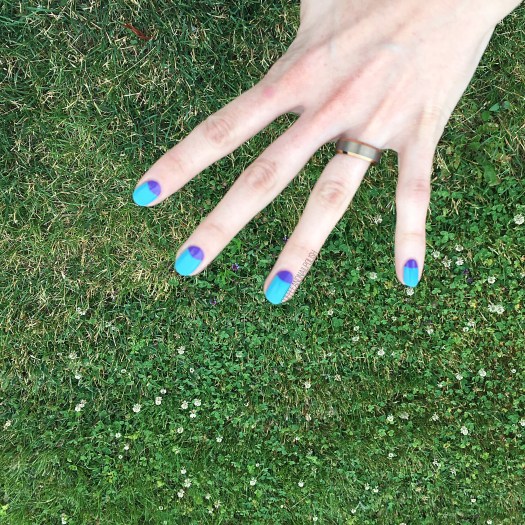
Spring Half Moons

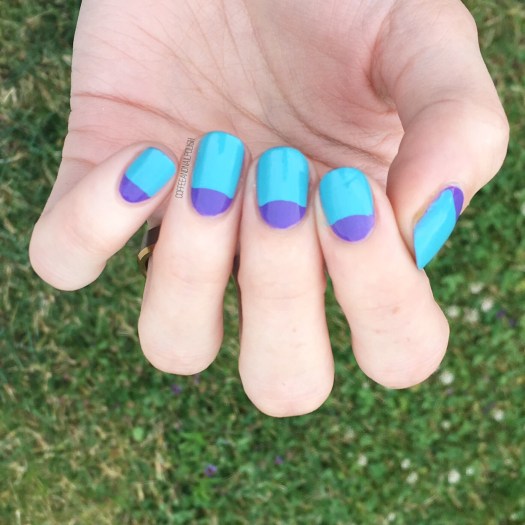
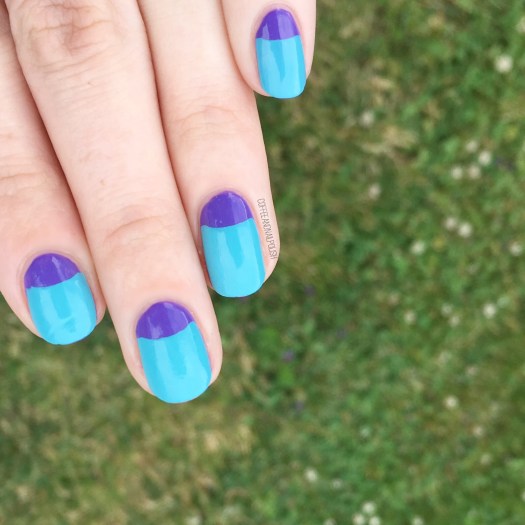
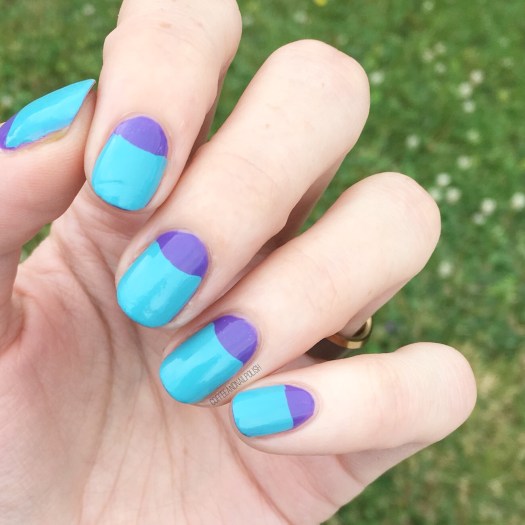
Good morning & happy April! Now that the weather has been turning around & I can finally break out the Spring dresses, it means I need a manicure to match!

& I was really, really feeling a Peach & mint combo. I thought about some floral, but honestly I was feeling so exhausted that I decided on something a little faster. & so I turned to a tried & tested favourite! The half moon.

The polishes I used for this look were:

  • Base Coat: Nailtek 2
  • Top Coat: Seche Vive
  • Sally Hansen Miracle Gel Malibu Peach {PRsample}
  • Essie Mint Candy Apple
  • Paper Hole reinforcement stickers

This is the greener version of Essie Mint Candy Apple–I also have the blue version as well (which was gifted to me, & I do t think I’ve worn it yet so I’ll have to change that!) This colour scheme definitely screams Spring to me, so bright & colourful & vibrant. It’s exactly what we need after these long months of snow & cold & yuck.

Just look at how lovely that combo is!

What colour combinations are you loving for Spring? What kind of nail art are you looking forward to for the warmer months? Let me know down in the comments below! 🌸

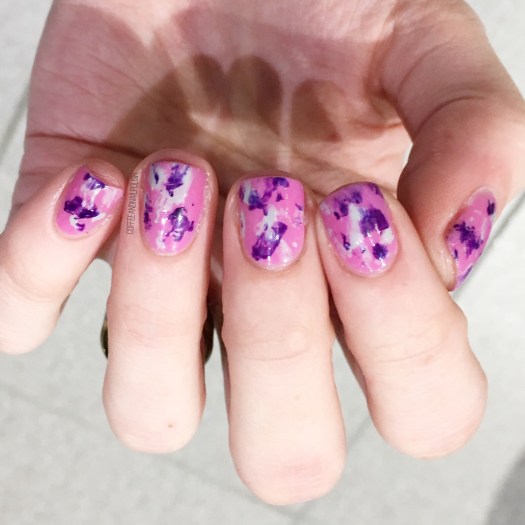
Purple Saran Wrap Splatter Nails

Good morning & happy Saturday! & happy March as well (how crazy is that?) Today I have another fun nail art look to share & it’s a super easy design that I just love: Saran Wrap splatter nails.

I think this is one of my favourite easy nail art looks, mostly because I literally takes no talent at all. Or tools for that matter! You just need polish, & some crinkled up Saran Wrap/plastic wrap, or even an old plastic shopping bag.
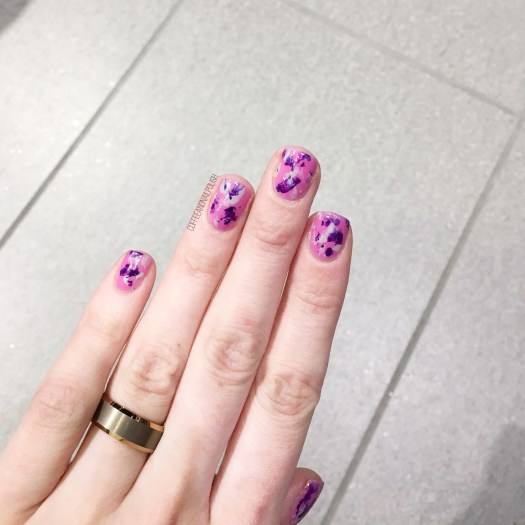
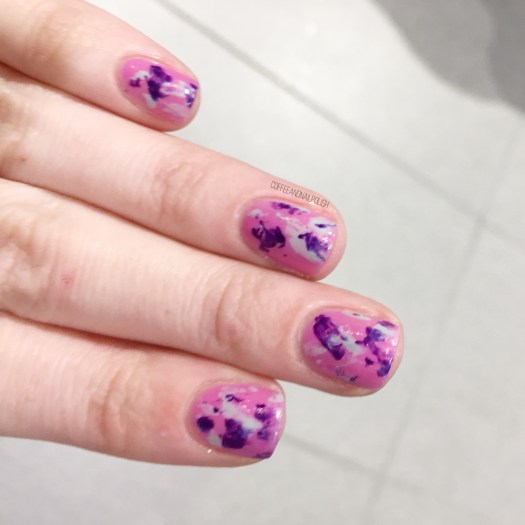
For this manicure, the polishes I used were:

  • Base Coat: OPI Nail Envy
  • Top Coat: Essie Speed Setter
  • Essie Splash of Grenadine
  • Color Club Disco Dress
  • Quo by ORLY Color Amp’d City of Angels
  • Crinkled up plastic bag

This technique honestly is one of my favourites & return to designs as it’s just so easy & relatively mess free. One of these days, maybe I’ll manage to do a video tutorial to show the just of it, but in the mean time you can check out my previous Saran Wrap designs for a run through of how to do them!
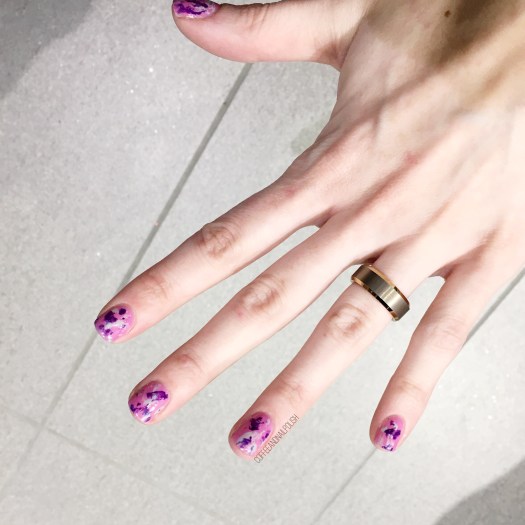
What do you think of this design? Have you tried the technique yet? Let me know what you think down in the comments below!

(Also guys… sorry about the picture quality… work lighting is not nail art friendly!)

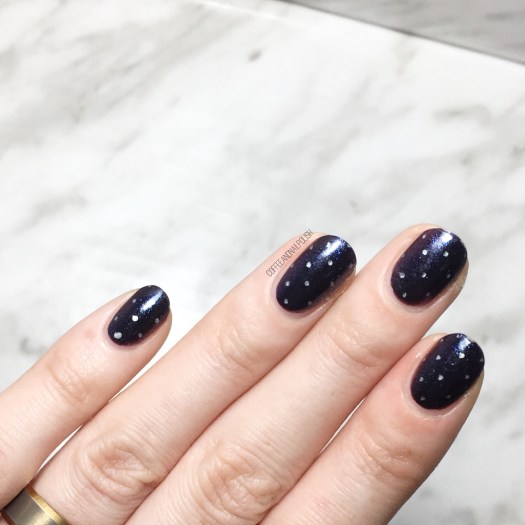
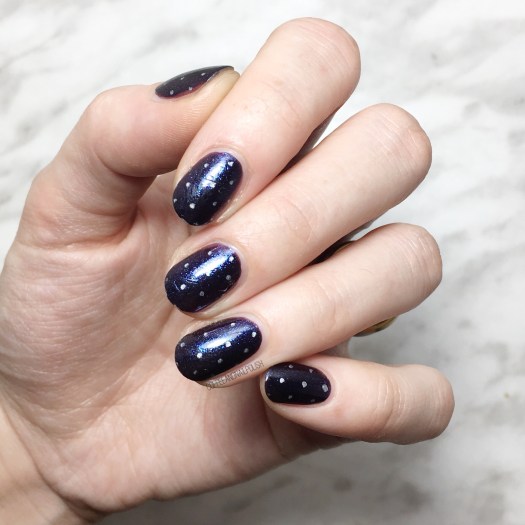
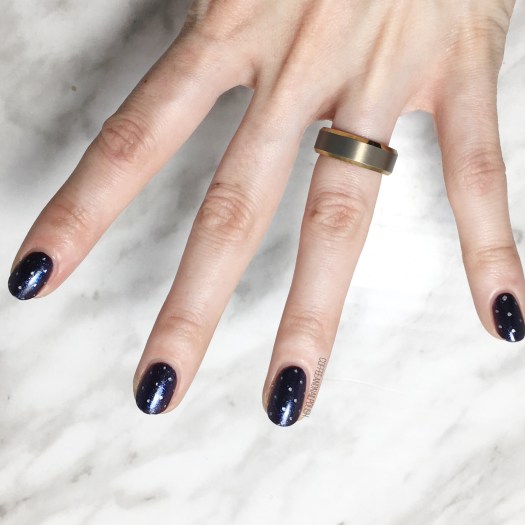
Dark & Simple Dotticure

Good morning lovelies & happy Wednesday! Today’s look is one of my favourite easy nail ideas–a simple dotticure. Seriously, is there any easier way to add a little fun to other wise boring nails then with a few carefully placed dots? (Especially when you stay up too late binge watching Netflix & forget all about doing your nails…)

For this manicure, I pulled out one of my beloved Sally Hansen nail art pens. I’m not sure if you can still purchase these (I haven’t looked in a while) but a few years ago I picked them up & they’re one of my favourite & easiest ways to create polka dots! There is something so easy about using a pen instead of a dotting tool for creating teeny, tiny polka dots.

For this manicure, the polishes I used were:

  • Base Coat: Essie Grow Stronger
  • Top Coat: Essie Speed Setter
  • OPI Cosmo With A Twist
  • Sally Hansen I ♥️ Nail Art pen in Silver

What I love about this look is how easy it is. Paint nails. Let dry a few minutes. Dot with nail Art pen & seal with top coat. Bam, done! No tools even needed. & you don’t even need to worry about cleaning off your dotting tool & then re-dipping it into the polish, so finishing your nails is a whole lot faster. & the dots seem to end up being more similar than when I try to do the same look with a dotting tool.

so what do you think of this look? Are you a fan of dotticures? Share your thoughts down in the comments below! ♥️

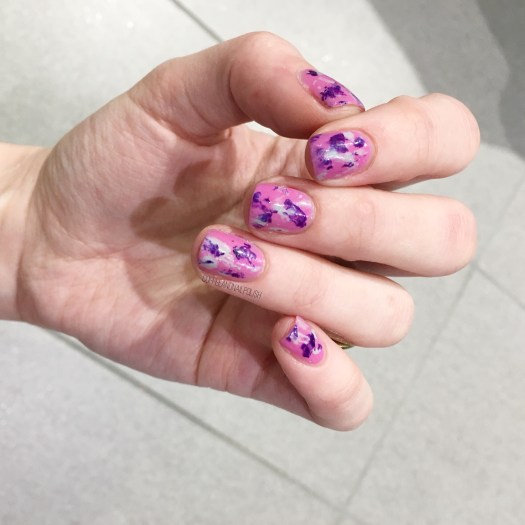
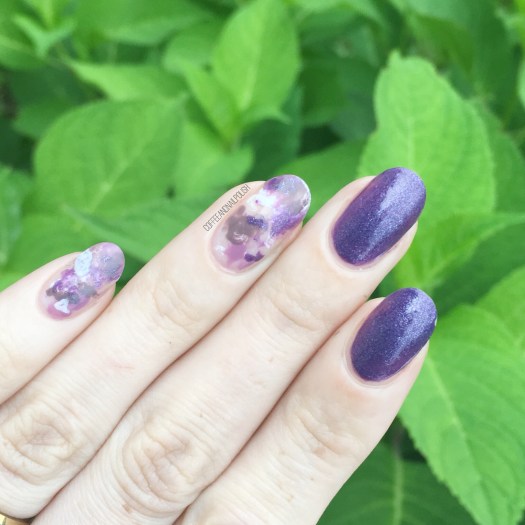
Purple & Grey Saran Wrap Splatter

Hello lovelies! Hope everyone is having a good start to their week. Today I have a brand new nail look to share with you featuring one of my favourite easy nail art techniques–a Saran Wrap splatter. This time, I wanted a deeper more jewel toned colour scheme (because those Fall vibes are calling me) so I picked a few of my favourite Fall-ish shades for the occasion!

For those of you who don’t know, this whole look is created easily using crinkled up Saran Wrap/Plastic Bag. You paint you polish onto the crinkles up bag & then dab it into the nail. That’s how you create the “splatter” effect. I really love doing my splatter over a “naked” base, so that some of the natural nail comes through.

For this manicure, the polishes I used were:

  • Base Coat: OPI Nail Envy
  • Top Coat: Essie Speed Setter
  • China Glaze Grape Juice
  • OPI One Heckla Of A Color!
  • OPI Angel With A Lead Foot
  • Essie Merino Cool
  • Saran Wrap
  • Edge Perfection Cutcile Barrier

Can you believe it’s almost the end of August?! I can’t. Where did our Summer go? Pumpkin Spice lattes are officially back, which I think we can all agree means that it’s officially Fall. & that means it’s going to be all about deep dark nails over here! Ooooh & Halloween. I cannot wait to create some Halloween nails too!

What do you think of this splatter look? Which colour combination would you love to see? Share down below!

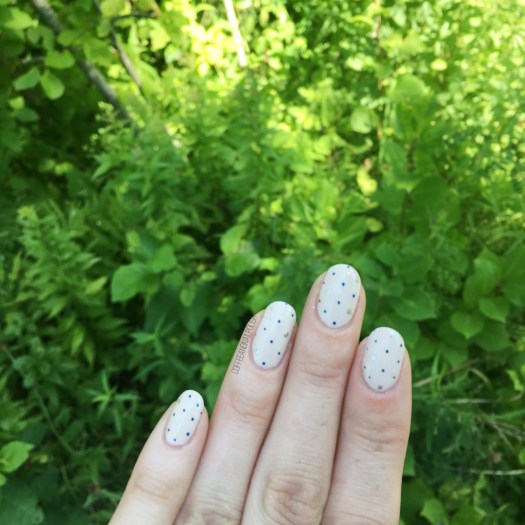
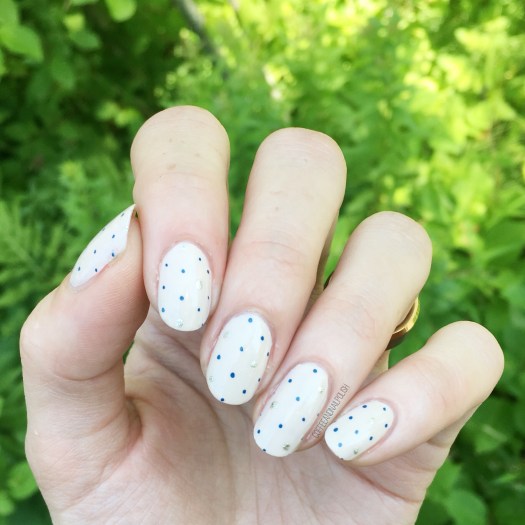
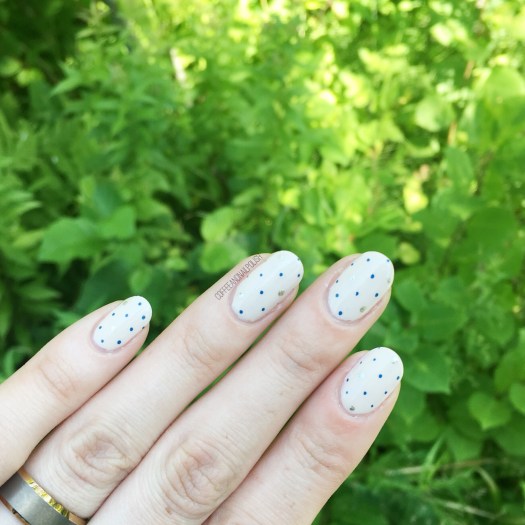
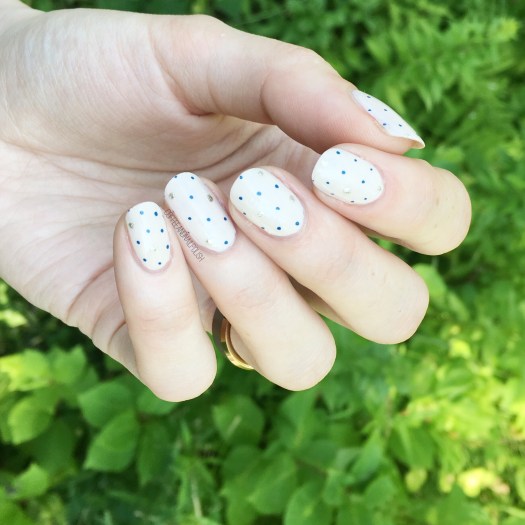
Petite Dotticure

Good Morning Lovelies & happy Tuesday. I hope everyone had a good weekend & those who had yesterday off had a good extra long weekend! Today I’m starting off with a dotticure. It feels like absolute ages since I wore polka dots of my nails, so this manicure was long overdue. Plus I was in need of a quick look that I could do, looked snazzy & still meant I could get to bed at a reasonable time. Polka dots are always the right answer!

For this design, the polishes I used were:

  • Base Coat: OPI Nail Envy
  • Top Coat: Essie Speed Setter
  • ORLY Decades is Dysfunction
  • Sally Hansen I ♥️ Nail Art Pen in Navy
  • Essie Jiggle Hi, Jiggle Low
  • Small dotting tool

Don’t get me wrong, I love big bold dotticure designs (& I’ve been dreaming of a few as we get closer to Fall & Fall Polish season) but there is something about a teeny tiny dotticure that is just so satisfying. It’s such a fresh clean look, & so much more forgiving if your polka dots aren’t completely perfect. Also I still love using my Sally Hansen nail art pens for this purpose! So much easier to control when creating dots. & let’s be honest—when it’s 11pm & I have to be up at 5:45am to get ready for work, I don’t need to be re-dotting my nails for hours trying to get them right!

What do you think of this dotticure look? Do you prefer petite or regular sized polka dot designs? Let me know your thoughts down in the comments below! & if there is any looks you’d love to see me do, share them too!

♥️