Blue on Blue Dotticure

Good morning lovelies & happiest of Mondays! I hope the weather where you are is nicer than here on the East Coast — it’s raining, again.

My favourite.

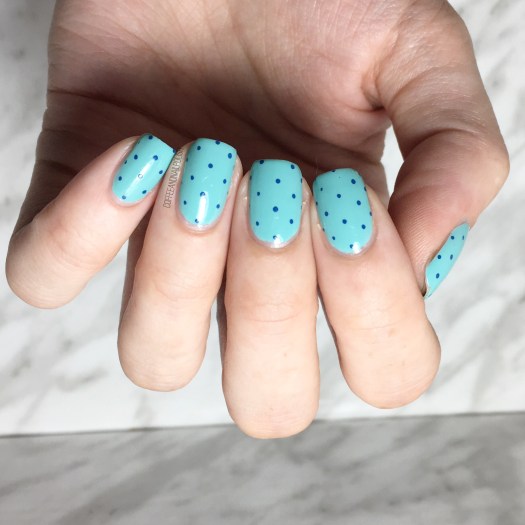
Today I’m showing off a quick & simple nail art look that I did last week. Now that the countdown for baby #2 is down to days, I’ve been trying to keep my manicures quick & simple. & there is nothing I love more when I want quick nails than a dotticure!
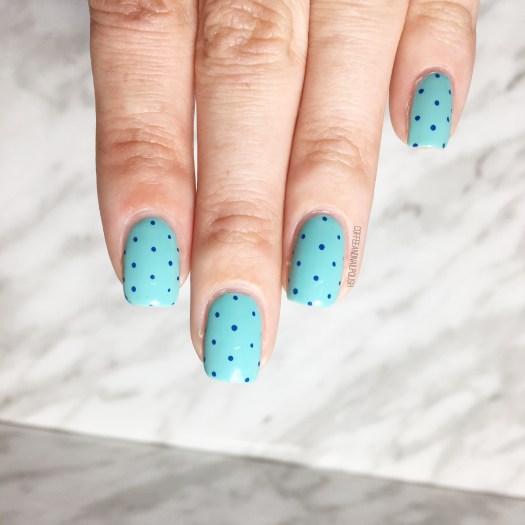
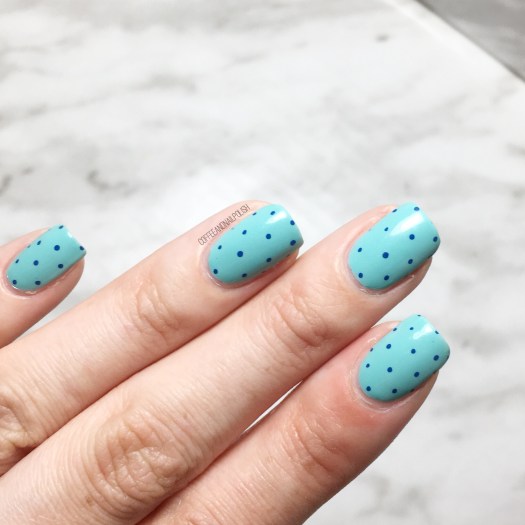
The polishes I used for this manicure were:

  • Base Coat: Sally Hansen  Green Tea & Bamboo Strengthener
  • Top Coat: Essie Speed Setter
  • China Glaze For Audrey
  • Sally Hansen I ♥️ Nail Art Pen in Navy
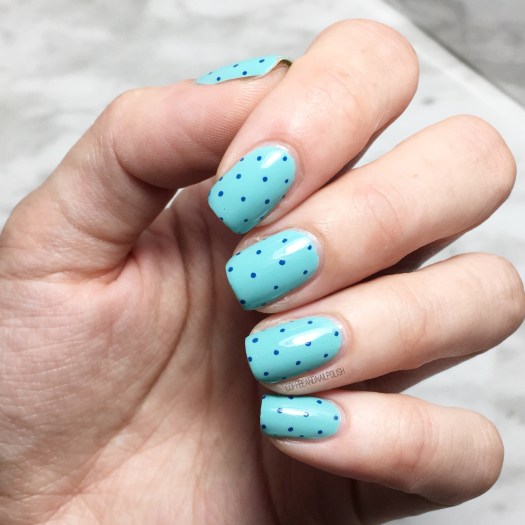
I’ve mentioned before how much I love my Sally Hansen nail art pens for creating dotticures. I find they’re the easiest because you don’t have to constantly need to reapply polish to your dotting tool, you just need to touch the nail. Obviously, that’s for petite polka dots as opposed to bigger dots.

This was also my first time wearing China Glaze For Audrey in absolute ages & I forgot how pretty it is. Fun fact: For Audrey was the very first China Glaze shade I ever bought (shortly after our very first Sally Beauty opened) & I bought it completely based on the fact Breakfast At Tiffany’s is one of my favourite movies.

What do we think about this dotticure? Do you have a favourite polka dot combination? Share your favourites down in the comments below!
Summer-y Neon Dotticure

{PR sample}

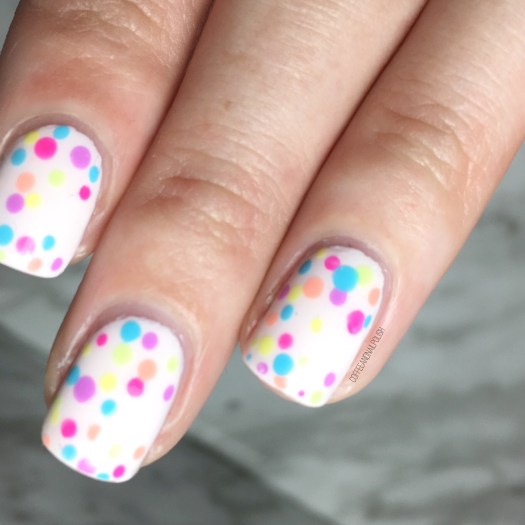
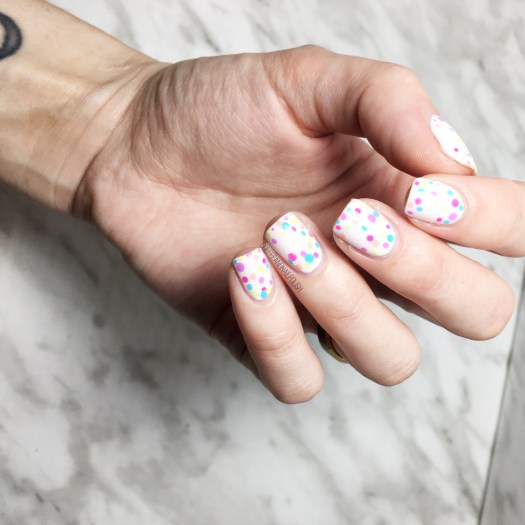
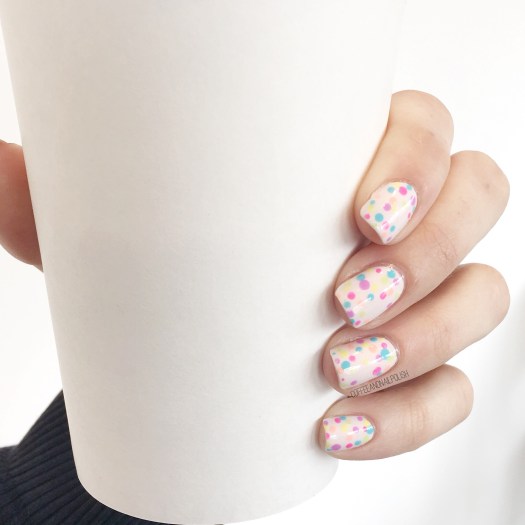
Good morning lovelies! & happy Tuesday! I hope everyone is having a great start to their week — we’re having a beautiful Sunny day today & I plan on fully embracing all the sunshine. So what better day to share this fun neon dotticure I did last week.

Again, I had to reach for my fun Neons from Sally Hansen Canada! I’m seriously either grabbing these Neons & my Holos which is why you see me grabbing either so often!

For this manicure, the polishes I used were:

  • Base Coat: Sally Hansen Green Tea & Bamboo Strengthener
  • Top Coat: Seche Vive
  • Top Coat: Sally Hansen Miracle Gel Top Coat
  • Sally Hansen Miracle Gel Electri-Lime
  • Sally Hansen Miracle Gel Fuchsia Fever 
  • Sally Hansen Miracle Gel Lemon Chillo
  • Sally Hansen Miracle Gel Miami Ice
  • Sally Hansen Miracle Gel Peach Please
  • Sally Hansen Miracle Gel Violet Voltage 
  • Sally Hansen Miracle Gel Get Mod

Is there anything more fun than a dotticure? I just love how easy it is to do & how cute they look! With the white base, these remind me so much of candy! 🍭 I wore this design for a good 4 days before changing them up (this was day four) & they lasted an impressively long time without chipping! There was some growth near my cuticles, but other than that they were almost still perfect by day 4.

What design would you like to see next? What colours? Let me know down in the comments below!

Turquoise & Purple Marbled Nails

Good morning lovelies! I’m back from the land of the stomach flu. Thankfully I managed to avoid catching it but the rest of the house was not so lucky. After 3 days of basically hiding, I finally managed to do my nails & it feels so good. Especially since yesterday marks 🎉FIVE YEARS🎉 since the beginning of this little nail blog of mine.

& I totally forgot until yesterday (I blame pregnancy brain & trying to avoid gastro.) I’m going to do a post tomorrow soon I’ve been planning on writing forever, but in the meantime I have some quick & easy nails that have become a favourite over the years!

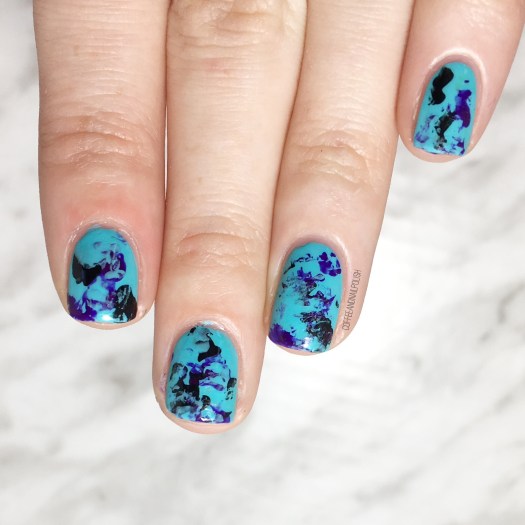
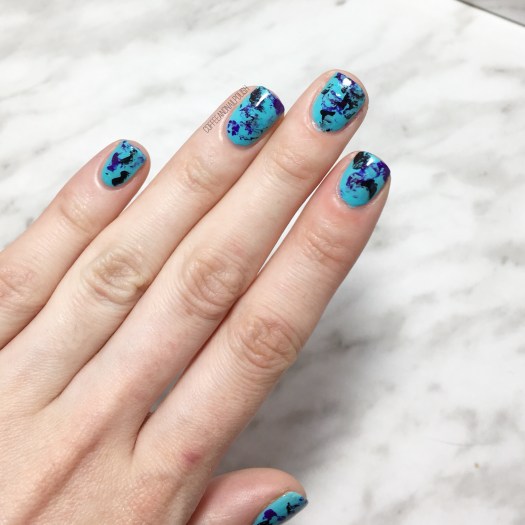
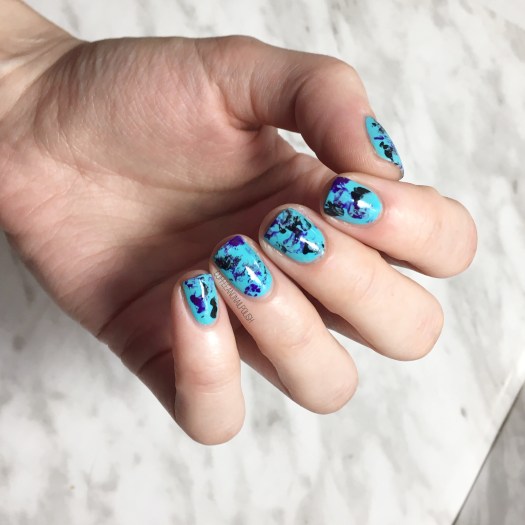
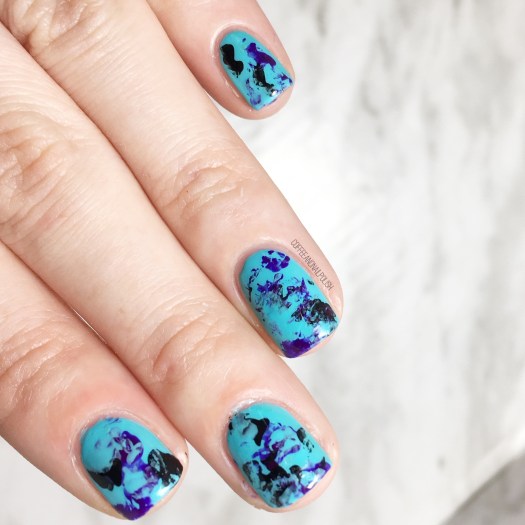
Today’s look is another Saran Wrap splatter/marble.

The polishes I used for this look were:

  • Base Coat: Nailtek 2
  • Top Coat: Seche Vive
  • Icing Matte Effect Polish 60217
  • Color Club Disco Dress
  • Sally Hansen Hard As Nails Black Heart
  • Crinkled up plastic bag

Usually I try to create a splatter effect when I do my Saran Wrap nails, but I wanted to do more of a marble look this time so I layered my polishes… a splatter of purple, a splatter of turquoise, a splatter of Black & then a little more turquoise. This created the more marble effect & they look EXACTLY like how I pictured in my head!

I’m seriously just so in love with how they turned out.

I just want to say thank you really quick to everyone who has been checking out this blog for the last five years. From my early days with some questionable photography skills to now, you guys are the reason I keep coming back… even if there are long pauses due to things like morning sickness & birth haha.

& I’ll keep coming back no matter what new adventures life comes my way.

💙💙

Pink Purple Blue Holo Gradient

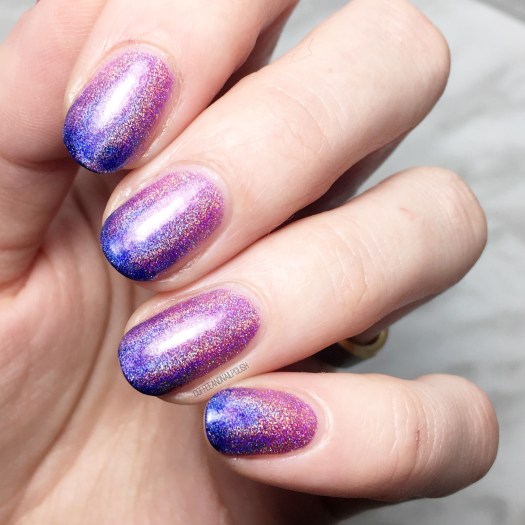
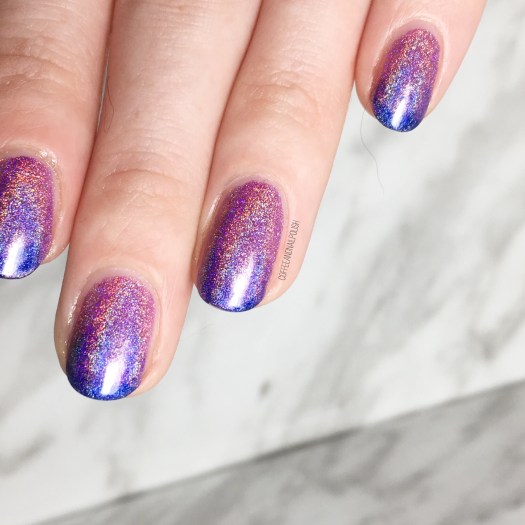
Good morning everyone & happy Wednesday! Today I’m showing off some holo nails with this pinky purple blue holo gradient. Sometimes you just need to do something a little fun on your nails to jazz up your Wednesday!

This gradient was a spur of the moment decision & because of that I couldn’t find my usual sponges so I decided to try using a make up applicator. It didn’t turn out exactly like I wanted (or how I’ve seen other nail artists do it) but that’s okay because the holo kind of hides that fact! ✨Another reason everything is better with holo.

The polishes I used for this manicure:

  • Essie Grow Stronger
  • Essie Speed Setter Top Coat
  • Wrenn Polish Mesmerizing
  • Color Club Eternal Beauty
  • OPI Give Me Space
  • Small Sponge make-up applicator

Look. At. That. Holo. Also please ignore the cat hair on my finger haha. Even though my sponging if the gradient was kind of a fail, the holo really hides that fact which I love. Next time I would probably try this colour combo the old fashioned way, but for a quick spur of the moment design, I still think these turned out great. Plus it was super easy, & when you’re tired & doing your nails at 11:30 at night, sometimes that’s the only thing that really matters.

what do you think of this gradient. What is your favourite holo polish? Let me know down below in the comments!

💕

Dark & Simple Dotticure

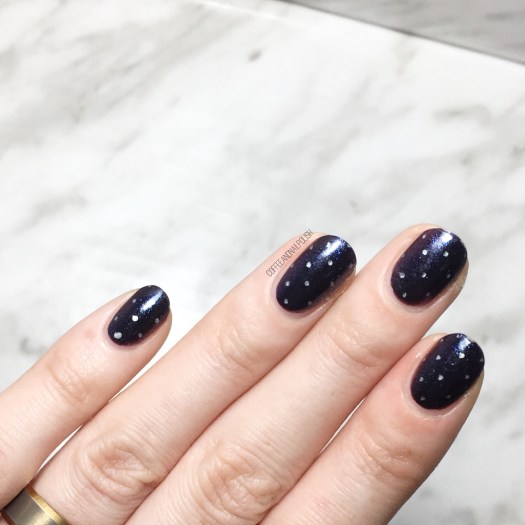
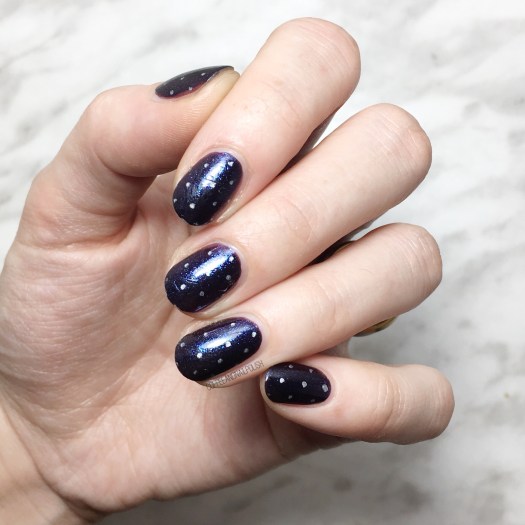
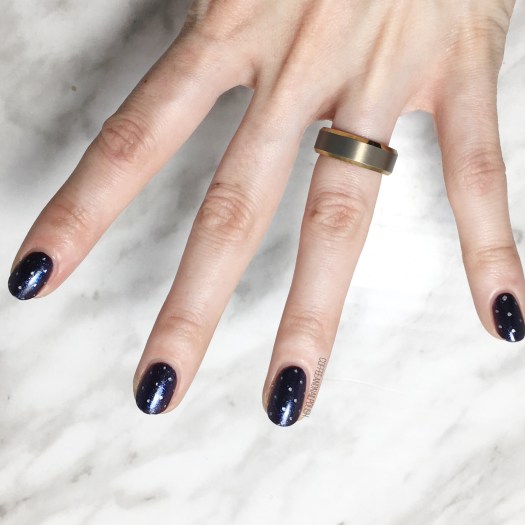
Good morning lovelies & happy Wednesday! Today’s look is one of my favourite easy nail ideas–a simple dotticure. Seriously, is there any easier way to add a little fun to other wise boring nails then with a few carefully placed dots? (Especially when you stay up too late binge watching Netflix & forget all about doing your nails…)

For this manicure, I pulled out one of my beloved Sally Hansen nail art pens. I’m not sure if you can still purchase these (I haven’t looked in a while) but a few years ago I picked them up & they’re one of my favourite & easiest ways to create polka dots! There is something so easy about using a pen instead of a dotting tool for creating teeny, tiny polka dots.

For this manicure, the polishes I used were:

  • Base Coat: Essie Grow Stronger
  • Top Coat: Essie Speed Setter
  • OPI Cosmo With A Twist
  • Sally Hansen I ♥️ Nail Art pen in Silver

What I love about this look is how easy it is. Paint nails. Let dry a few minutes. Dot with nail Art pen & seal with top coat. Bam, done! No tools even needed. & you don’t even need to worry about cleaning off your dotting tool & then re-dipping it into the polish, so finishing your nails is a whole lot faster. & the dots seem to end up being more similar than when I try to do the same look with a dotting tool.

so what do you think of this look? Are you a fan of dotticures? Share your thoughts down in the comments below! ♥️