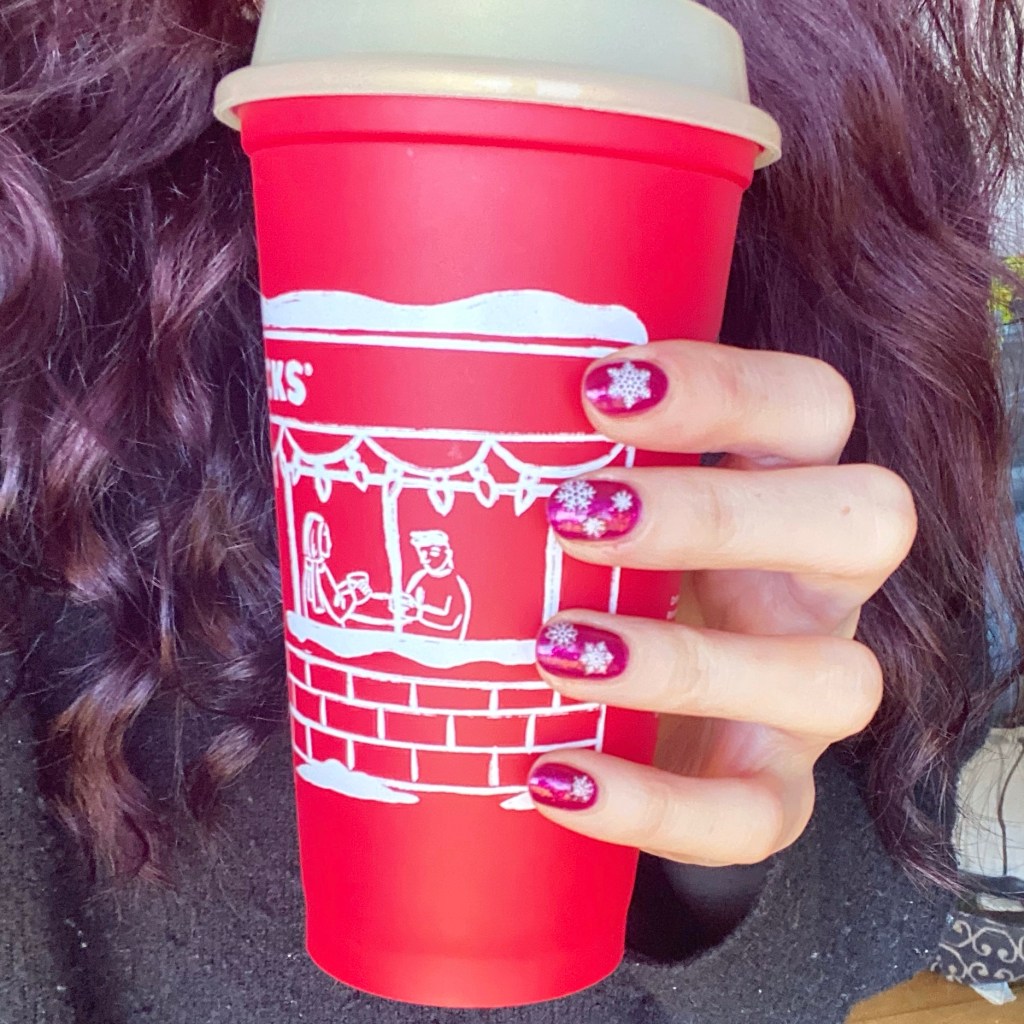
Pink Glitter Snowflakes

Hello lovelies!

Happy day after (American) Thanksgiving to my American readers, & happy Black Friday! This is my first year in a while I’m not working in retail for Black Friday sales, so I’m kind of enjoying the breather.

But we can’t deny — Christmas is coming. & even though I’m feeling less than zero Christmas spirit this year, I figured it was time I at least tried to summon some Holiday/Winter spirit. So naturally I thought we’d dip our toes in with some snowflake nail art stickers.
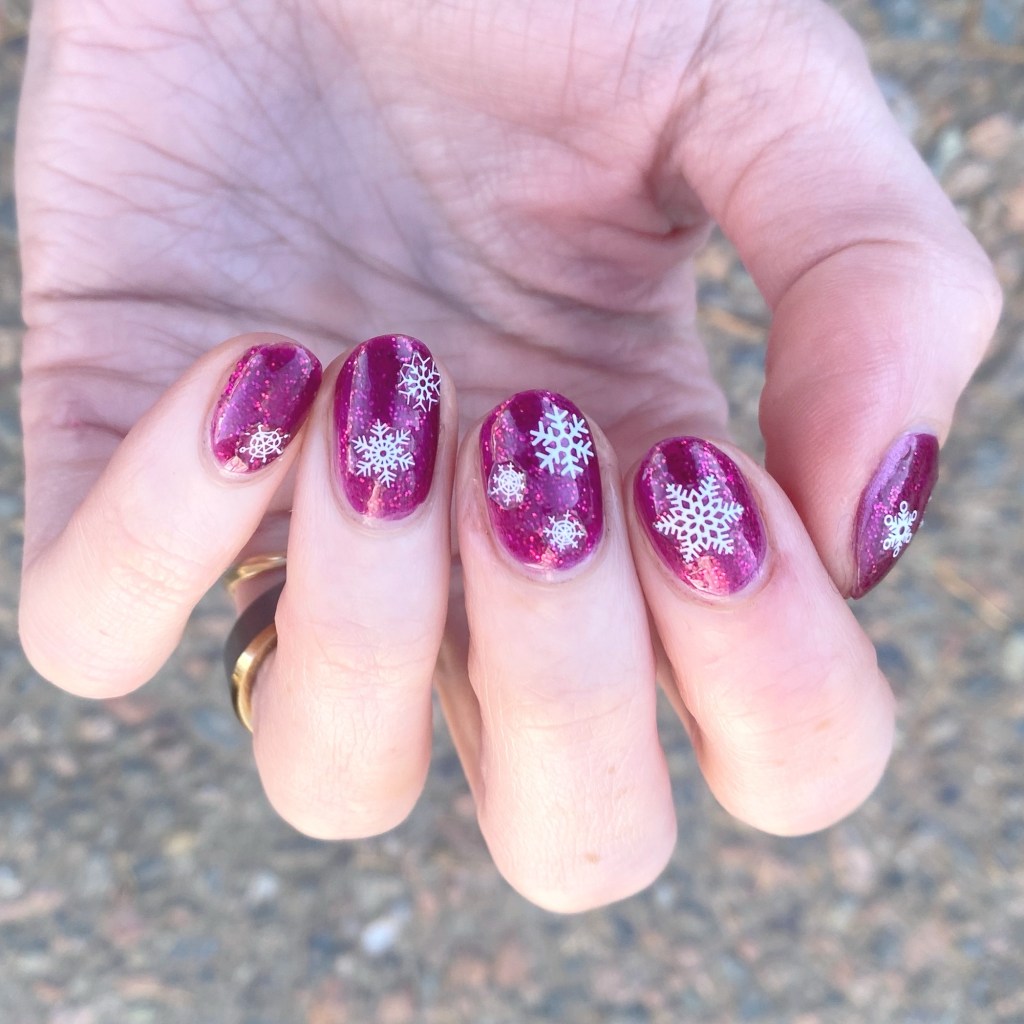
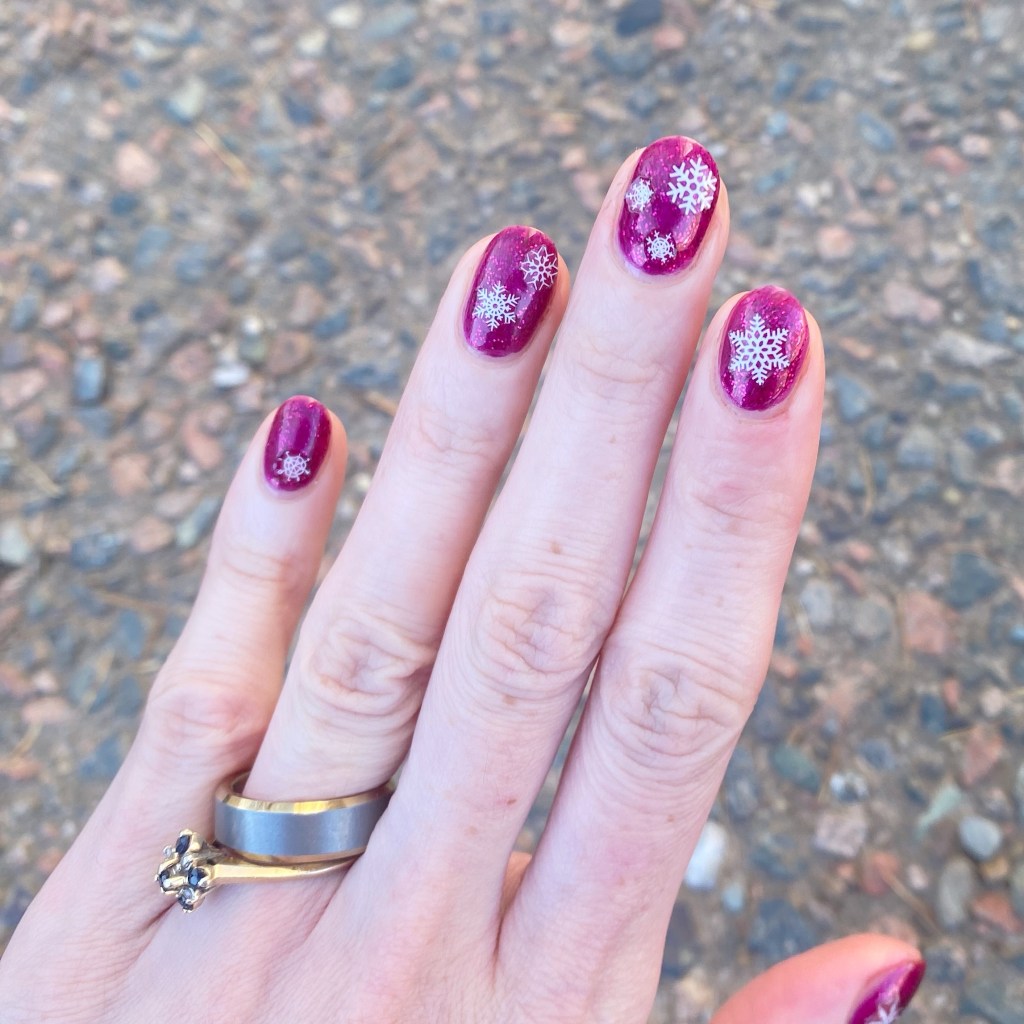
The polishes I used for this manicure are: 

  • Base Coat: Sally Hansen Miracle Cure
  • Top Coat: Sally Hansen InstaDri Top Coat (red bottle) 
  • Sally Hansen Miracle Gel Wrapped in Love
  • Ardene Dancing Queen
  • NailStuff.ca Snowflake Nail Art Stickers
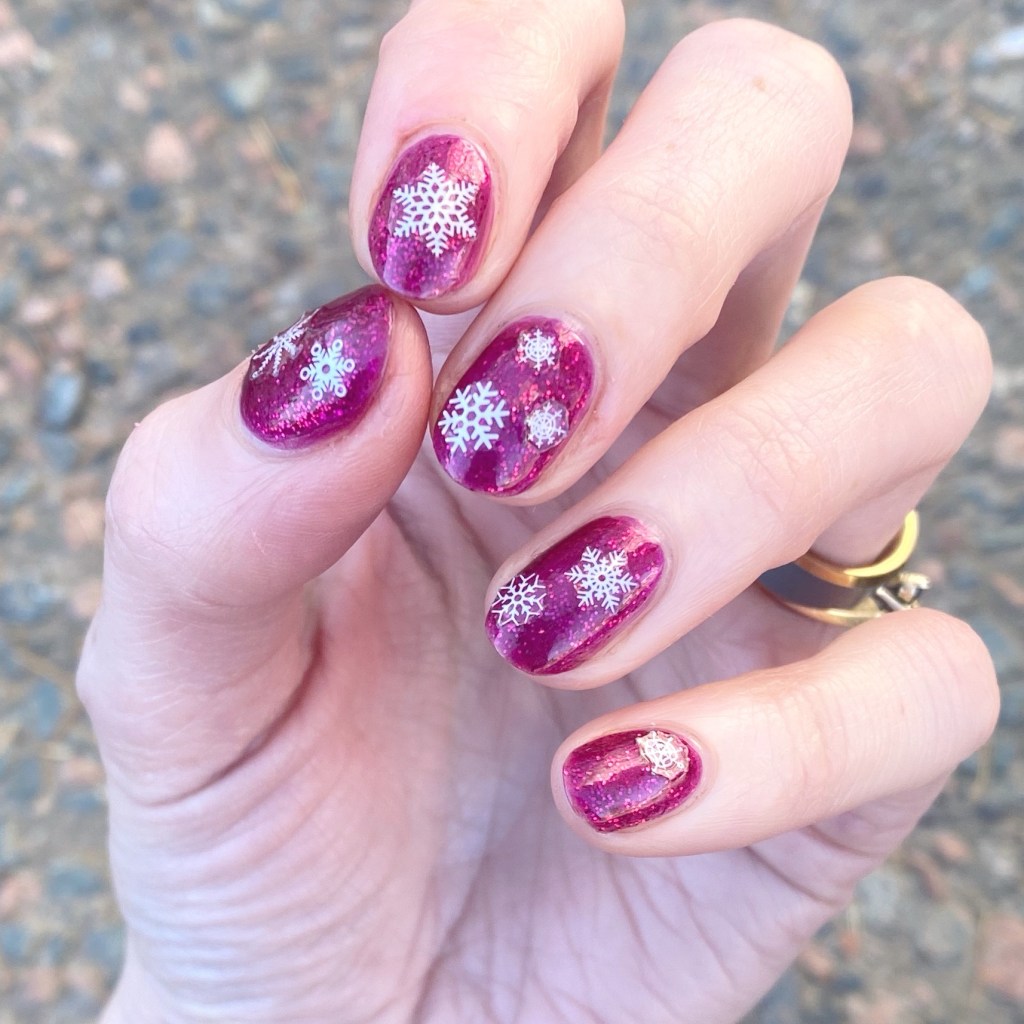
First off, I’m officially petitioning for glitter pink to become an official Christmas colour. Secondly, I love how cute these are! I’ve had these nail art stickers in my collection forever, & I love that they’re still being used for cute nail art looks.

& it was way simpler than me trying to hand paint snowflakes on my nails! The white of the stickers just pop so well against that pretty pink. Definitely giving Christmas vibes — at least for me.
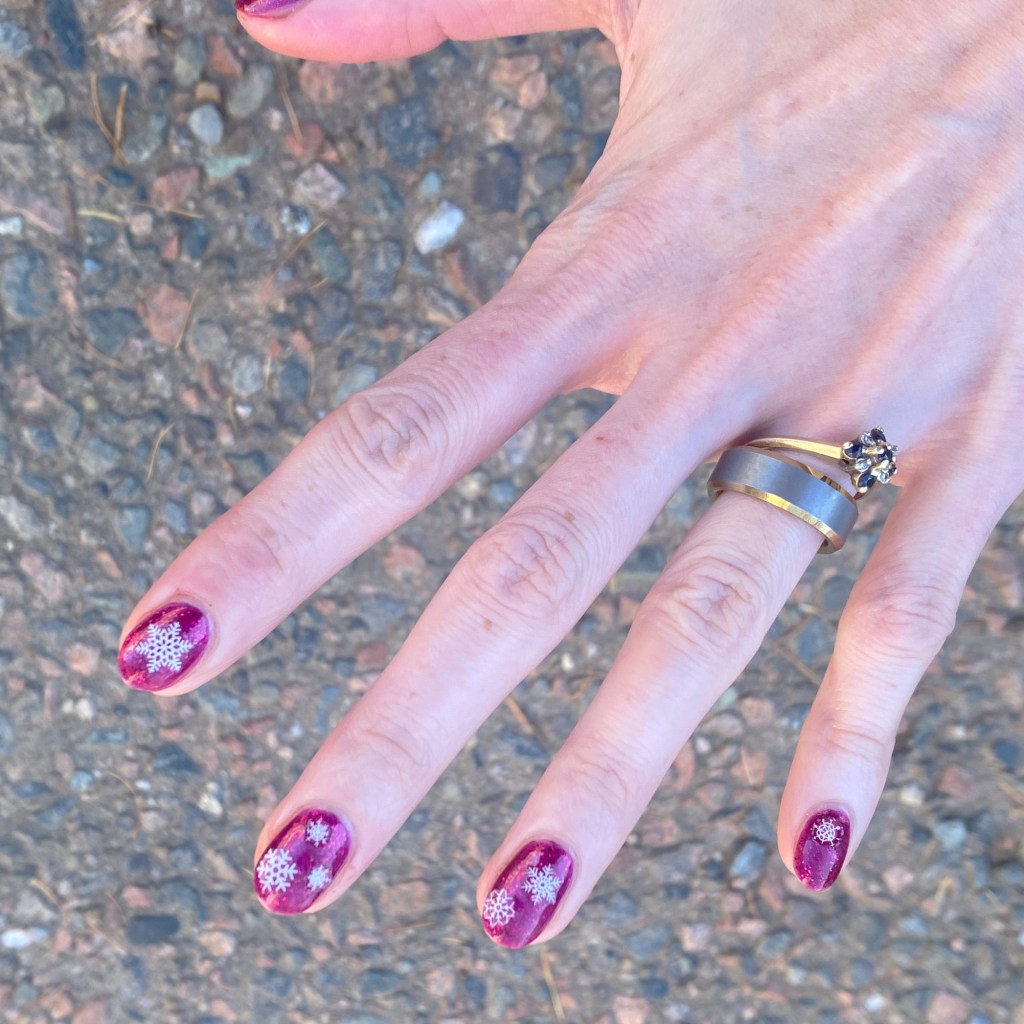
What do you think about these pink glittery snowflakes? Are they giving holiday vibes? Let me know all your thoughts in the comments below! & how you’re getting your nails into the festive spirit.

Happy Friday

🖤
Golden Drag Marble

Hello lovelies & happy Monday. Well, as happy as a Monday can be in November. They’re calling for snow today on my side of the country, but not sure if it’s going to amount of anything. But… can it be Summer again? I miss Summer.

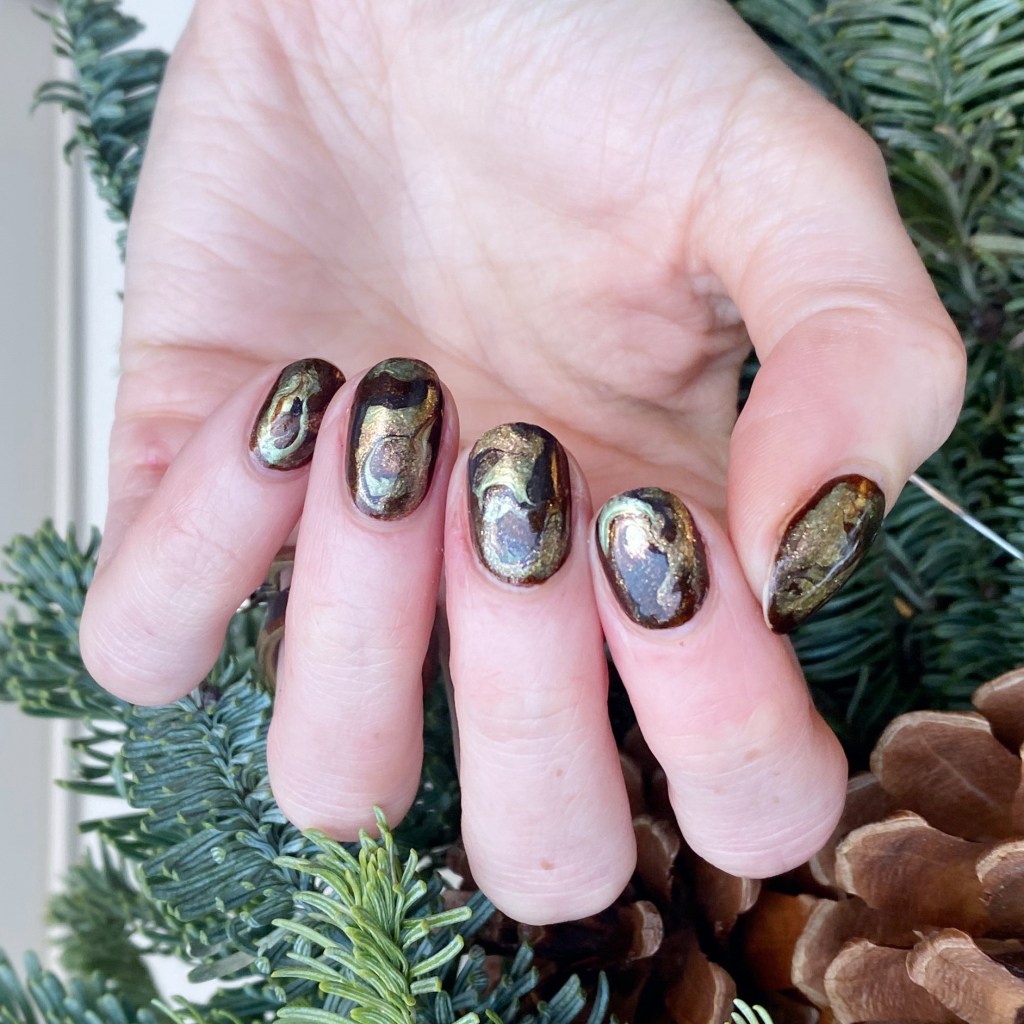
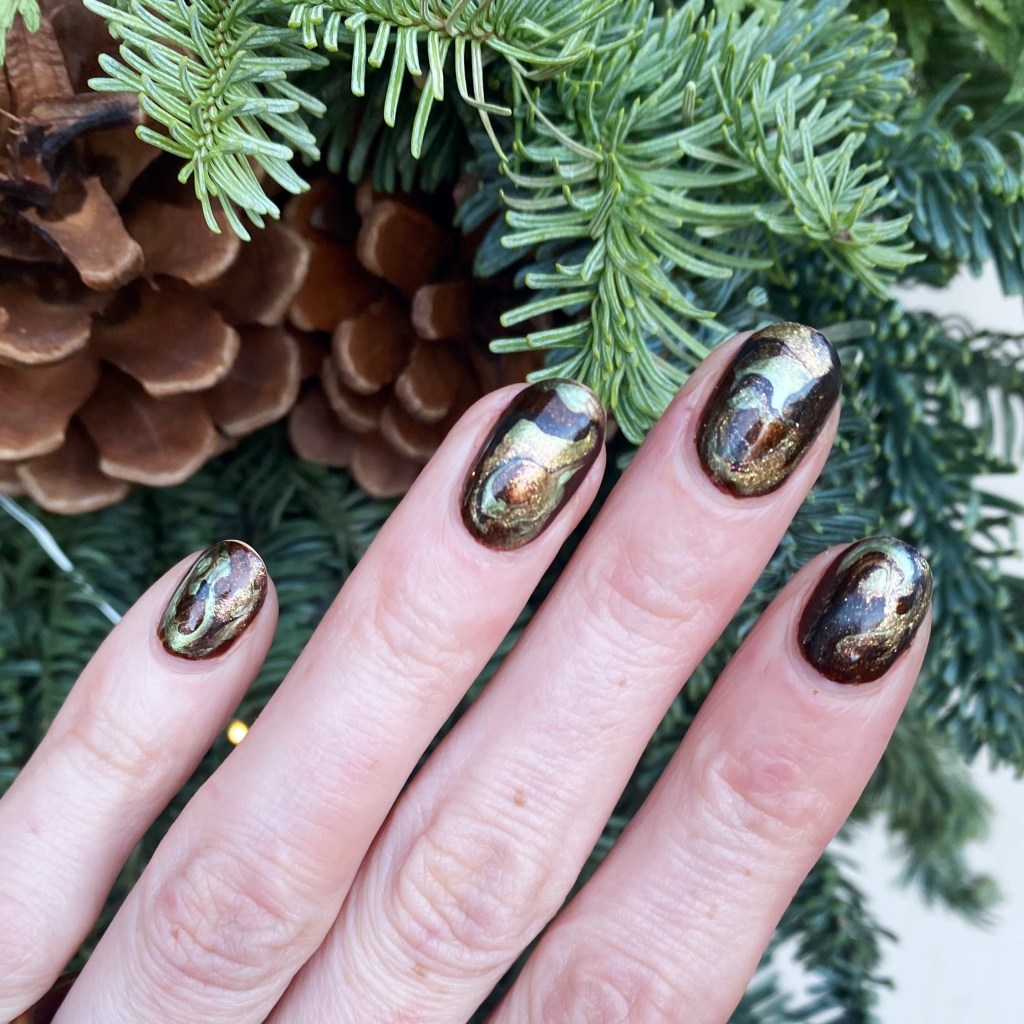
Today I have a really pretty nail art look to share with you, leaning into these late Autumn vibes. 🍁🍂 The colour scheme is pure Fall, & I really enjoy how it turned out!

The polishes I used for this manicure are: 

  • Base Coat: Sally Hansen Miracle Cure
  • Top Coat: Sally Hansen InstaDri Top Coat (red bottle) 
  • ORLY Buried Alive
  • Sally Hansen Miracle Gel Terra Coppa
  • Essie Frock ‘n Roll
  • Essie Nail Art Studio Cosmic Chrome
  • Wide Nail Art Brush

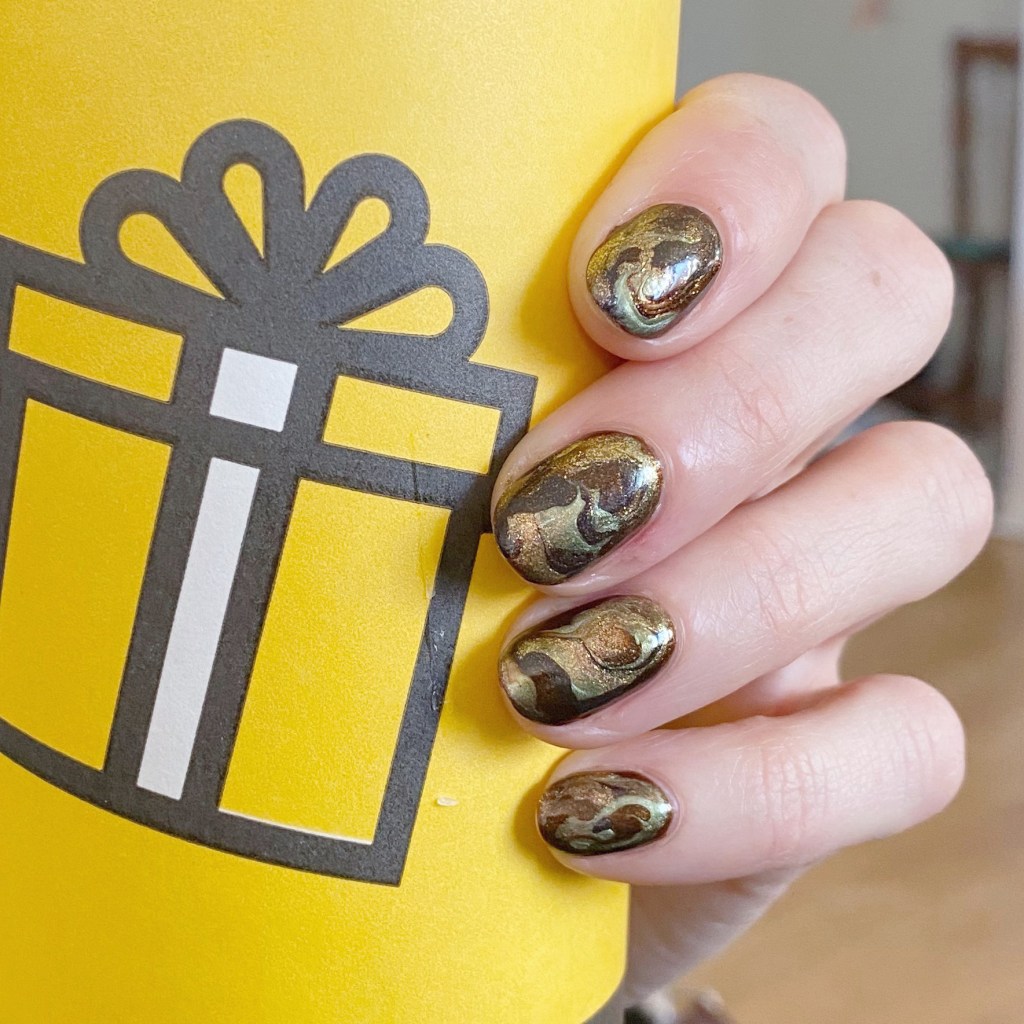
So I tried a bit of a different technique for this marbling, with a wider nail art brush (like the side of a clean up brush) versus the skinny dotting tool I usually use, & I like the effect it gave me. Kind of reminds me more of a real stone. Sometimes I find with a dotting tool I end up muddling my marble a bit, but this way didn’t do that which I really like!

& the colours compliment each other so well. I love the bronze-y golden look of it all together. It’s definitely giving Autumn vibes.

What do you think of this golden drag marble design? Do you like the kind of wider marble effect versus my usual drag marble designs?

Let me know all your thoughts in the comments below!

Happy Monday 🖤

Gold Swirlie Freehand

Hey lovelies!

I know you what you’re thinking — girlie where have you been this week?!

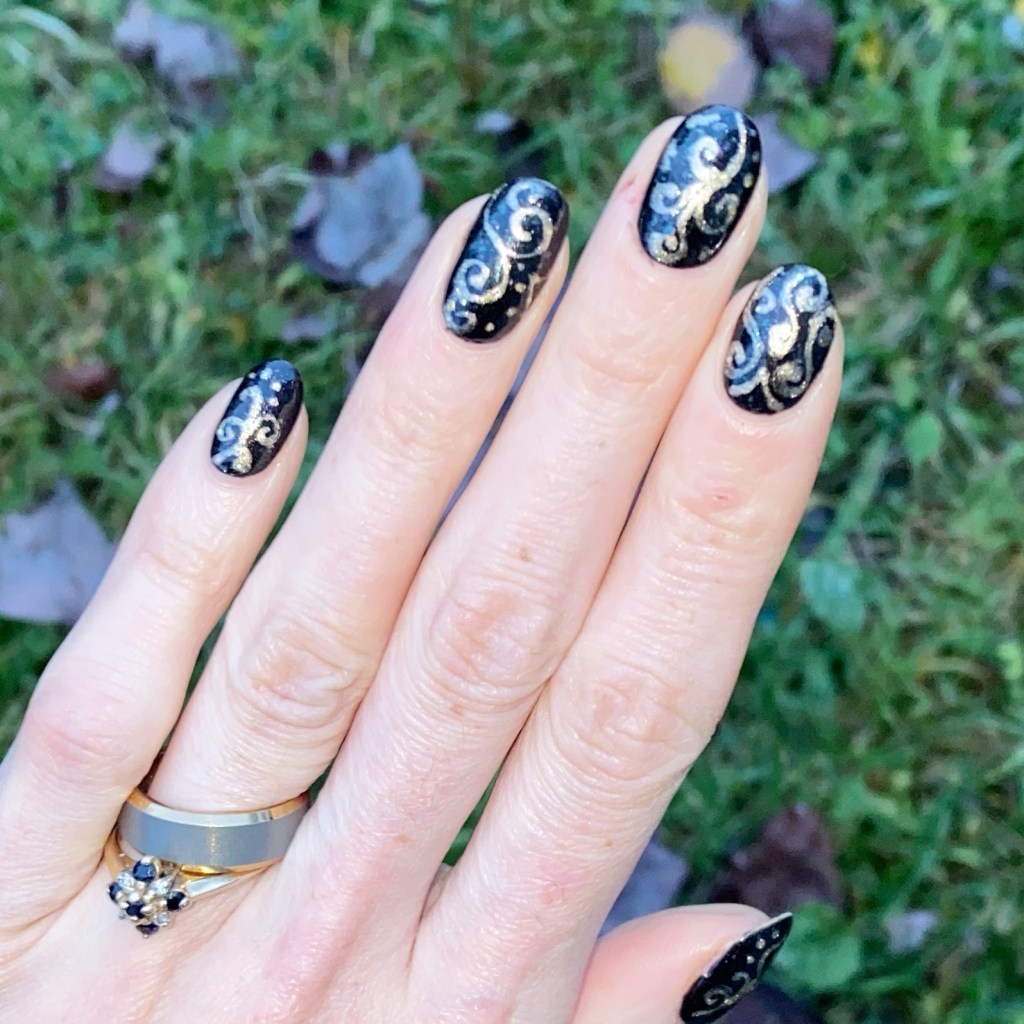
This has been a jam packed week full of blood work & regular work, so I haven’t had time to get super creative with my nails. I also had a couple breaks, so my nails are now considerably shorter. But I did do this pretty freehand swirly nail art look last week, before everything, so I’m excited to finally share them!

The polishes I used for this manicure are: 

  • Top Coat: Sally Hansen InstaDri Top Coat (red bottle) 
  • Base Coat: Sally Hansen Miracle Cure
  • Essence Good Girl Bad Girl Leather Effect Caught In The Middle (2015)
  • Sally Hansen Good As Good (Holiday 2019)
  • NailStuff 7mm Mermaid Tail liner brush

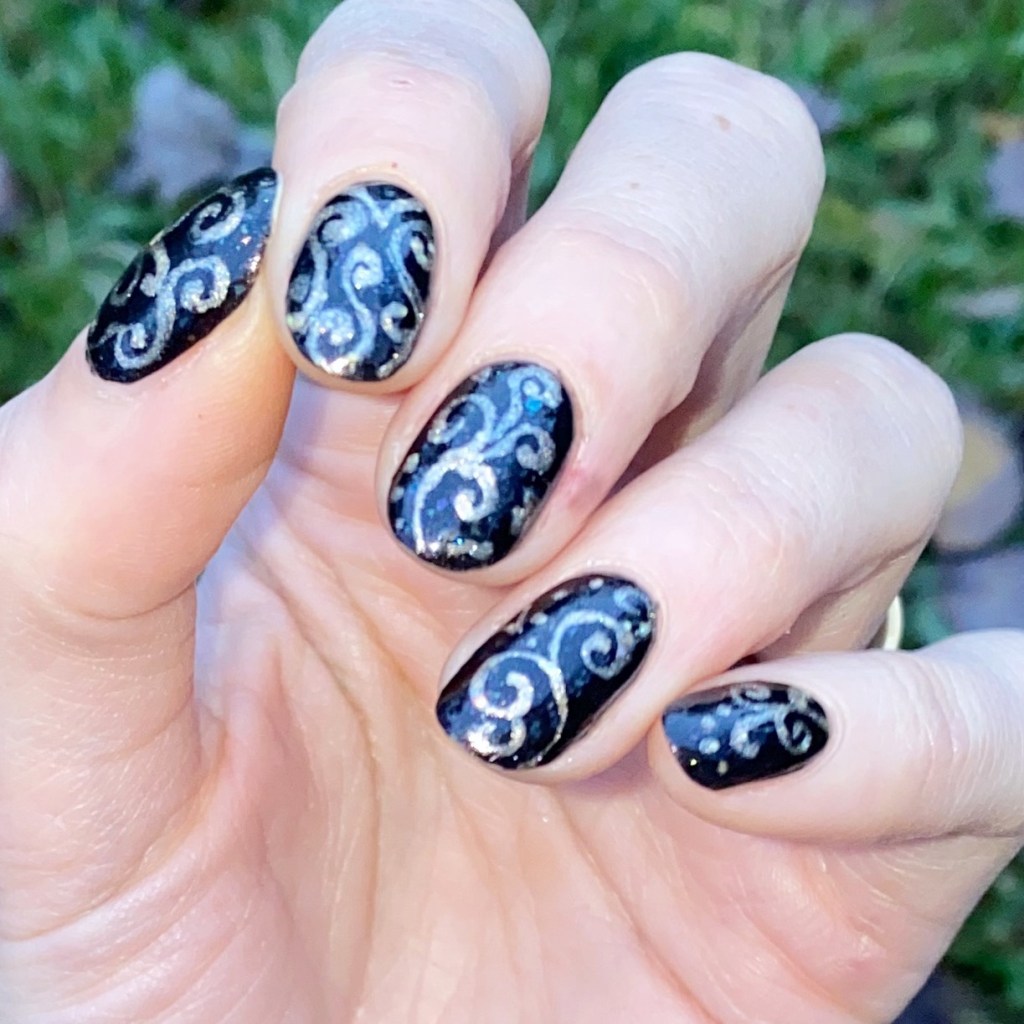
I used to do swirly looks like a lot circa 2015/2016, & I’m not sure why I stopped. I like how this looks like some fancy wallpaper or wrapping paper. & Good As Gold as some holographic glitters in it, which catch the light every so often & makes it look even prettier.

What do you think of my swirlie golden freehand nails? Do you like designs like this? Let me know all your thoughts down in the comments below. Personally these feel very glamourous to me!

Happy Friday & (almost) weekend!

🖤

Pink Flakie Glitter Placement

Hello lovelies & happy Wednesday! Is it chilly where you are — because it’s definitely chilly here.

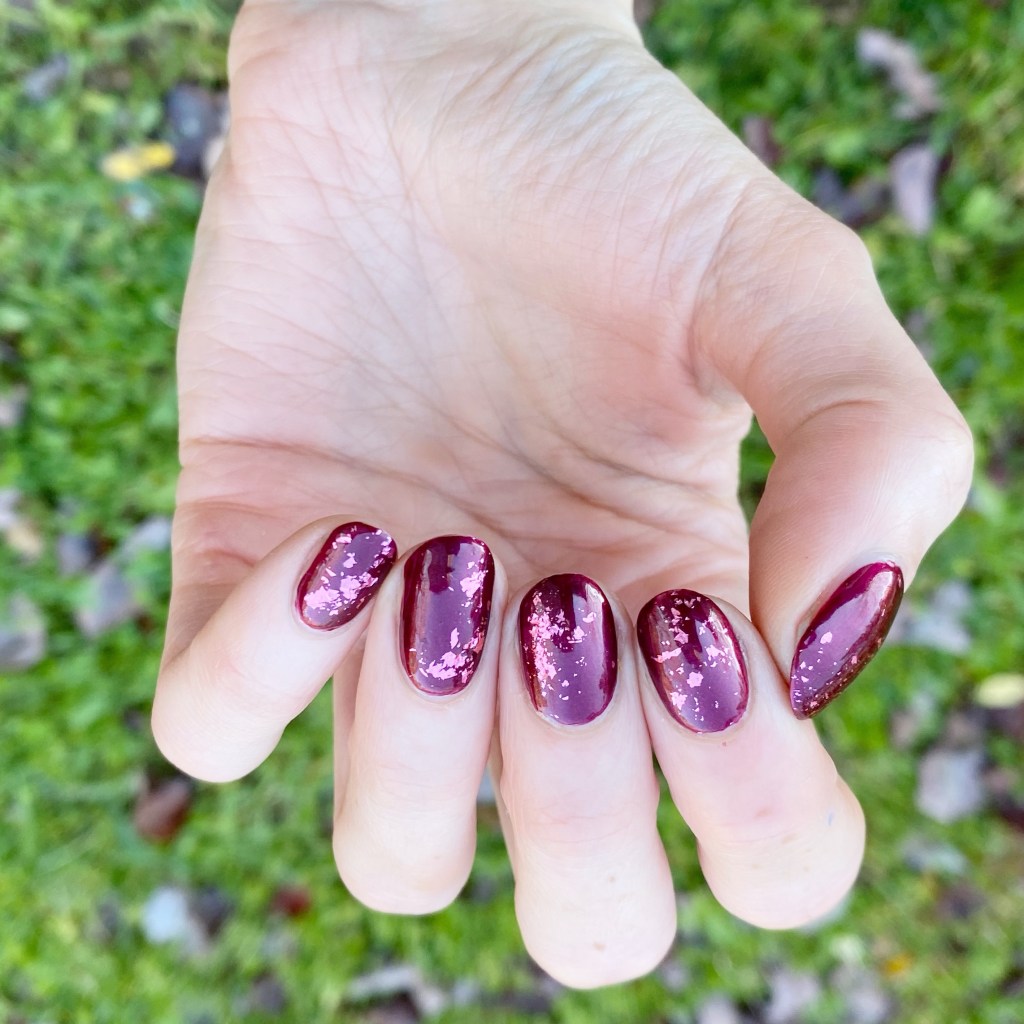
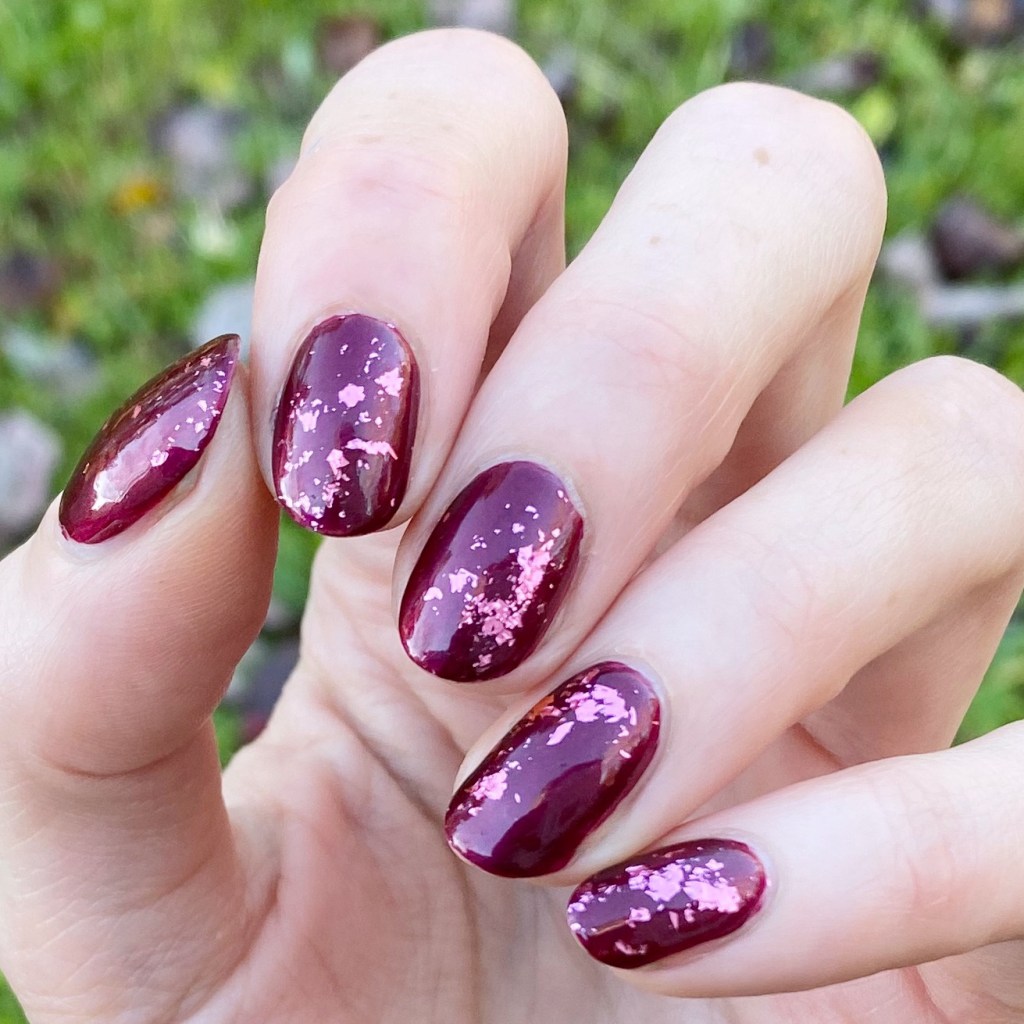
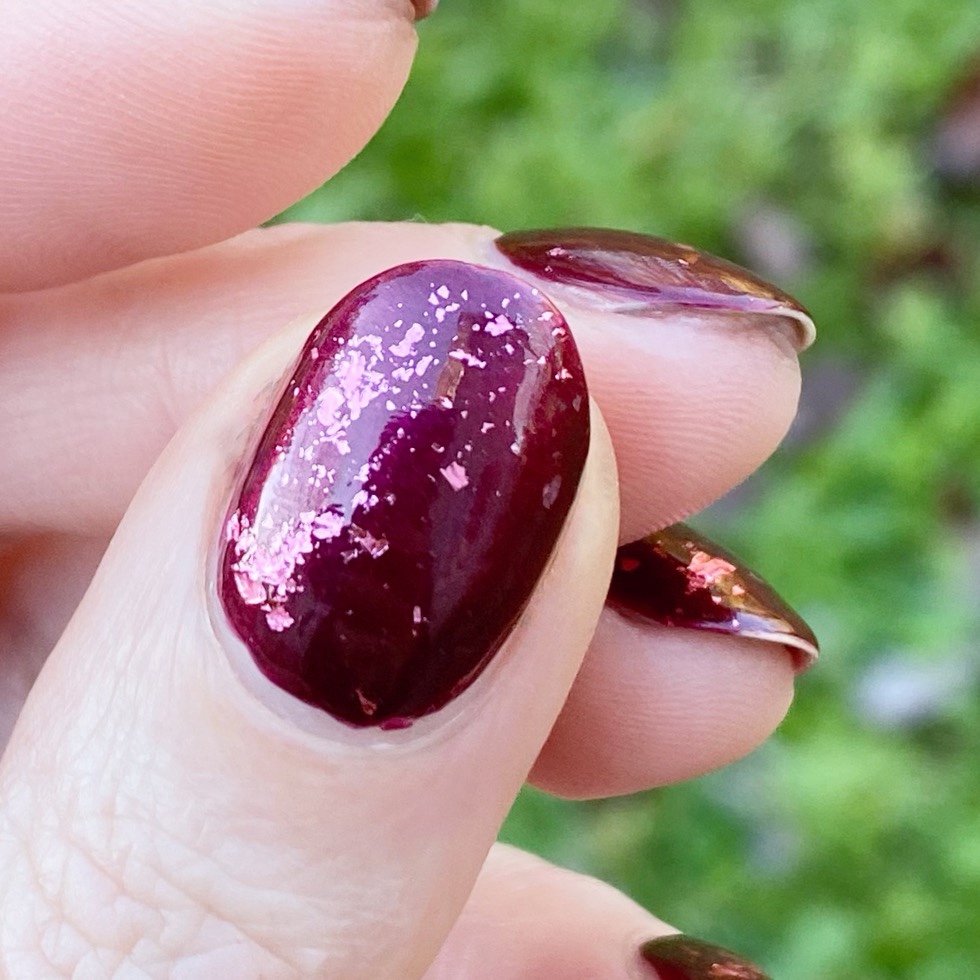
Today I have another simple but beautiful design to share with you. I was already wearing this beautiful berry polish, & decided what it really needed was some glitter placement. My original plan was to do gold, but when I was browsing through my box of glitters I saw this beautiful pink flakie glitter I was gifted c/o: NailStuff & decided it would look just stunning over this base!

& I was right!

The polishes I used for this manicure are: 

  • Top Coat: Sally Hansen InstaDri Top Coat (red bottle) 
  • Base Coat: Sally Hansen Miracle Cure
  • Sally Hansen Miracle Gel Frosted Berries
  • NailStuff Pink Foil Glitter (no longer available)
  • Sally Hansen Salon Chrome Top Coat (no longer available — but works so good for applying these kinds of glitters!)
  • Small Nail Art Brush

How pretty is this combination? I’m so glad I went with these pink foil flakies rather than gold. Obviously gold would have looked beautiful as well, but there is just something extra special about the pink on pink. I can’t believe this is my first time using it!

Also this is a beautiful not-holiday look that could definitely be used for a manicure for an upcoming Holiday party because it has that touch of something a little extra special. Obviously I don’t need an excuse to wear glitter, but if you did — I definitely recommend pulling out some glitter to add to an otherwise simple manicure!

What do you think of this pink flakie glitter placement look? Do you like the contrast of lighter pink on darker pink? Are you also in shock that it took me this long to use this beautiful pink glitter? Let me know all your thoughts down in the comments below!

Happy Wednesday!

♥︎

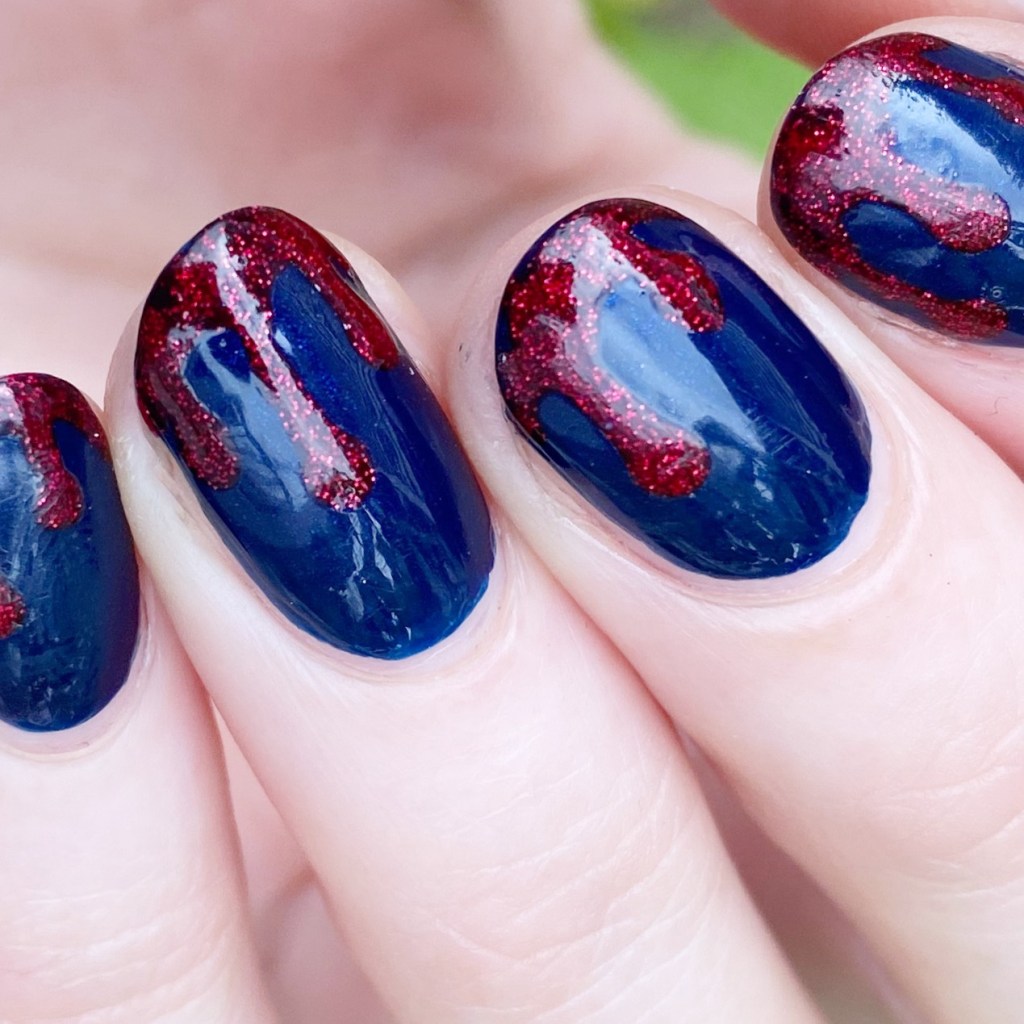
Glittery Blood Drip Nails 🩸✨

Hello lovelies & HAPPY HALLOWEEN! 🎃 My most favourite day of the year has arrived, & obviously I couldn’t let it pass by without one more design on my nails! & this one is fun because it kind of fits the vibe of my costume for work.

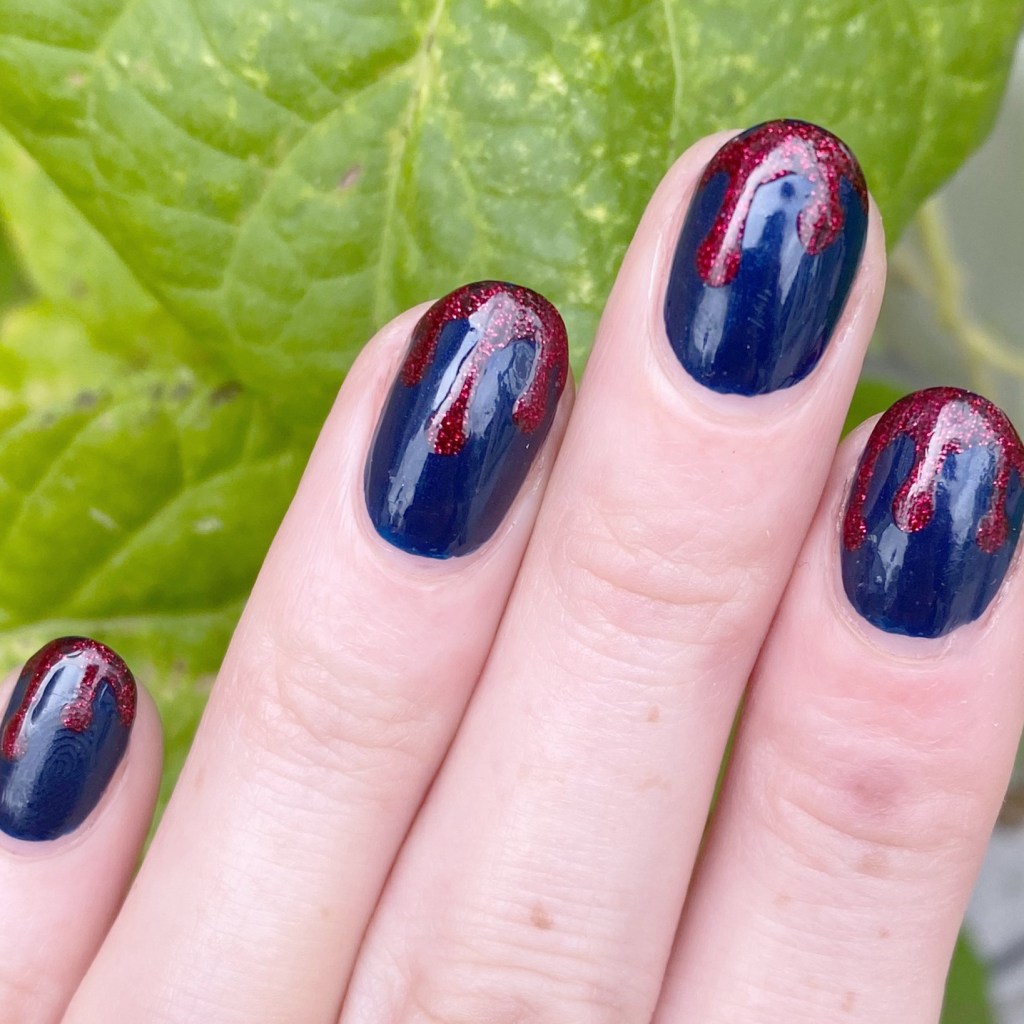
I always love a blood drip design on my nails, but this year I wanted to make it more fun by using a glittery red. Because who doesn’t want to bleed sparkle.

The polishes I used for this manicure are: 

  • Top Coat: Sally Hansen InstaDri Top Coat (red bottle) 
  • Base Coat: Essie Hard to Resist (purple)
  • Sally Hansen InstaDri Midnight Drive
  • Sally Hansen Miracle Gel Red It Twice
  • NailStuff dotting tool trio
  • NailStuff 7mm Mermaid Tail liner brush

Check out that beautiful drip! This is not the first time I’ve attempted a go at this design, but I will say I think it’s the most proud of the freehanding of my drips! They actually look like they could be blood dripping down my nails!

I also think it shows that even if you’re rocking shorter nails (like I am right now), you can see have fun & awesome nail art on them!

What do you think of my final Halloween look of 2025? This has been such a fun month of nail art, & I’m super proud of every design I crafted this month!

Happy Halloween! I hope everyone has a safe & fun evening— with a ton of your favourite candies!