Hello lovelies & happy freaking Friday! The weekend is upon us, & the end of the month is quickly approaching. I feel like May just started, & now it’s almost June? Crazy!
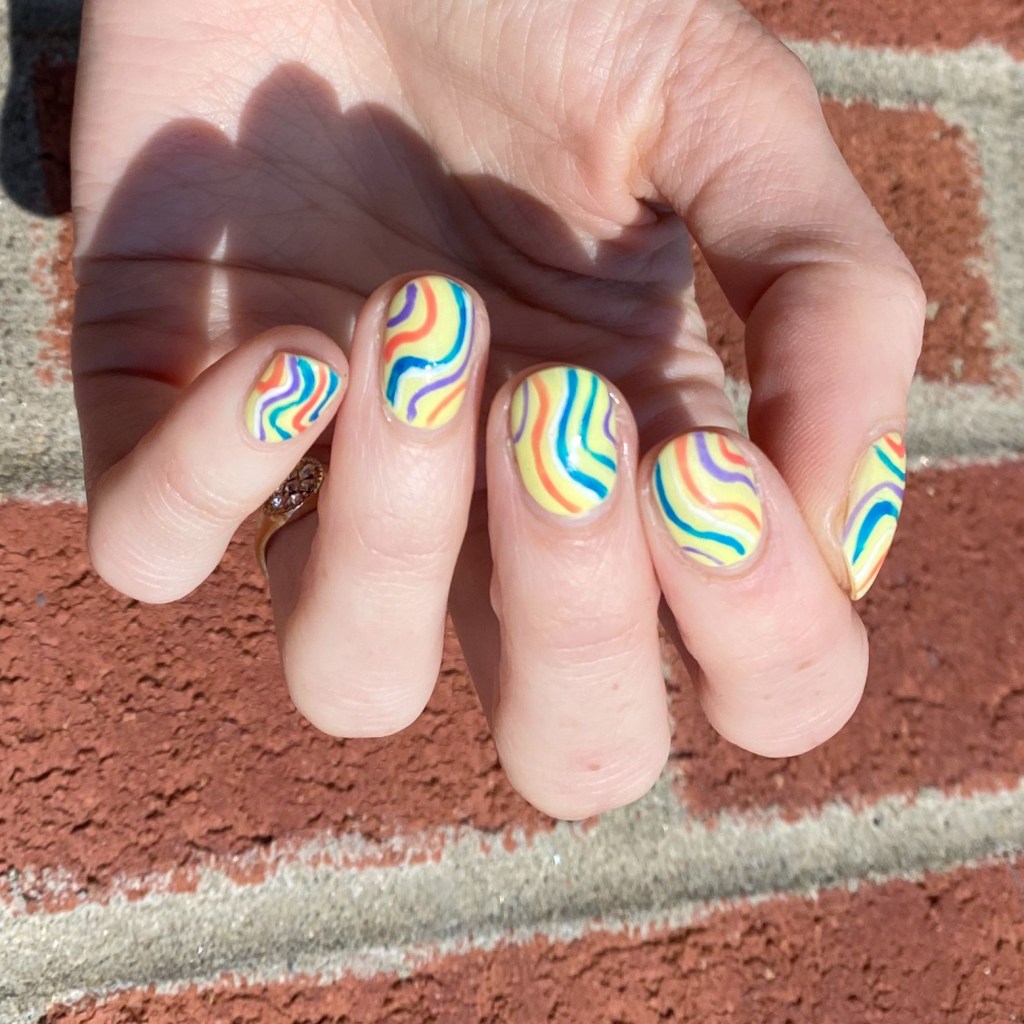
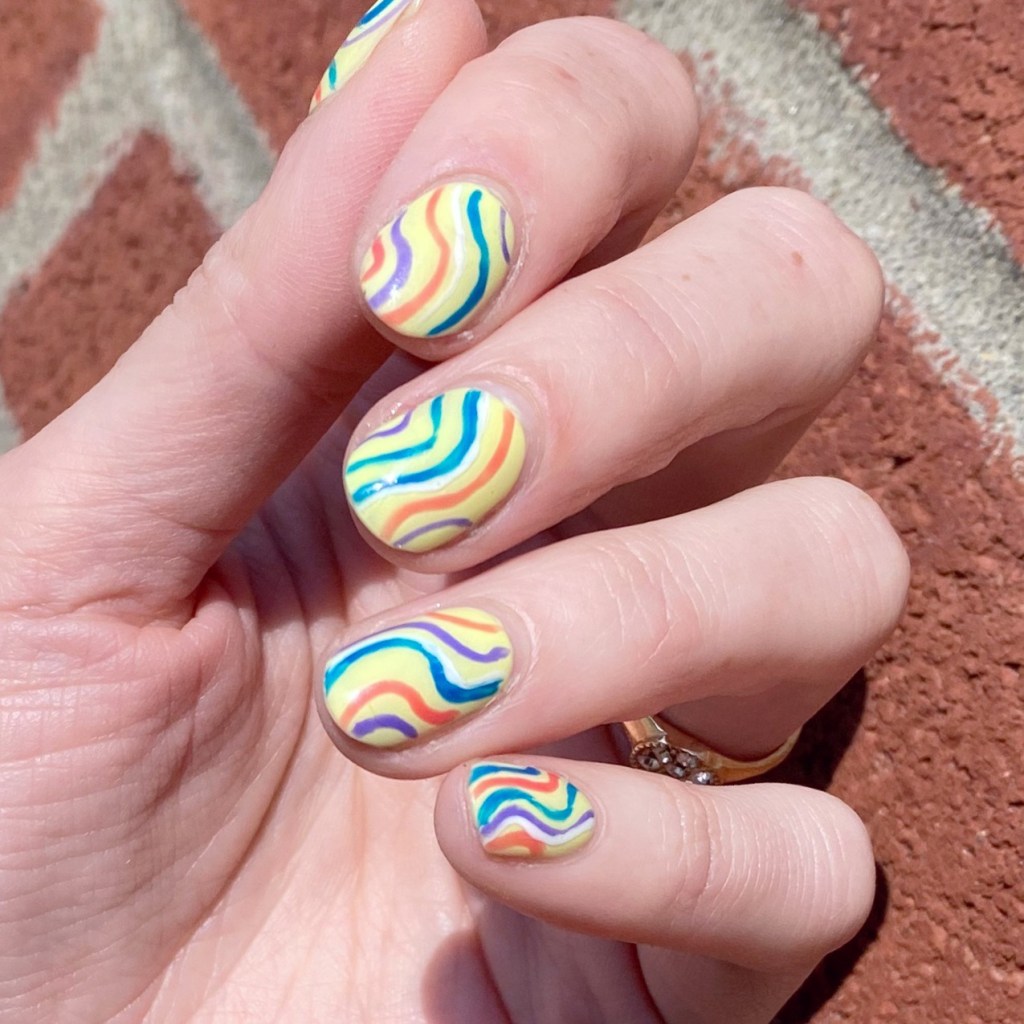
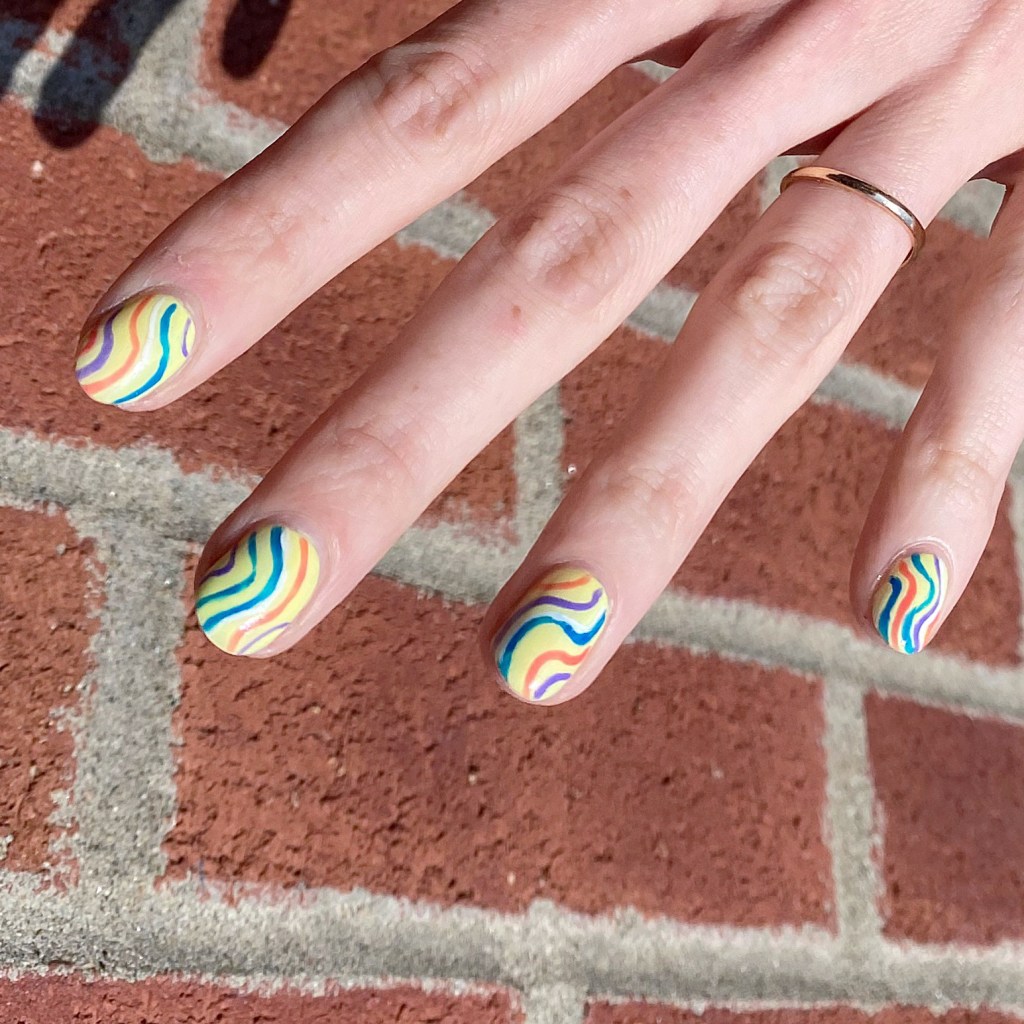
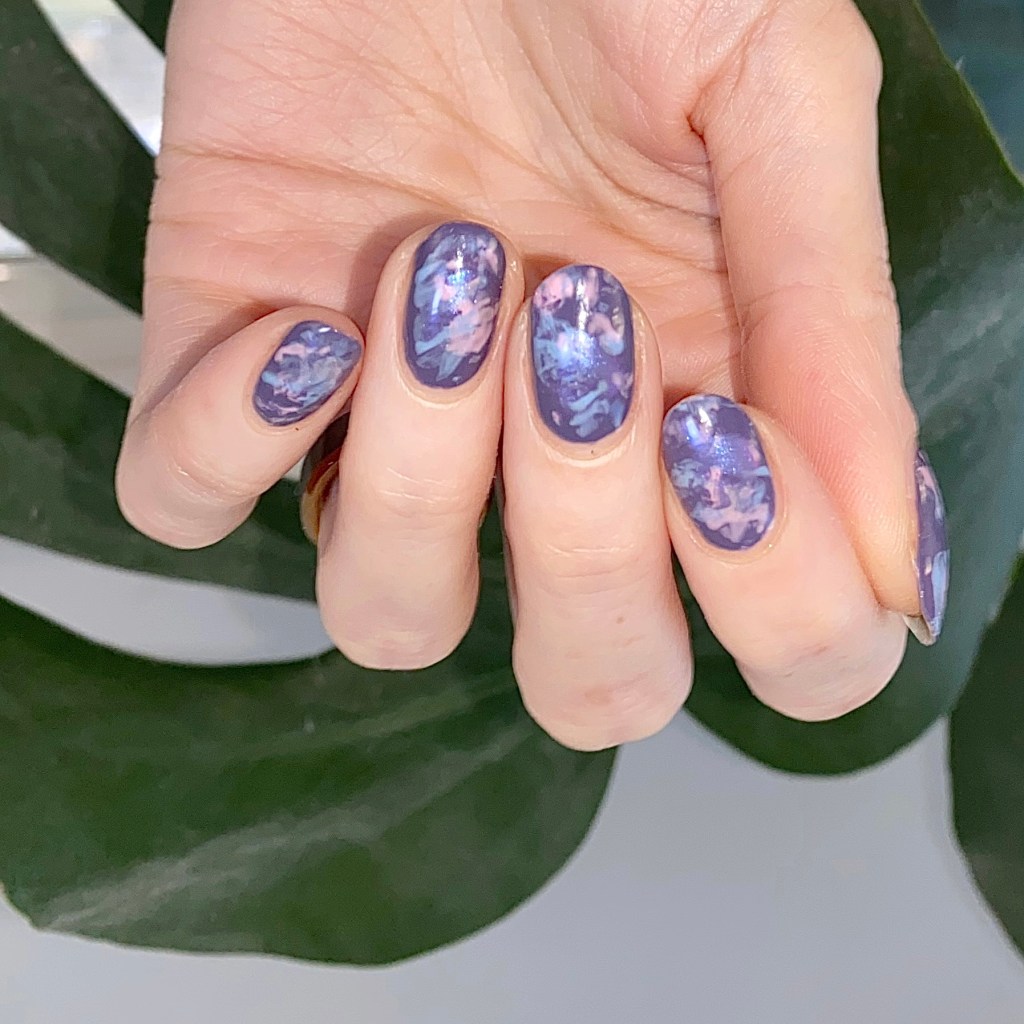
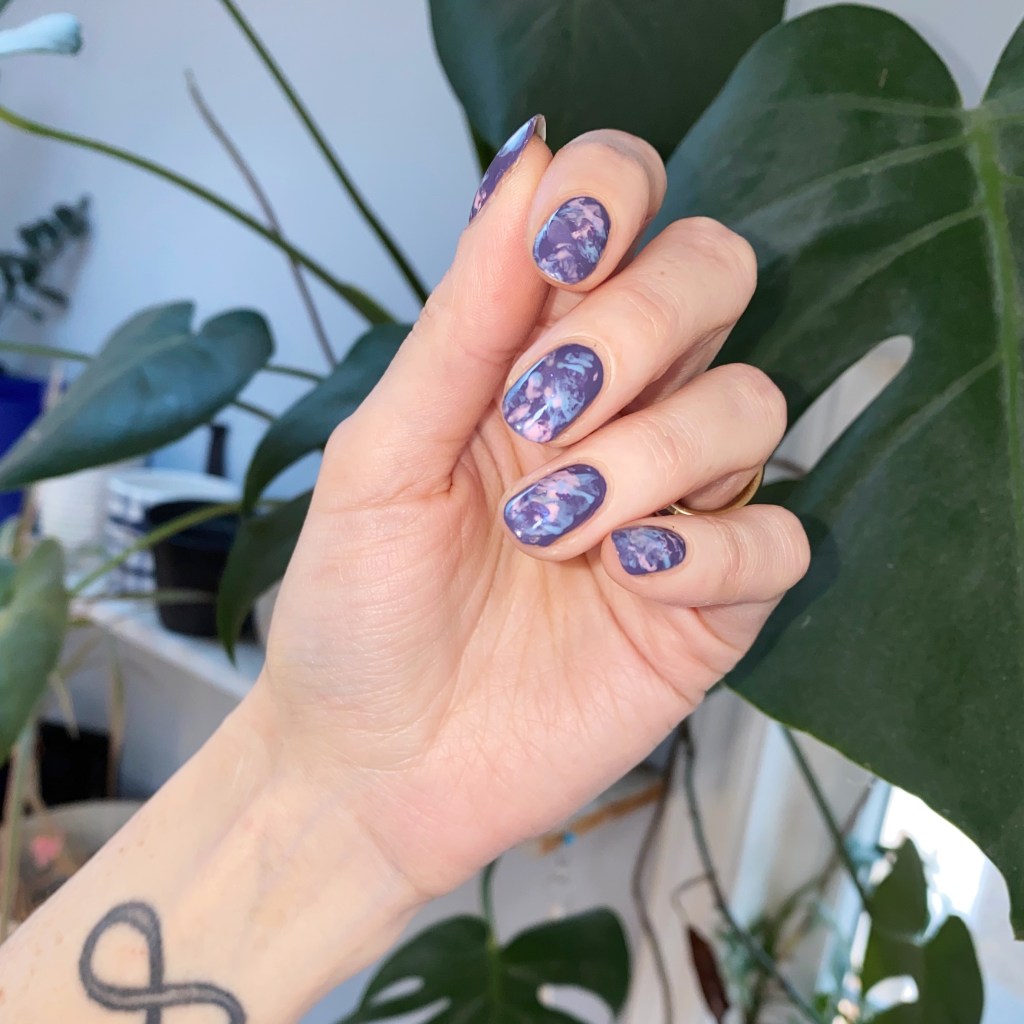
Today I’m showing off another fun Spring/Summer look that’s actually super easy to do. I’ve kind of been leaning back into my easier nail art, mostly because sometimes (or, a lot of the time) I’m quite tired at the end of the night when I go to do my nails. So I’ve been leaning back on go to easy nail art looks. It’s a combination of easy to do, but also super cute! The best kind of nail art.
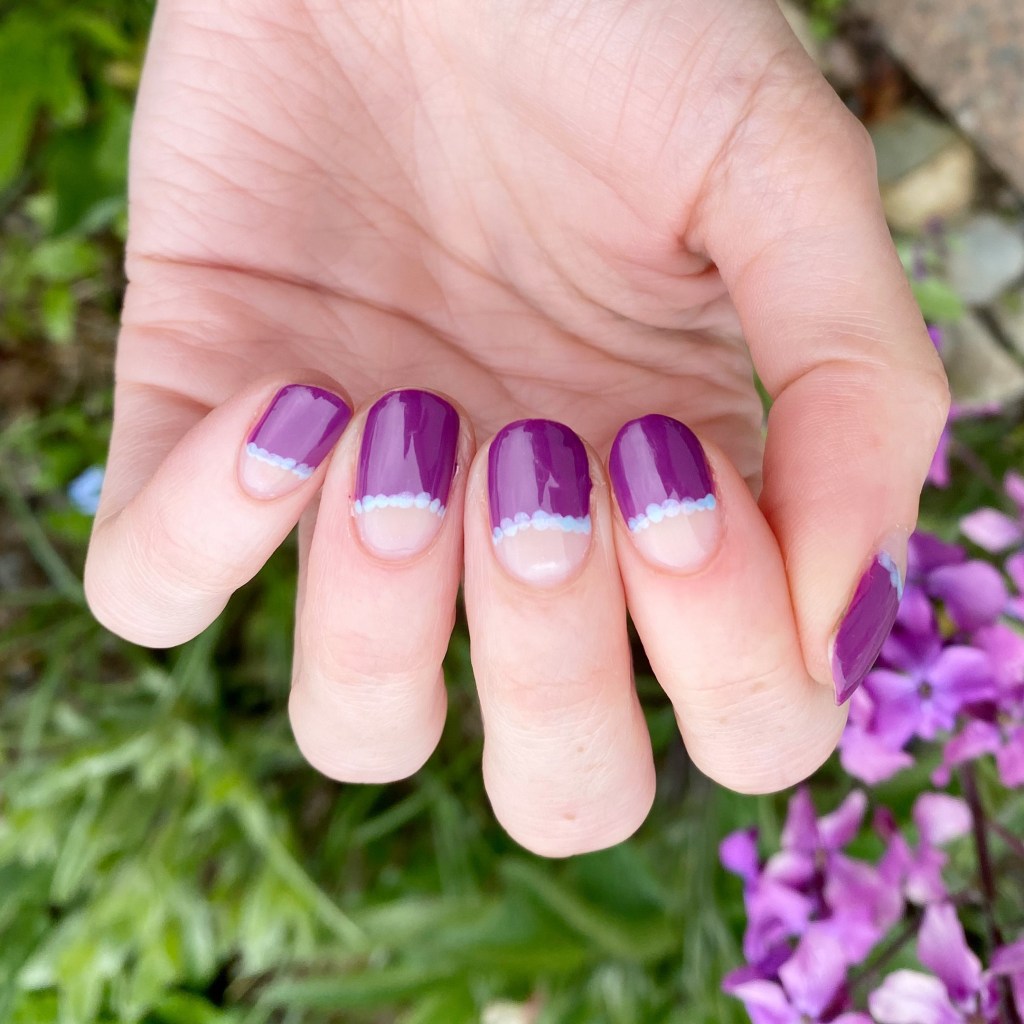
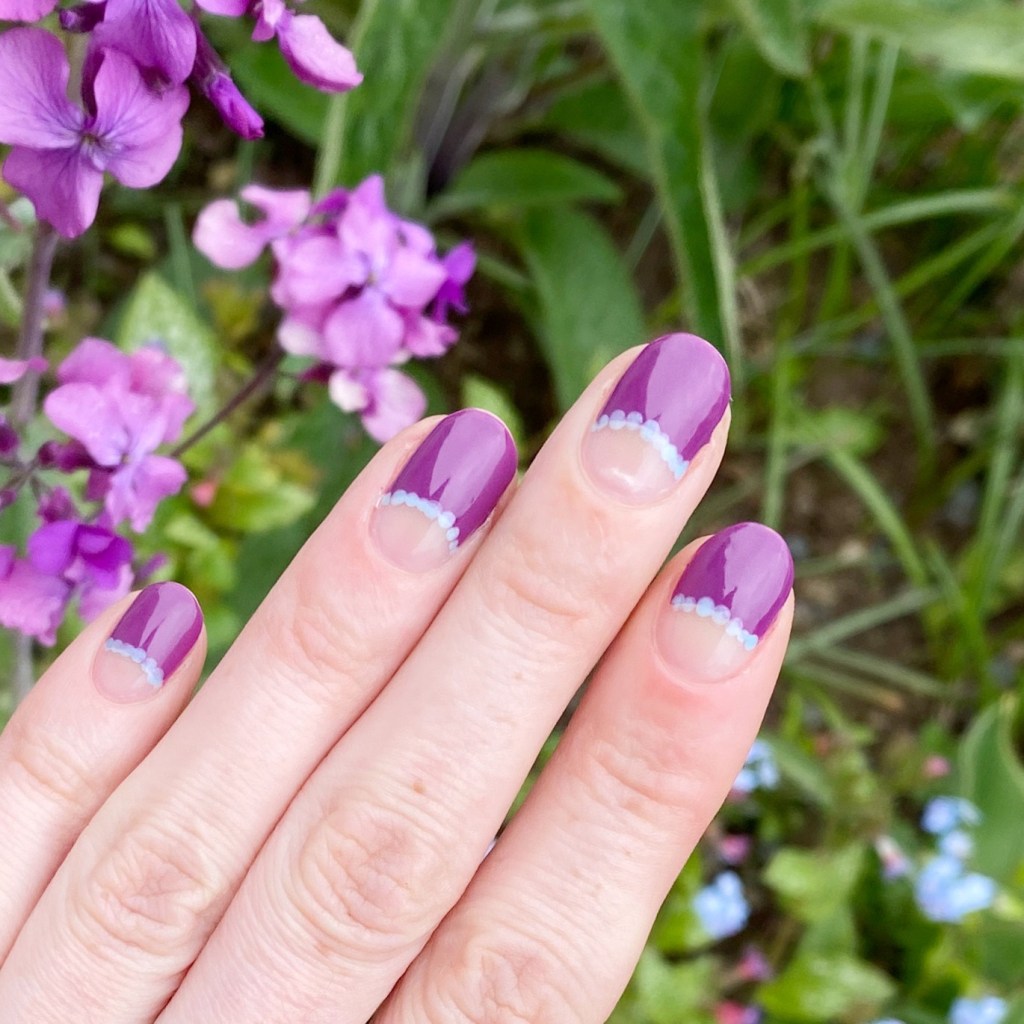
The polishes I used for this manicure are:
- Base Coat: Londontown KUR Nail Hardener & Base Coat
- Top Coat: Seche Vive Fast Dry Top
- Sally Hansen InstaDri VaVa Violet**
- Sally Hansen InstaDri Glos-Sea**
- NailStuff.ca Dotting Tool Trio
- Paper Hole Reinforcements
**Both purchased at Shoppers Drug Mart & currently in stock
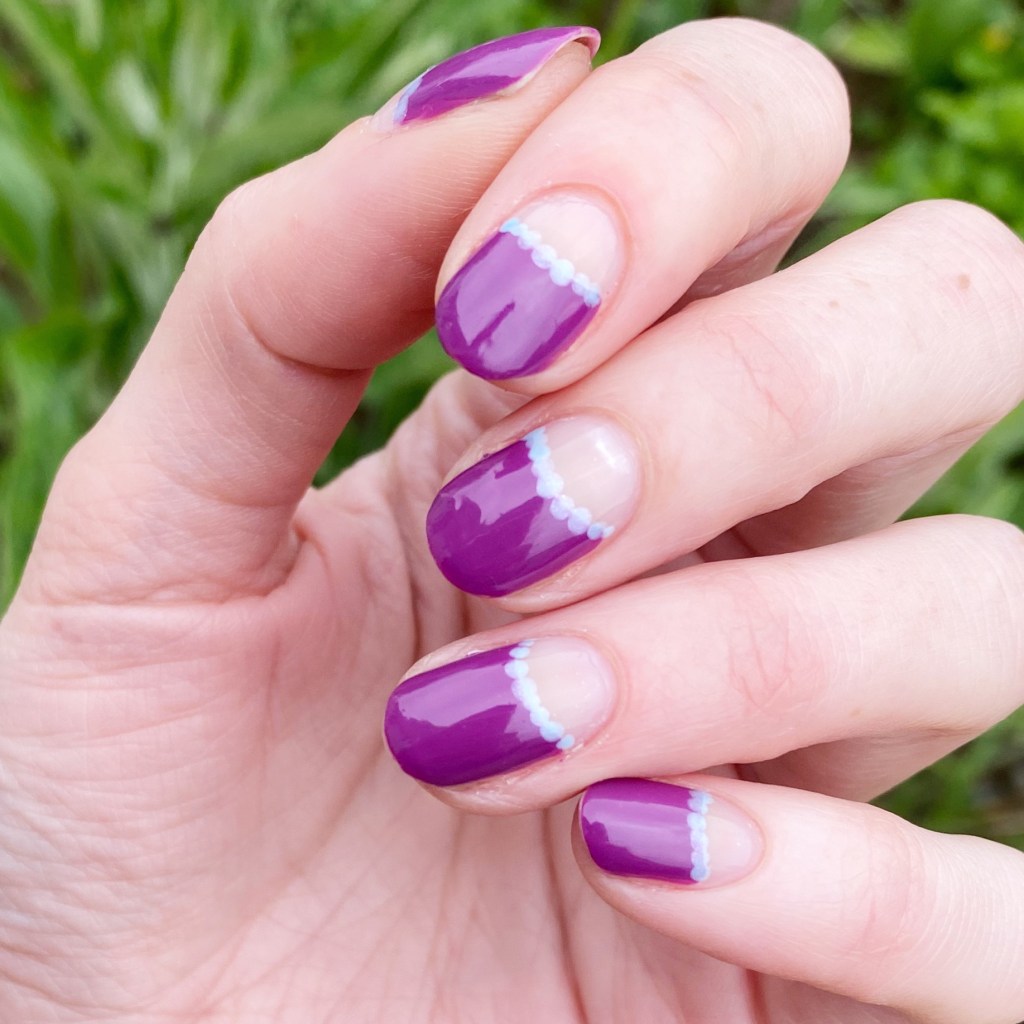
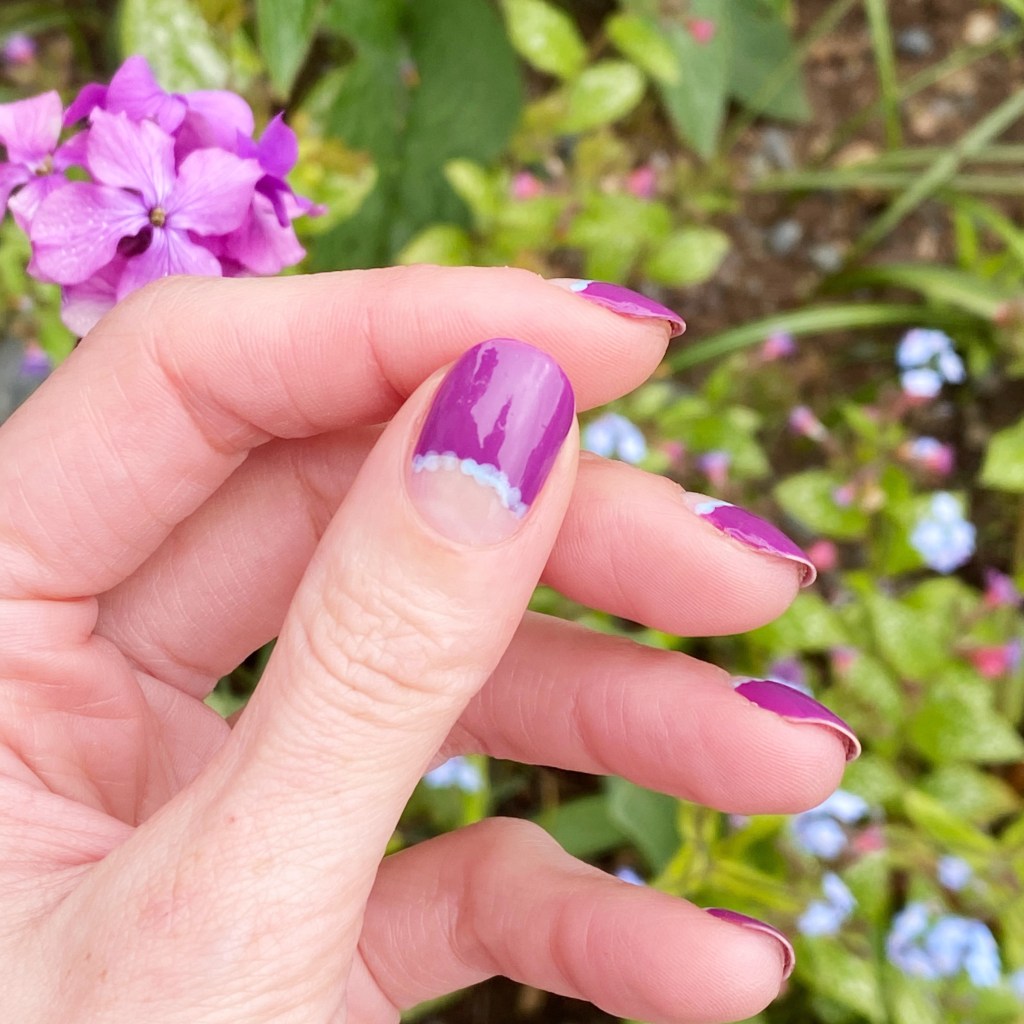
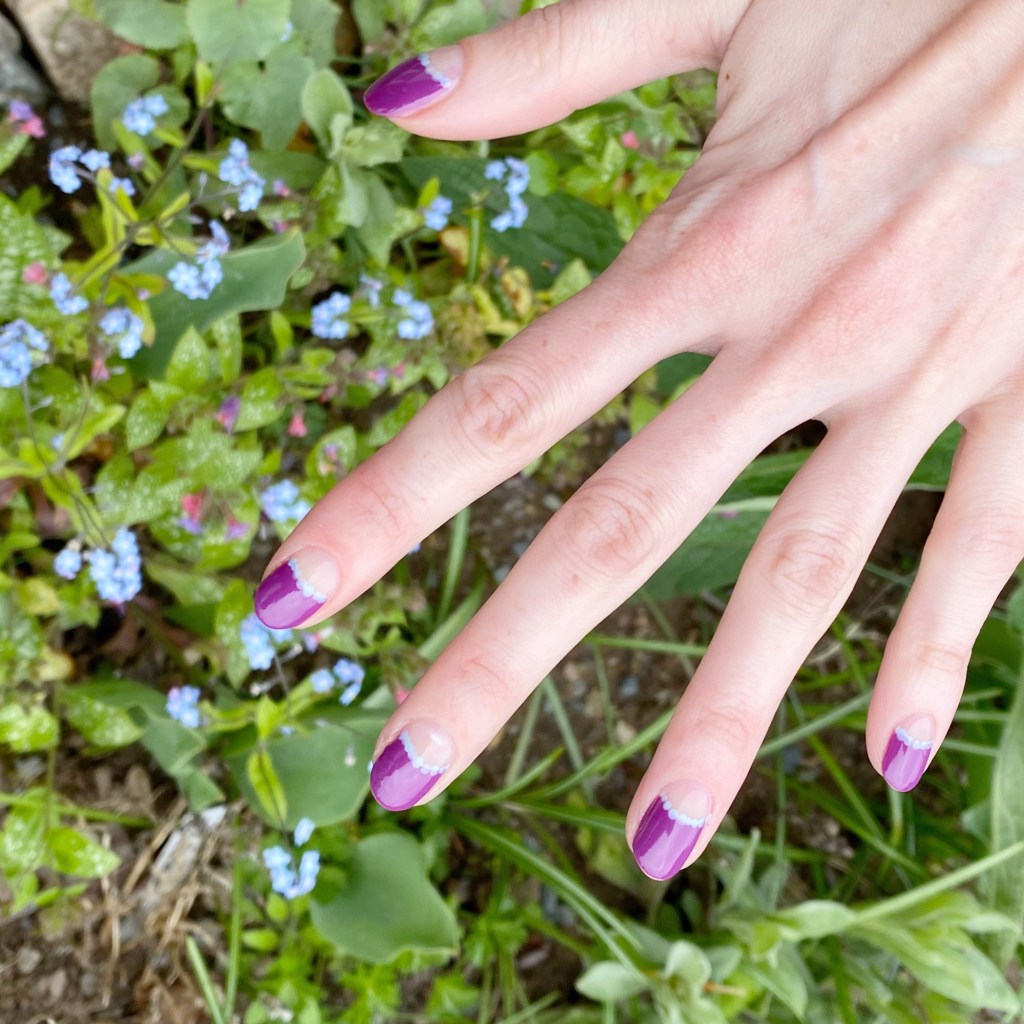
How cute are these two colours together? My original plan had been to use Glos-Sea as the moon, topped with Va Va Violet but it was already pretty late at night, & I was feeling sleepy, so I decided a negative space moon would look great… & I was right! I think I like it even more than if I had used the blue for my moon.
What do you think about these negative space moons? Do you like this colour combination? What is your favourite colour combination together for a look like this? Let me know all your thoughts down in the comments below!
Have a happy Friday ♥︎