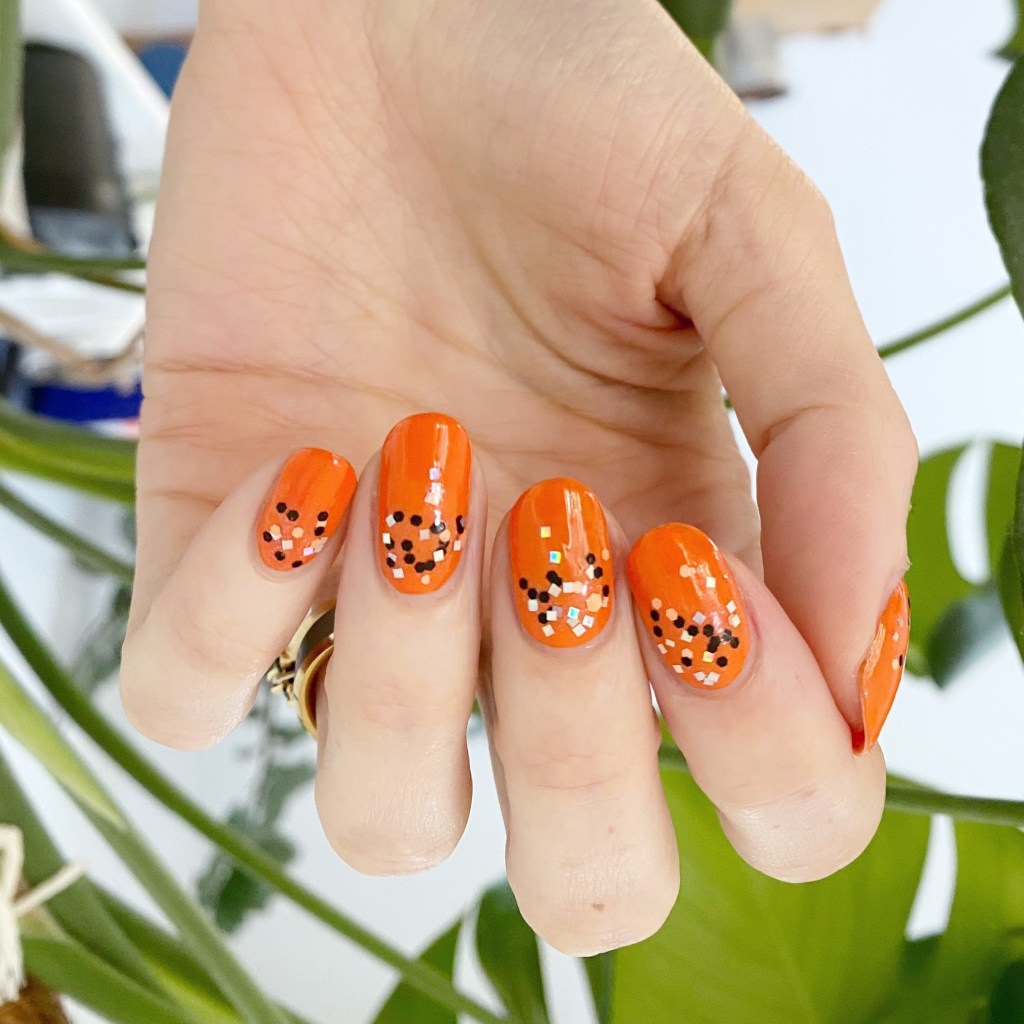
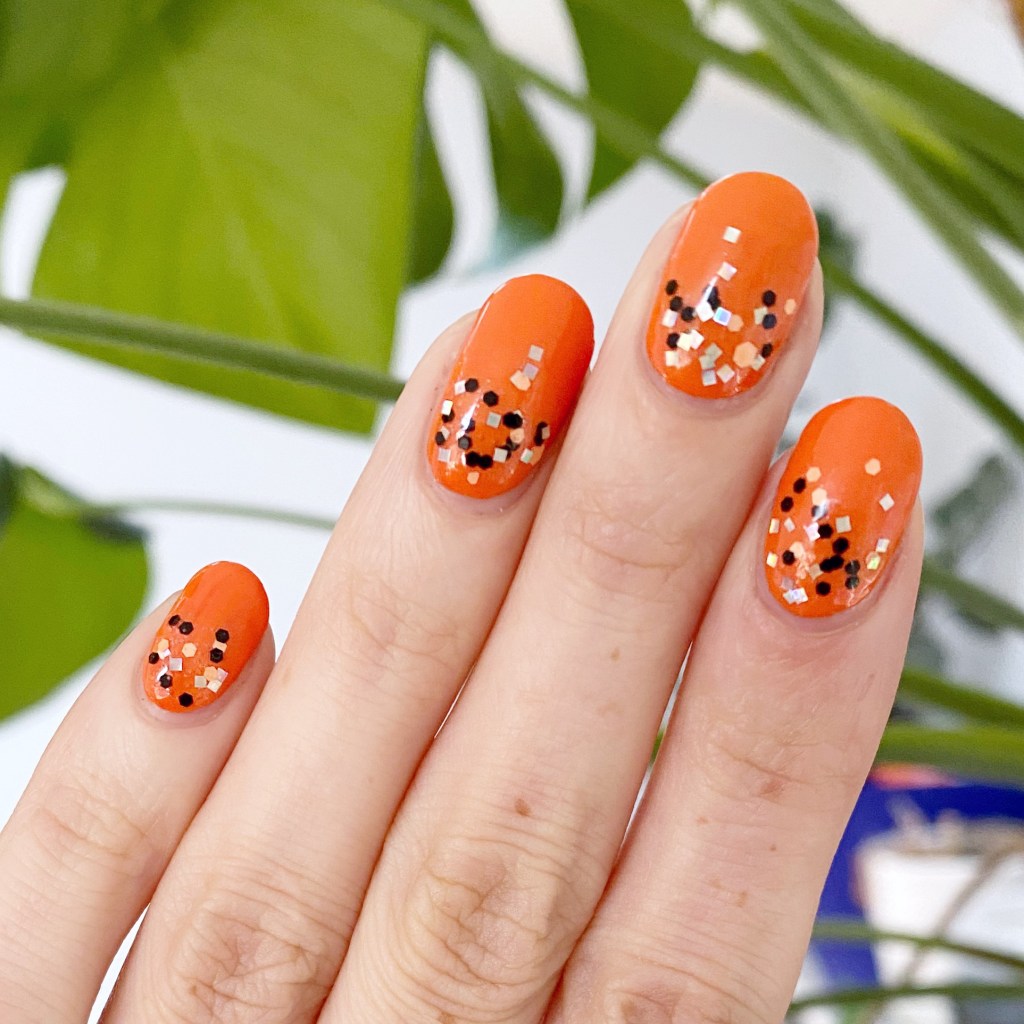
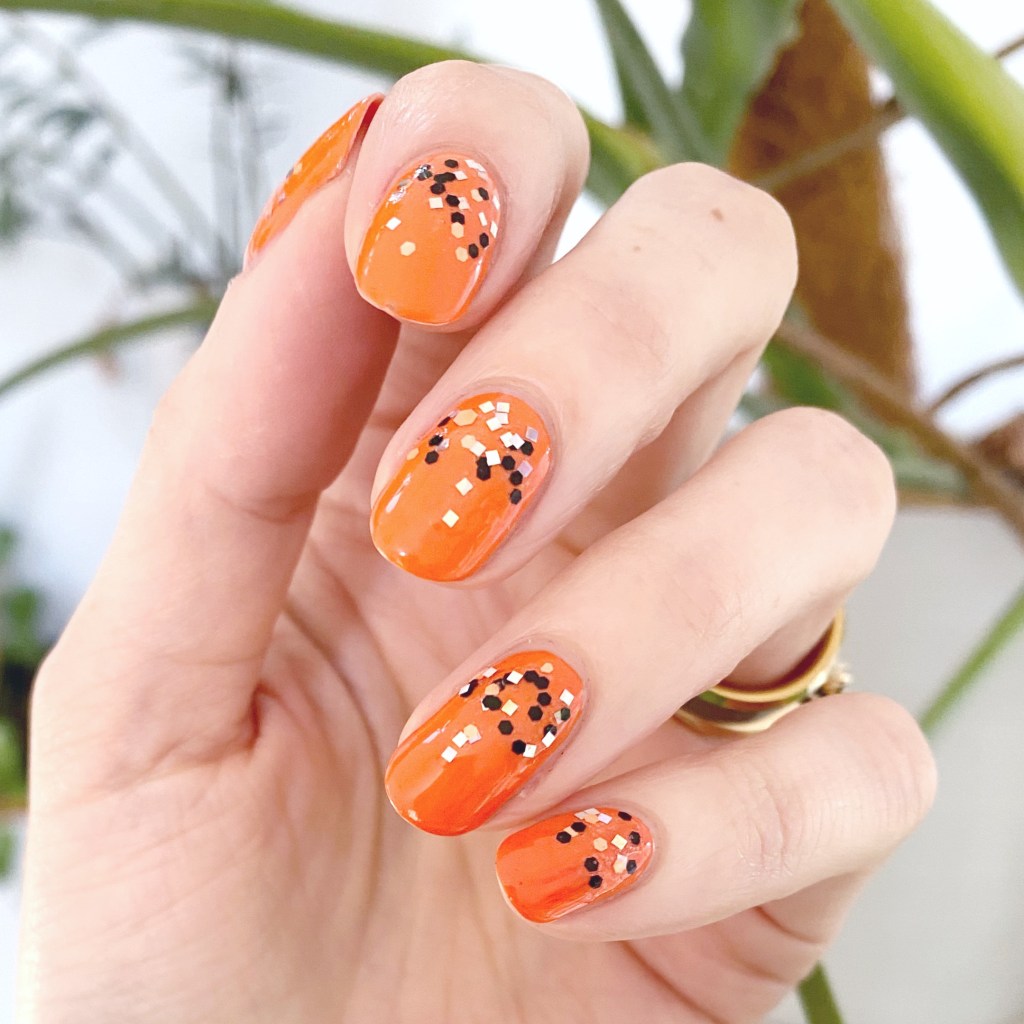
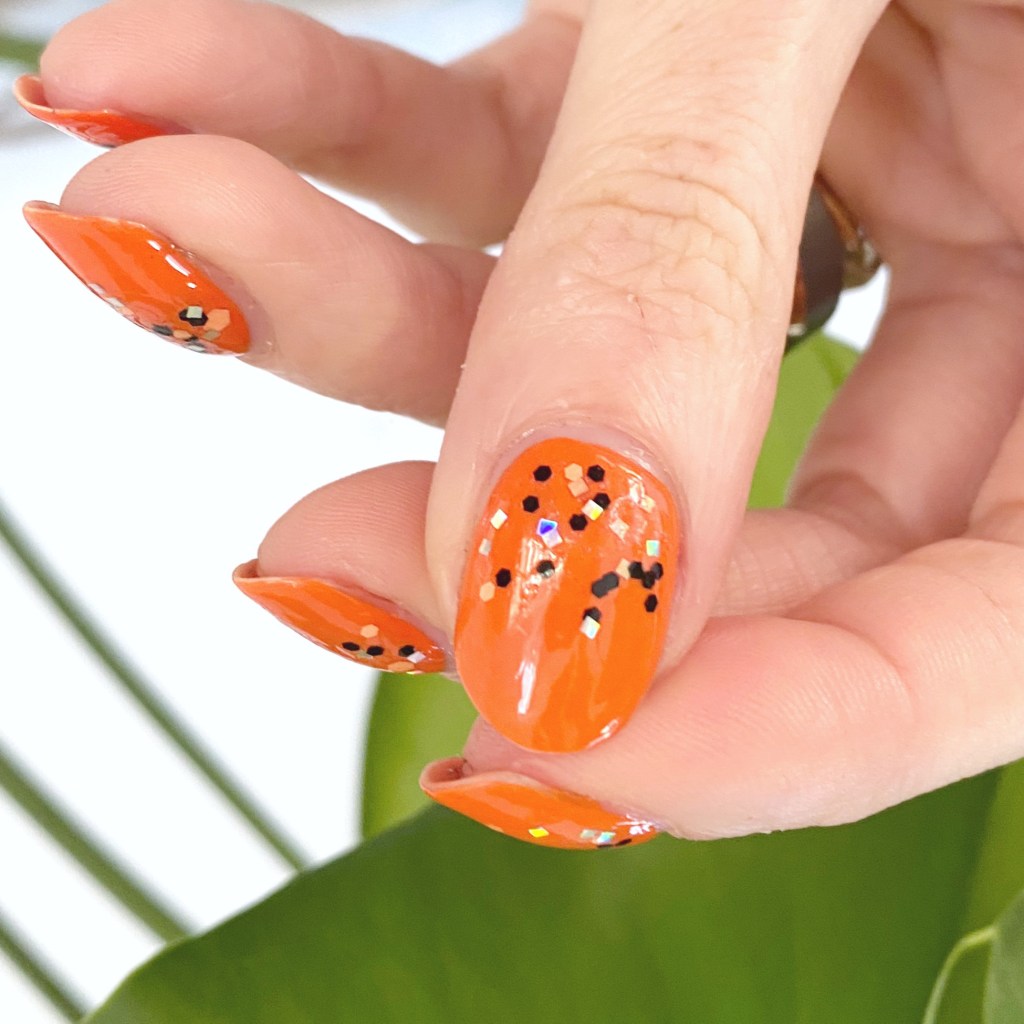
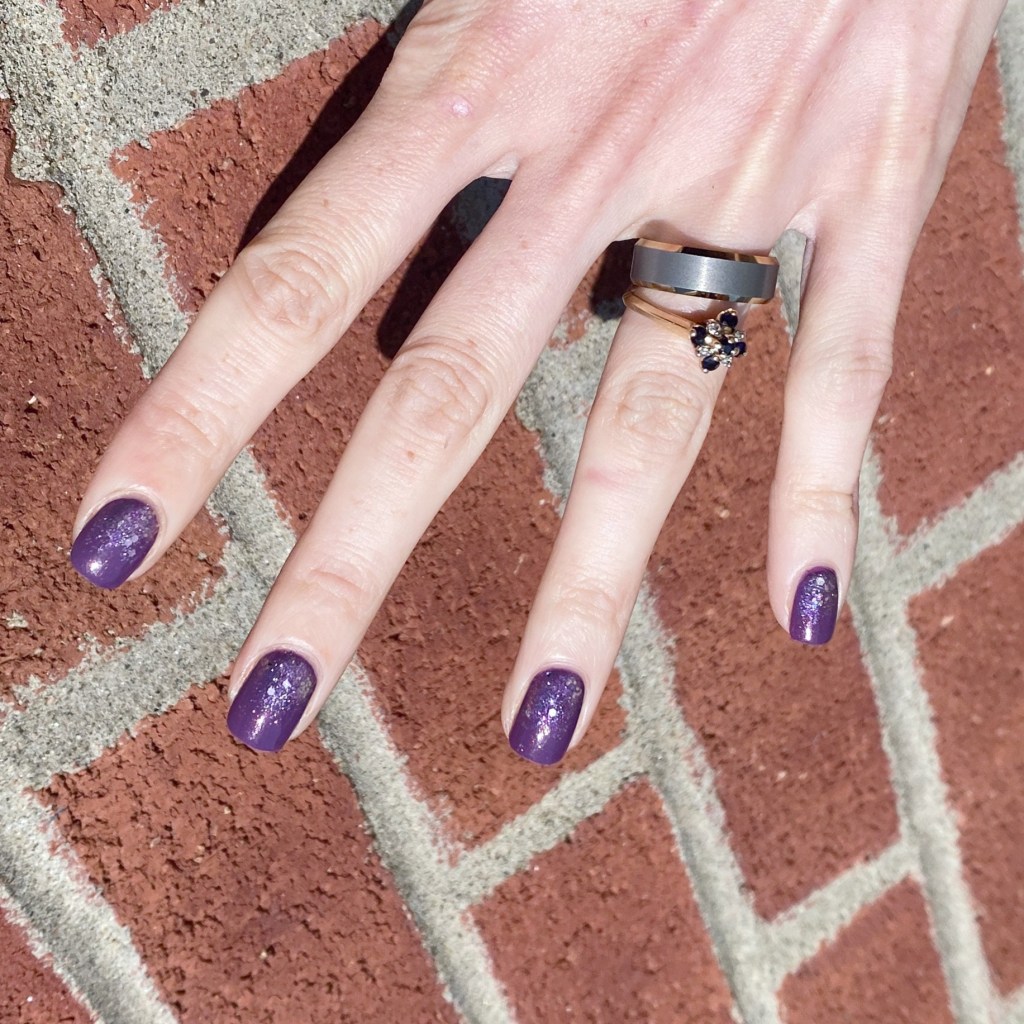
Purple Glitter Sparkle Gradient

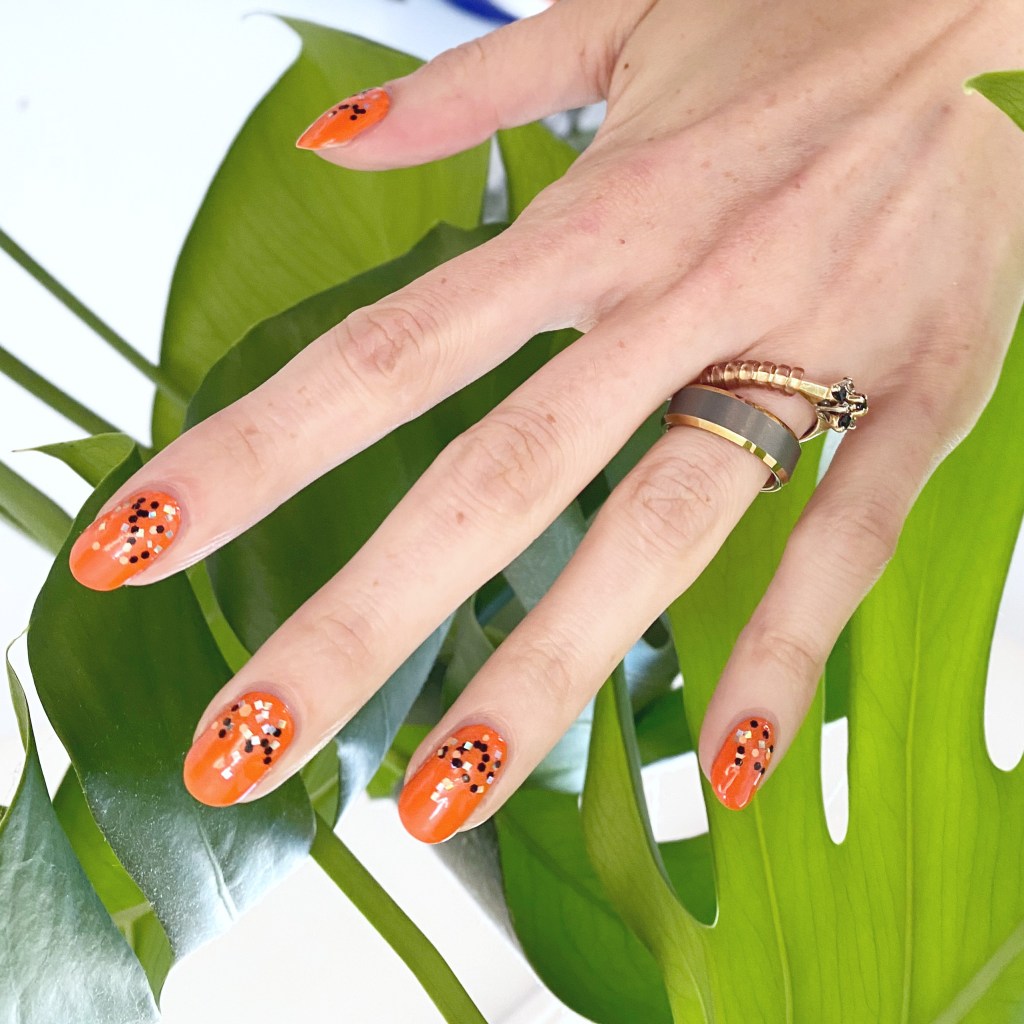
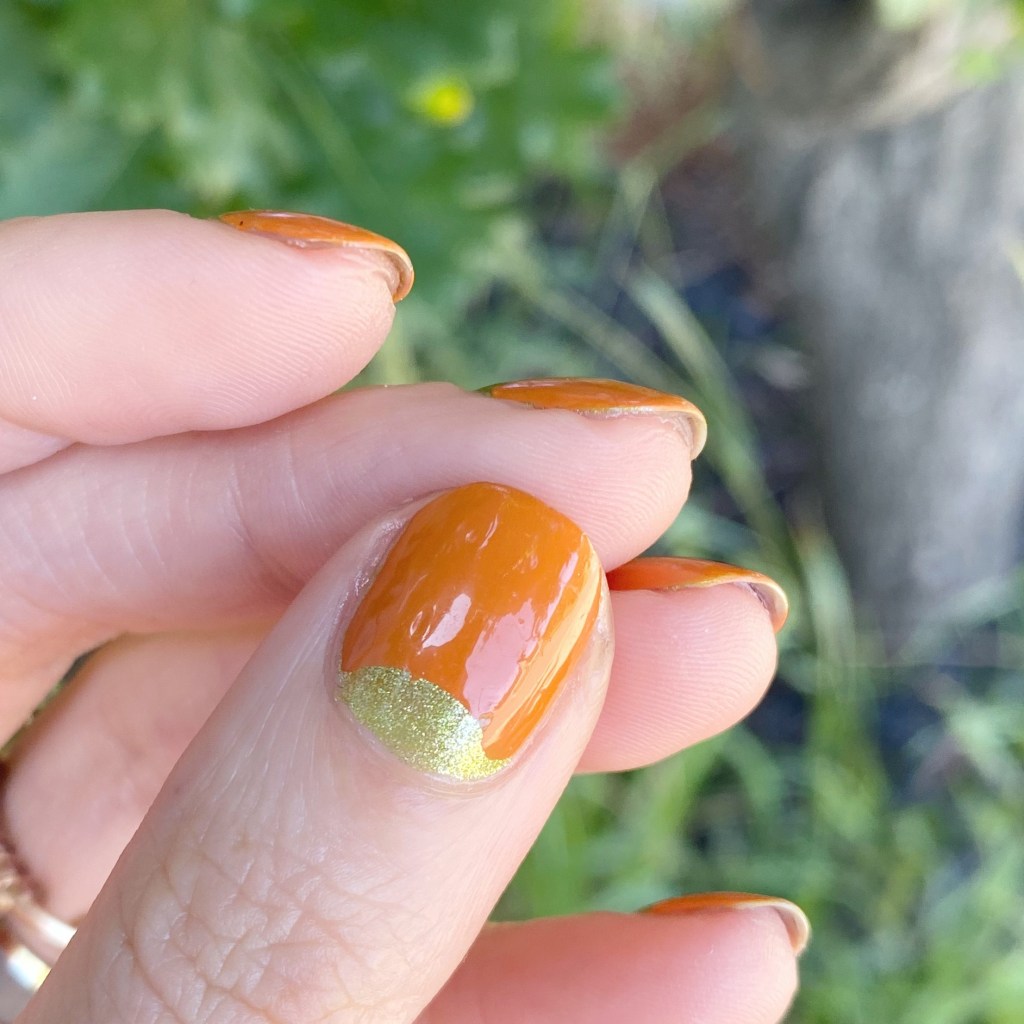
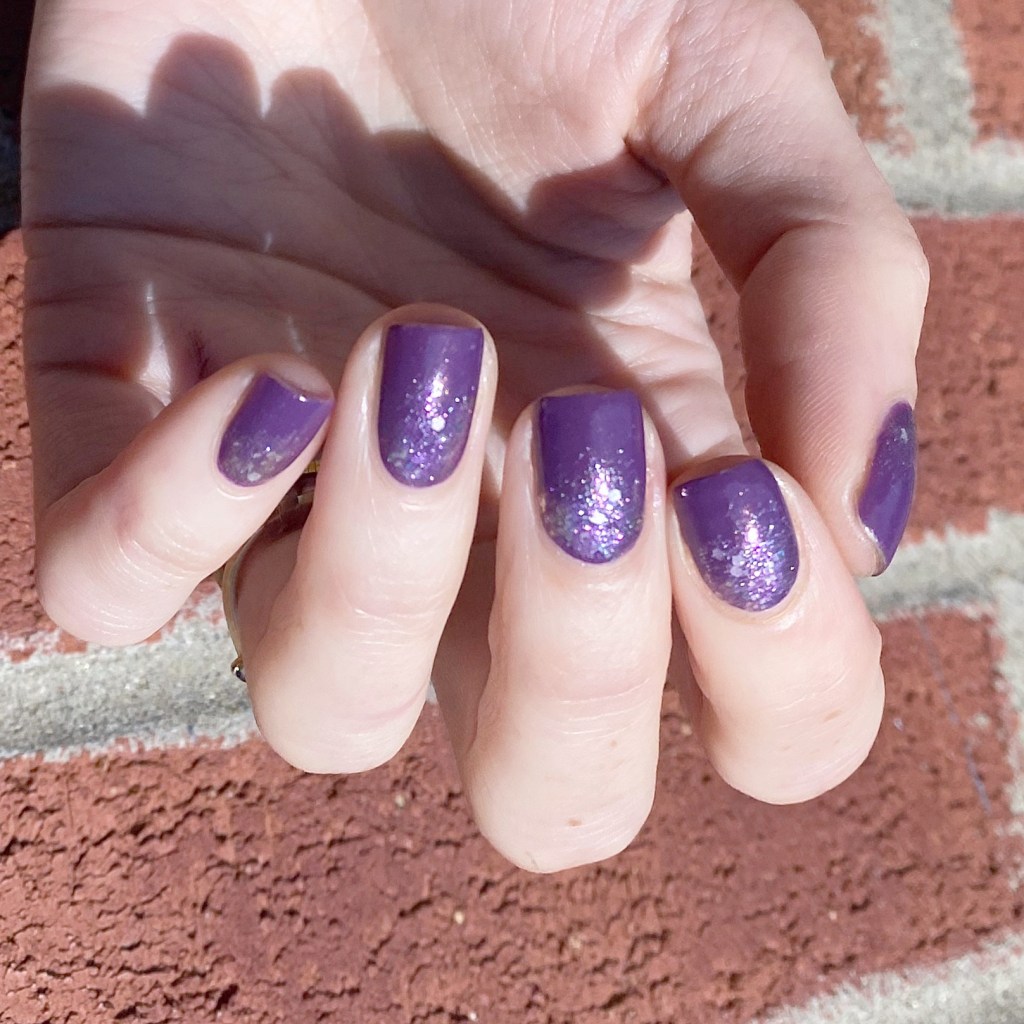
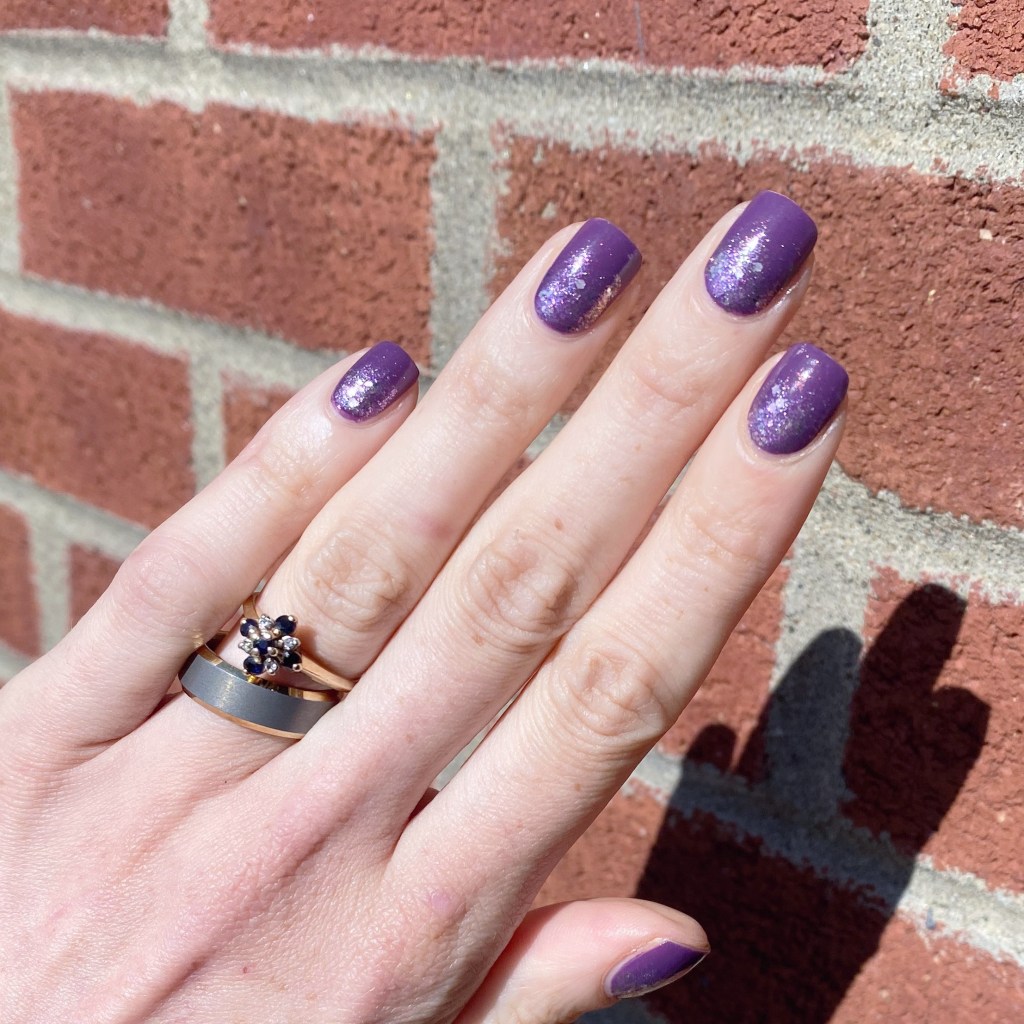
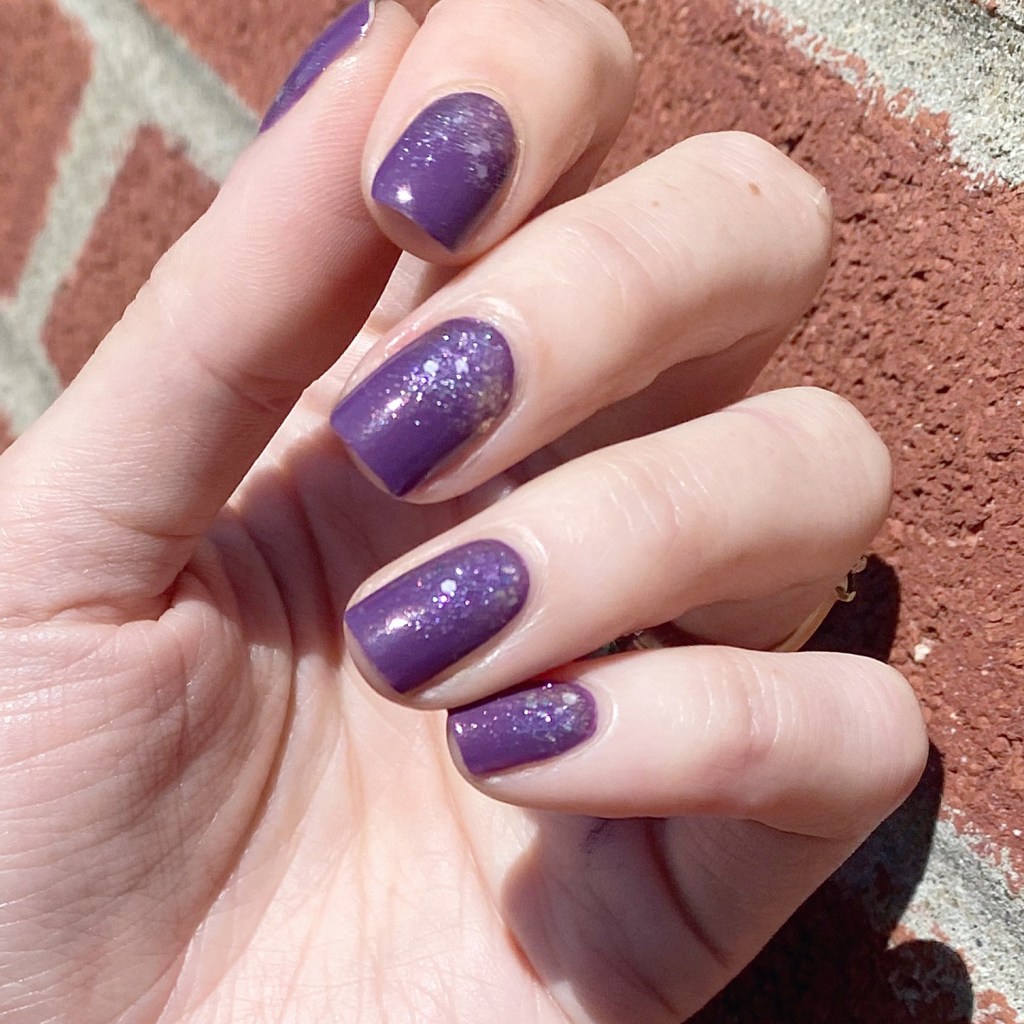
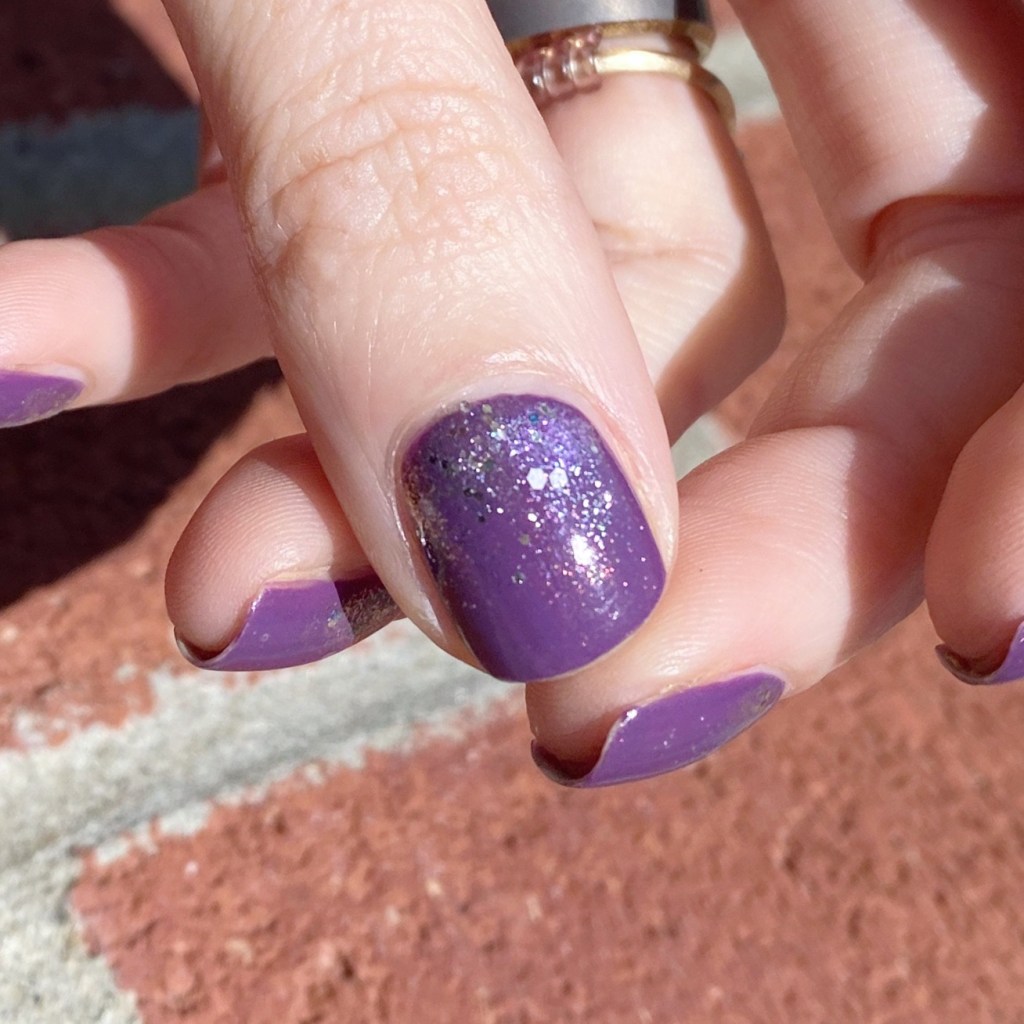
Hello lovelies & happy Monday! A brand new week to enjoy. Today, I’m sharing a little bit of sparkle with you to start off this week. I recently was feeling stuck for inspiration, so I decided to grab one of my favourite purple OPIs Dutch You Just Love OPI?, & a pretty glitter OPI, & create a quick, easy glitter gradient!

The polishes I used for this manicure are: 

  • Base Coat: Sally Hansen Miracle Gel Colour Grip Primer Base Coat 
  • Top Coat: Sally Hansen Miracle Gel Glossy Top Coat
  • OPI Dutch You Just Love OPI?
  • OPI Charmmy & Sugar
  • Latex free make up sponge (mine are from Dollarama)

Check out that sparkle! I love it. I don’t know if I’ve ever worn this pretty sparkle before (it’s from the 2016 OPI x Hello Kitty collaboration) but I think it looks incredible over this purple. I love a good glitter gradient, & sometimes you find two polishes that just go together so perfectly. I love that moment.

What do you think of this quick & simple nail art look to start off your Monday? I know it’s not the most exciting of manicures, but sometimes you just want a little bit of sparkle.

Let me know what you think down in the comments below.

Sparkly Glitter Gradient ✨

Good morning lovelies & happy Monday! A beautiful, sunny & warm Monday. It’s feeling like Summer today, & I’m loving every moment of it.

Today I gave a super simple, easy nail art look that anyone can do! I love a good glitter gradient, & it is such an easy way to spruce up a relatively plain manicure.

The polishes I used for this manicure are: 

  • Base Coat: Londontown KUR Nail Hardener & Base Coat 
  • Top Coat: Seche Vive Fast Dry
  • Essie Revenge’s A Beach
  • Sinful Colors Pride

What I love most about a glitter gradient is you don’t really need any tools. Obviously, you can sponge on the glitter, but I usually just apply it using the brush as I find it easiest (& least messy).

These are definitely the look you need to do if you have a special occasion you want fancy nails for, but aren’t too comfortable with nail art. I swear, anyone can rock this look easily! In fact, I’m already planning another one in my head featuring a few glitters I don’t use too often — stay tuned!

What do you think about this fun glitter gradient? Also yes — that is the same polish from yesterday’s Swatch Sunday post. Crazy how different lighting can make it look different! Natural light vs Light Box.

Have a fantastic beginning to your week loves! 🖤

Throwback Floral (Using Just a Dotting Tool)

Hello lovelies & happy Friday! I hope it’s a beautiful day wherever you are. It’s supposed to be sunny, & slightly warm today, so I’ll take it.

Today I’m sharing a design which is a recreation of a design I did many moons ago—like… 2013 at the beginning of my nail art journey & before this blog. I just always love revisiting old designs, & when this one popped up on my Facebook memories, I knew I needed to do an updated version!

2013 version
2023 version

The polishes I used for this manicure are: 

  • Base Coat: Londontown KUR Nail Hardener & Base Coat 
  • Top Coat: Seche Vive Fast Dry Top
  • Essie Peach Side Babe
  • Essie Worth the Tassel
  • Essie Blanc
  • Essie Turquoise & Caicos
  • Small & Large Dotting Tool (NailStuff.ca Dotting Tool Trio)

I didn’t have a list of the original polishes I used for my design, so I tried to go with what looked the closest to the colours — which was hard because my original photo is pretty poor quality. I think, though, I did a pretty good job on recreating the original look!

I know that was my first jump into “real” nail art after getting my first dotting tool. It was an Essence brand one that I found at Shoppers Drug Mart, & I got very excited to find something to do legit nail art.

What do you think of this floral nail art recreation? Do you remember what nail designs first got you into nail art? Let me know down in the comments below!

Have a fantastic Friday!

Easy Holo Ocean Themed Nails

Hello lovelies & happy Monday! It’s the beginning of a brand new week, & I’m sharing a super easy look with you.

This was a super quick & easy look I did the end of last week, inspired by a request by my little girl. I had these cute ocean themed nail art stickers I picked up from Icing circa 2014-2015, though I thought they would be super cute paired with an ocean-y blue nail polish for some easy nail art.

The polishes I used for this manicure are: 

  • Base Coat: Londontown KUR Nail Hardener & Base Coat 
  • Top Coat: Seche Vive Fast Dry Top
  • Superchic Lacquer Throwing Shade
  • Icing Nail Art Stickers — can find similar styles on Etsy.

I’ve raved before about my love for nail art stickers for easy nail art, especially when time is an issue. You can use a whole bunch on the nail, or one on each nail for a simple look. I have quite the collection myself, so they’re fun to grab when I’m lacking time (or inspiration).

& there are some great brands out there to choose from.

What do you think about these simple holographic ocean nails? Are you a fan of simple nail art like this? Have you ever tried any nail art sticker brands that you absolutely love? Let me know your favourites down in the comments below!

Have a fantastic Monday!

Negative Space Purple Moons

Hello lovelies & happy freaking Friday! The weekend is upon us, & the end of the month is quickly approaching. I feel like May just started, & now it’s almost June? Crazy!

Today I’m showing off another fun Spring/Summer look that’s actually super easy to do. I’ve kind of been leaning back into my easier nail art, mostly because sometimes (or, a lot of the time) I’m quite tired at the end of the night when I go to do my nails. So I’ve been leaning back on go to easy nail art looks. It’s a combination of easy to do, but also super cute! The best kind of nail art.

The polishes I used for this manicure are: 

  • Base Coat: Londontown KUR Nail Hardener & Base Coat 
  • Top Coat: Seche Vive Fast Dry Top
  • Sally Hansen InstaDri VaVa Violet**
  • Sally Hansen InstaDri Glos-Sea**
  • NailStuff.ca Dotting Tool Trio
  • Paper Hole Reinforcements

**Both purchased at Shoppers Drug Mart & currently in stock

How cute are these two colours together? My original plan had been to use Glos-Sea as the moon, topped with Va Va Violet but it was already pretty late at night, & I was feeling sleepy, so I decided a negative space moon would look great… & I was right! I think I like it even more than if I had used the blue for my moon.

What do you think about these negative space moons? Do you like this colour combination? What is your favourite colour combination together for a look like this? Let me know all your thoughts down in the comments below!

Have a happy Friday ♥︎