Rainbow Easter Egg Inspired Accent Nail

Good morning lovelies & happy Thursday!

I hope everyone is having a lovely week, however you’re spending it. I did a fun yoga class last night (via zoom) so I’m feeling refreshed this morning. If there is one thing this home isolation has been doing for me, it’s been inspiring me to work out almost daily, which is awesome!

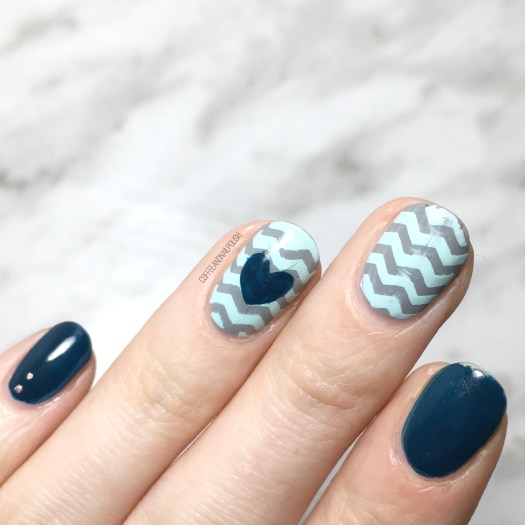
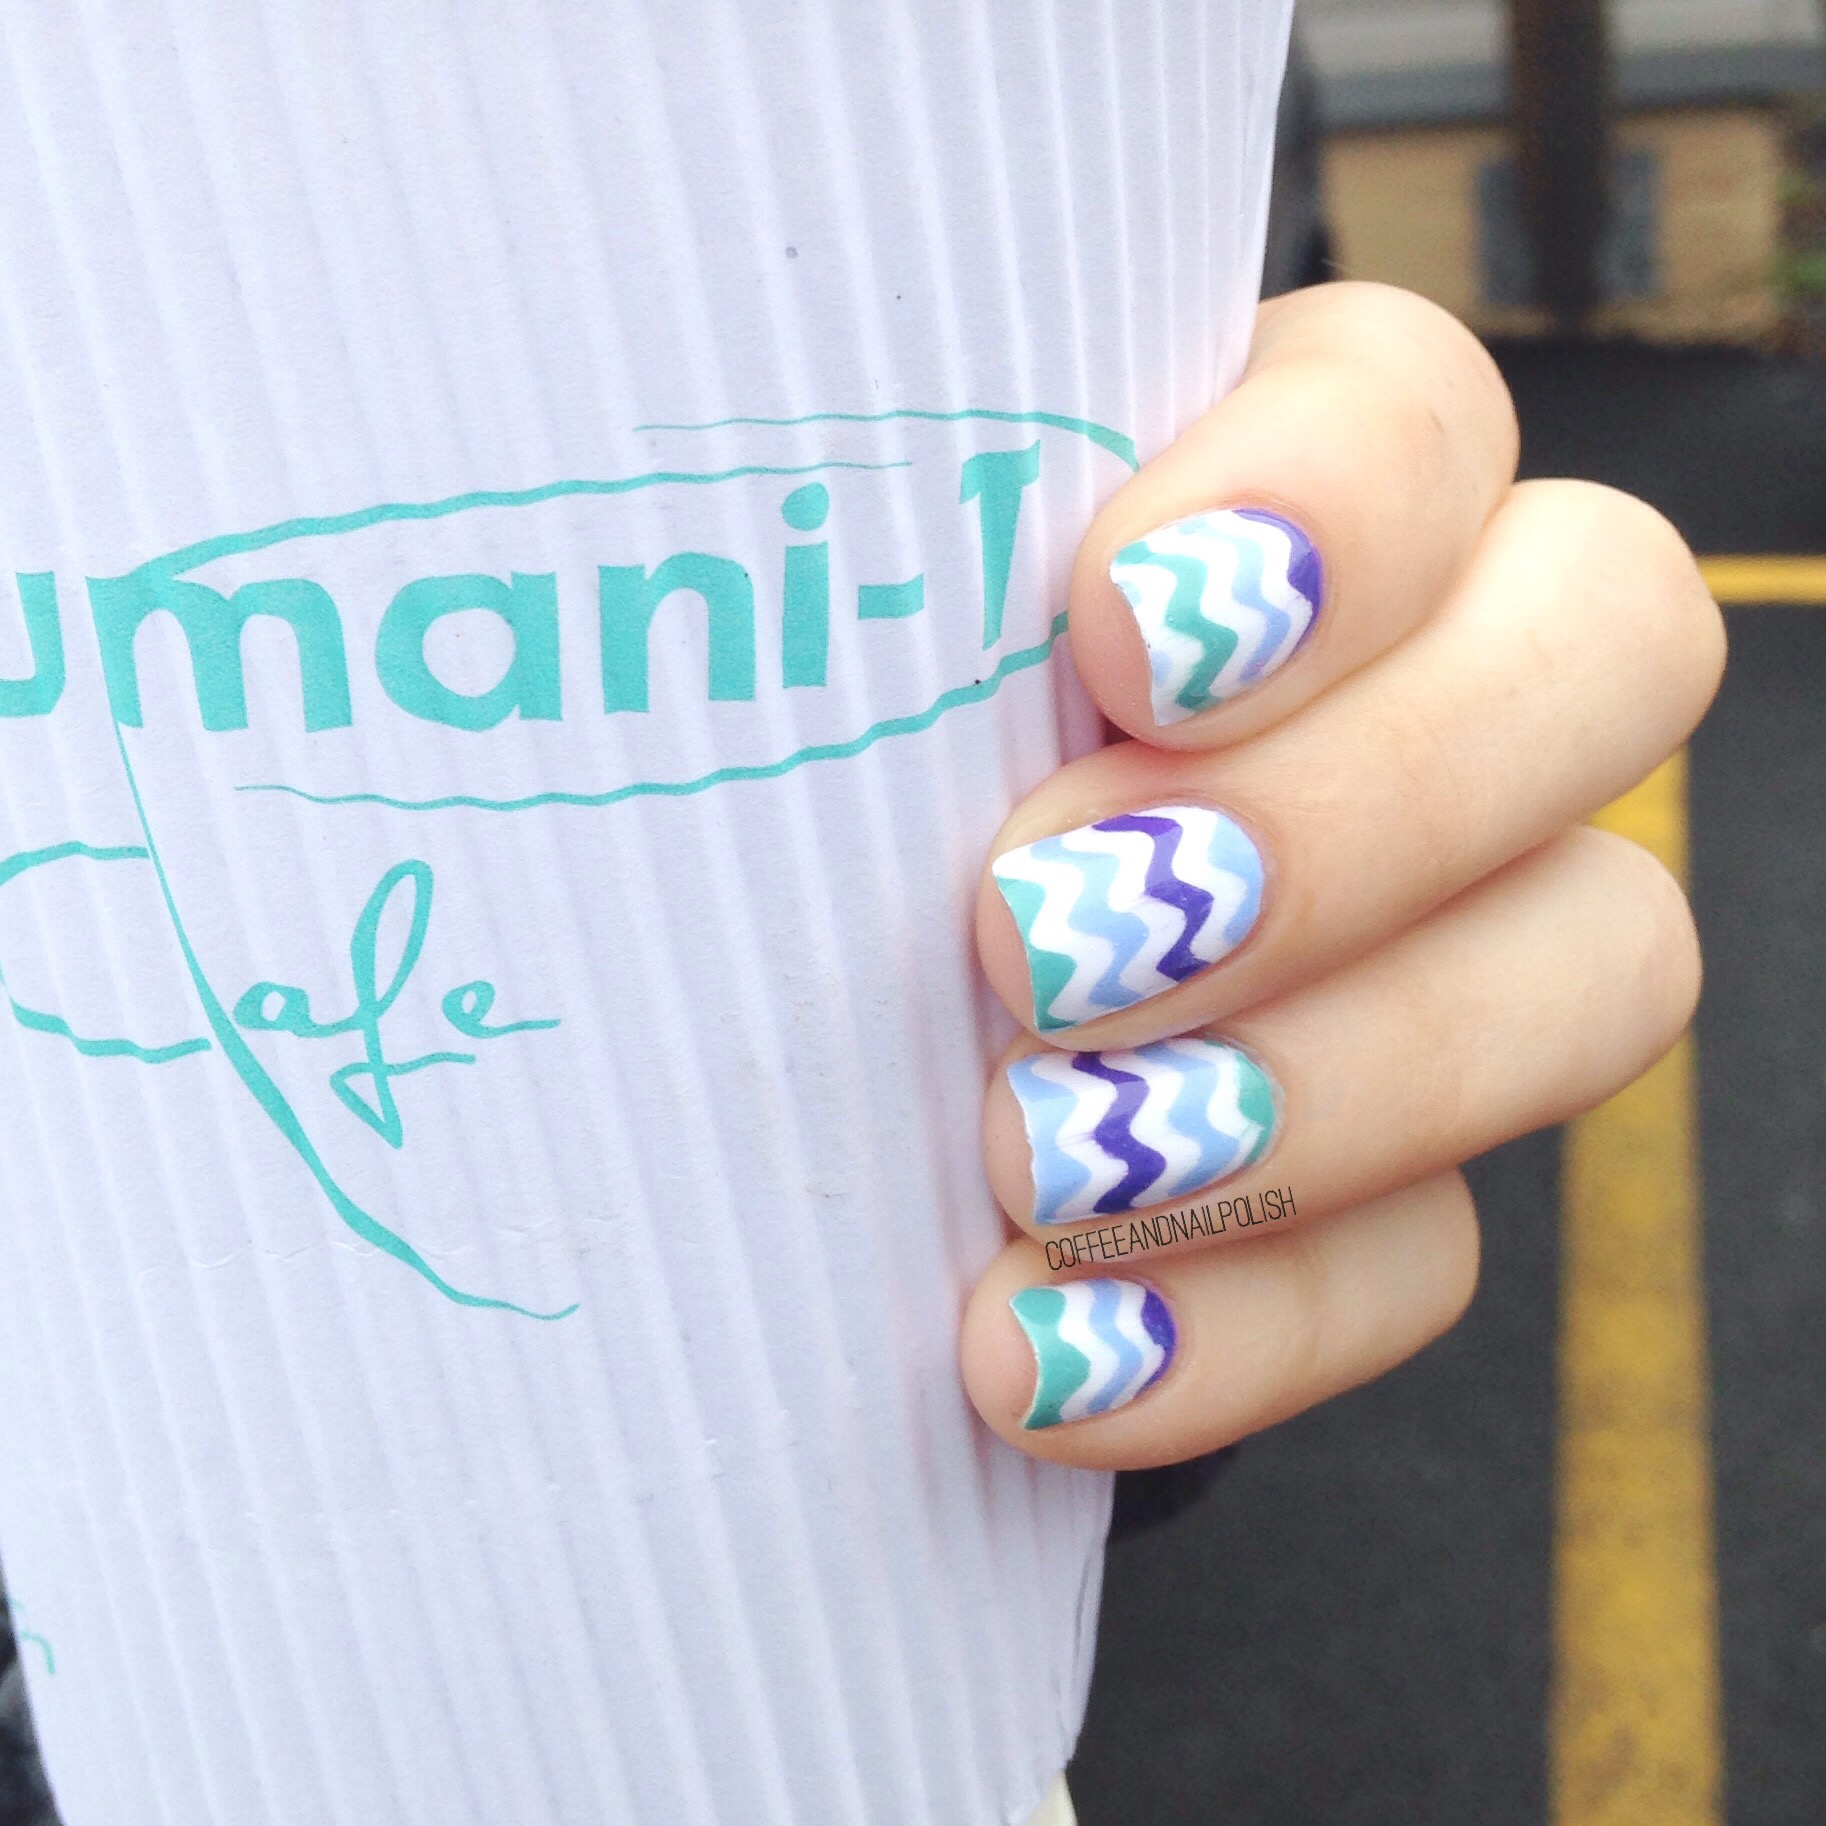
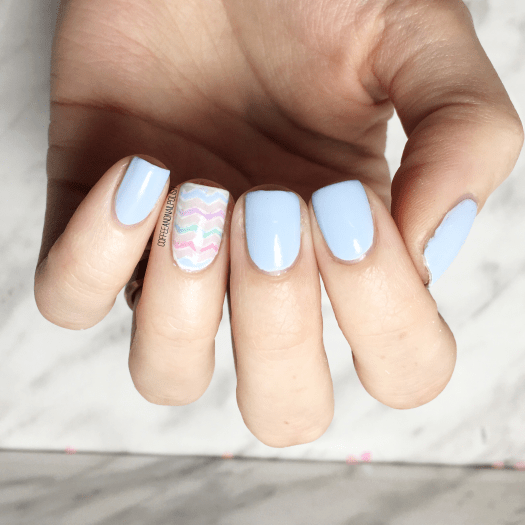
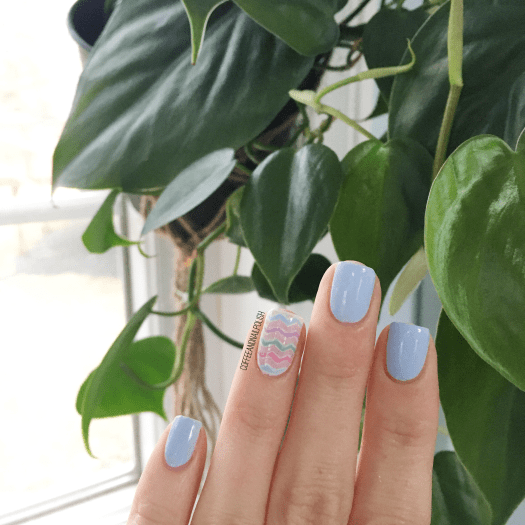
Today I gave an Easter inspired design to share with you. I wanted a look that would be perfect for Easter celebrations, but could also be worn just to celebrate Spring!

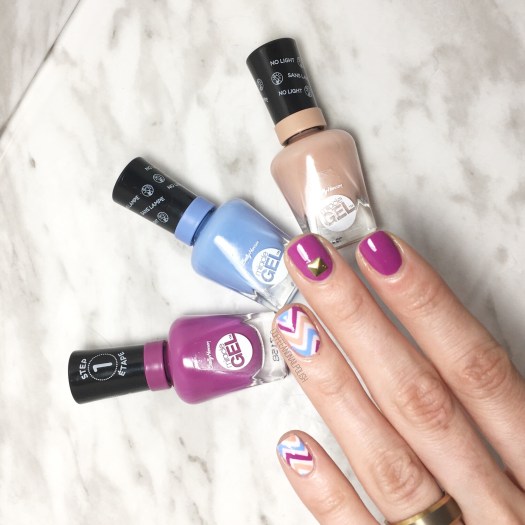
  • Base Coat: Sally Hansen Good Kind Pure Hardener
  • Top Coat: Essie Speed Setter
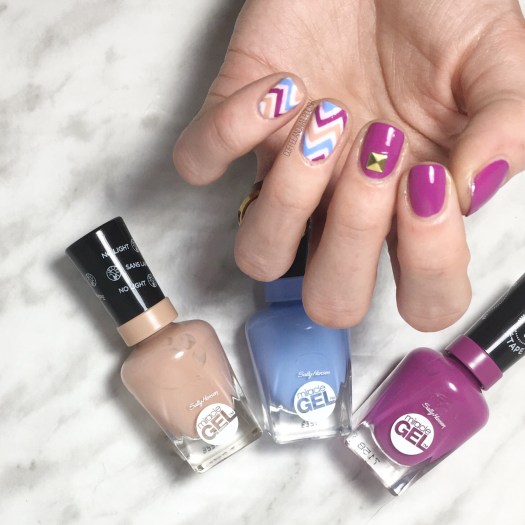
  • Claire’s matte Sorbet Blue
  • Claire’s matte Sorbet Mint
  • Claire’s matte Sorbet Purple
  • Claire’s matte Sorbet Pink
  • Essie Ballet Slippers
  • Sally Hansen Miracle Gel Get Mod
  • NailStuff.ca 4mm Micro Detail Brush (COFFEE10 saves you 10%!)
  • NailStuff.ca Dotting Tool Trio
  • TheBaseCoat Chevron/ZigZag (regular) Stencils

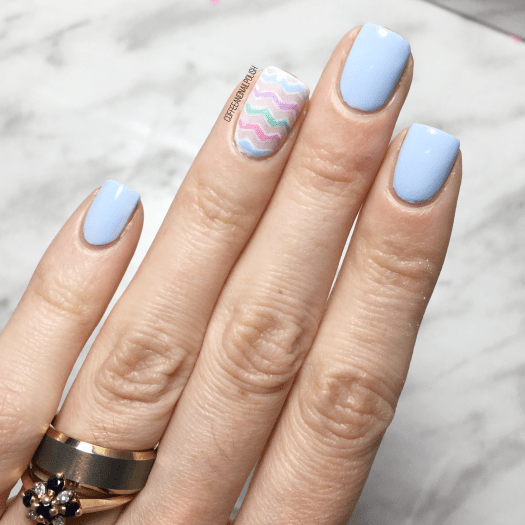
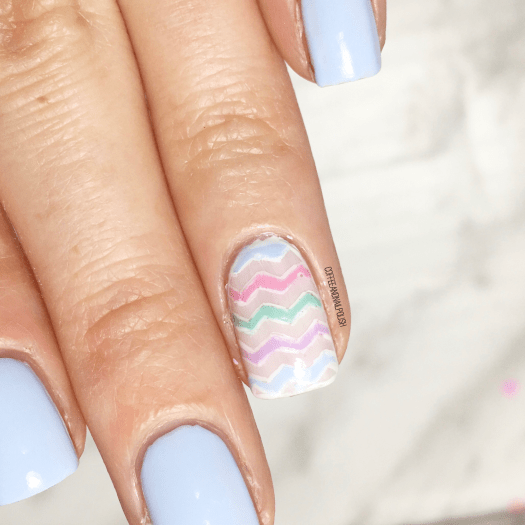
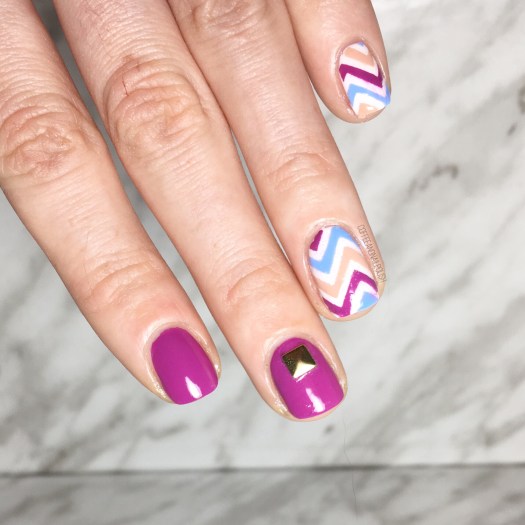
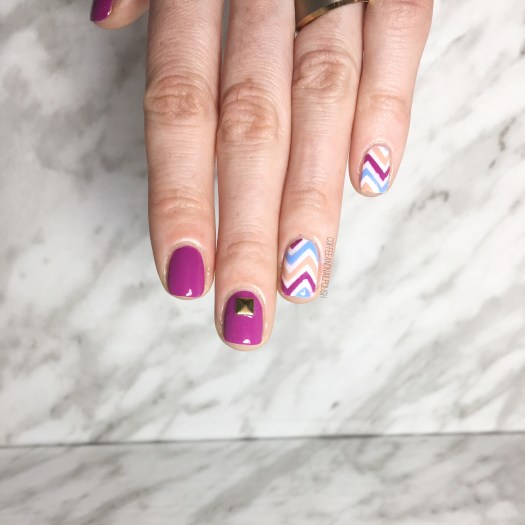
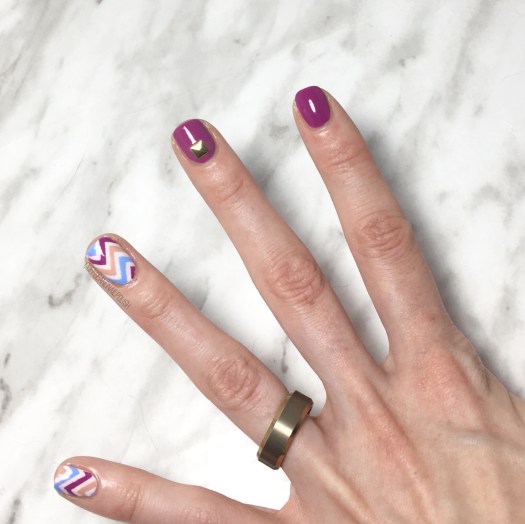
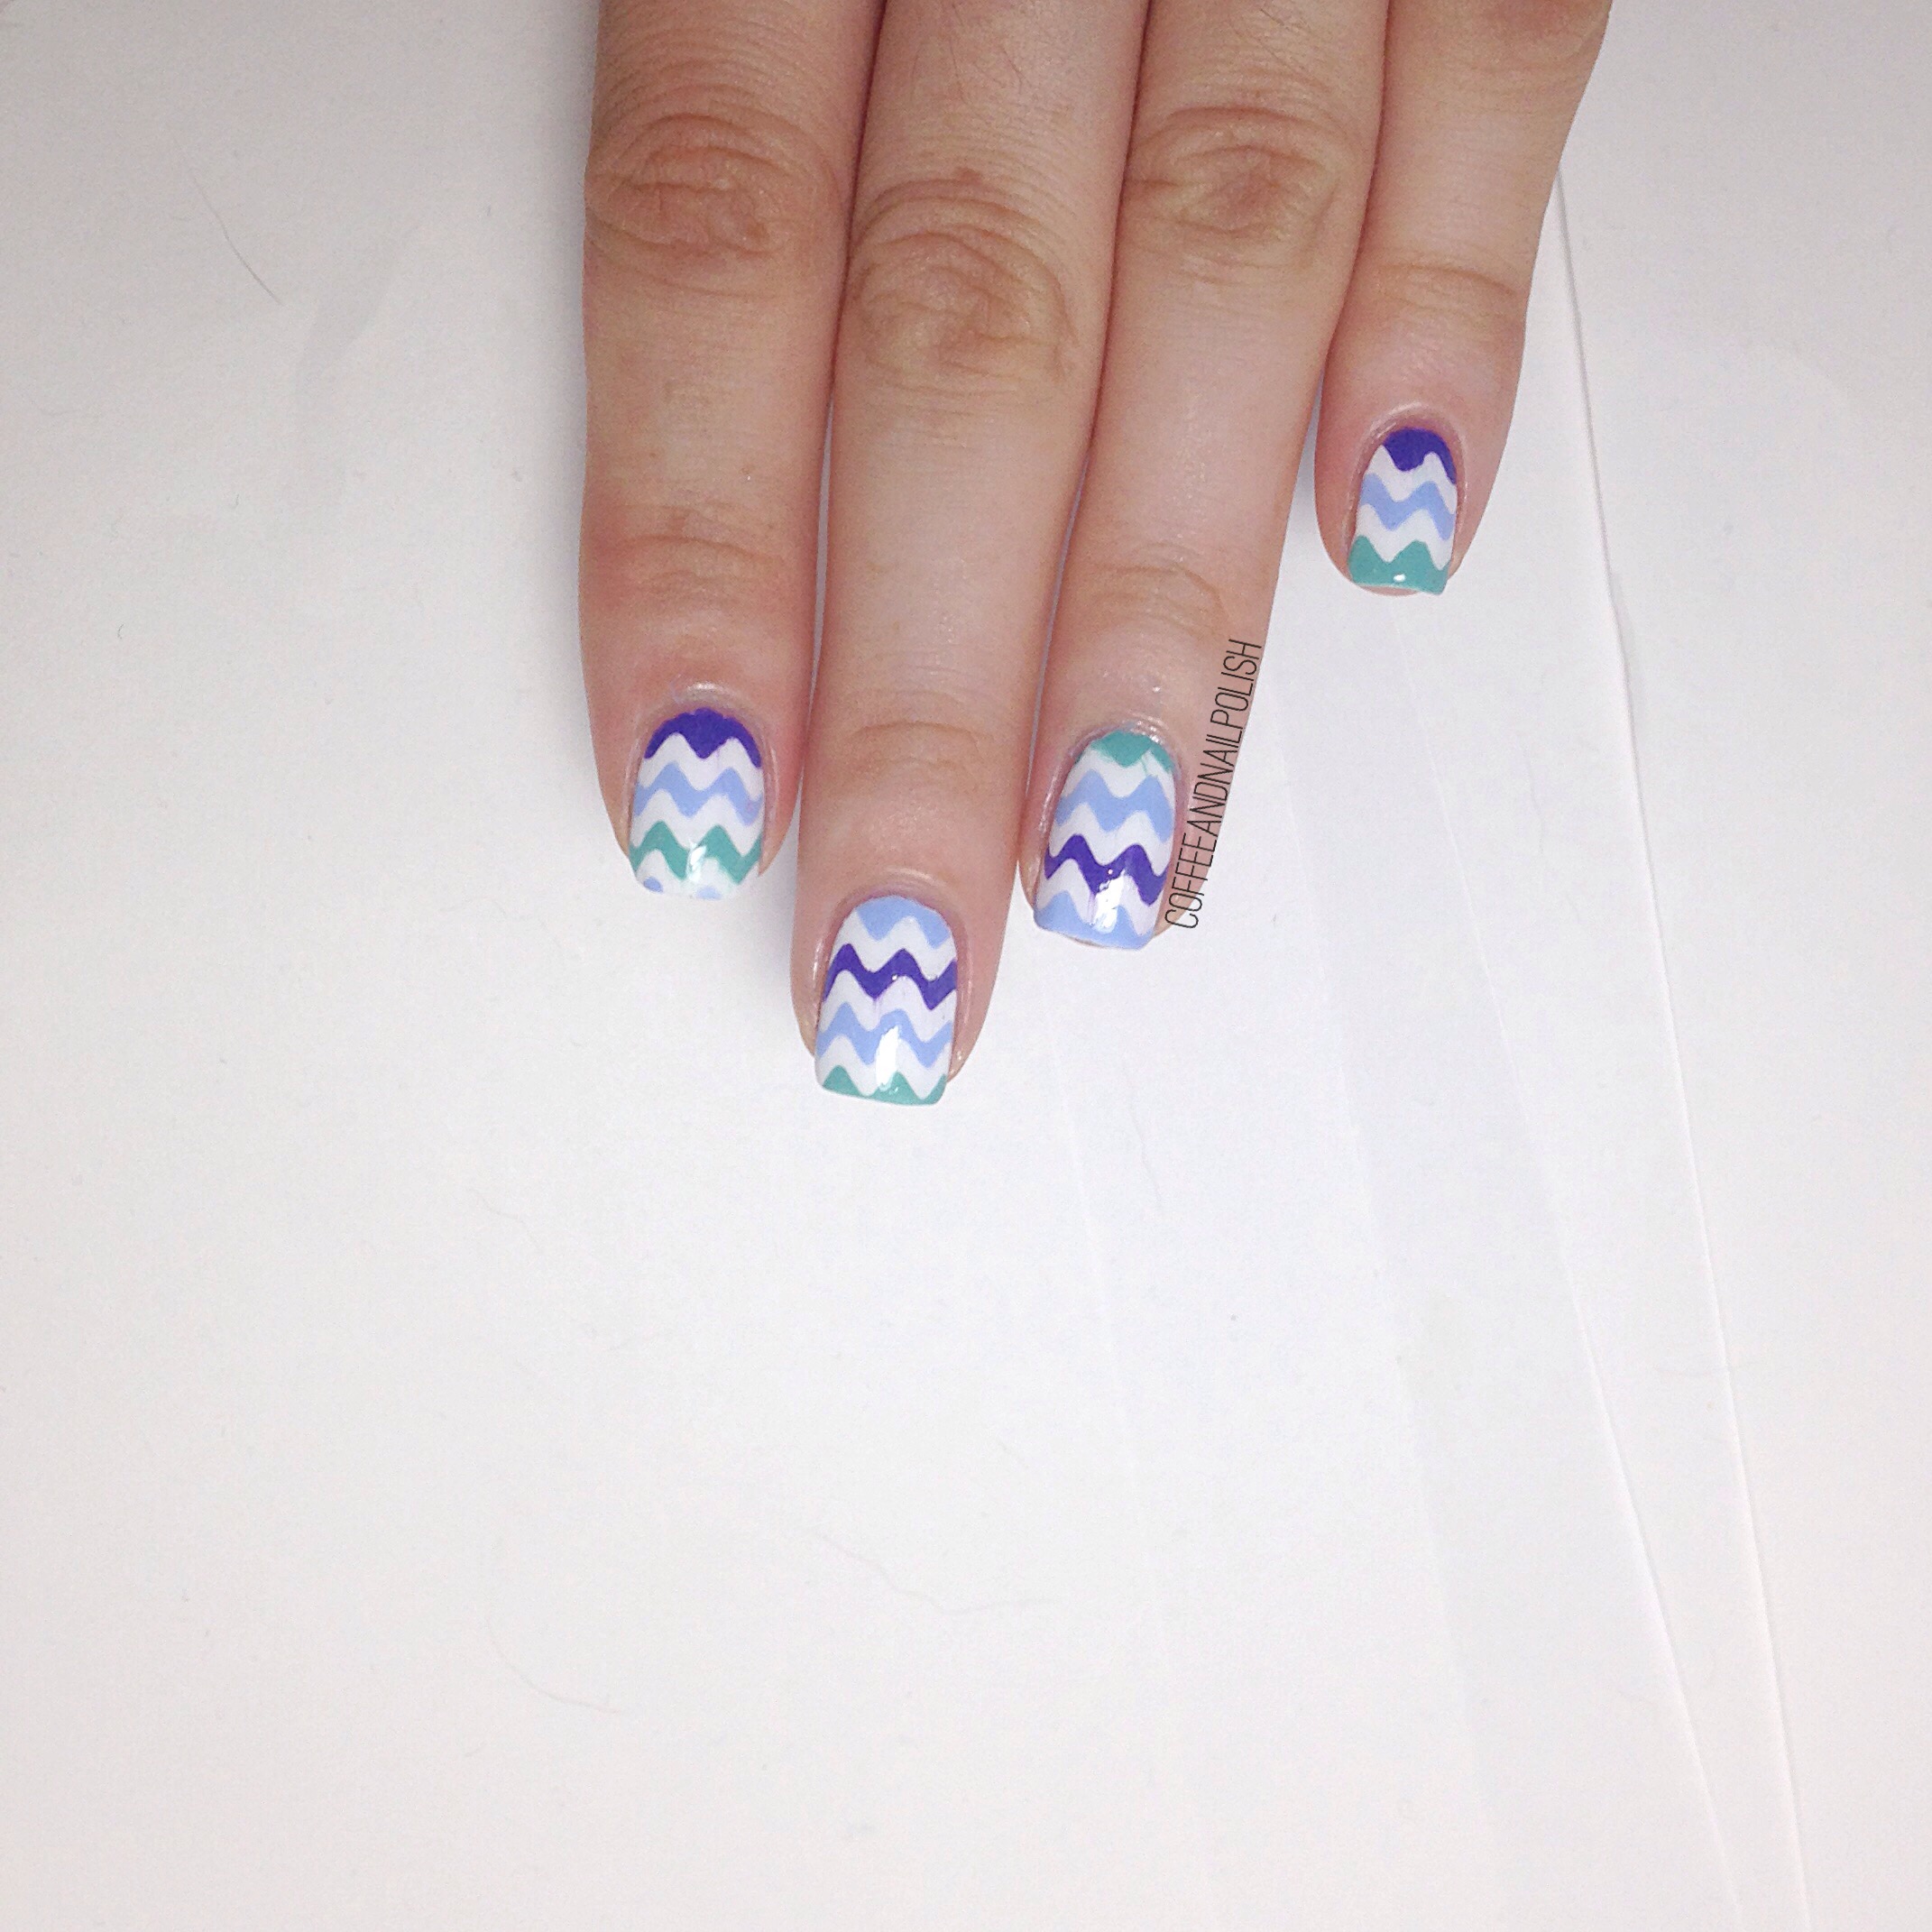
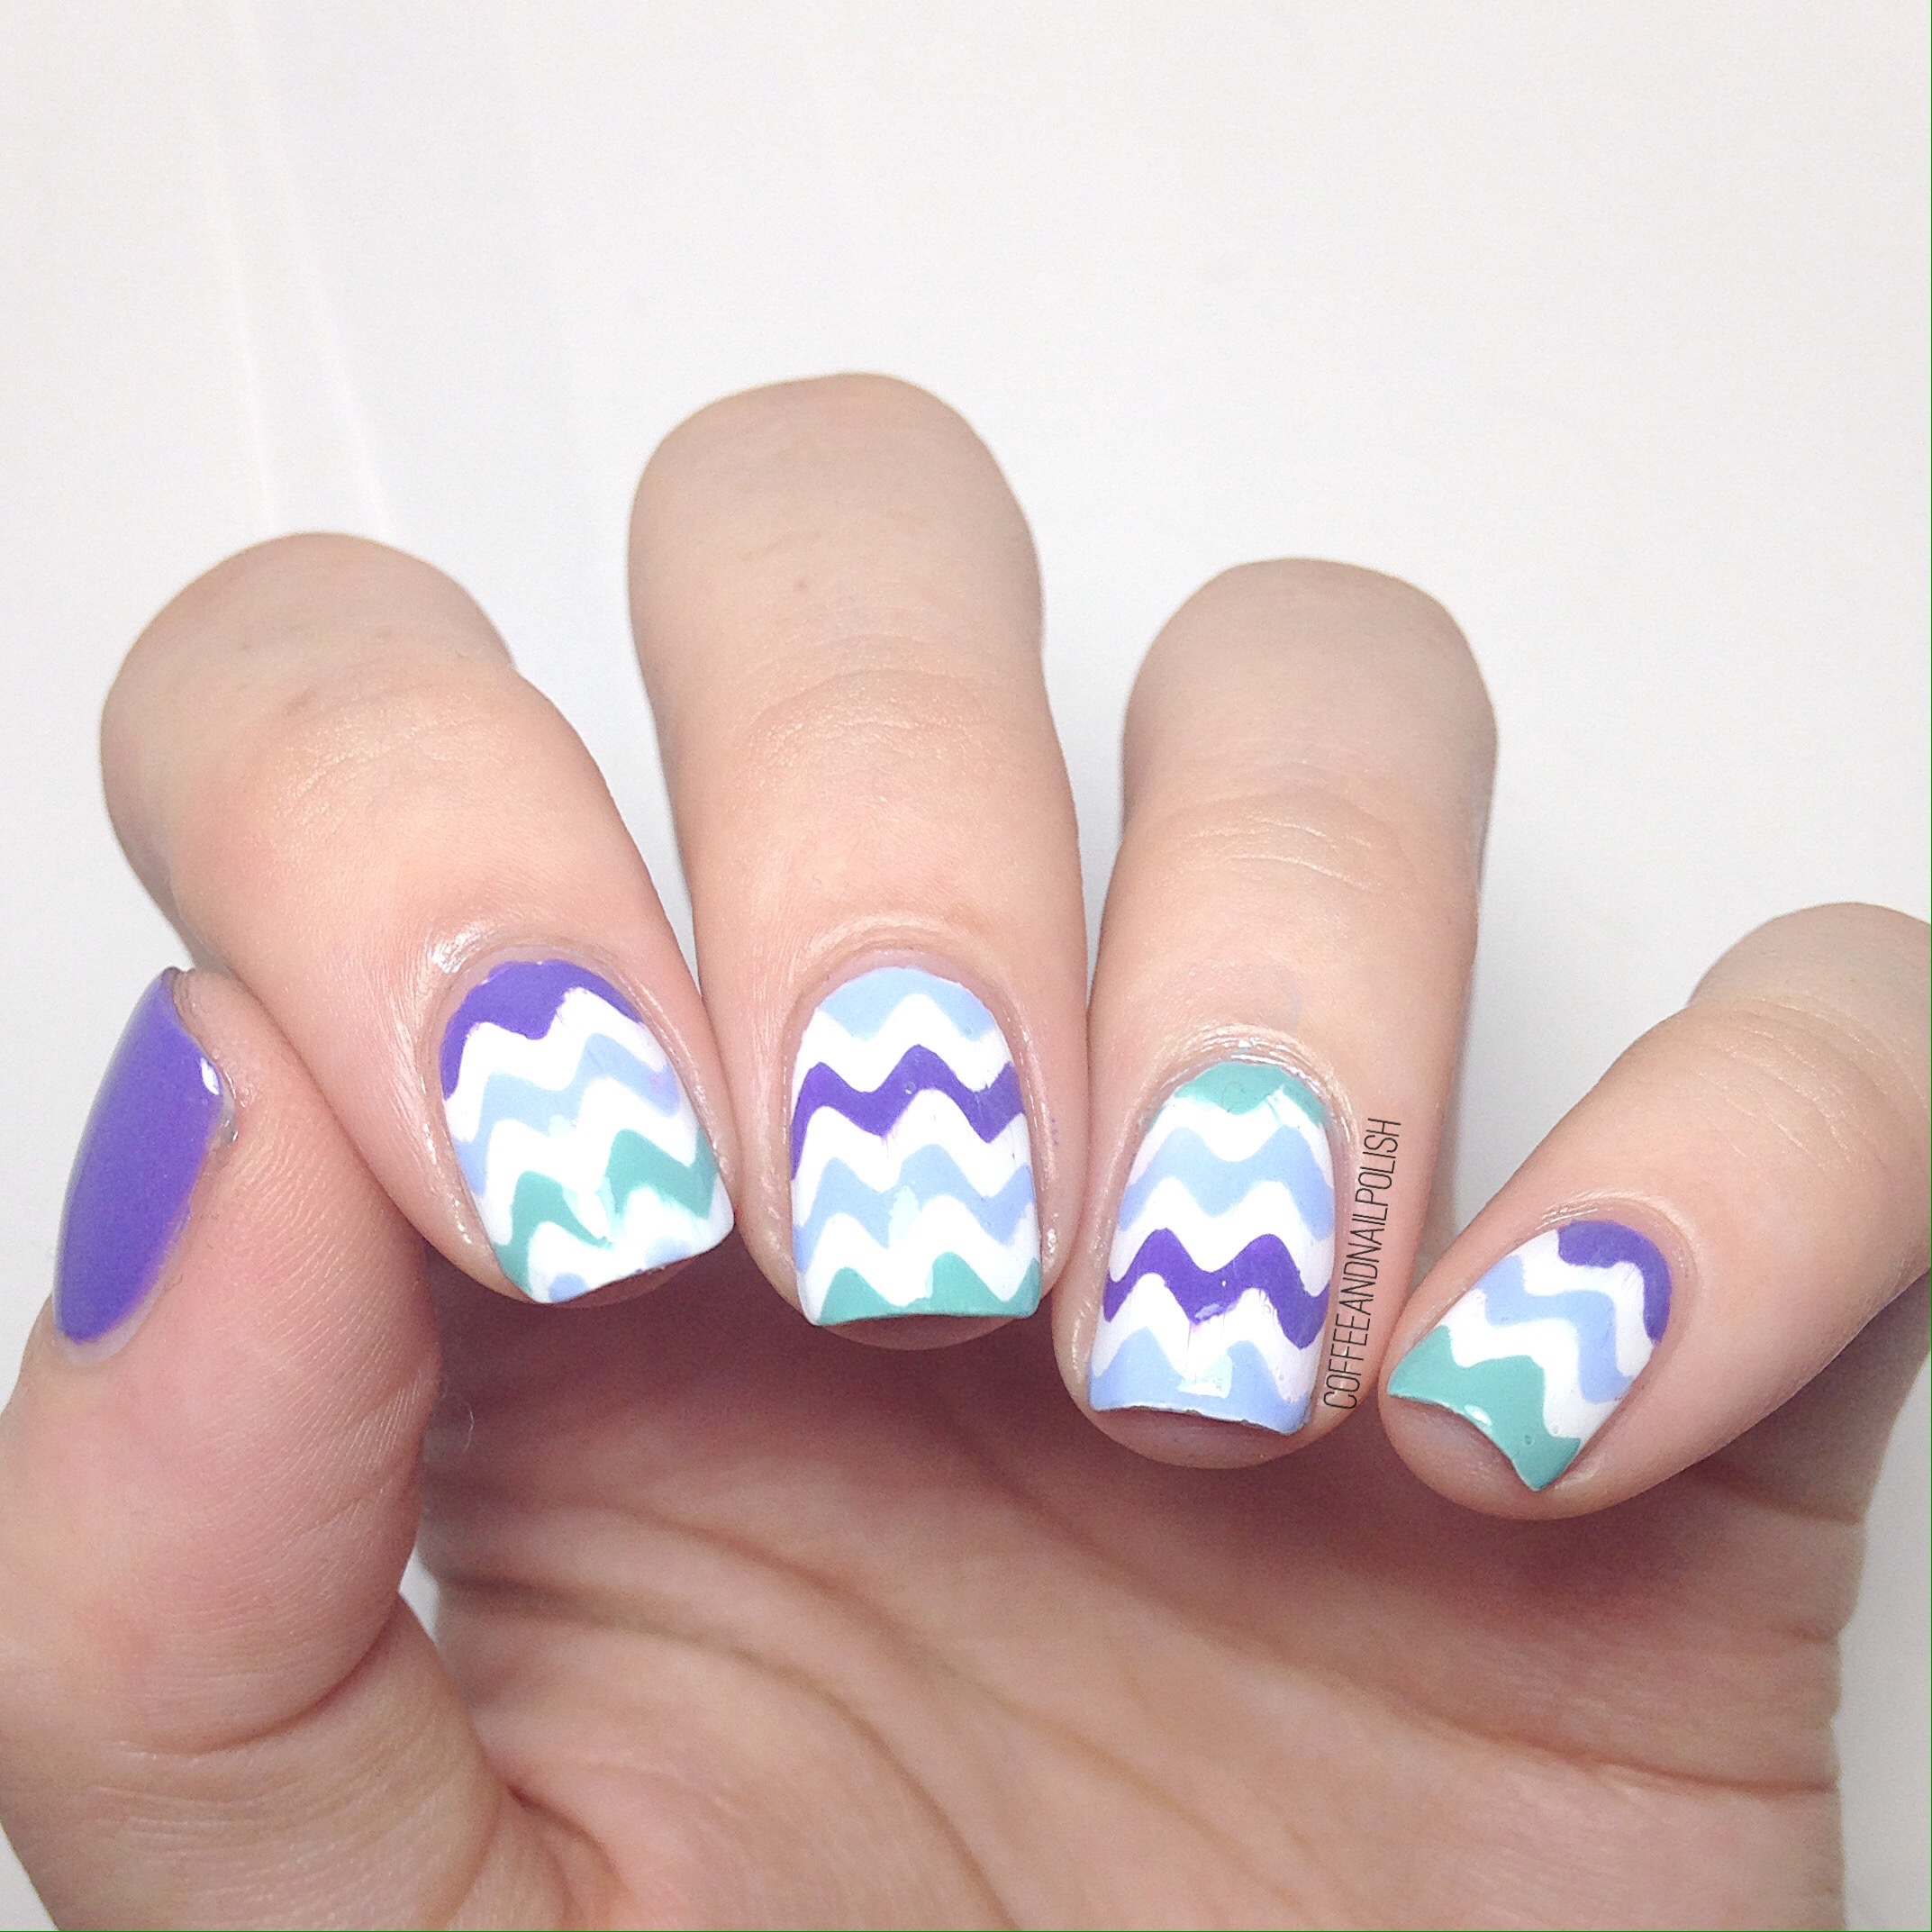
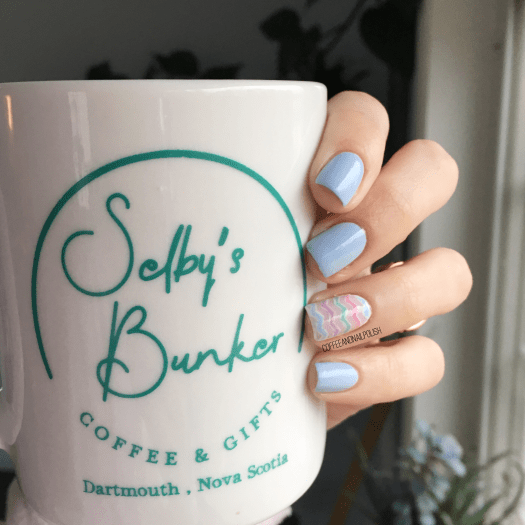
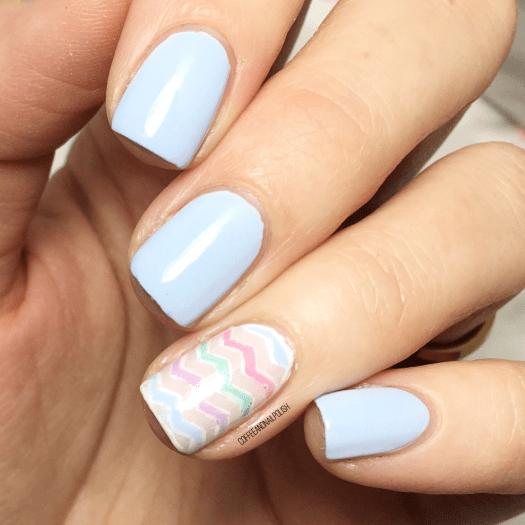
I really, really wanted to do something Easter-y on my nails, without going your typical bunny ears/Easter egg design. I started off on my ring finger by applying 2 coats of Ballet Slippers & my Essie Gel Setter to dry. Then I took my nail vinyls, & applied them to my ringer finger. Using a dotting tool, I started from the bottom of my nail, I worked quickly applied the alternating colours. All my shades were matte, which dry quickly, so I actually pulled off the vinyl one I had filled a section. Next up, I decided outlining would bring the look together, so I went through with my tiniest brush, & outlined all my chevrons with my white polish, as well as the outside of my nail.

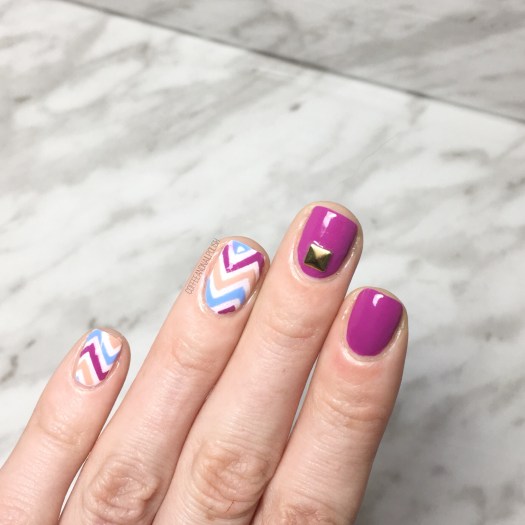
& I feel like the end result looks so cool, & dainty, & just Easter-y enough. Like a “grown up” Easter egg design.

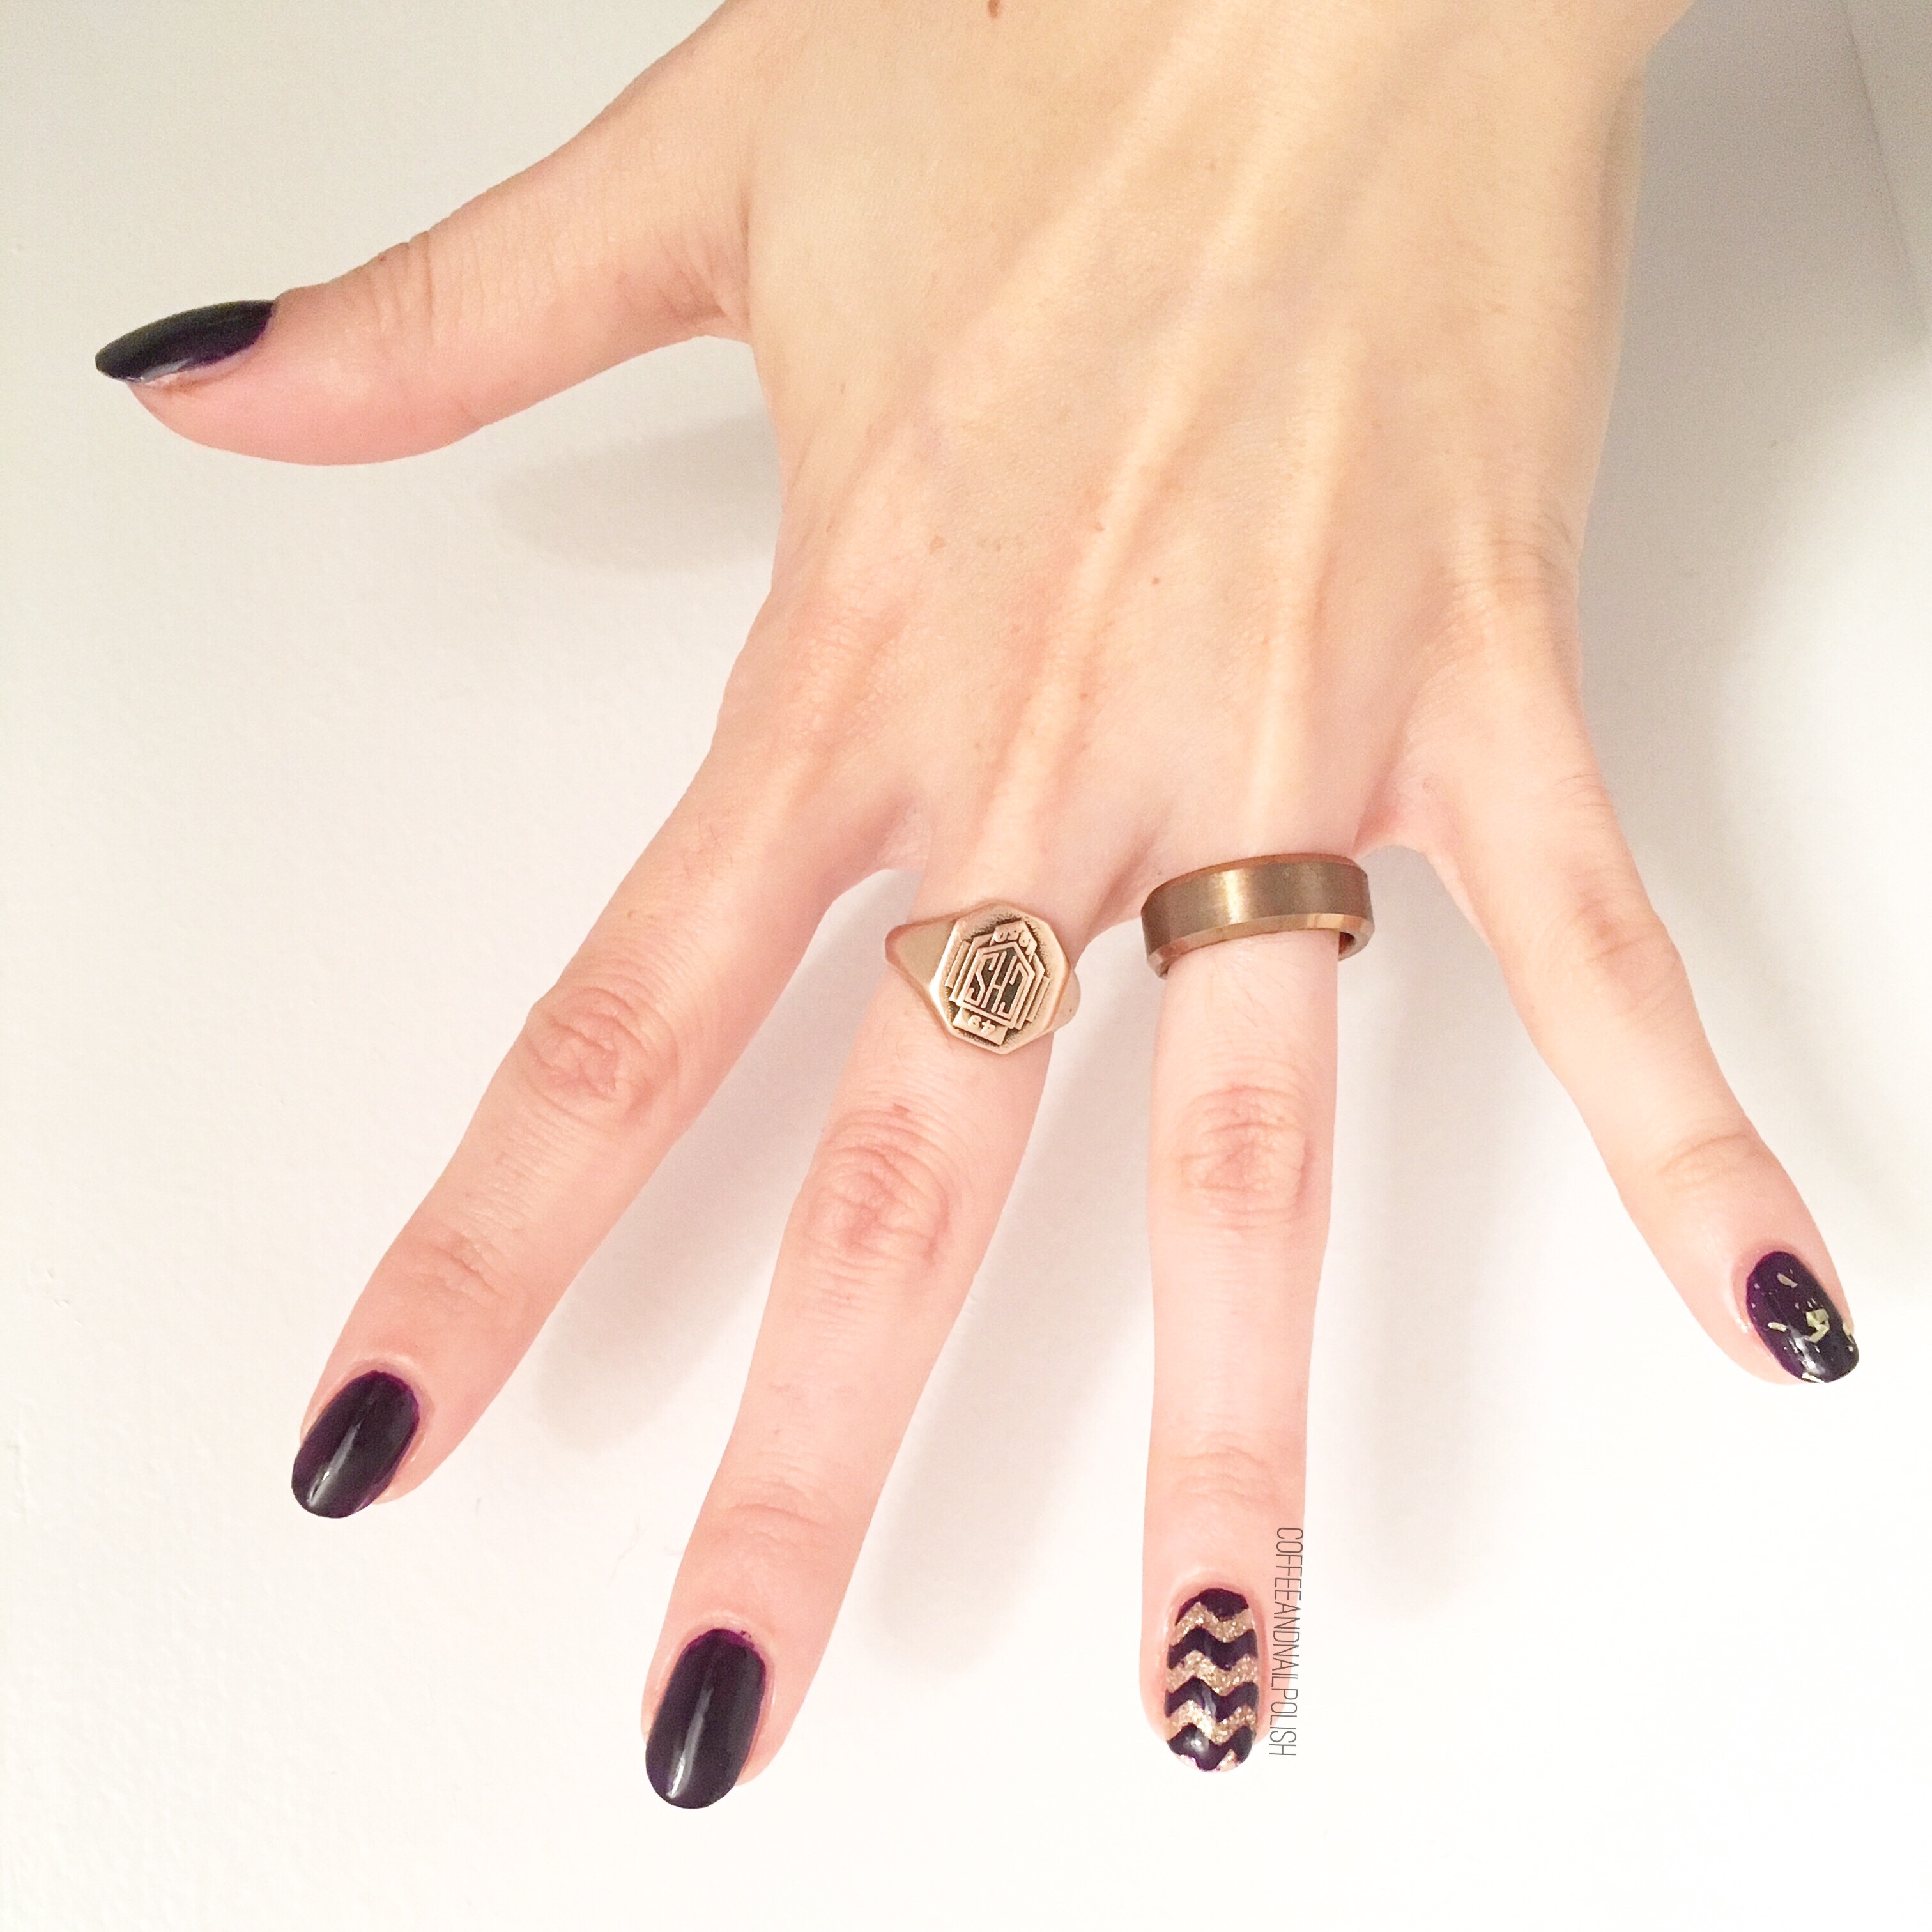
Seriously, I’m obsessed. It’s been a while since I pulled out the zig zag chevron nail vinyls, & oh man have I missed them! I guess one thing I can thank this whole situation for, is that I’m really putting more effort into my nail art, & love rediscovering all these old tools of mine. It’s a fun way to distract myself from all the craziness happening outside of the house — or from the fact that I really miss my extended family. Hopefully the world returns to some form of normalcy again, so we can all get together & celebrate all the events we’re missing out on.

Do you have a special manicure planned for your Easter? What is your favourite Easter candy? Let me know down in the comments below! (Mine are Peeps by the way, I know… I’m strange but I LOVE them!)


Hearts & Zig Zags

You know when you get a nail art look in your head & you want to try & make it work on your nails… there is nothing more satisfying than bringing it to life & it turning out better than you expected!

This look was one I wanted to try but I wasn’t sure what colours to go with. Thanks to some Pinterest stalking, I figured out exactly the colour combination I wanted! I wanted something that would fit my January mood, especially since I didn’t want my nails to look too Valentine-y.

For this manicure, the polishes I used were:

  • Base Coat: Essie Grow Stronger
  • Top Coat: Essie Speed Setter
  • Ardene Day Dreamer
  • Essie Mint Candy Apple
  • Quo by ORLY Diva
  • Quo by ORLY Breathable Fairy Godmother
  • The Base Coat Regular Chevron/Zig Zag Vinyls
  • The Base Coat Heart Vinyls
  • NailStuff.ca dotting tool set

I seriously think these turned out so, so cute! It feels like absolute ages since I pulled out my Vinyls & I have to admit… I missed them. I also love this combination of dark teal, grey & mint. I never know what colours to wear on my nails this time of year, but darker shades are definitely calling my name more often!

What do you think of this look?

You could definitely adapt it & turn it into a Valentine’s Day look with some pink & red polishes. & it was surprisingly easy (if a little bit time consuming) to do. ♥️

Zig Zag Chevron Accent Nails

Happy Monday lovelies! Hope everyone had a fantastic weekend. ♥️ Mine was… short! But it’s a brand new week & I have a brand new manicure to start it off with. I’m still obsessing over these new Sally Hansen Miracle Gel polishes, so I have yet another design to share with you featuring them. This time, I used some brand new (to me) vinyls from The Base Coat to create some funky chevron zig zag accent nails.

For this manicure, the polishes I used were:

  • Base Coat: Nailtek 2
  • Top Coat: Sally Hansen Miracle Gel Top Coat
  • Sally Hansen MG Lilac Insomniac
  • Sally Hansen MG Little Peony
  • Sally Hansen MG Sugar Fix
  • Sally Hansen MG Sweet Tea
  • The Base Coat Nail Vinyls Chevron/Zigzag (wide)
  • NailStuff.ca square stud from mixed decoration wheel (gold).
  • Small dotting tool.

First off, these nail vinyls are so much fun & I love how they look. I’ve been obsessed with shopping from throw pillows lately (as we continue to decorate our new house) & this colour combination & pattern looks a lot like the patterns I continuously find myself drawn to. & obviously I had to throw some studs as an accent in there because it’s been a while since I used my favourite nail stud wheel from NailStuff.ca!

I have to say, I just love how cleanly the lines on these chevrons came out. The vinyls from The Base Coat definitely stick to the nail very well when you use them. No flooding under the vinyl & creating a big mess! Really, really just loving this whole look from the chevron zig zags, to the colours. It feels Summery & fun… which I think all of us need right now.

What do you think of this chevron design? What is your favourite nail nail vinyl pattern? Let me know your thoughts in the comments below!

Vacation Nails! 

This week, I took a mini vacation with our Lil Bubs to visit my parents up in Northern New Brunswick. Usually when I travel I tend to bring an assorted variety of nail goodies with me, because I know I will need to change up my manicure. However, because I know my Mum has quite the stash of polish on hand (she’s started painting sea glass jewellery peices with it—I’ll share a picture at the end!) I decided to leave my polishes behind for the opportunity to play around with the many shades she owns. 

For this manicure, the polishes I used were:

  • Base Coat: OPI Nail Envy
  • Top Coat: Seche Vive 
  • My Beauty Spot unnamed dark purple
  • L’Oréal Because I’m Worth It
  • L’Oréal The True Gold Transforming Top Coat
  • Essence Metal Glam Steel-ing the Scene 
  • Kiss Products zig zag Nail Vinyls 

These are definitely Fall nails. I’ve been really feeling gold & purple lately (especially together). I also totally forgot how good Steel-ing the Scene looks over dark colours (I also have a bottle in my stash at home.) This is a great combination which sadly I couldn’t capture as well as I would have liked thanks to some fairly dull bathroom lighting. Even still, I really dig how this mani turned out. At first I wasn’t quite sure but the more I stared at it, the more I like how everything came together. 

& just for fun, here is one of the beautiful pieces of sea glass my mum painted (using nail polish!) for the jewelry she’s been making. I have a couple pieces she’s made & they’re such pretty statement pieces. 


What do you think of this vacation design? Do you do your nails while on vacation or stick with what you leave with? What are your vacation nail essentials? Let me know in the comments below! 

Craving Spring with Wavy Pattern Nails

TGIF! I mean I’m on maternity leave so sometimes I forget what day it actually is. But it’s supposed to be semi-warm & sunny this weeekend & some what Spring-like so I am very excited for the weekend to come! So in honour of the sunny days to come, I did this wavy design using some Spring shades & wavy nail vinyls from Xroma Polish and Vinyls

For this manicure I used:

  • Base Coat: Perfect Formula Pink Gel Coat
  • Top Coat: Cutex Quick Dry Top Coat
  • China Glaze Ever Glaze Don’t Grape About It
  • Sally Hansen Hard As Nails Hard To Get
  • ORLY Gumdrop
  • Sally Hansen X-treme Wear Babe Blue 
  • Xroma Polish and Vinyls Skinny Waves Nail Vinyls
  • Dotting tool

I’m loving these vinyls from Xroma Polish and Nail Vinyls! They’re just so easy to use. This manicure only took me about 1/2 hour to do (after my initial polish had dried) including placing all my vinyls. & no issues with polish bleeding under the vinyls, which I hate so much. Even better, these wave vinyls were long enough I could cut them in half on some nails which meant I used less. 


This colour combination looks so pretty together, I love it. What is it about purple & mint that looks so stunning when paired? Definitely just feels like Spring-time to me. 💜 

What do you think of these wavy patterned nails? What colours are you wearing most lately? Let me know in the comments below.