Hello lovelies & happy Thursday!
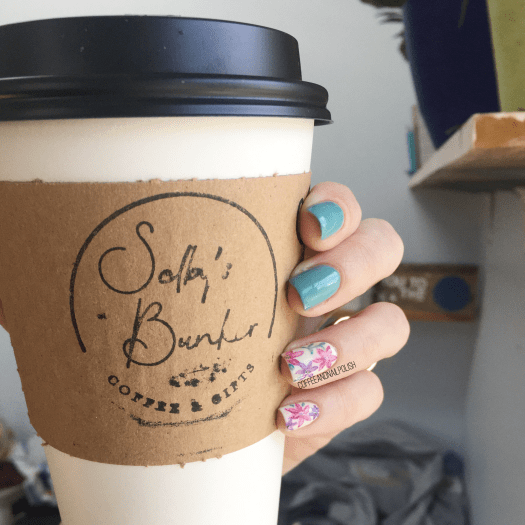
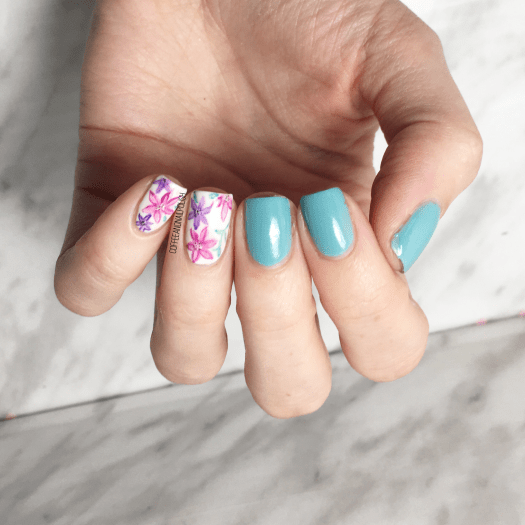
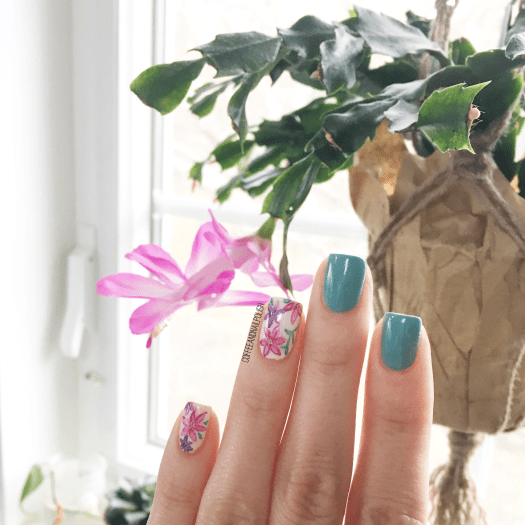
I hope everyone is having a lovely week. The weather here has been pretty amazing & Spring like. You can’t help but love it! Our flowers are even starting to bloom in our front garden, so naturally I was inspired to create some pretty floral on my nails! This design was also inspired by a nail art look that popped up in my Facebook memories from 6 years ago (this one, in case you want to see the original.)
For this look, the polishes I used were:
- Base Coat: Sally Hansen Good Kind Pure Hardener
- Top Coat: Essie Gel Setter
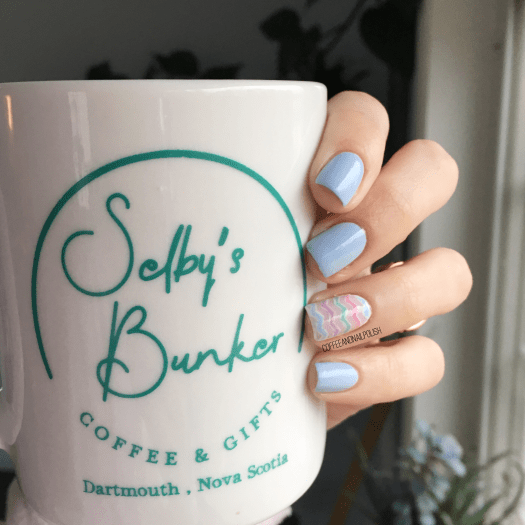
- Essie Where’s My Chauffeur
- Sally Hansen Miracle Gel Get Mod
- OPI Be Magentale With Me (Sheer Tints)
- OPI Don’t Violet Me Down (Sheer Tints)
- Essie No Shrinking Violets (Silk Watercolours)
- Essie Love Sheen (Silk Watercolours)
- Essie Flowerista
- OPI Lost My Bikini in Molokini
- OPI My Dog Sled Is A Hybrid
- Essie Poolside Service
- Sally Hansen Miracle Gel Blacky
- NailStuff.ca 7mm detail brush (COFFEE10 to save 10%)
- NailStuff.ca Dotting Tool Trio

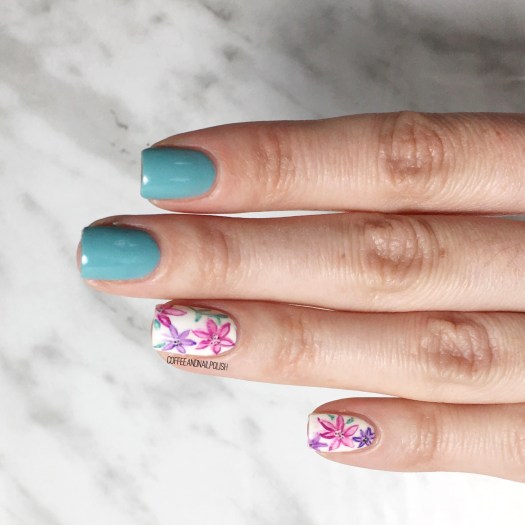
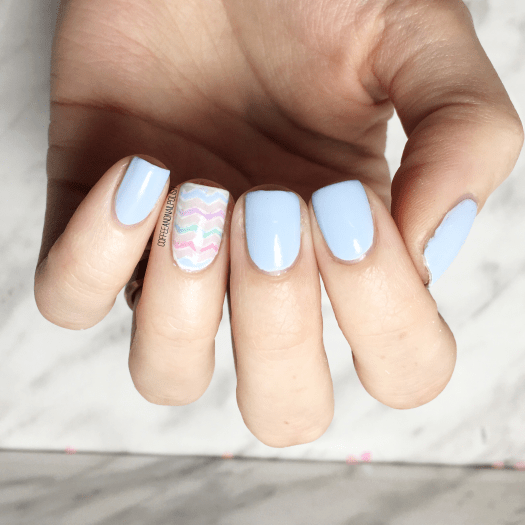
Okay, so I know every time I do a floral, I say that it’s my new favourite — so I won’t even say it, but seriously this might be the most favourite floral I’ve ever done! I feel like the sheer polish plus darker outlining just gives this manicure such a beautiful feel. & I love the floral combined with the brightness of Essie Where’s My Chauffeur which is hands down one of my favourite polishes for Spring. I’m really really in love with this whole combination.
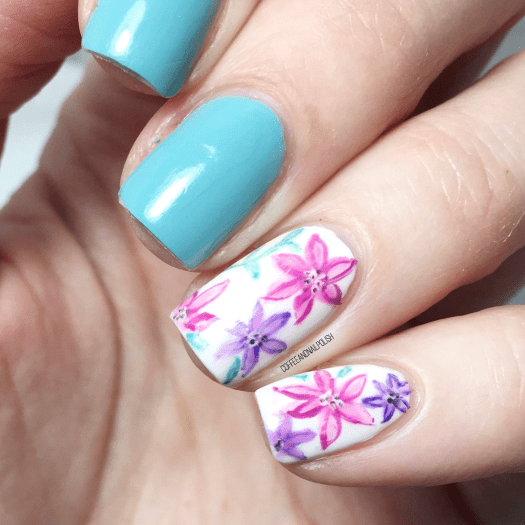
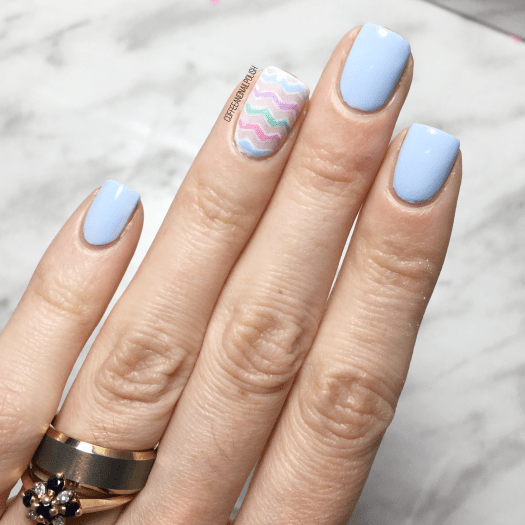
& obviously, a close up because I am so freaking proud of how these turned out! I know roses are my floral safe zone, but I think I would to branch out a little bit more, maybe try & perfect other styles. I definitely still have plans to try out a tulip design very very soon as well!
What do you think about this floral look? Has your garden started to come to life yet? Let me know what you think down in the comments below, & what kind of floral you’d like to see me attempt next!