Geometric Christmas inspired nails

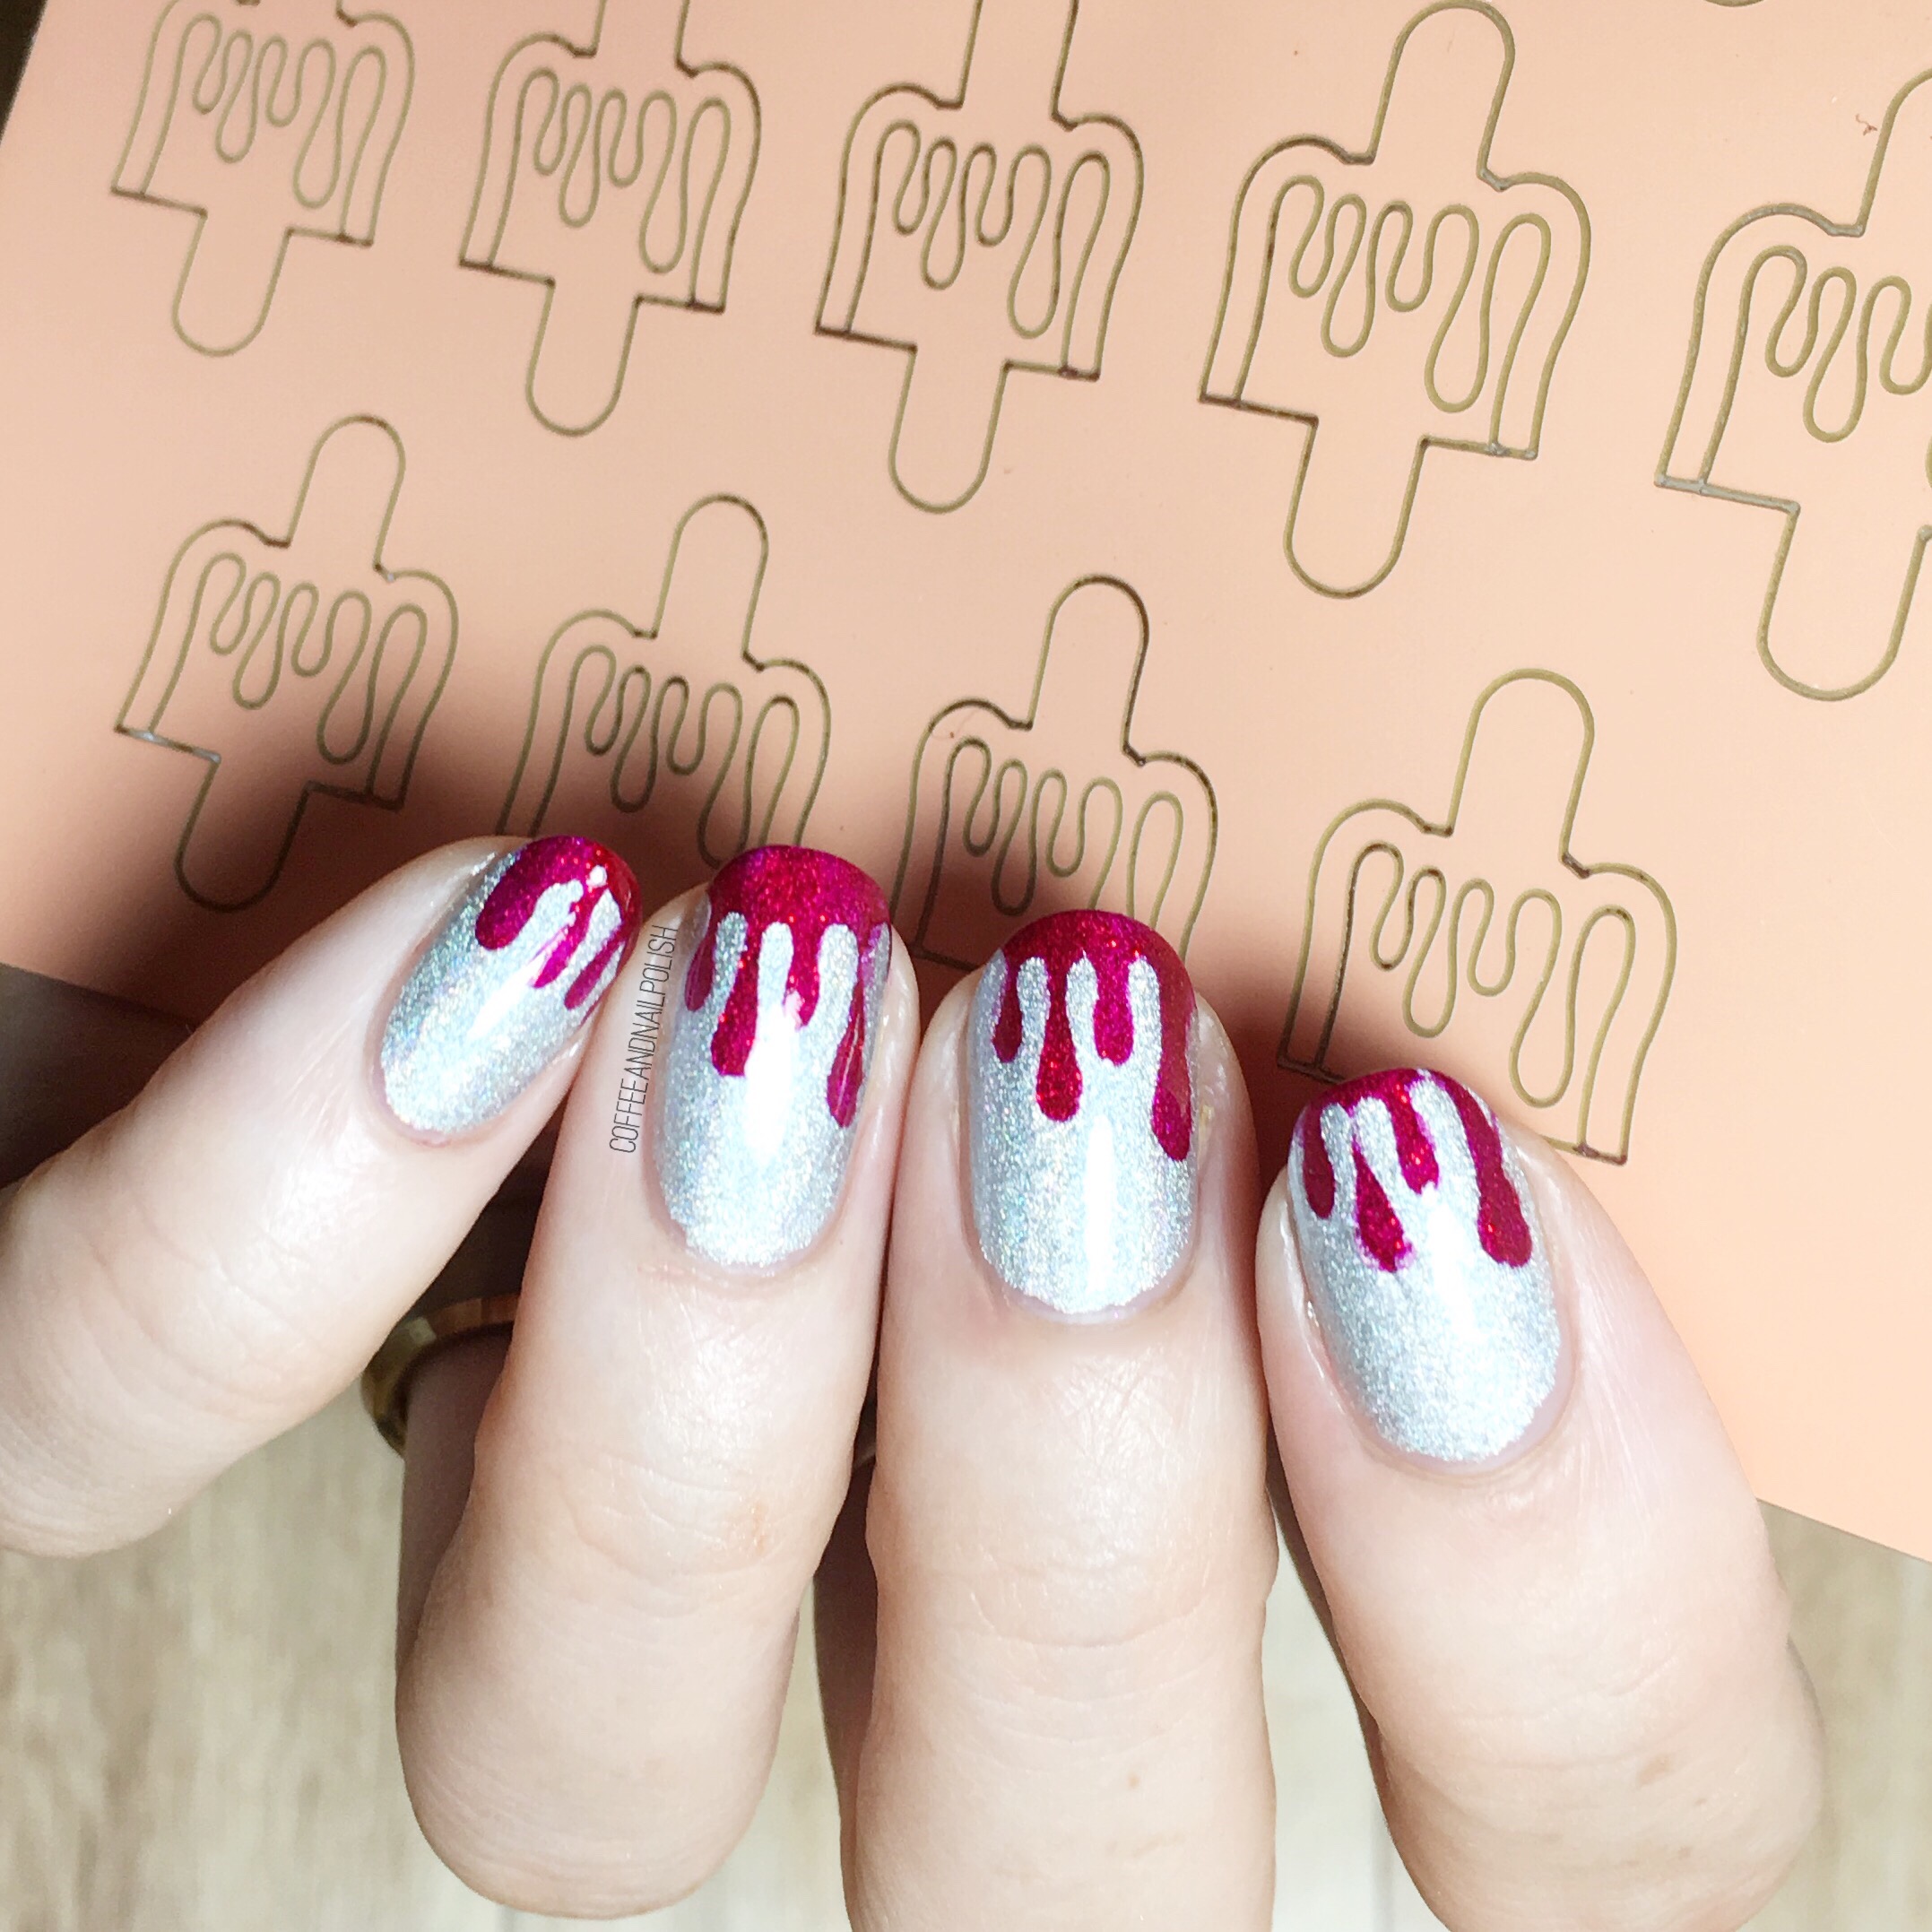
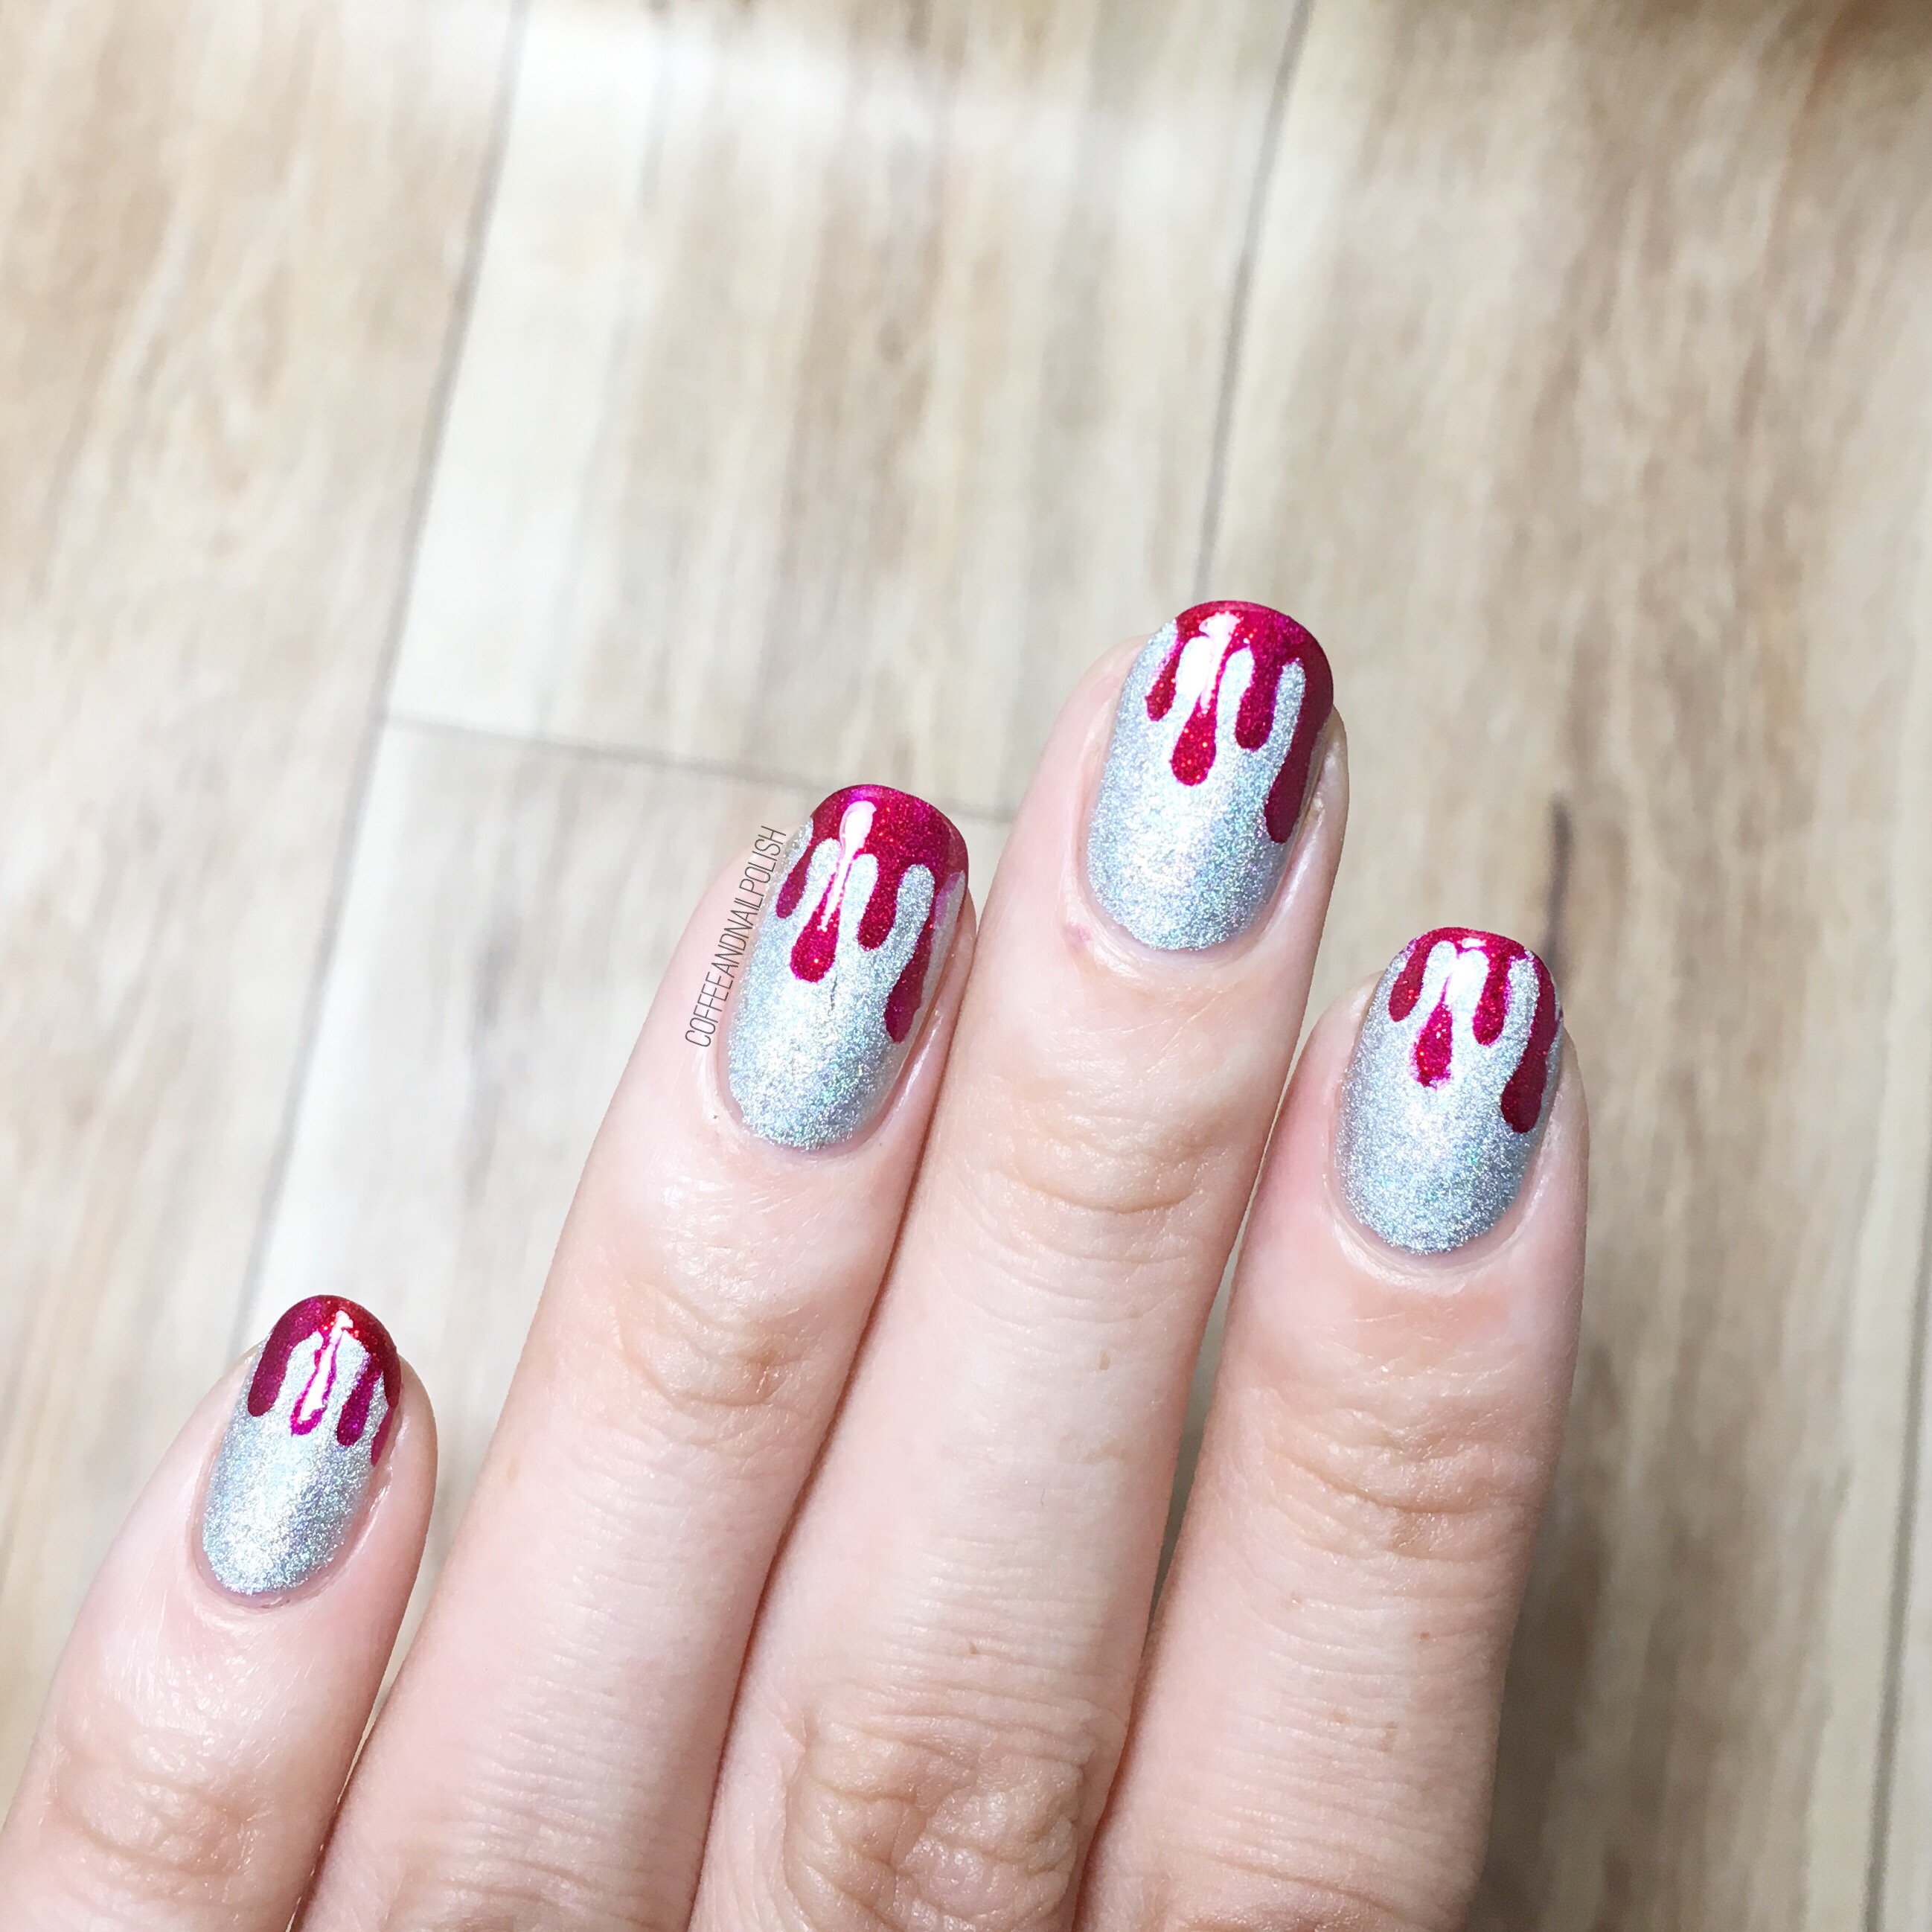
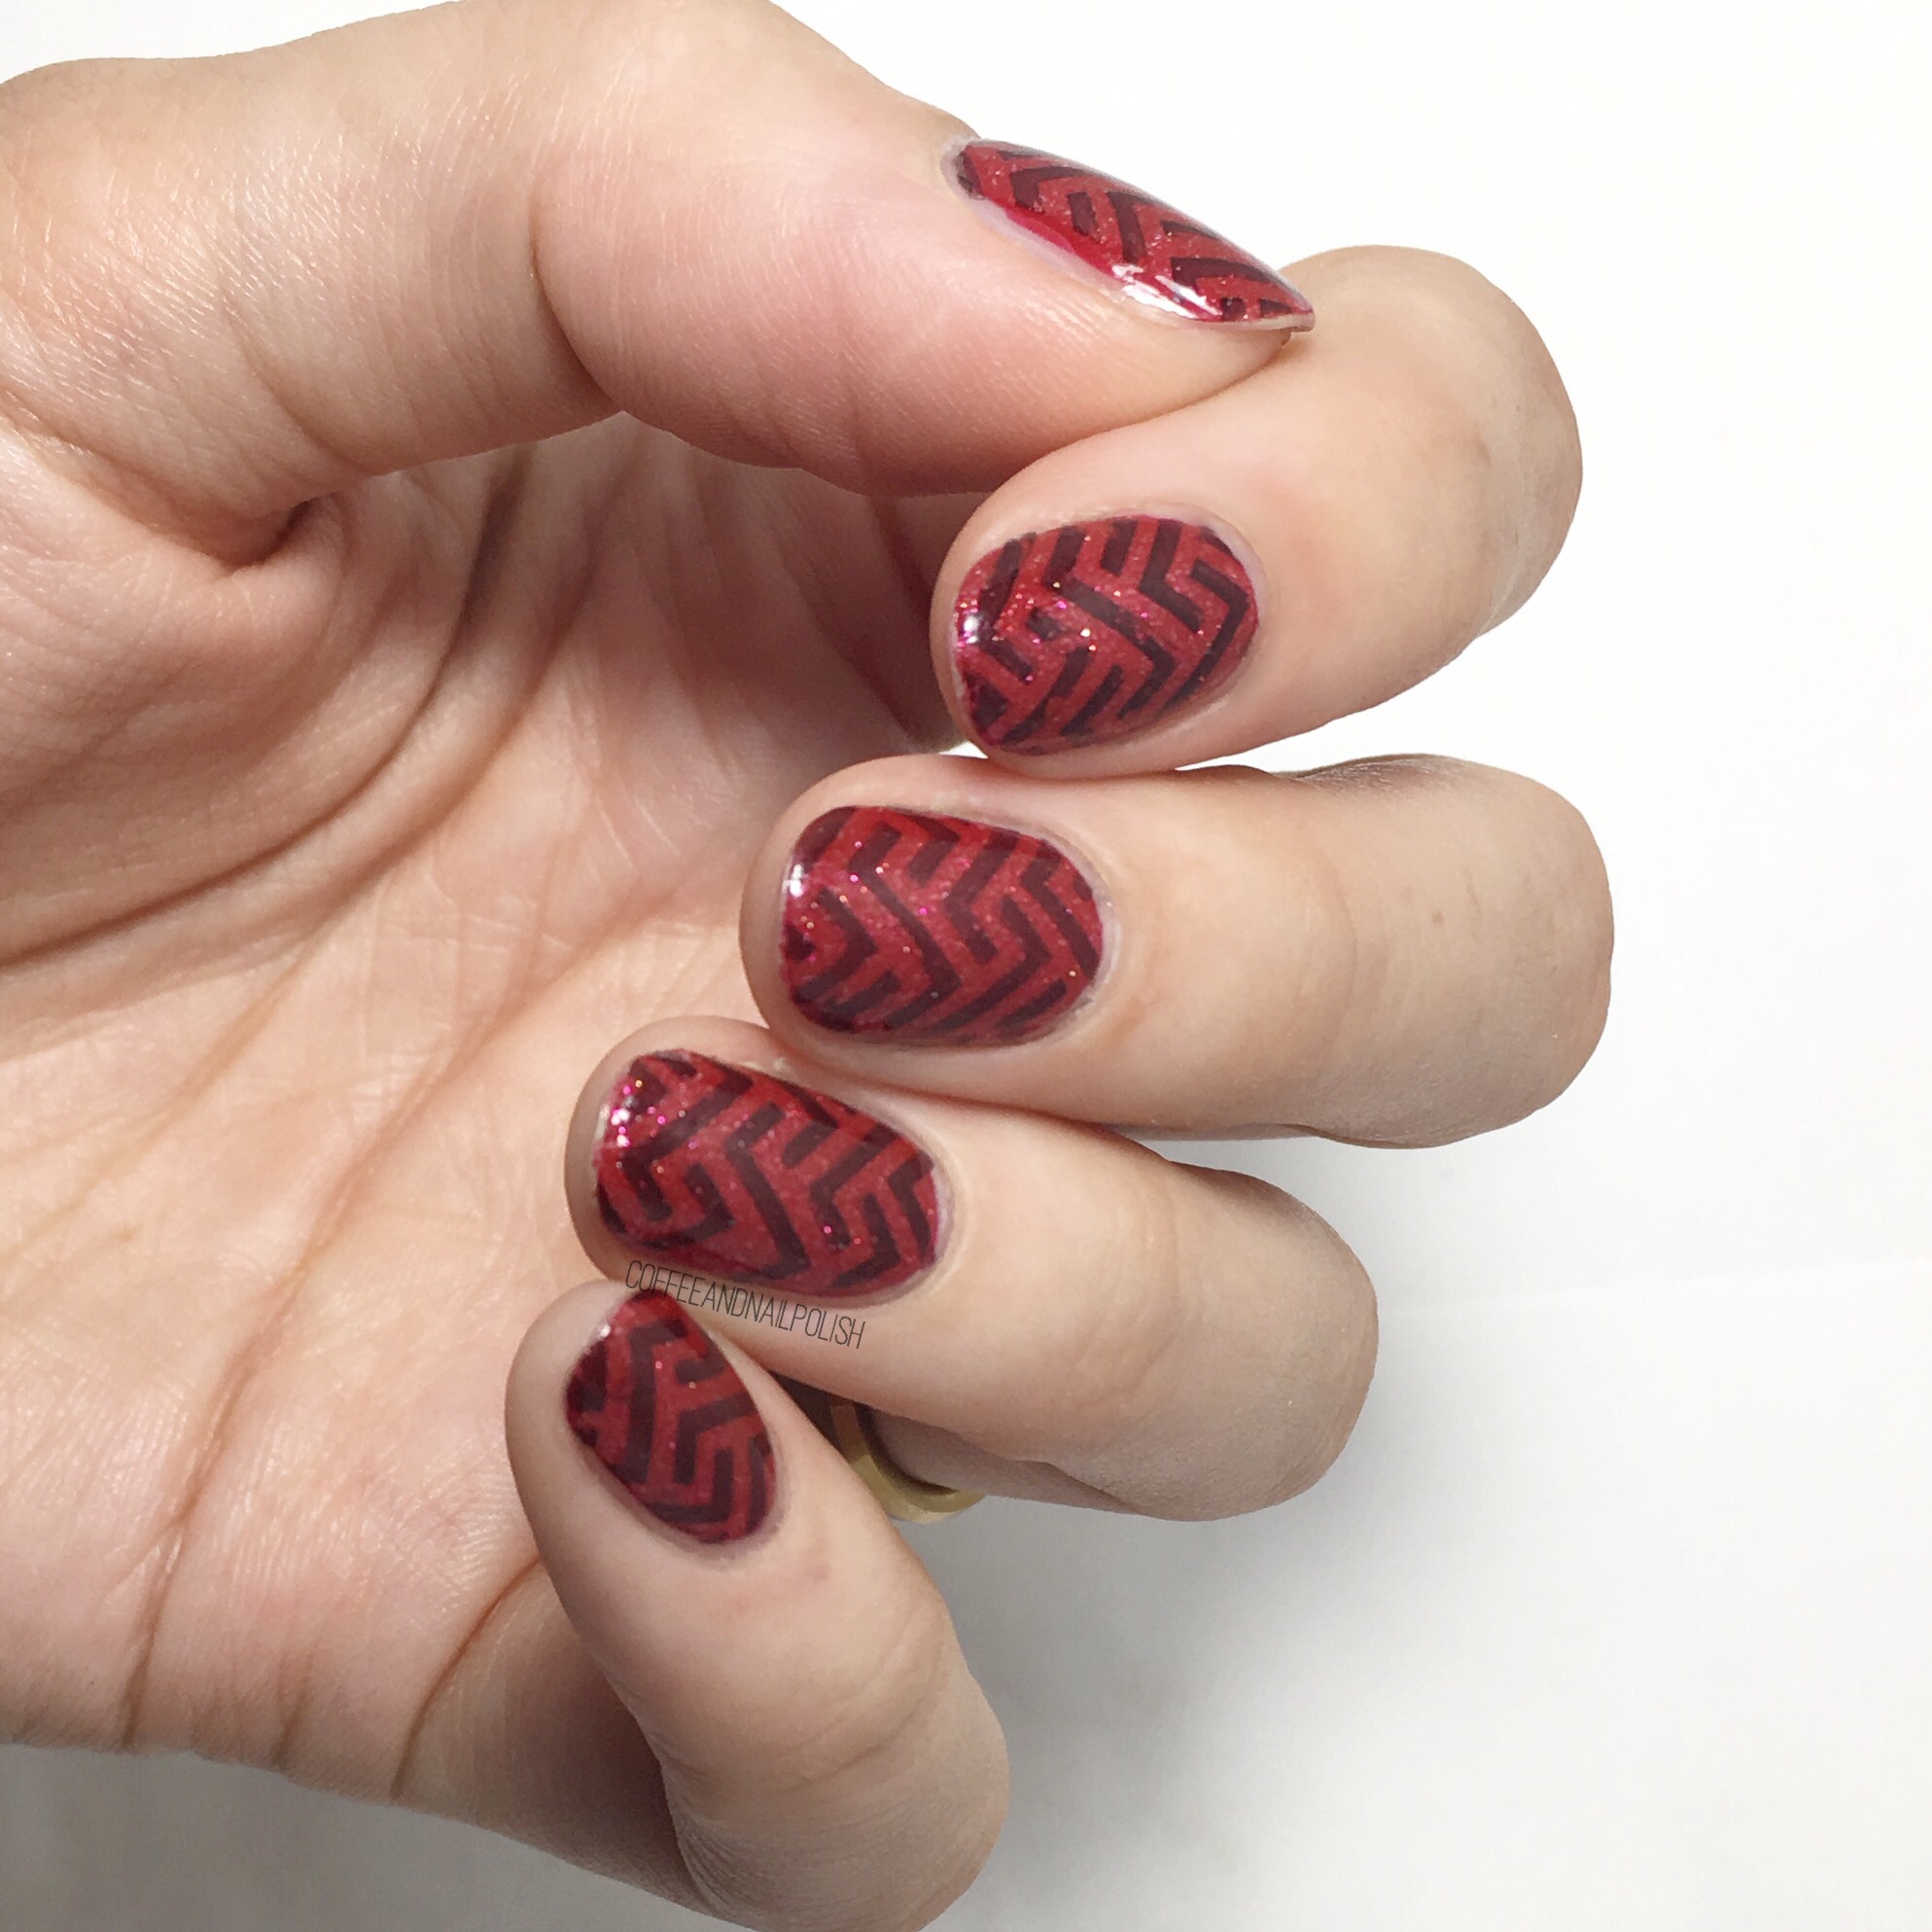
Happy Tuesday! Can you believe it’s only 6 days until Christmas?! I hope everyone else is more prepared than I am–although I did get out some Christmas cards & finished the wrapping for my sister’s family, so I’m not completely behind. Today I have another simple Christmas design that looks just like wrapping paper!

For this design, the polishes used were:

  • Base Coat: Nailtek 2 Foundations
  • Top Coat: Seche Vive
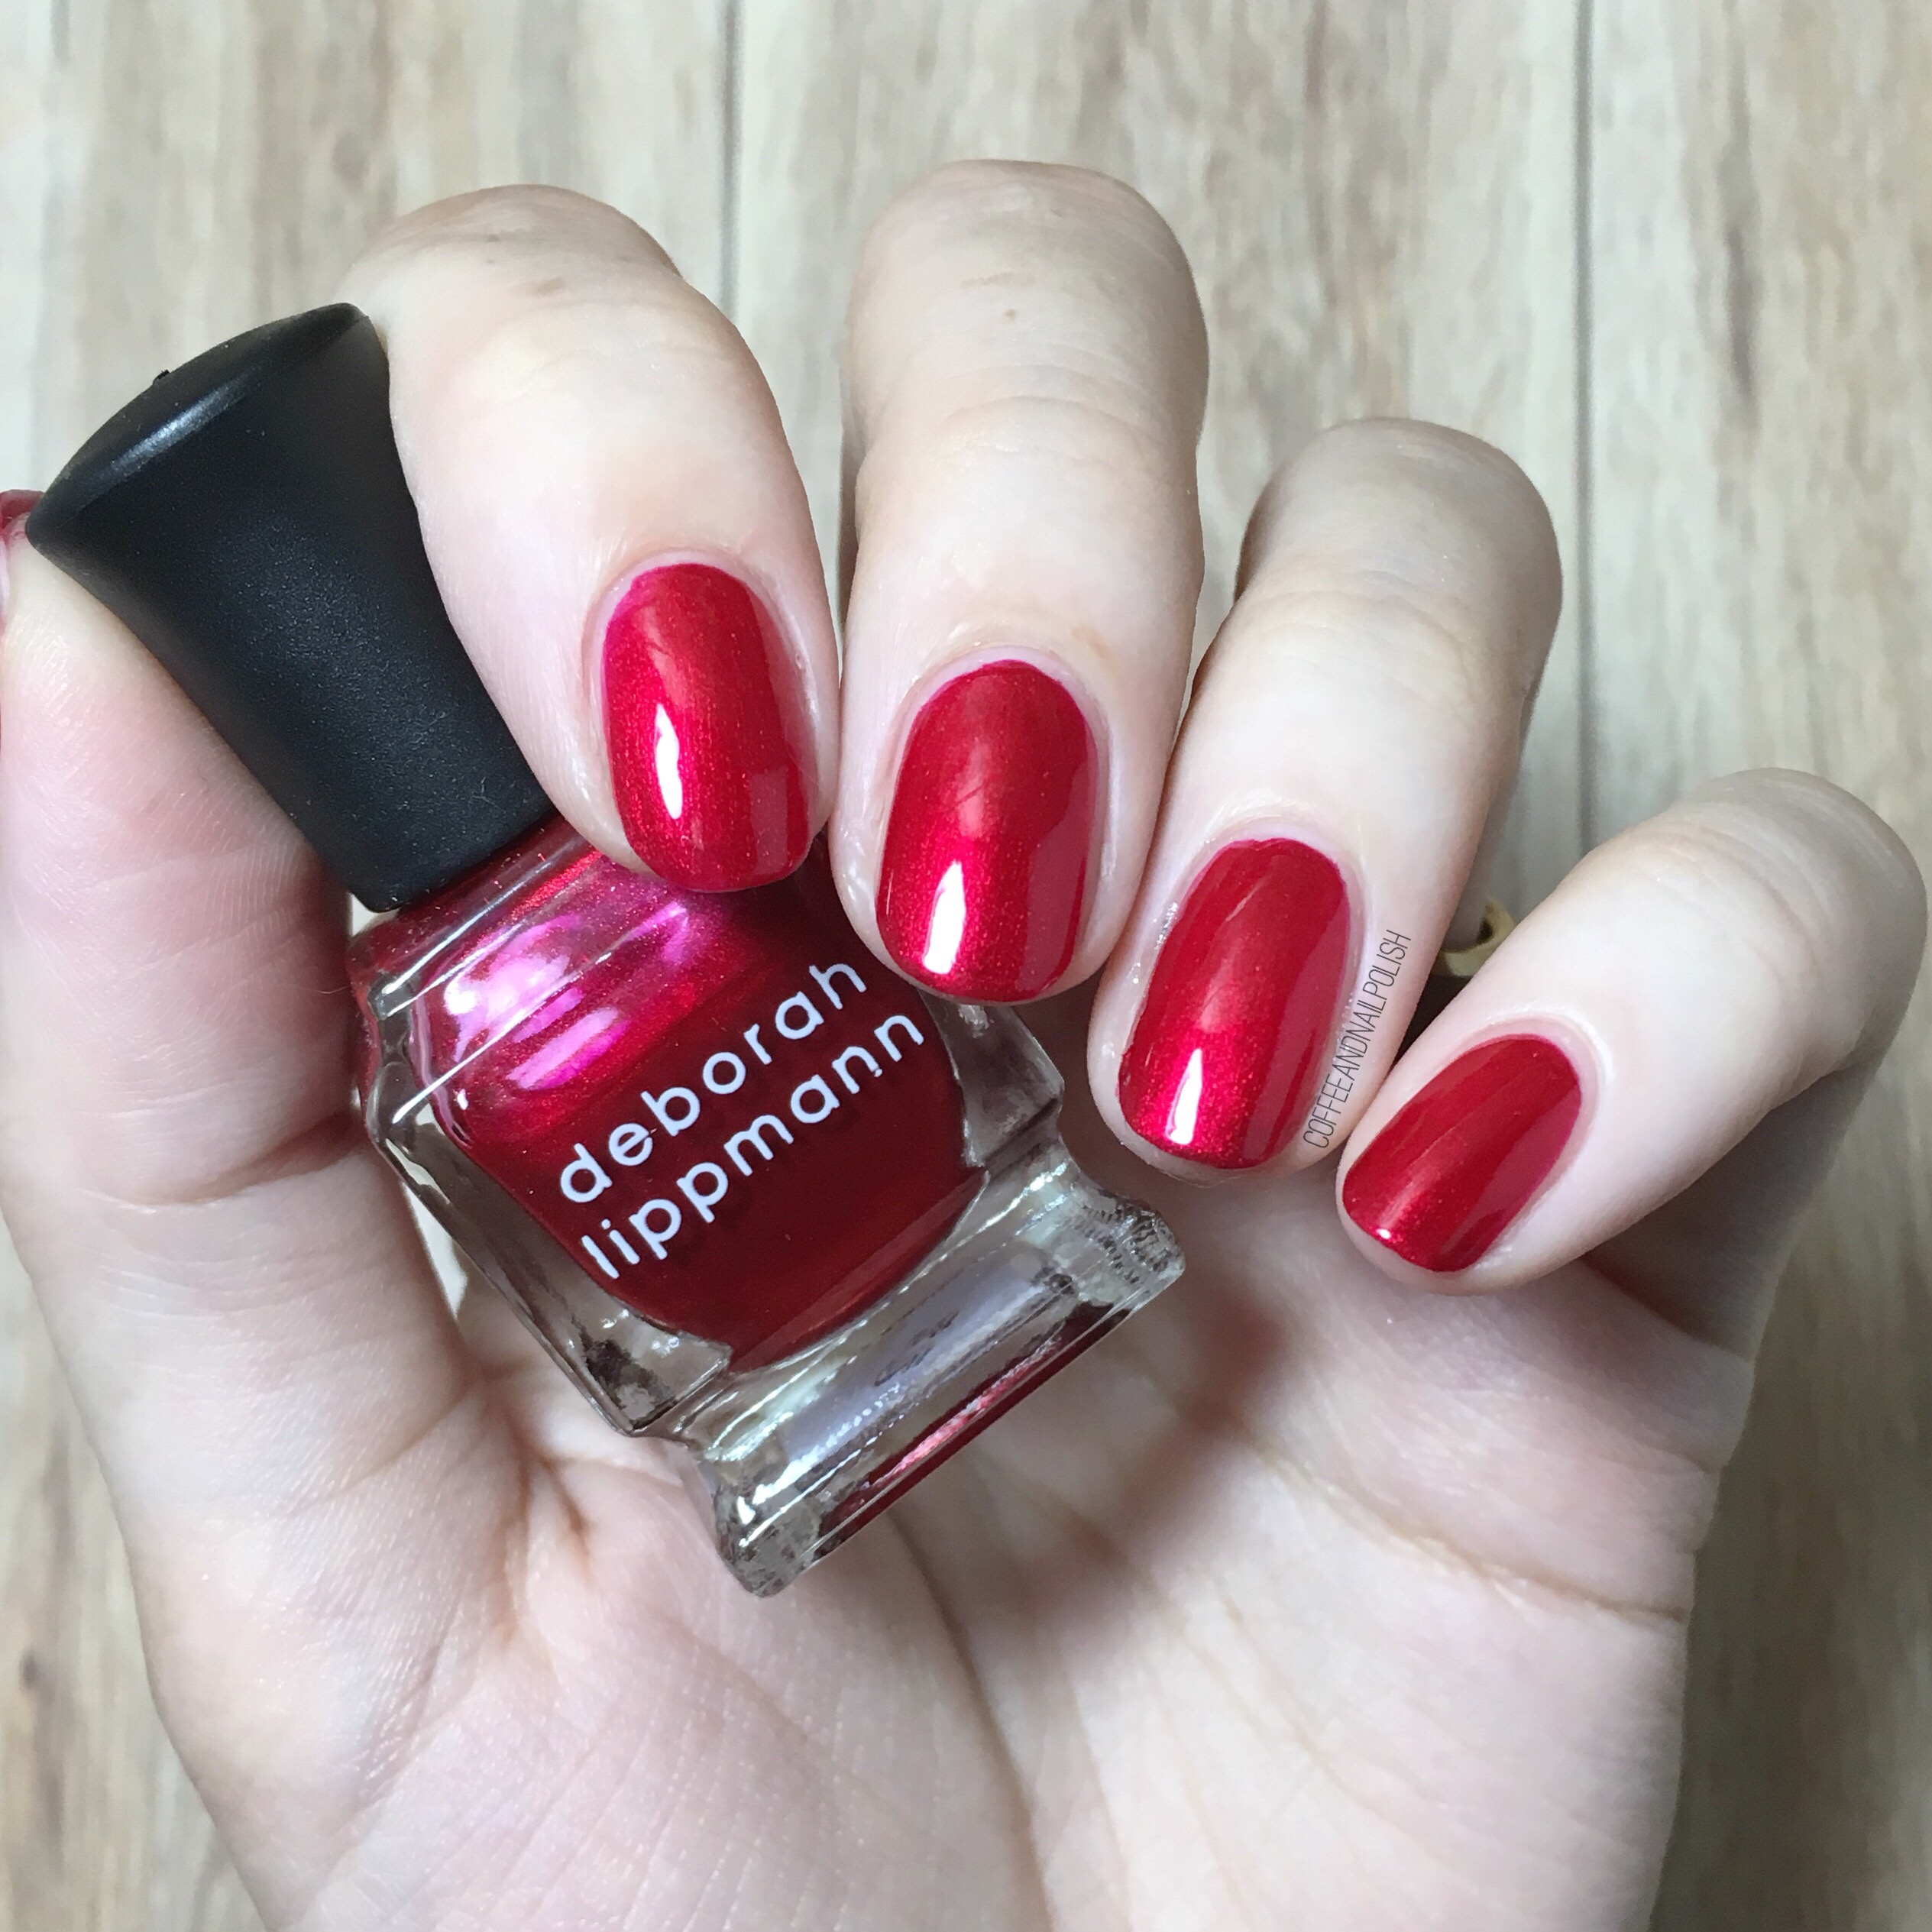
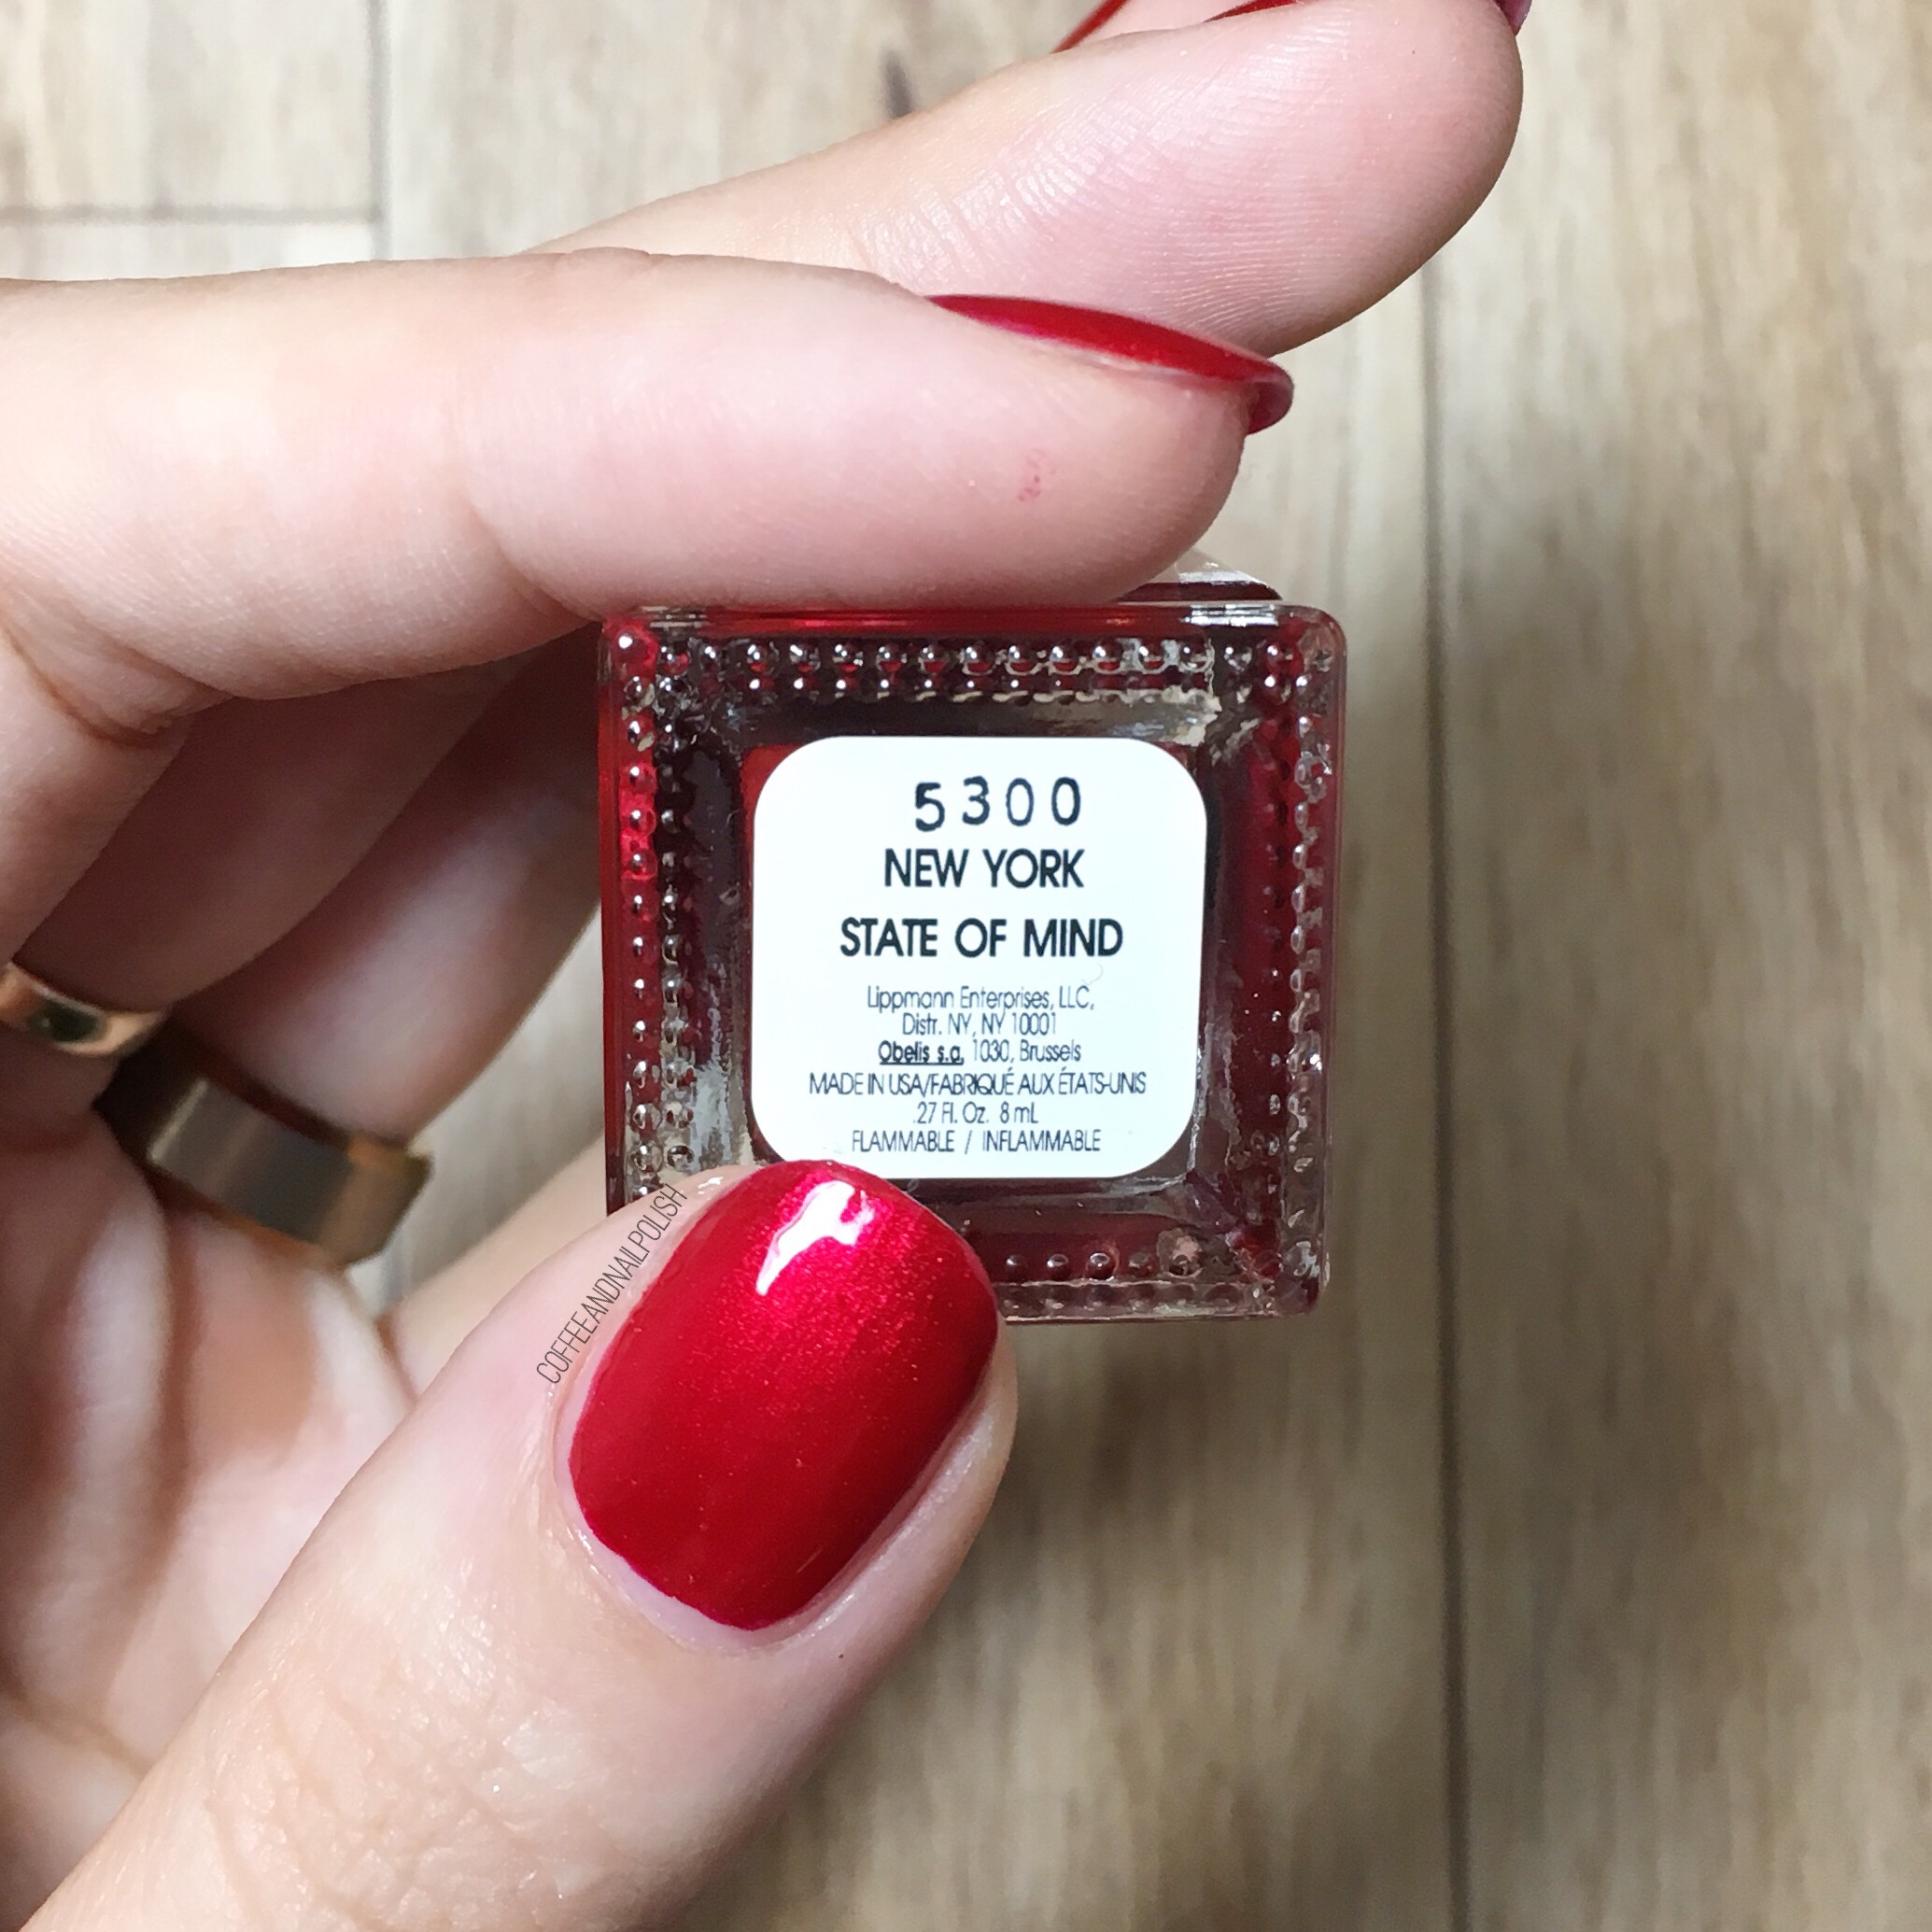
  • Deborah Lippmann Through the Fire
  • Ardene Ice Mist
  • Zoya Ray
  • L’Oréal Feeling Kilty
  • The Base Coat Vinyls Triangle Pattern Stencil
  • NailStuff.ca triangle stud — Gold Mixed Decoration Nail wheel
  • Small dotting tool (to fill in the triangles)

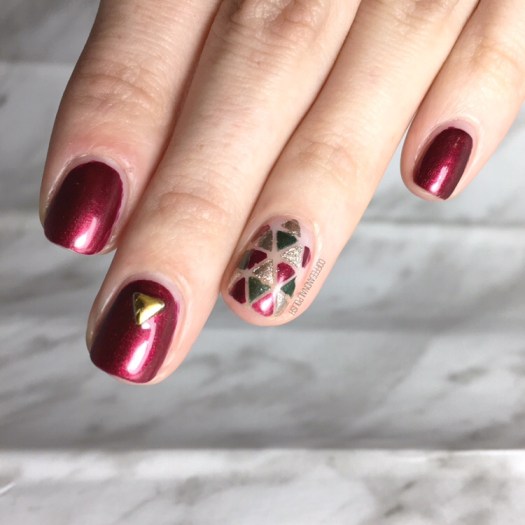
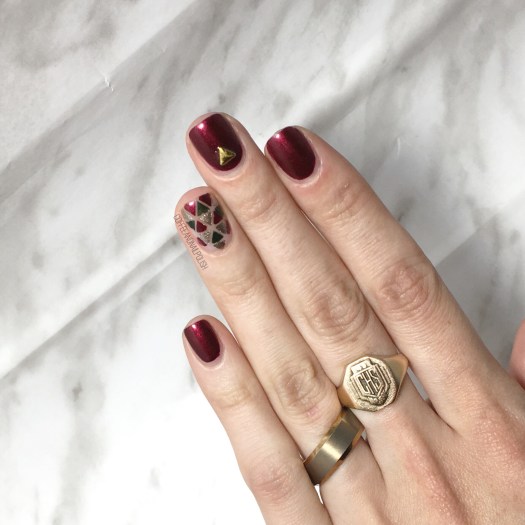
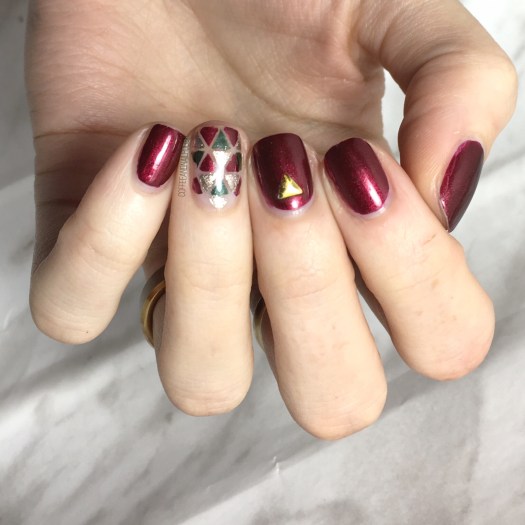
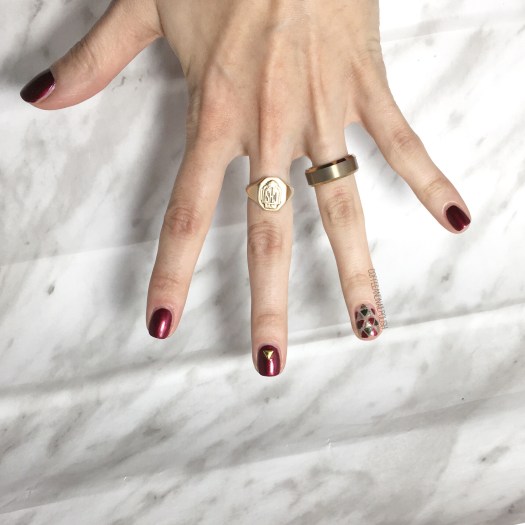
I’m not going to lie–filling in each individual triangle was kind of time consuming but it is totally worth it! I’ve always been a fan of geometric designs, & I just love how these look. A dressed up Christmas design. & the little triangle stud mimics the look of the pattern but could also be a stand in for a Christmas tree. I just think these are so classy–don’t get me wrong, I love all Christmas designs. But I’ve had fun this year creating different designs that aren’t your typical Christmas looks.

What do you think of this design? Would you wear these? Let me know your thoughts in the comments below! 🎄

SWATCH SUNDAY— Deborah Lippmann New York State of Mind 

It feels like forever since I’ve shared a Swatch Sunday — October has been a bit of a crazy month! But today I’m sharing a gorgeous red I just recently rediscovered in my stash: Deborah Lippmann New York State of Mind. You know how I feel about red polish & this one is definitely a polish for all my fellow red lovers out there! 

This candy apple red takes two coats for opacity (which personally I find hard to find in a red polish). It also has a beautiful pinkish shimmer scattered throughout & gives an extra pop on the nail.  It’s almost like it glows from within. I own a lot of red polish (that’s what happens when you spend 3+ years wearing nothing but red shades), & this one is definitely special. It would be a great choice for the holidays, because Christmas (& Christmas nails) will be here before we know it! 

I scored this polish as part of a mini collection of Deborah Lippmann shades at Winners, so I’m not sure how easy this polish will be to find. But if you can get your hands on it (& you like red nail polish… or really just red nail polish in general) I definitely recommend picking it up!

What’s your favourite red polish? Let me know in the comments below! ♥️

Dripping Blood French Featuring URSugar Vinyls


Ready for some more Halloween inspired nails? Today I have what I’m calling a dripping blood “French” Manicure that has just the right amount of scary & sparkles—which is just how I like my Halloween designs! 

The few times I’ve tried to do a dripping design, I’ve always done it using a dotting tool (which isn’t always easy to accomplish the right look.) These drippy nails were made much easier by using URSugar Vinyls which were kindly sent to me for review. 

For this manicure, the polishes used were:

  • Base Coat: OPI Natural Nail Base Coat
  • Top Coat: Cutex Quick Dry Top Coat
  • Gosh Holographic Hero
  • China Glaze Ruby Pumps
  • URSugar Drip Nail Vinyls item #AUB39877 —click to buy

These URSugar vinyls are great for a design like this. You have two options—you can paint your nails a base shade & apply the stencils & paint over with a second shade, pull off & reveal or you can use the other half to paint inside (like a stencil). I find the second option works best for a design like this, done at the tip of your nails. 

What do you think of this Halloween-y take on a French manicure? Would you wear this design? Let me know your thoughts in the comments below! 

*PR SAMPLE* Some of these items were sent to me for review. However, all opinions are my own. 

Sparkly Red Stamping 

I’ve been seriously digging red nails lately. They’ve been a favourite of mine for a long, long time—I almost used to exclusively wear red nails during my late teens, early twenties—so I’ve accumulated quite the stash of crimson polish. & even though my days of just wearing red are a bit behind me, that doesn’t stop me from buying good red polishes when I see them so my stash has continued to grow.

 I recently found a beautiful red at my local Lawtons (one of my favourite stores for polish steals) & I found a red shade from L’Oréal (Carmin Parisien) that seemed to me to be more opaque than most reds, so I had to buy it! Even though I love red nails, I find that a lot of red shades are not opaque & usually show some degree of visible nail line. Lucky for me, L’Oréal Carmin Parisien is completely opaque in 2 coats! This pretty much cements it as my new go to red. 

The polishes I used for this manicure were:

  • Base Coat: OPI Natural Nail Base Coat
  • Top Coat: Sally Hansen Diamond Flash Top Coat
  • L’Oréal Carmin Parisien 
  • CND World Crimson Sparkle
  • Sally Hansen Hard As Nails Black Heart
  • Born Pretty Store Clear Jelly Stamper (item #38611)
  • Essence Cosmetics Stampy Set stamping plate. 

I’ve actually been thinking about buying this stampy set from Essence for a while, but I had some Optimum Points to spend so I decided to pick it up. The very first stamping set I ever bought was from Essence, & they’ve definitely upped their game since I bought that one—the images actually fit my whole nail now! For a beginner curious about the whole stamping business, this is a great little set to try it out & see if you like it (especially for under $5). 

What do you think of these sparkly red nails? What colour do you love the most on your nails? Let me know in the comments below! 

Black & White Chevron Accent Nails


I hope I’m not the only one who takes pictures of their nails, & then totally forgets to post them. I blame it on my excitement over the exciting polishes which have come my way recently (hello OPI Iceland collection!) I did these nails a few weeks back, & totally forgot to share them! So while going through pictures on my phone, I knew I’d have to post them ASAP because who doesn’t love a good chevron design.

For this manicure, the polishes I used are:

  • Base Coat: Cutex Brittle Nail Fix
  • Top Coat: Cutex Quick Dry Top Coat
  • OPI My Chihuahua Bites!
  • Sally Hansen Hard As Nails Hard To Get
  • Essence Back to Black
  • Snail Vinyls Single Chevron Vinyls

You can never go wrong with a good Black & white accent nail (or nails). Also this mani shows off my love for OPI My Chihuahua Bites! which is forever & always my favourite coral-y red. I’ve been so caught up with Fall colours & polishes I haven’t even thought about bright polishes, & looking at pictures of this design is making me think I might need one or two more Summer-y manicures before I officially say hello to Fall. Plus red nails are forever my favourite, even if I don’t wear them as often as I used to. 


What do you think of these black & white chevron accent nails. Do you have a favourite accent nail/colour combo you love to wear? Let me know in the comments below!