Get Canada Day 🇨🇦 Ready with Nail Polish Canada

Hello lovelies & Happy Thursday. This week is certainly speeding by… & so is this month!

Can you believe that it’s only 17 days until Canada Day? Which means that it’s time to start thinking about what I’m going to do on my nails for the occasion! Thankfully Nail Polish Canada has once again teamed up with some bloggers to share the Canadian love & help make it easier for you to create some Canada Day nails.
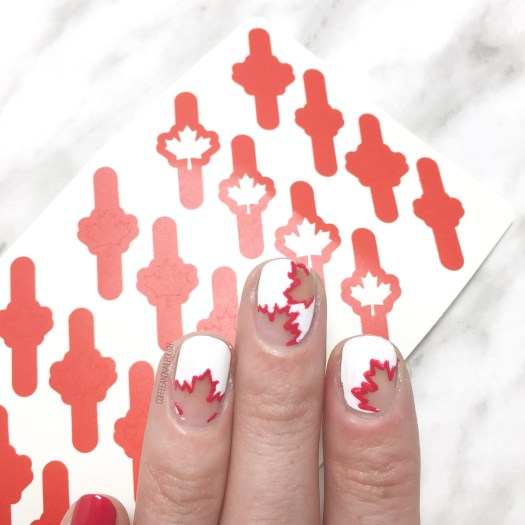
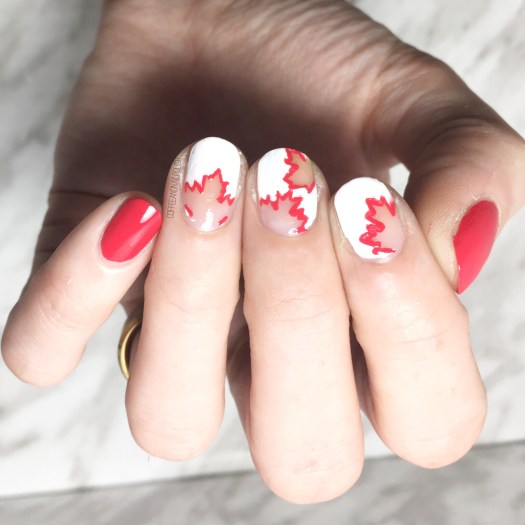
When trying to come up with some Canada Day nails, I had this idea of doing negative space nails with a red maple leaf outline. Instead of using the stencil, I decided to apply the maple leaf vinyl to my nail & paint over top to create the maple leaf outline & then go back over top with red. What it created was this cool negative space maple leaf design.

The polishes I used for this manicure were:

  • Base Coat: Sally Hansen Green Tea + Bamboo Strength
  • Top Coat: Essie Gel Setter
  • Sally Hansen Hard As Nails Hard To Get
  • Sally Hansen Complete Salon Manicure Killer Heels
  • Nail Polish Canada What’s Up Nails Canada Flag Nail Stencils
  • Bundle Monster Small Detail Brush

These stencils are so easy to use! I was nervous about using them this way, just because I didn’t want my polish bleeding underneath & making me have to start all over again. The end result was almost exactly what I had pictured in my head–a little bit different Canada Day design besides your typical flag design! This would definitely be a fun look to wear for whatever plans you had for your Canada Day celebrations… hopefully for me it will involve Barbecue & fireworks!

So for all my Canadian friends who want to come up with some cute Canada Day designs, you’re in luck! You can get your very own Canada Fay Maple Leaf stencils for free! I have a code from Nail Polish Canada which will score 10 of my readers free vinyls!

My coupon code: Q72RLBNQQM

If you go to Nail Polish Canada (click here) you can add that special code & get your Canada Day Vinyls for free!

& if you give this negative space look a try with your vinyls, tag me so I can see!

Have a happy Thursday lovelies! ♥️
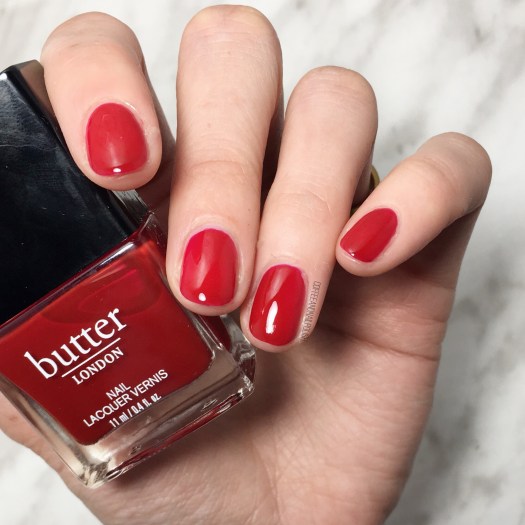
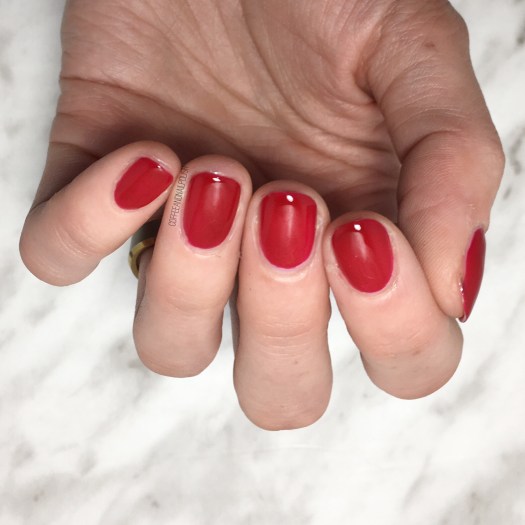
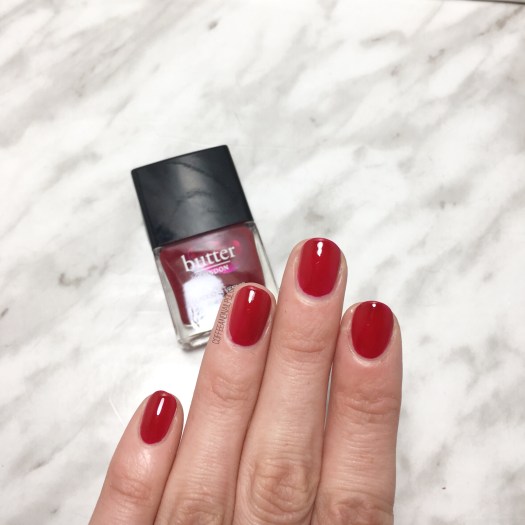
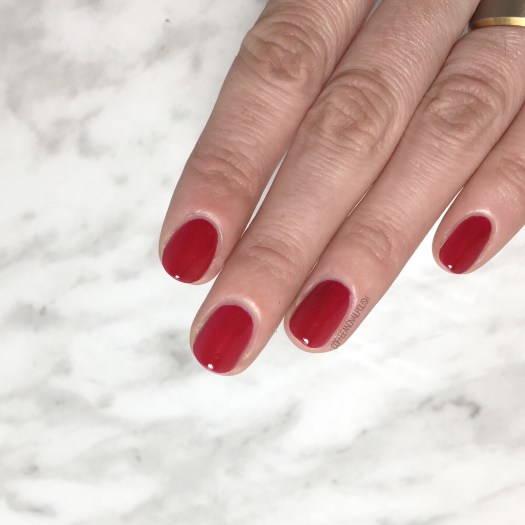
SWATCH SUNDAY — Butter London Saucy Jack

Happy Sunday lovelies! Sorry for such a delayed post! I’ve been curled up on the couch all afternoon fighting off sickness so it’s taken a minute to get this post together!

Today I’m sharing swatches of a brand new (to me) polish that I picked up at Winners! After doing some internet research, it looks like this shade was released somewhere around Fall 2008… or at least that was the earliest post about it I could find through Google! However, unlike some Winners finds, you can still pick up this shade in a variety of places including NailPolishCanada & the Butter London website.

What you see above is 2 coats + top coat. Like a lot of reds I own, it does require a few coats for total opacity. Thankfully, as you can see above, no need to worry about visible nail line. The formula is smooth & applies effortlessly & thankfully doesn’t bleed into the cuticles which can be SUCH a pain when it comes to red nail polish.

I love a good red nail polish & Saucy Jack will definitely be one I pull out to use a lot from now on. The blood red cream colour is a nice pop of colour & a classic red for sure. I really love the fact that shopping at Winners (& Marshall’s!) gives you the opportunity to discover new to you polish shades.

Do you have Butter London Saucy Jack in your nail polish stash? What’s you favourite red nail polish? Let me know your thoughts down in the comments below!

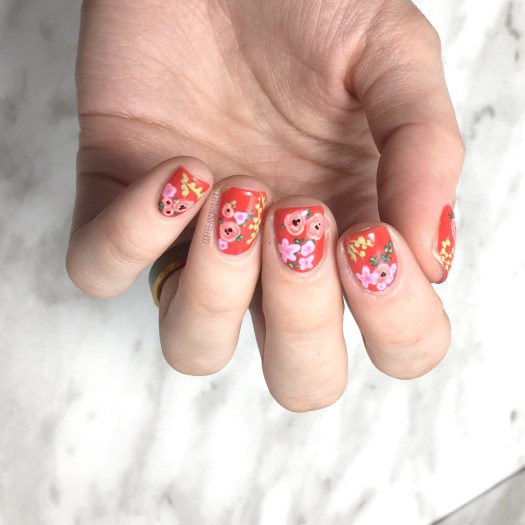
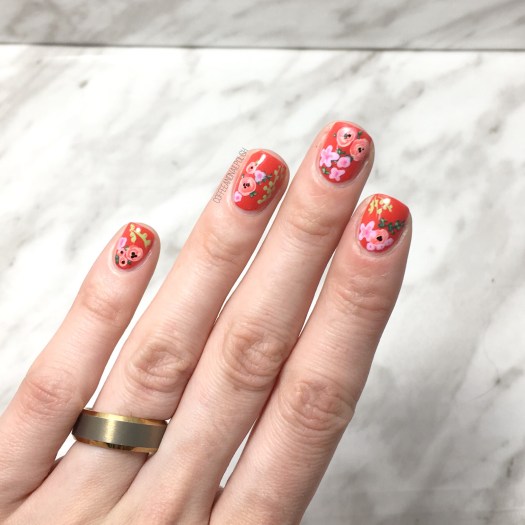
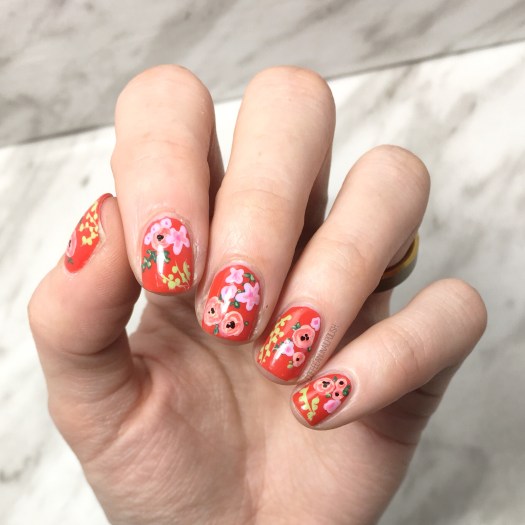
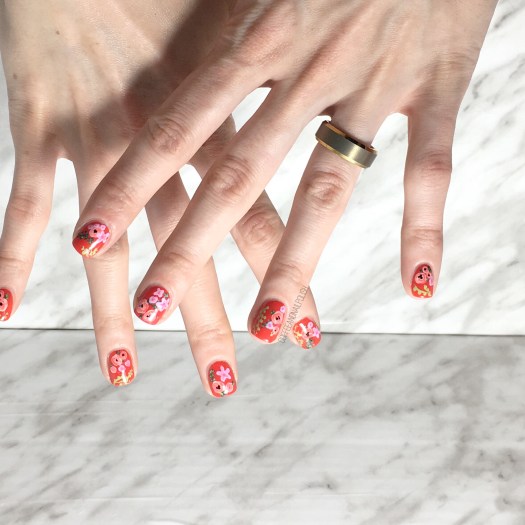
Rifle Paper Co Style Floral

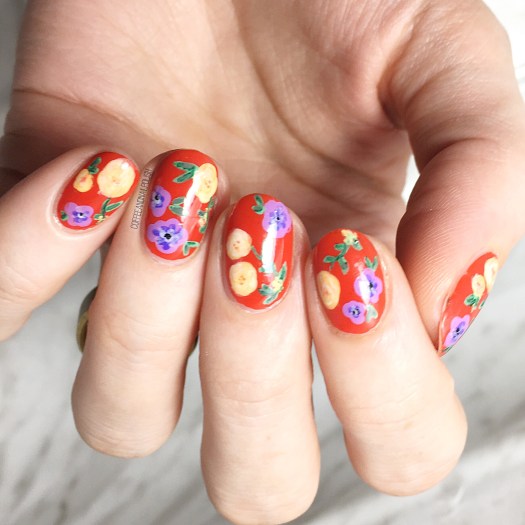
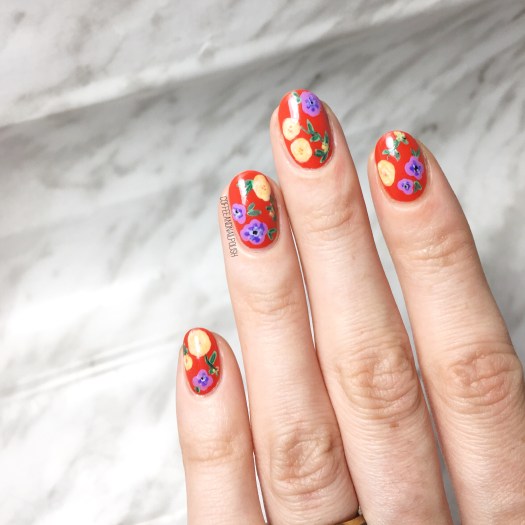
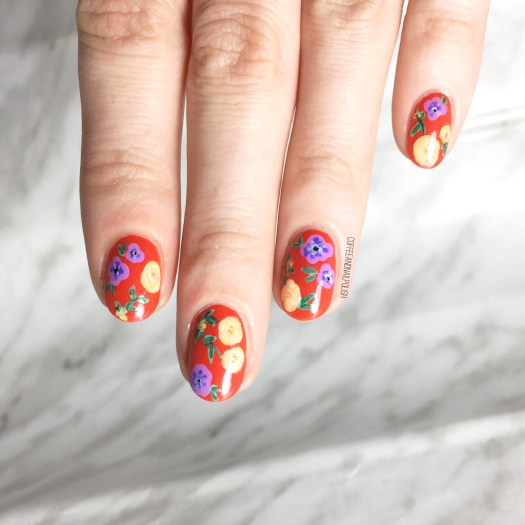
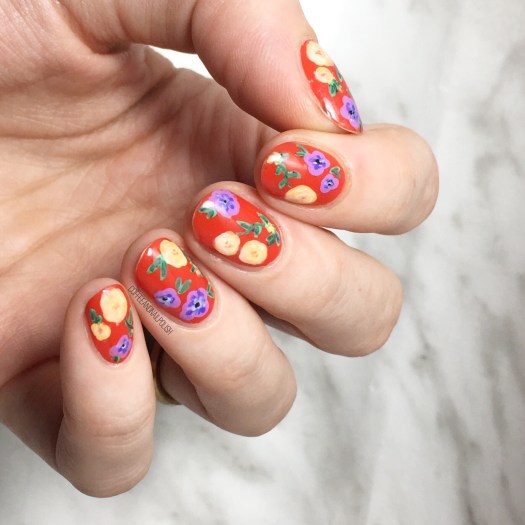
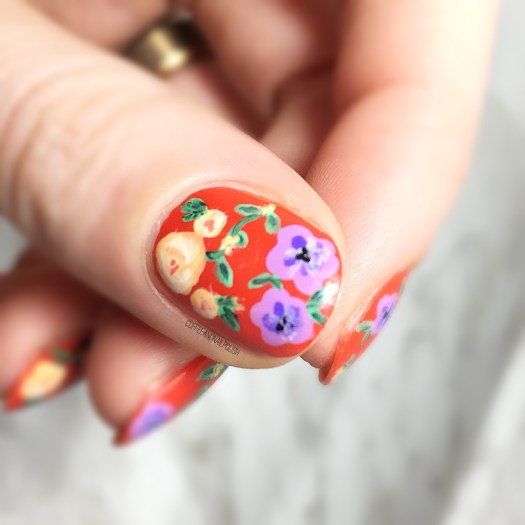
Yesterday was a beautiful Spring day, I had the day off, & I took full advantage of it. In honour of the occasion, I decided some floral nails were in order. Originally I was going to just do some more negative space nails with pastels, but I discovered a bottle of Essie 5th Avenue in my stash I bought a few months back at Lawton’s, & decided red nails were in order. I’ve been loving all the Rifle Paper Co inspired nails that pop up on my Instagram feed, & while these are not even close to an exact recreation, I was inspired by this pattern initially.

For this manicure, the polishes I used were:

  • Base Coat: Nailtek 2
  • Top Coat: Essie Speed Setter
  • Essie 5th Avenue
  • Sally Hansen Miracle Gel Sweet Tea
  • OPI I Eat Maine-ly Lobster
  • Sally Hansen Miracle Gel Pretty Piggy
  • Sally Hansen Miracle Gel Orchid-ing Around
  • Sally Hansen I ♥️ Nail Art Pen in Magenta
  • Sally Hansen I ♥️ Nail Art Pen in Black
  • Essence The Green & The Grunge
  • Sally Hansen Miracle Gel Wet My Thistle
  • Bundle Monster detail brushes
  • Bundle Monster dotting tools

This design definitely looks very similar to this manicure I did a few months back. Something about floral on a red base just looks so good to me. & red nail polish in general… I’m so glad I found this gorgeous polish (& did I mention I scored it for only .99 cents?)

There is something just so lovely about floral. The more I paint them, the more I want to do them again. It was totally worth staying up the extra hour & a half to create them. I’m also going to keep attempting to recreate more patterns from Rifle Paper co. Their brand is such a floral loving girls dream! I pretty much want one of everything on their website (especially the phone cases… all of the phone cases!)

Where do you find your nail art inspiration? What do you think of this floral design? Share your thoughts in the comments below! 🌸🌿

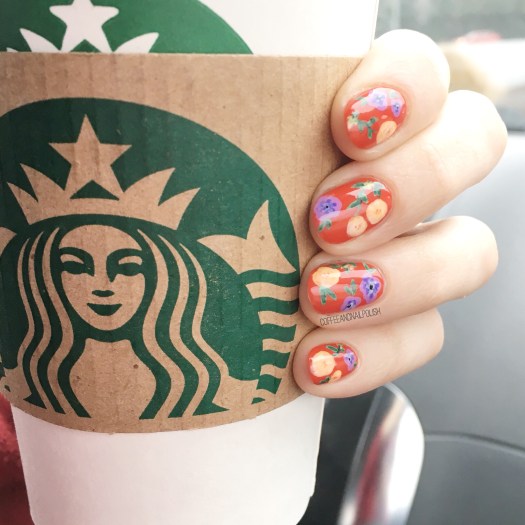
Day Planner Inspired Floral Nails

Hello Lovelies! Hope everyone had a wonderful weekend & is all ready for the week ahead. This week, I’ve decided for a fun mani theme: all floral! It’s no secret how much I love floral nail art, so I thought I would share a few of the floral designs I’ve been doing lately. Honestly, if it wouldn’t bore everyone else I’m pretty sure I could wear flowers on my nails non-stop. They’re just so perfect any time of the year.

Today’s design is actually inspired by my day planner! As soon as I bought it, I knew that I was going to need to do nail art inspired by it.  The combination of colours was just screaming to be painted on my nails!

The polishes I used for this manicure were:

  • Base Coat: Quo by ORLY Breathable Kiss Me, I’m Kind
  • Top Coat: Seche Vive
  • OPI Race Red
  • Essie Play Date
  • China Glaze Sun Upon my Skin
  • Sally Hansen Xtreme Wear Mellow Yellow
  • China Glaze Plur-ple
  • Sally Hansen Miracle Gel Pretty Piggy
  • Sally Hansen Xtreme Wear Lacey Lilac
  • Sally Hansen I ♥ Nail Art pen in Green
  • Essie Off Tropic
  • Sally Hansen Hard as Nails Black Heart
  • Small Detail Brush (Bundle Monster)
  • Dotting Tools (Bundle Monster)

At first I wasn’t sure if this colour combination was going to work for me, but once I had it on it looked so perfect. Obviously my flowers aren’t as abstract as my planner, but I feel like they match close enough for me to be happy. The colour combination also reminds me of a Hawaiian shirt, so I feel like this manicure would be perfect for a beach luau! Or, in my case, hanging out on the couch pinteresting Summer fashion looks because that’s about as close as I’m getting to the beach right now. Seriously, what I wouldn’t give to wear a summer dress & flats–I’m so over boots & jeans, so so so over them. & it snowed yesterday, so now Spring feels even farther away.

Floral always takes so many polishes to do, but honestly the end result is always worth it. I don’t think I’ve ever painted floral on my nails & regretted it. There are so many ways to do them, it just never gets old. & look how well this design twins with the day planner that inspired it! Like I said, mine isn’t as abstract as my planner but the colours are spot on so I’m very happy with how they turned out!

What do you think of this floral design? Are you excited for a whole week dedicated to nothing but floral nails? Let me know your thoughts below!

Valentine’s Day Chevron Accent Nails

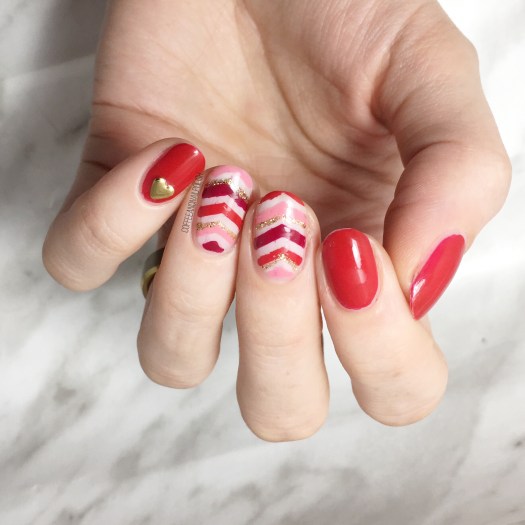
Another day, another fun Valentine’s Day appropriate design to share with you! The day is quickly approaching, so I’ve been trying to get creative while I have time. Last year with having a newborn (& spending extra days in the hospital) I wasn’t able to do anything Valentine’s Day related on my nails, so I’m definitely making up for it this year!

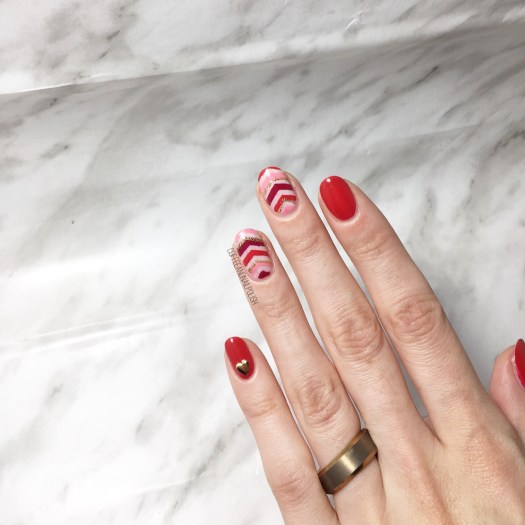
For this design, I decided to grab a few of the colours I picked from my “6 Polishes I’m Loving for Valentine’s Day” post on Sunday. To pair all these shades together, I decided on son stacked chevrons to show off all these pretty shades! This is definitely a design that is all about Valentine’s Day–it might be too flashy of a design to wear, for example, to the office (depending on where you work) but would be awesome for date night, or a Valentine’s Day themed party!

For this design, the polishes I used were:

  • Base Coat: Quo by ORLY Kiss Me, I’m Kind
  • Top Coat: Seche Vive
  • Christian Louboutin Beauty Rouge Louboutin
  • China Glaze Seduce Me
  • L’Oreal Jardin Des Roses
  • ACO by Ardene Ice Mist
  • Quo by ORLY Nail Art Striper in Gold
  • NailStuff.ca Heart Stud — Gold Mixed Decoration Nail wheel
  • UR SUGAR Stacked Chevron Nail Stencils item #AUB39877 — click to buy
  • Dotting Tool

I think these turned out so cute with the mix of colours together!  Next time I might use the stacked chevron vinyls upside down so it matches the V-shade of the heart. But I’m really happy with how these turned out, & the addition of the little heart stud just makes it even more perfect! ♥

Do you like these Valentine’s Day themed nails? Have you figured out what you’re doing on the day yet? My hubby & I usually stay in–because trying to make reservations is hell on Earth–& make heart shaped gluten free pizza or something else delicious. & of course, cupcakes! It’s become holiday tradition for me to make him cupcakes for special occasions.


Let me know your thoughts on this design in the comments below!