{ PR SAMPLE }
Hello lovelies & happy Sunday! How crazy is it we only have 2 Sundays left until Christmas? I’m still attempted to get my Christmas presents together… the stress level is real!
But, I was lucky enough to receive an awesome gifted package from my girl Victoria at NailStuff.ca featuring some fun new goodies. If you follow me on Instagram or Facebook you would have gotten a sneak peak already, but Victoria sent me 3 brand new polishes from 2 new-to-me brands. & first up we’re taking about Dimension Nails!
Dimension Nails is a vegan, cruelty free Indie brand that is 10 free. That means it’s free of 10 not good for you ingredients including formaldehyde, toluene, & other really bad for you ingredients. Love that! Nailstuff.ca is a seller for the brand here in Canada, but you can also purchase directly from the Dimension Nails website as well. Also interesting is the fact that some of her shades–including the two I received–are collab shades with others which is so cool!
Now let’s get to the swatches!
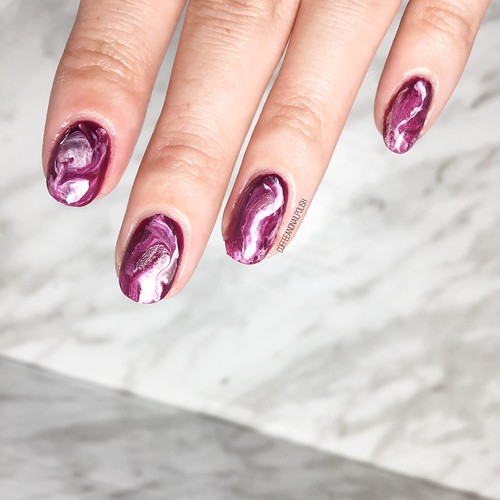
Continue reading “SWATCH SUNDAY—Dimension Nails Amazonian Manatee & Pygmy Sloth”