#GlamNailsChallengeDec — Christmas Lights

Good Morning lovelies & Happy Monday! Can you believe it’s only 10 days until Christmas Eve? Who else isn’t finished their shopping yet? 🙈

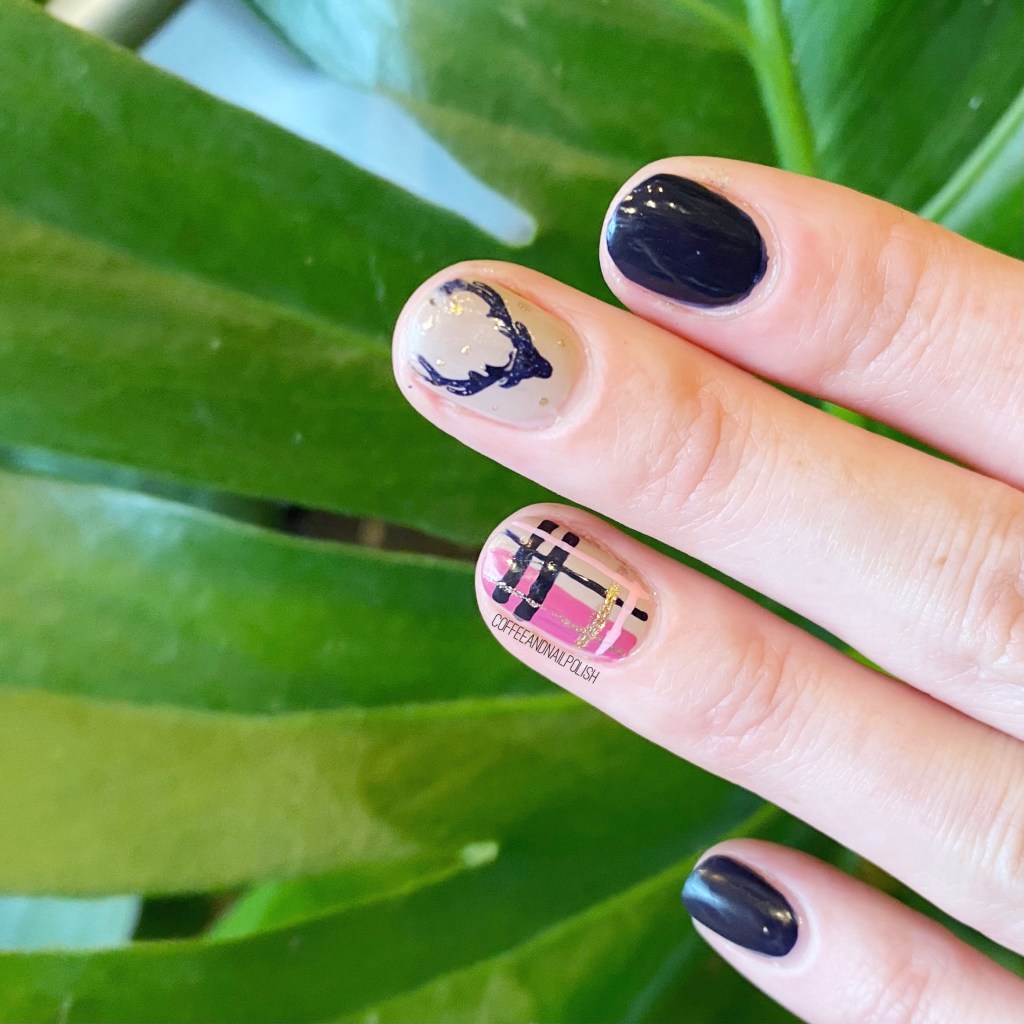
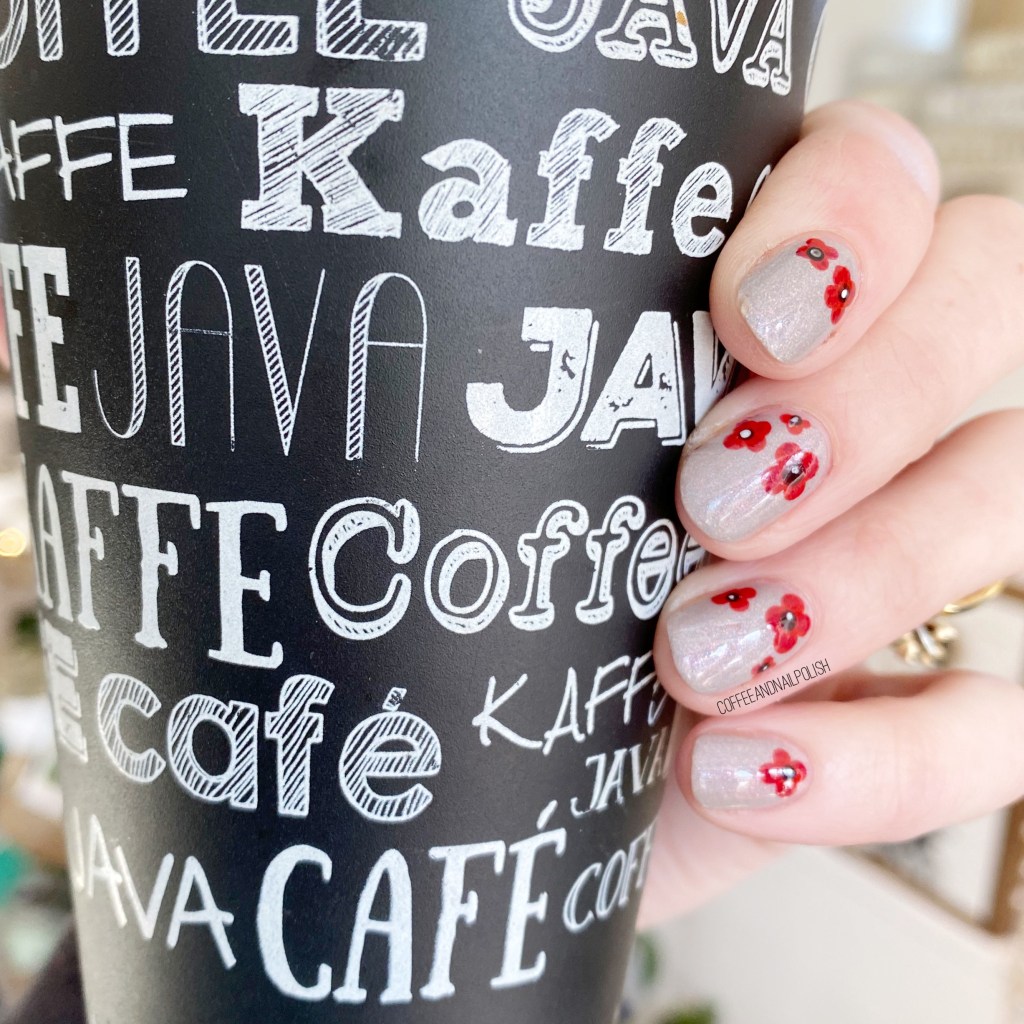
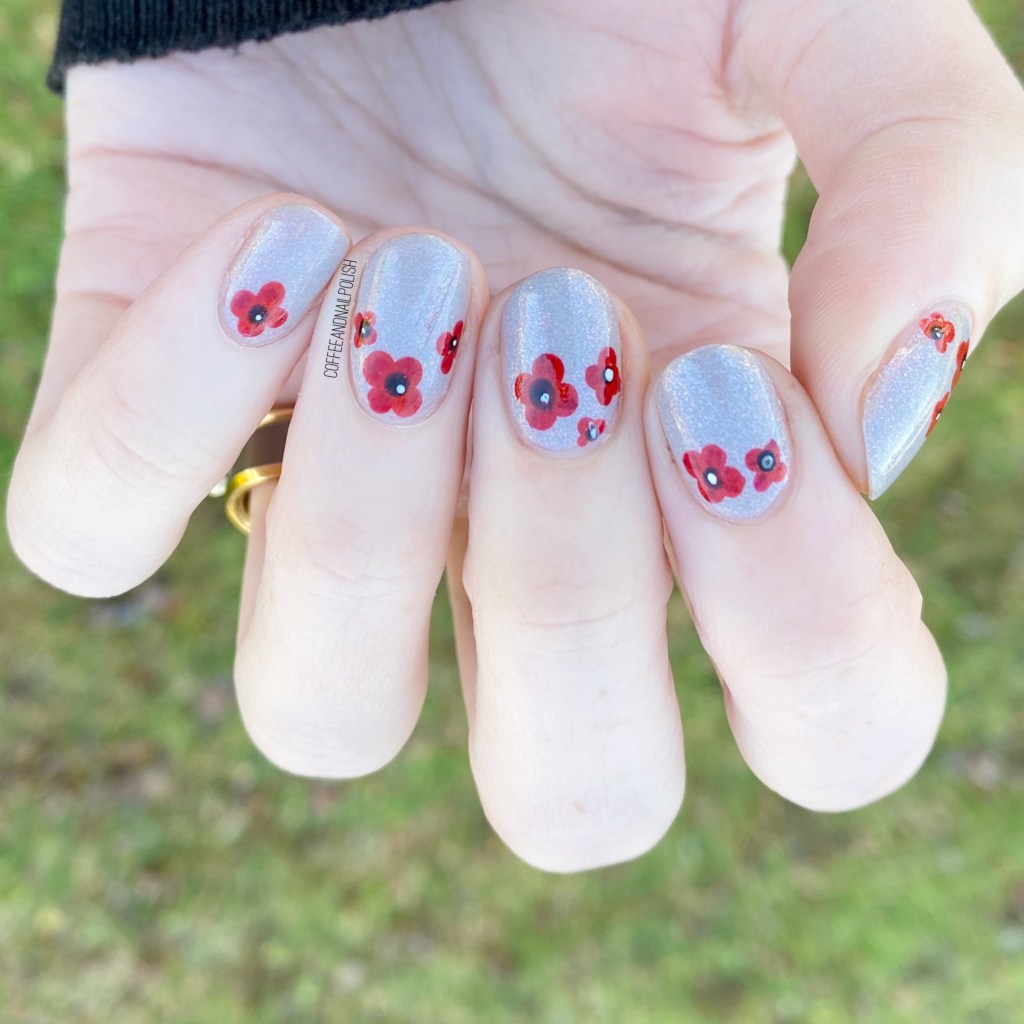
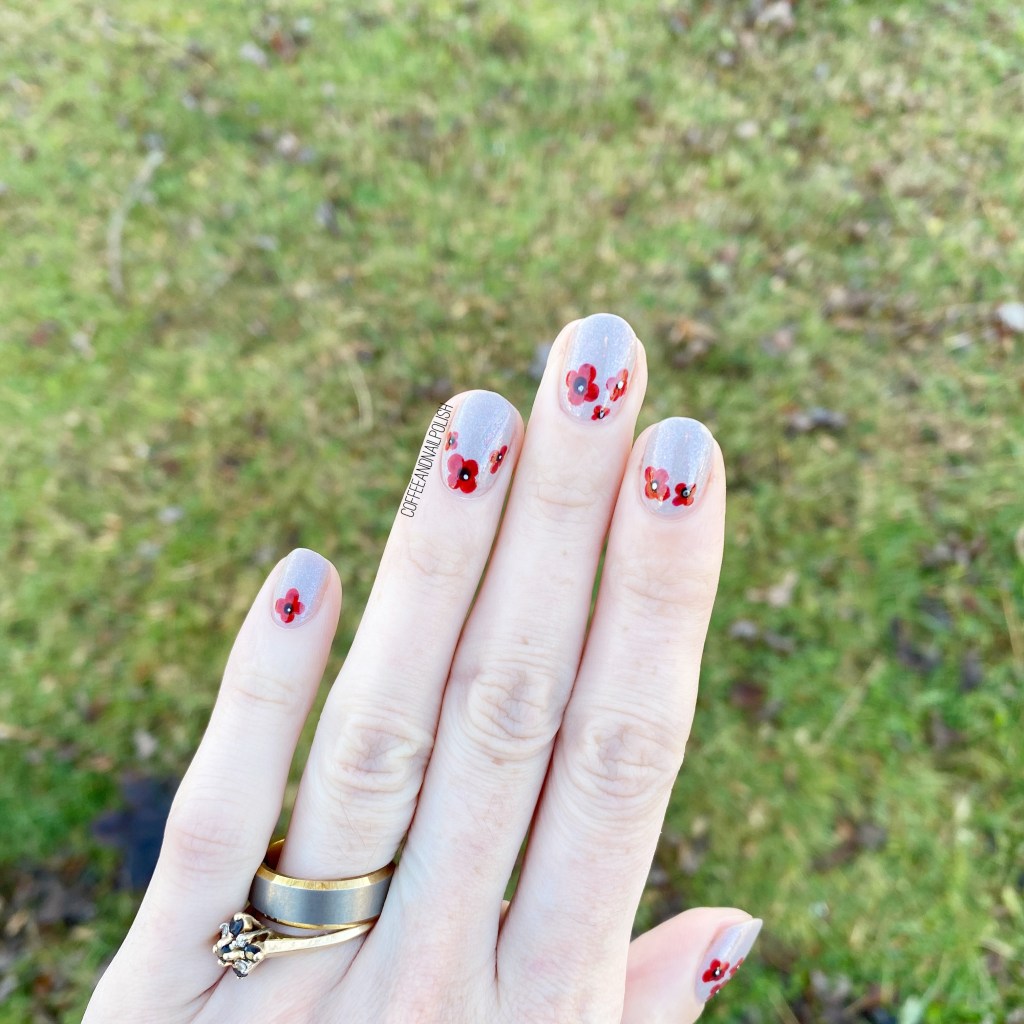
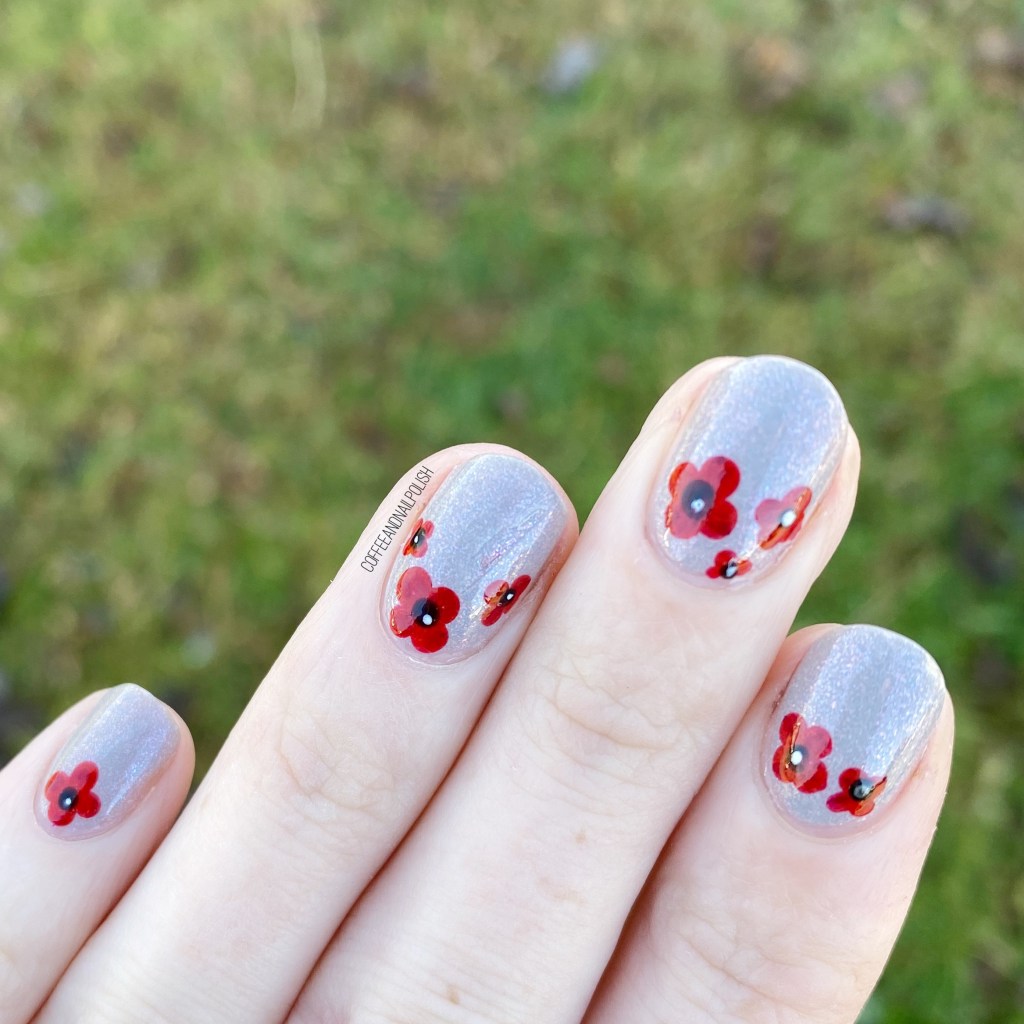
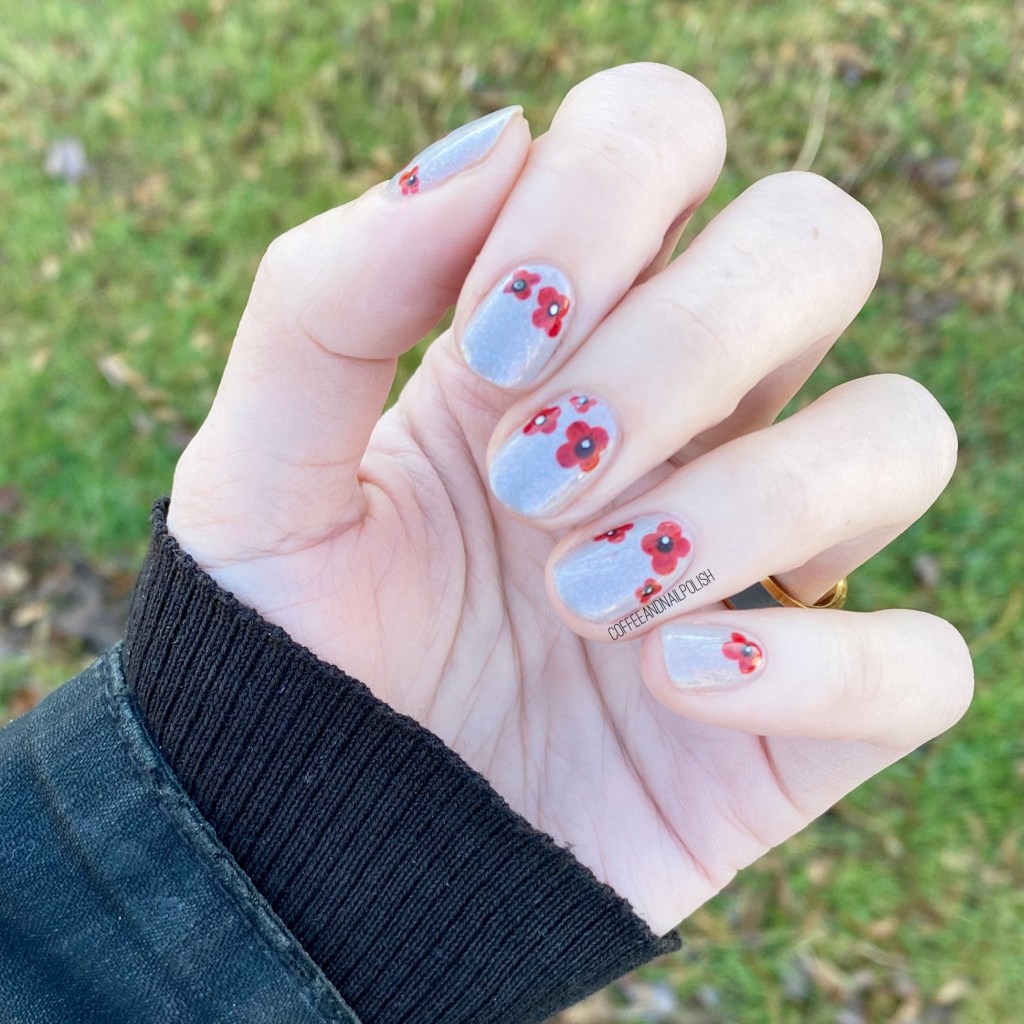
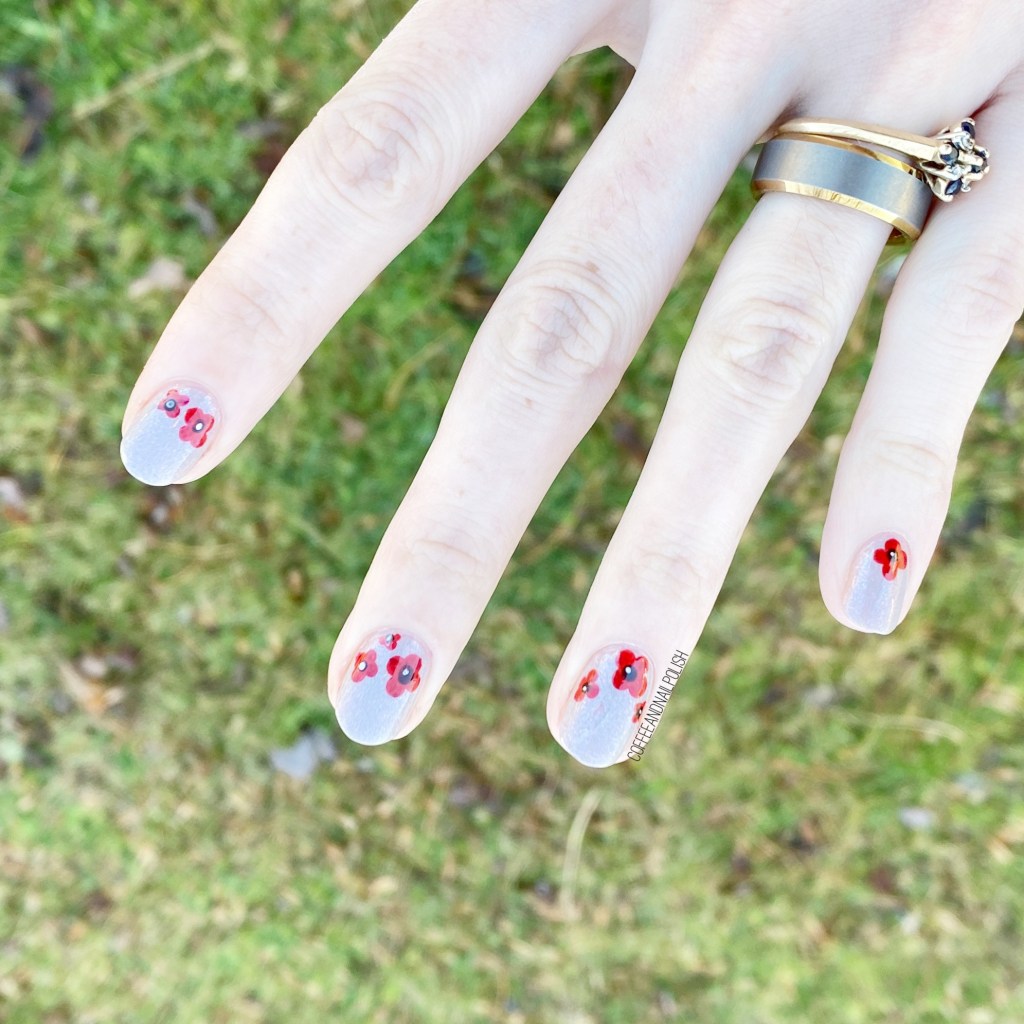
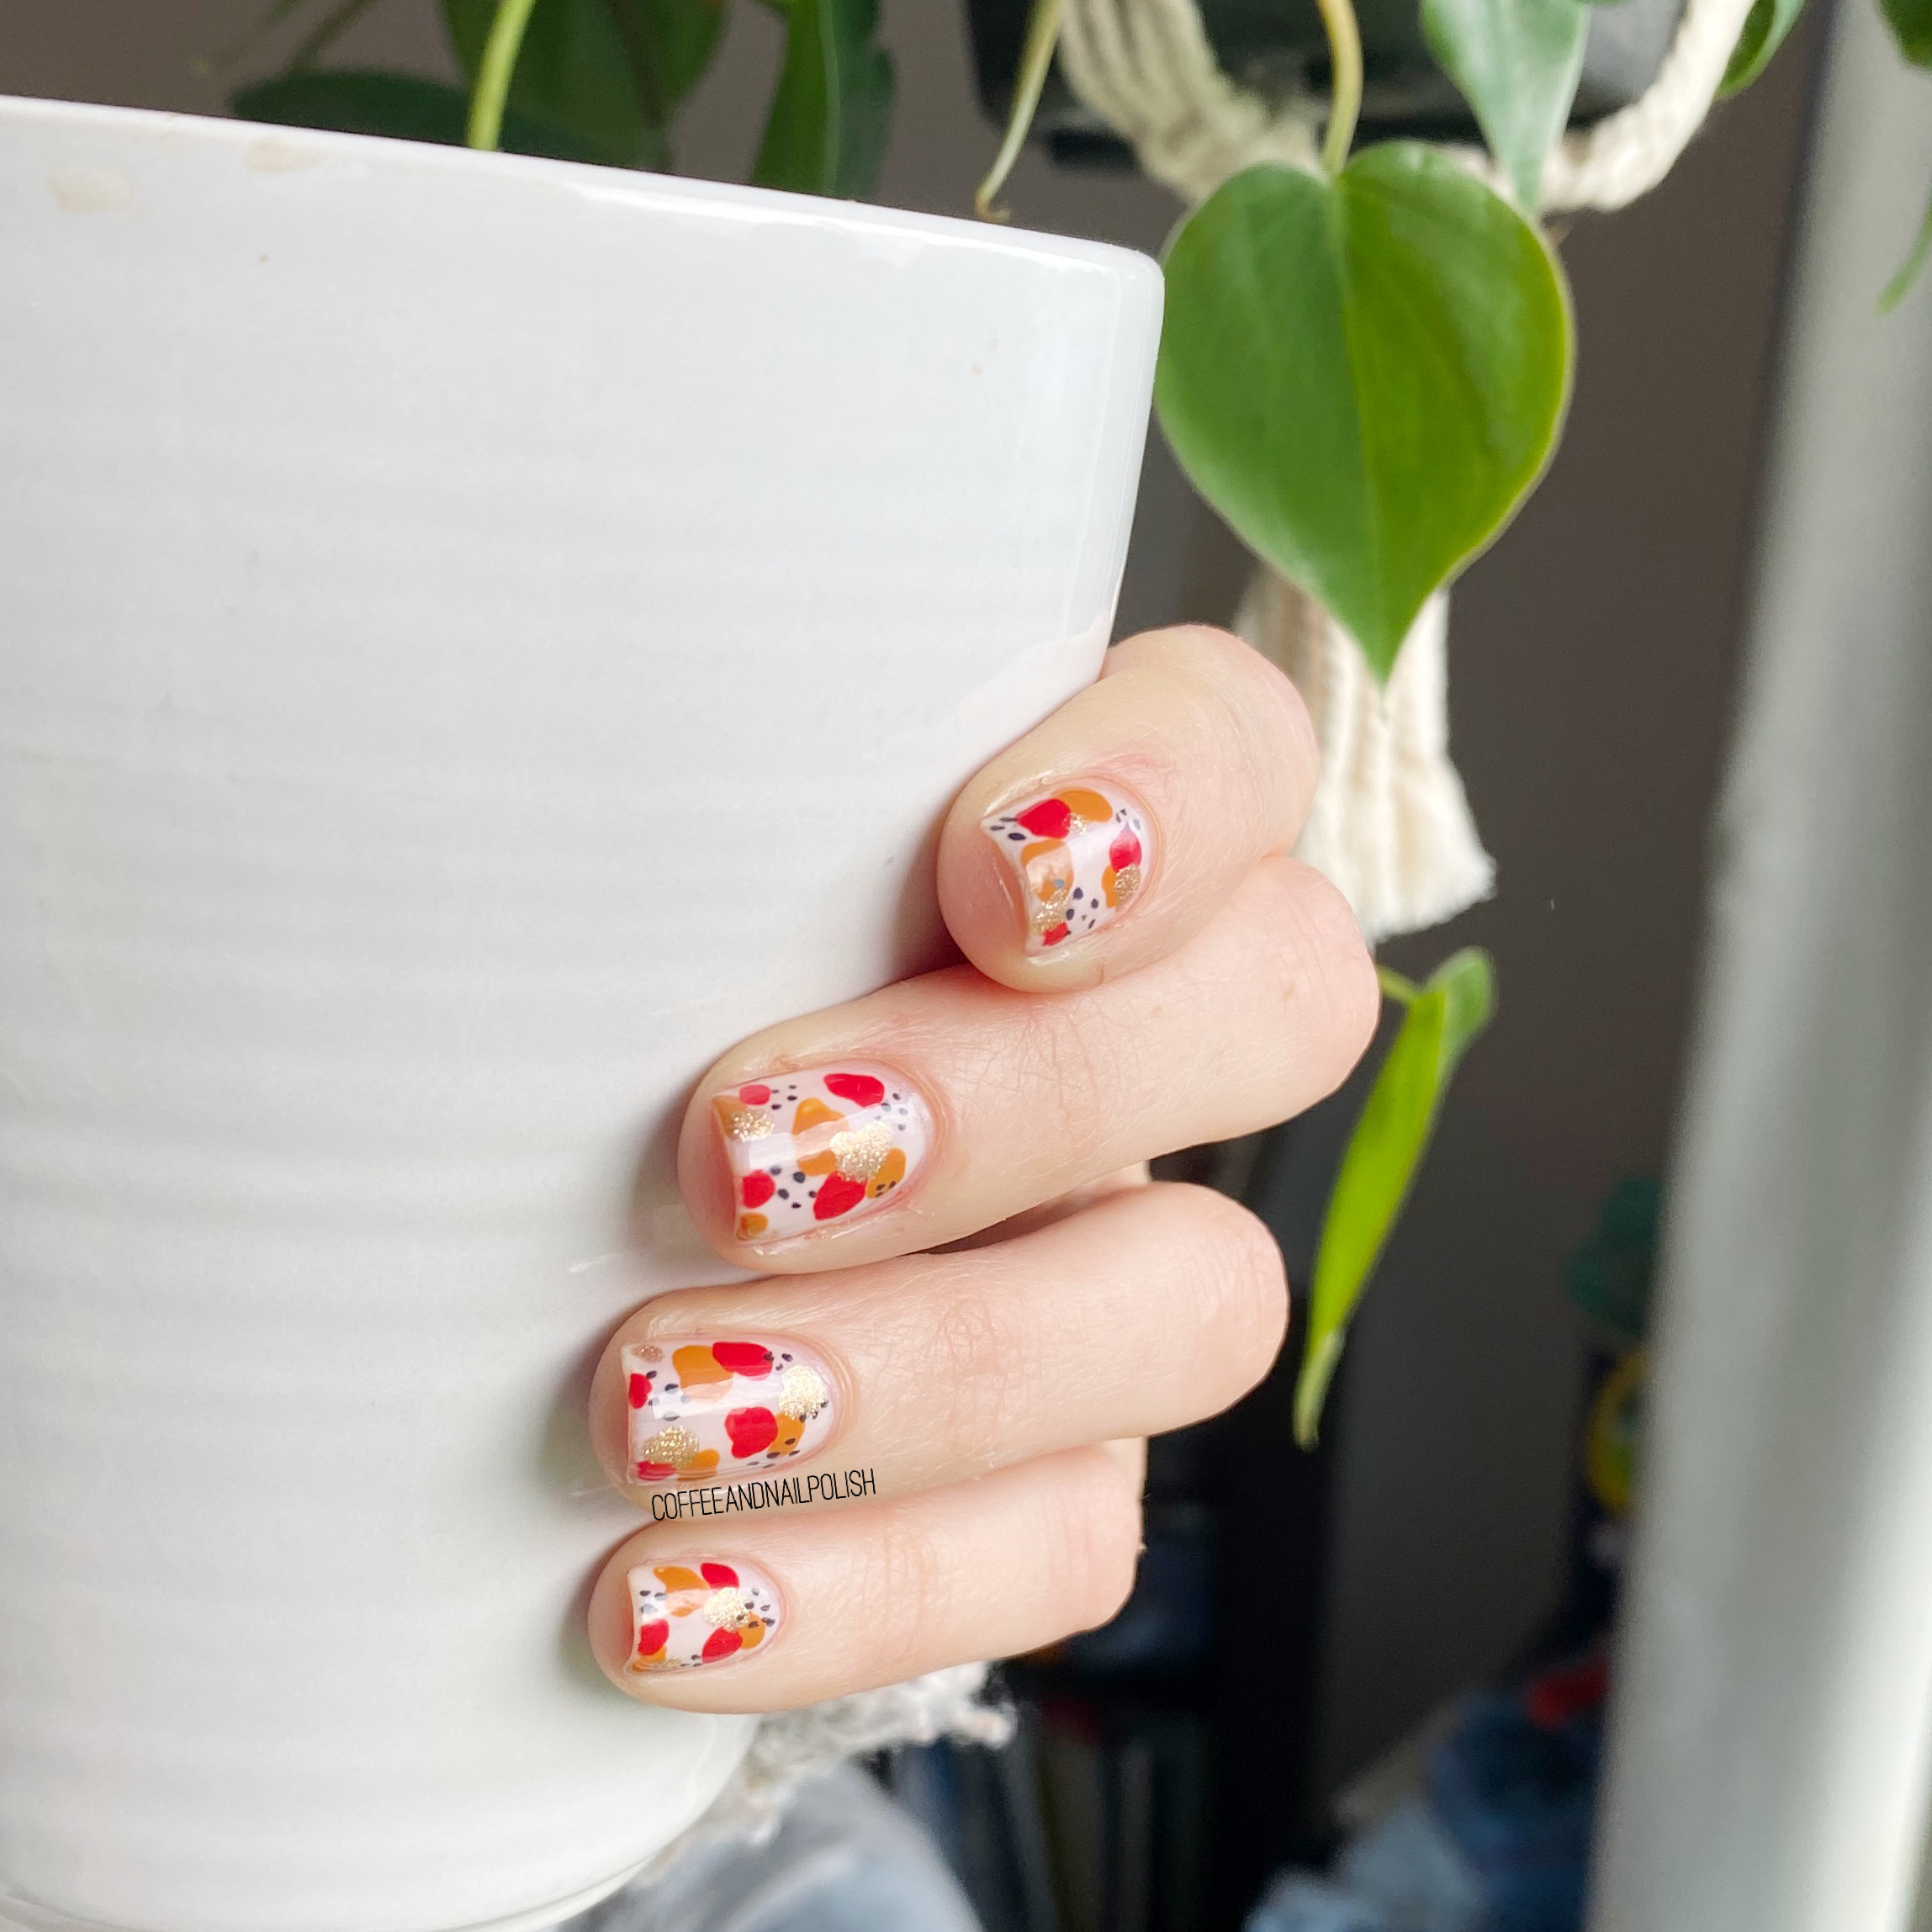
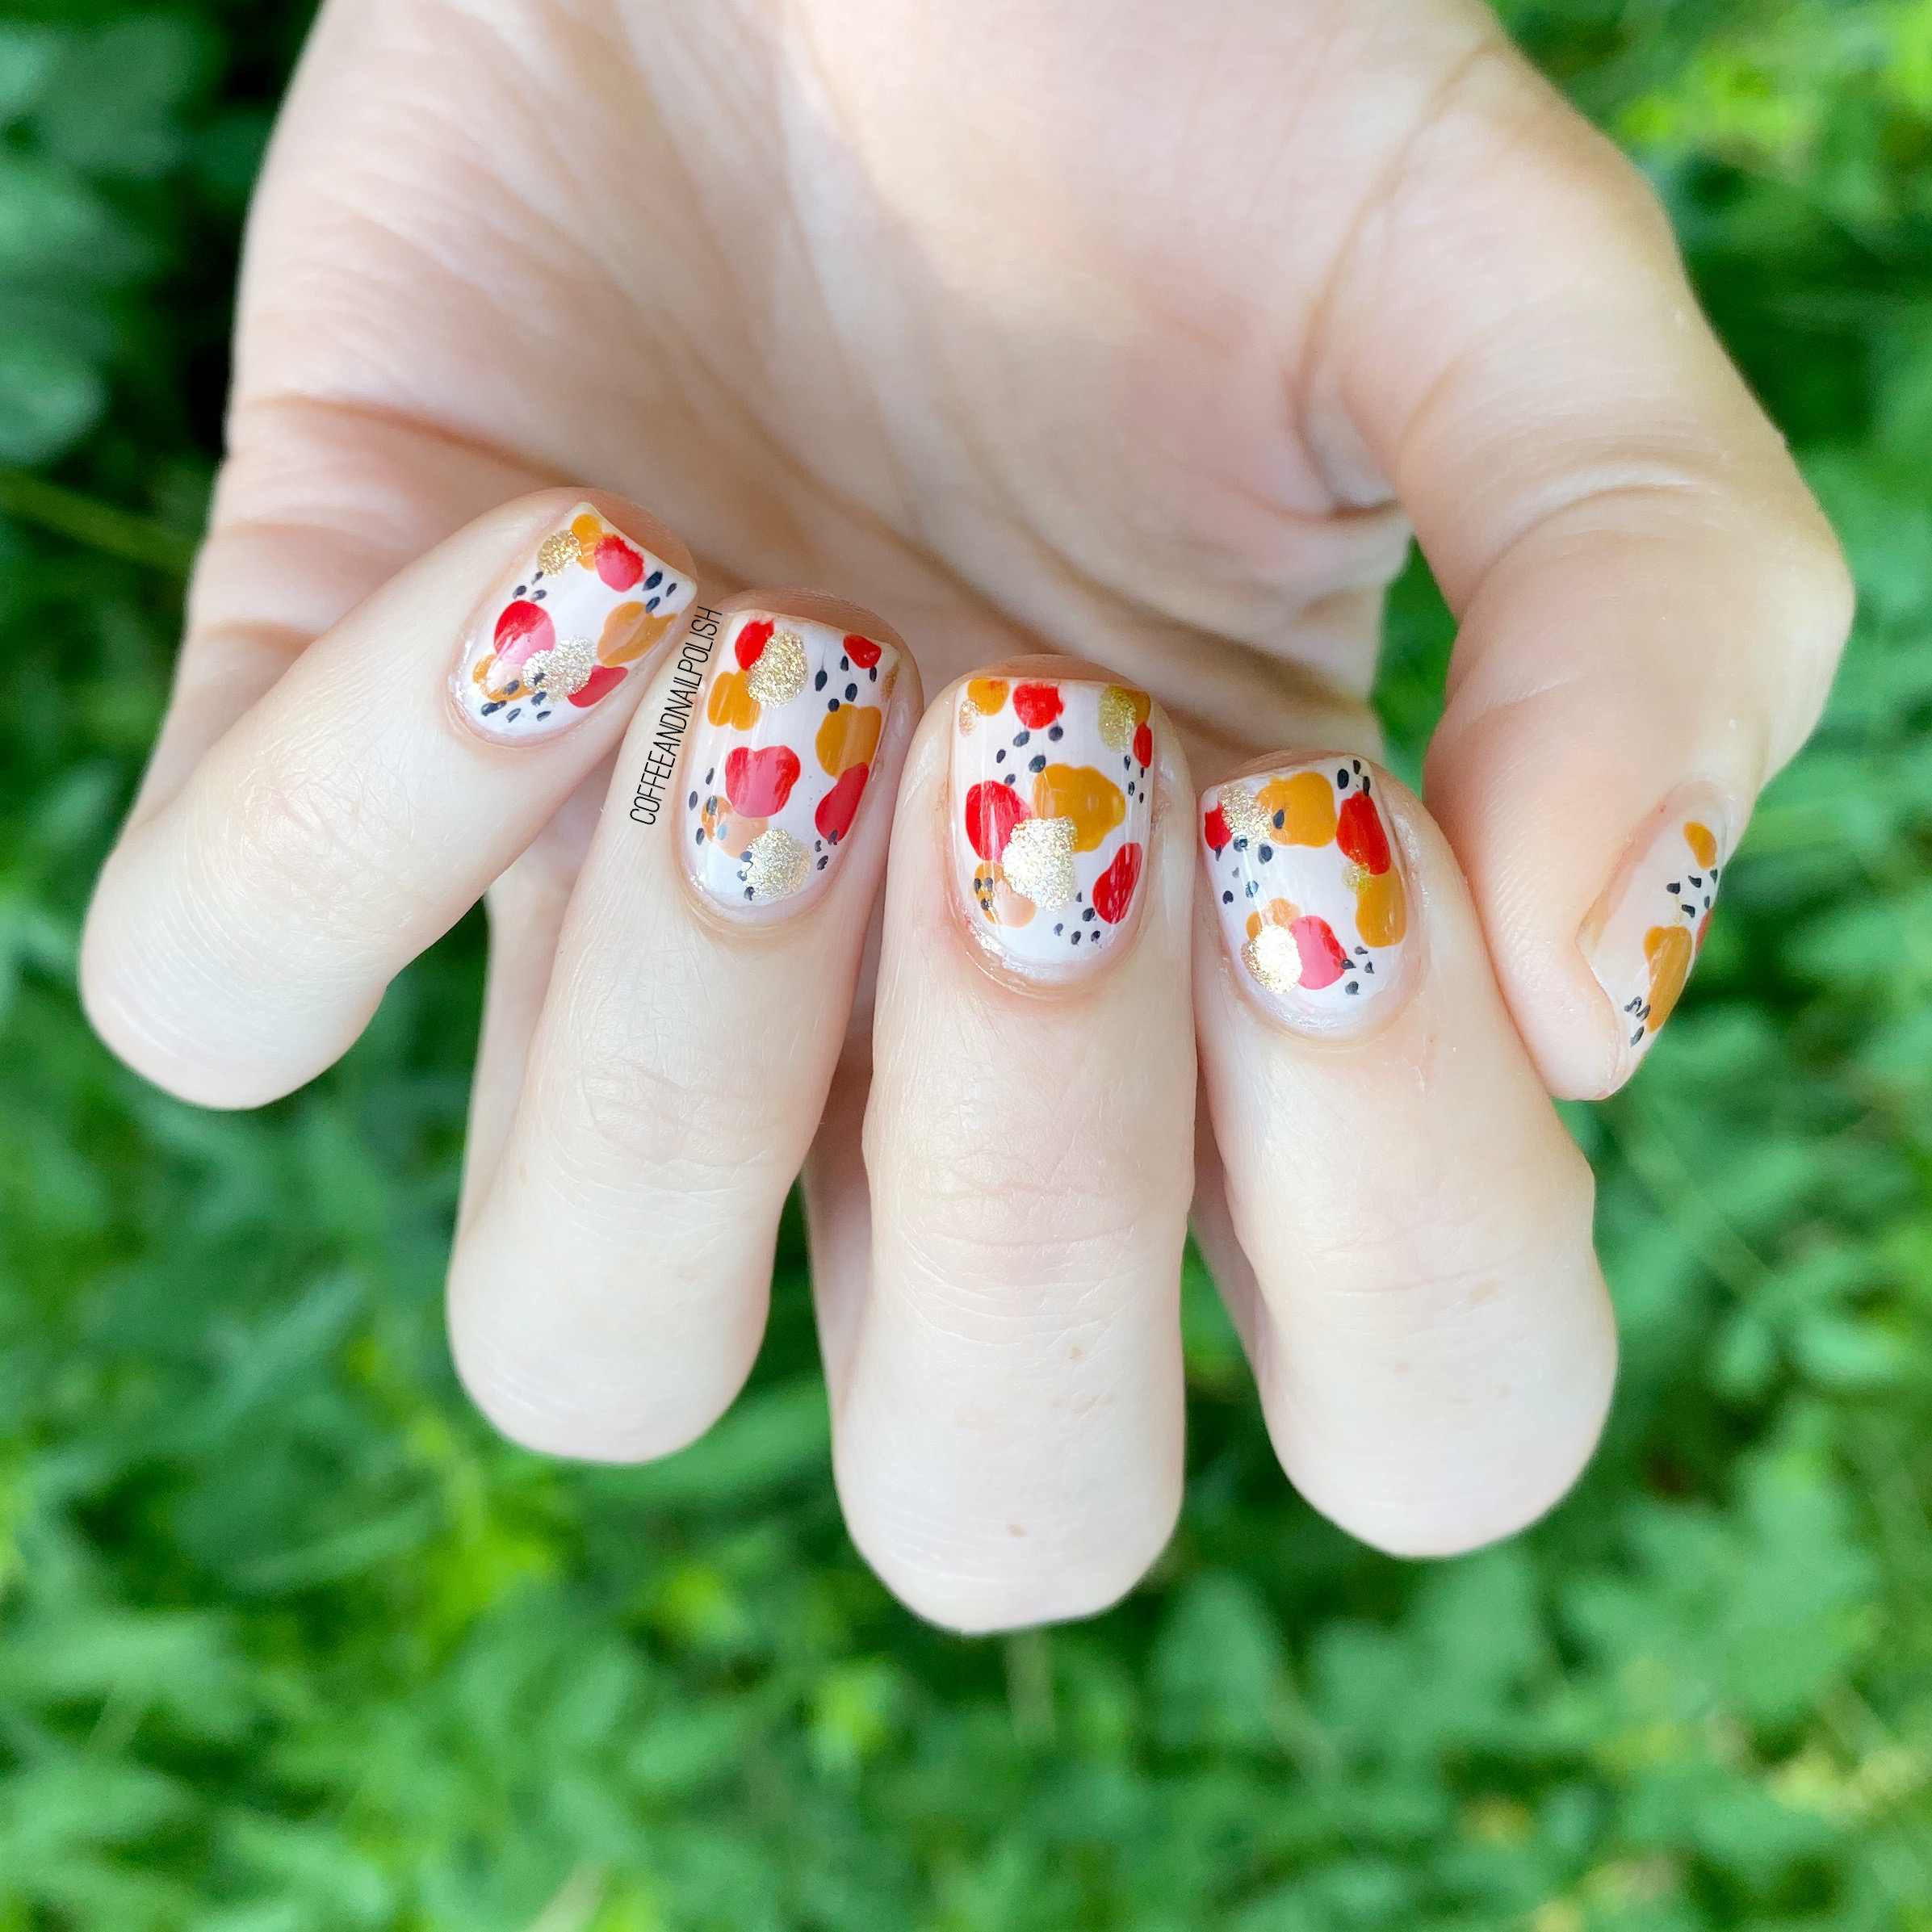
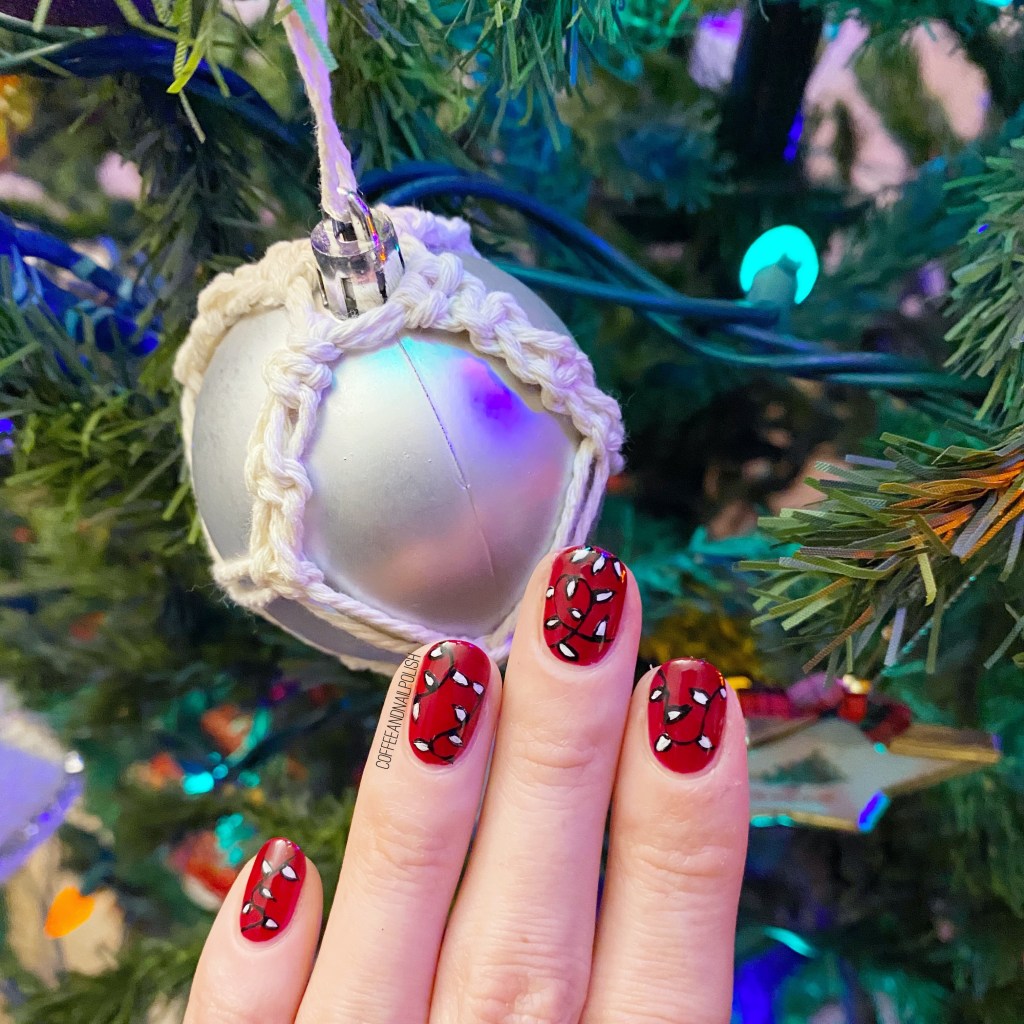
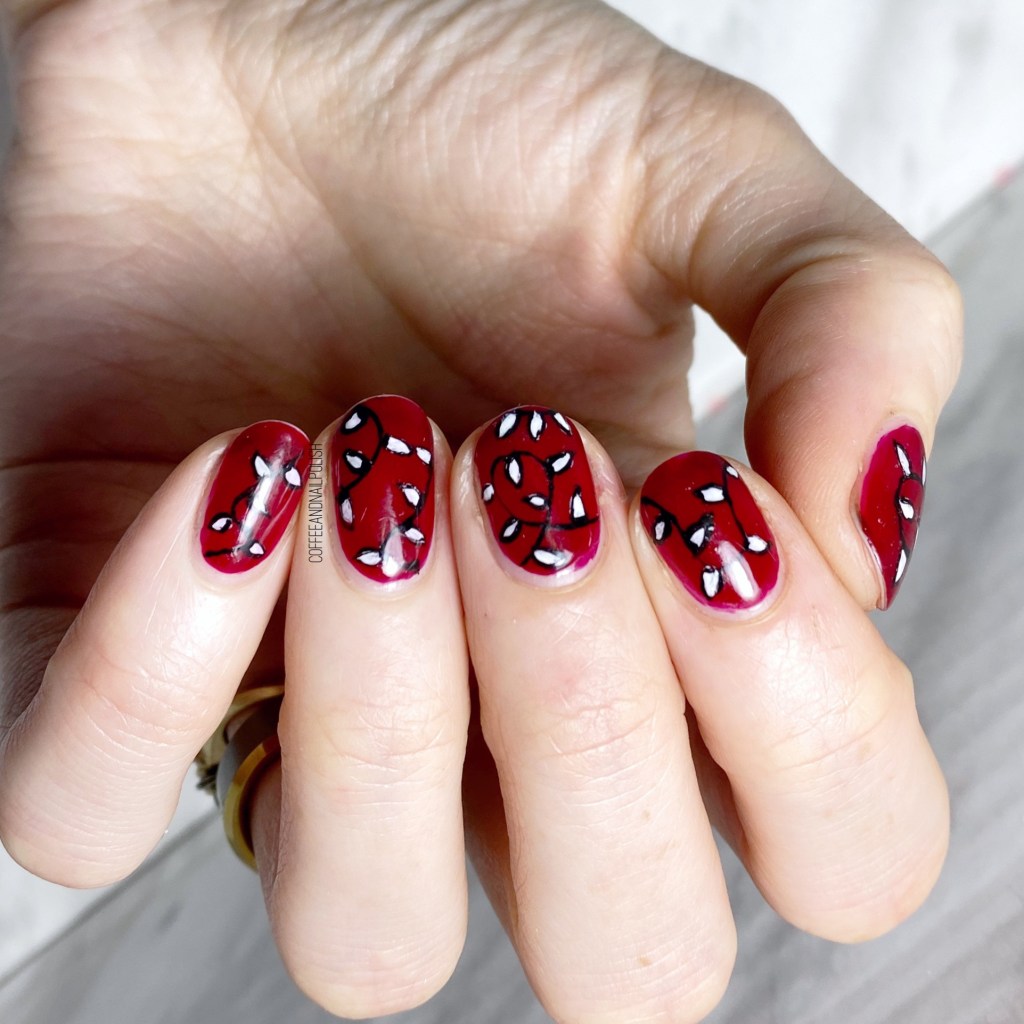
Today it’s time for another #GlamNailsChallengeDec look — this time the prompt is Christmas Lights. Originally I did a more tradition Christmas lights look, but I completely smeared it when I applied my top coat, so I went back & redid them as another design. & this is actually a recreation of a look I did 4 years ago that were inspired by one of the Starbucks Red Cup designs!

For this manicure, the polishes I used were:

  • Base Coat: Sally Hansen Hard As Nails
  • Top Coat: Sally Hansen Miracle Gel Shiny Top Coat
  • Sally Hansen Miracle Gel Can’t Beet Royalty
  • Sally Hansen Miracle Gel Get Mod
  • Starrily Nails VantaBlack
  • NailStuff.ca 4mm Micro Detail Brush (COFFEE10 saves you 10%!)

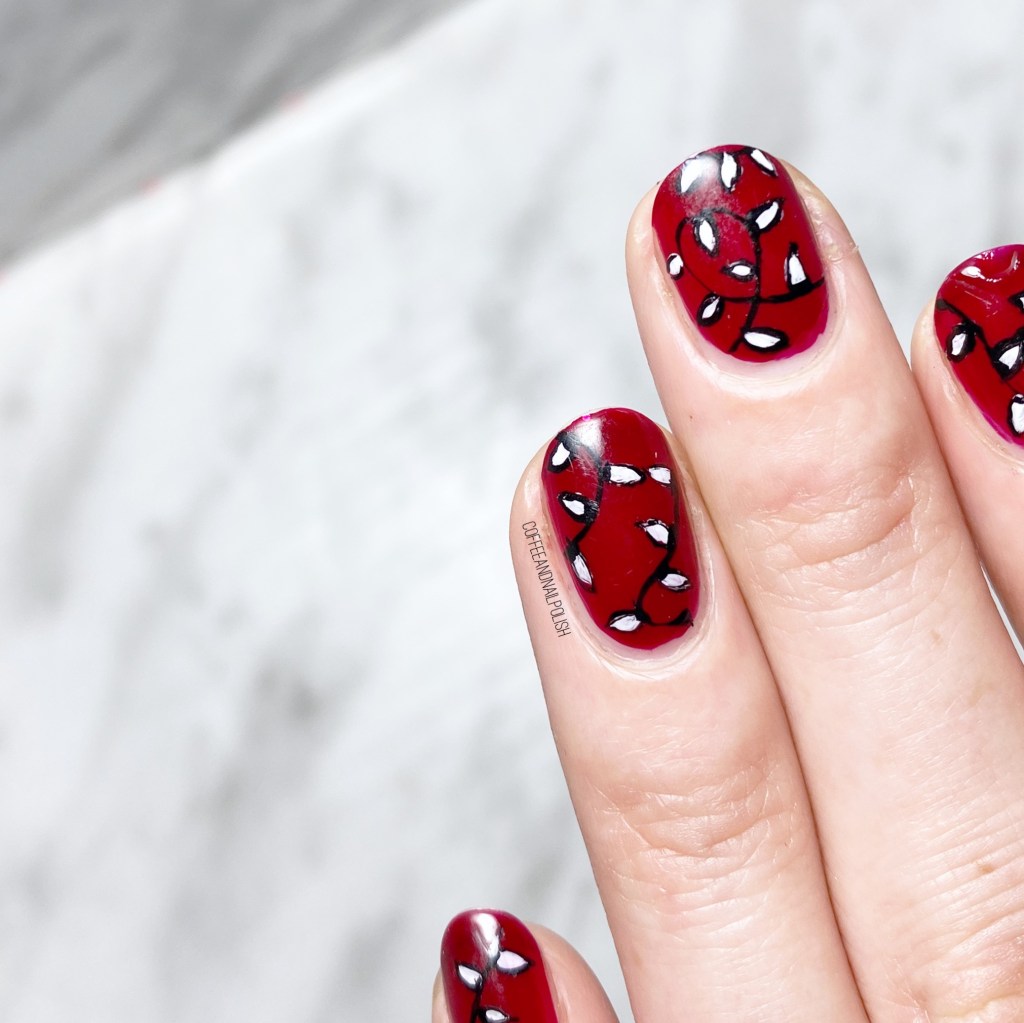
I’m really digging this look. Yes, it’s not your traditional Christmas Lights look, but I’m kind of glad my first design got all smeared (although, definitely wasn’t in the moment, haha!) It gave me a chance to recreate one of my favourite nail art looks from a few years ago! & I definitely love taking a trip down (nail art) memory lane!

What do you think about this take on Christmas lights? Do you like my white light look? Are you more of a coloured Christmas light person, or an all white Christmas light person. We are definitely team coloured lights here— there is something about them that just feels way more Christmas-y! 🎄

Cozy Plaid & Reindeer Nails

Happy Monday Lovelies!

Hope everyone is having a nice start to their week so far. I’ve already enjoyed a nice vegan nog latte, & got our shopping for the next few weeks done. Today, I have some more festive nails to share with you, this time inspired by an older manicure by an older manicure by @nbnailart (which I rediscovered via Pinterest.) I really really liked the mix of the plaid, & the gold & the reindeer head, so I decided to create my own version of it!

For this manicure, the polishes I used were:

  • Base Coat: Sally Hansen Hard As Nails
  • Top Coat: Essie Gel Setter
  • Orly Decades of Dysfunction
  • Essie After School Boy Blazer
  • Essie Mosaic On Down
  • Color Club Art Club Pink Pastel
  • Unnamed Kozmic Kolours Pink (from Dollarama)
  • NailStuff.ca 16mm Striper Brush (COFFEE10 to save 10!)
  • Born Pretty Store Stamping plate BP-L032 (item #23268)
  • NailStuff.ca Clear Stamper

First off, I’m really feeling this colour combination, which gives me cosy Winter vibes. While I’m definitely feeling the shift towards holiday & Christmas inspired nail art, I don’t want to go Full Christmas just yet (aka red & green everything) so I feel like this colour scheme is a good start. You still get holiday vibes, without going overboard. That being said, I’m still going to be adding coconut Nog to my coffee & listening to Glee Christmas albums on repeat haha.

Second, I am really in love with how this plaid turned out. I always feel like my plaid attempts can get a little busy, so I was impressed with how these turned out following the original. Definitely how I’m going to be approaching my plaid nails from now on! & I will totally be doing a green & red plaid using this method…. soon. Probably after December 1st.

What do you think about this design? What Christmas/Winter/Holiday designs are you planning on doing this year? With the world being so scary, & uncertain, I’m definitely going to spend a good amount of time calming my brain by coming up with fun looks to share! I don’t know if I’ll be able to do 1 a day, but I’m hoping to do a great variety for the month of December, plus GlamNailsChallengeDecember, so stay tuned!

Remembrance Day Poppies

Hello lovelies. Hope everyone is having a good week so far. We’re officially half way to the weekend! Today in Canada though, it’s Remembrance Day which a solemn day where we stop to remember those who have served in the military & sacrificed their own lives during War.

This year is strange because most of the Remembrance Day ceremonies that we would attend are now, understandably, being presented online because of COVID precautions. This is also the first Remembrance Day without my grandfather, who was a veteran. So I really wanted to do something special to mark the day, & I decided to recreate a poppy design I did a few years back.

For this manicure, the polishes I used were:

  • Base Coat: Sally Hansen Hard As Nails
  • Top Coat: Essie Gel Setter
  • Essence Miracle Stone
  • Sally Hansen CSM Warm Regards
  • Sally Hansen CSM Red My Lips
  • Sally Hansen CSM Red Over Heels
  • Sally Hansen Miracle Gel Get Mod
  • Sally Hansen Miracle Gel Blacky-O
  • NailStuff.ca Dotting Tool Trio (COFFEE10 saves you 10%!)

I like this design because it’s subtle, respectful & not too in your face. The poppy can be such a controversial item to wear (& where you decide to wear it) so I didn’t want to paint a nail art look that could offend anyone. Coming from a strongly military family, I’ve always made sure to stop & acknowledge the day, & pay my respects to those whose sacrifices ensured my freedoms.

What do you think of this look? Do you honour Remembrance Day in your part of the world? Let me know in the comments below.

Abstract Dots Featuring Essie

*features gifted products*

Hello lovelies & happy Wednesday! How crazy is it that we’re already half way through the week?

Today I have a fun look to share with you I did with a few of the shades from the Essie Summer 2020 collection! This is actually a redo of a design I did a few weeks ago (& posted on Instagram) that was inspired by @thesammerasaurus. I’ve really been loving Kaf-tan, Spice It Up & Mosiac On Down, & I decided I had to do a design pairing them together. & since I’ve been kind of obsessed with abstract designs, I decided to give this abstract dotticure-ish look another go!

For this manicure, the polishes I used were:

  • Base Coat: Essie Strong Start
  • Top Coat: Essie Gel Setter
  • Essie Ballet Slippers
  • Essie Spice It Up
  • Essie Kaf-tan
  • Essie Mosiac On Down
  • Essie Bobbing for Baubles
  • NailStuff.ca Dotting Tool Trio — I used a medium sized dotter (Use COFFEE10 to save 10%)
  • NailStuff.ca 7mm detail brush (for my tiny navy dots)

Isn’t this just such a cute look? I love it! Besides the fact that the colour options are endless, because you’re not trying to be “perfect” in your dots, you can’t really mess it up! I don’t know about you, but sometimes trying to make my nail art perfect gets me a little frustrated. Plus this nail art took me maybe 20 minutes from start to finish — which is great because I was doing my nails before bed. Haha. So I needed a quick manicure.

What do you think about this design? Are these abstract dots something that you would rock? Let me know all your thoughts in the comments below! & let me know what your favourite quick & easy nail art look is!

Tie-Dye Nails Inspired by @BadGirlNails

Hello lovelies & Happy Wednesday.

Today I’m sharing a cute look I did a few weeks back. Tie-Dye is everywhere this year, including on nails. I haven’t yet found the perfect tie-dye sweatshirt yet, & I’m too scared to do one myself, but as soon as I saw Sonya at @badgirlnails tutorial for tie-dye nail art I knew I needed to recreate them!

For this manicure, the polishes I used were:

  • Base Coat: Sally Hansen Good Kind Pure Hardener
  • Top Coat: Essie Speed Setter
  • Sally Hansen Miracle Gel Get Mod
  • Sally Hansen Miracle Gel Malibu Peach
  • Sally Hansen Miracle Gel Lemon Chillo
  • Sally Hansen Miracle Gel Miami Nice
  • Sally Hansen Miracle Gel Fuchsia Fever
  • NailStuff.ca Round Clean Up Brush (COFFEE10 saves you 10%!)
  • Pure Acetone
  • Plastic Yogurt Lid

Ahhh, I love this colour combination so much. Like, I wish I could transfer it into clothing. The Sally Hansen Miracle Gel Neons from last summer are absolutely perfect for this kind of look & feel so Summer-y. & Sonya’s tutorial she posted was so easy to follow to recreate this look, I’m definitely going to recreate with a variety of colours.

Like I said, thanks to @badgirlnails easy to follow tutorial, the look was a breeze to create! You definitely want to make sure you have an extra thick layer of top coat down before you start applying your tie-dye (so you don’t destroy your base) but other thank that this is a quick & easy look to do! & so on trend right now!

What do you think of this tie-dye look? Have you attempted tie-dye on your nails yet, or at home on clothes? Let me know any tips you have for creating your own tie-dye sweatshirts at home because I really want to give it a try (without, you know, tie-dying myself in the process!)