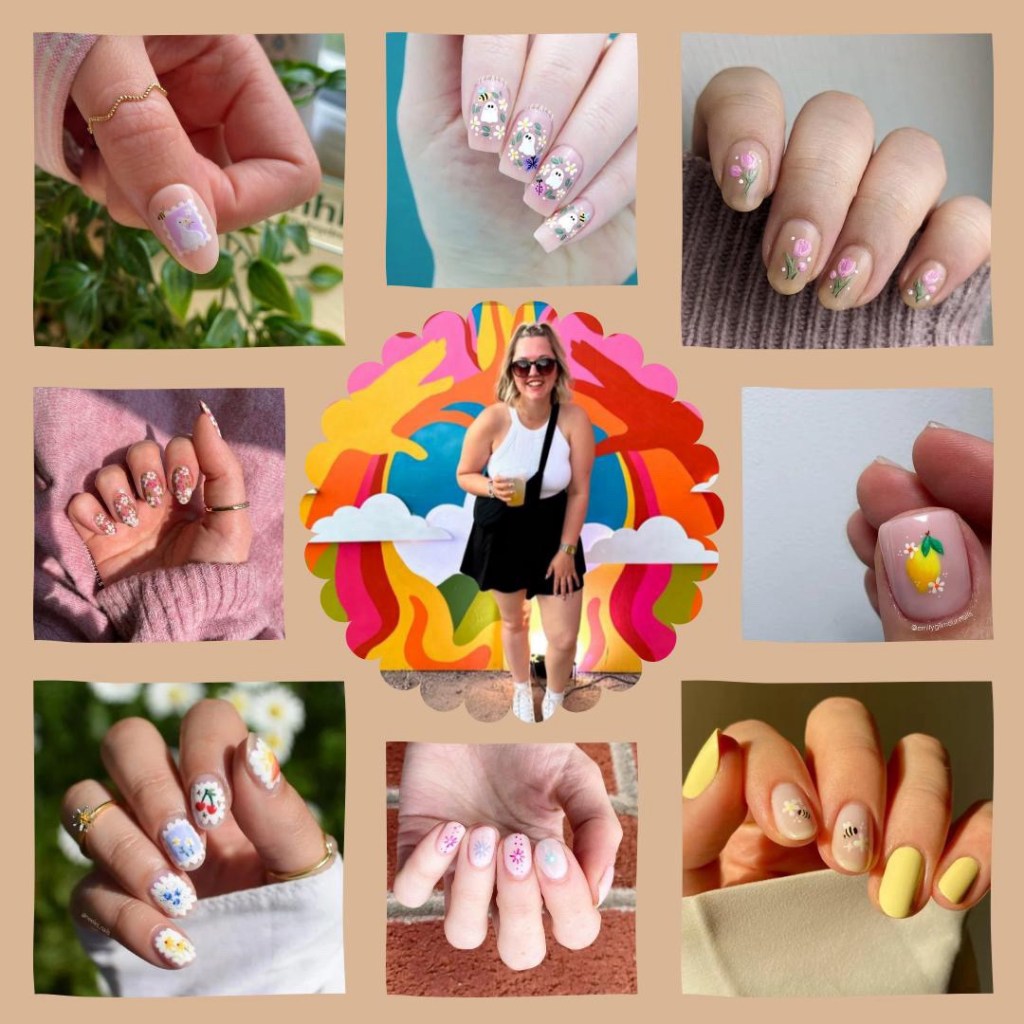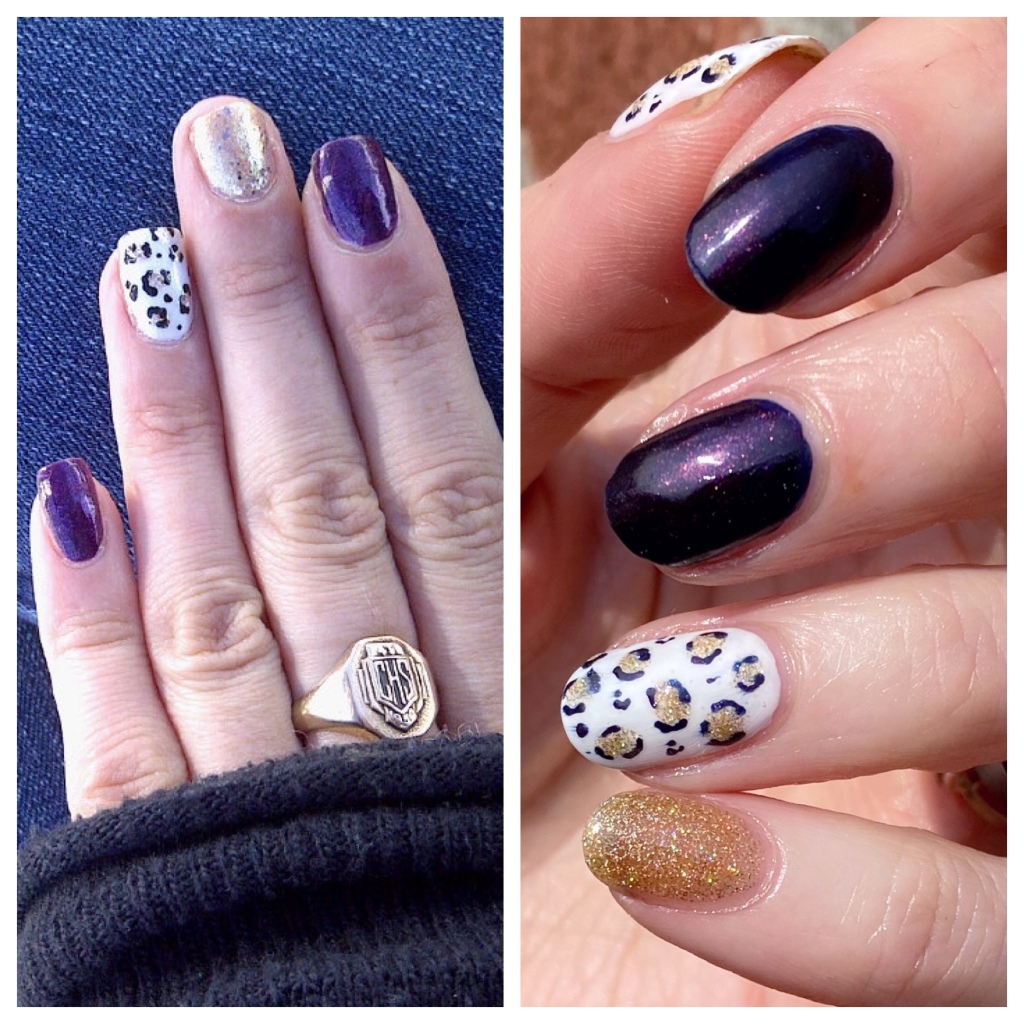
Hello lovelies & happy Saturday! Is everyone excited for Easter this weekend?
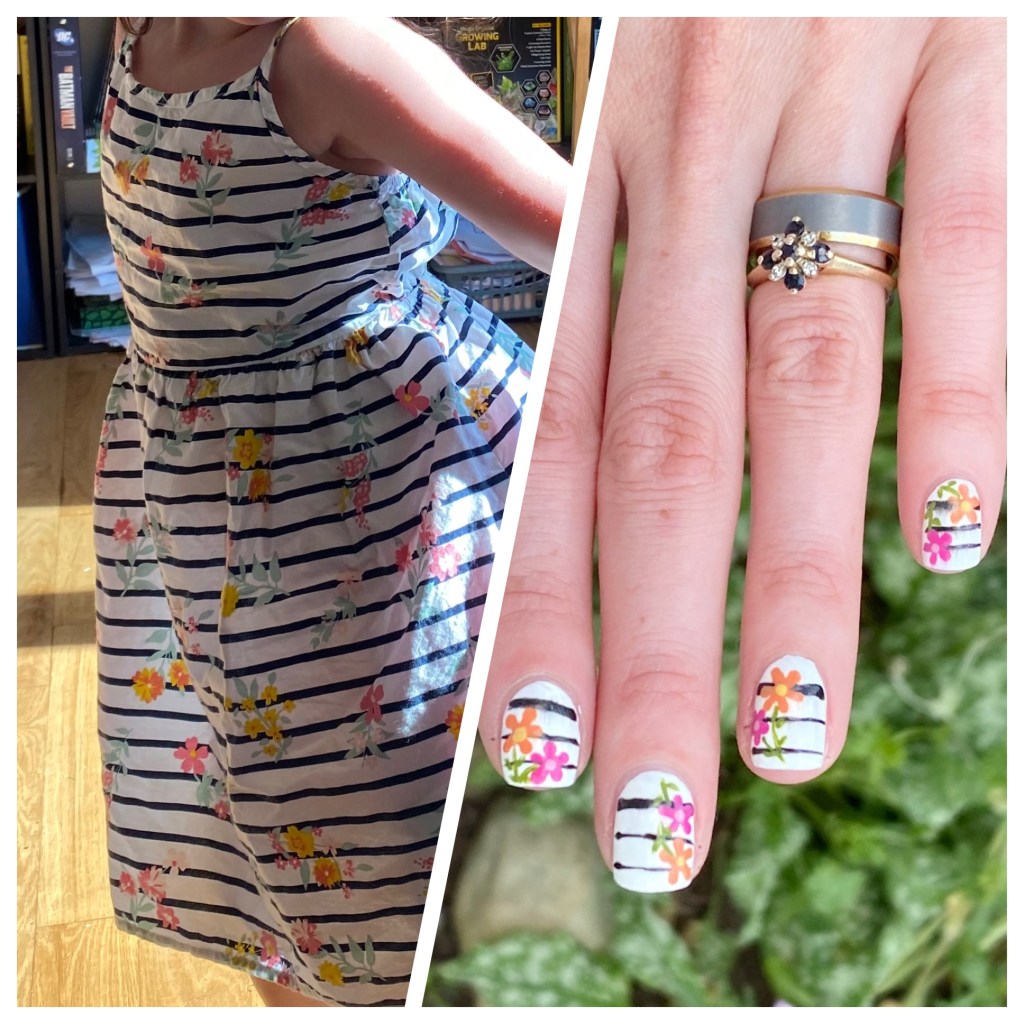
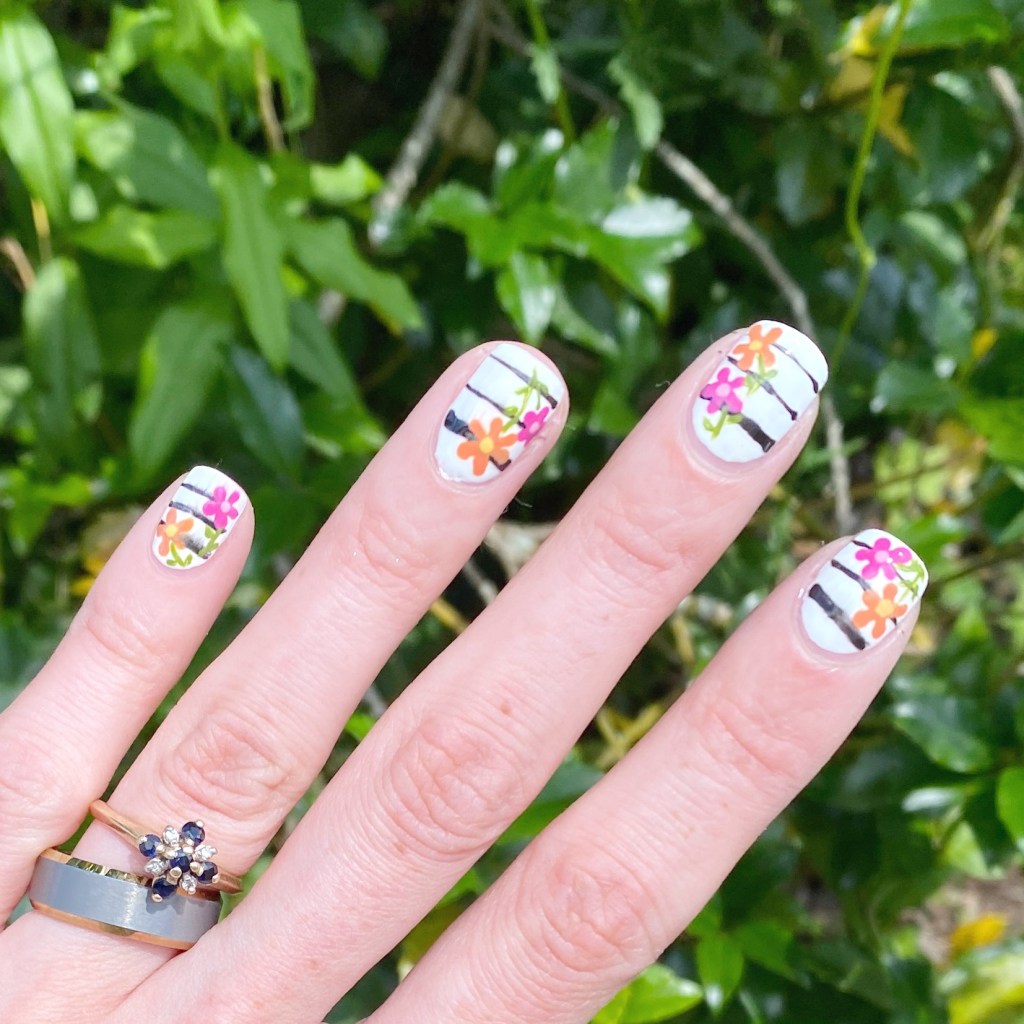
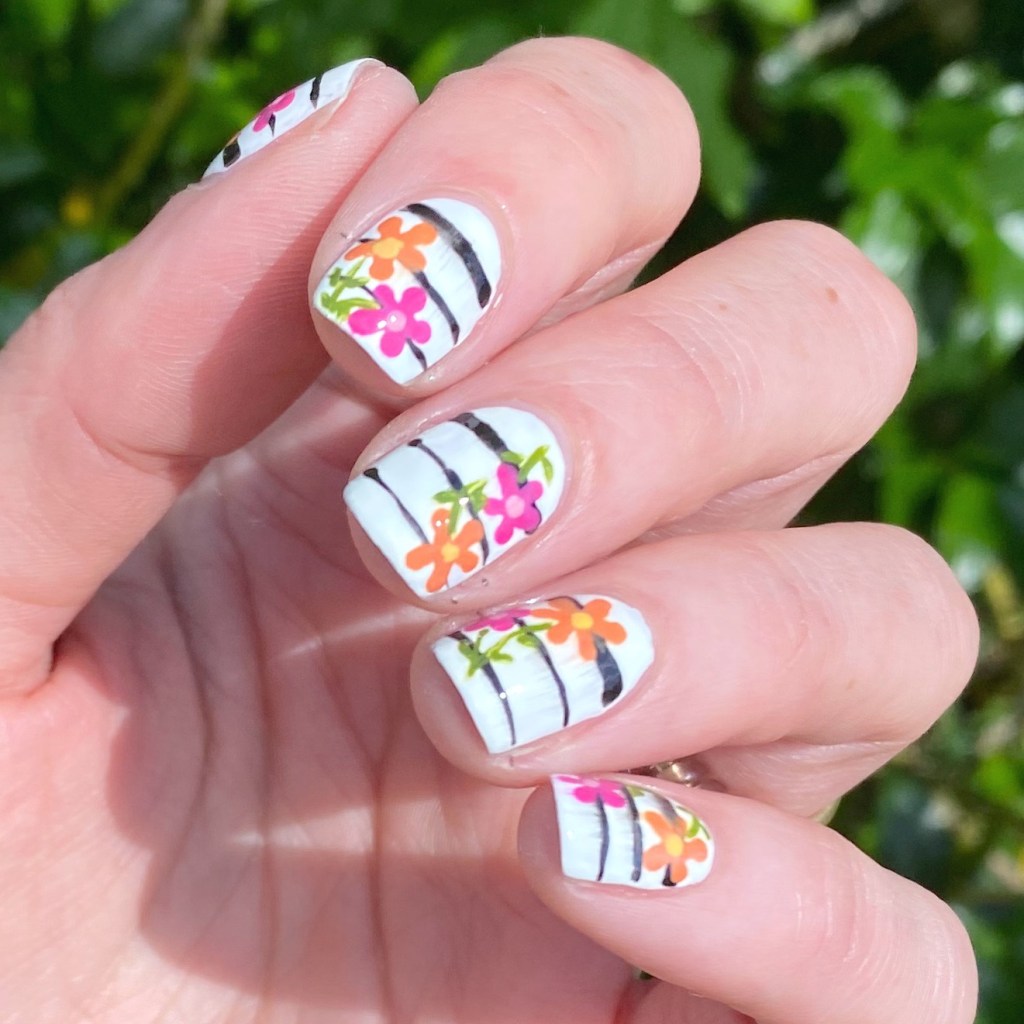
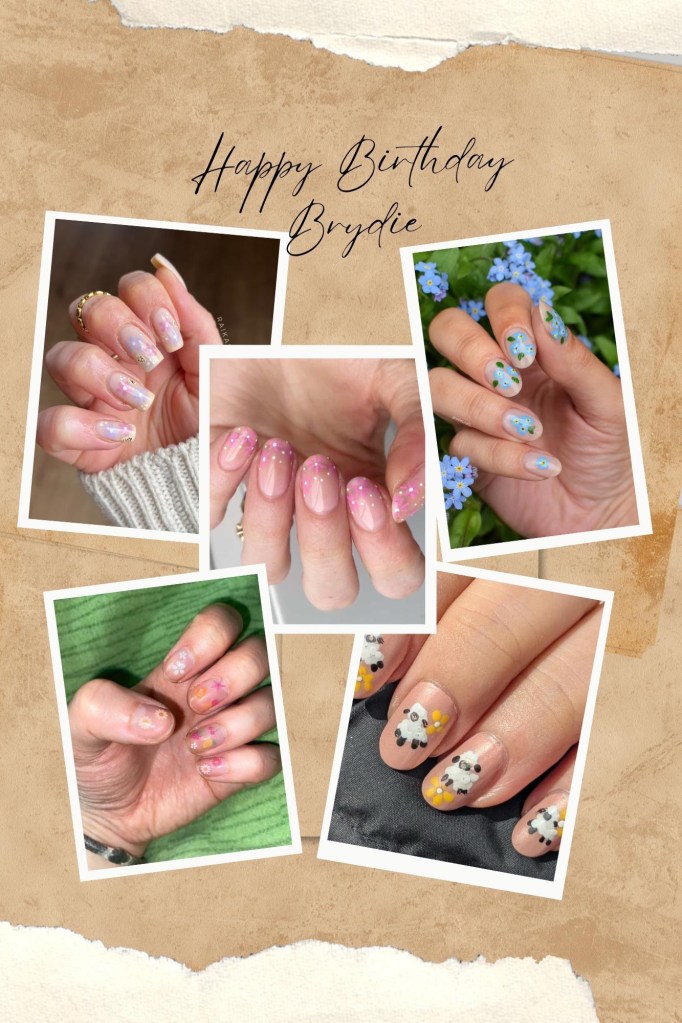
Usually I don’t post on Saturdays, but today I’m taking part in a very special birthday collab for a very special nail artist — @brydiedoesnails. Ive participated in this collab a few times, as Brydie is one of my biggest inspirations on Instagram! Her nails always look so incredible, so I was very excited to join in on this collab to celebrate her!
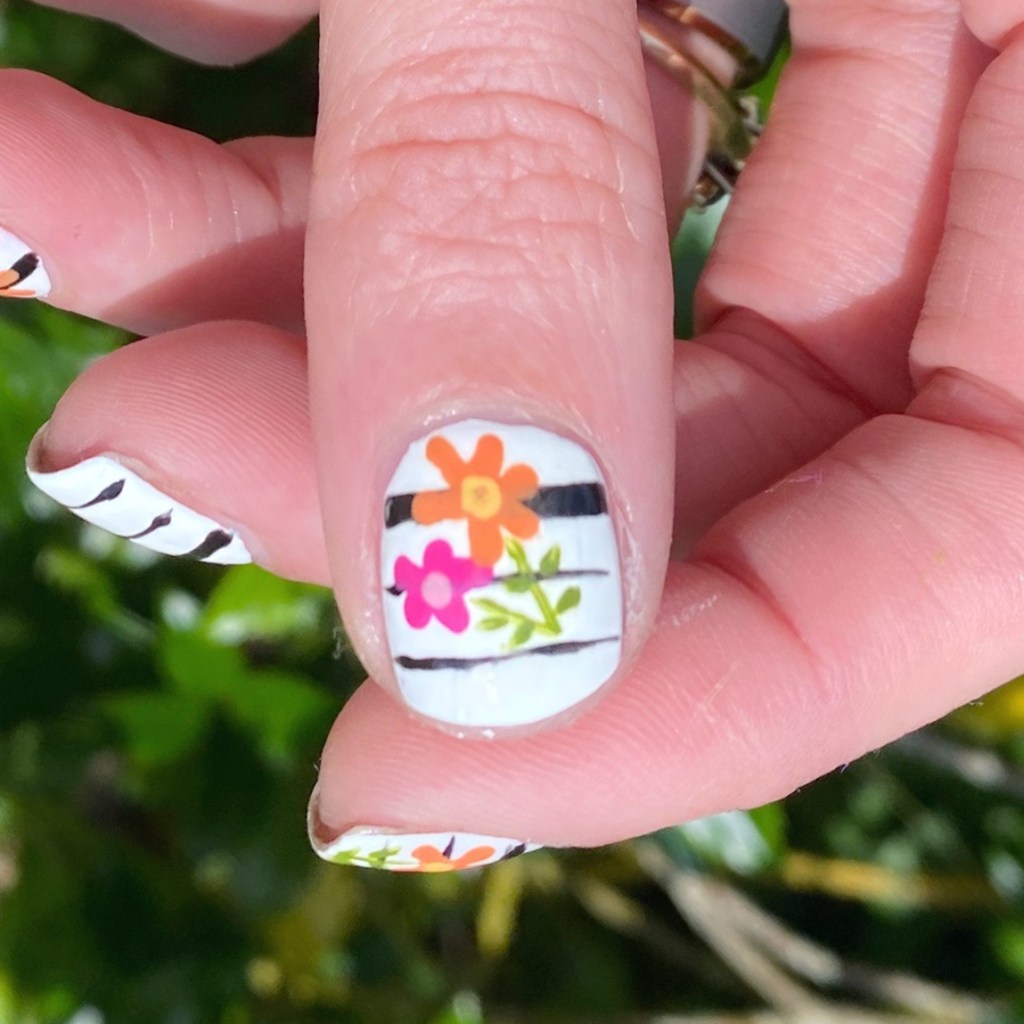
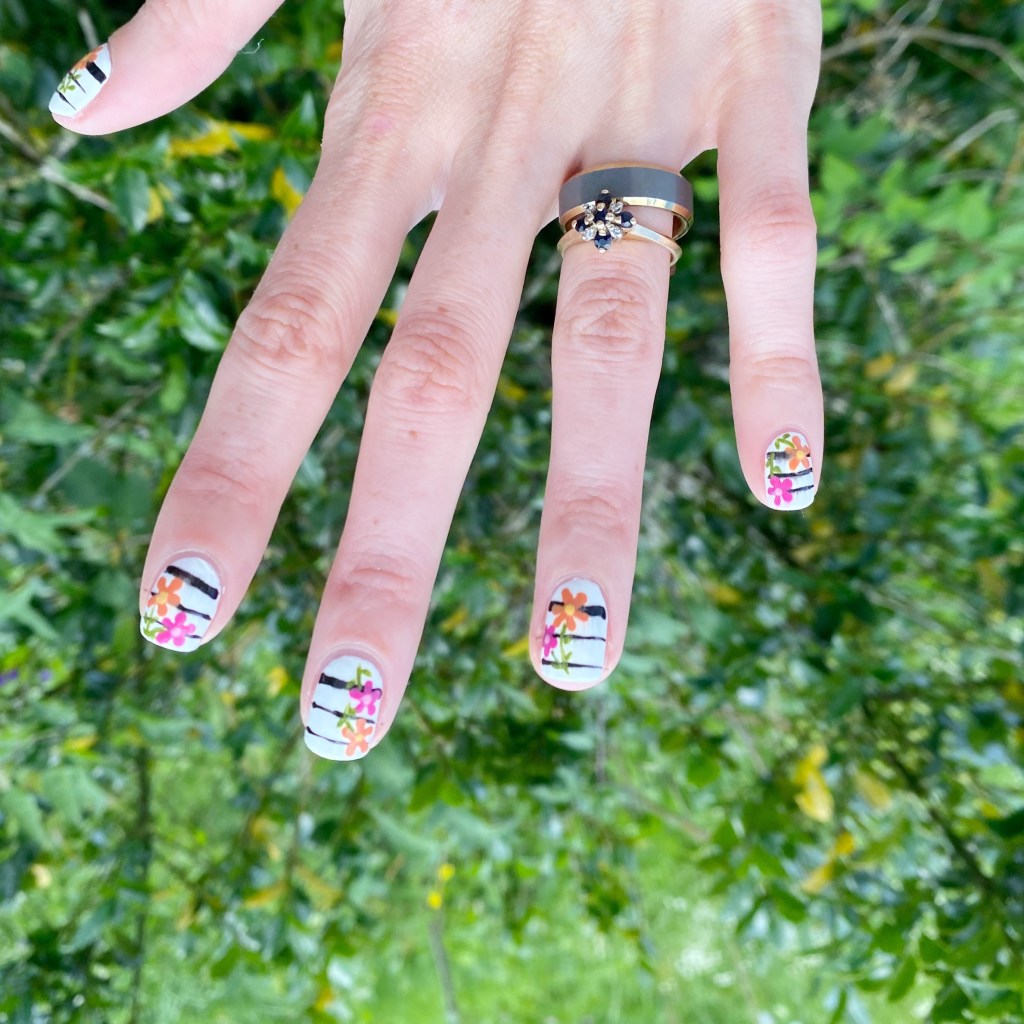
& naturally, I had to choose one of her floral designs to recreate!
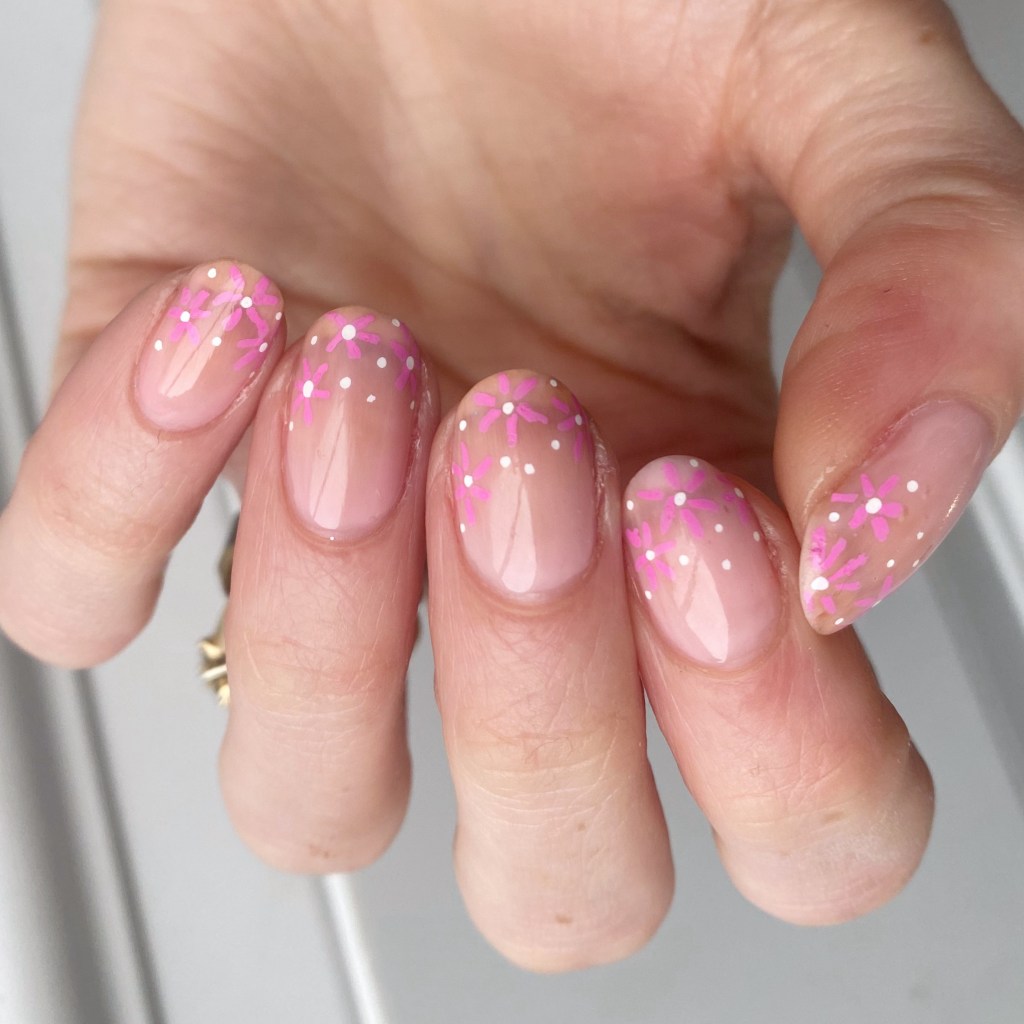

The polishes I used for this manicure are:
- Top Coat: Essie Gel Couture Top Coat
- Base Coat: Essie Hard to Resist Advanced
- Essie Gel Couture Gossamer Garments *
- Madam Glam Acrylic Nail Art Pen in Pink *
- Madam Glam Acrylic Nail Art Pen in White*
** PR/gifted
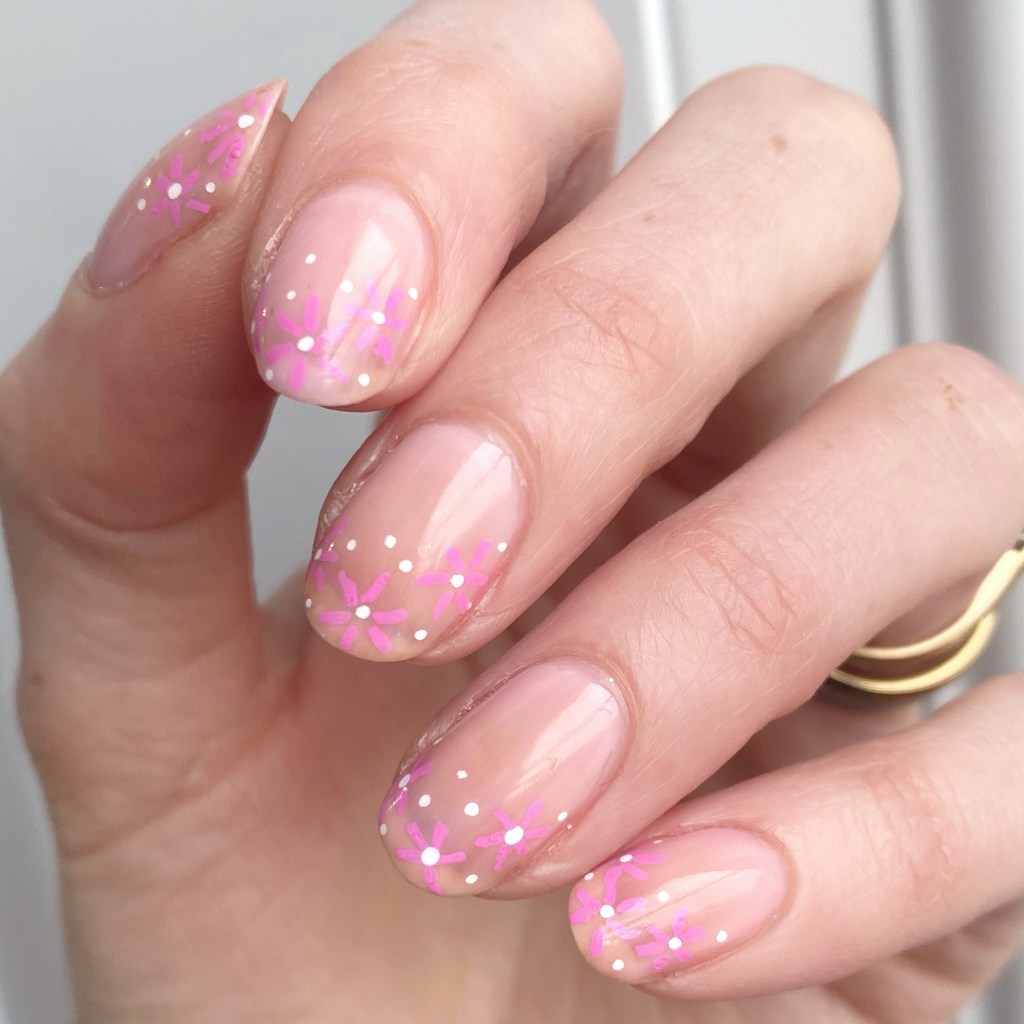
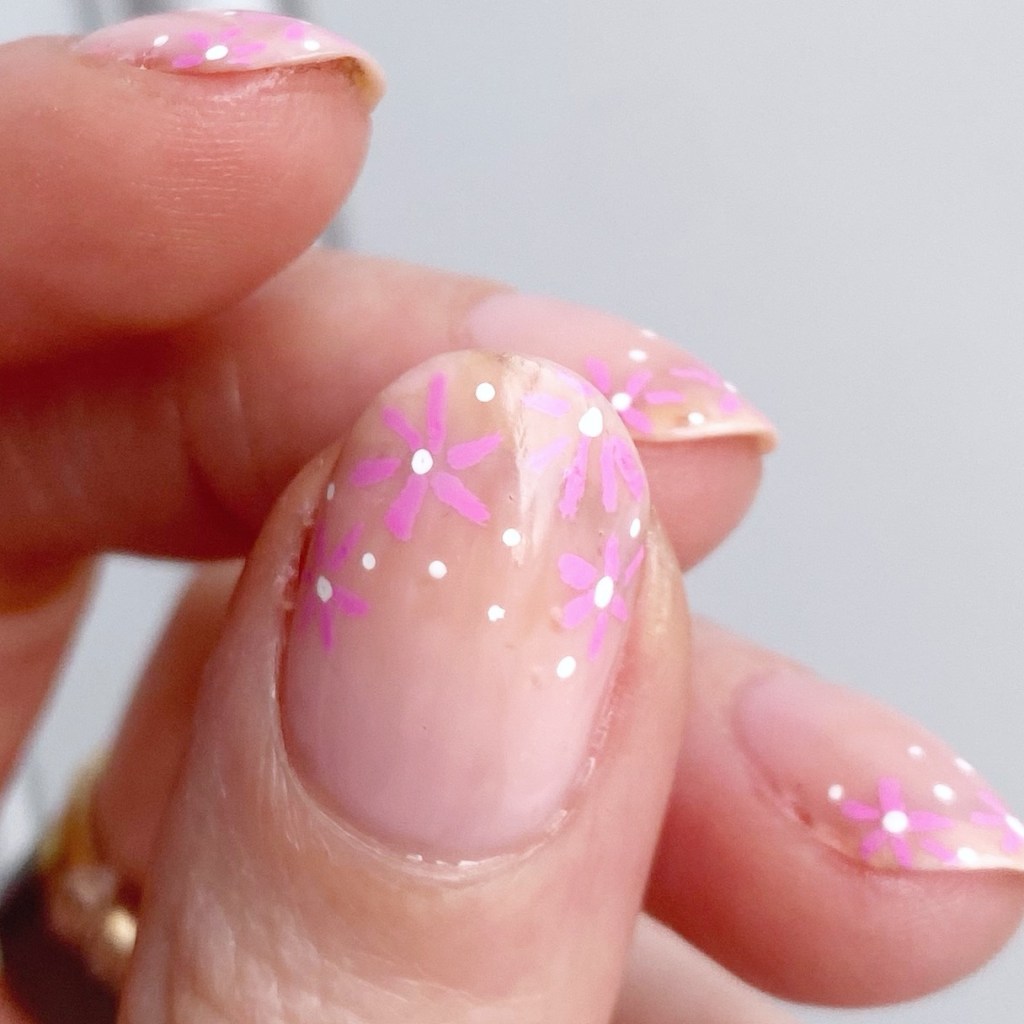
How pretty are these little floral tips? As soon as I saw this design, I knew I wanted to recreate it. & using my Madam Glam nail artist pens made it so incredibly easy too! But I like that they don’t look too easy, & I love that.

You definitely need to check out all the amazing nail artists that participated in this collab:
•@raikasnails
•@blunki_nails
•@nutshellnails
•@neeles_nails
& shout out to @neeles_nails who organized us all together to give this special birthday shout out to Brydie!
Enjoy your Saturday!
🌸