Happy Monday lovelies & a long weekend Holiday Monday at that! Going to try & make up for my lack of posts last week with a few extra this week (after a crazy last week at work with back-to-school).
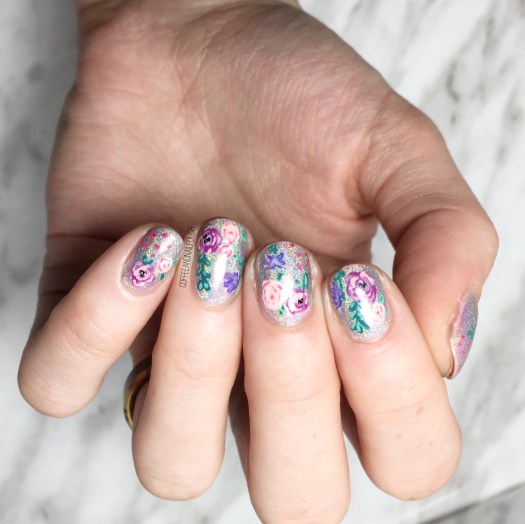
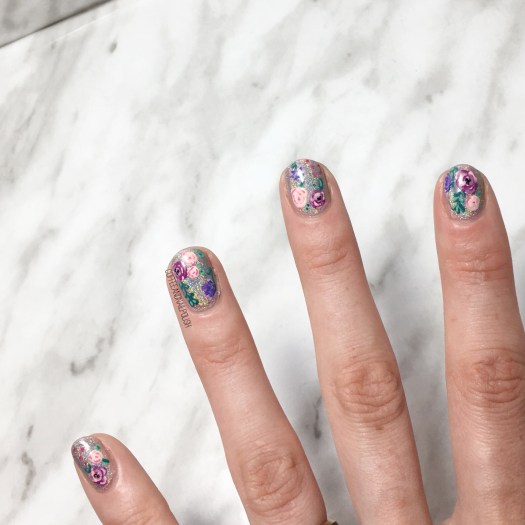
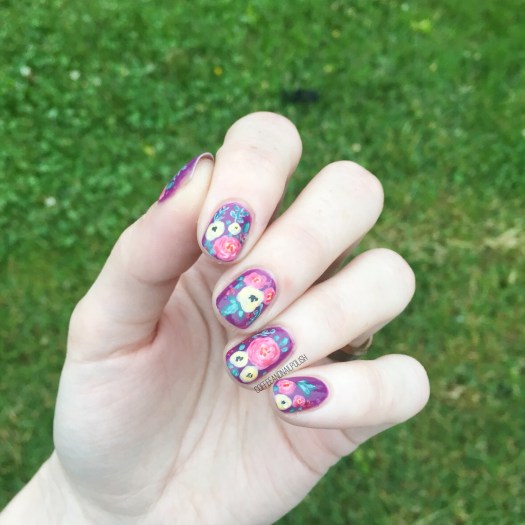
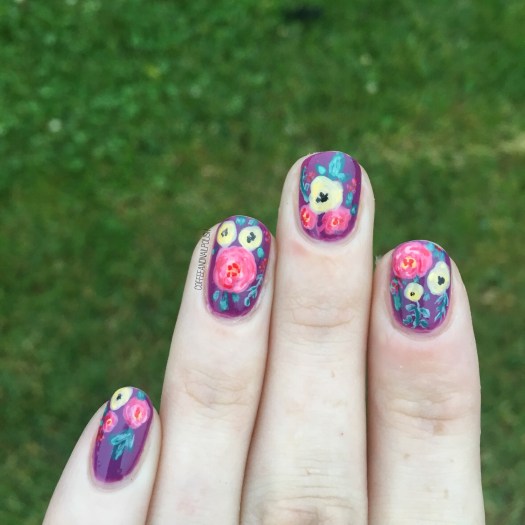
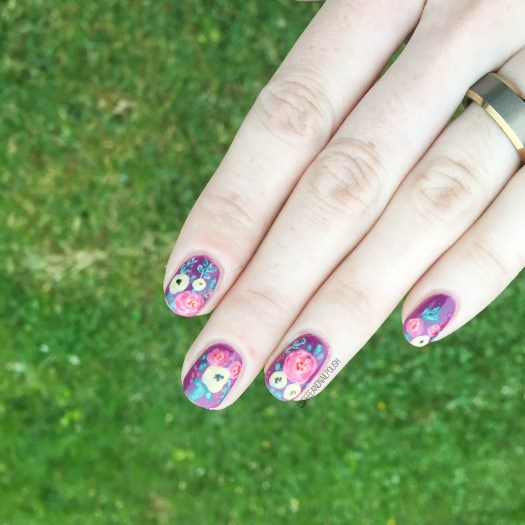
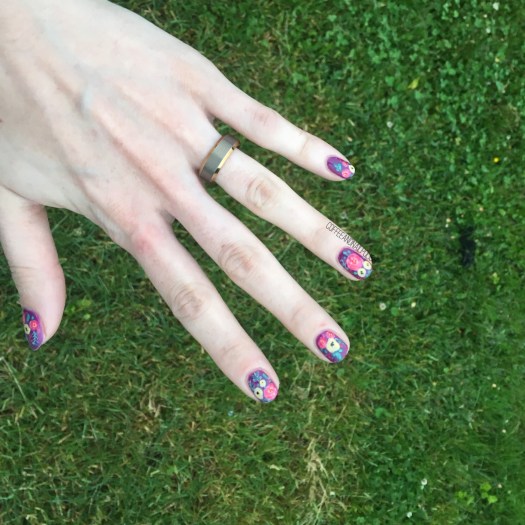
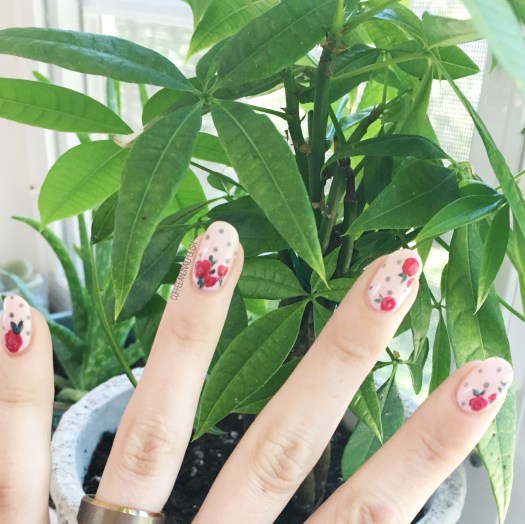
First up is a nail design I wore to a wedding this past weekend. Obviously, I had to do roses & I decided to add it a few polka dots as well. To me, this design kind of looks like wallpaper, but like cute wallpaper. & I absolutely love how they turned out. But then again, when have I ever not been happy with floral on my nails!


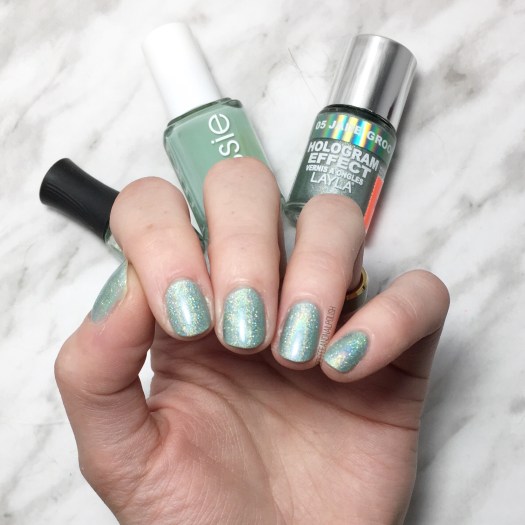
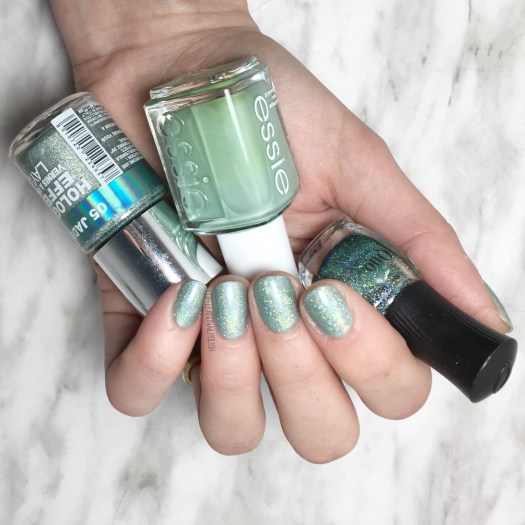
For this manicure, the polishes I used were:
- Base Coat: OPI Nail Envy
- Top Coat: Essie Speed Setter
- ACO by Ardene Flawless
- Essie A List
- Essie Peach Daiquiri
- Essie Cute As A Button
- Quo by ORLY the Antidote
- Essie Off Tropics
- Essie Sew Psyched
- Essie Absolutely Shore
- ACO by Ardene Day Dreamer
- Medium & Small Sized dotting tool
- NailStuff.ca Mermaid Tail Brush
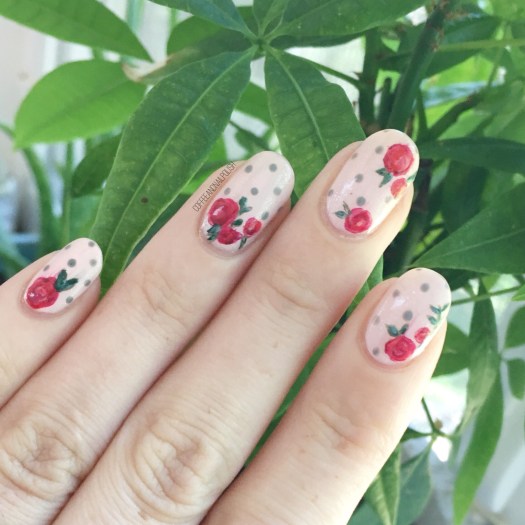
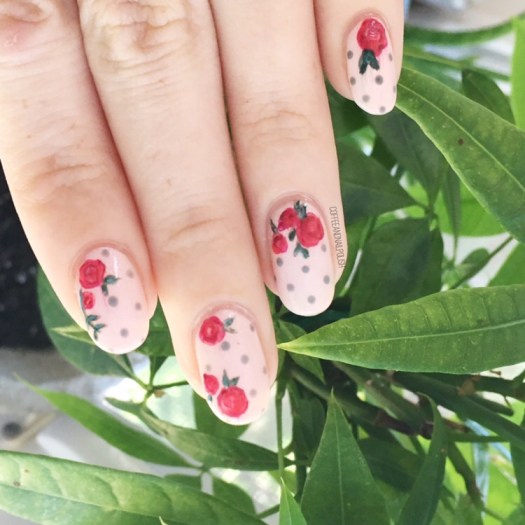
This look turned out so perfectly, just how I imagined in my head. They were the perfect nail art look for attending a wedding, actually ended up matching the dress that I wore which also had roses all over it. Not going to lie, I totally picked my dress because it matched so well with my nails!
what do you think of this nail art look? Do you have a go-to wedding look for your nails?
Have a happy Monday lovelies! ♥️