Rustic Floral Pattern Nails

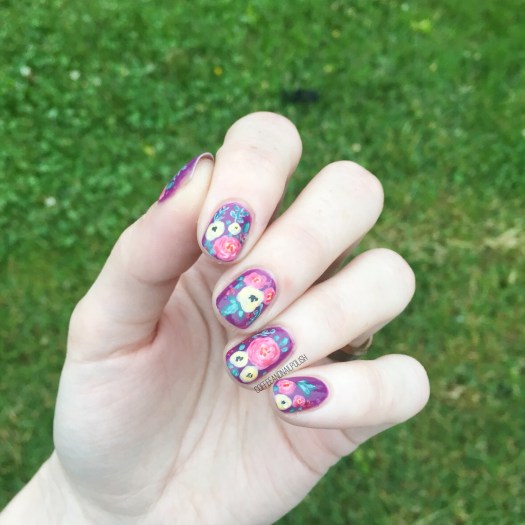
Can you never have too many floral manicures in your life? Personally, I don’t think so. We all know how much I adore flowers–from clothes, to shoes, to cellphone cases to my nails, I can never have enough! Recently I found a Rifle Paper Co. phone case at Winners on payday, so I decided to attempt to recreate said pattern on my nails.

My attempt definitely turned out a little more rustic than its inspiration, but I think that is why I love the end result so much!
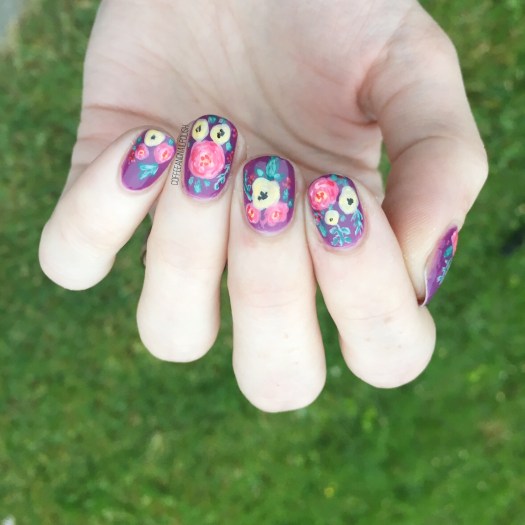
For this manicure, the polishes I used were:

  • Base Coat: OPI Nail Envy
  • Top Coat: Essie Gel Setter
  • Boho Green Make Up Moonlight
  • Quo by ORLY Breathable Pep in my Step
  • Sally Hansen Miracle Gel Pretty Piggy
  • Sally Hansen MG Pretty Peony
  • Sally Hansen MG Off the Shoulder
  • Essie A-List
  • China Glaze Sun Upon My Skin
  • China Glaze Metro Pollen-tin
  • YSL Vert D’Orient
  • Sally Hansen Insta-dri Thyme is Money
  • Essie First Timer
  • Sally Hansen I ♥️ Nail Art pen in Black
  • Bundle Monster detail brush

I’m kind of excited for Summer because it means I can change up my backgrounds & use outside. How lush does this design look with green grass in the background? Definitely throwing my pictures back to my pre-light-box days with these photos & I’m loving it! Seriously, staged photos are awesome but something about natural light makes your manicures look that much better.
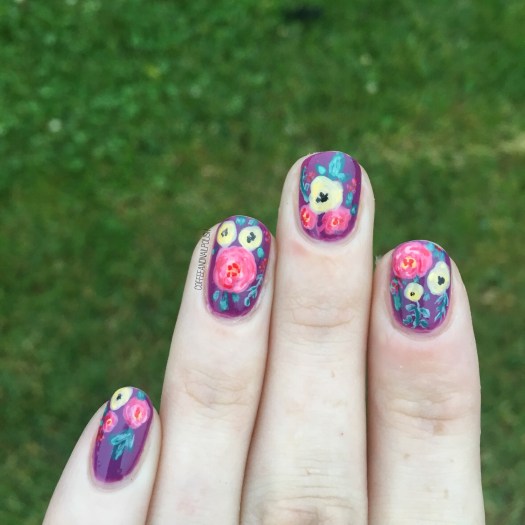
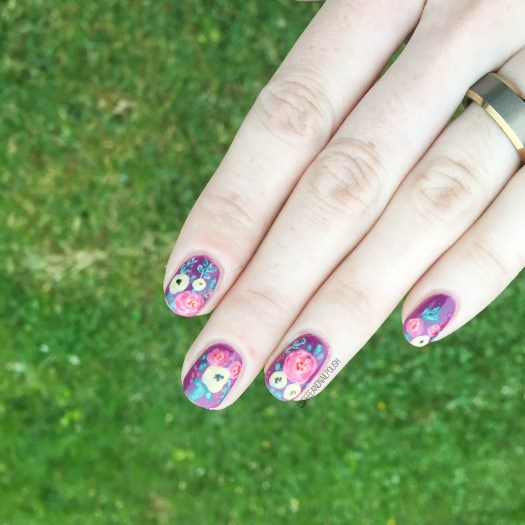
If that doesn’t say Summer, I don’t know what else does! Also I’m never, ever going to get sick of doing floral. Never. How could you ever get sick of something so pretty! Hence why I keep filling my closet with more & more floral clothing pieces. The obsession continues! 🌿🌼🌱
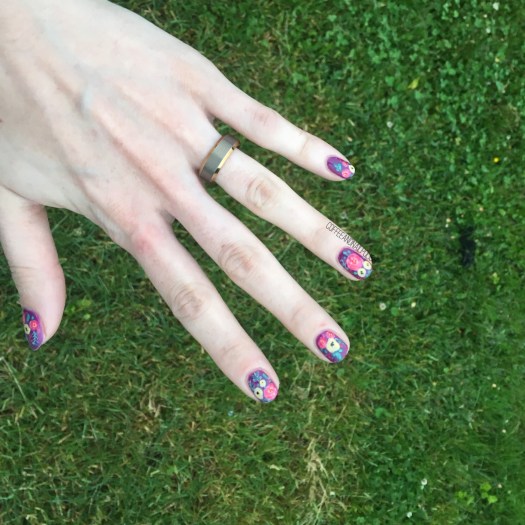
what do you think of this design? Are you feeling Summery? Leave a comment down below & let me know!

SWATCH SUNDAY— Crafting a Layered Green Holo

Happy Swatch Sunday lovelies!

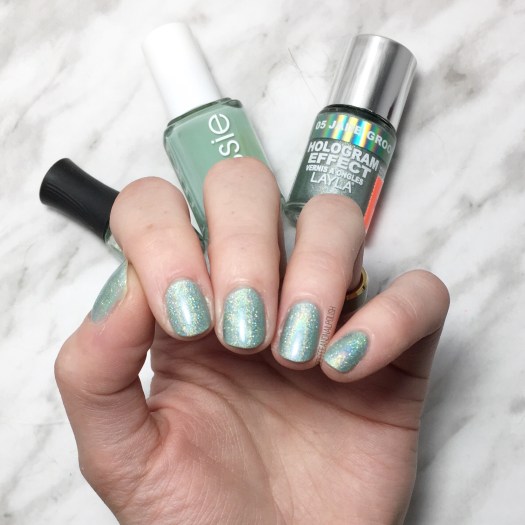
Today is a bit of a different post for me–instead of featuring single polishes on their own today, I’m showing off 3 polishes layered together to create one amazing look!

I’ve been really loving layering polishes together–it’s similar to creating franken shades only instead of mixing everything together, your layering one on top of another. Obviously this could only really work with layering more sheer shades over more opaque ones (which works well with a lot of the Layla Cosmetics hologram effect polishes I own.)

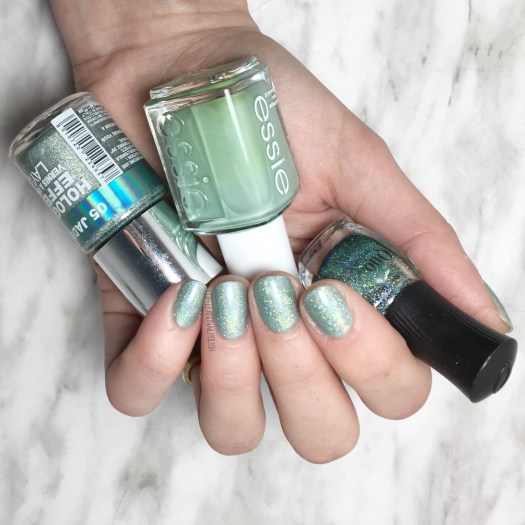
For this particular look I started with 2 base coats of Essie Turquoise & Caicos & then layered a coat of Layla Cosmetics Jade Groove over top. I’ve worn this Holo on its own but found it didn’t have enough of a green/mint pop to it on the nail. By adding some undies, it really showed off the colour I wanted. & then, because I’m absolutely Holo obsessed right now I finished off with a layer of Quo by ORLY Trash Glam (aka. ORLY Sparkling Garbage for my non-Canadian friends!) The end result is a whole lot of holo happening on the nail.

Seriously, this is a distracting amount of sparkle happening on the nail. In the sunshine, it was actually incredible how many rainbows you could see.

I love how you get the linear holo from Jade Groove but then the scattered holo from Trash Glam picks up the light too & it’s absolutely memorizing! I definitely need to find a linear holo top coat so I can transform every polish I own into a Holo Polish too! Let me know what your favourite ones are!

I hope everyone had an amazing Sunday. 💚✨

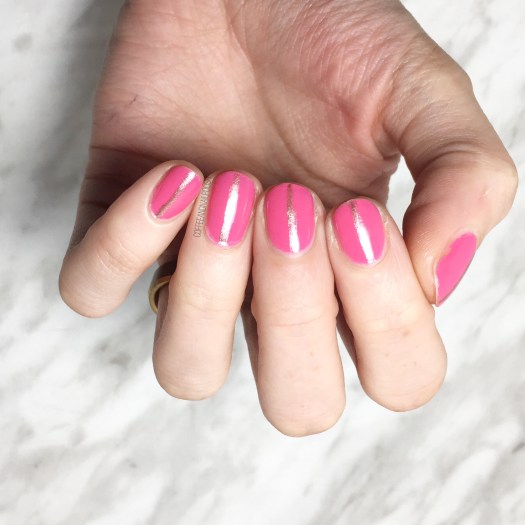
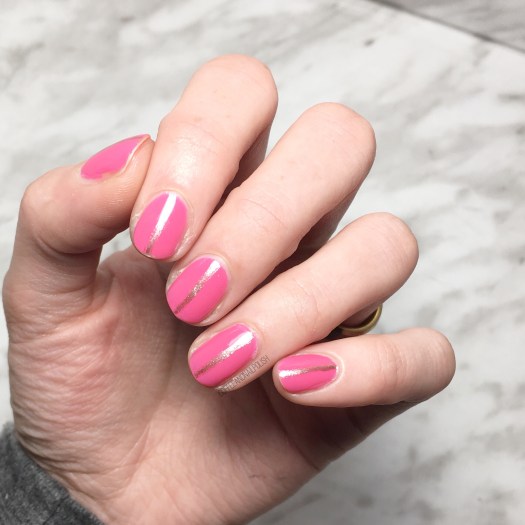
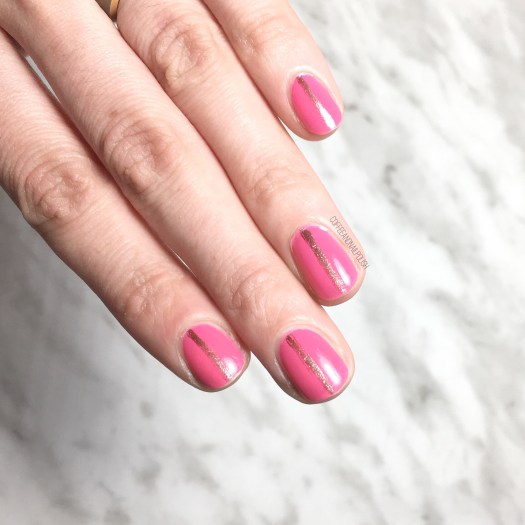
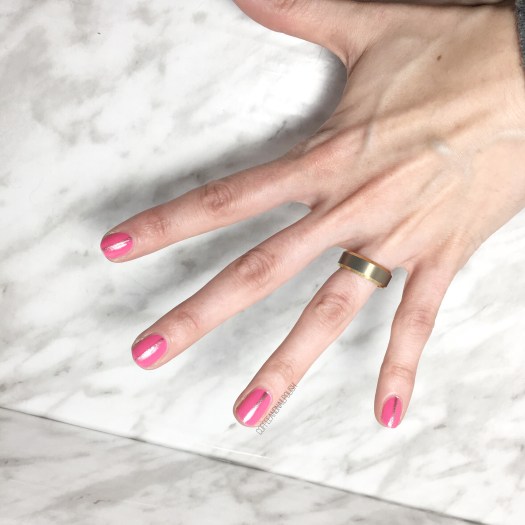
Gold Lines & Pretty Pink Nails

Happy Friday lovelies! I hope you’re all excited for the weekend as much as I am! Today I’m sharing a design I was actually wearing the last couple days. I’m in a bit of a nail art rut right now, so I decided to add something simple to my pretty pink nails.

I’ve also been wearing my Quo by Orly shade polishes as my nails have been in super rough shape (hence why my nails have been trimmed down… again). I decided some gold lines might make my nubs look slightly longer, so I freehanded them over top. A simple design, but enough of a pop for me!

For this design, the polishes I used were:

  • Base Coat: Quo by ORLY Breathable Kiss Me I’m Kind
  • Top Coat: Essie Speed Setter
  • Quo by ORLY Breathable Pep in Your Step
  • Quo by ORLY Breathable Fairy Godmother
  • Bundle Monster small detail brush

This gorgeous pink from Quo by ORLY has to be one of my favourites from the Breathable line. In fact, I added it to my toes at the same time! I’ve raved in the past just how much I adore this polish line because it’s designed to help the health of your nails. & trust me–I need it! Between boxes of stock & hand sanitizer, I’ve been finding I’m having so much trouble keeping my nails healthy. I’m upping my moisturizer & oil routine, but even still I need a little extra help & this polish is a god send!

Plus thanks to all the cute colours in my stash, I can create lots of cute nail art looks too!

what are you wearing on your nails for the weekend? Let me know in the comments below!

Quick & Easy Abstract Stripes

Hello lovelies… it’s been a moment!

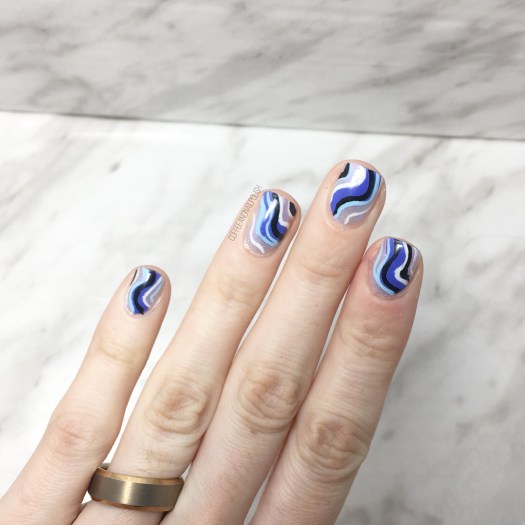
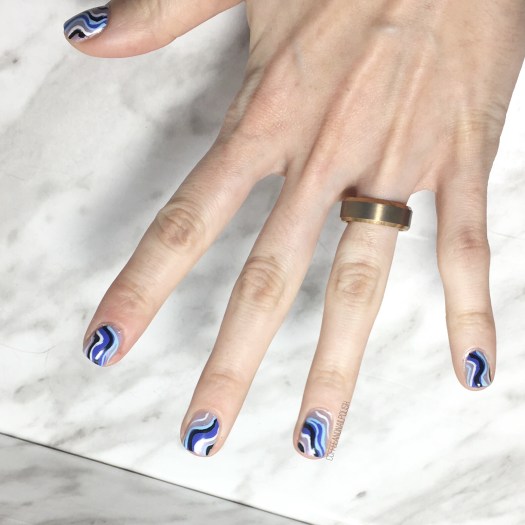
Today I’ve got some fun abstract stripes to share with you. This is one of my favourite easy designs to do when I’m struggling with inspiration. I recently picked up a few new polishes from Icing so I decided to grab them as the main polishes of choice. If you’ve been around this blog a while, you know that while I adore my big brands, there is something wonderful about polishes from non-cosmetic brands–stores like Ardene, Claires, Icing & H&M have some serious awesome polishes with awesome formulas! & even more awesome — they’re super affordable! So now that I’m back to work, I’ve been adding a lot more shades to my collection.

So I thought why not create a design using them as my feature shades!

For this manicure, the polishes I used were:

  • Base Coat: Nailtek 2
  • Top Coat: Essie Speed Setter
  • Icing 60858 Light Blue Shimmer
  • Icing Matte Effect 85900
  • Art Club Nail Art Striper in Blue Paisley
  • Quo by Orly Nail Art Striper in white
  • Quo by Orly Nail Art Striper in black

I just love how this design turned out. I wore these to work & got quite a few compliments on them! I feel like I know a design turned out well if random strangers are complimenting them (&asking if I did them myself!) That’s always a huge compliment to me!

Also this blue shade is definitely fitting in with the rainy weather outside. Blue abstract stripes always give me water vibes.

What do you think of these abstract stripes? Share you favourite quick & easy nail art design down below!

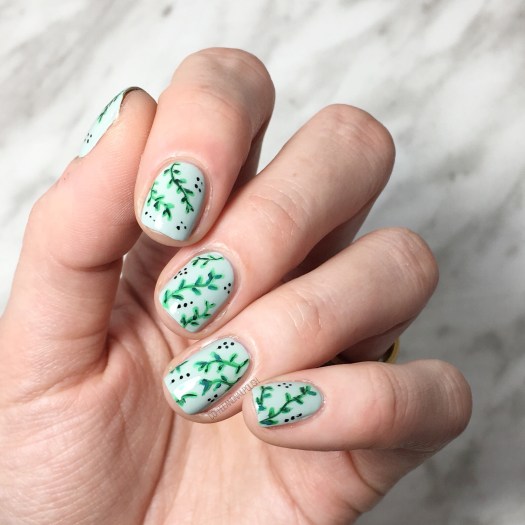
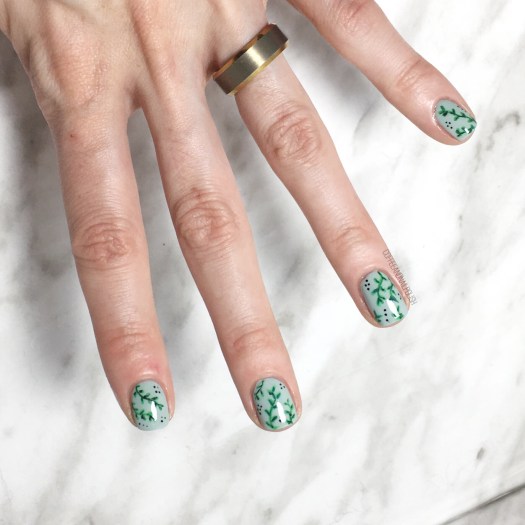
Vine Nail Art inspired by @ameliasaccount & @polishpeach

Happy Tuesday lovelies. Craving some serious greenery nails because Mother Nature decided to curse us with a whole ton of snow on Sunday… like 20cm of snow. So that’s fun! Just when it was starting to feel like Spring (for real) Mother Nature decided to ruin everything. That’s why I definitely needed something Spring-like on my nails.

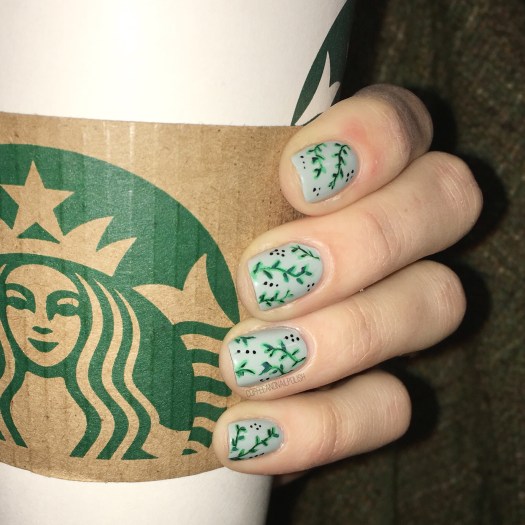
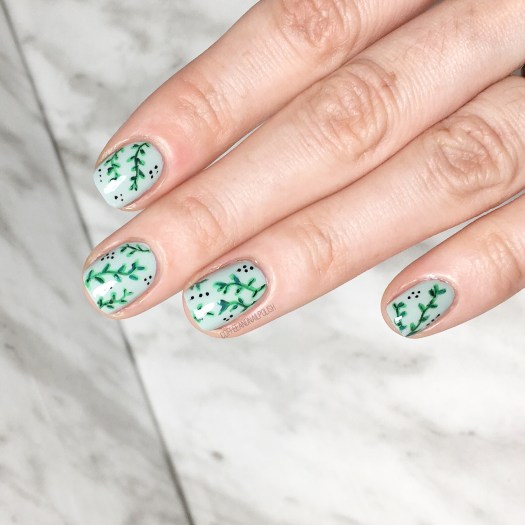
I’ve done this design once before, & it’s originally inspired by @ameliasaccount who was inspired by @polishpeach. Instead of a white base, I decided to go with a brand new polish I recently picked up at Shoppers Drug Mart called Thyme is Money. It’s a beautiful pale green that’s part of the newly formulate Insta-Dri line & holy is it ever lovely!

For this manicure, the polishes I used were:

  • Base Coat: Nailtek 2
  • Top Coat: Essie Gel Setter
  • Sally Hansen Insta-Dri Thyme is Money
  • Sally Hansen I ❤️ Nail Art pen in green
  • Quo by ORLY Second Hand Jade
  • YSL Beauty Vert D’Orient
  • Sally Hansen I ❤️ Nail Art pen in black
  • Small detail brush from Bundle Monster

Seriously, I can’t even begin to describe how much I love the outcome of these. Definitely achieved a much more delicate design versus my first attempt at this manicure. & the green of the leaves pop so well against the pale base polish.

I spent my Sunday off from work out shopping for new plants to fill our house with & I’m just loving the look of fresh greenery in every room. We’re trying to find the perfect hanging plant/vines for in the living room, but in the mean time at least I can enjoy them on my nails.

Here’s hoping that these nails inspired Mother Nature to get her act together. After all, nobody wants to deal with shoving the driveway when they would much rather be basking in the mildly pleasant Spring sunshine. Here’s hoping the snow will be melted in a few short days, & I can go back to wearing flats & the occasional Spring dress.

What do you think of my version of the vine design? Have you tried this shade from Sally Hansen yet? Let me know all your thoughts in the comments below!