Simple Rose Accent Nails

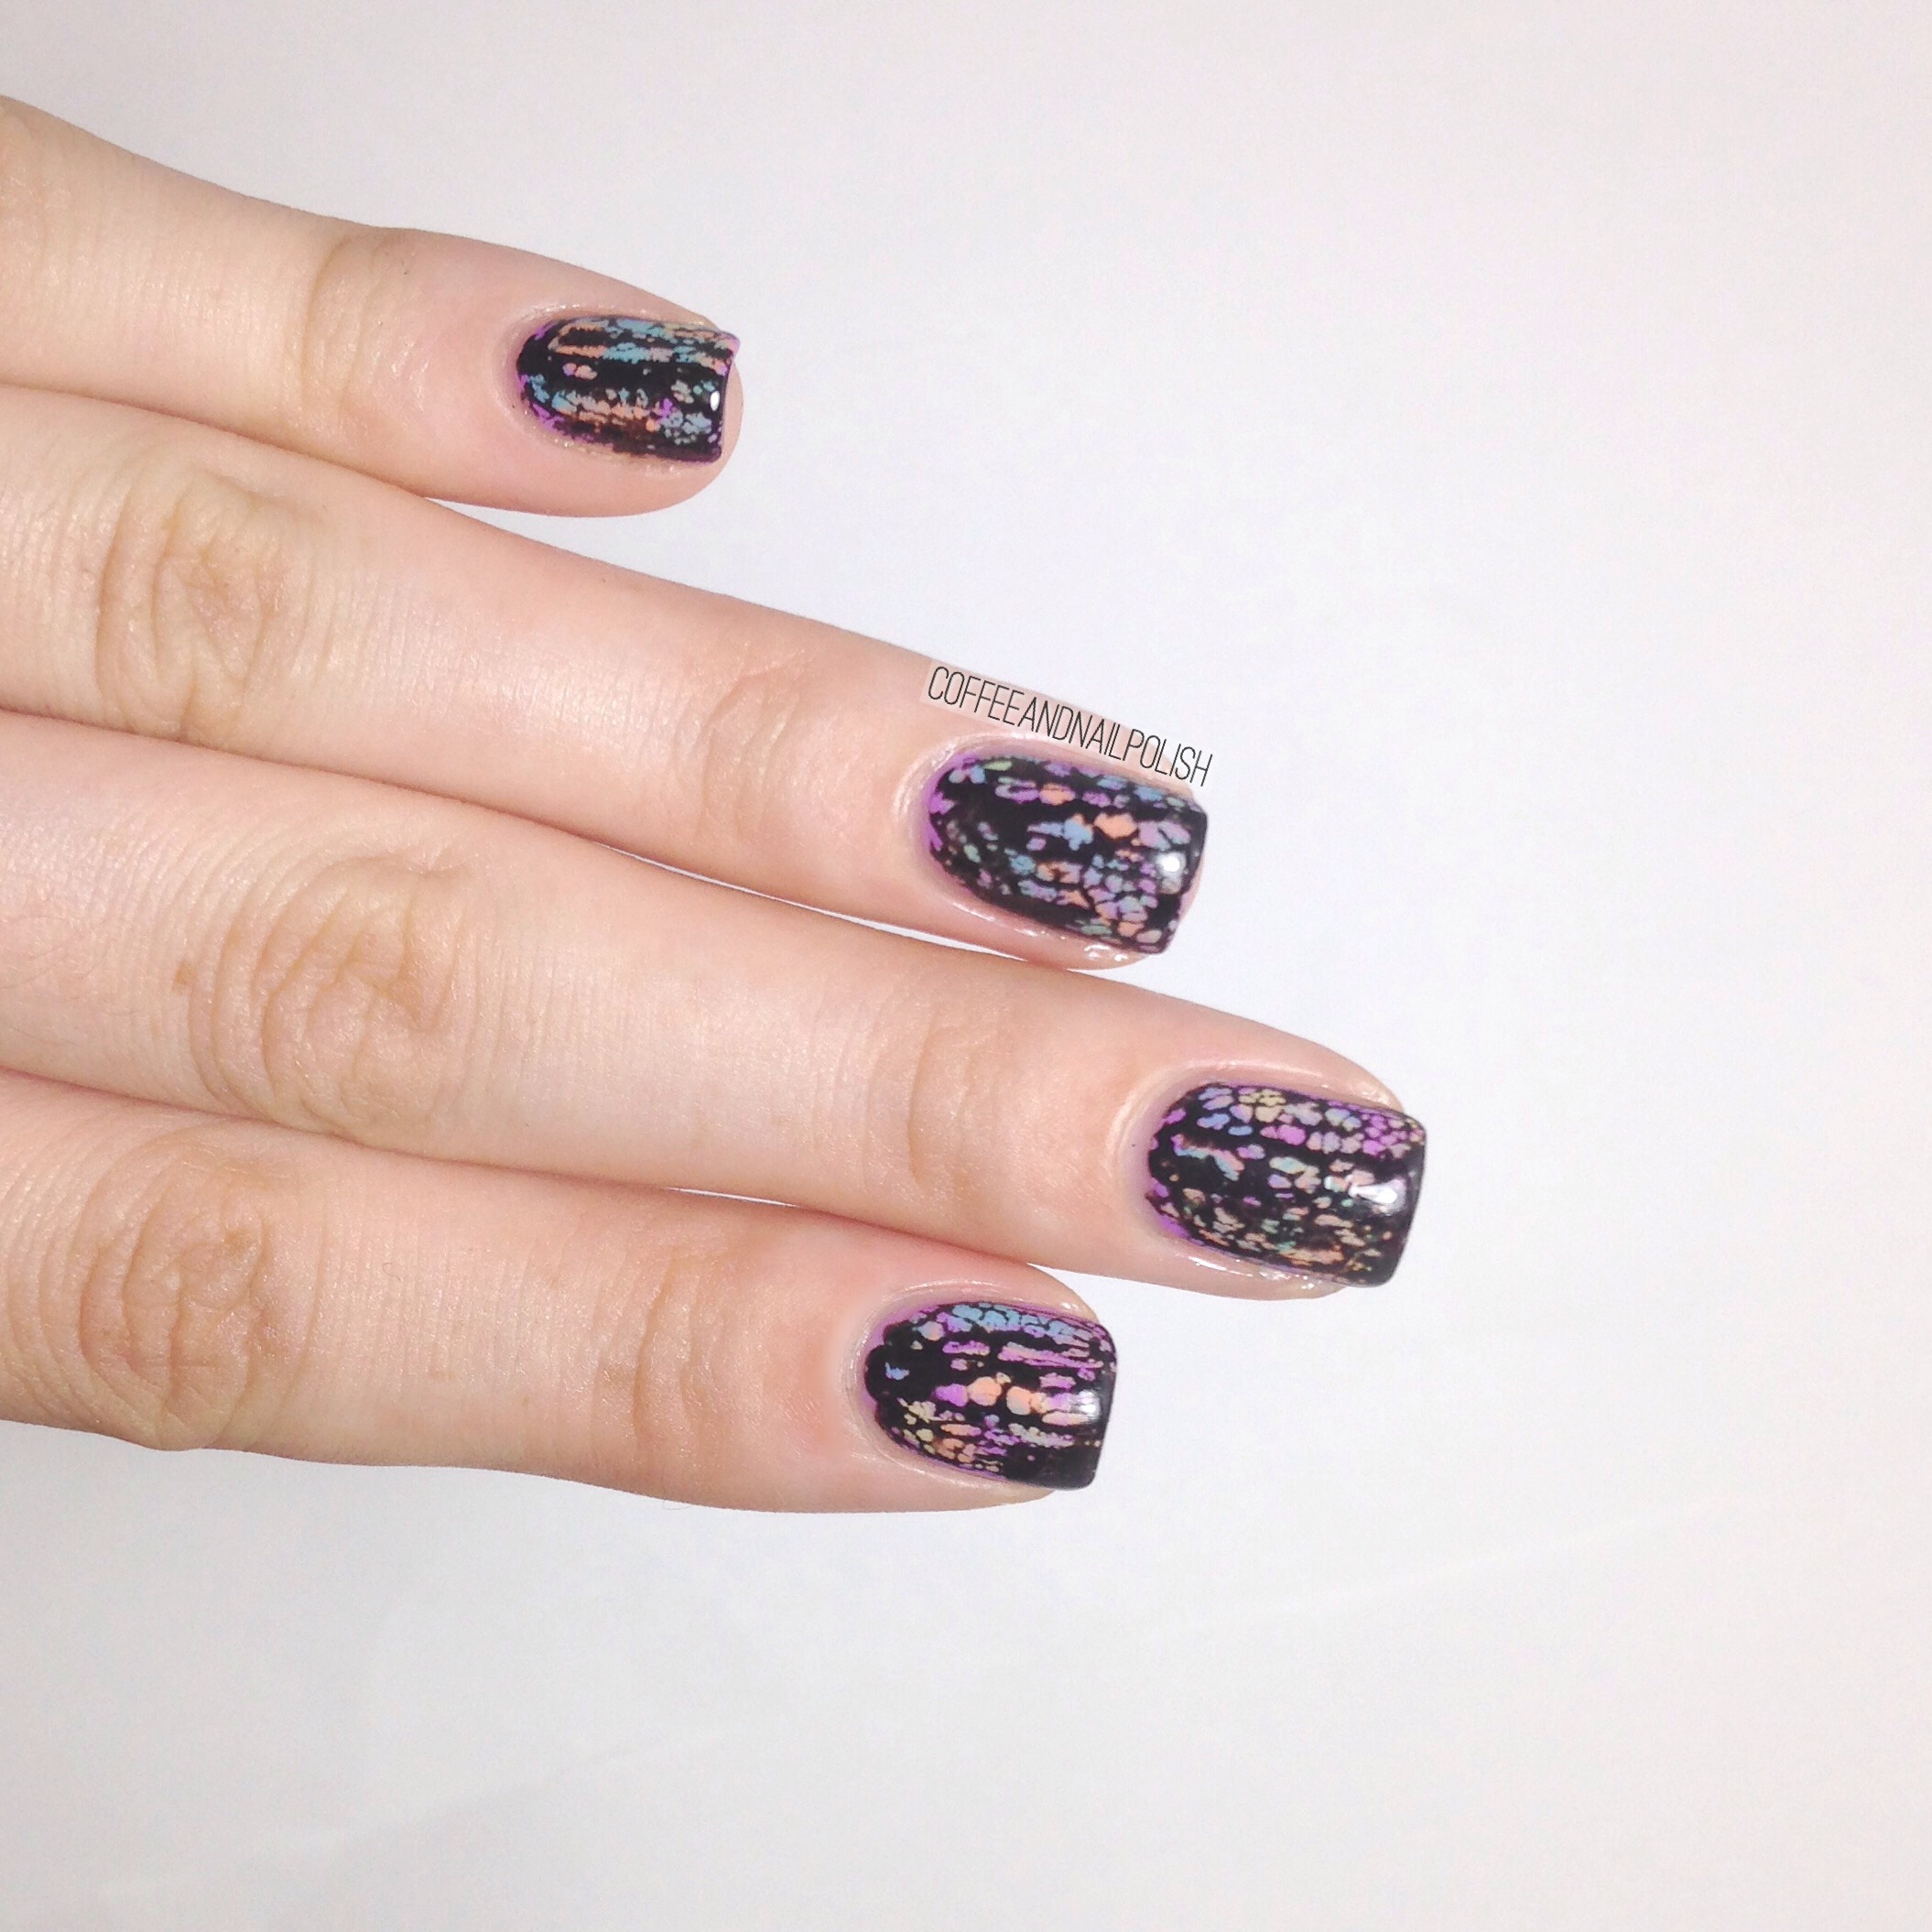
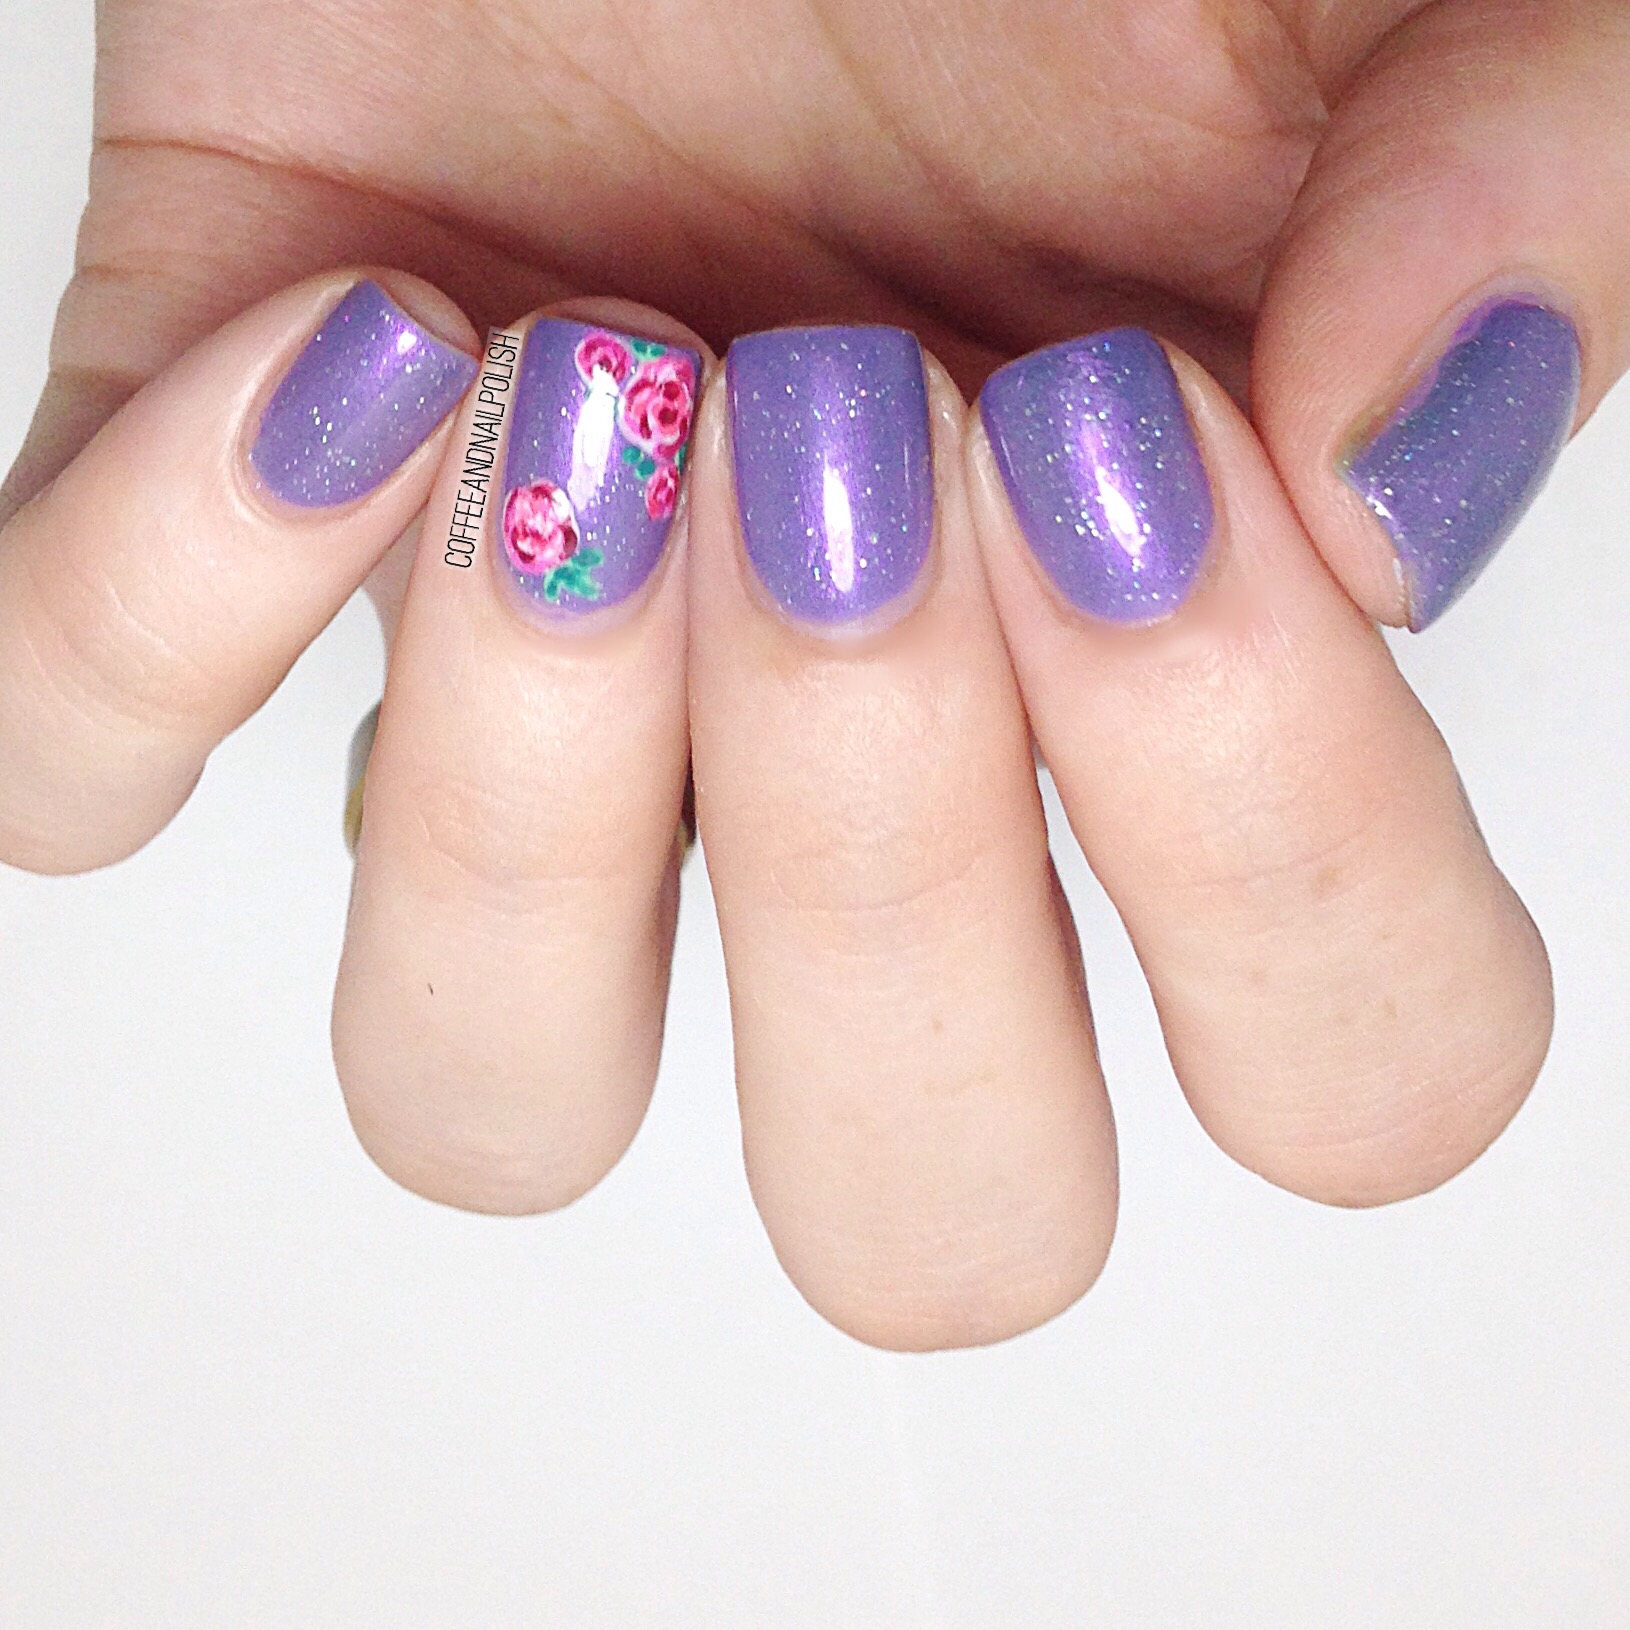
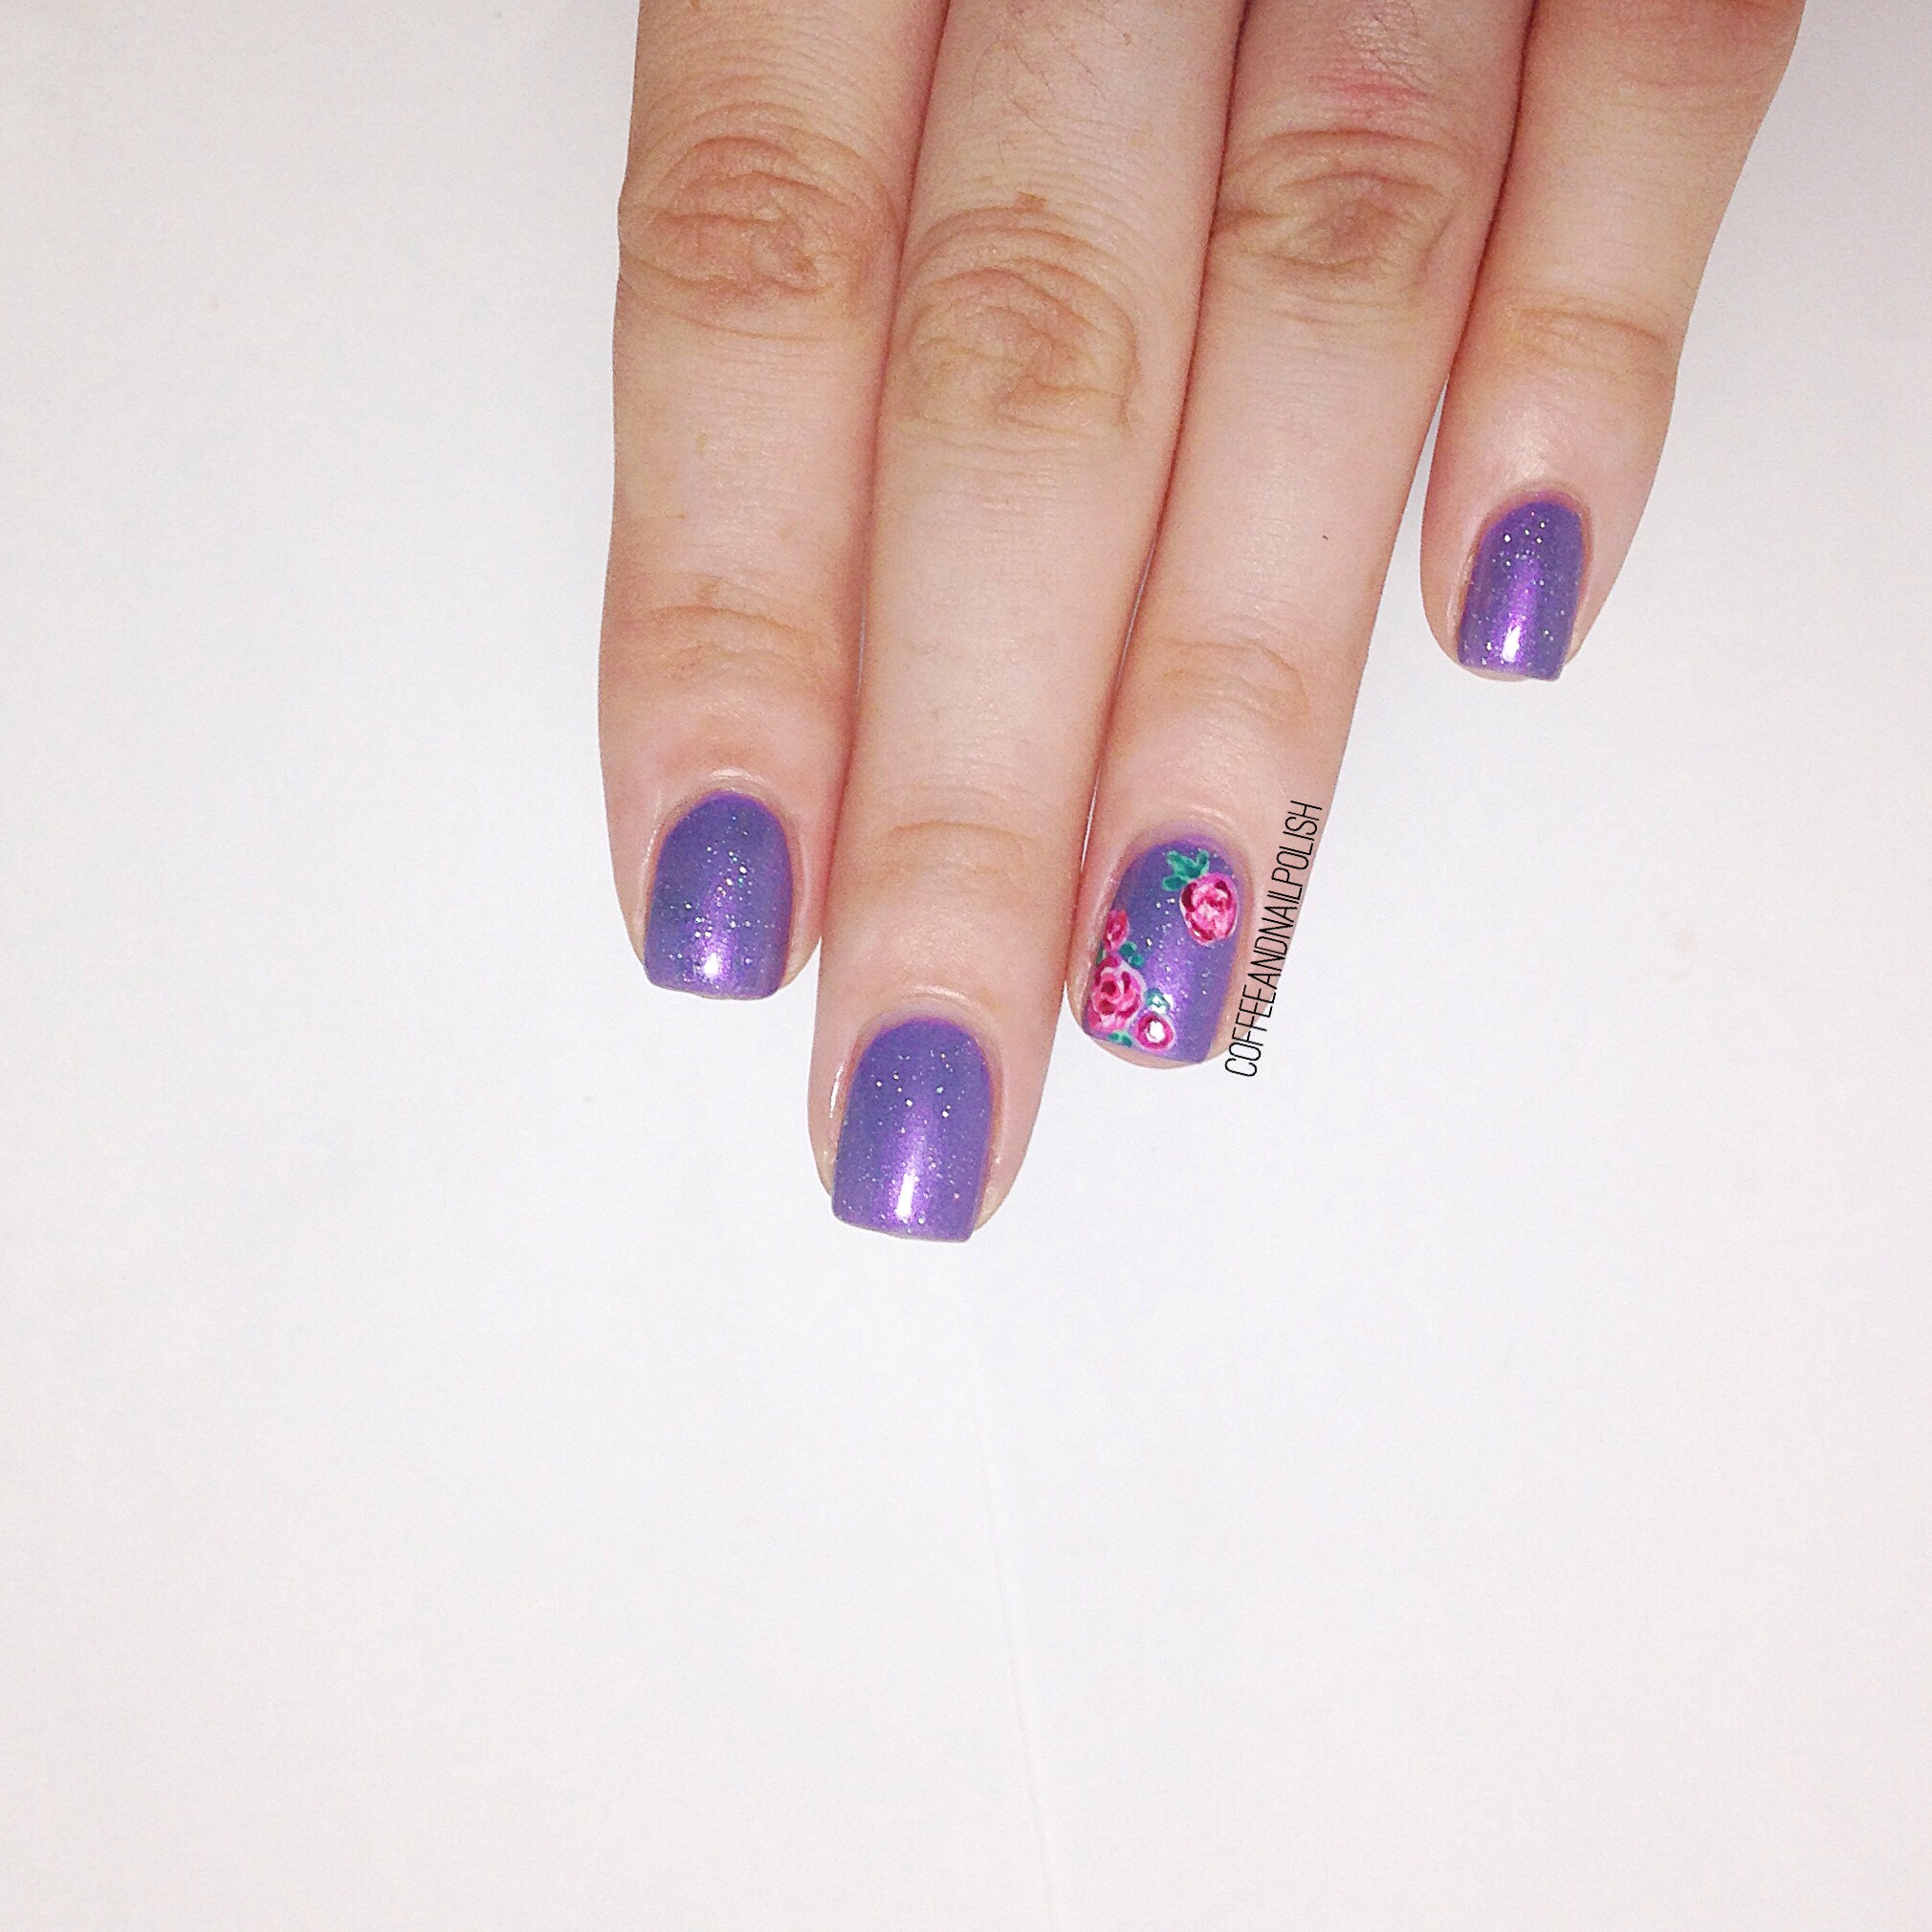
Sometimes a polish is so pretty, it doesn’t need much in tens of nail art. That’s how I felt about the combo of CND Vinylux in Dazzling Dance & Nicole by OPI Love Song. It looked so dang pretty on its own I didn’t want to ruin it by overwhelming it with too much. So what would be the perfect simple nail art? Roses of course! 

For this manicure I used:

  • Base Coat: Perfect Formulas Pink Gel Coat
  • Top Coat: Cutex Quick Dry Top Coat
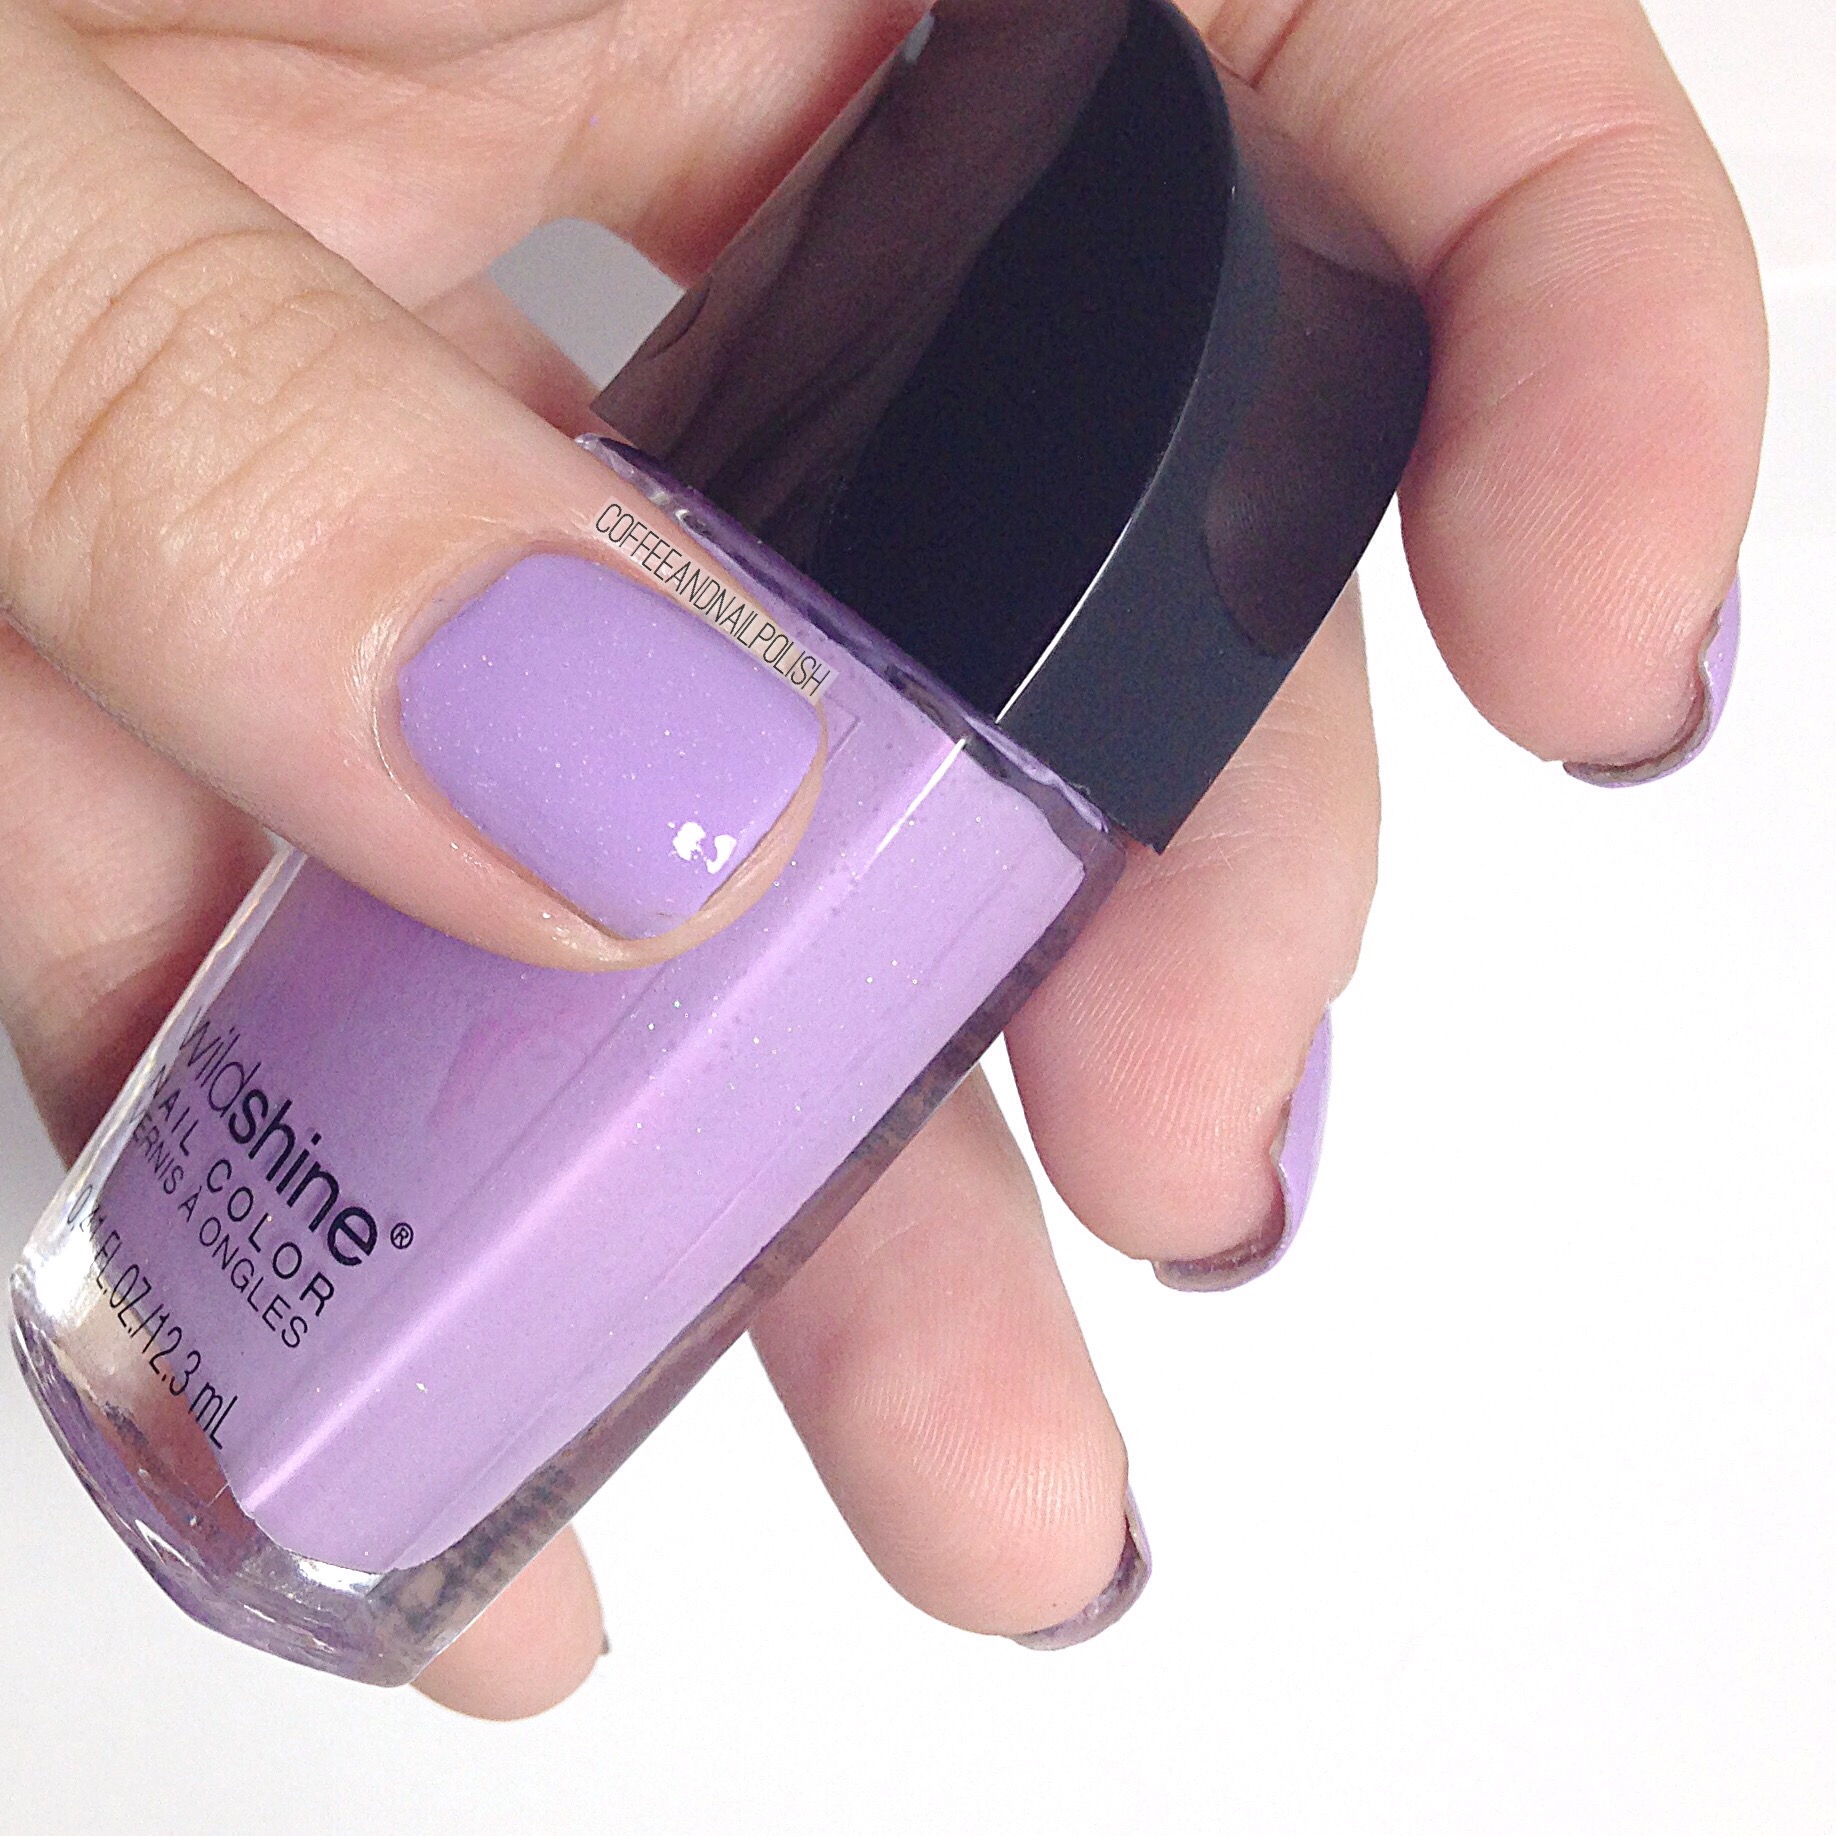
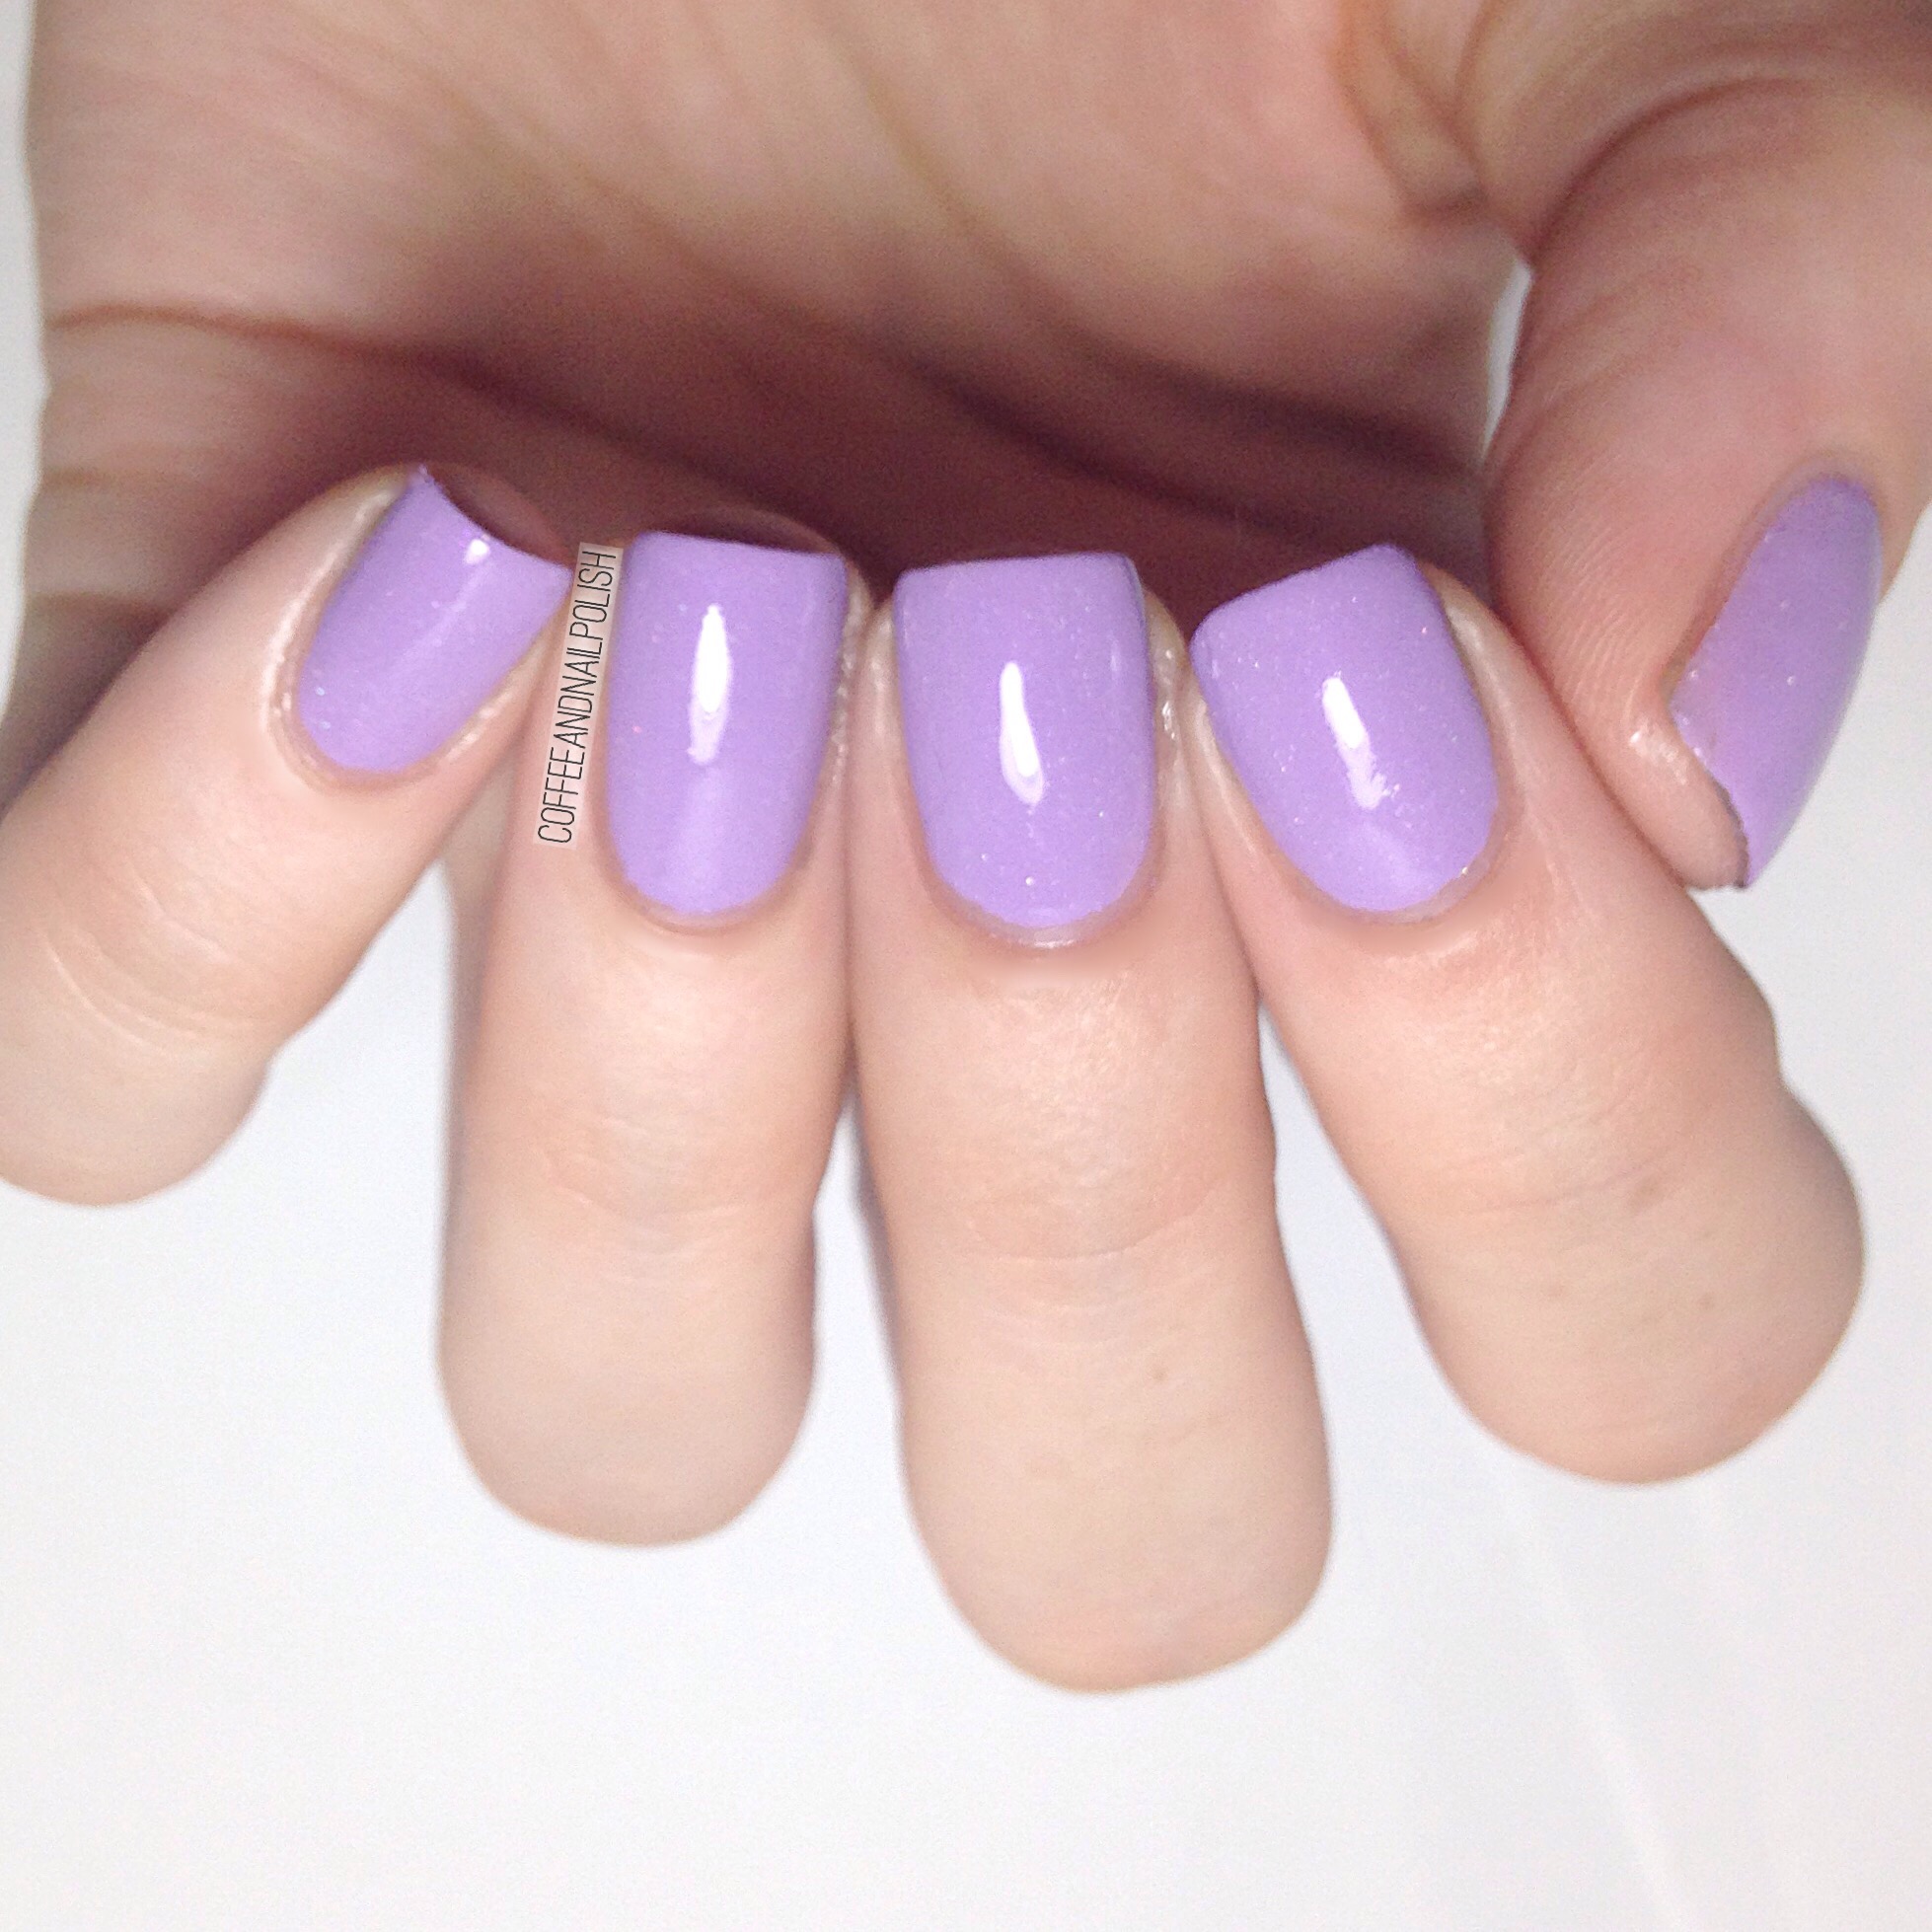
  • CND Vinylux Dazzling Dance
  • NOPI Love Song
  • Sally Hansen Miracle Gel Pretty Peony 
  • Sally Hansen Miracle Gel Bourbon Belle 
  • Essie Brides No Grooms
  • Essie First Timer
  • Sally Hansen X-treme Wear Kiwi Bikini
  • Dotting Tool from Bundle Monster
  • Small Nail Art Brush from Bundle Monster 

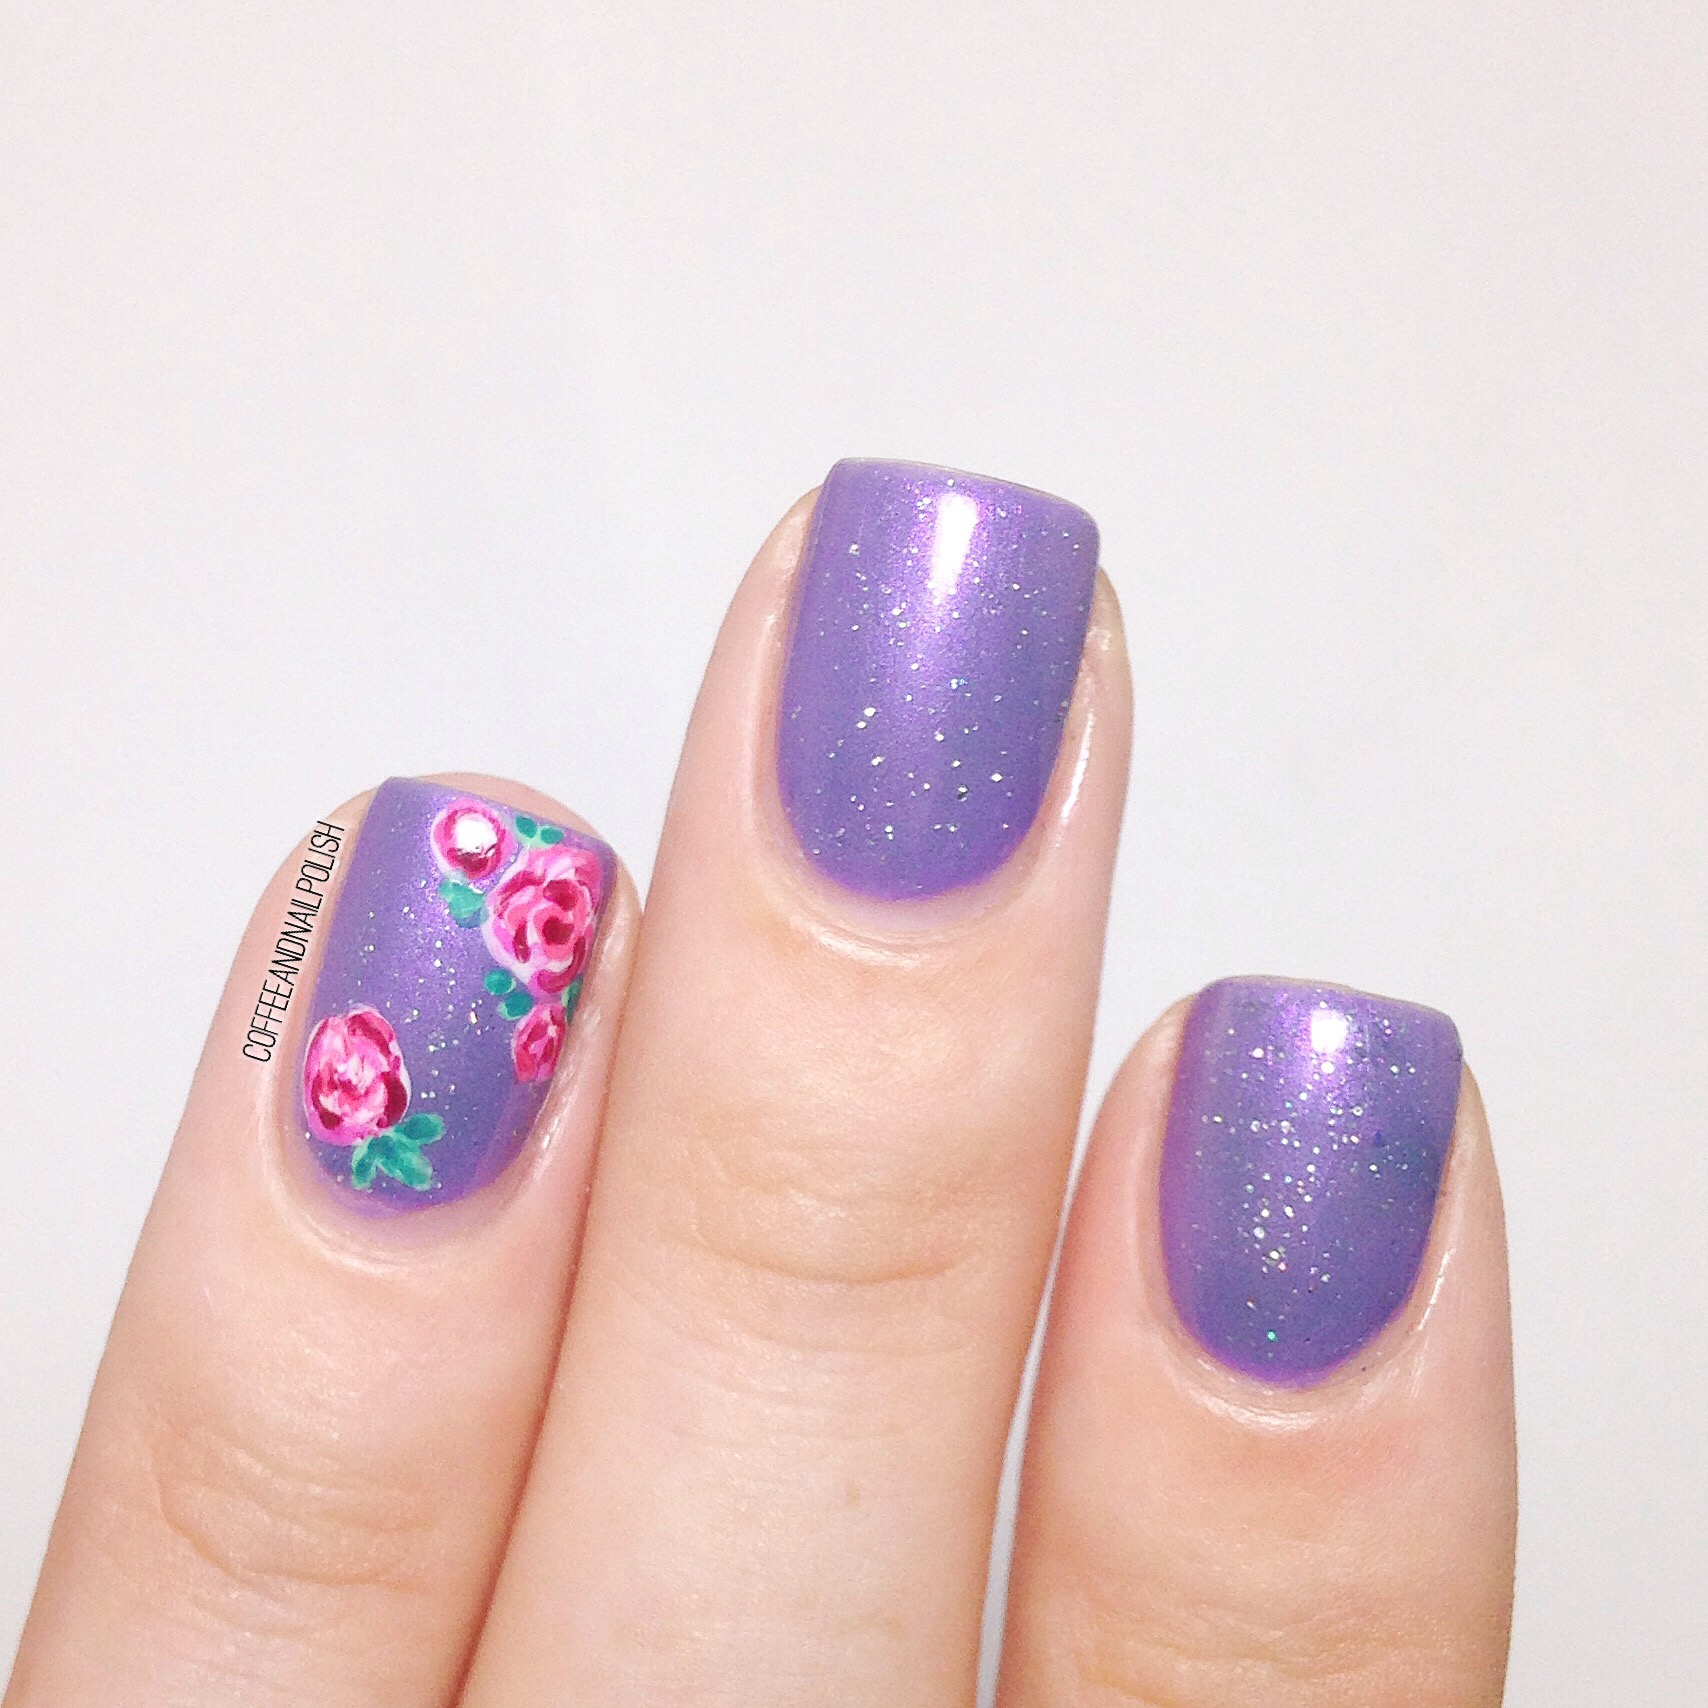
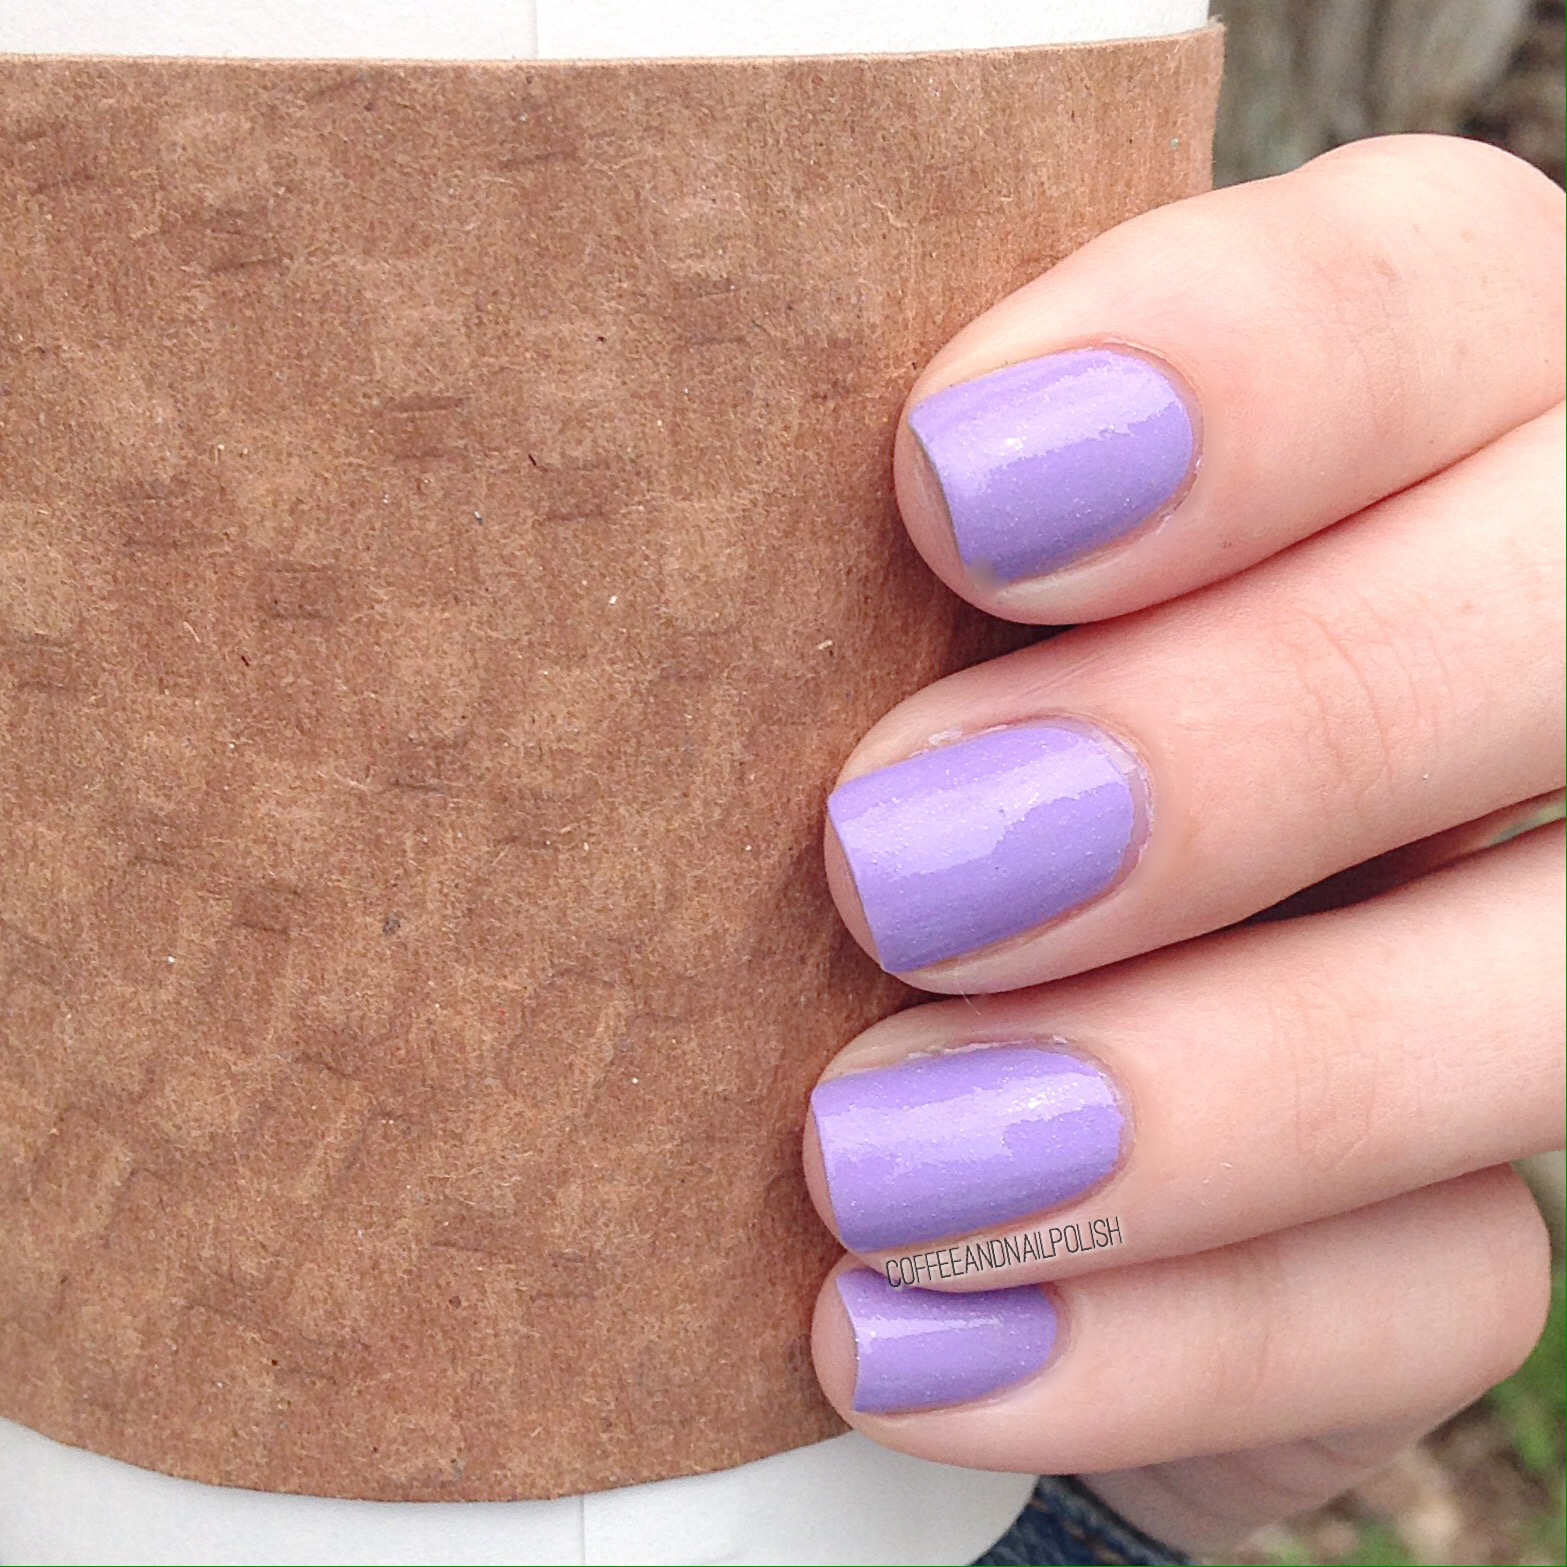
First off, check out the holo glitter in Dazzling Dance! I’ve worn this polish before a couple years ago, but without any undies & it took way too many coats (4+ with visible nail line.) So undies we’re necessary. I picked out NOPI Love Song to bring out the purple undertones. I bet a gray base would be beautiful too. 

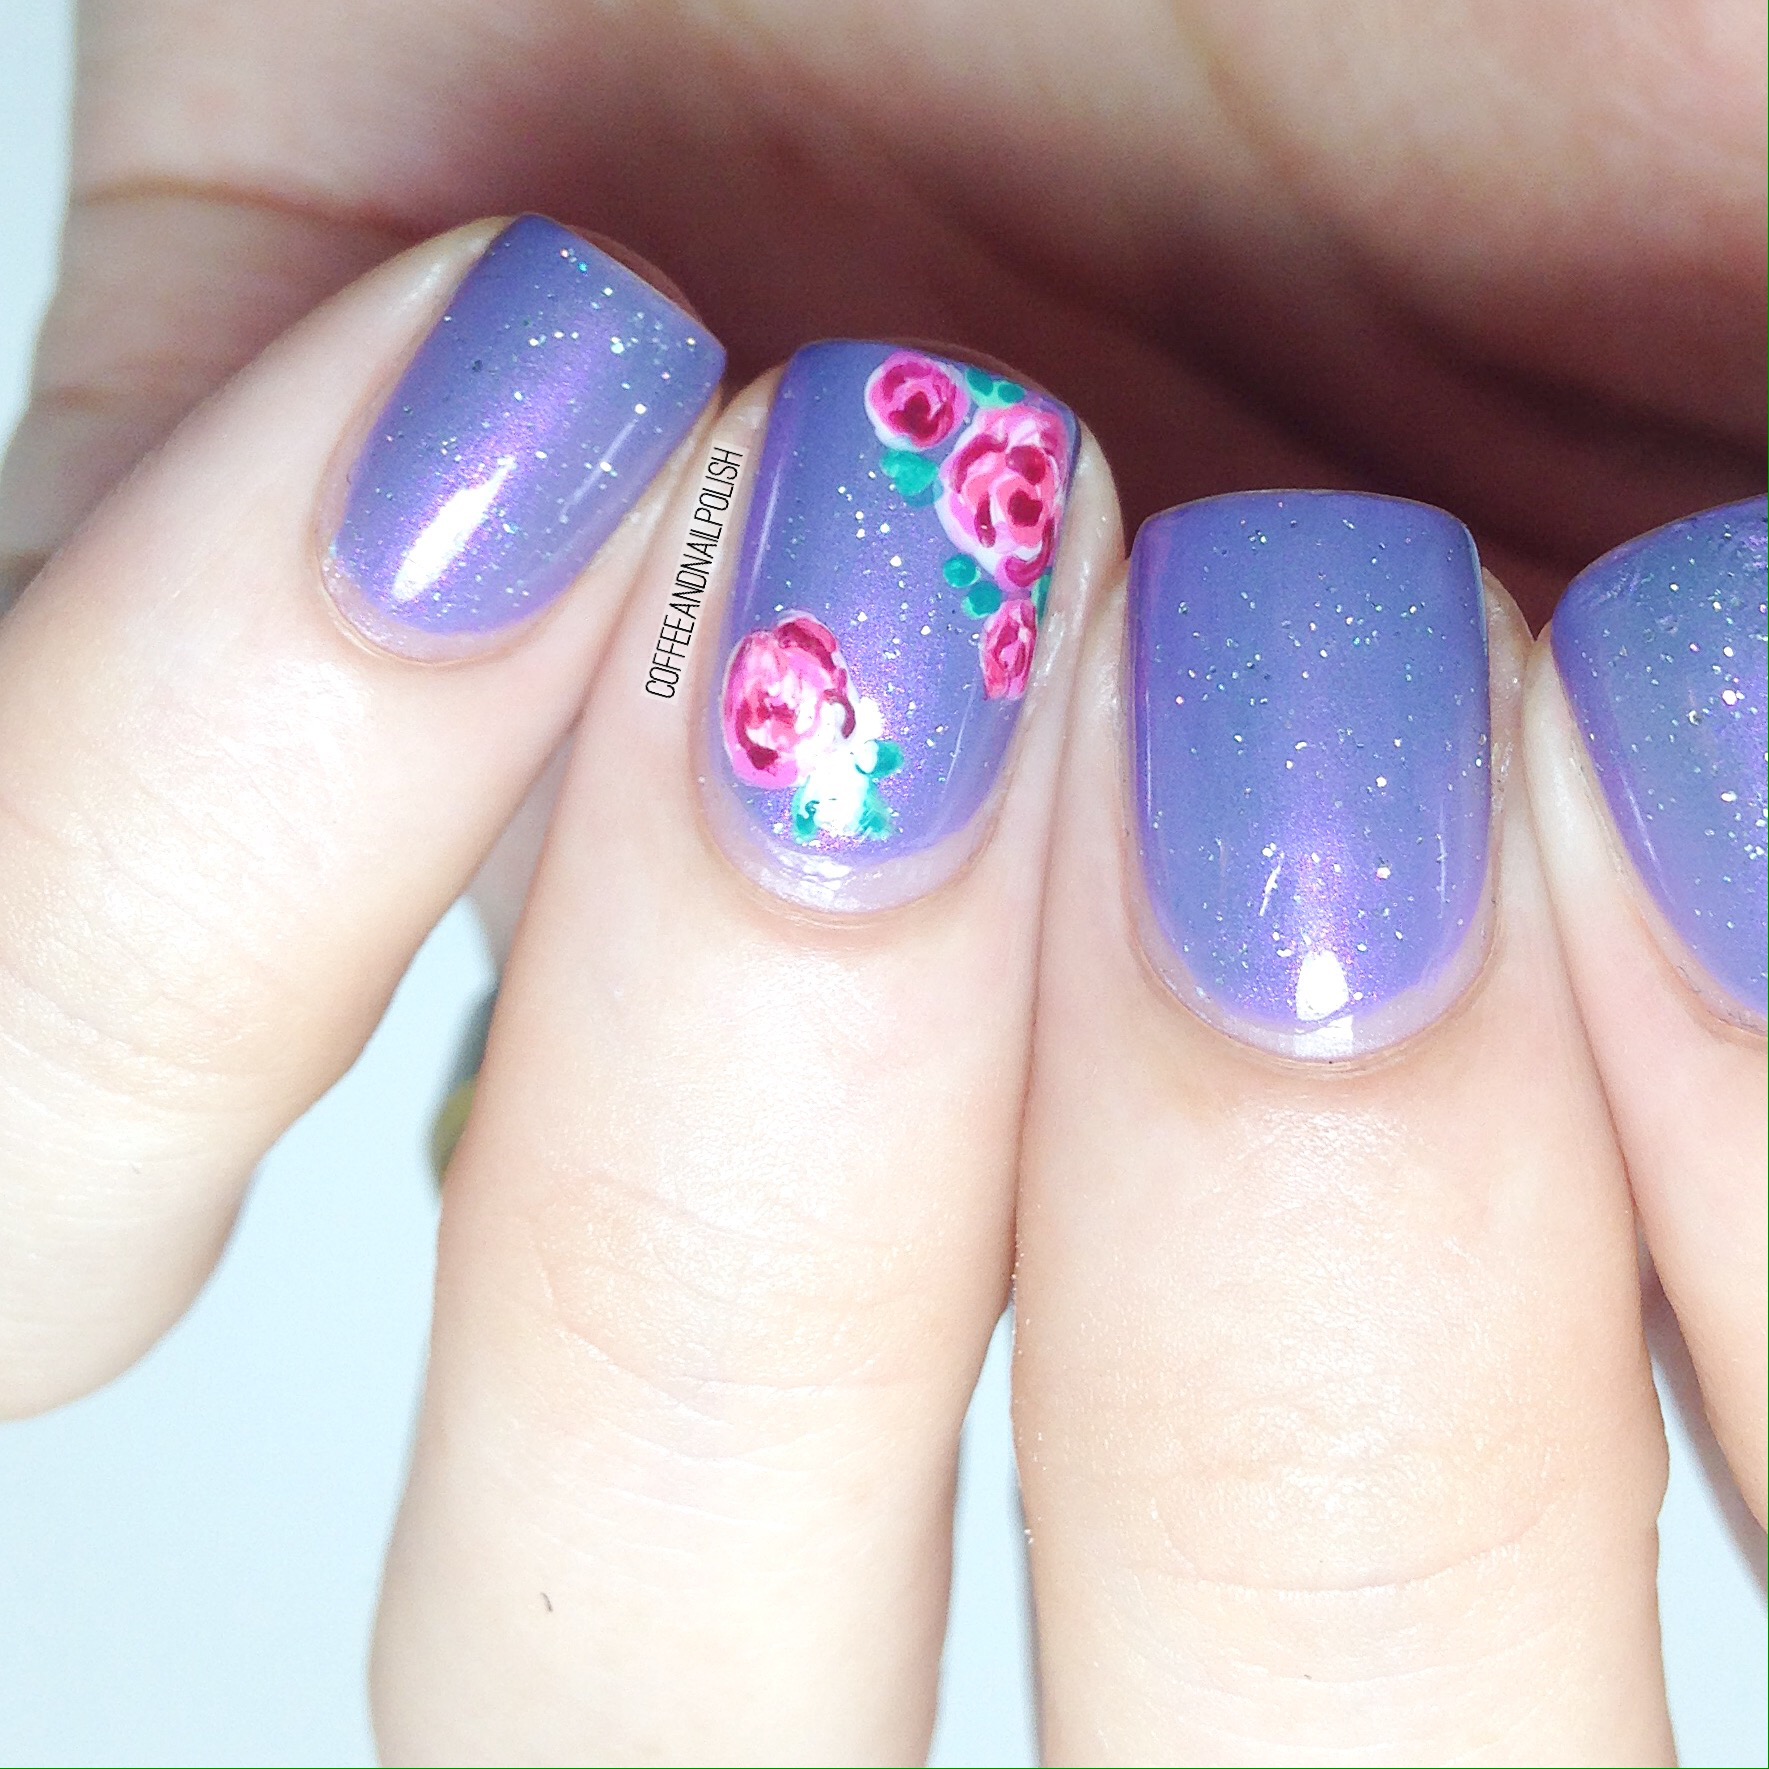
These roses make me happy. So simple but beautiful. I will never get tired of roses & floral designs in general. They’re just the perfect pop of nail art for when you don’t want (or don’t have time for) something more complex. 

What do you think of my roses? Don’t forget to comment below & let me know you thoughts! 

Craving Spring with Wavy Pattern Nails

TGIF! I mean I’m on maternity leave so sometimes I forget what day it actually is. But it’s supposed to be semi-warm & sunny this weeekend & some what Spring-like so I am very excited for the weekend to come! So in honour of the sunny days to come, I did this wavy design using some Spring shades & wavy nail vinyls from Xroma Polish and Vinyls

For this manicure I used:

  • Base Coat: Perfect Formula Pink Gel Coat
  • Top Coat: Cutex Quick Dry Top Coat
  • China Glaze Ever Glaze Don’t Grape About It
  • Sally Hansen Hard As Nails Hard To Get
  • ORLY Gumdrop
  • Sally Hansen X-treme Wear Babe Blue 
  • Xroma Polish and Vinyls Skinny Waves Nail Vinyls
  • Dotting tool

I’m loving these vinyls from Xroma Polish and Nail Vinyls! They’re just so easy to use. This manicure only took me about 1/2 hour to do (after my initial polish had dried) including placing all my vinyls. & no issues with polish bleeding under the vinyls, which I hate so much. Even better, these wave vinyls were long enough I could cut them in half on some nails which meant I used less. 


This colour combination looks so pretty together, I love it. What is it about purple & mint that looks so stunning when paired? Definitely just feels like Spring-time to me. 💜 

What do you think of these wavy patterned nails? What colours are you wearing most lately? Let me know in the comments below. 

Tribal Print Gradient Nails

I know I say this every time I do my nails, but these have to be one of my favourite gradients I’ve ever done. Seriously–just look! It turned out so pretty. I’d never claim to be a gradient expert, but damn if I don’t feel proud of how these turned out! & what does better with a gradient than a little stamping? I don’t think I’ve done any stamping since before the Lil Bubs was born, & I didn’t realize how much I missed it. 

For this manicure, I used:

  • Base Coat: Perfect Formula Pink Gel Coat
  • Top Coat: Cutex Quick Dry Top Coat
  • Essie Lounge Lover
  • China Glaze Glow With The Flow
  • China Glaze Plur-ple
  • Essie Butler Please
  • Yves Saint Laurent Noir Brilliant
  • Born Pretty Store Peel Off Liquid Tape
  • Born Pretty Store Stamping Plate (QA66)
  • Latex Free Make Up Sponge

Why don’t I stamp more often, seriously? Well mostly because I only have the same few stamping plates. But hopefully I can change that soon because it just makes for sure an intricate manicure. I would never freehand this design (at least not without a lot of crankiness & frustration!) 

For my gradient, I started off with a basic sponged gradient & then went back over the gradient dry brushing my colours for a bit of a rustic look. It lead to an interesting blend that I really, really like. 

What do you think of this mani? Let me know your thoughts in the comments below! 💜

My First Franken Polish! 


You know something I’ve always wanted to try? Mixing my own Franken polish. For those who don’t know what a Franken polish is, it is a polish you create by mixing two or more polishes together to create a custom shade. I’ve seen a few people I follow on Instagram do this, & I thought it would be fun to try for myself. Plus I had an empty bottle lying around, so how could I not?!


For this Franken I grabbed a few random colours. Originally I thought I’d mix a greyed out white with purple undertones, but the initial mix came out much more lavender so I decided to go with it.

For this Franken I used:

  • Sally Hansen Hard As Nails Hard To Get
  • ORLY Plum Sugar
  • OPI Who You Callin’ Bossy?
  • ORLY Oh Cabana Boy
  • ACO by Ardene Bonne Nuit
  • Nicole By OPI Make A Comet-ment

I can’t really give you an exact “recipe” because I just kept mixing until the colour that came out as perfect (to me). But I love it. It actually goes on perfectly in two coats & just needs a little top coat to smooth out that glitter. I only wish you could see the holo a bit better! It’s definitely subtle, but at least in person you could tell it was there–these pictures don’t show it off at all. Once the sun returns I’ll be interested to see how it comes out under sunny skies. 


What do you think of this colour? Have you ever mixed your own Franken colour before? I can see this being very addictive! As though I don’t already own enough polish haha. Also trying to figure out what to name this Franken colour, so if you have any suggestions let me know! 

Feeling 90s With Neon Spotted Nails 

Too many rainy days have left me craving some neon nails, so I decided to grab some bright colours to cheer myself up. In the process I saw my bottle of Layla Bubbly in Black & thought it would look really neat over a neon-ish base colour. 

For this manicure I used:

  • Base Coat: Perfect Forumla Pink Gel Coat
  • Top Coat: Cutex Quick Dry Top Coat 
  • ORLY Scenic Route
  • Icing Breakfast at Tiffany’s 
  • China Glaze Sun Upon My Skin 
  • Icing Pink A Boo
  • Layla Cosmetics Bubbly Effect in Black

I’ve owned this bottle of Layla Bubbly effect for a while (I scored it on sale at Lawton’s in the clearence like 3 years ago) but this was the first time I really got it to work for me the way I imagine it’s supposed to work. I did wait until the next morning to add the black, so maybe that made the difference? Either way I’m super excited about how it turned out! Like crackle nails, it just offers an easy way to create nail art without excessive work (or mess). 

& incase you were interested in seeing what my base looked like before I added the Bubbly topper, here was the base. I tried to attempted @laqvid‘s wet dry brush design but I’m definitely going to need to give it more practice. 

What do you think of this design? Have you ever tried the Layla Bubbly Effect polishes before? Let me know the comments below!