Nail Art Goodies from NailStuff.ca & my first experience with Water Decals. 

I’m back from my vacation, & while I enjoyed being away I definitely missed home! I was also excited to arrive home because I knew I had some nail mail waiting for me! My hubby was sweet enough to open my packages for me on a video Facechat, which added to my excitement. I couldn’t wait to get home & play with these goodies.

One of the parcels I received was from the new nail art site in town: nailstuff.ca! I’d recently seen items from them popping up on my Instagram feed, & when they offered to send me a few items to try out I couldn’t say no! I received a sheet of nail water decals, a sheet of nail stickers,  a wheel of nail art studs, & three little tubs of glitter (silver, holo pigment & flakies.)

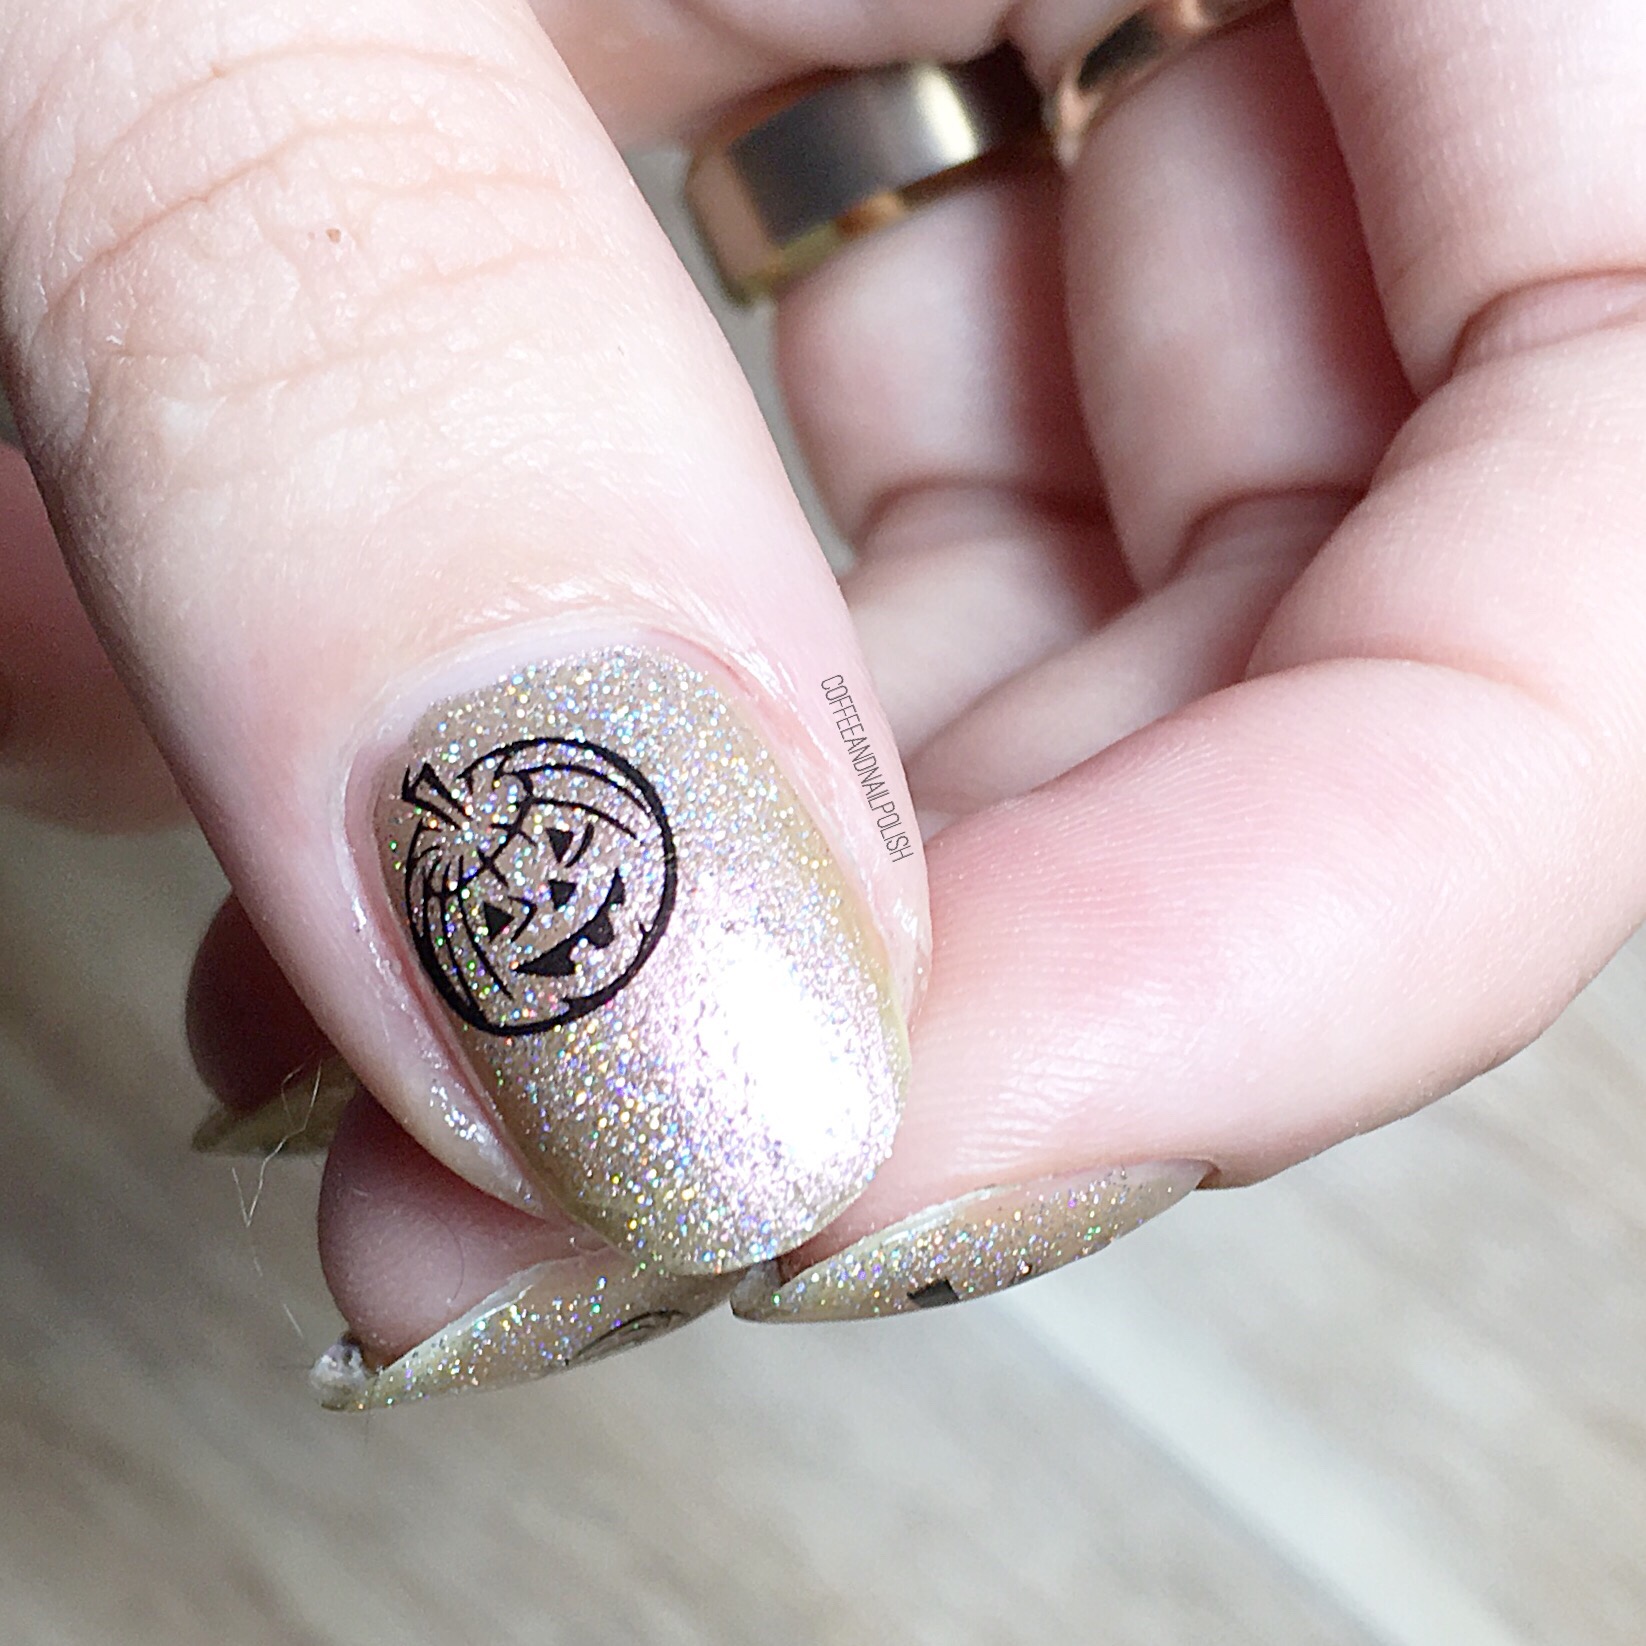
First up, I had to try out the Halloween themed water decals!

This was my first expirence using water decals. I’ve bought them before, but never actually used them. Thankfully these decals came with very clear instructions to make applying them easy. Here’s what I did to apply the water decals (as a first time user):

  1. I started off by painting my base shade (China Glaze Swanky Silk topped with Revlon Holographic Pearls) & letting dry.
  2. While my polish was drying I grabbed a cup of room temperature water & scissors.
  3. Once my Base was dry, I cut out my desired designs & dunked them in the water for 10-20 seconds. I recommend doing this with tweezers.
  4. Pull out your design & using a dry finger pick up the design carefully. Make sure your finger is dry, or else your decal will crinkle up.
  5. Immediately press the decal down on your base. You only get one try with this, so make sure you’re putting it down where you want it.
  6. The instructions recommend using a blow dryer to dry your decal, but I found if you wanted a minute or two it also worked.
  7. Seal in your decal with top coat. I used Cutex Quick Dry Top Coat.

These decals were surprisingly easy to use even though I had no prior experience with them. They sit so flawlessly on the nail, you don’t have to worry about them sticking up or peeling off (after you seal them in with top coat). They are a quick & easy way to spruce up a basic colour & would look even more awesome over a gradient! There are also a whole variety of different design options in a variety of shapes & sizes for whatever look you’re craving.
Nailstuff.ca is based out of Canada, so shipping is a lot faster some than those other nail art companies, & it’s free shipping for Canadian orders over $29 & US & international orders over $45.

Even better, they’re currently having a promo that if you use coupon code SCARYNAILS you’ll save 15% off all scary nail items for all your Halloween nail needs. So if you haven’t checked out them yet, I definitely recommend giving their site a look & stocking up!

Stay tuned because I have lots more goodies to review!

*PR SAMPLE* Some of these items were sent to me for review. However, all opinions are my own
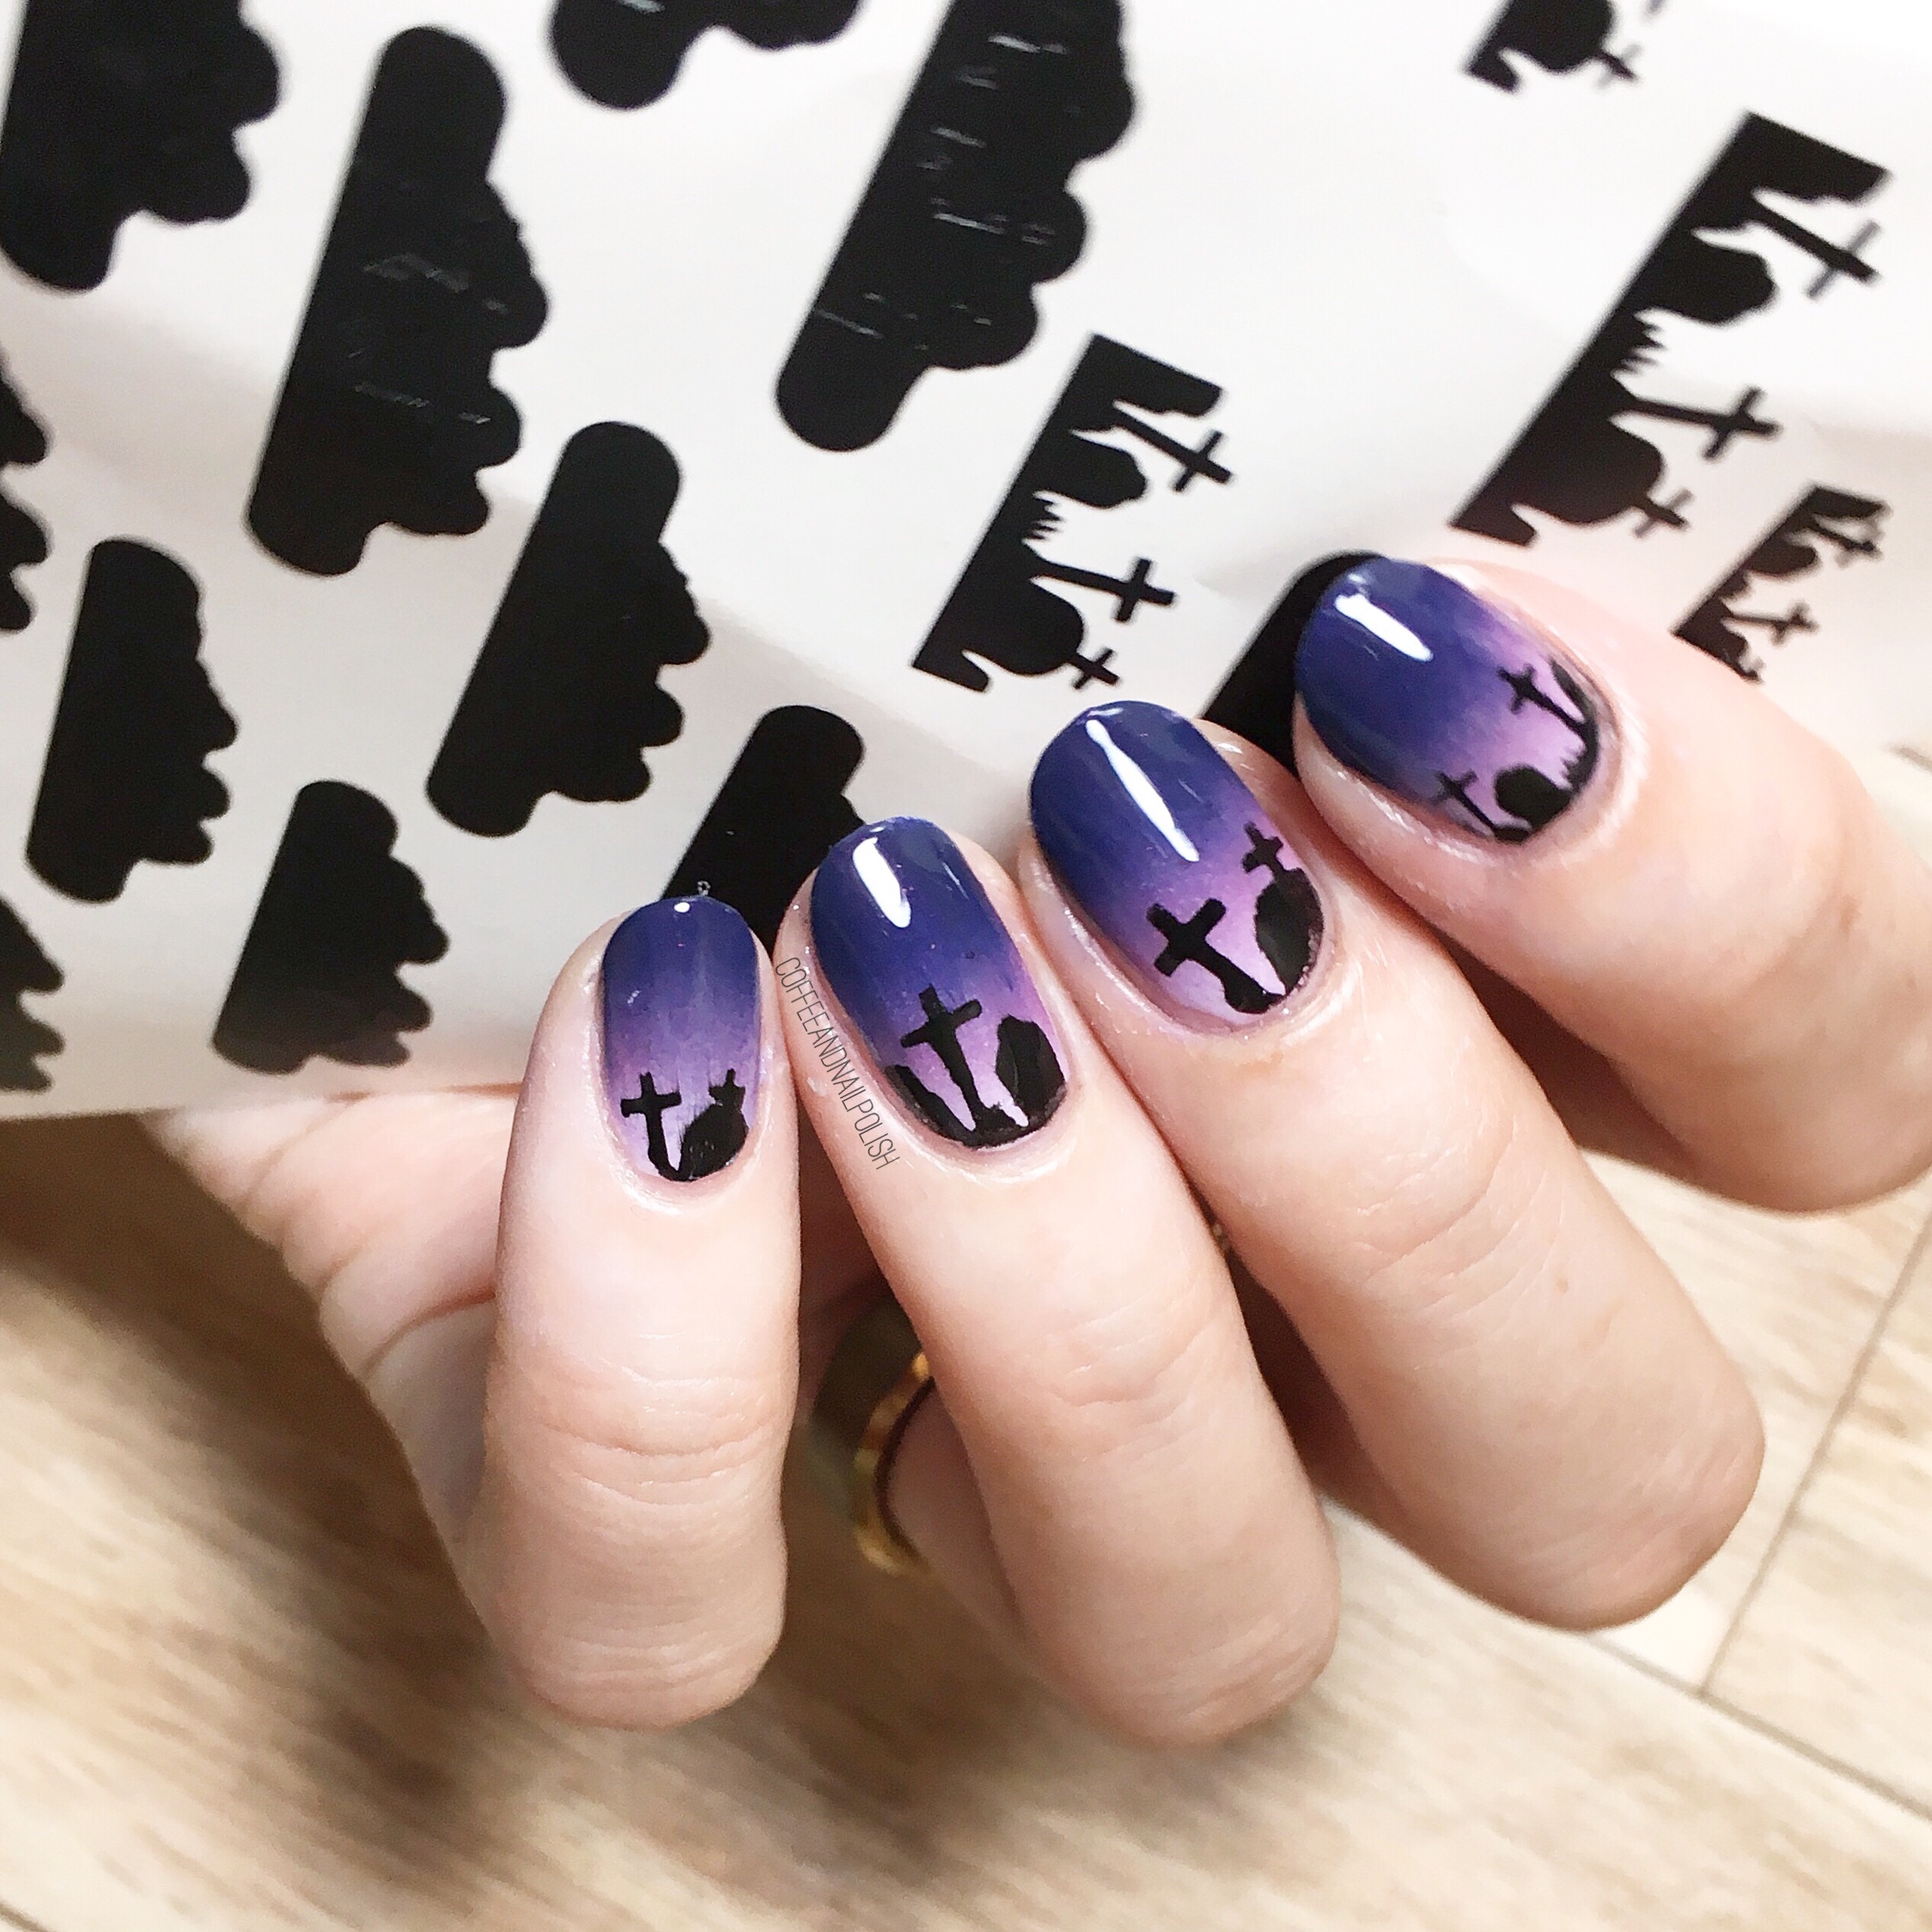
Graveyard Nail Stencils with NailPolishCanada (& how to score your own set of vinyls for free!)

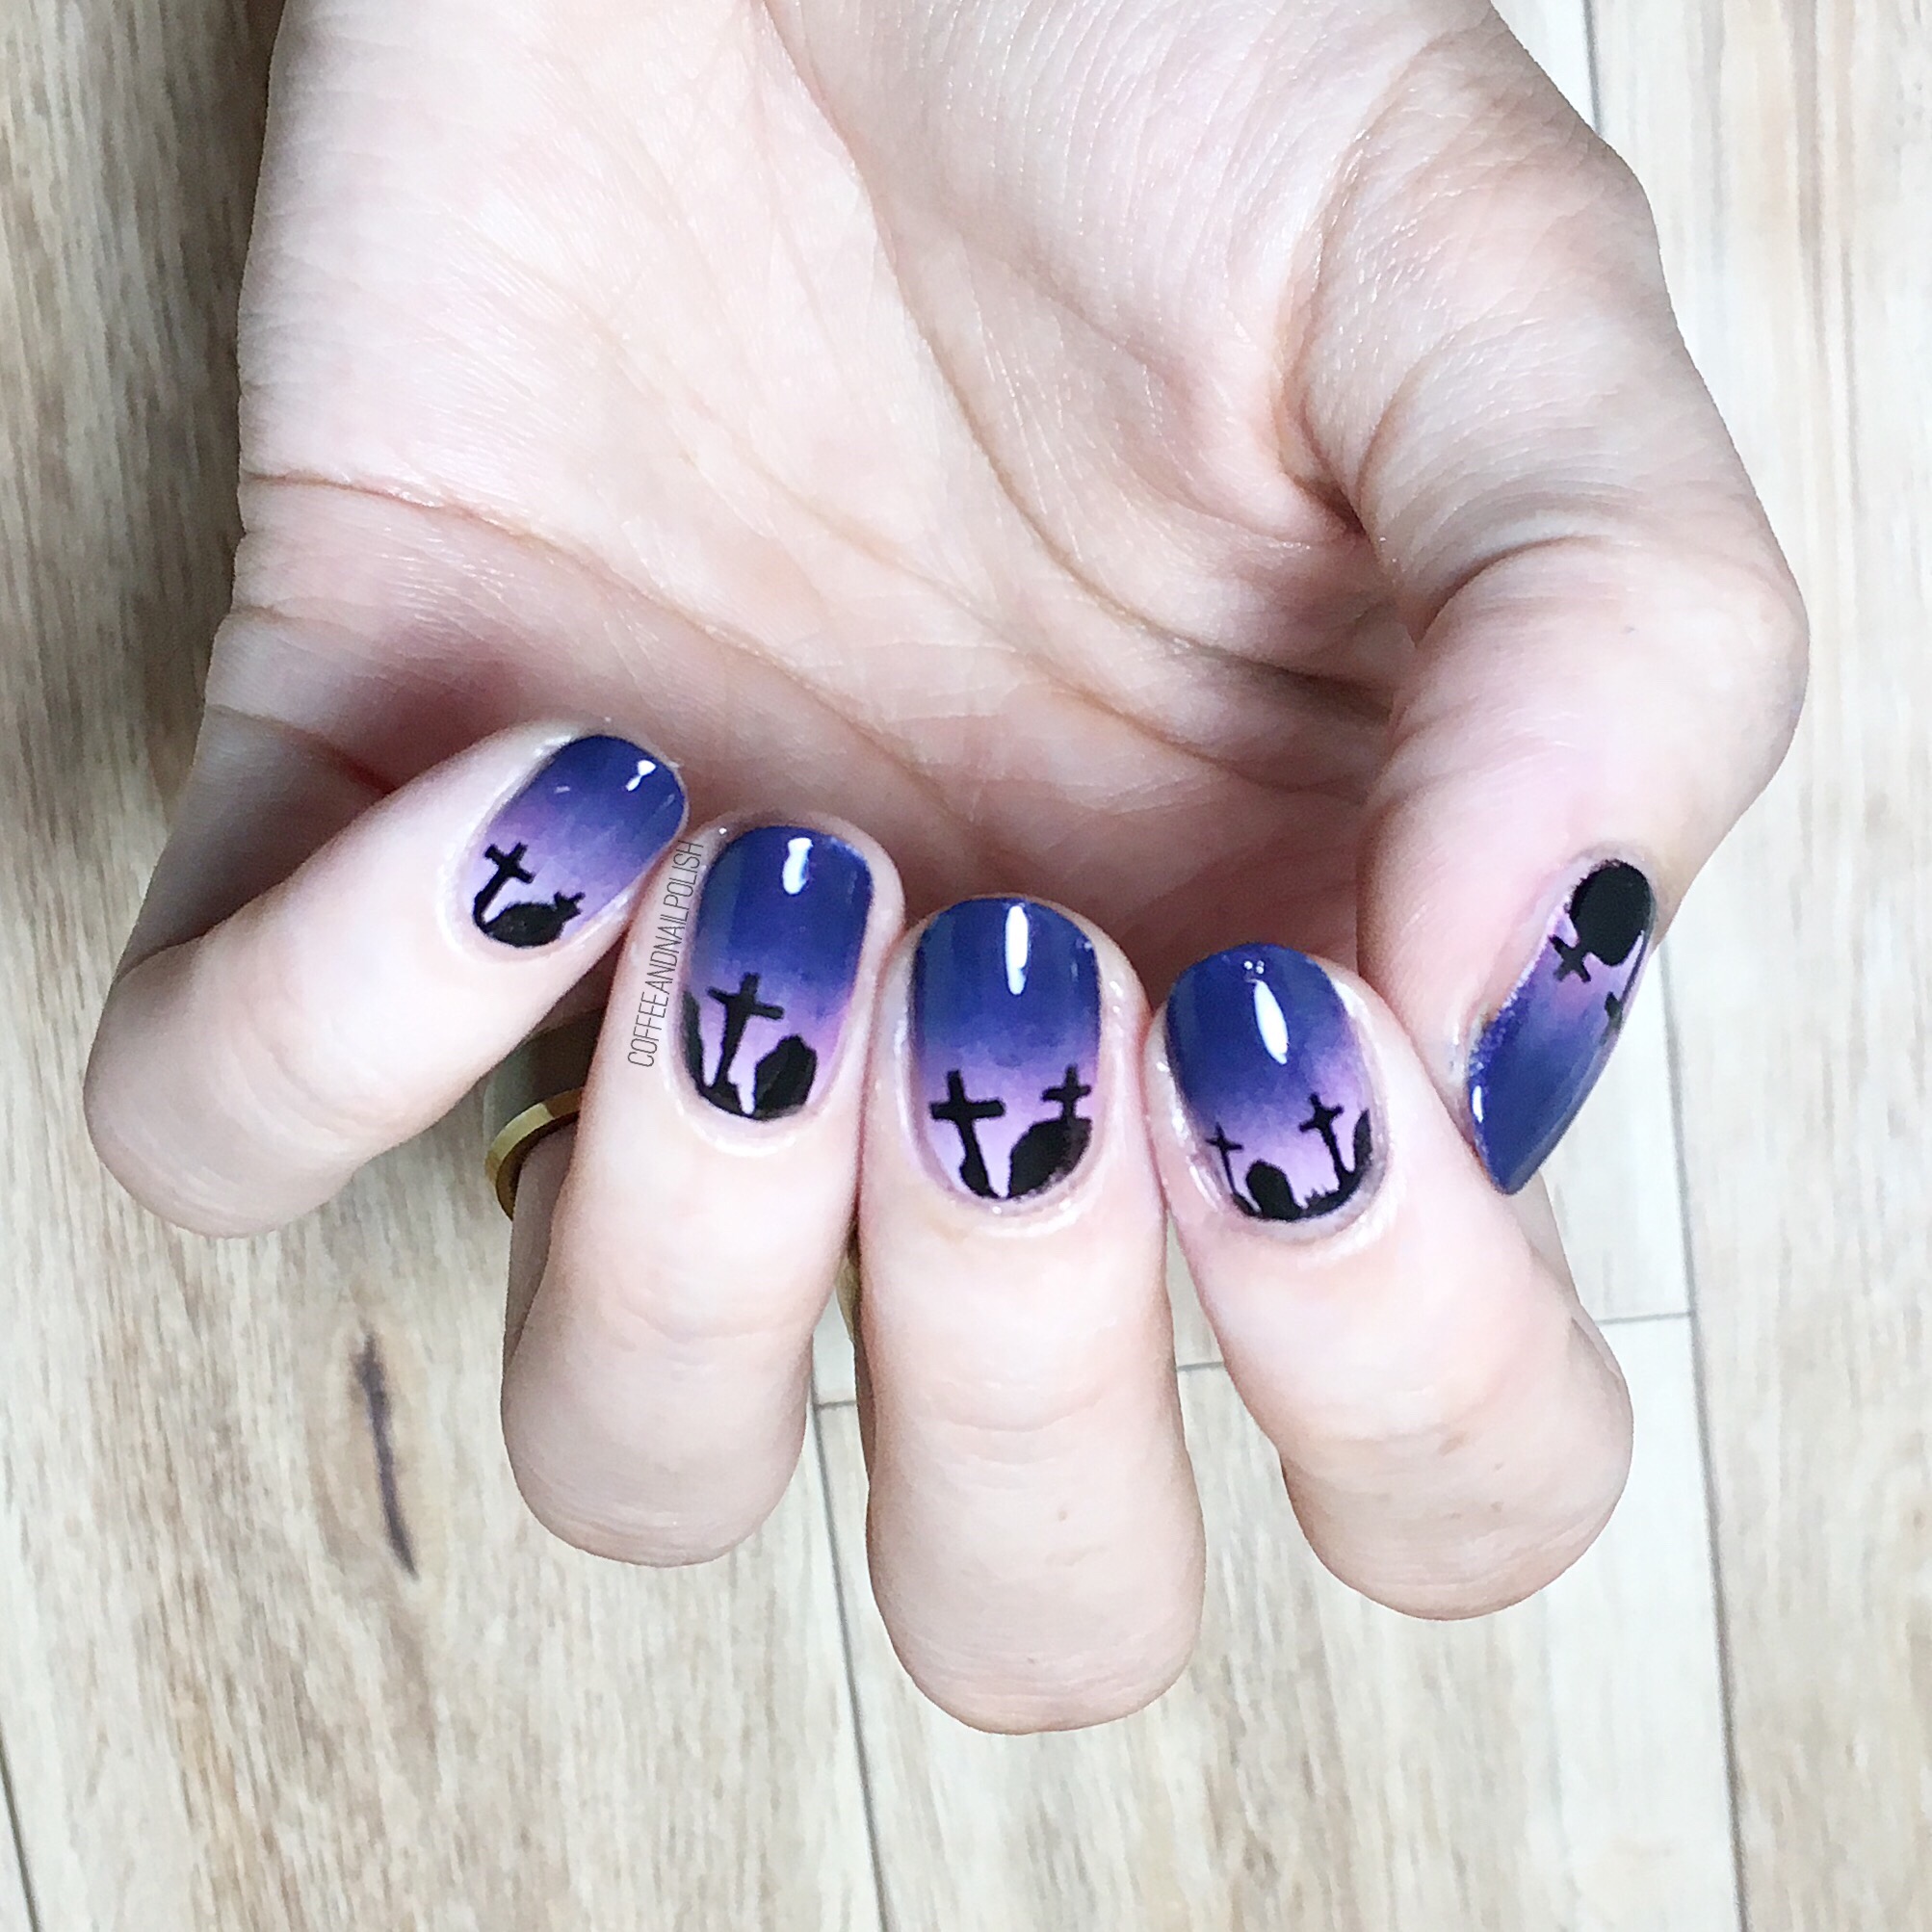
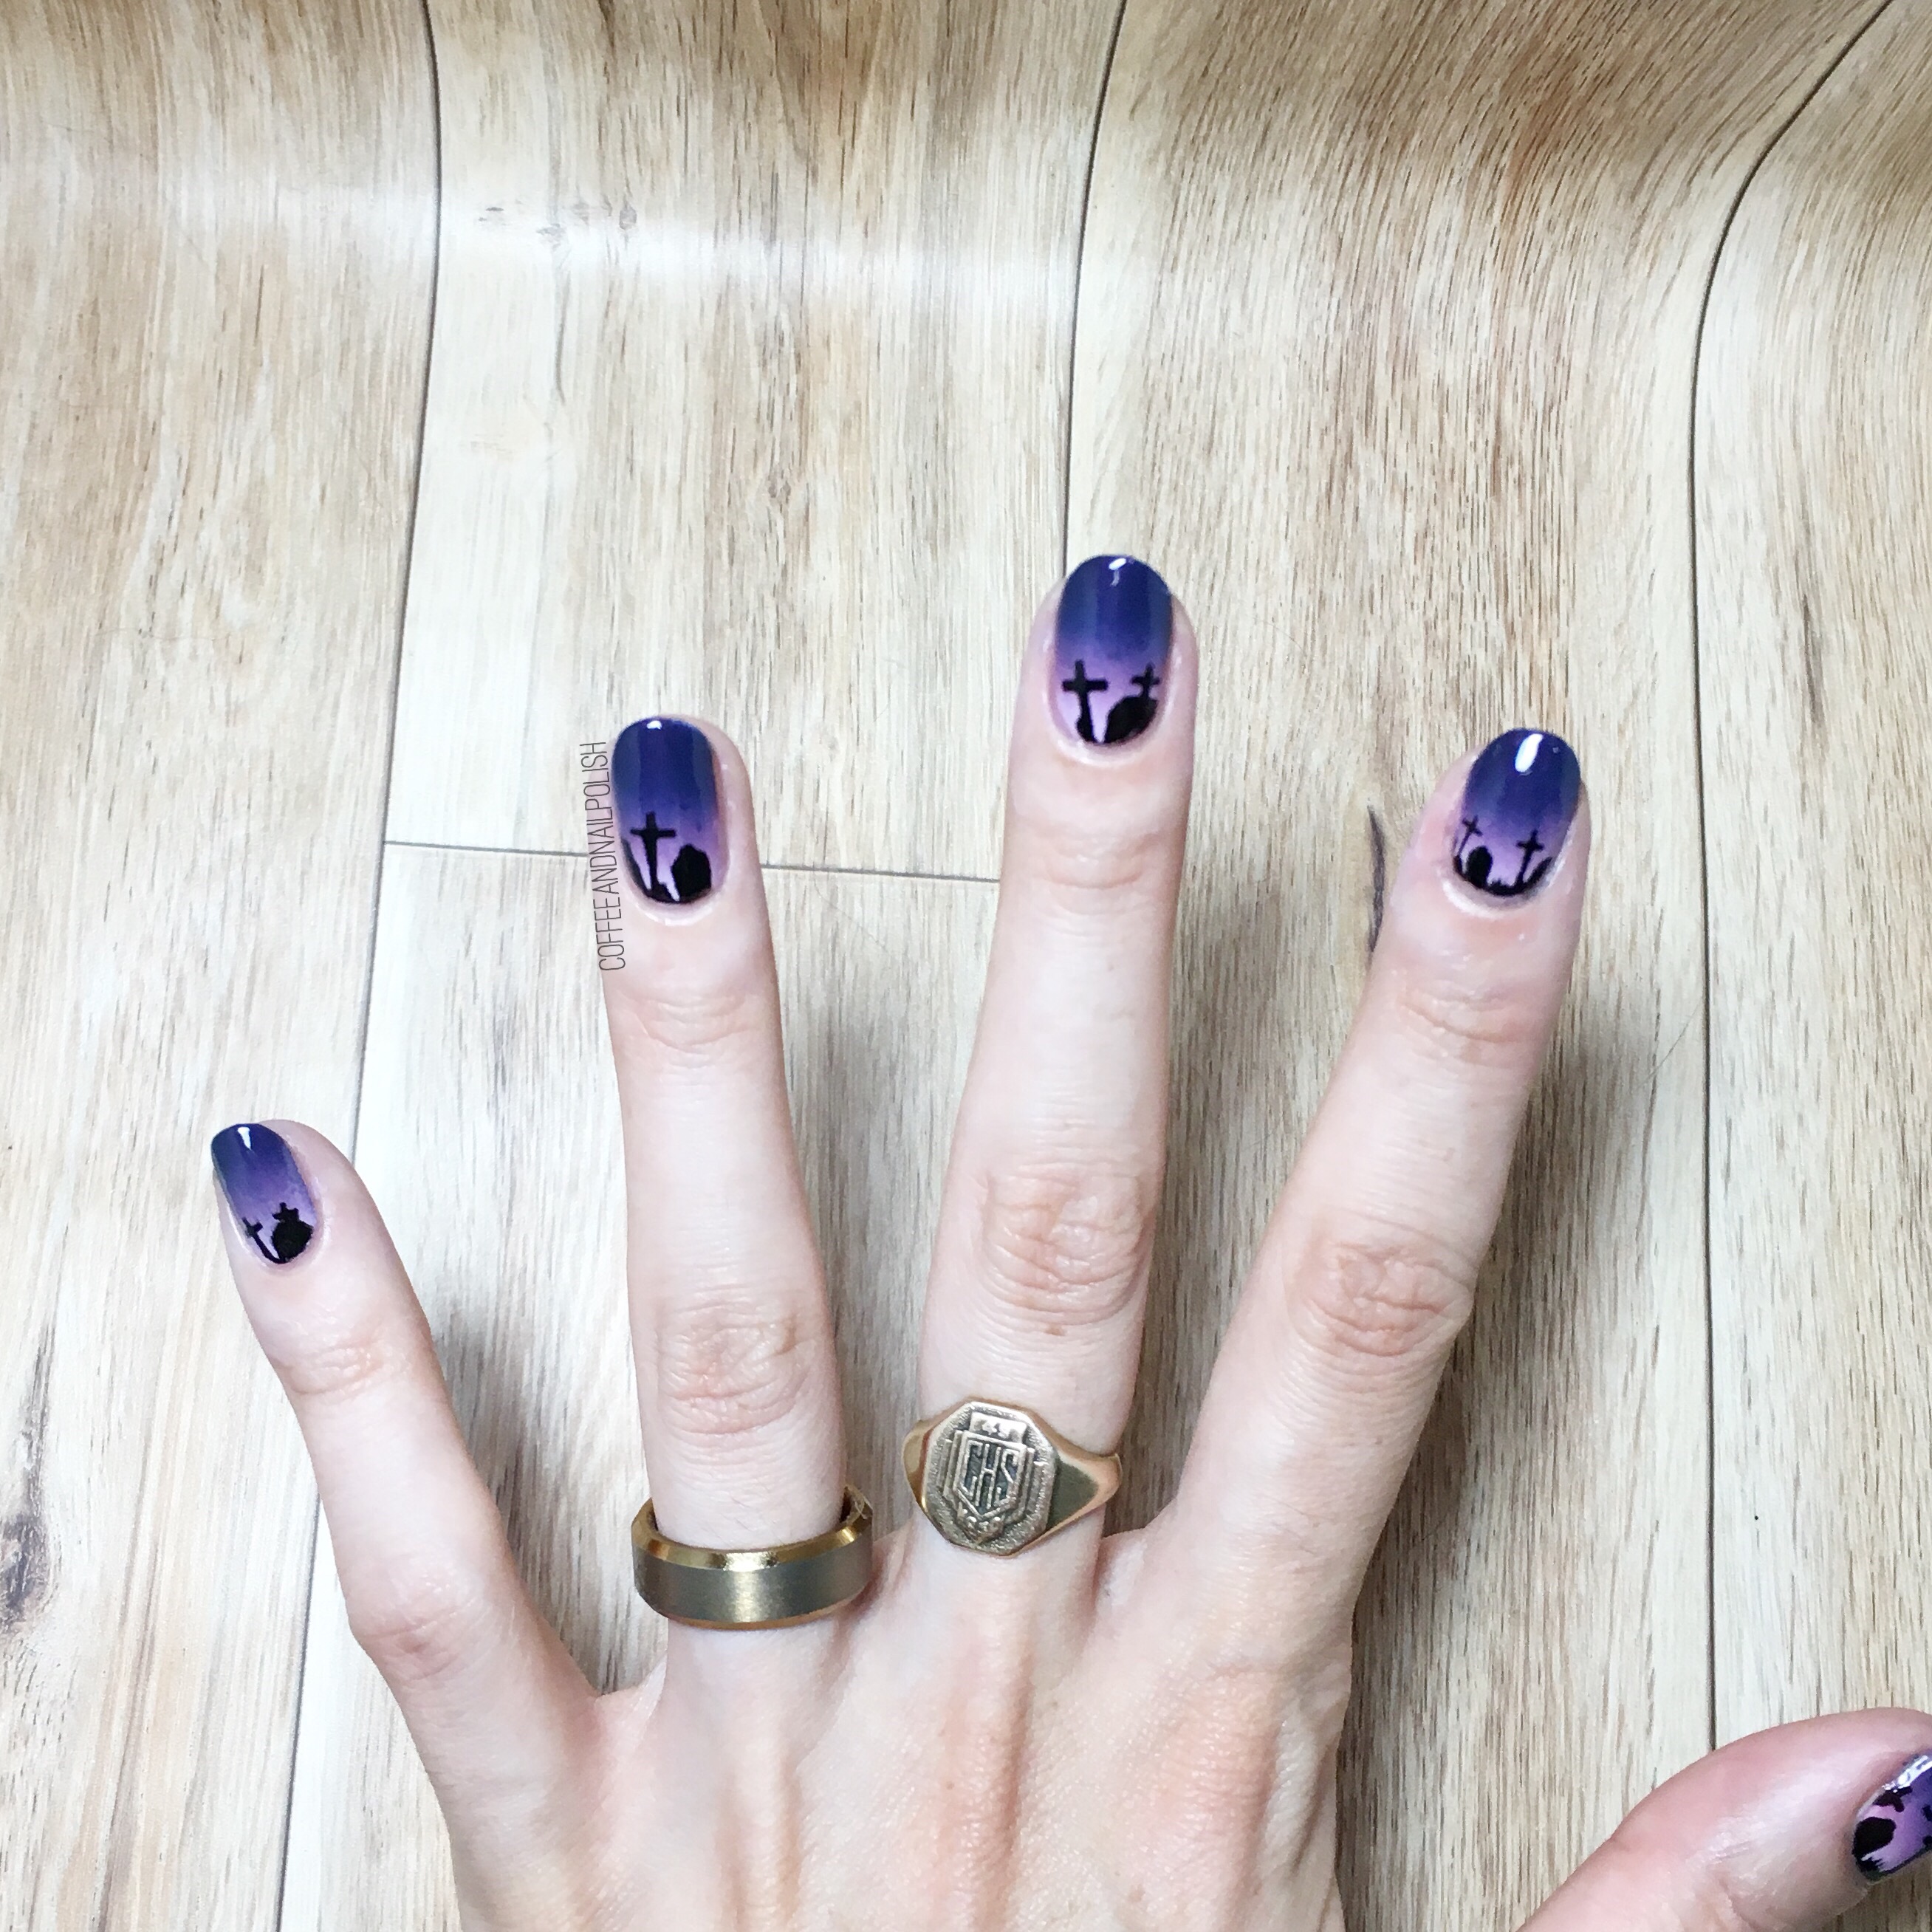
We’re over halfway to Halloween, which it’s time to get serious about Halloween nail designs! & what is more Halloween than spooky graveyard nails! Thanks to What’s Up Nails & Nail Polish Canada, I had a quick & easy time creating the spookiest of nails! 🎃 

The polishes used for this manicure were:

  • Base Coat: OPI Natural Nail Base Coat
  • Top Coat: Cutex Quick Dry Top Coat
  • Essie Go Ginza
  • OPI Auroa Berry-alis 
  • China Glaze Sleeping Under the Stars
  • Essence Back to Black 
  • What’s Up Nails Graveyard Stencils c/o: Nail Polish Canada 

These graveyard vinyls are great because they have multiple ways you can use them—my favourite is to use them as a stencil & paint in the design. I found it worked best by sponging on the black using a tiny piece of make up sponge. You could also apply the stencil to your nail & paint over top or you could use the vinyl itself & seal it all in with top coat. Each sheet of Graveyard vinyls comes with 20 vinyls (inner & outer) in small & large size which means you have a ton of graveyard nails to do in the lead up to Halloween. 

I’ve been lucky enough to team up with Nail Polish Canada to share a code for TEN of my readers to score their very own graveyard vinyls just in time for Halloween! You can click here & enter the code E75337KJX9A1B in order to claim your own set of vinyls. 

What do you think of these graveyard nails? What Halloween design are you most excited to wear this year? Let me know in the comments below. 🖤

Dripping Blood French Featuring URSugar Vinyls


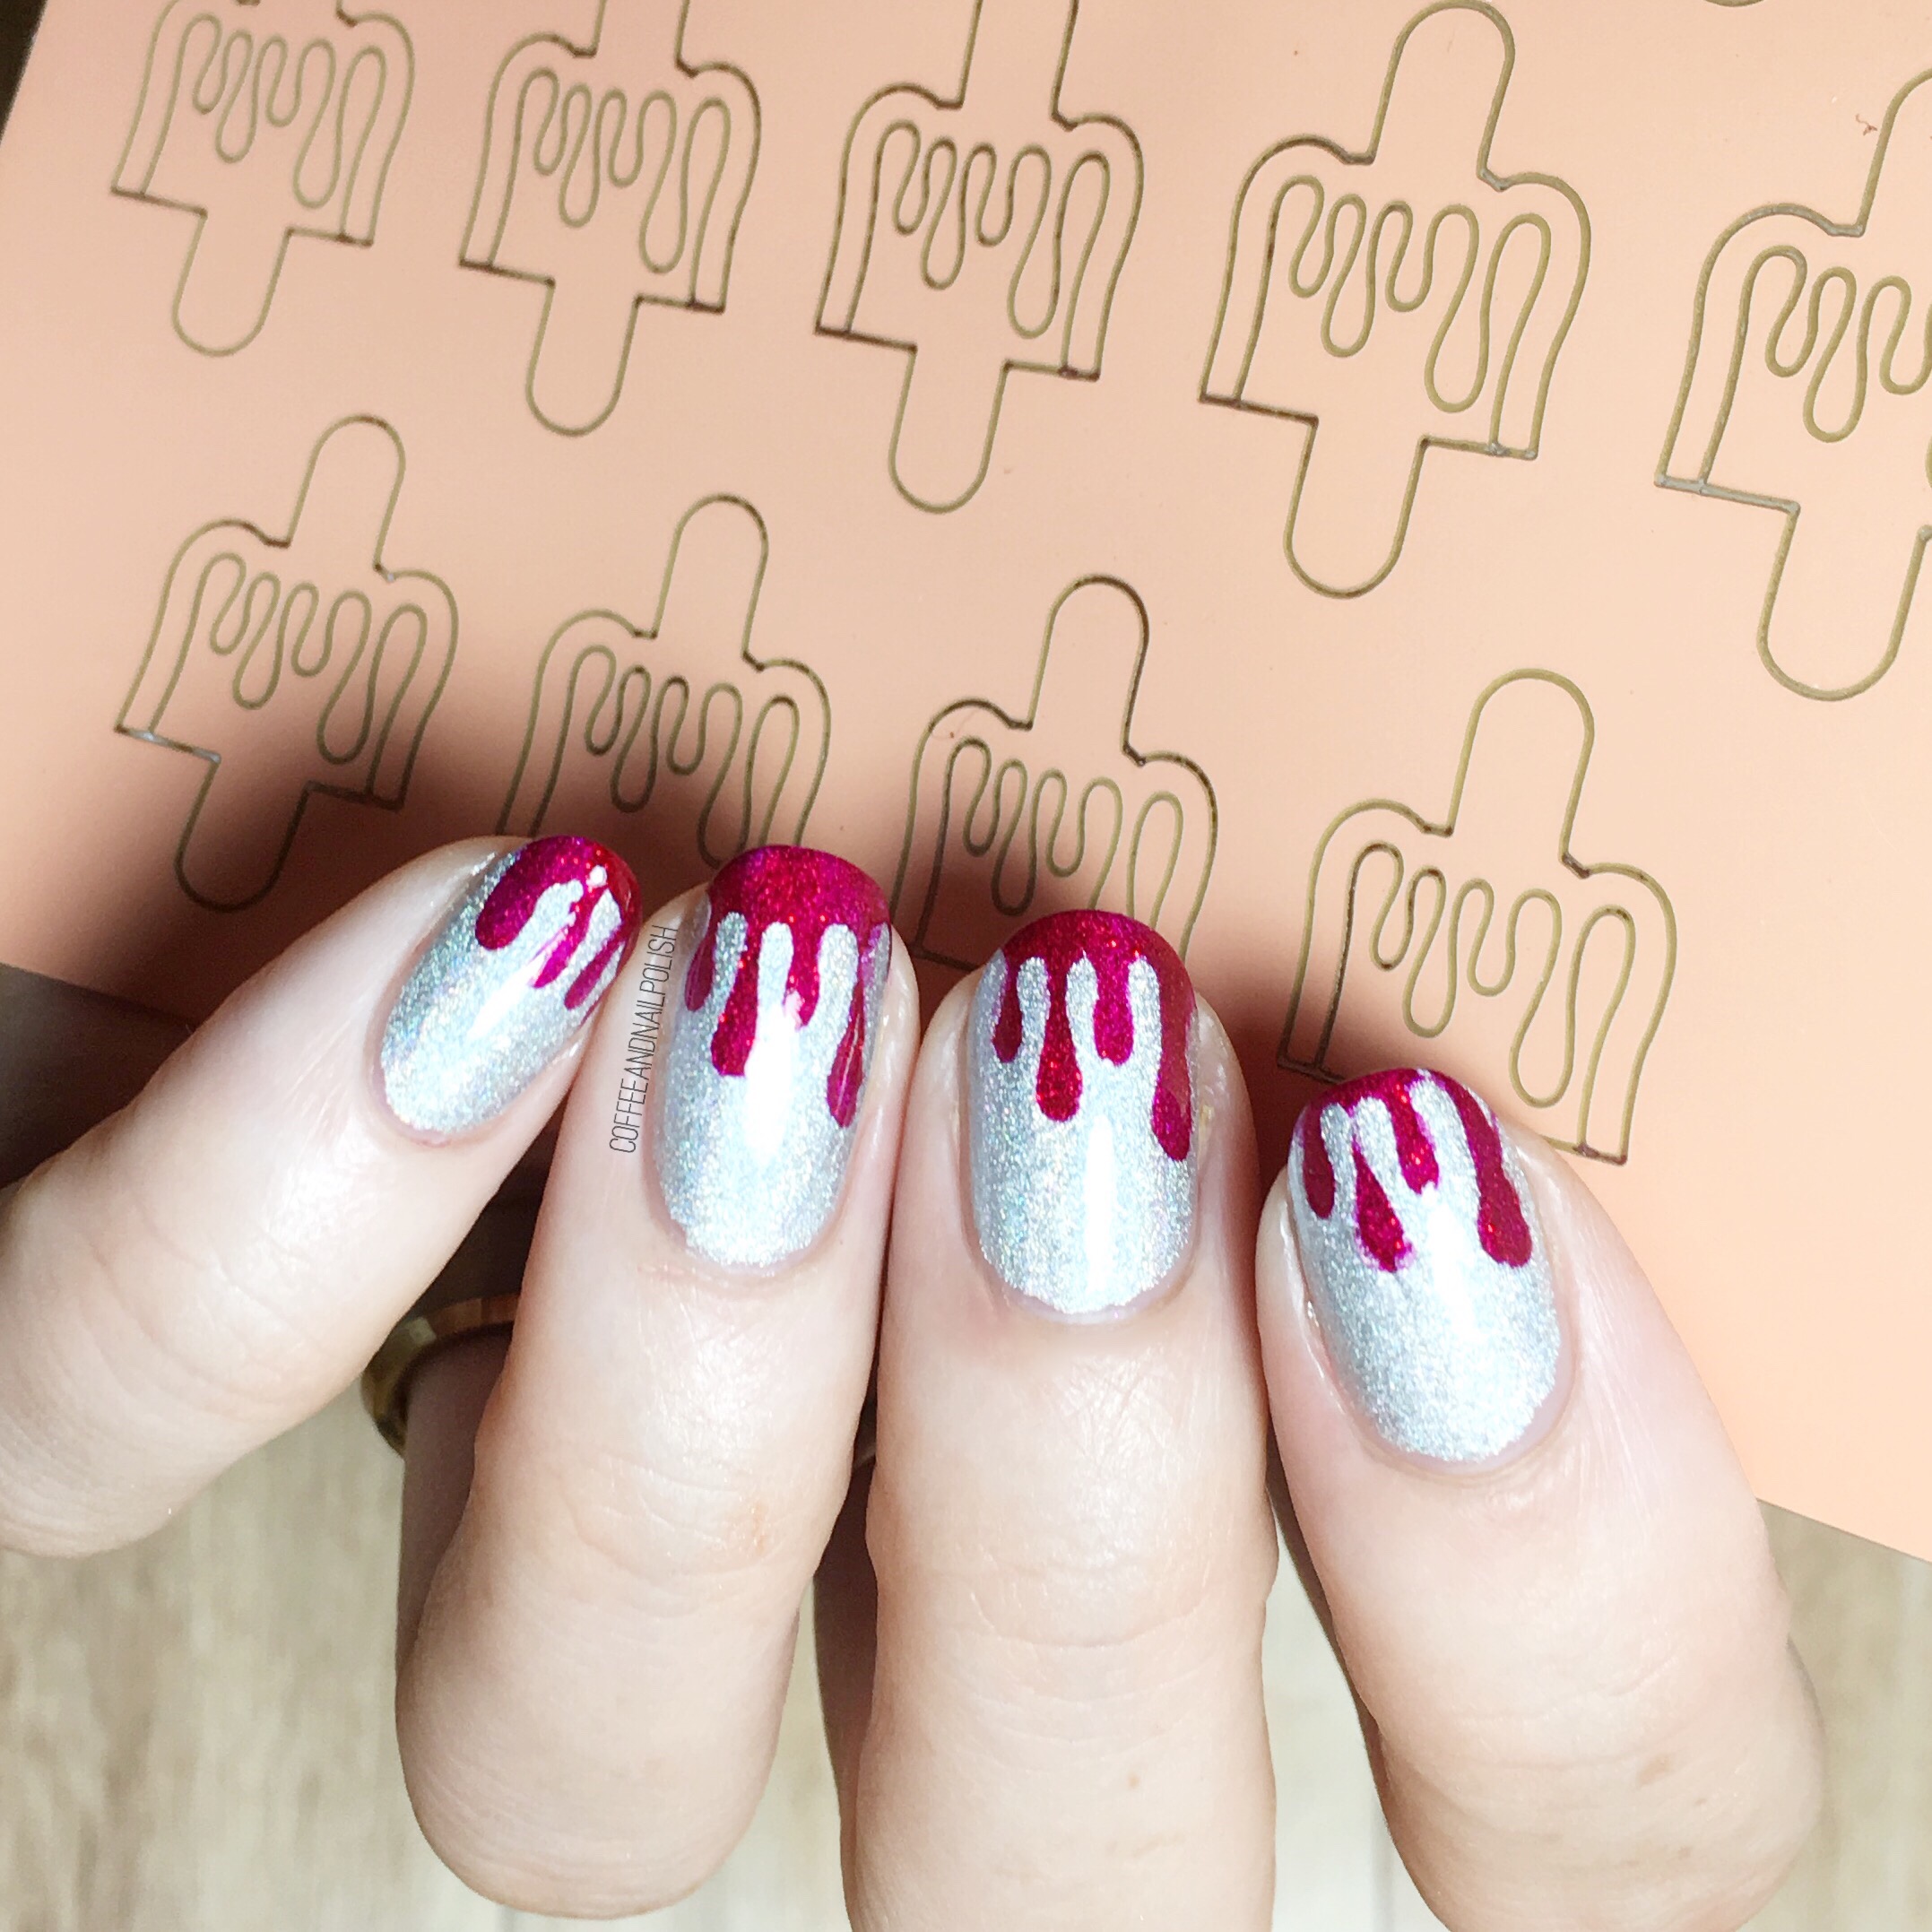
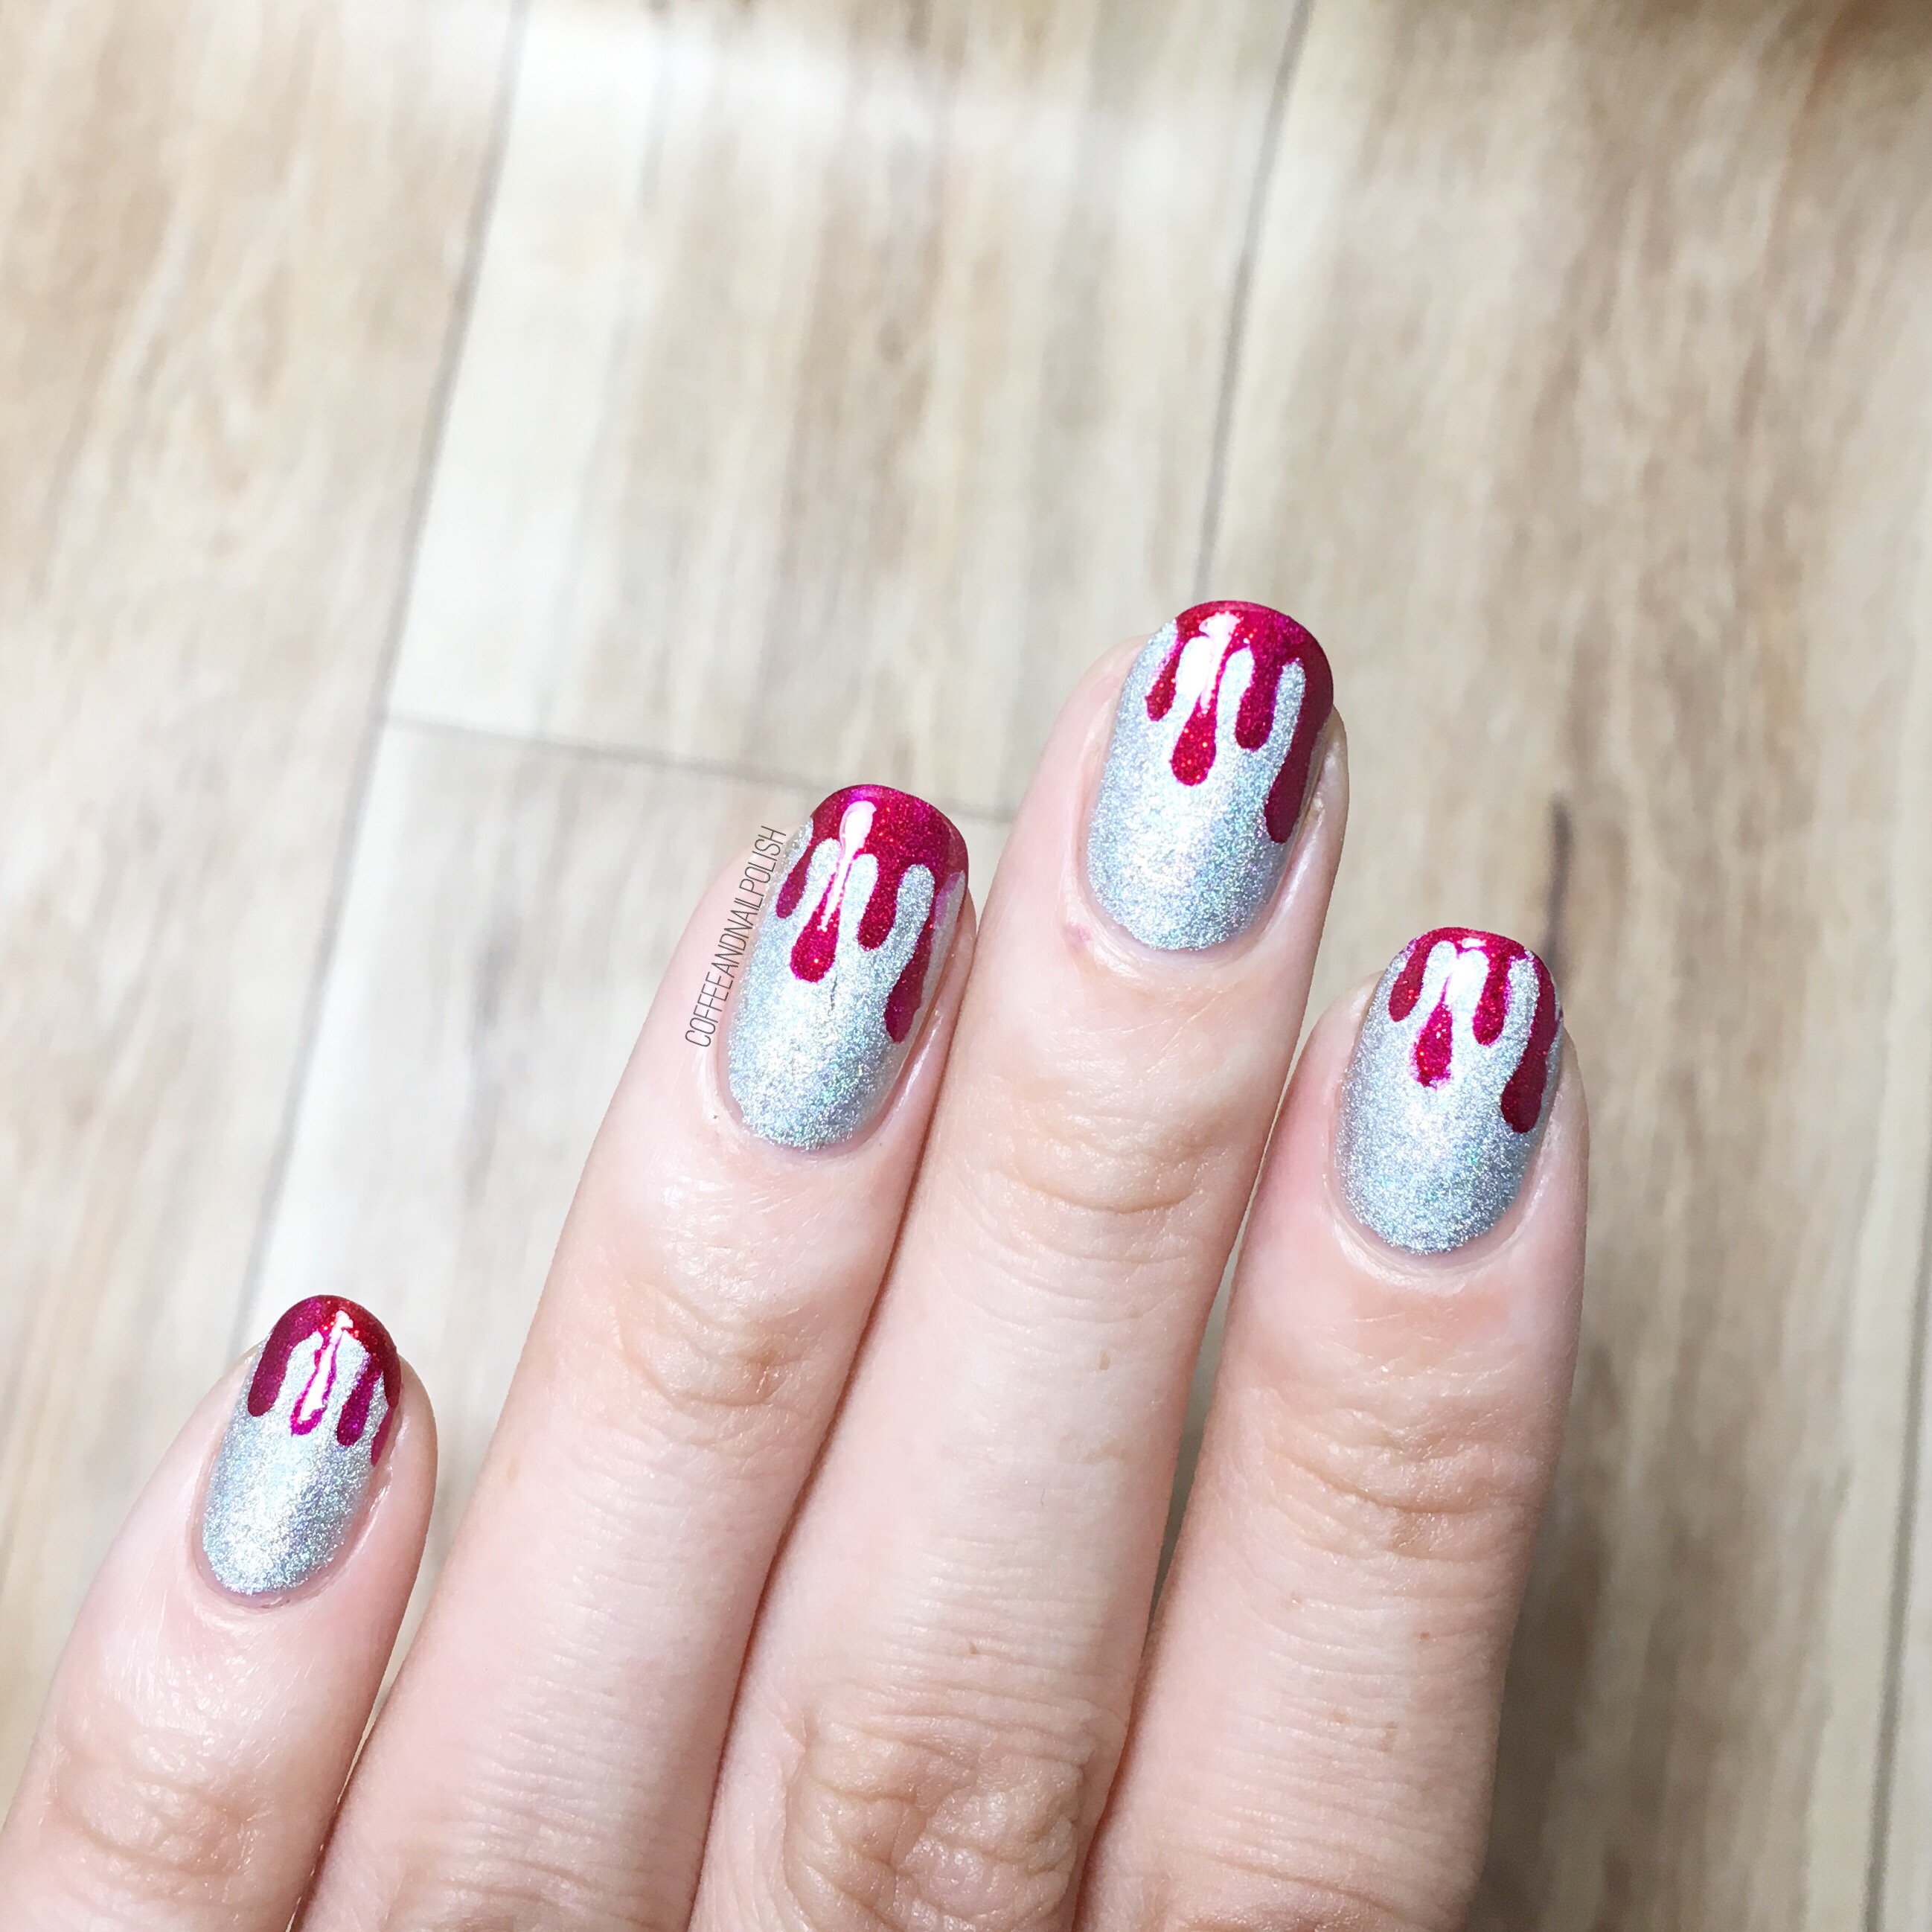
Ready for some more Halloween inspired nails? Today I have what I’m calling a dripping blood “French” Manicure that has just the right amount of scary & sparkles—which is just how I like my Halloween designs! 

The few times I’ve tried to do a dripping design, I’ve always done it using a dotting tool (which isn’t always easy to accomplish the right look.) These drippy nails were made much easier by using URSugar Vinyls which were kindly sent to me for review. 

For this manicure, the polishes used were:

  • Base Coat: OPI Natural Nail Base Coat
  • Top Coat: Cutex Quick Dry Top Coat
  • Gosh Holographic Hero
  • China Glaze Ruby Pumps
  • URSugar Drip Nail Vinyls item #AUB39877 —click to buy. 

These URSugar vinyls are great for a design like this. You have two options—you can paint your nails a base shade & apply the stencils & paint over with a second shade, pull off & reveal or you can use the other half to paint inside (like a stencil). I find the second option works best for a design like this, done at the tip of your nails. 

What do you think of this Halloween-y take on a French manicure? Would you wear this design? Let me know your thoughts in the comments below! 

*PR SAMPLE* Some of these items were sent to me for review. However, all opinions are my own. 

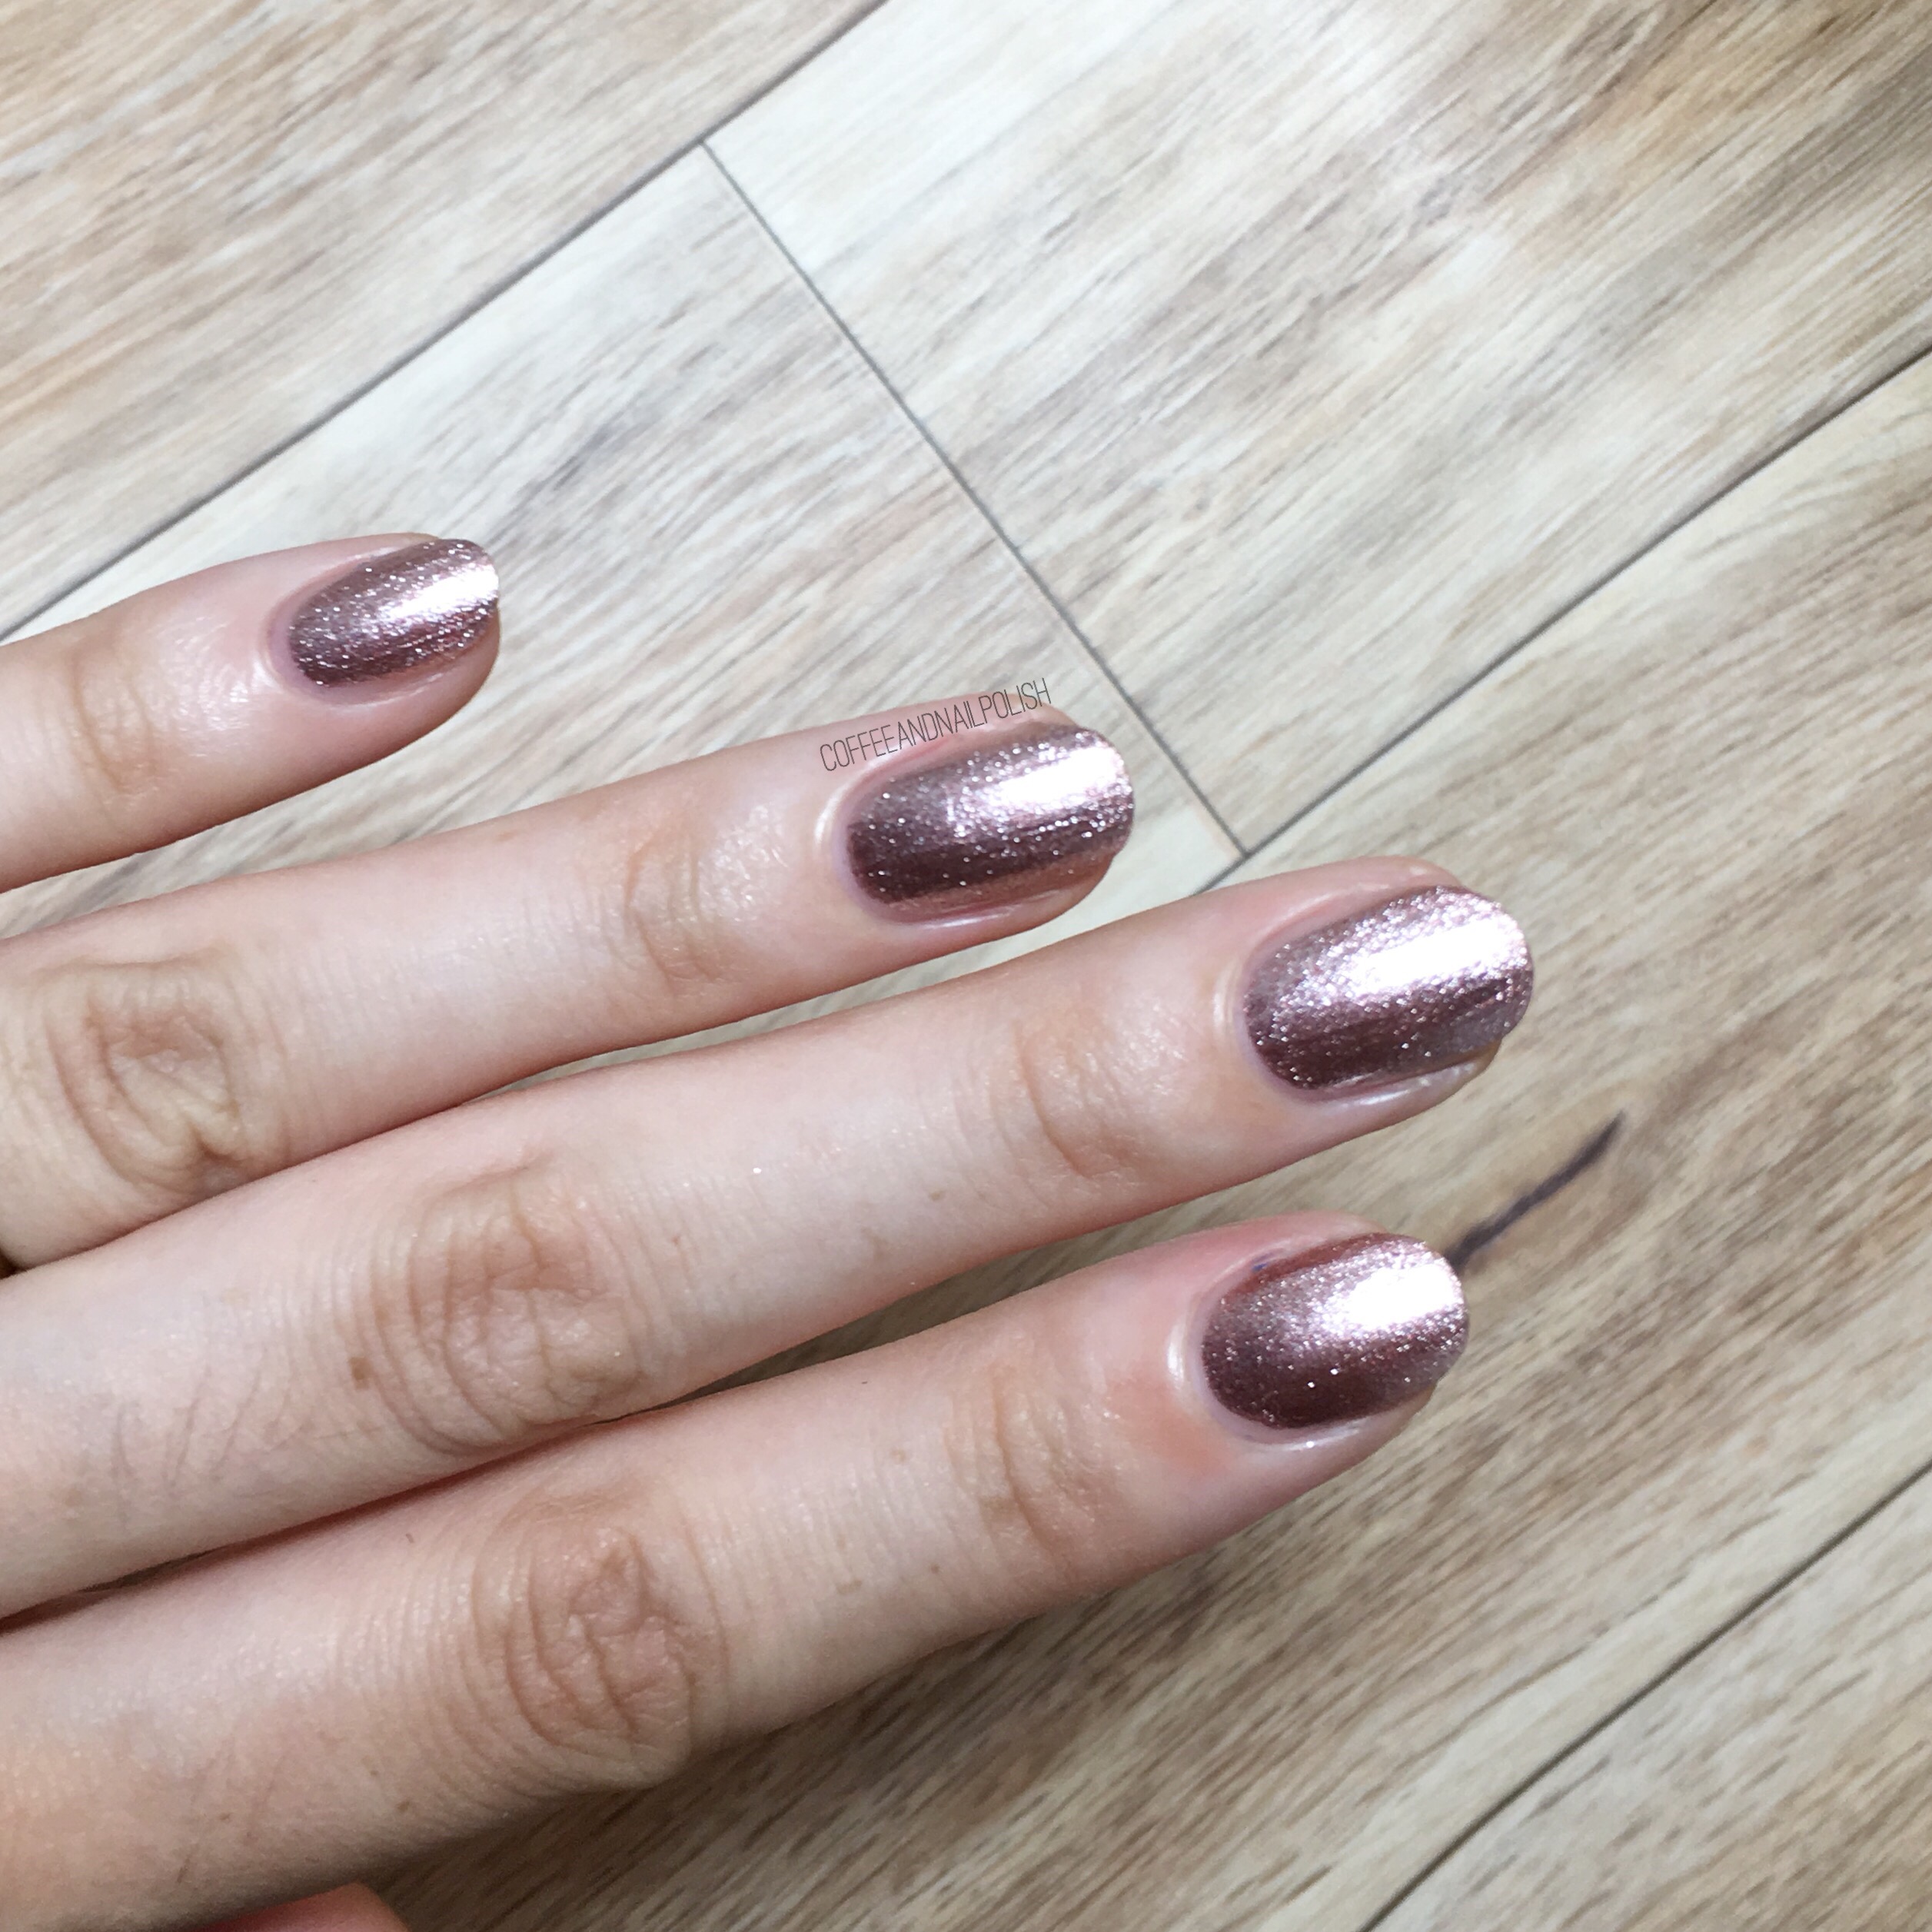
SWATCH SUNDAY — Featuring New Limited Edition Quo by ORLY Breathable Shades for Fall 2017. 

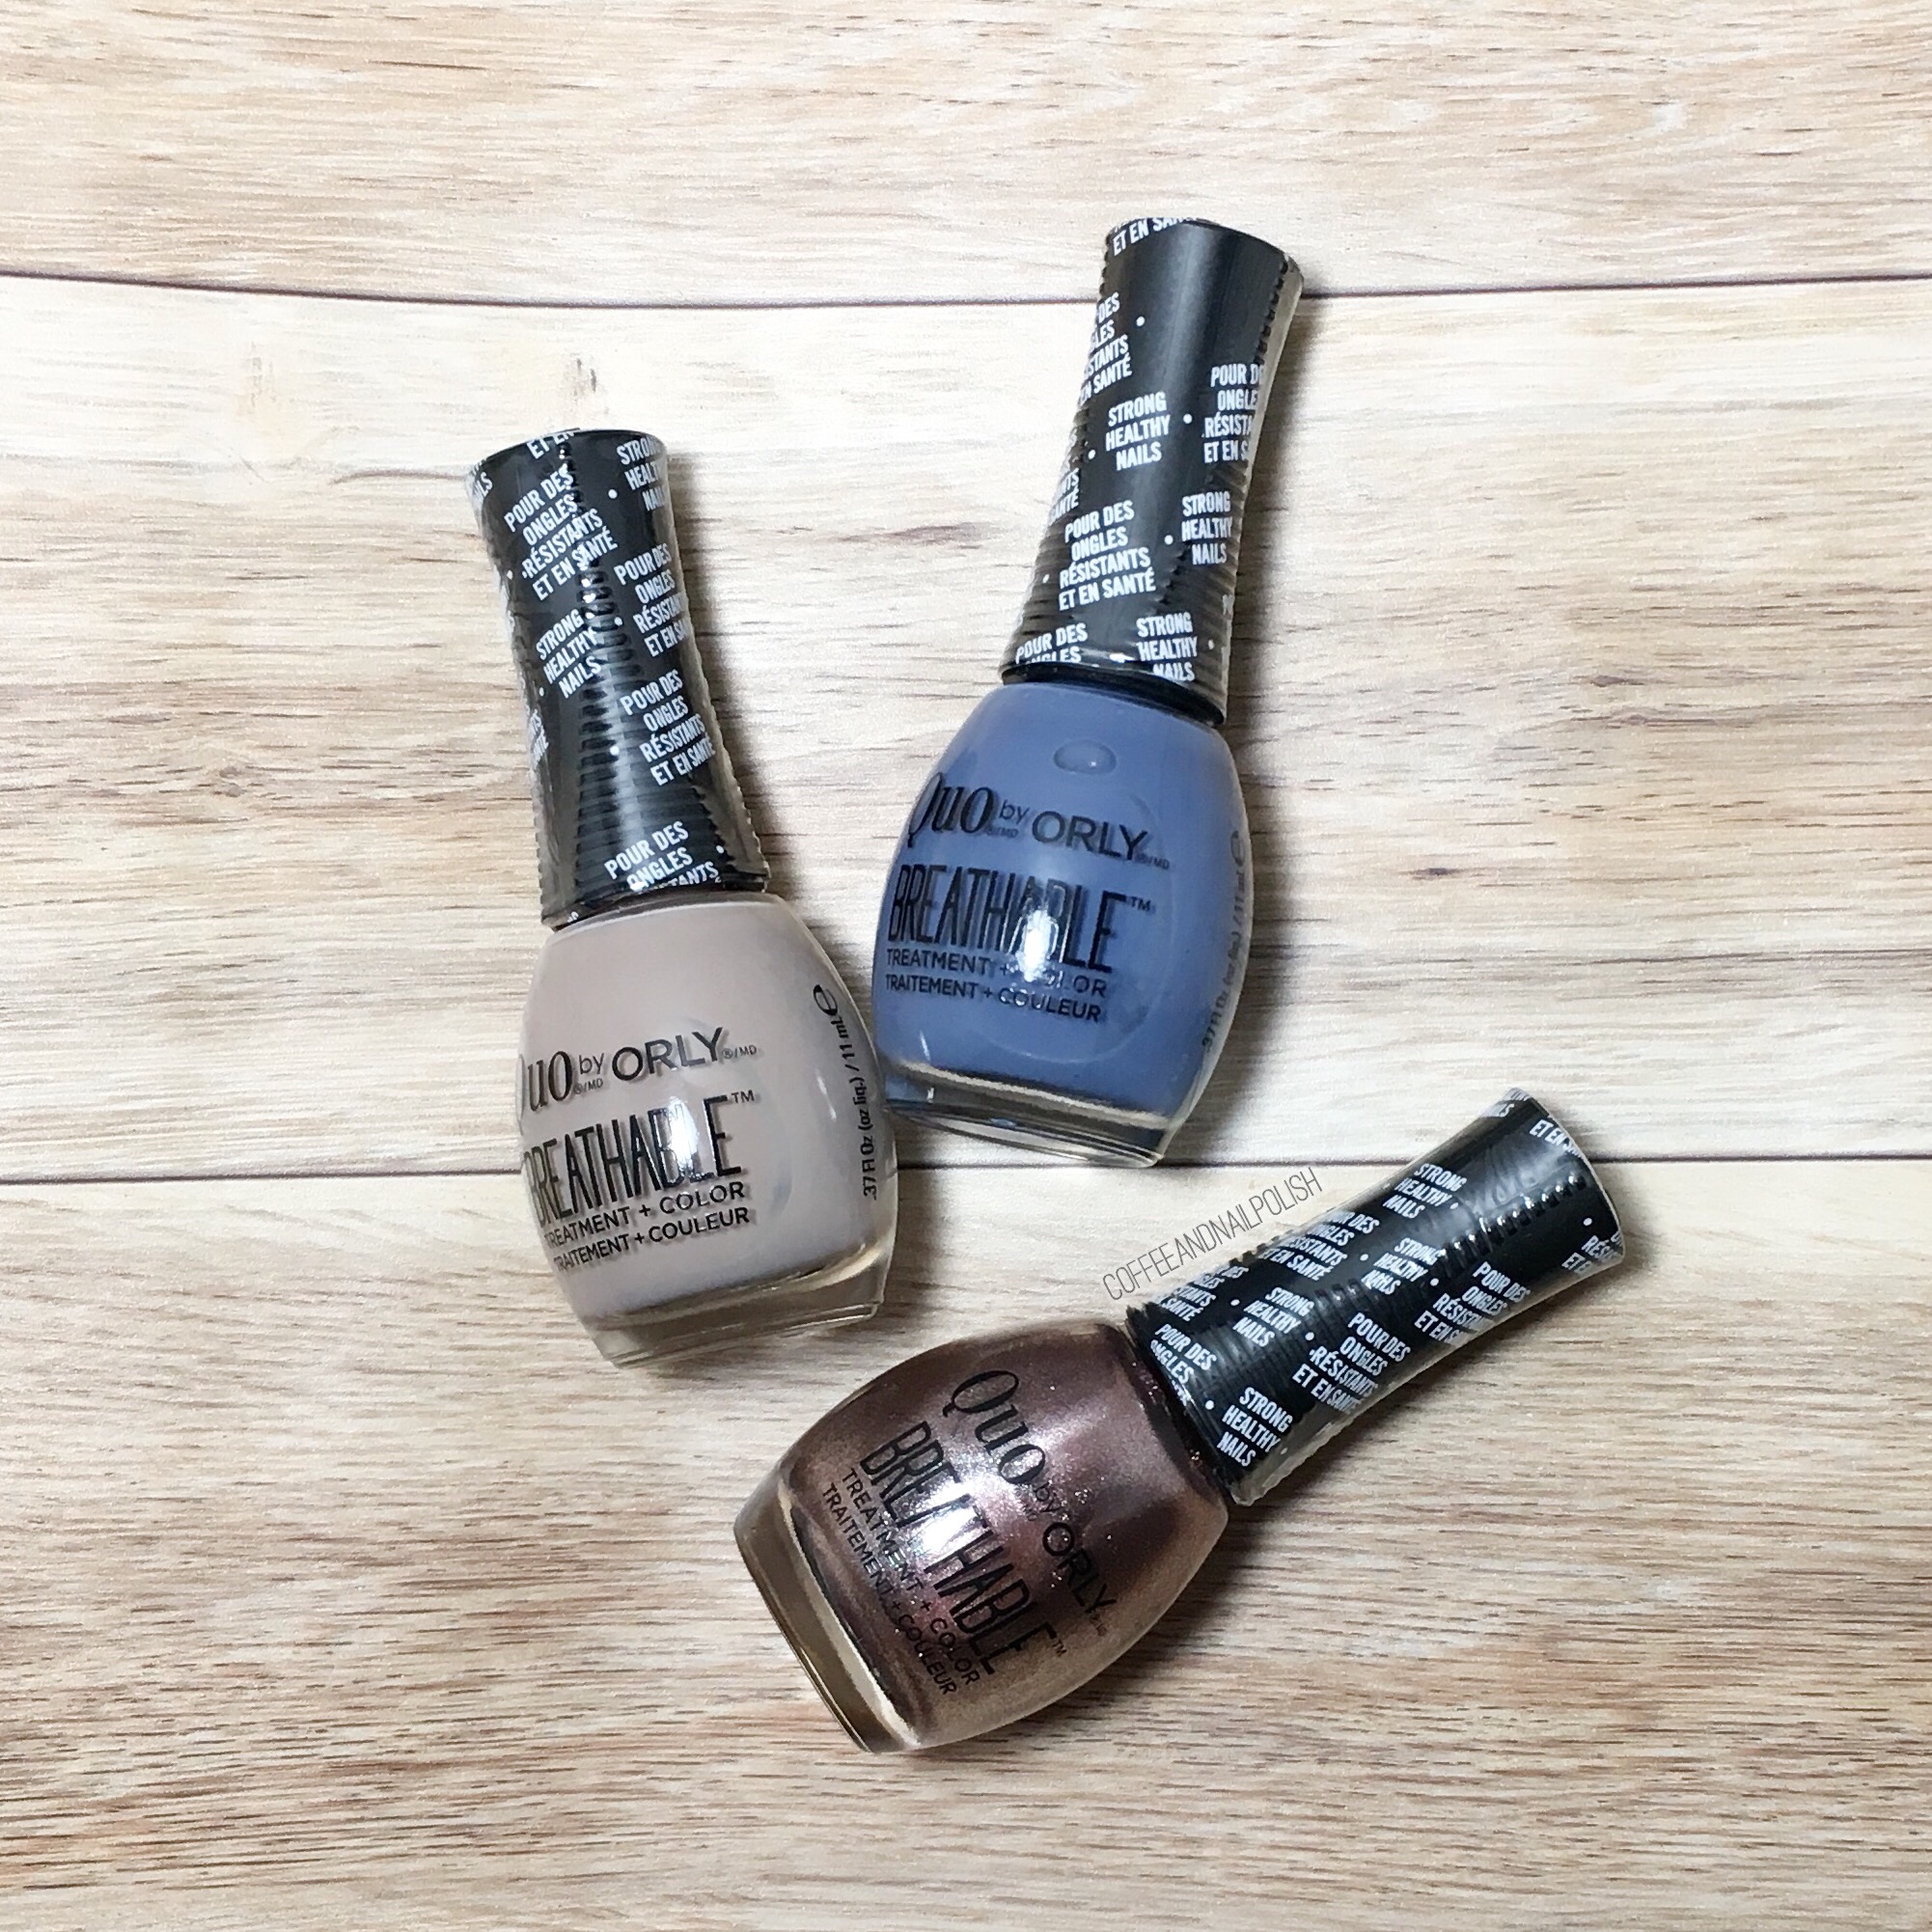
Who doesn’t love new nail polish? Who doesn’t love new nail polish that is actually good for your nails! Today I’m sharing three brand new for the Fall Limited Edition Quo by ORLY Breathable shades that I recently received.

It’s always a super exciting day when nail mail shows up at the store, & when I saw these beauties in the box I was extra excited. You can check out my previous post on these Breathable shades from last year here to understand why I was so excited. Not only are these polishes beautiful, with great formulas that require no base or top coat, but they are designed to make your nails stronger & healthier! 
Quo by ORLY Down to Earth


Who doesn’t love a good nude shade? Especially a nude you can get away with one coat of! This grey leaning neutral is the perfect throw & go shade to me, especially since it is only one coat. Also no top coat required! That also means the dry time isn’t instantaneous, but that’s okay with me. 


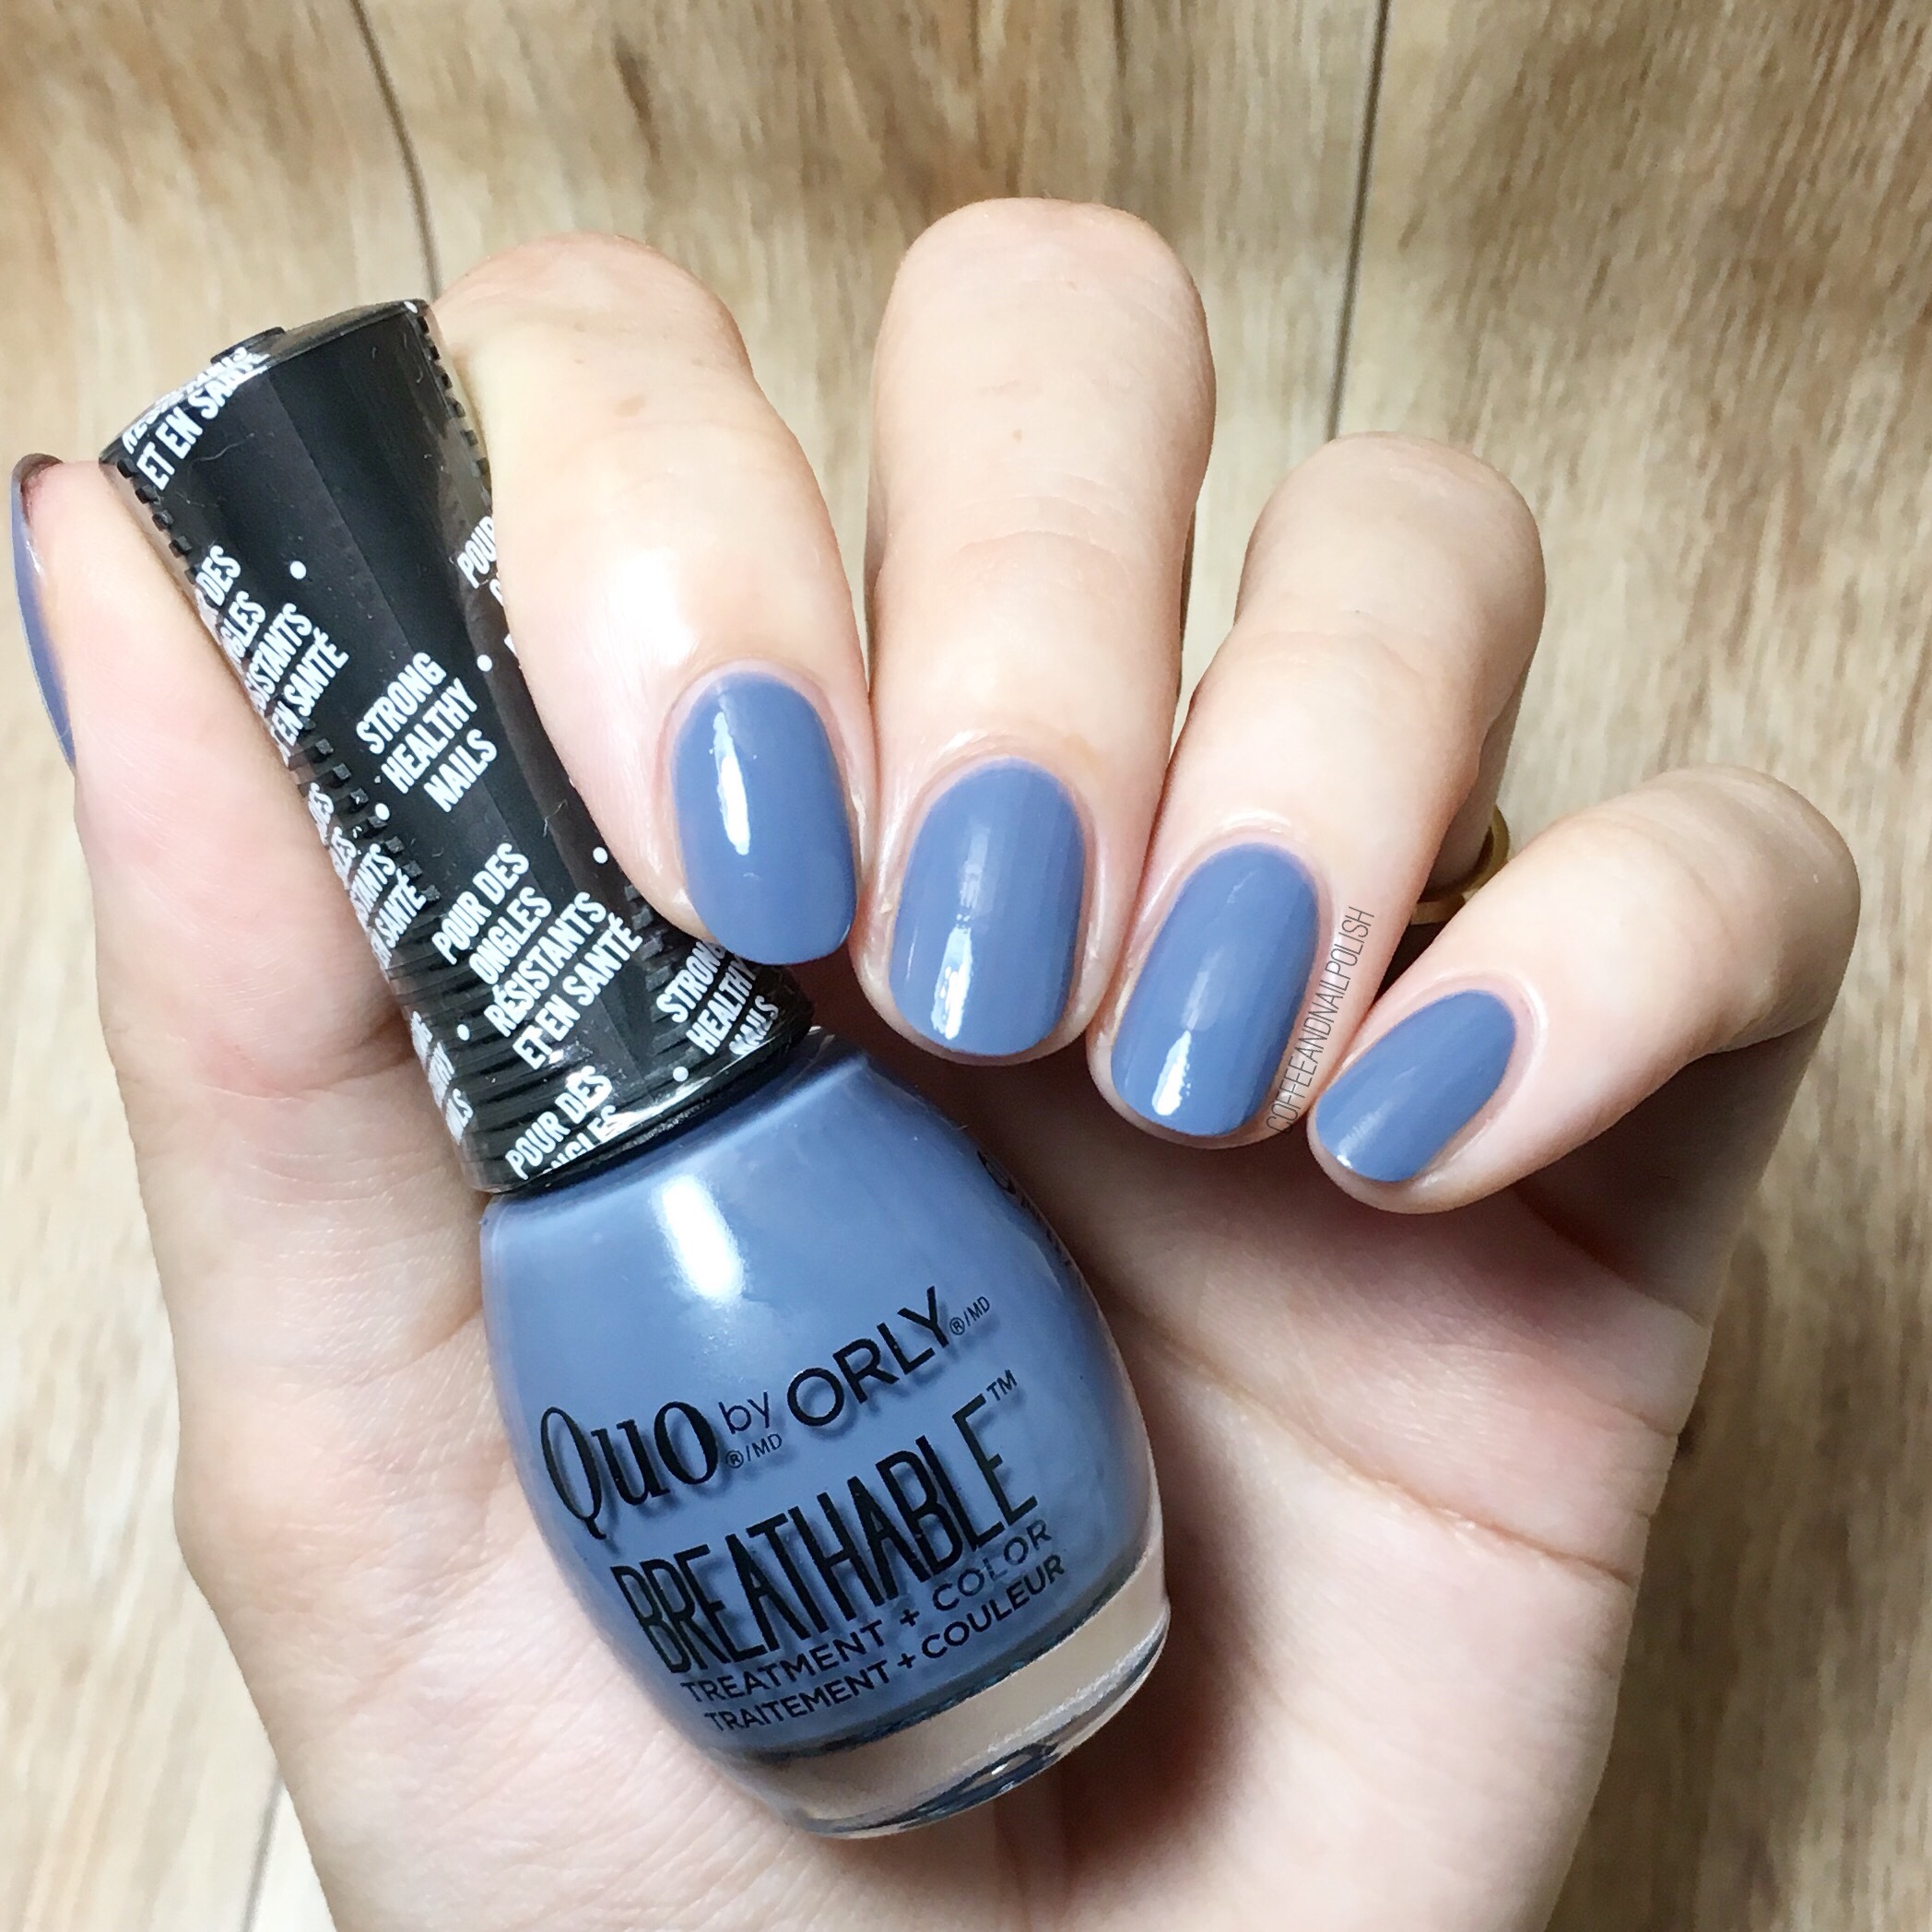
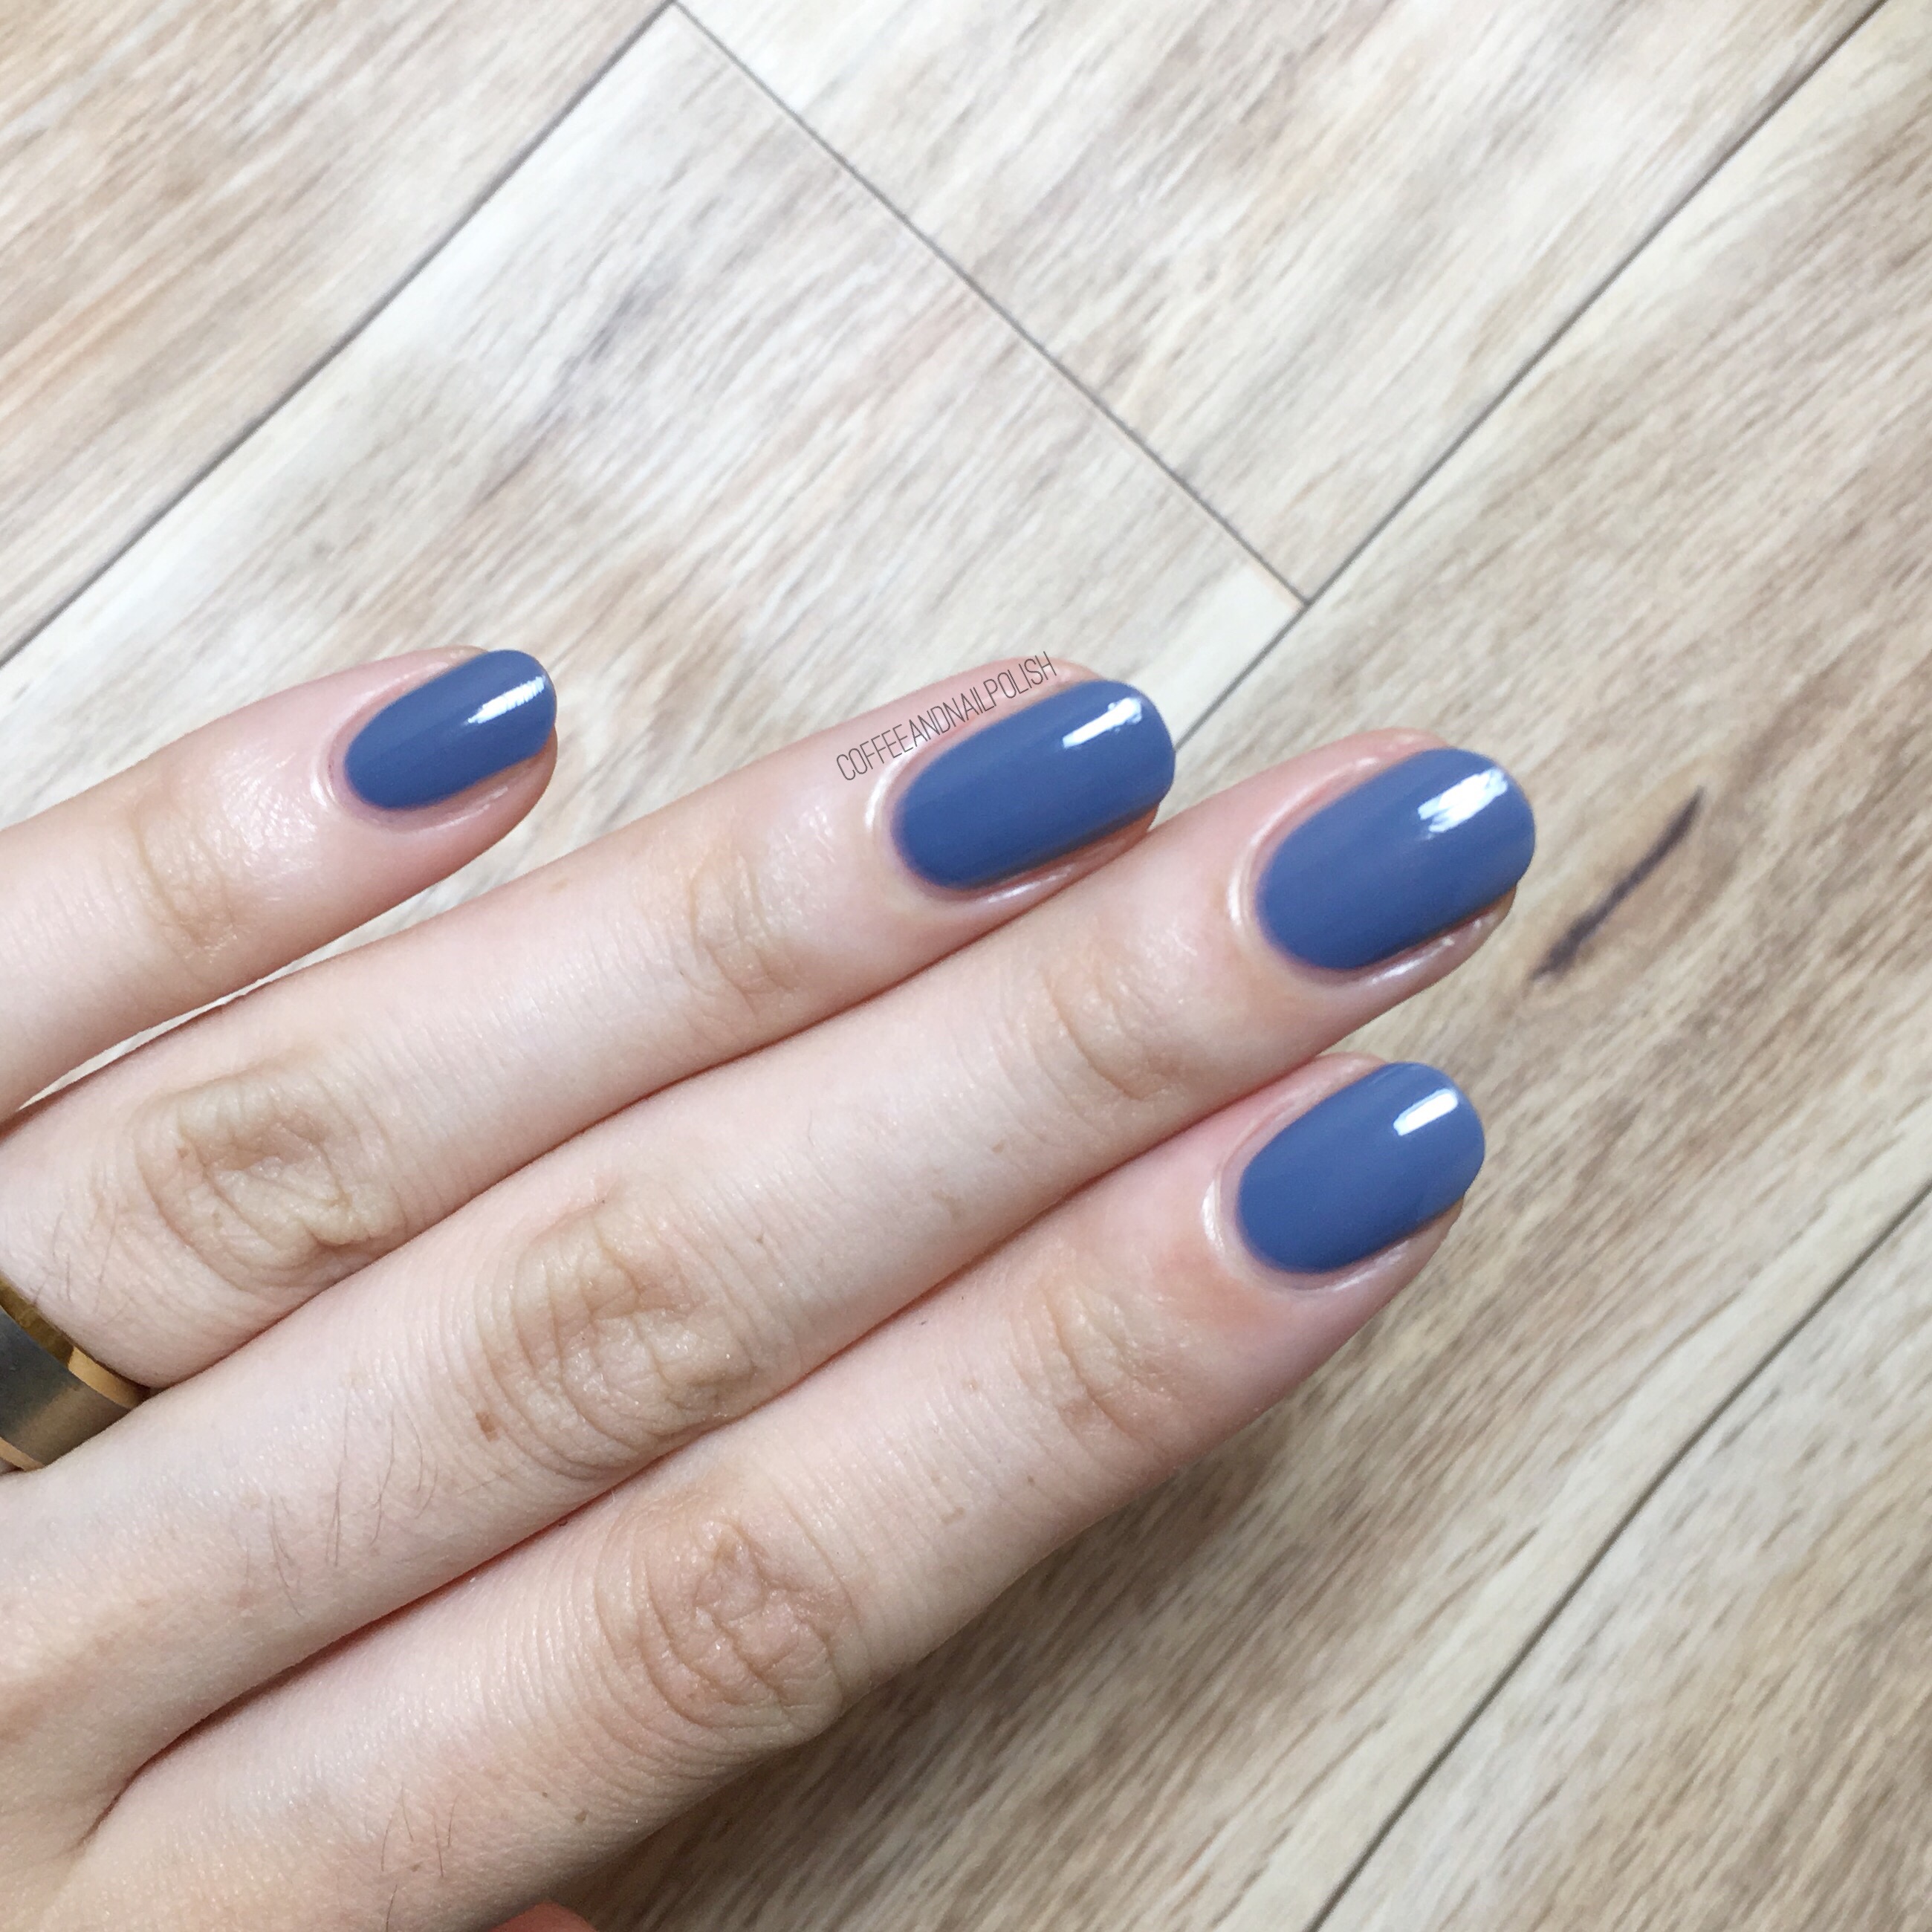
Quo by ORLY De-Stressed Denim

Let’s talk about the formula of all these polishes—they’re perfect. Like beyond perfect. This is two coats of De-Stressed Denim, & they went on so smoothly. This blue is also just so perfectly named, because it really just the spot on colour of jeans. I actually saw these three shades at my local Shoppers & this was the one I was drawn to first. So pretty! 


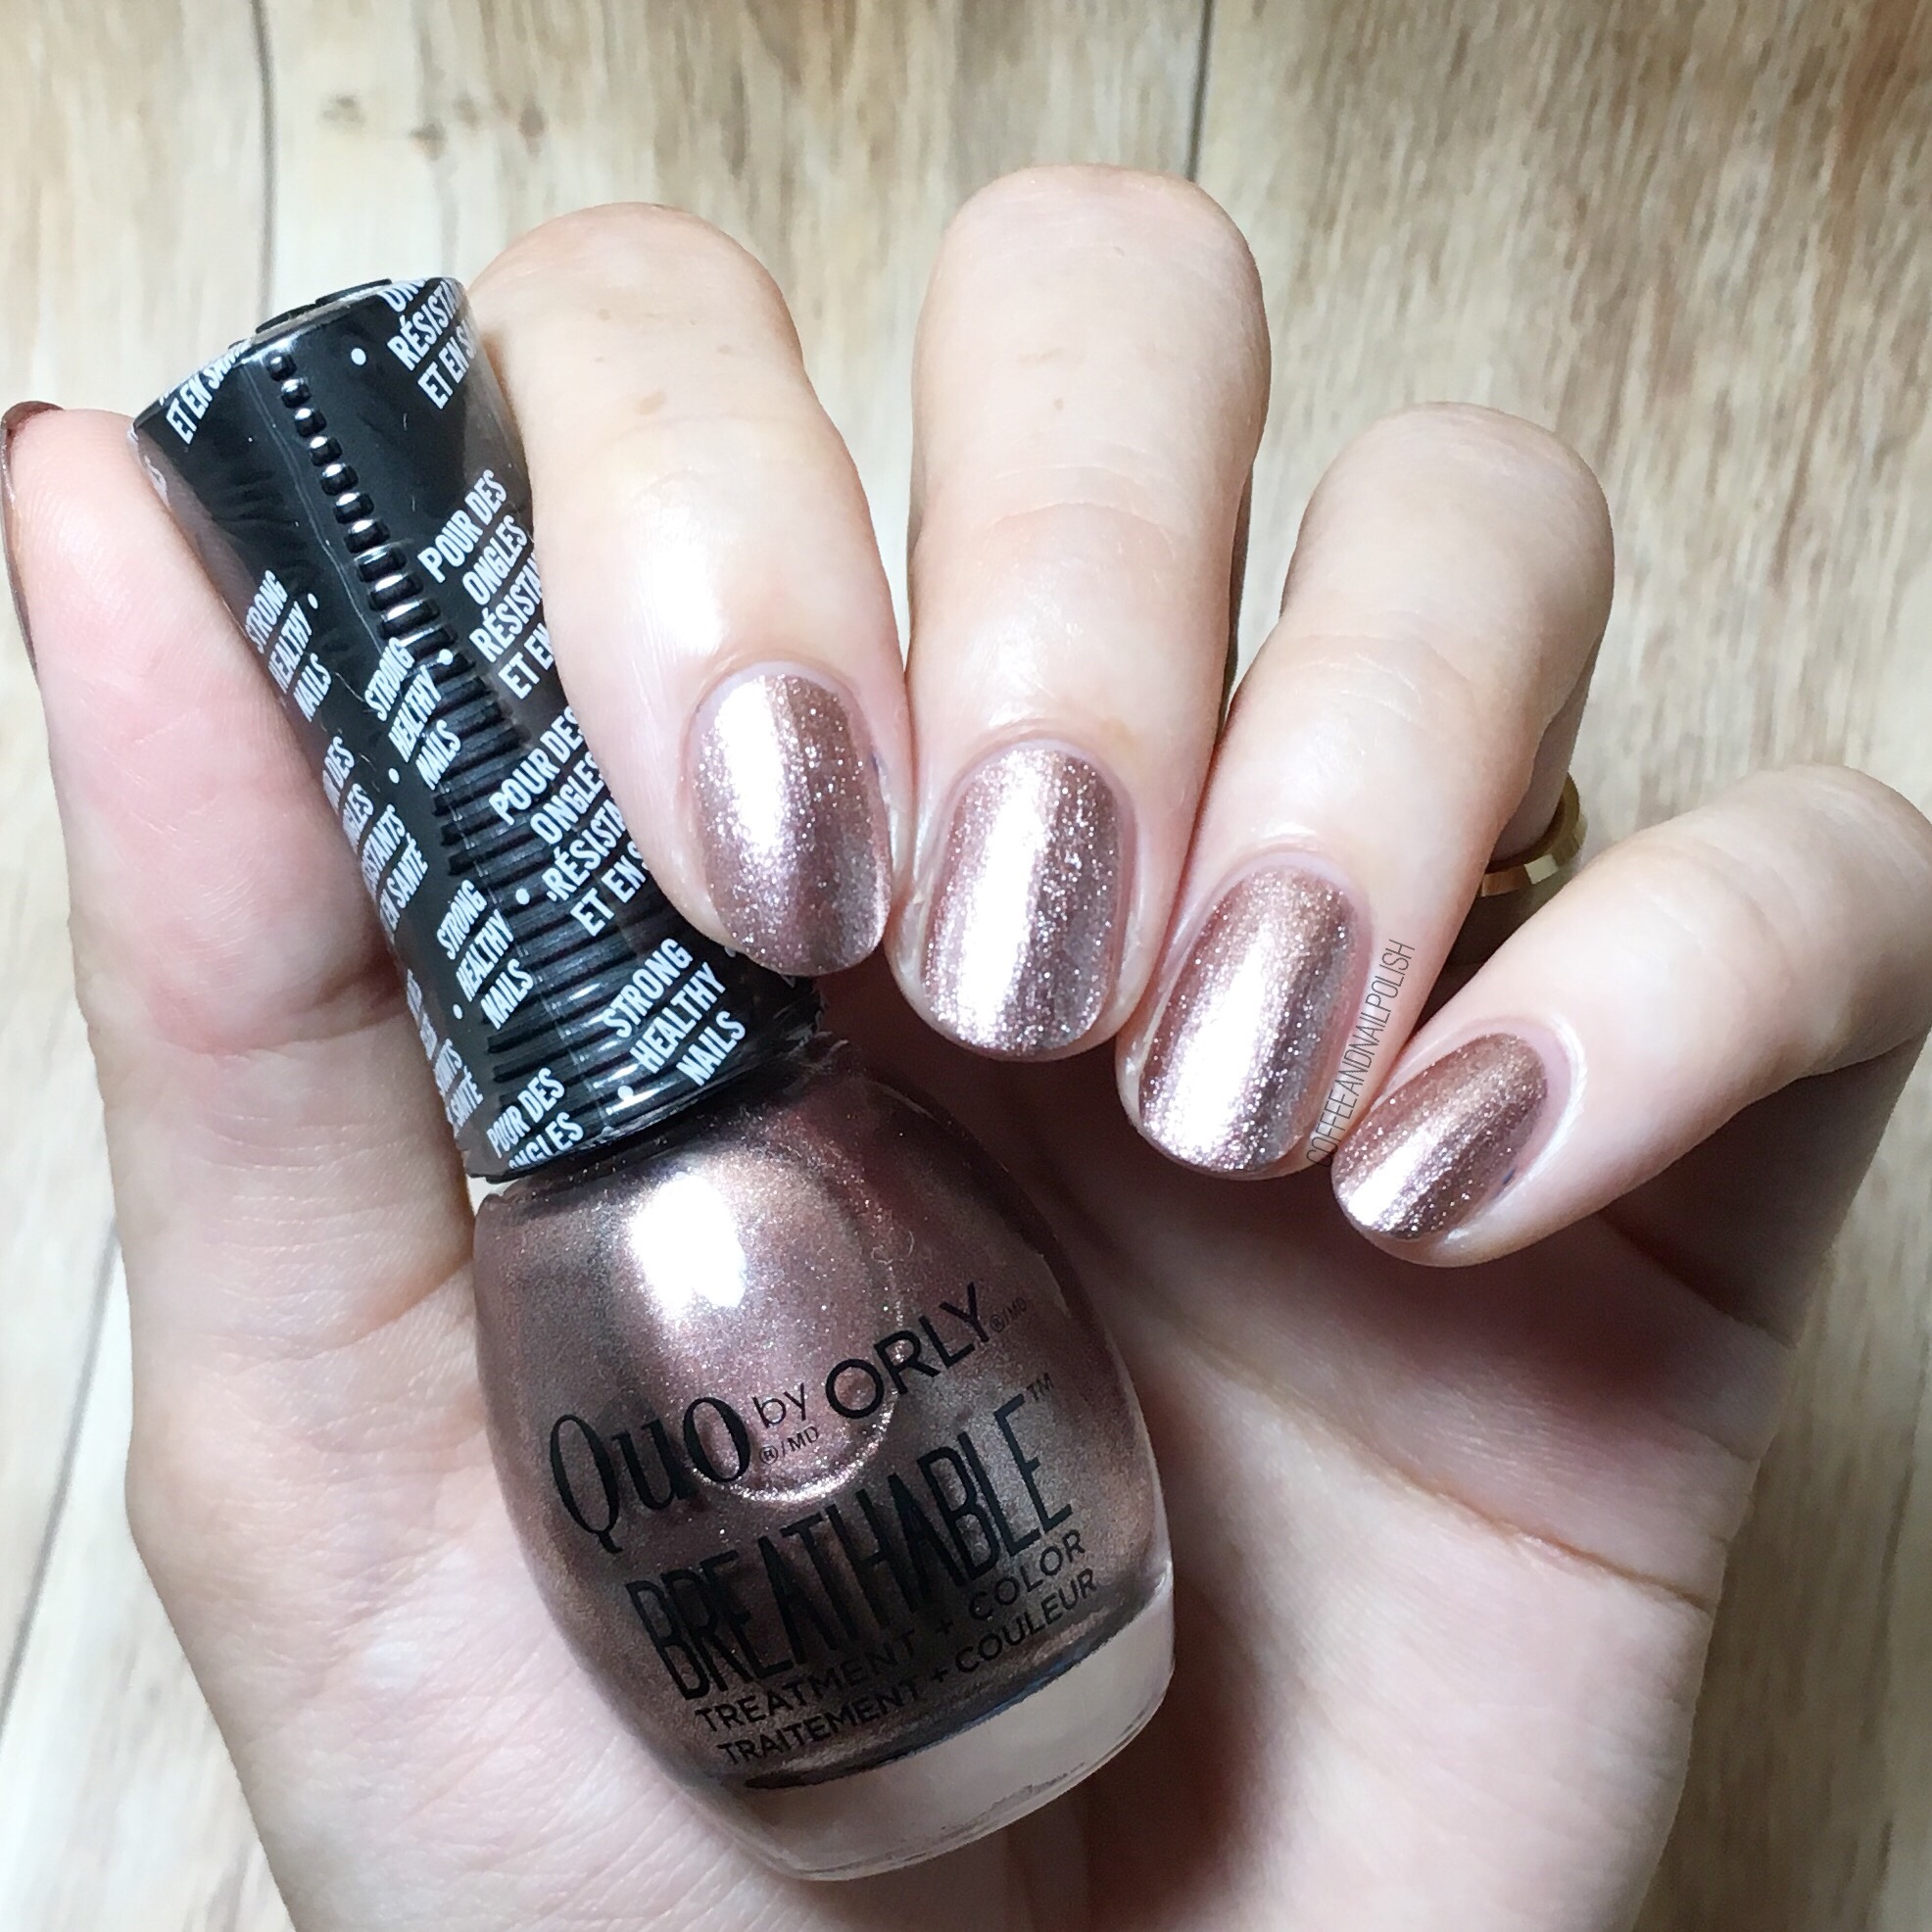
Quo by ORLY Fairy Godmother

A shimmery rose gold shade… that’s good for my nails? Yes please! Fairy Godmother took two coats for that shimmery goodness you see above. It dries down easily, with few noticeable streaks. The colour is one I love, especially for this time of year (& holidays) & I love that I wear a pretty sparkly shade while making my nails stronger & healthier. 

So what do you think of these shades? 

Quo by ORLY Breathable shades can be found exclusively at Shoppers Drug Mart locations across Canada for $10.99. As I mentioned, these shades are limited edition so you’ll definitely want to pick them up before they’re gone! 

*PR SAMPLE* Some of these items were sent to me for review. However, all opinions are my own. 

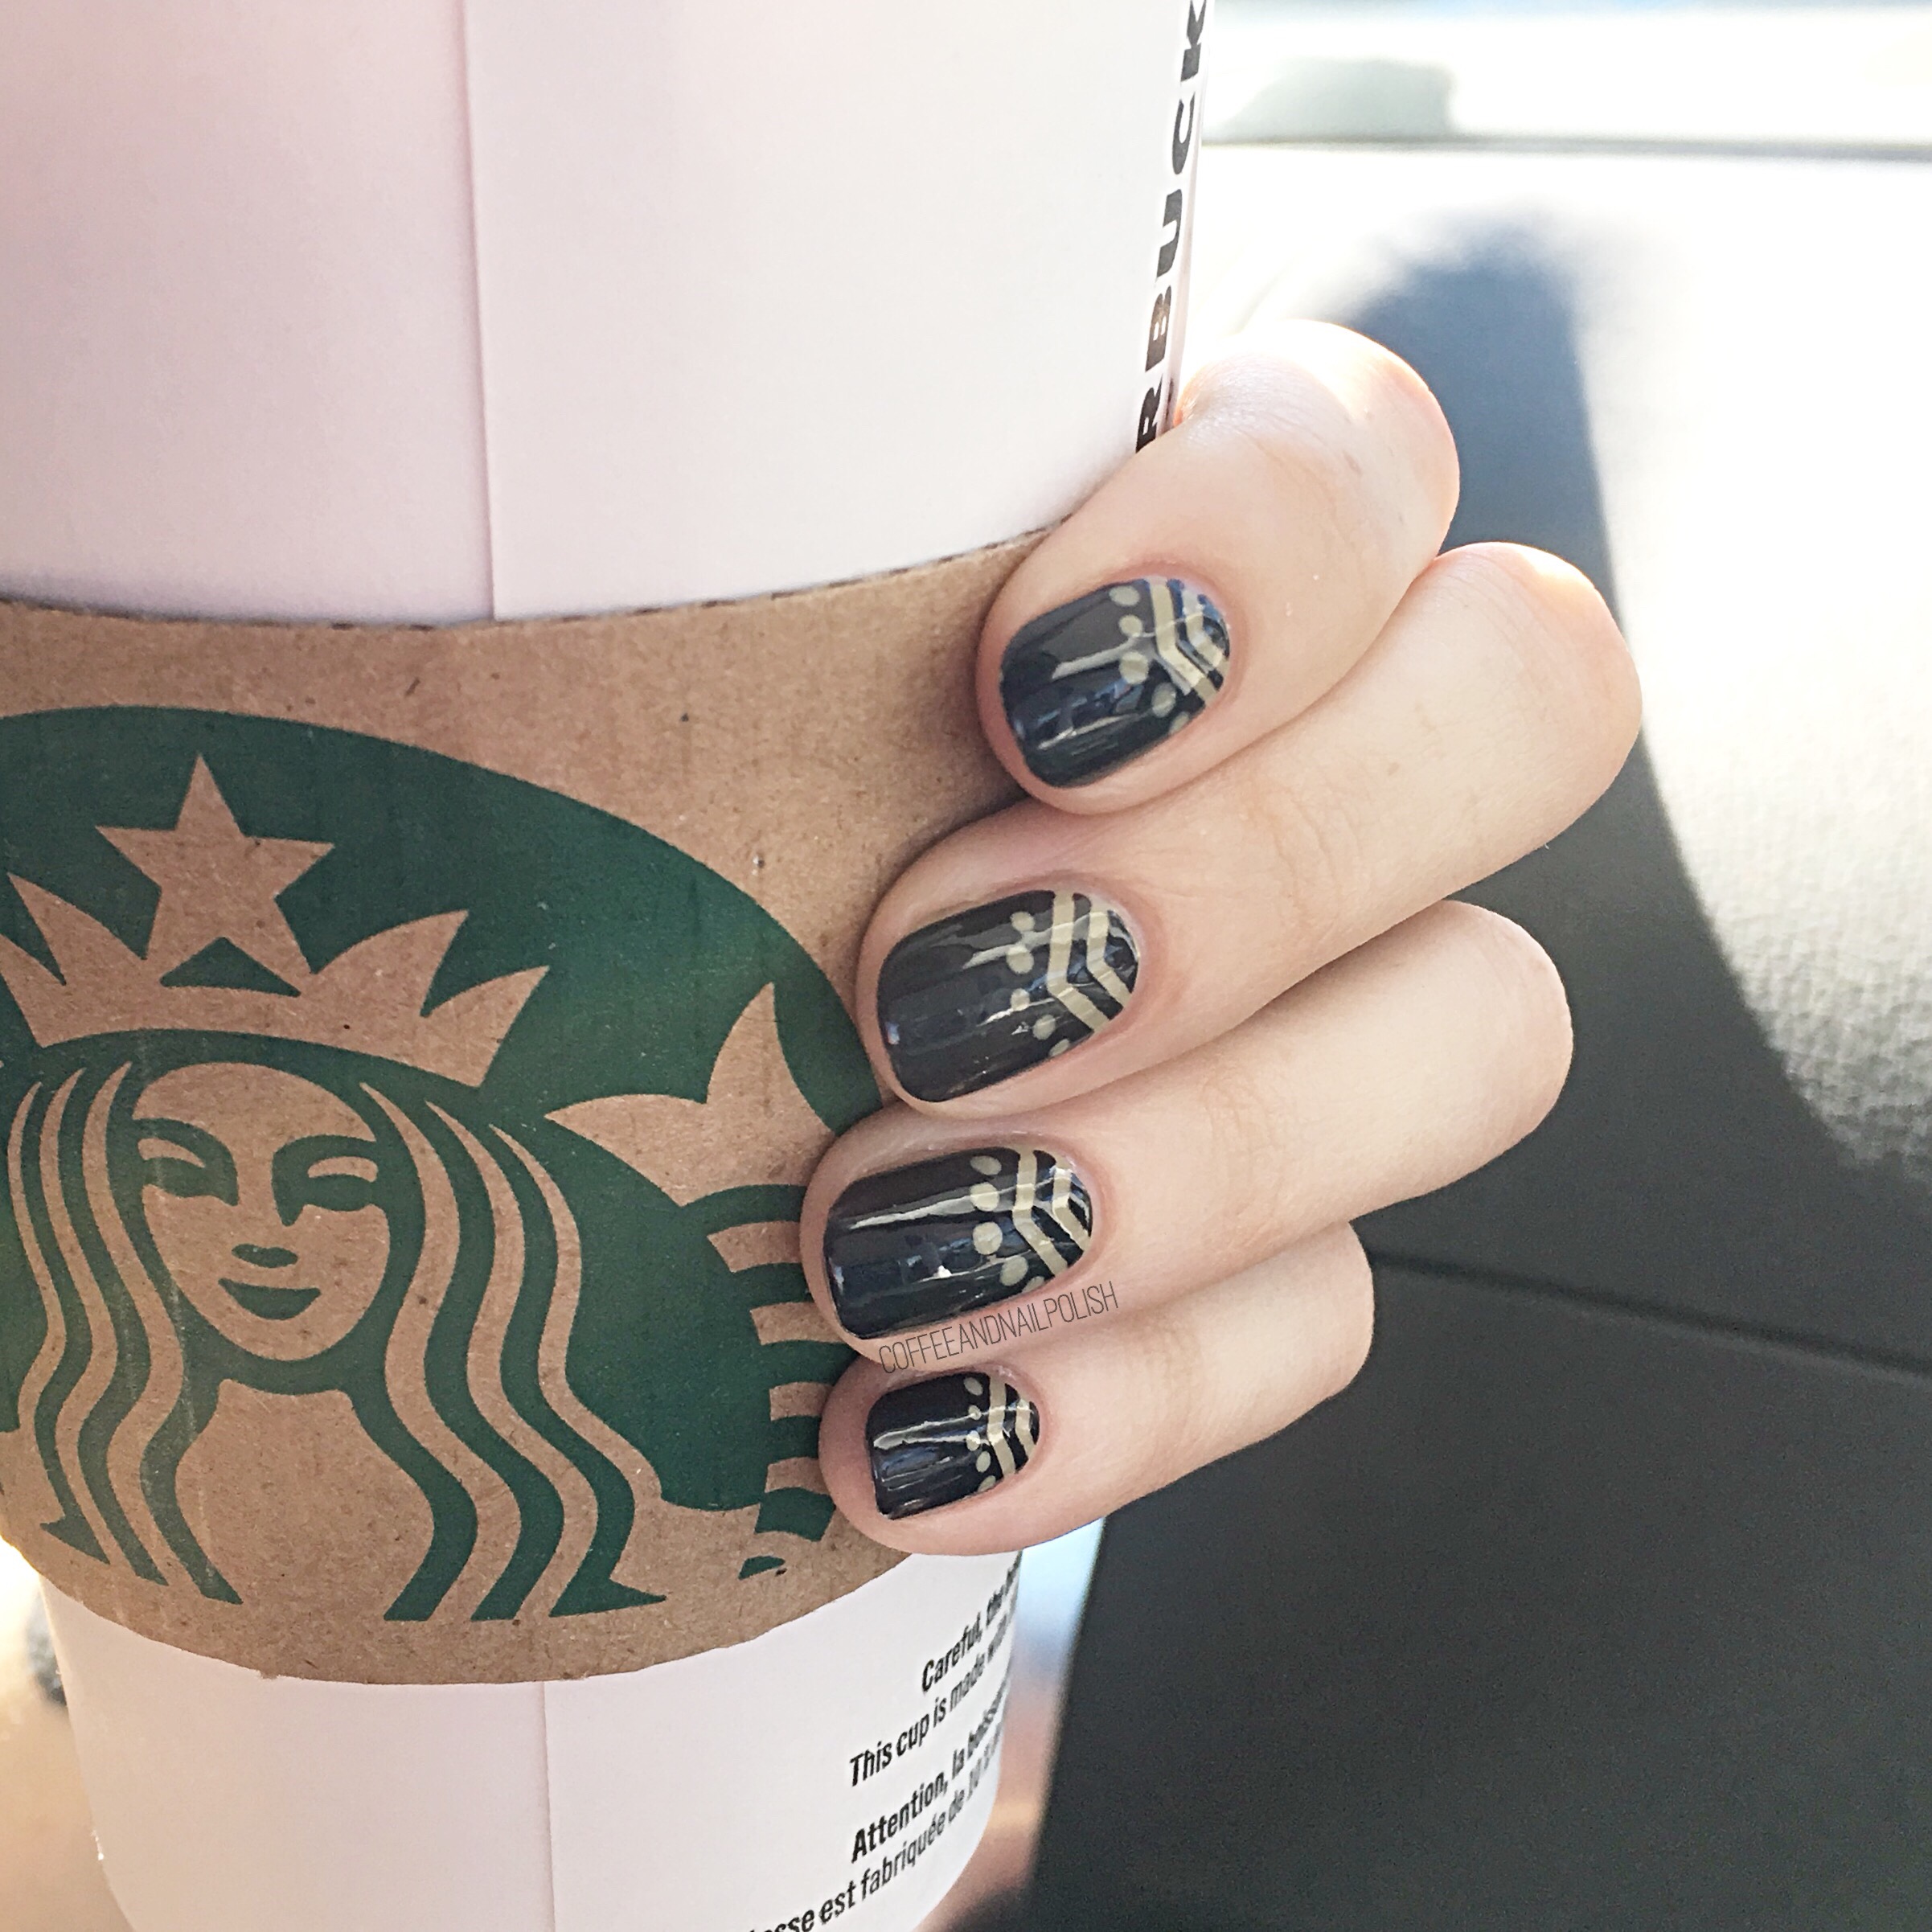
Tribal-esque Chevron Nails

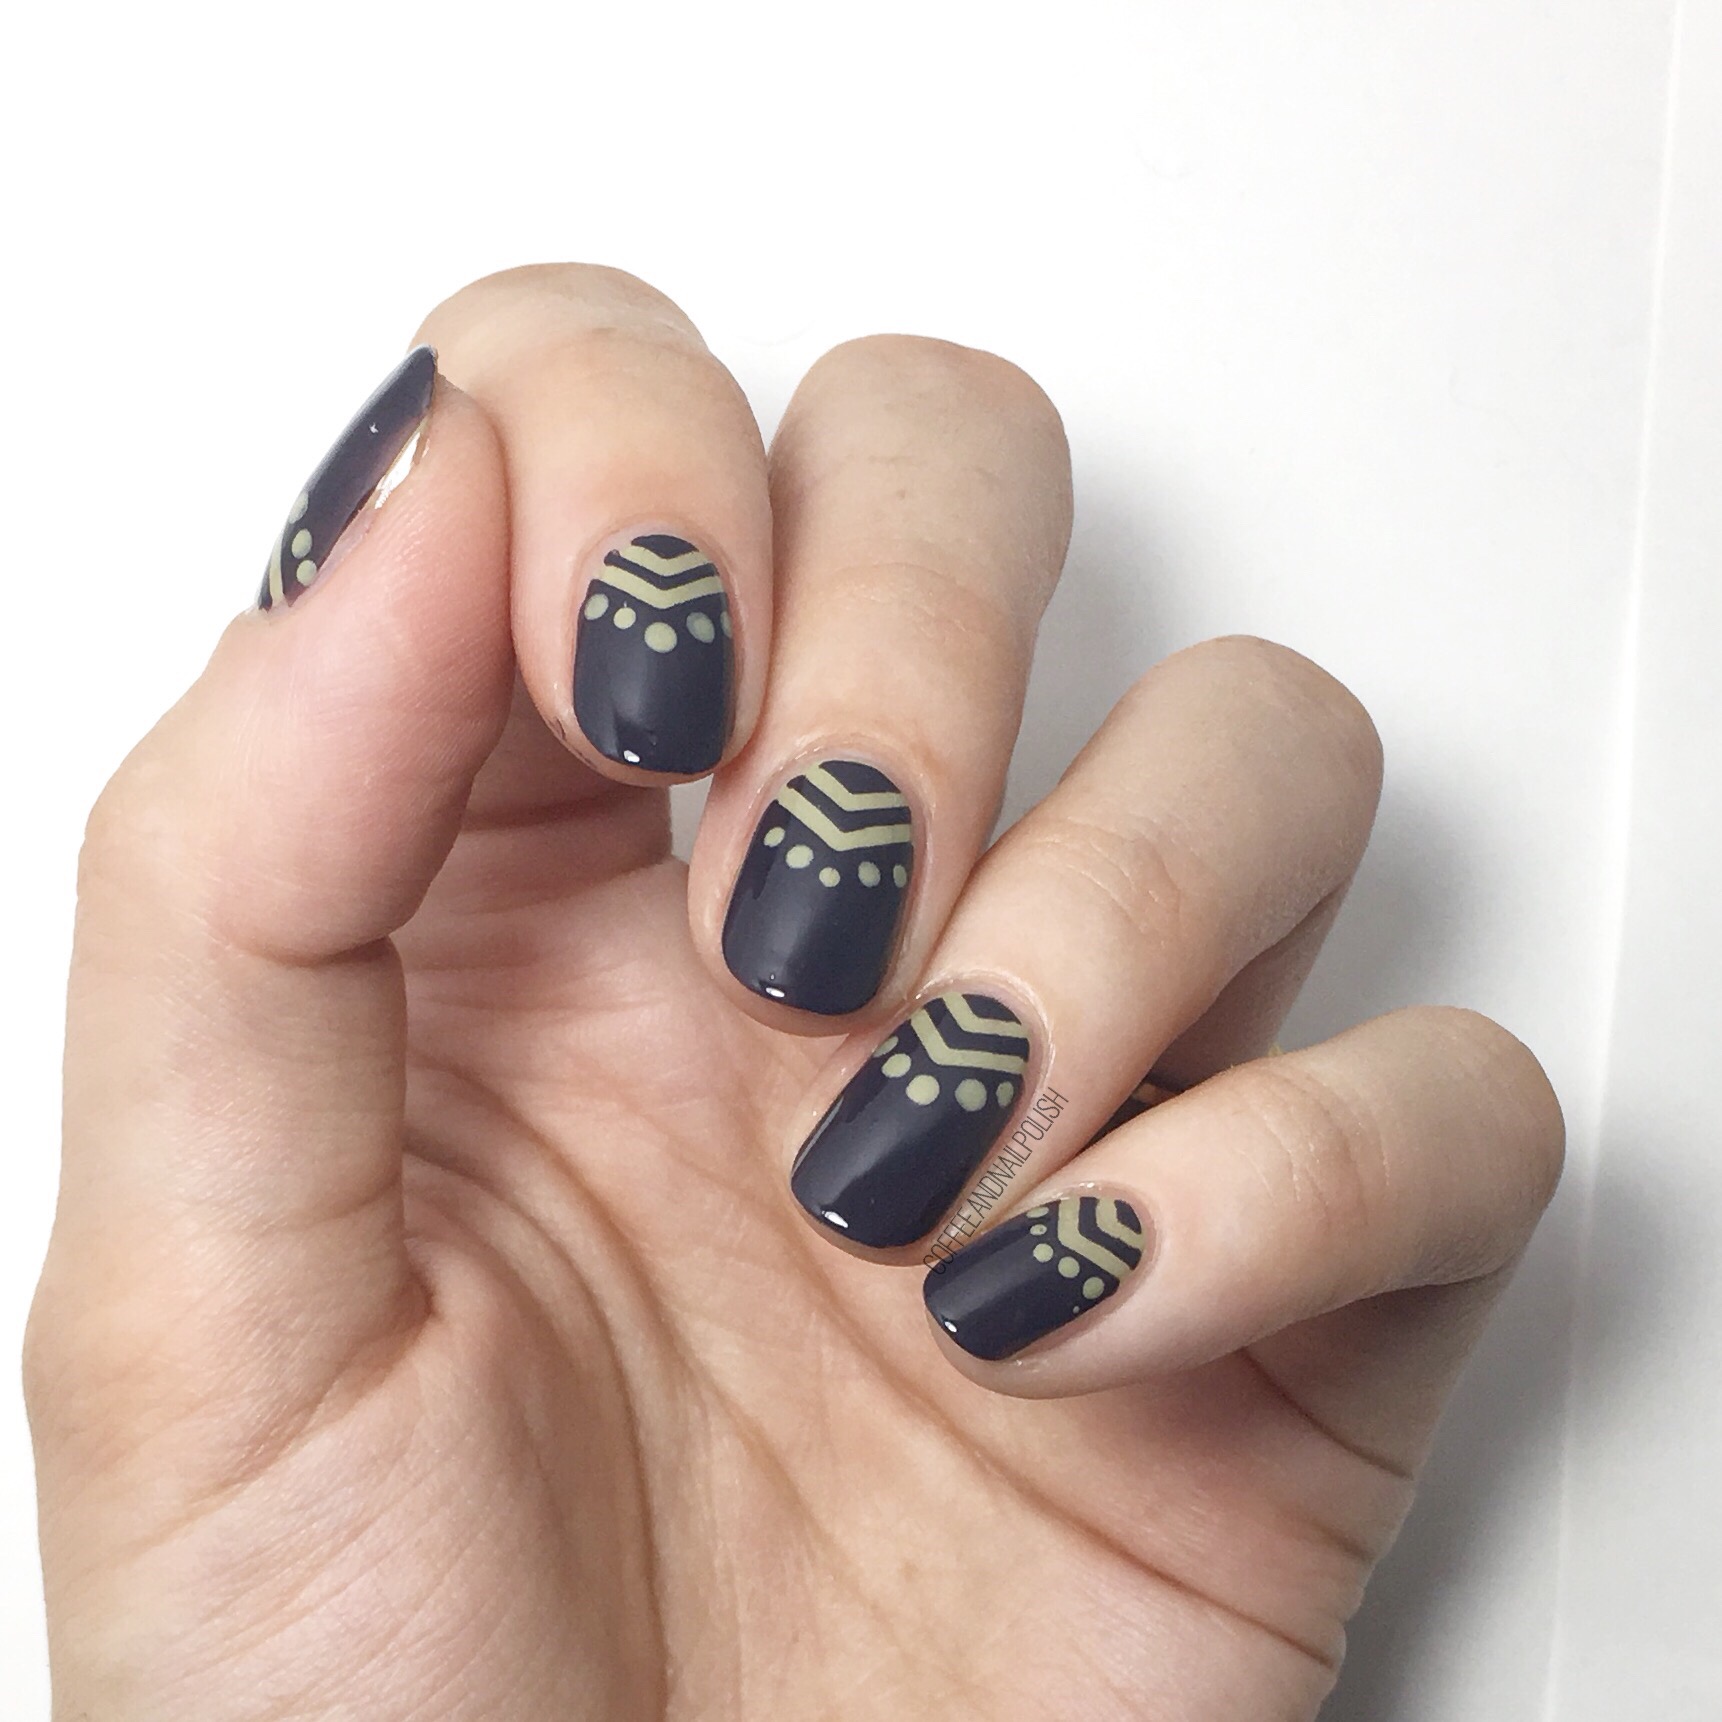
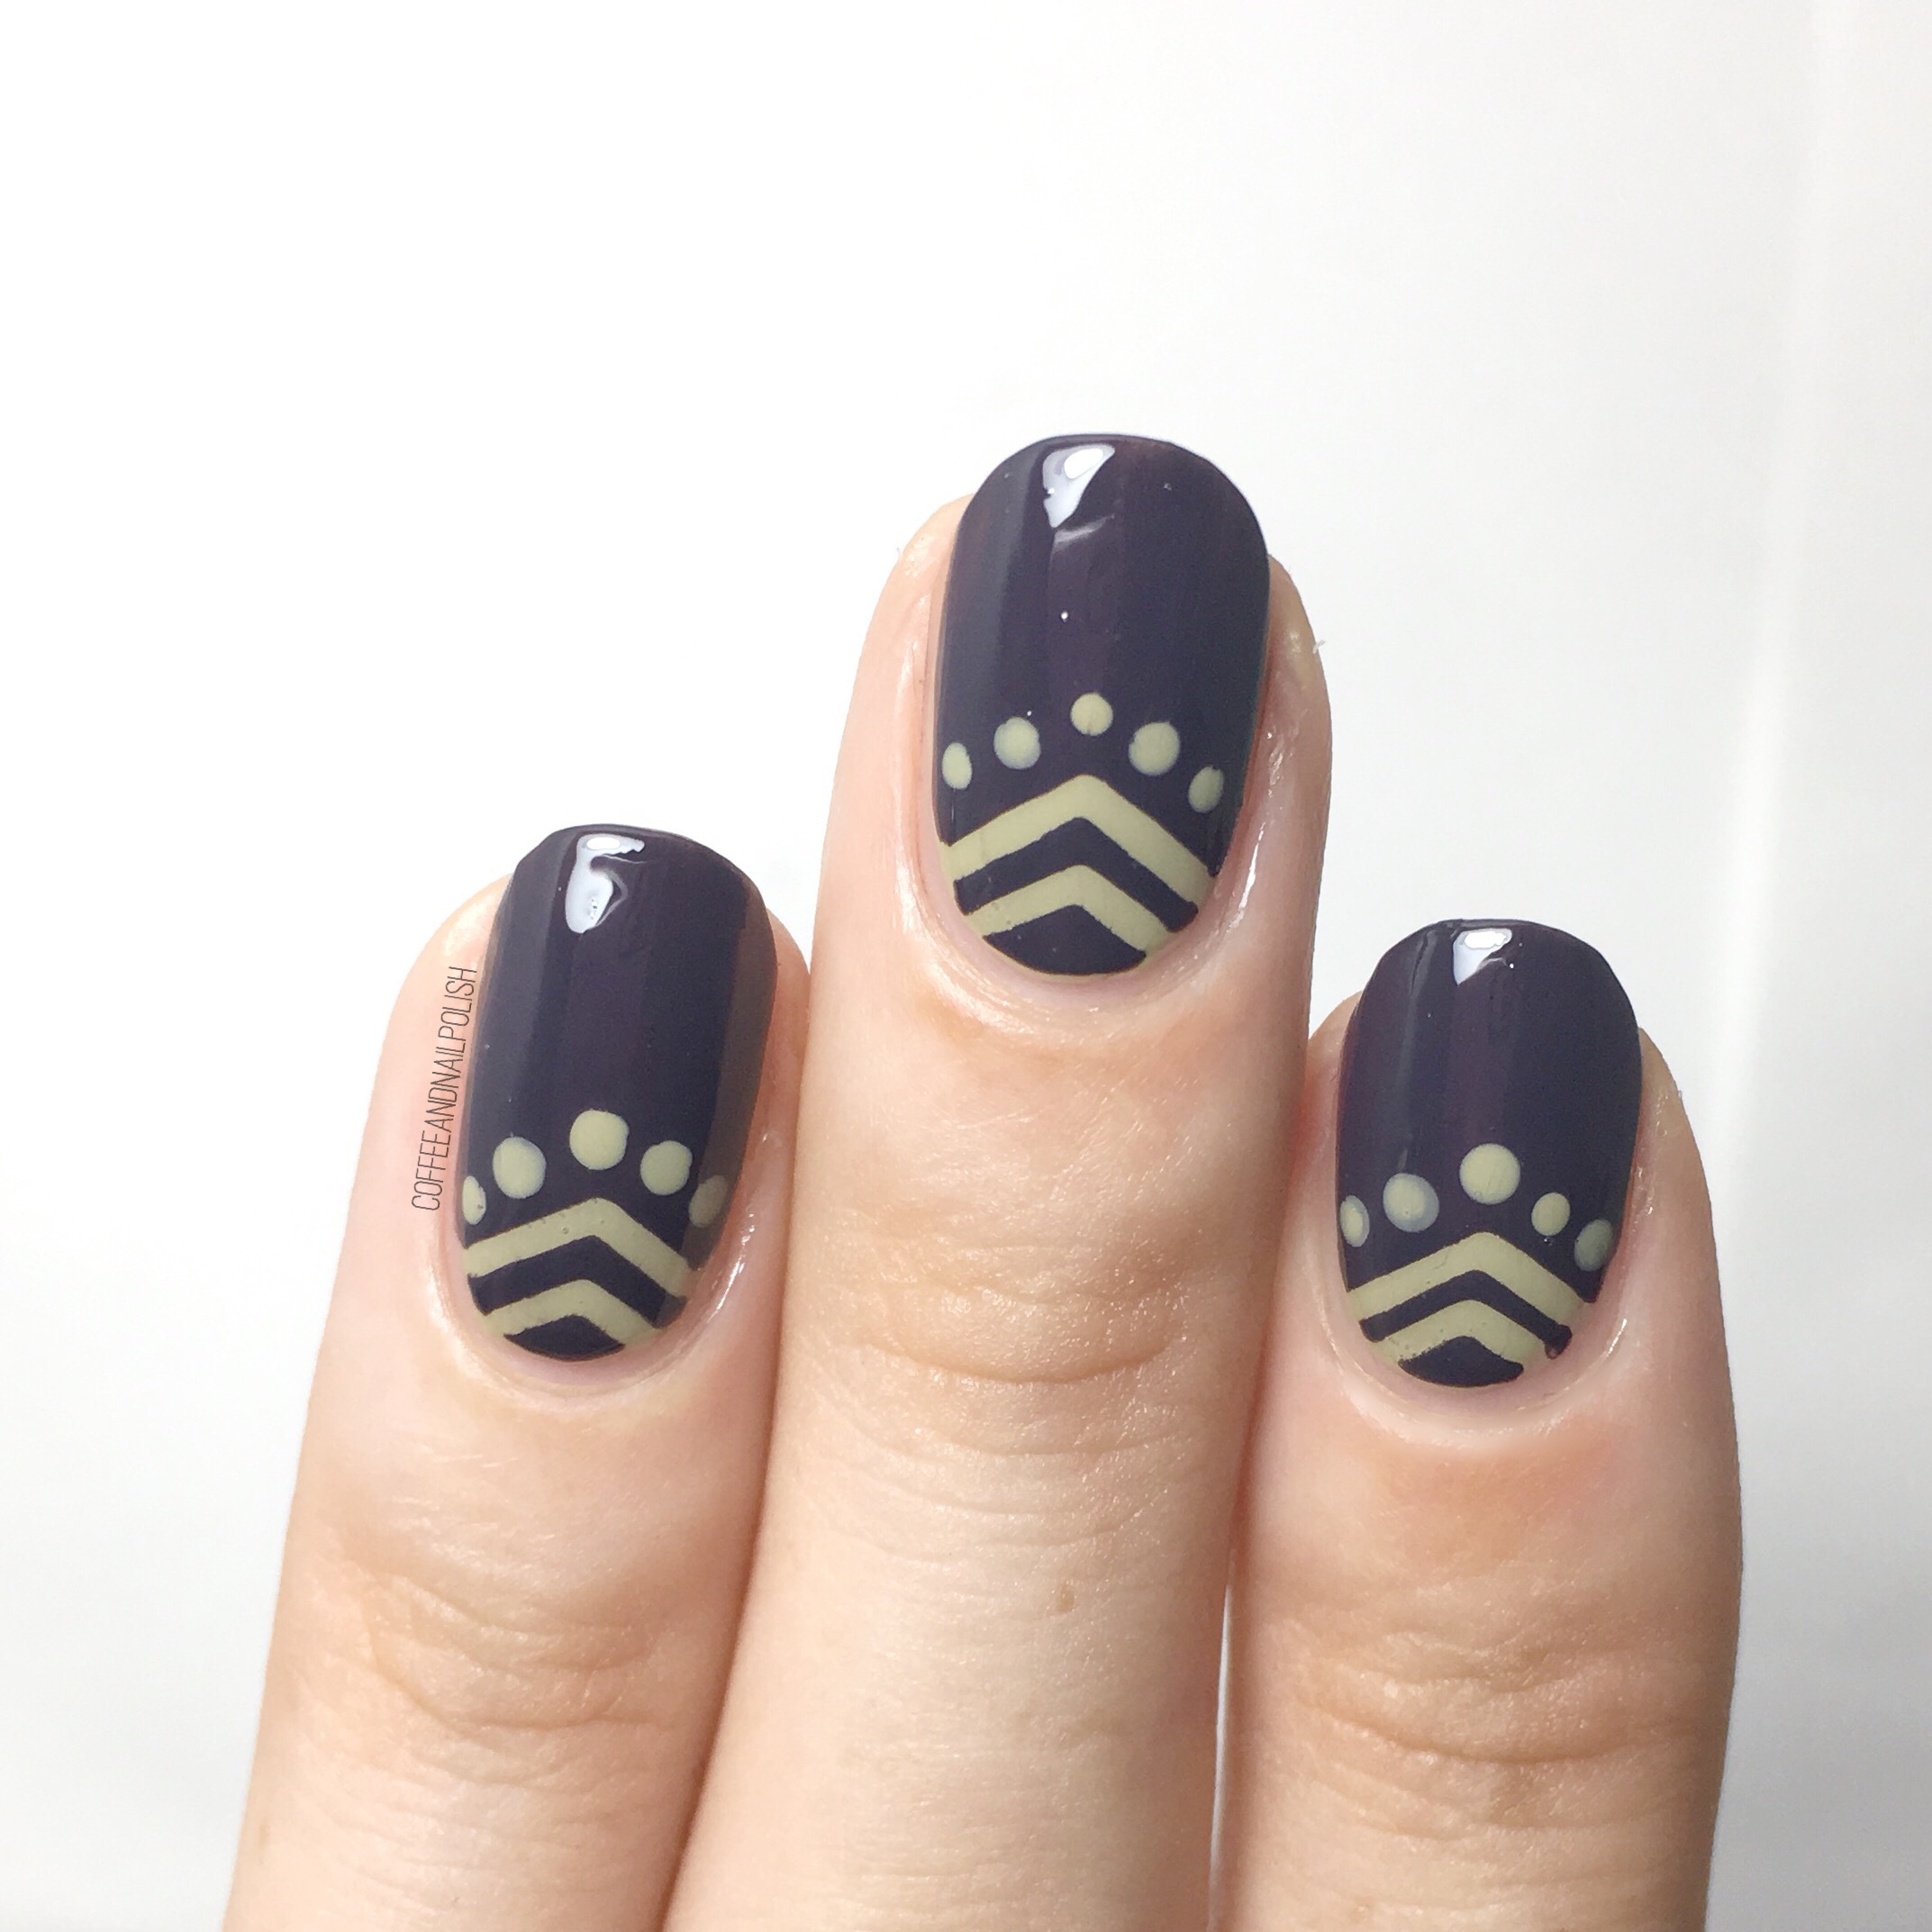
I’m still obsessing over the OPI Iceland collection, so I felt like pulling it out for some more nail art. This time, I decided on these chevrons which ended up looking slightly tribal-esque. 

Even better, this design was super quick & easy to do which is good because I’m still pretty run down from my gluten attack but still want to do my nails. Don’t get me wrong–I enjoy complicated freehand designs. But sometimes you just want to be able to have pretty complicated nails without having to spend 2 hours crafting them! & this design is definitely perfect for that. 

For this design, the polishes used are:

  • Base Coat: OPI Natural Nail Base Coat
  • Top Coat: Sally Hansen Diamond Flash Top Coat
  • OPI This Isn’t Greenland
  • OPI Suzi & the Artic Fox
  • Xroma Polish & Vinyls X Stencil (I used the inside pieces) 
  • Small dotting tool 

How great do these two colours look together? They compliment each other really, really well. But then again these OPI shades are so gorgeous, I think it would be impossible to create a design that didn’t look beautiful. & again, these were super simple to do:

  1. Paint your nails using your base colour (in this case, OPI This Isn’t Greenland) & apply quick dry top coat. 
  2. When your base colour is completely dry (about 20 minutes), apply your nail vinyls. I find it easier to go one hand at a time. 
  3. Going one nail at a time, paint over vinyls with your secondary shade (OPI Suzi & the Artic Fox). Remove nail vinyls as soon as you apply your polish. 
  4. Once you’ve done all nails, go back with a small dotting tool & your base colour & add your dots. 
  5. Apply top coat to seal in design. 
  6. Repeat on other hand. 

What do you think of this design? Let me know in the comments below! 

Some of these lovely polishes were all gifted to me by OPI as part of the #PreenMeVIP program.