Tribal Stamped Accent Nail

Good Morning! & happy Saturday. ♥️ My Saturday is starting off pretty good because we actually got a sprinkling of snow last night, so things are looking pretty festive & Winter-y. It’s also starting off pretty good because I have some new nails to show off.

I wore this nail art design the other night when I was invited to a Mark’s Well Worn Media Event–the first blogger event I’ve ever been invited to! It was pretty exciting & obviously I needed to wear something fancy on my nails for the occasion. & what is more fancy than some holo glitter & a little stamping accent nail. ✨

<

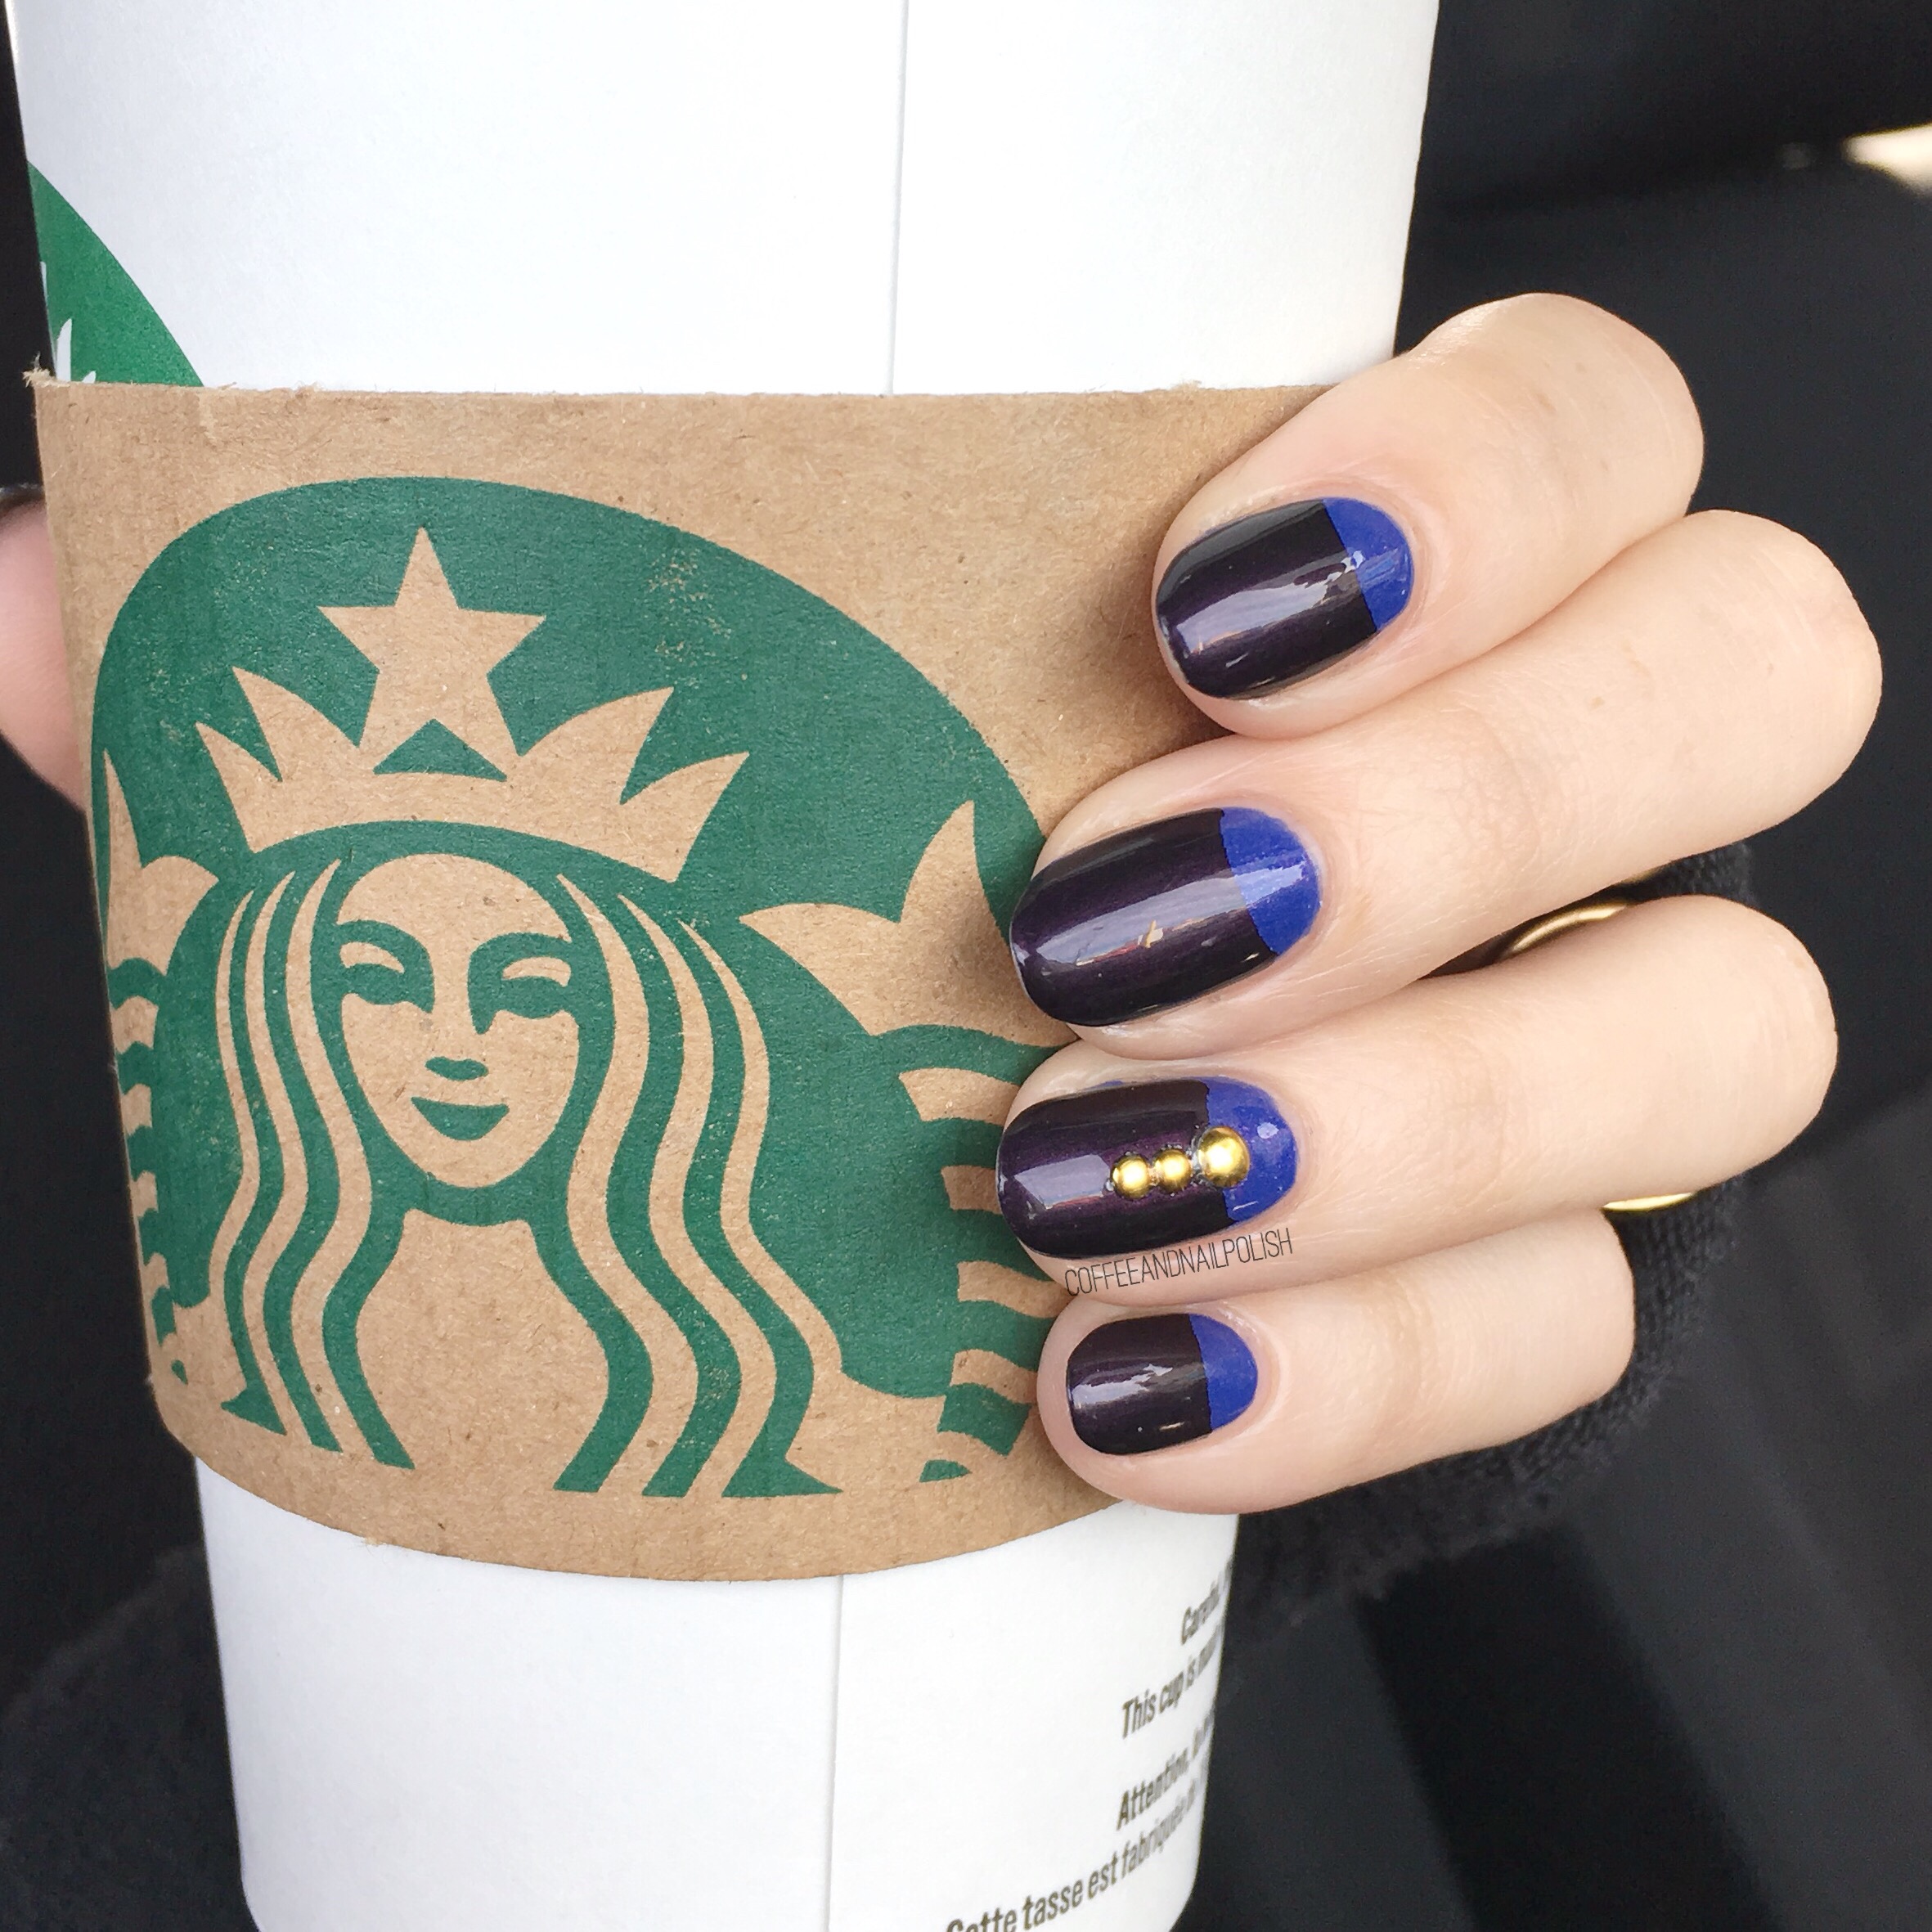
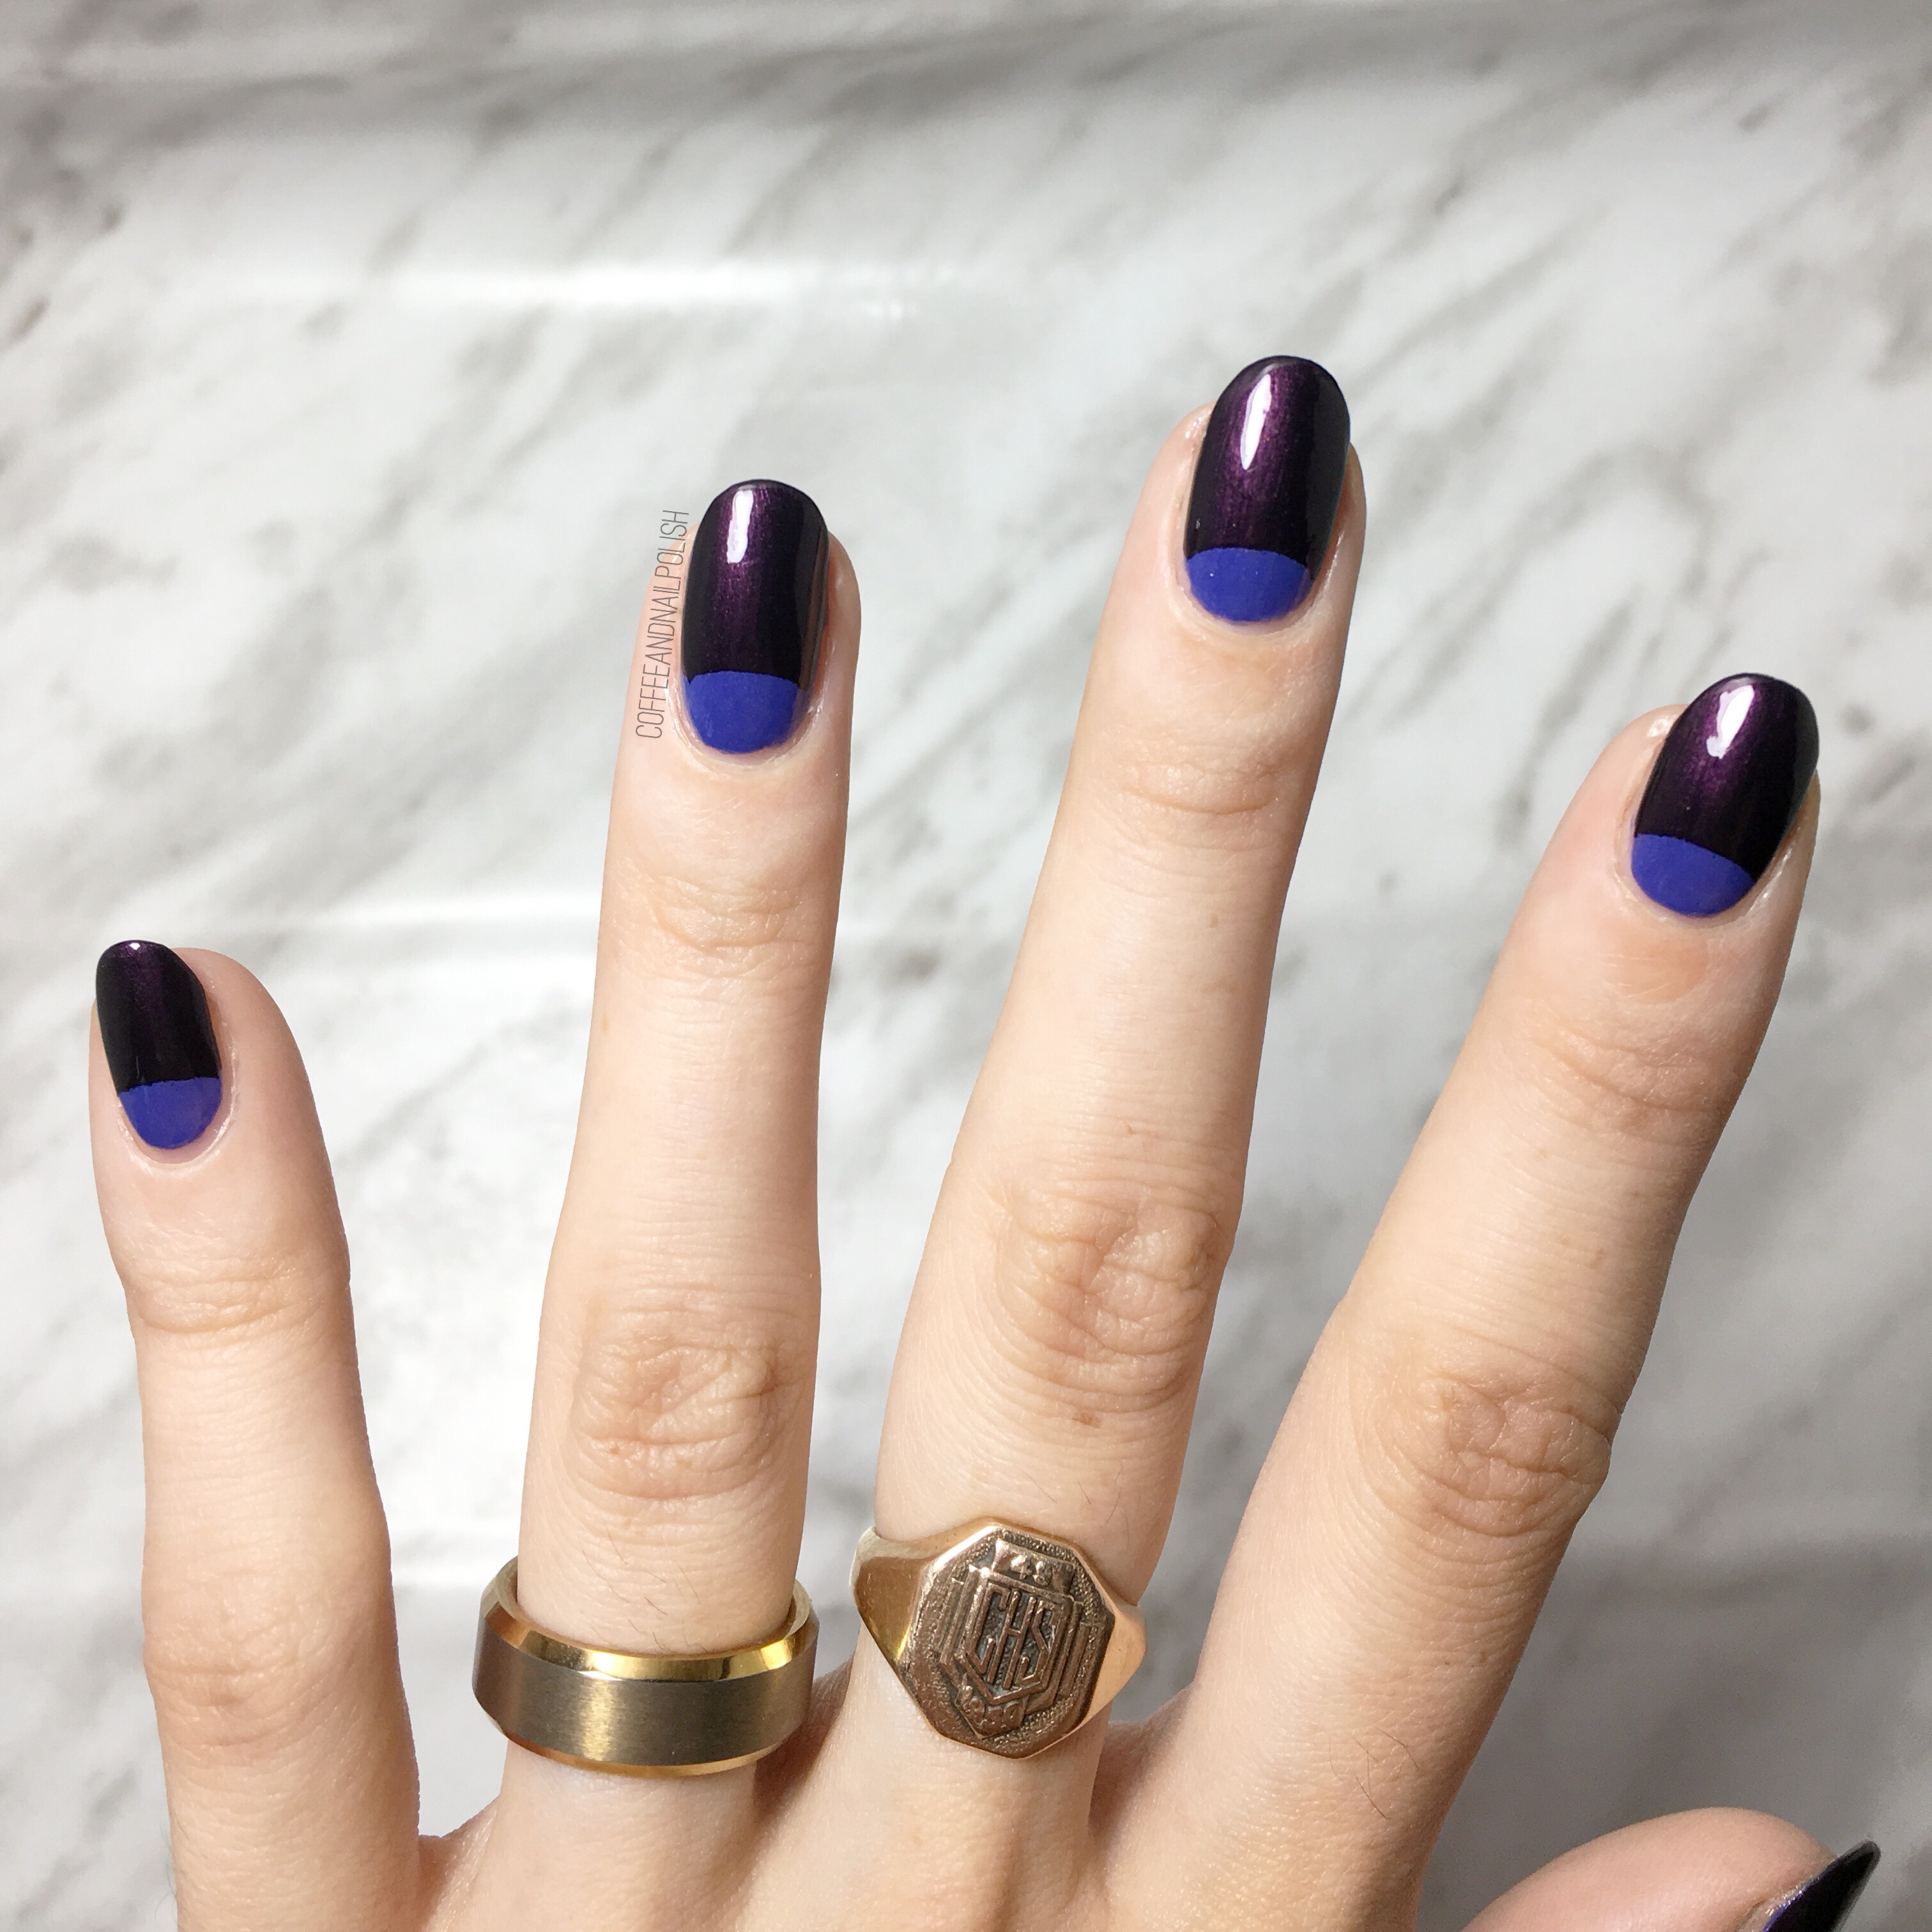
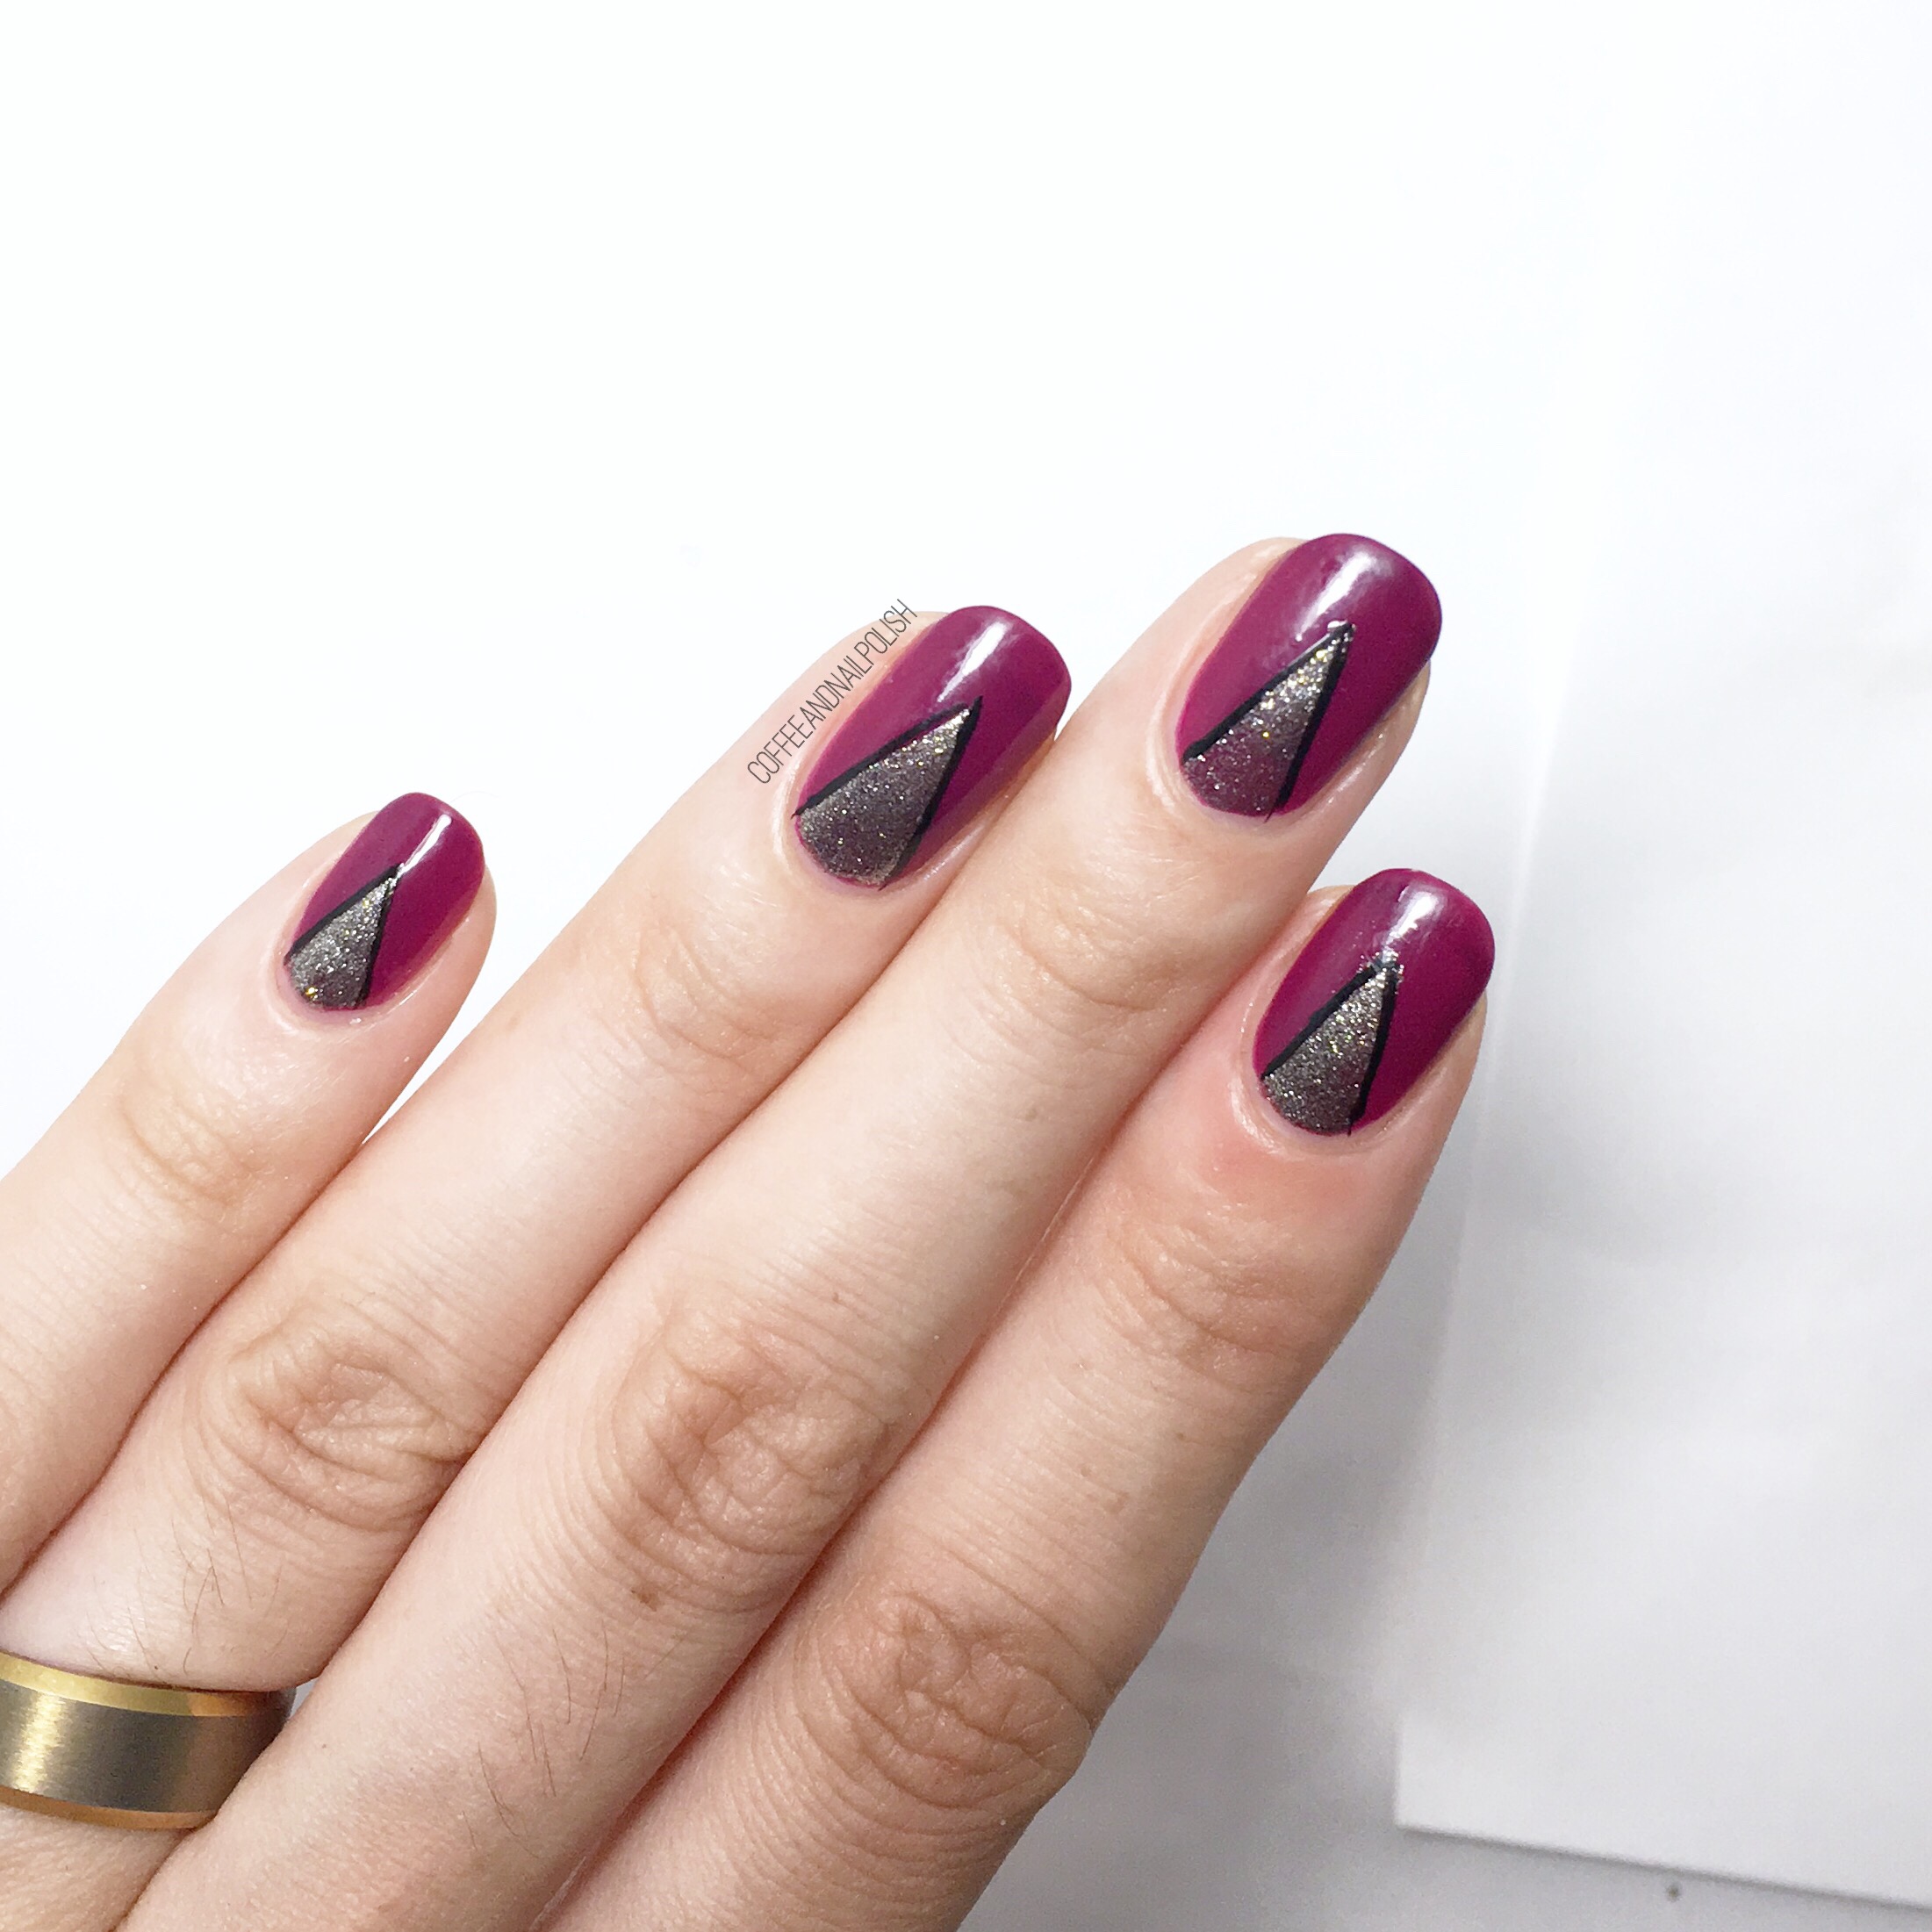
The polishes I used for this design were:

  • Base Coat: Nailtek 2 Foundations
  • Top Coat: Seche Vive
  • Finger Paints Piece De Resistance
  • Essence We Will Spock You
  • ACO by Ardene Style Icon
  • Sally Hansen Hard As Nails Black Heart
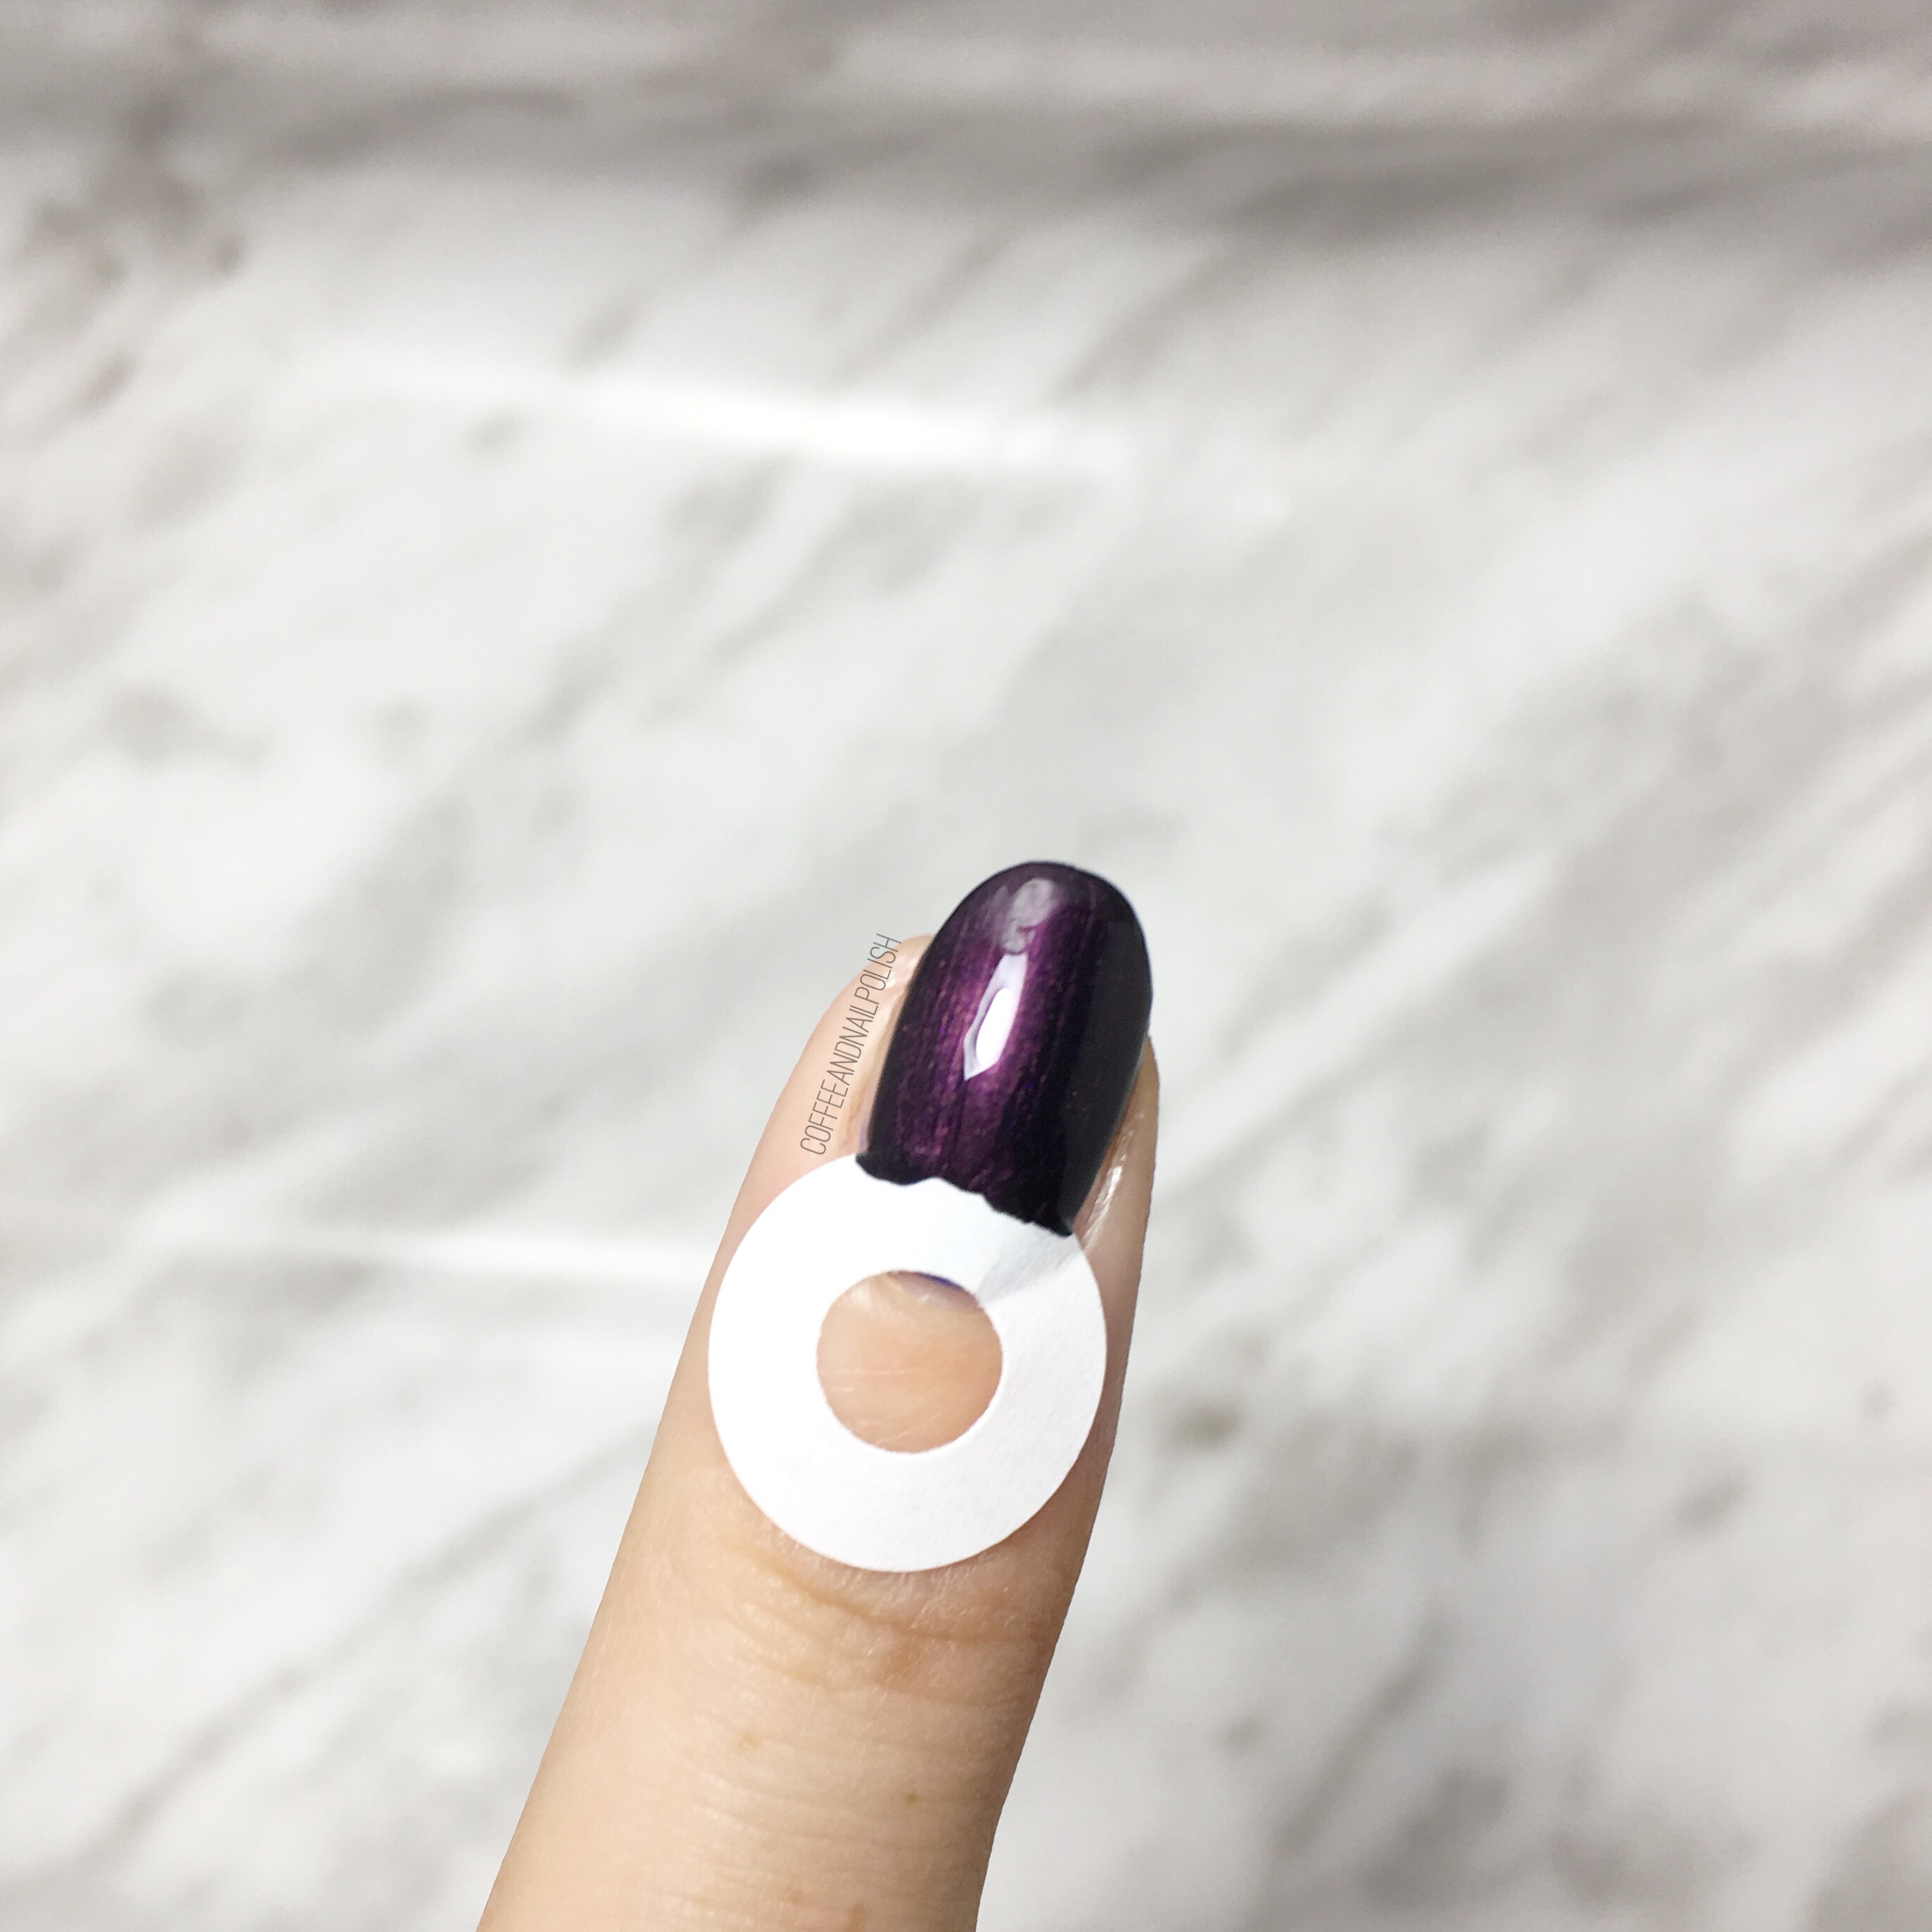
  • Edge Perfection Cuticle Barrier
  • Born Pretty Store Stamping Plate m100 (no longer available)
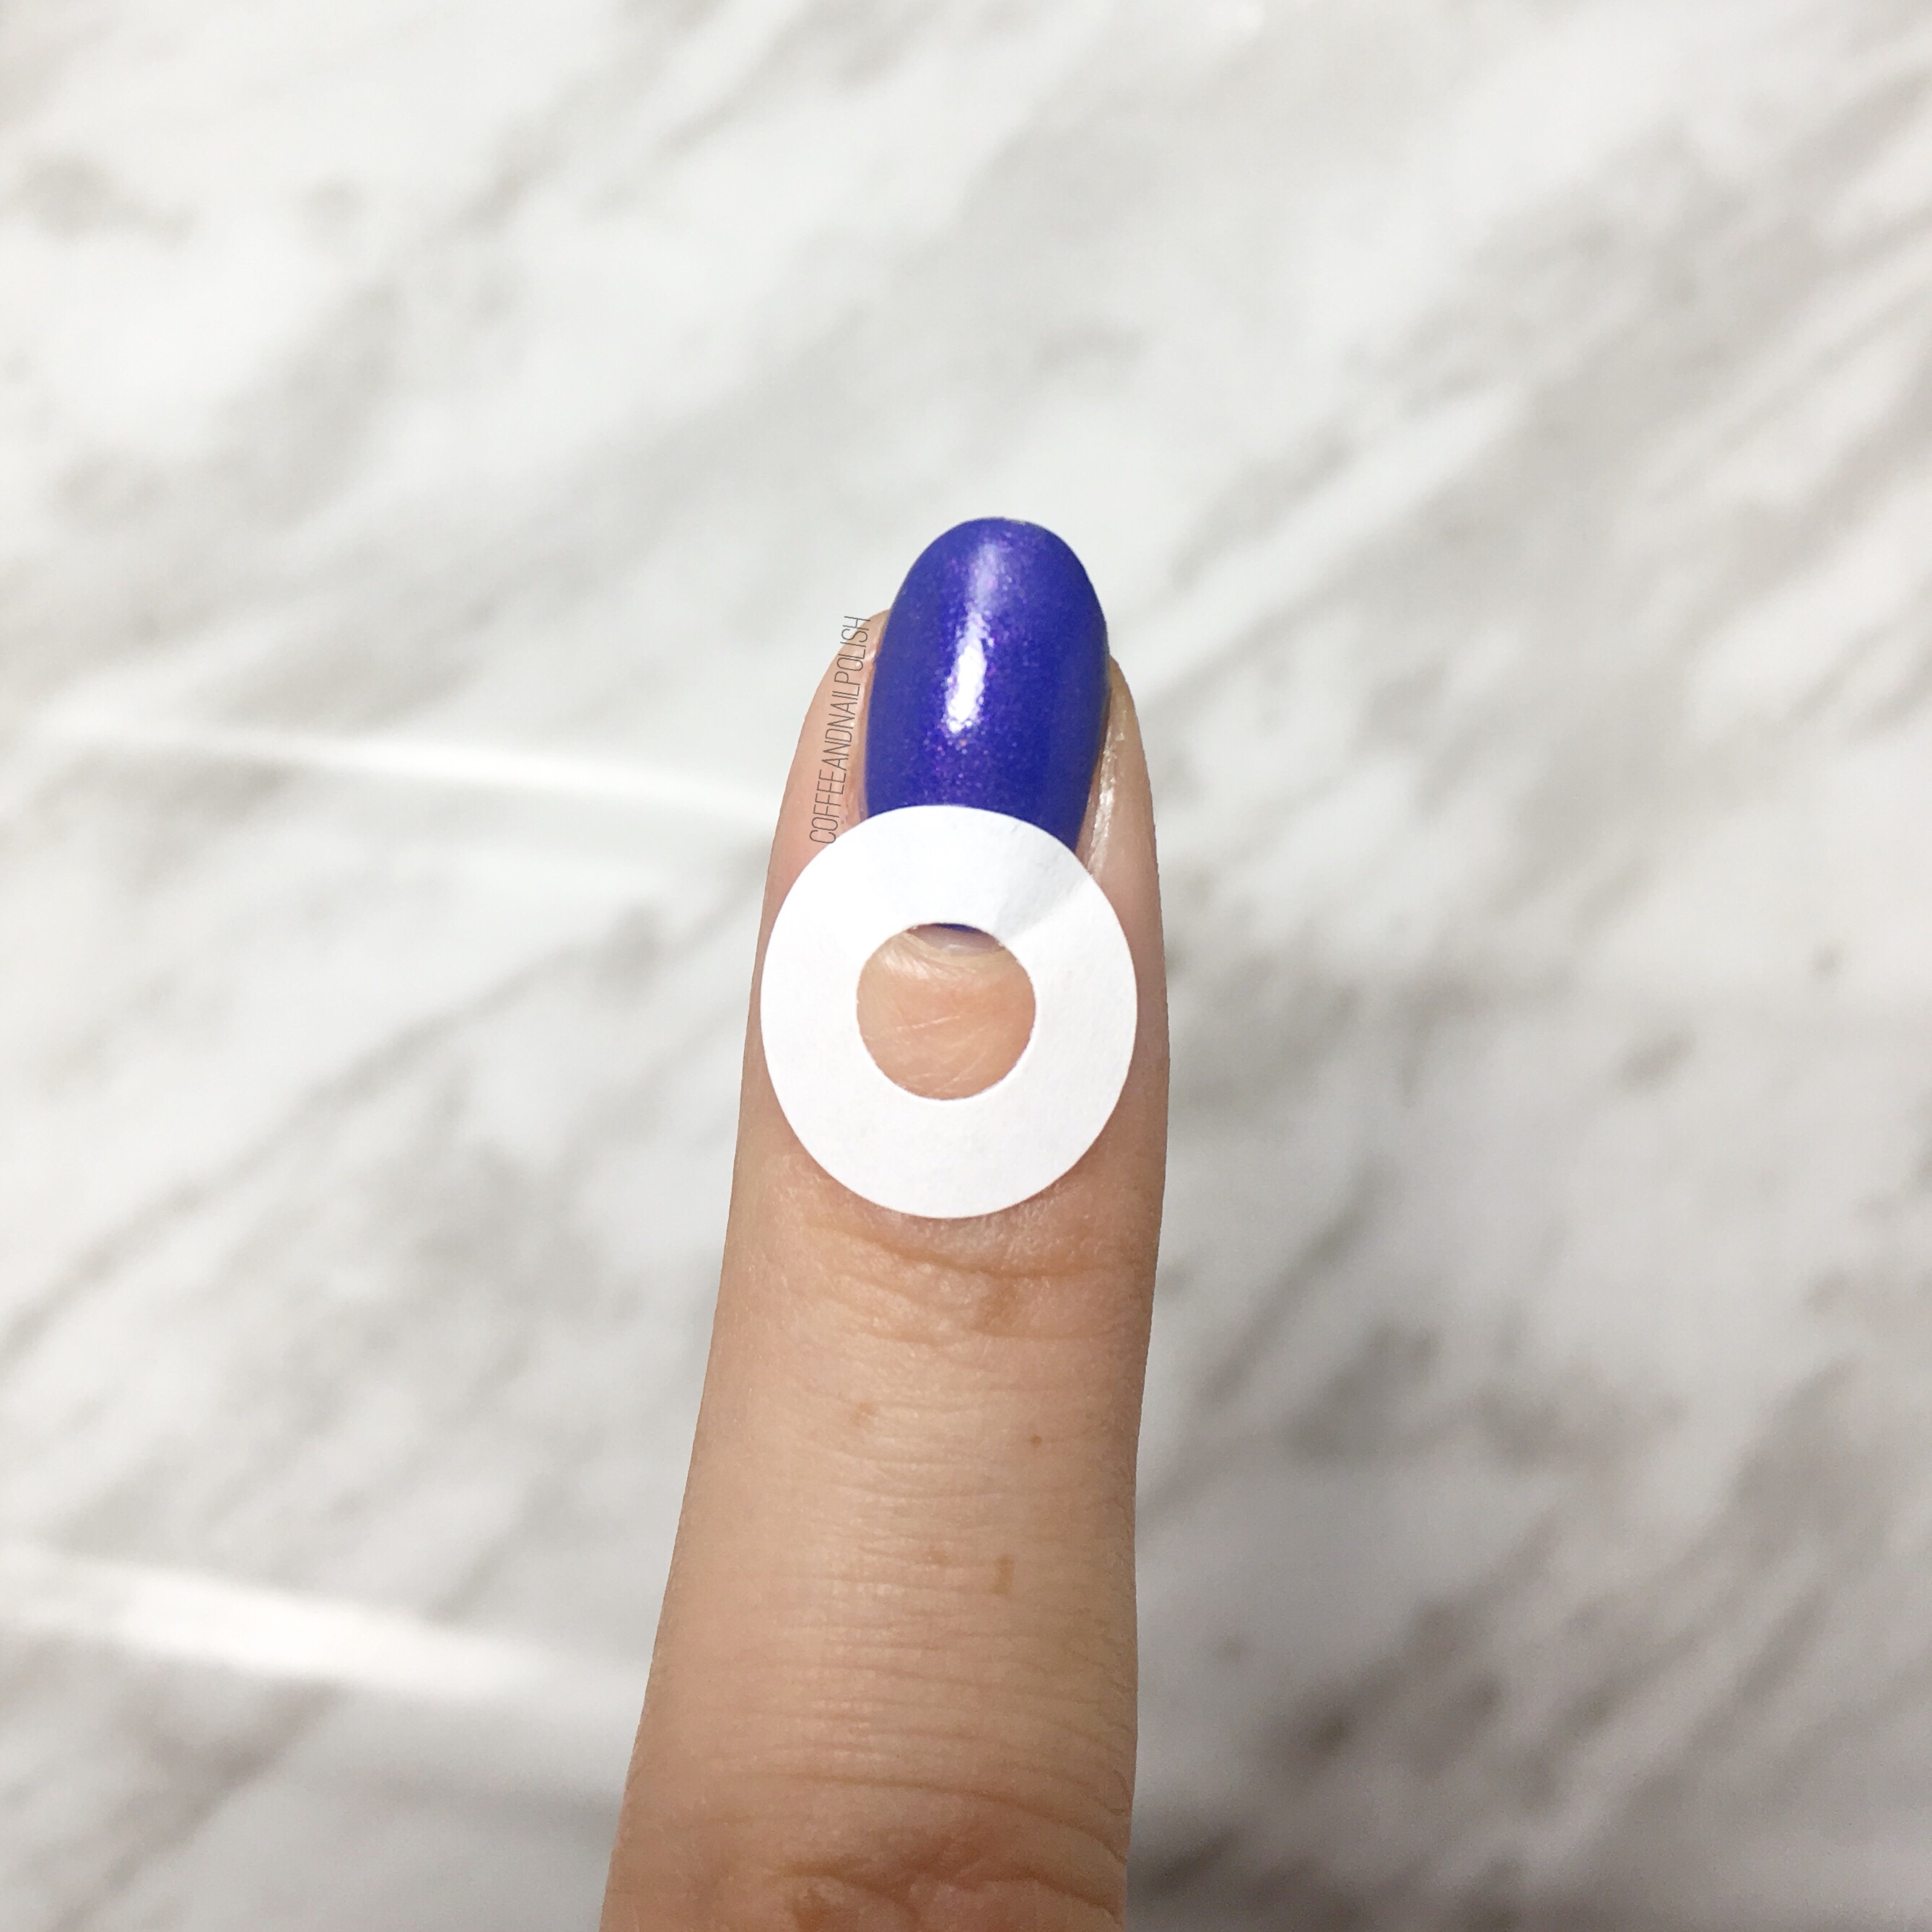
  • Latex free make up sponge

<<<<<<<><<
I just love how this design turned out. Honestly I never thought I would enjoy stamping so much, but it’s kind of become an obsession! I ordered a bunch of new plates from Born Pretty Store, so those should be here sometime in the New Year. In the meantime, I’ve been rediscovering old stamping plates I bought in the beginning of my nail art journey. I think the combination of a good liquid latex & polishes that work well for stamping has made it more fun & much less of a frustration. Also how pretty is ACO by Ardene Style Icon? I sponged it on for full glitterocity & the sparkle is hard not to stare at. Again thank god for Edge Perfection because trying to clean that glitter off my cuticles would have made me cry.

What do you think of these nails? Let me know in the comments below. ✨

Christmas Cookie Mani Swap

Happy Monday!

Today is National Cookie Day & I have a super exciting post to share! Sarah aka @25sweetpeas brought together 8 nail bloggers to create a Christmas cookie & mani swap! Christmas is the time of year for swapping cookies with friends & Sarah brought us all together to create our favourite Christmas cookies & a manicure based on them! Below you can see all the nail bloggers that were involved:

Such a great group of girls & we all came up with such unique Christmas cookies! & even better Sarah gathered everything together into a downloadable magazine to feature our recipes & our nails. This is definitely one of the coolest things I’ve ever been apart of & Sarah went beyond in creating this cool magazine featuring all these recipes & nail designs. Down below I’ve featured 2 different ways you can check out this magazine!

Download Here

Holiday Gift Ideas with Quo by ORLY

Good Morning! Today I have a fun post to share with you featuring some fun gift ideas for the nail polish addict in your life (even if that happens to be yourself!)

I don’t know if you’ve visited your local Shoppers Drug Mart, but they currently have some amazing holiday nail products available. Every year they come out with packs of items & I always love checking them out to see what they have! This year, these holiday packs are all about keeping your nails healthy!

Each one of these items would make a great gift for that nail addict in your life, or a great last minute stocking stuffer!

*PR SAMPLE* Some of these items were sent to me for review. However, all opinions are my own.

Continue reading “Holiday Gift Ideas with Quo by ORLY”

Half Moons & Gold Studs 

Happy Monday! How was everyone else’s weekend? We’ve been starting to pack for moving which is about as much fun as it sounds… I hate packing & I hate moving. (& I haven’t even starting thinking about moving my 1000+ nail polishes yet.) 

So what am I sharing to cheer myself up after a packing haze? One of my favourite go-to designs—the half moon. & thought I’d share a quick pictorial on how easy these actually are to create! & no special vinyls are needed!

The products used for this manicure were:

  • Base Coat: OPI Natural Nail Base Coat
  • Top Coat: Seche Vive
  • China Glaze Fancy Pants
  • China Glaze Glamcore
  • NailStuff.ca gold Mixed Decoration Nail Wheel

Paint your base colour & apply quick dry top coat. Let dry completely, roughly about 20 minutes depending on the top coat you use. 

Once your nails are completely dry, pull out your pack of paper hole reinforcements & apply at the base of your nail. Make sure to press down at each end. 

Repeat on all 5 nails. I always do one hand at a time. 

Press down each side of hole reinforcement (to make sure polish won’t bleed under) & then quickly paint second colour over top. A one coat polish works best, but she make sure base colour is covered. 

Immediately remove your reinforcement. 

Repeat steps on all fingers & then seal in design with top coat. Bam! Almost instant half moons (with a few steps in between). I loved the blue with purple but I wanted to add a little more of a snazzy finish to my nails. I’ve been obsessing about this wheel of nail studs lately adding it to a lot of my manicures lately so I figured it would be the perfect addition to this design. 

For my accent nail, I applied some blobs of coat, then picked up my studs with a wet nail art brush & arranged them. I always make sure to pull my studs out of the wheel ahead of applying them, as it takes less time trying to find them. Also, sometimes you will have to dab on more clear polish/top coat to make sure the studs stick. Also I always seal my studs in with top coat so no edges catch & get pulled off. 

What do you think of this half moon? How do you create your half moon designs? Let me know in the comments below! 🌙

 Silver Chevron Claws 

I did not fall off the face of the planet, I swear. This weekend was busy with family Thanksgiving, trying to get our apartment ready for showing (we’re moving soon!) & dealing with a super upset stomach that left me with no energy for blogging. I decided to take a little break to recoup, wear some glitter on my nails. I’m finally feeling a little bit better, so I wanted to get a blog post up! & what’s better to blog about than chevron claws! 

For this manicure, the polishes used were:

  • Base Coat: OPI Natural Nail Base Coat 
  • Top Coat: Cutex Quick Dry Top Coat
  • Nails INC St Martian’s Lane
  • Nicole by OPI Phil’s Paradise 
  • Kiss Products Nail Art Striper in Black
  • Snail Vinyls Deep Single Chevron Nail Vinyls

This design is very reminiscent of my very first chevron moon design, colour wise. Comparing the two, I’ve definitely come a long way since those early days! Thank goodness for nail vinyls—I no longer have to create my own triangles in order to get the design right! But hey… it worked. & those first chevron moons are what started my all out obsession with the design, which has obviously lasted all this time! 

I’m feeling like I’m in a bit of a nail art lull right now. Even with Halloween approaching, I’m just struggling to be in the mood to paint my nails anything other than a solid colour (&, even then, I can barely make up my mind on what to wear.) My birthday is coming up on Sunday, so I’m dedicated to doing a fun design in celebration—maybe birthday cupcakes? Good thing I have 5 days to make up my mind! Off to Pinterest I go. 


What do you think of these chevron claws? Let me know your thoughts in the comments below! & if you have any birthday nail suggestions for me, please share! 💜