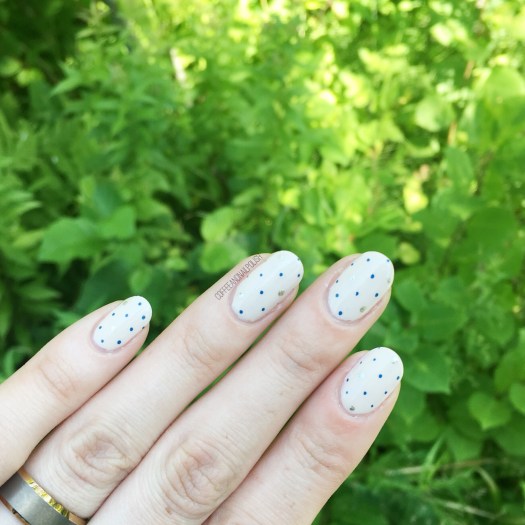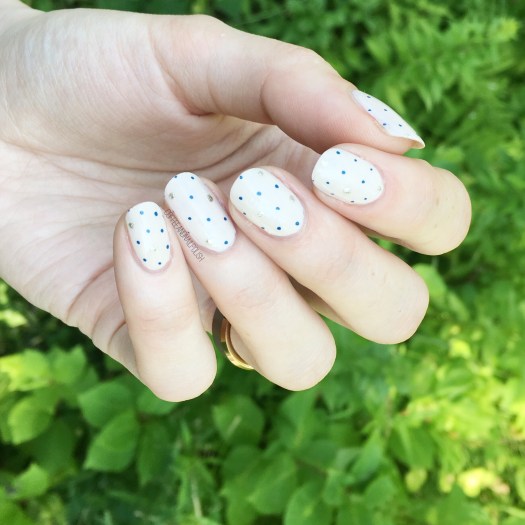
Happy October 2nd! Can you believe we’re already a day into Halloween month?! Are you as excited as I am? I’m definitely going to need to start planning my Halloween designs soon.
But in the mean time, maybe some Fall themed nails? With the weather shifting quickly, I’m already digging out some of my favourite scarves, so I figured why not some nails inspired by the coziness of Fall.


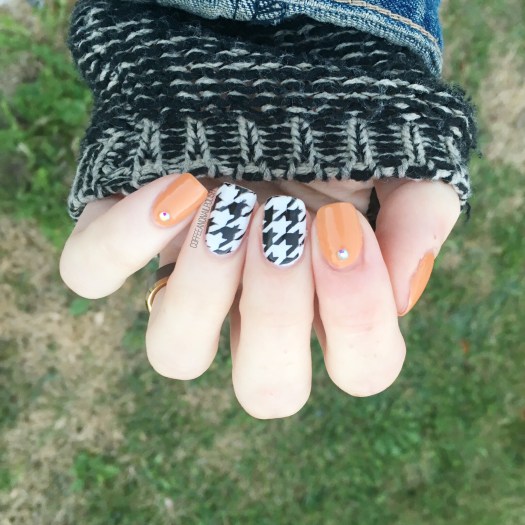
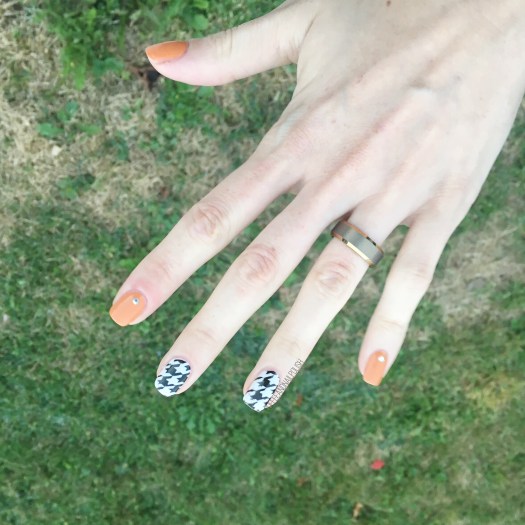
For this manicure, the polishes I used were:
- Base Coat: OPI Nail Envy
- Top Coat: Essie Speed Setter
- Essie Fall for NYC
- Sally Hansen Complete Salon Manicure Lets Snow!
- Essence Black is Back!
- Born Pretty Store Classic Patterns Stamping Plate BP-L006 (item #17924)
- Born Pretty Store Color Flame Rhinestones colour #2 (item #41753)

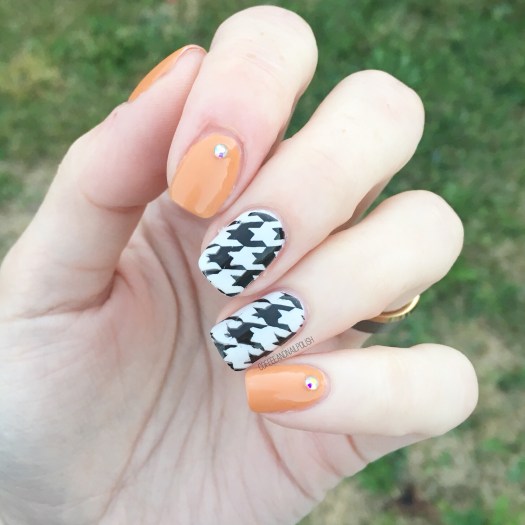
First off, can we talk about this Essie shade from the Fall 2018 collection? It’s absolutely amazing. The second I saw the swatches, I knew it was so different from all the other polishes I own & that meant I had to have it! & since it feels so Fall to me, I knew I had to pair it with this stamping plate from Born Pretty Store (which I haven’t had the chance to use yet!)
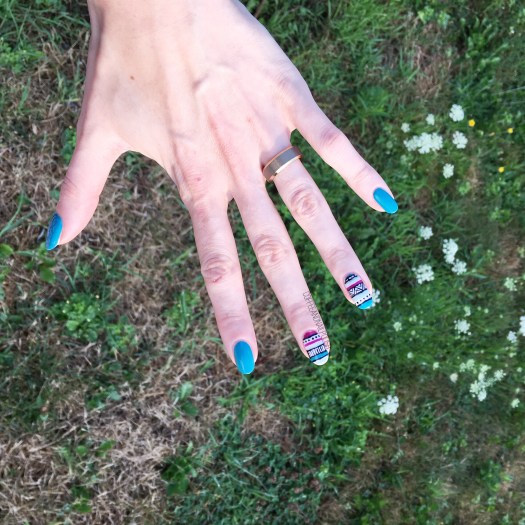
Also check out these crystals also from Born Pretty Store (item # 41753). I needed something to jazz up my plain nails, & I love the iridescent shift they have. You can kind of see how the shift of your hand shows different colours, which means these crystals will match with so many different polishes & manicures!
what do you think of this Fall inspired manicure? What Fall shades are you wearing on your nails right now? Let me know in the comments below!