Feeling 90s With Neon Spotted NailsĀ 

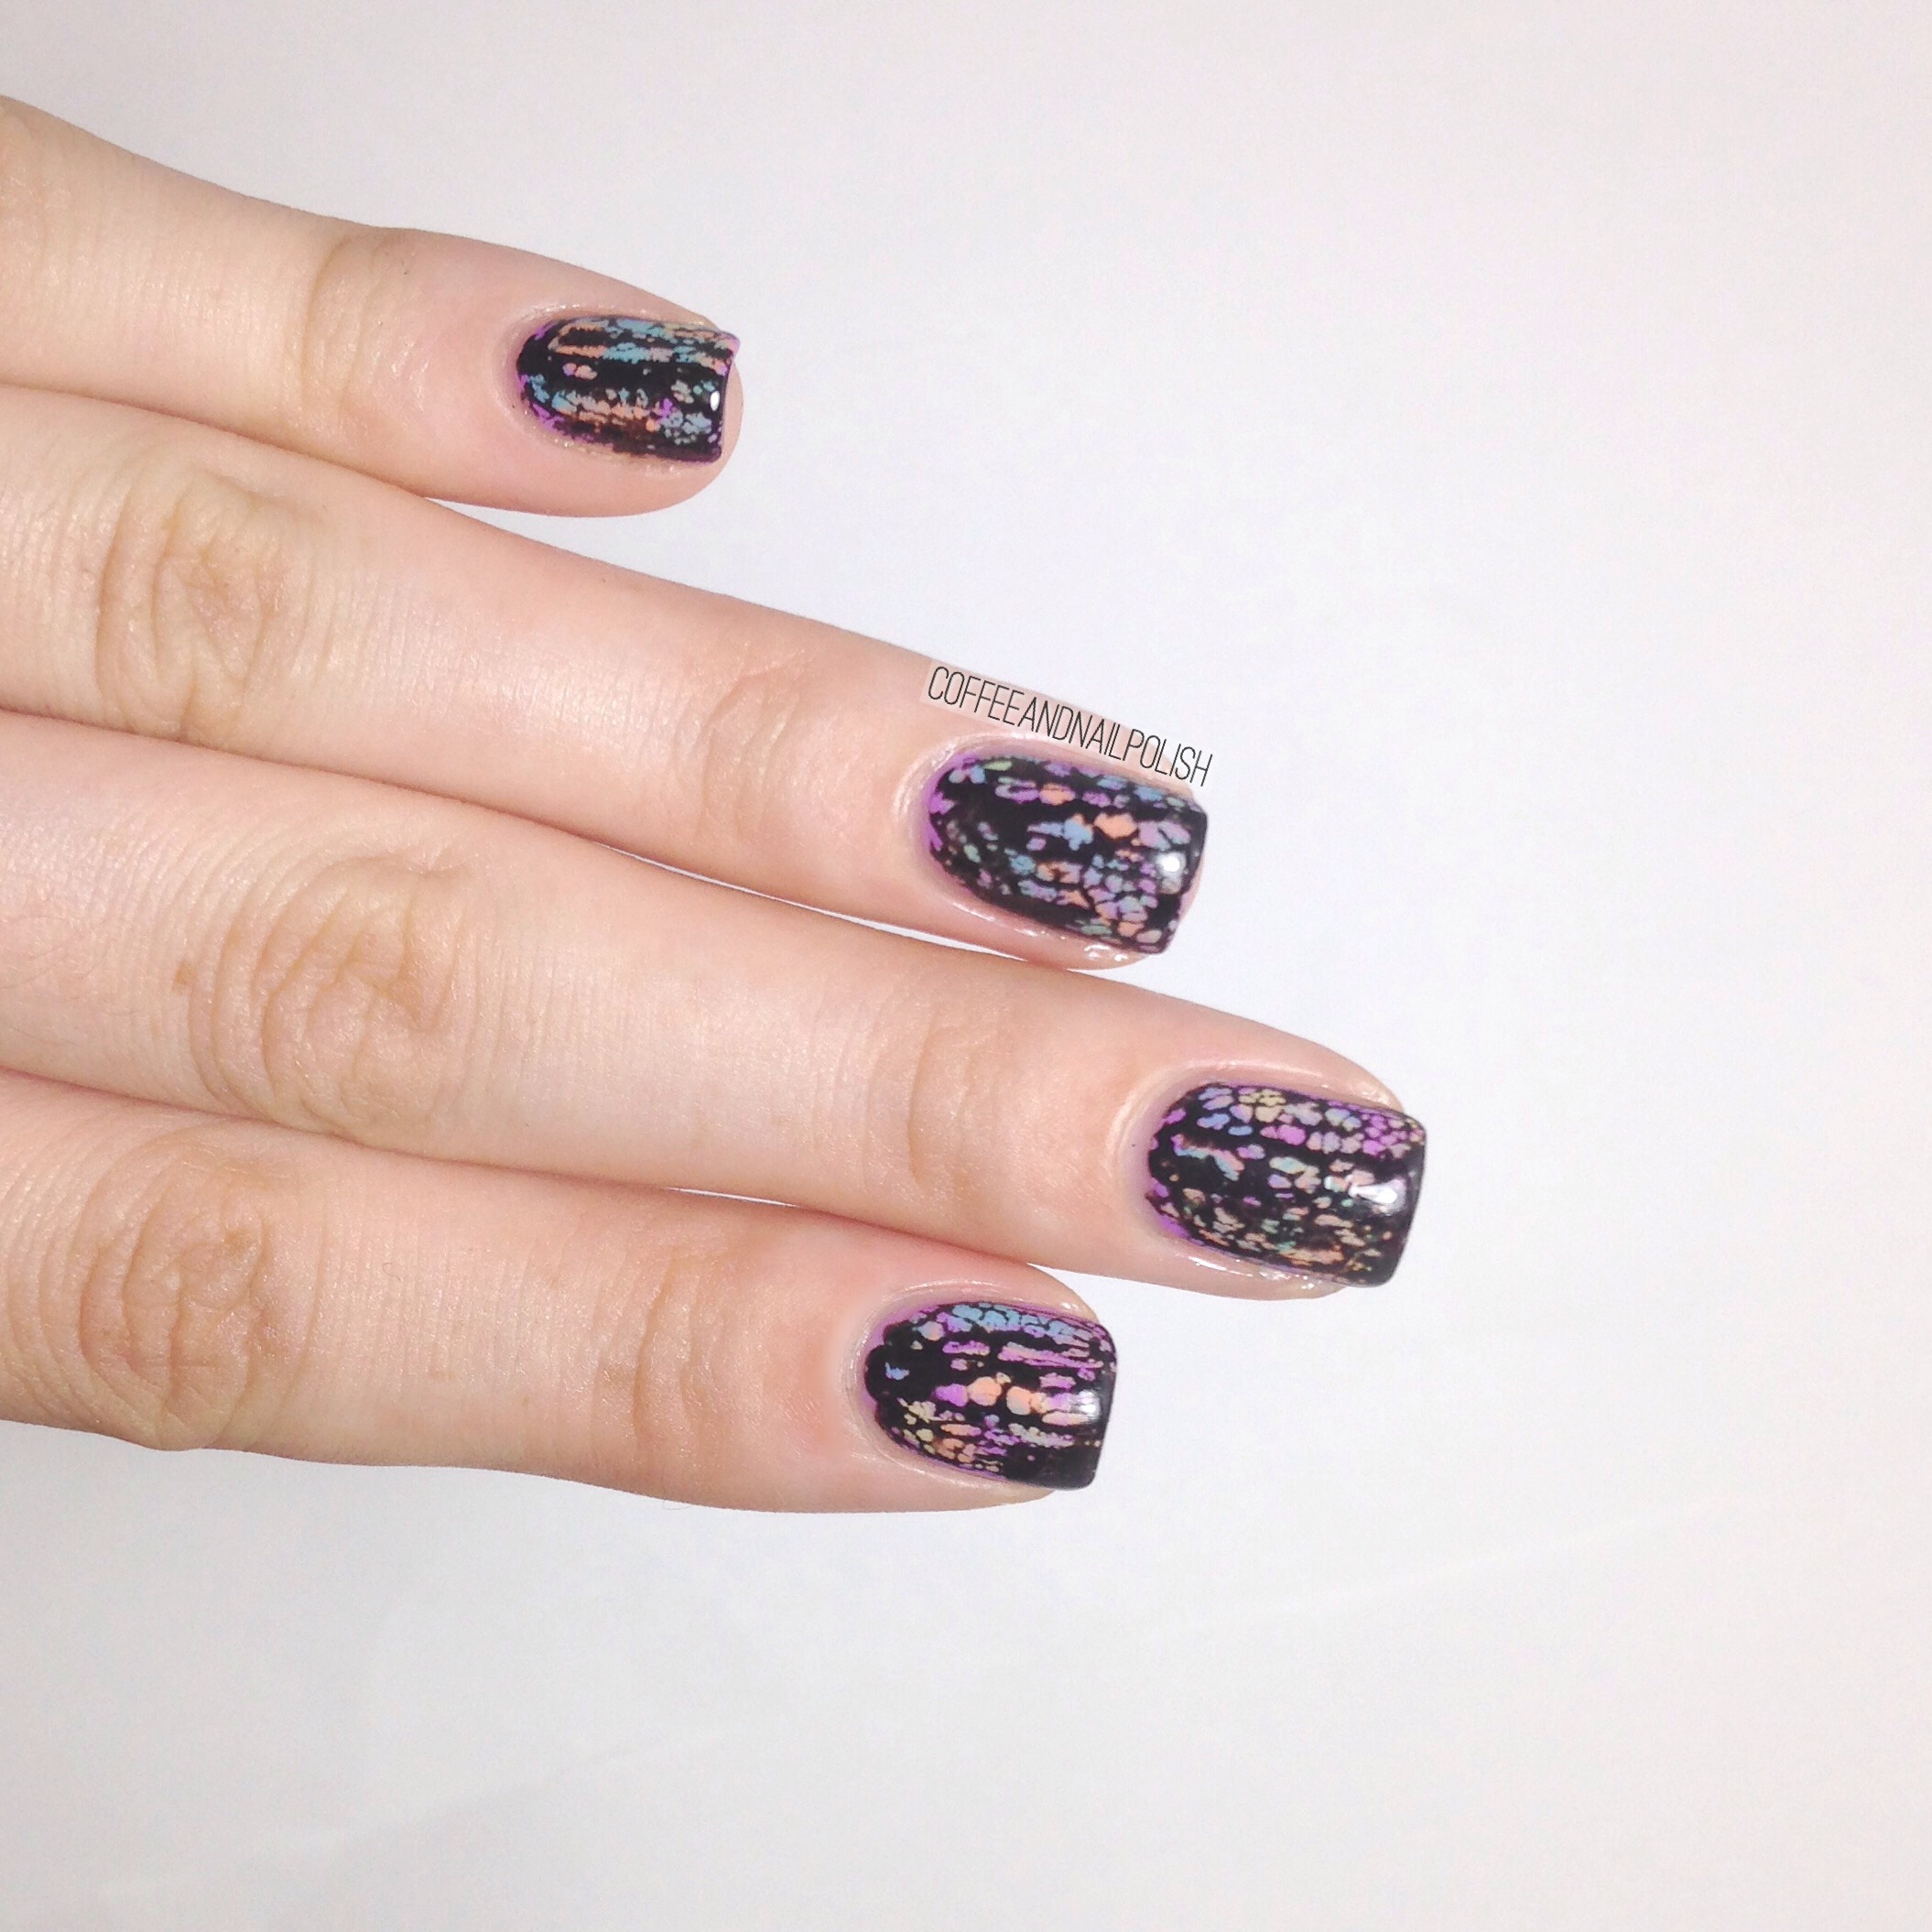
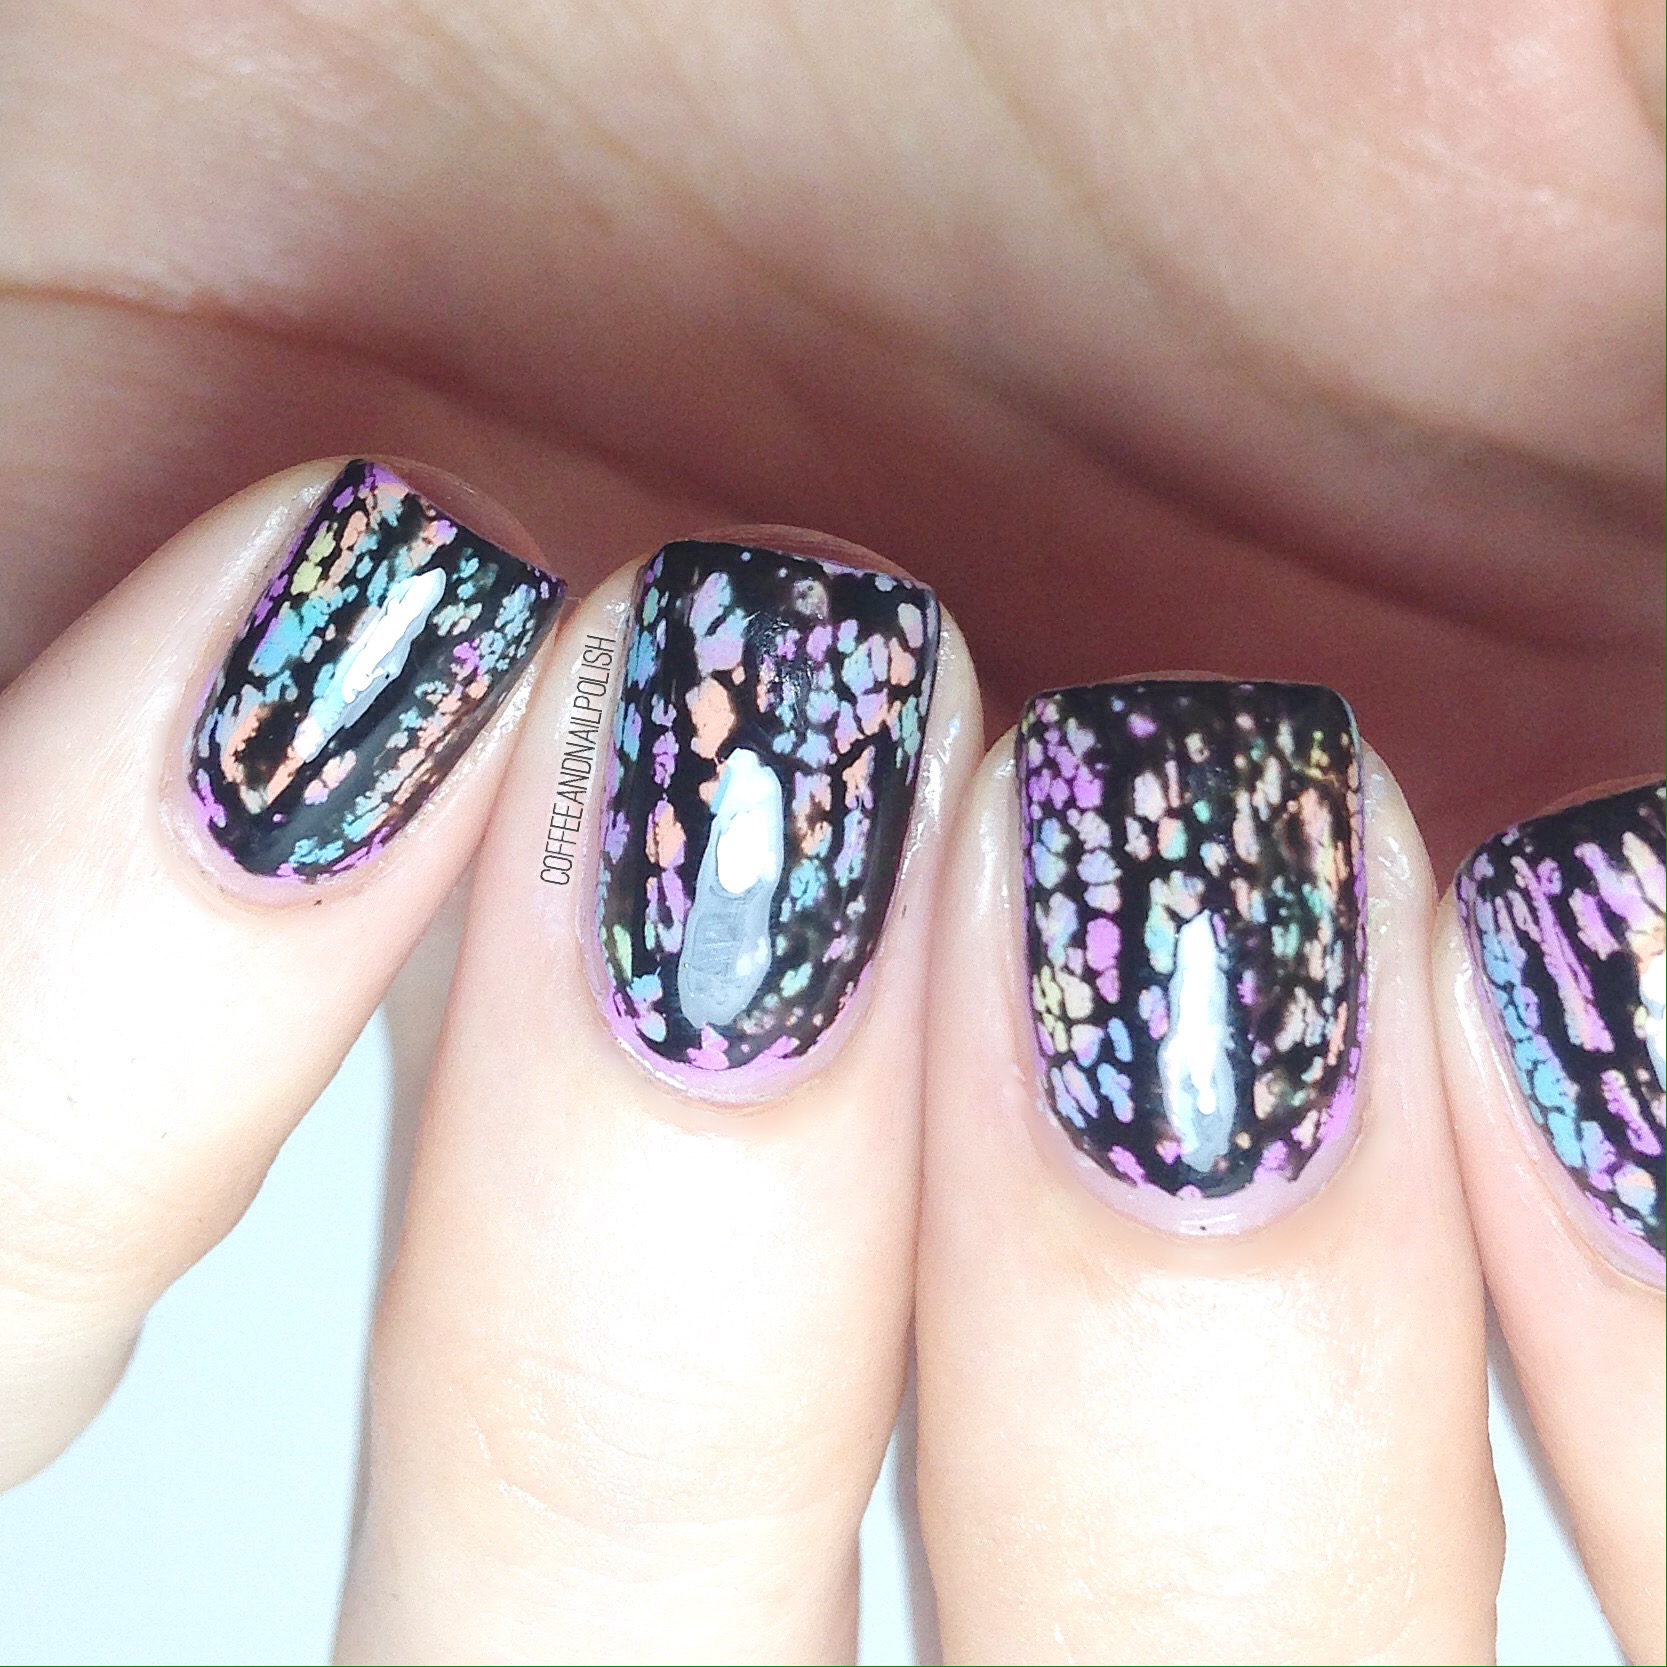
Too many rainy days have left me craving some neon nails, so I decided to grab some bright colours to cheer myself up. In the process I saw my bottle of Layla Bubbly in Black & thought it would look really neat over a neon-ish base colour. 

For this manicure I used:

  • Base Coat: Perfect Forumla Pink Gel Coat
  • Top Coat: Cutex Quick Dry Top Coat 
  • ORLY Scenic Route
  • Icing Breakfast at Tiffany’s 
  • China Glaze Sun Upon My Skin 
  • Icing Pink A Boo
  • Layla Cosmetics Bubbly Effect in Black

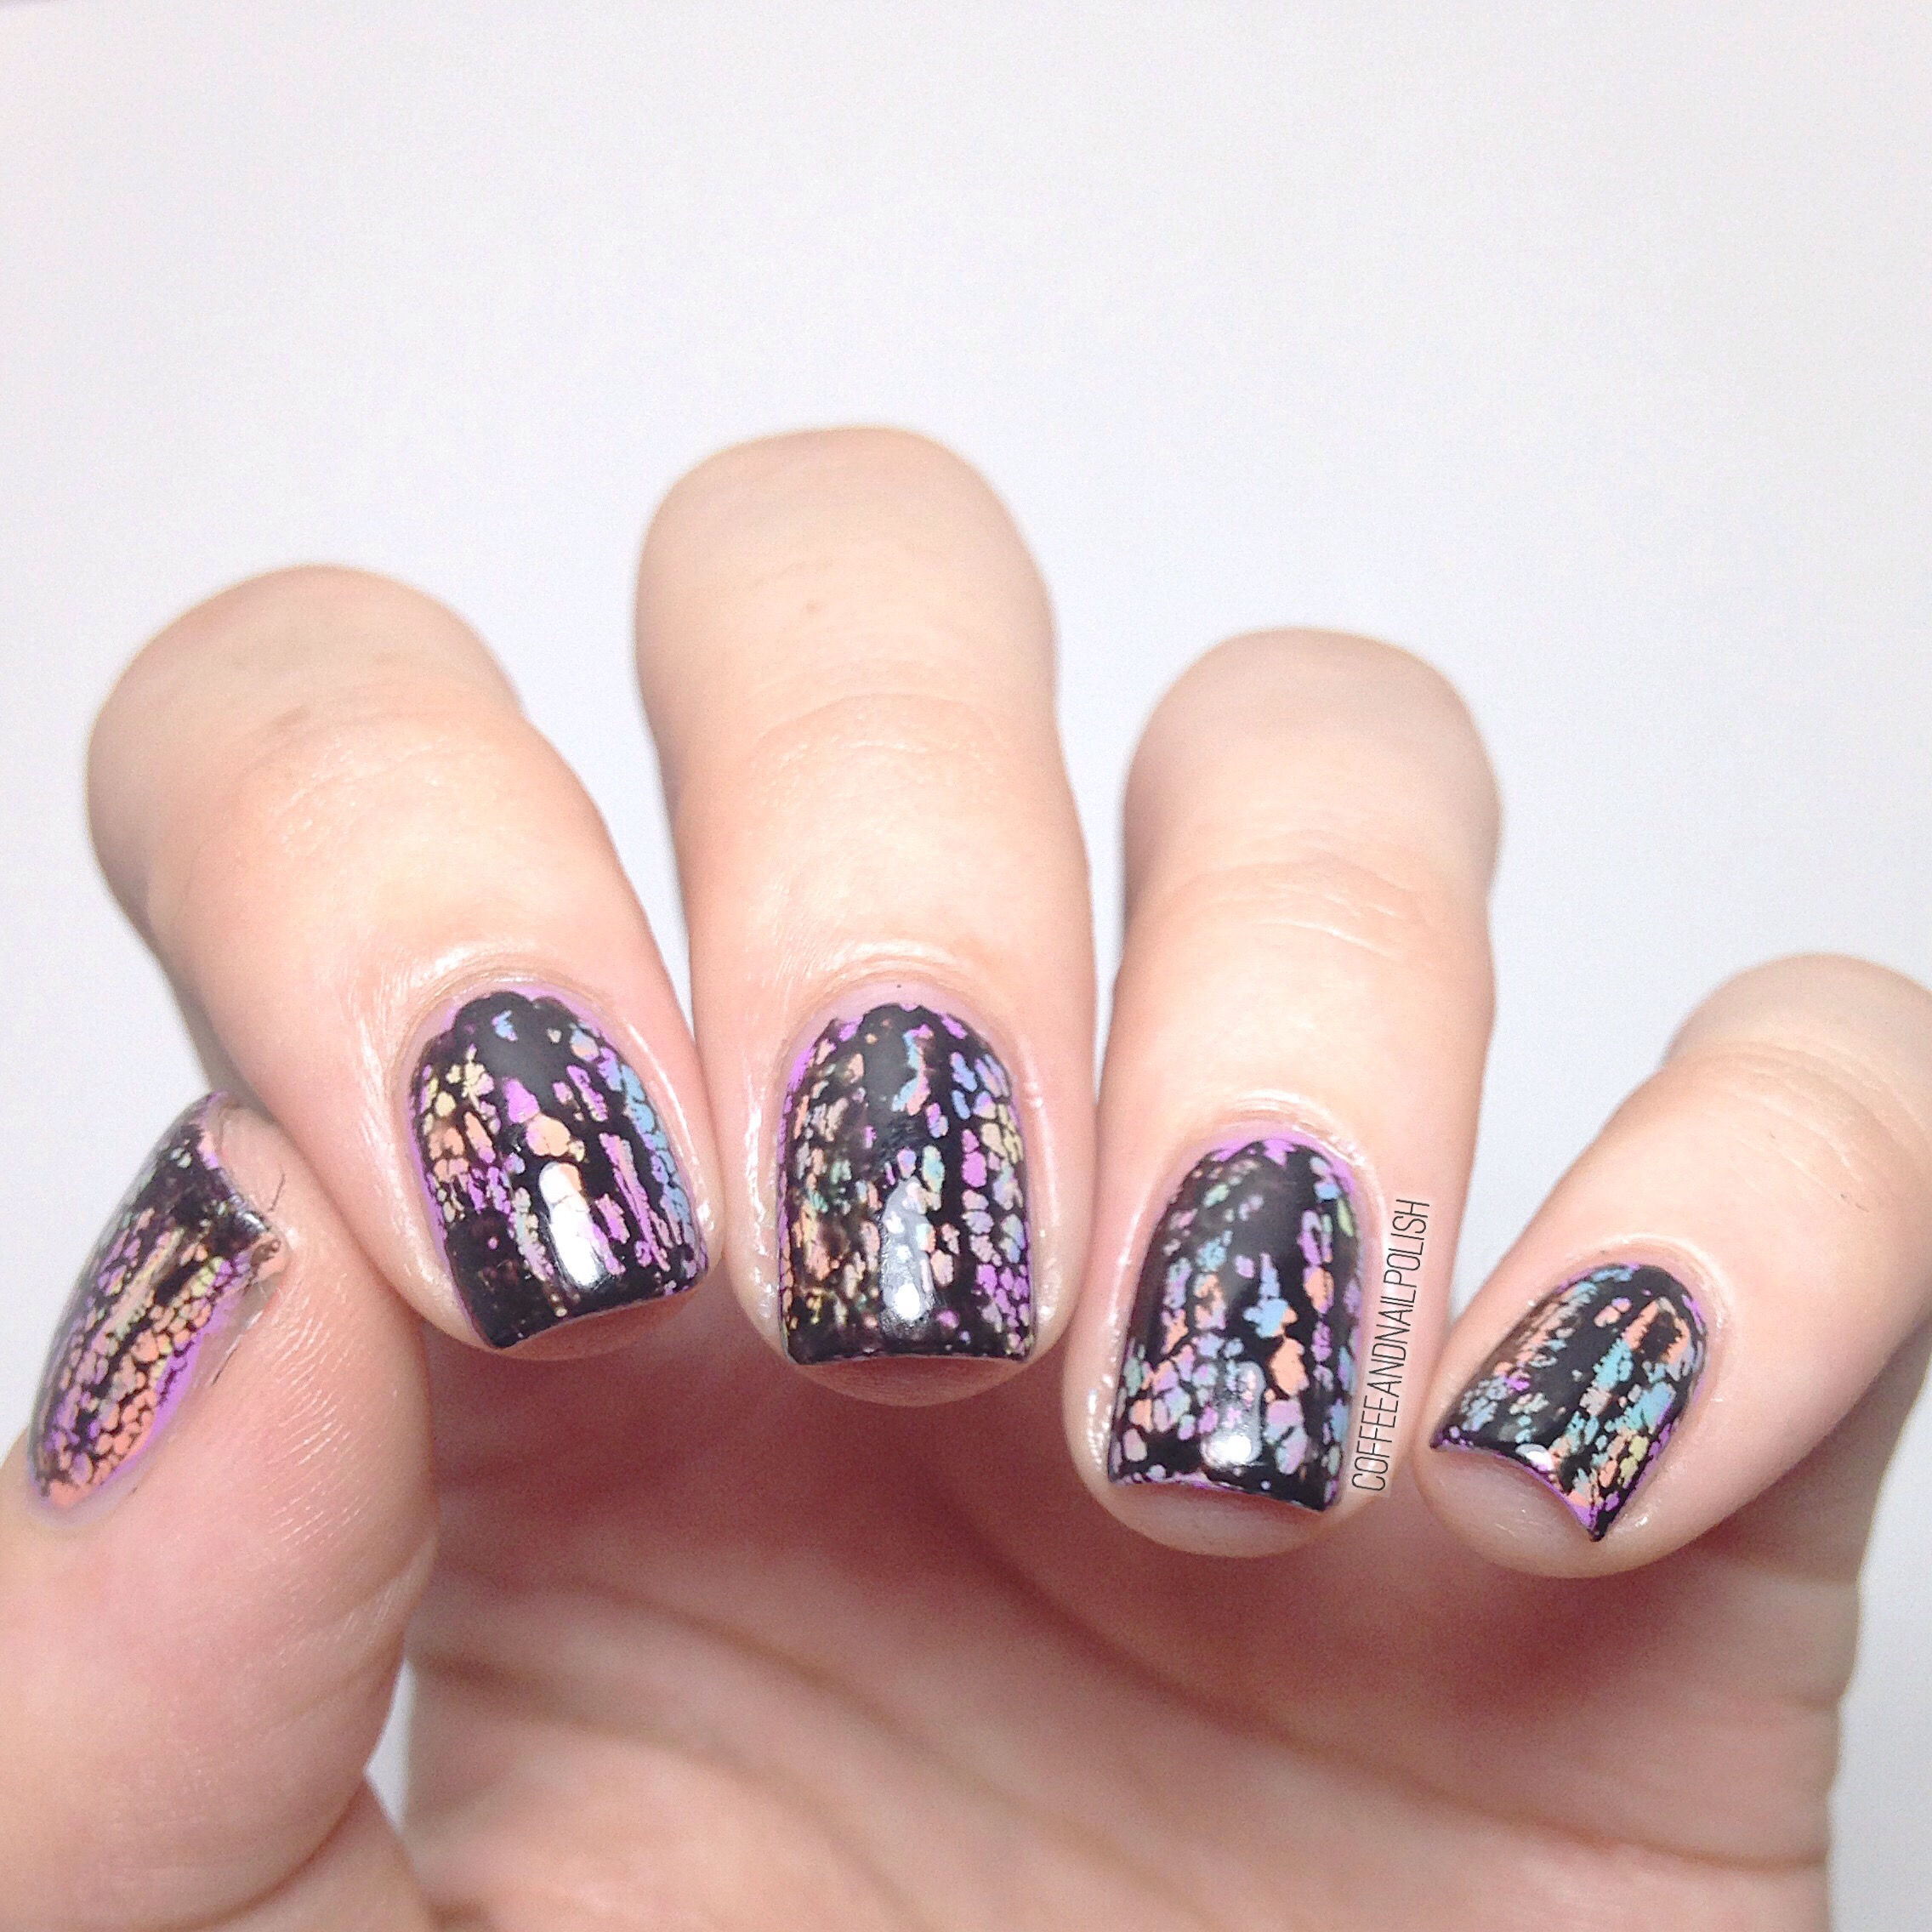
I’ve owned this bottle of Layla Bubbly effect for a while (I scored it on sale at Lawton’s in the clearence like 3 years ago) but this was the first time I really got it to work for me the way I imagine it’s supposed to work. I did wait until the next morning to add the black, so maybe that made the difference? Either way I’m super excited about how it turned out! Like crackle nails, it just offers an easy way to create nail art without excessive work (or mess). 

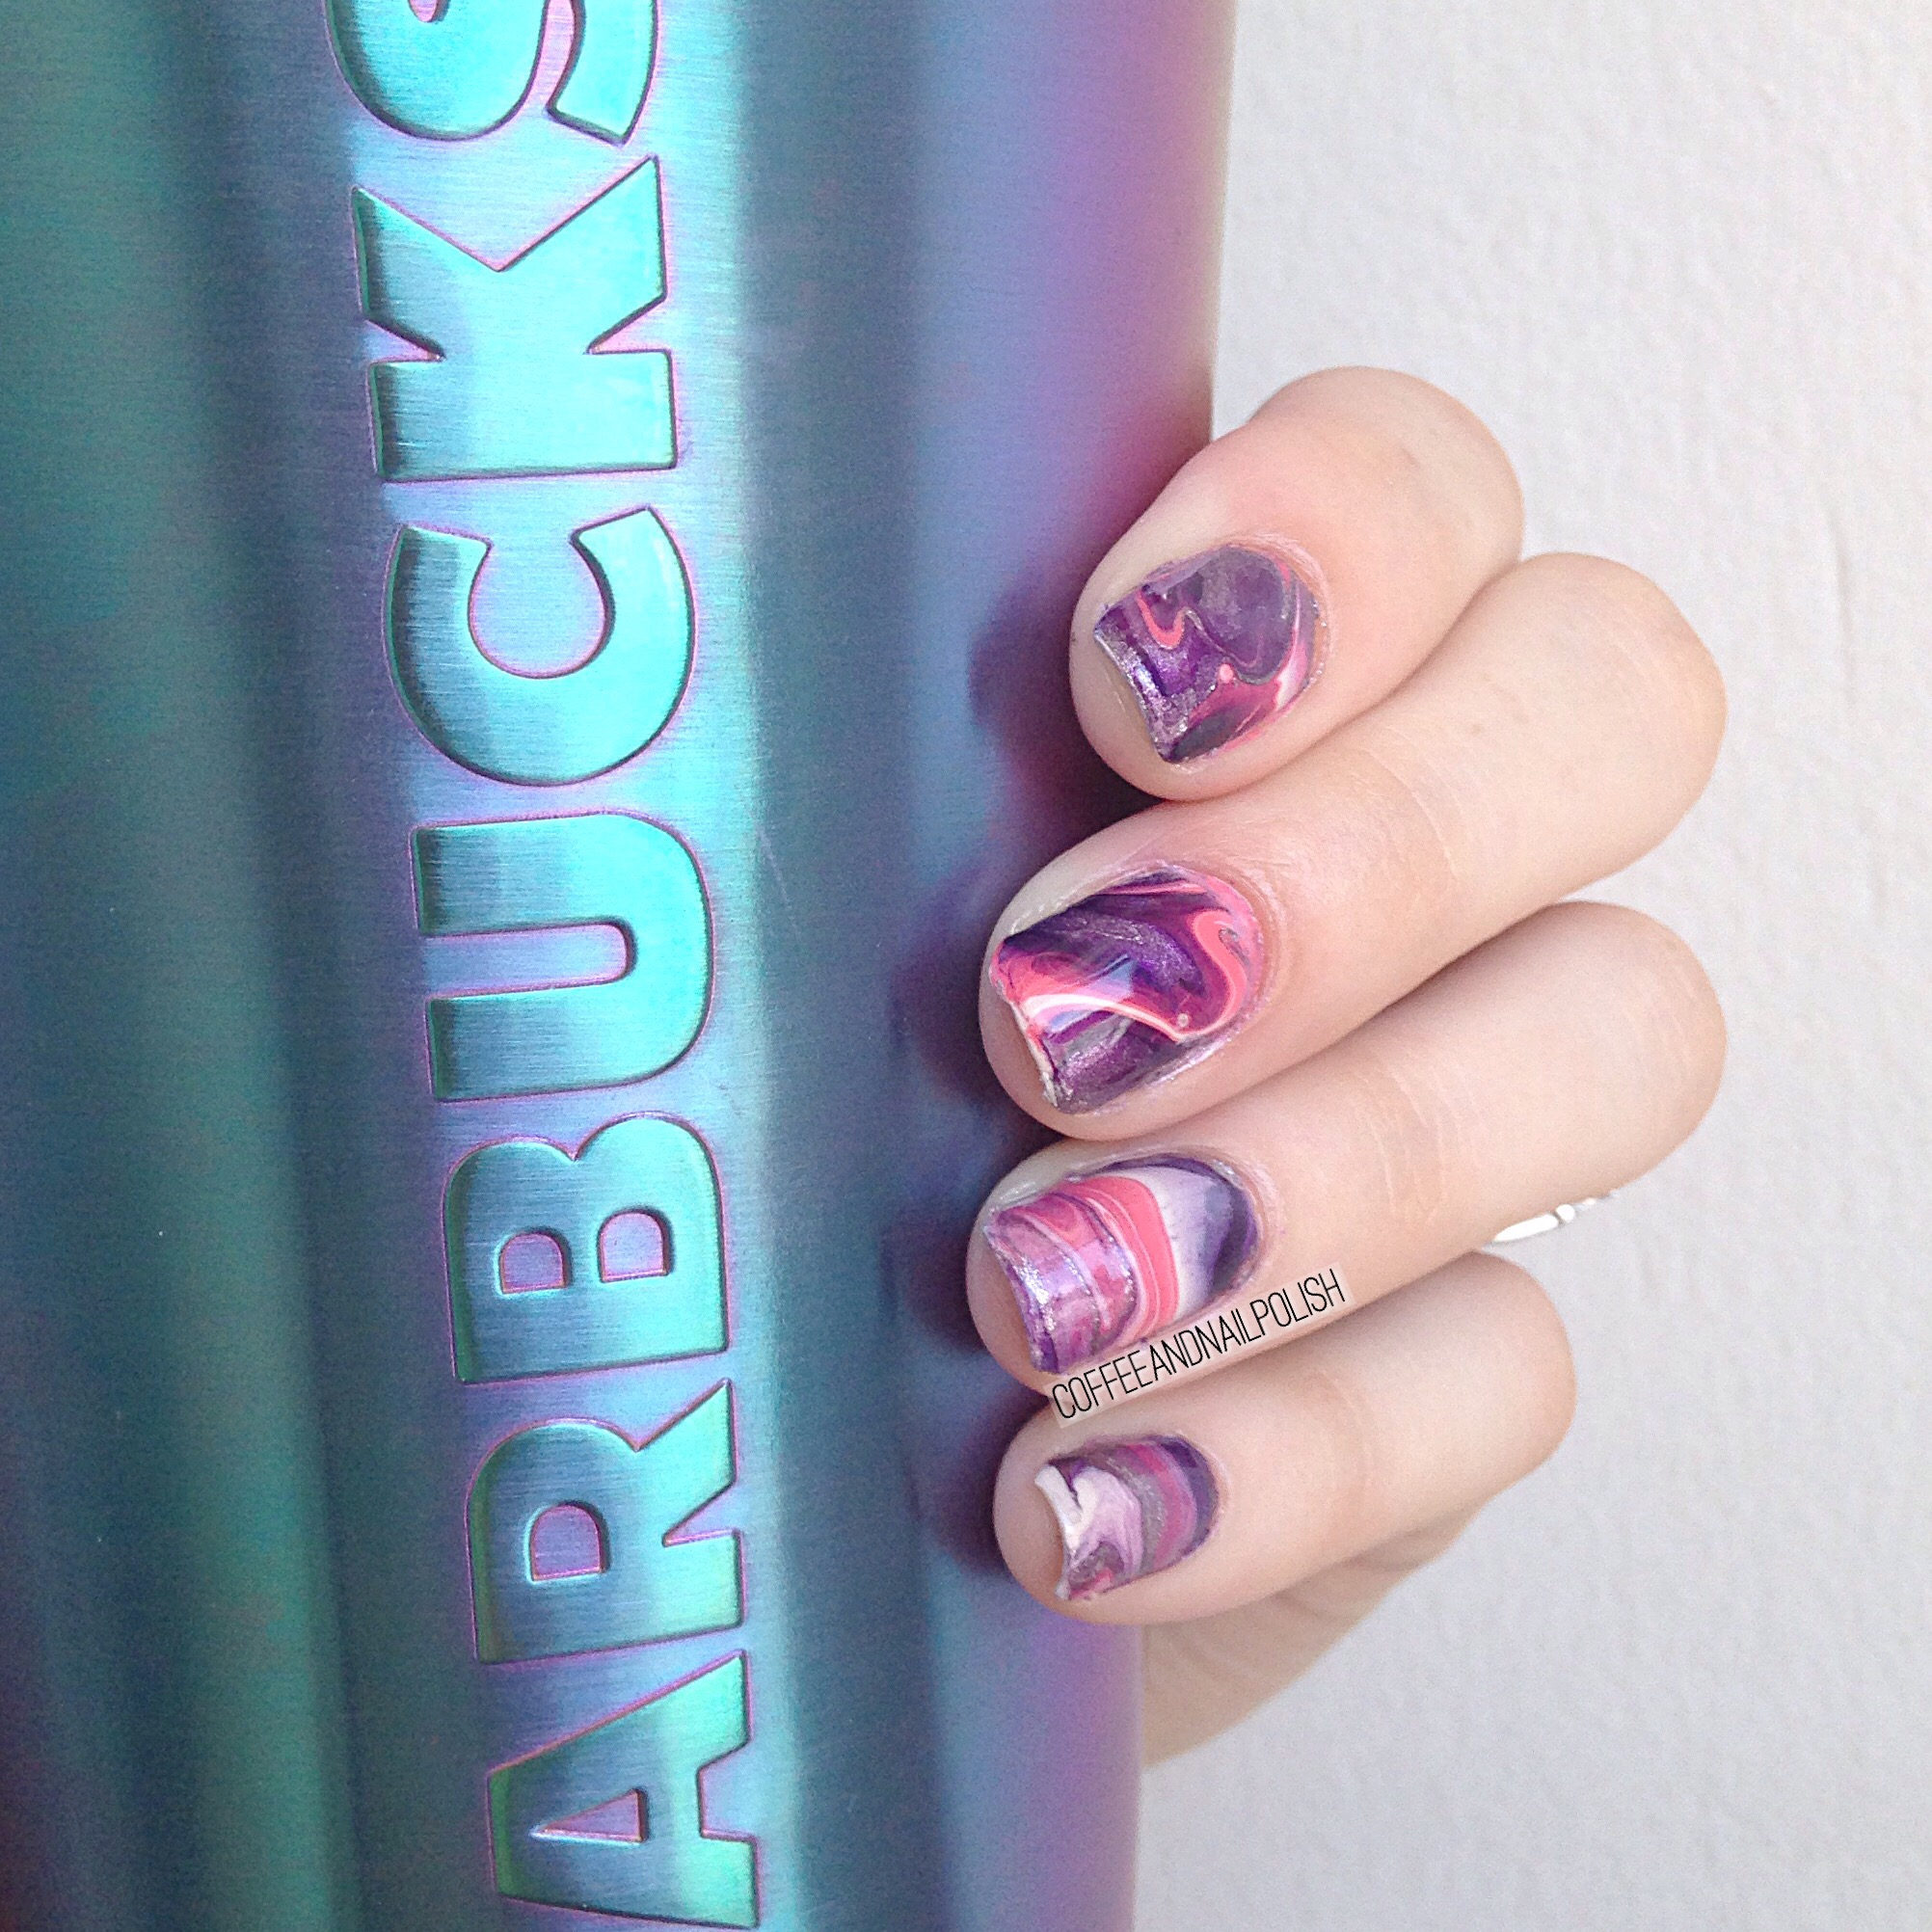
& incase you were interested in seeing what my base looked like before I added the Bubbly topper, here was the base. I tried to attempted @laqvid‘s wet dry brush design but I’m definitely going to need to give it more practice. 

What do you think of this design? Have you ever tried the Layla Bubbly Effect polishes before? Let me know the comments below! 

Drag Marble DecalsĀ 


If you’ve been around a while, you’ve probably heard me mention before how I can’t water marble. I’ve tried to do it, I really have but the results never turn out quite right. So thanks to rewatching old Simply Nailogilcal videos on YouTube, I wanted to see if I can cheat at watermarble using my silicone mat, ala Cristine!

So for my first Drag Marble decal experiment, I decided to try a couple different designs that would sort of look like watermarble (if you didn’t look too closely). I did about 15 different decals using different polishes to see which colours/polish formulas worked best & picked the three best to apply.

For each manicure I used my silicone craft mat & a water marble tool from Bundle Monster. For how to apply decals, there are lots of useful tutorials on YouTube. I also topped all designs with my Cutex Quick Dry Top Coat.

Continue reading “Drag Marble DecalsĀ “

Spring Essentials: Perfect Formula Pink Gel Coat ReviewĀ 


Winter finally seems to be leaving us, the days feeling a little bit warmer, which means it’s time to refresh my nails! Bitter cold Winter days can be rough on your nails, making them brittle, so sometimes you need a little help bringing them back to life.

I was sent Perfect Formula Pink Gel Coat to review, and I was excited to try out this base coat. I’ve used their Hot Coral Gel Coat Color Polish before & I was really impressed with how strong it made my nails feel! So when given the chance to try out this base coat, I couldn’t wait to see if it would give my nails some new life after a long winter!


Perfect Formula Pink Gel Coat is available to buy at Sephora for $30 It can be worn either on its own, or as a base coat under your manicure. The ingredients are designed to strengthen your nails while simultaneously protecting them from breaks. The pink tinge also brightens the nail, which can cover any discolouration.

Continue reading “Spring Essentials: Perfect Formula Pink Gel Coat ReviewĀ “

Mani Swap with @teenynails

It’s been a long while since I teamed up for any Mani swaps, so I have a few swap collabs coming up with some of my favourite girls on Instagram.

Up first, I have a swap with the very talentedĀ @teenynails. For this Swap she recreated my leopard patterned half moons & I had to recreate her beautiful purple vintage floral!

The polishes I used for my recreation were:

  • Essie Play Date
  • CND Crimison Sparkle
  • Kiss Nail Art Striper in Black
  • Kiss Nail Art Striper in White
  • Sally Hansen I ā™„ļø Nail Art pen in WhiteĀ 
  • Essie Brides No Grooms
  • My Beauty Spot unnamed pink
  • Essie Off TropicĀ 
  • Essie First TimerĀ 
  • Cutex Quick Dry Top Coat
  • Small Nail Art brush from Bundle Monster

You know how I feel about floral, & I thought these were so perfect for the Spring-y weather we’ve been having. Plus it gave me an excuse to pull out Essie Play Date again. & these are definitely some of the best roses I’ve done in a while. I just can’t stop staring at them.

What do you think of our recreations? Let me know in the comments below!

And shout out the the lovely @teenynails for joining me in this swap. šŸ’œ Don’t forget to check out her accountĀ on Instagram & check out all her amazing nail art!

Drip Marble decals inspired by @SimplyNailogicalĀ 


I’ve tried water marbling, & it was… not my thing. I’ve tried drag marbling, & it’s usually hit or miss. But I really love marbled nails, so naturally when I picked up a silicone craft mat I knew I needed to try drip marbling recently done by @simplynailogical.


For this mani I used:

  • ORLY Decades of Dysfunction 
  • Sally Hansen Pretty Piggy
  • Nicole by OPI We Got Beiber Fever
  • Finger Paints Wanna Gogh Dance?
  • ACO by Ardene Base Coat
  • Cutex Quick Dry Top Coat

To create my decals, I started off by dropping my polished of choice onto the mat, starting with my lightest colour (ORLY Decades of Dysfunction) as my base, then continued with my darker colours, & finished with my metallic shade (Finger Paints Wanna Gogh Dance?). Once all my colours were down, I moved my mat around to create my marbled effect. Once I was happy with one decal, I’d let it sit & dry for a few minutes before starting on the next one. When I was happy with the amount of decals I’d made, I left them to Dry for a few hours (around 2 hours).

I’m not going to lie, trying to apply these wasn’t the easiest. I started off by painting my accent nails with a base colour (again I used ORLY Decades of Dysfunction) and let dry. I then peeled off my decal & figured out which part I wanted on my nail, trimming it down to a more manageable size. When I was ready, I applied a coat of my ACO by Ardene base coat & immediately stuck my decal onto the nail. Using a brush dipped in acetone, I cleaned up around the cuticle. This was probably the least fun part–I wish I had better nail art scissors to trim off the access instead! When the decal was fully cleaned up & my cuticles were clean I sealed everything in with top coat to finish. I also surrounded my cuticles in oil to help after all that remover. No one likes wrecked cuticles.

And how does the final result look?

Continue reading “Drip Marble decals inspired by @SimplyNailogicalĀ “