SWATCH SUNDAY— Crafting a Layered Green Holo

Happy Swatch Sunday lovelies!

Today is a bit of a different post for me–instead of featuring single polishes on their own today, I’m showing off 3 polishes layered together to create one amazing look!

I’ve been really loving layering polishes together–it’s similar to creating franken shades only instead of mixing everything together, your layering one on top of another. Obviously this could only really work with layering more sheer shades over more opaque ones (which works well with a lot of the Layla Cosmetics hologram effect polishes I own.)

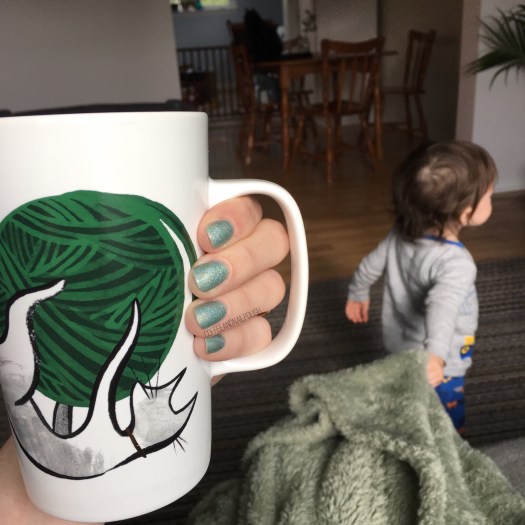
For this particular look I started with 2 base coats of Essie Turquoise & Caicos & then layered a coat of Layla Cosmetics Jade Groove over top. I’ve worn this Holo on its own but found it didn’t have enough of a green/mint pop to it on the nail. By adding some undies, it really showed off the colour I wanted. & then, because I’m absolutely Holo obsessed right now I finished off with a layer of Quo by ORLY Trash Glam (aka. ORLY Sparkling Garbage for my non-Canadian friends!) The end result is a whole lot of holo happening on the nail.
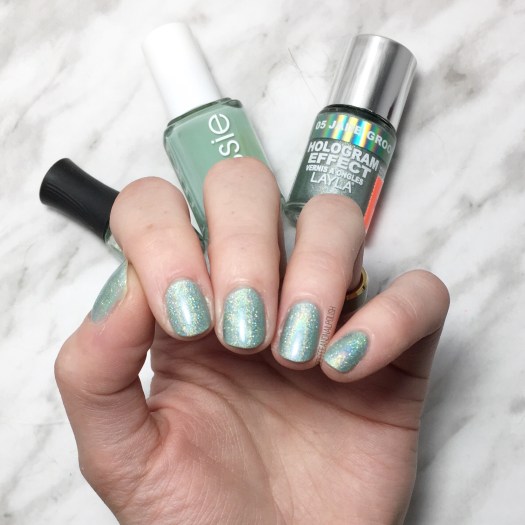
Seriously, this is a distracting amount of sparkle happening on the nail. In the sunshine, it was actually incredible how many rainbows you could see.

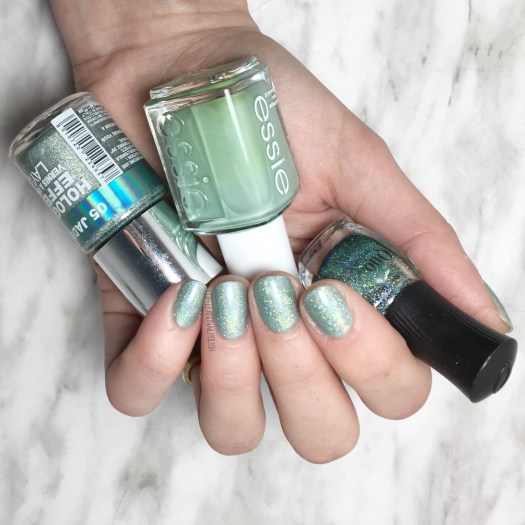
I love how you get the linear holo from Jade Groove but then the scattered holo from Trash Glam picks up the light too & it’s absolutely memorizing! I definitely need to find a linear holo top coat so I can transform every polish I own into a Holo Polish too! Let me know what your favourite ones are!

I hope everyone had an amazing Sunday. 💚✨

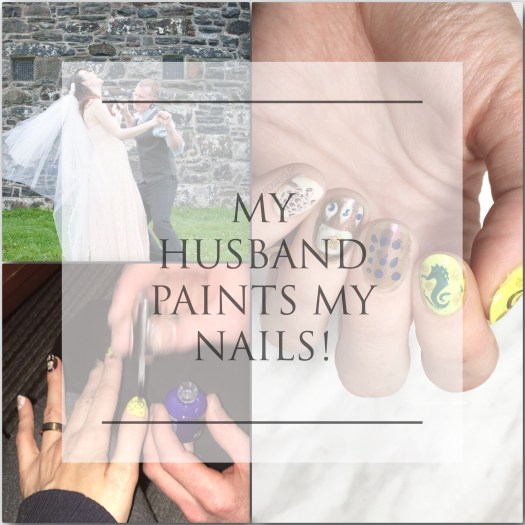
My Husband Paints my Nails for Valentine’s Day

Happy Valentine’s Day lovelies!

Today I have a special & fun post I’ve been hoping to do for a while. I’ve been trying to convince my husband he should paint my nails FOREVER (probably as long as we’ve been together), & he finally agreed to do it in honour of Valentine’s Day!   I really wanted to record to whole thing, but I figured it was enough that he was doing them all at so I didn’t want to push my luck too much.  But I did manage to take a few pictures of the whole experience, just for fun! After all, it’s not often someone else does my nails!
Continue reading “My Husband Paints my Nails for Valentine’s Day”

Bestie Twin Baby Boy Birthday Nails with @hjs_nails

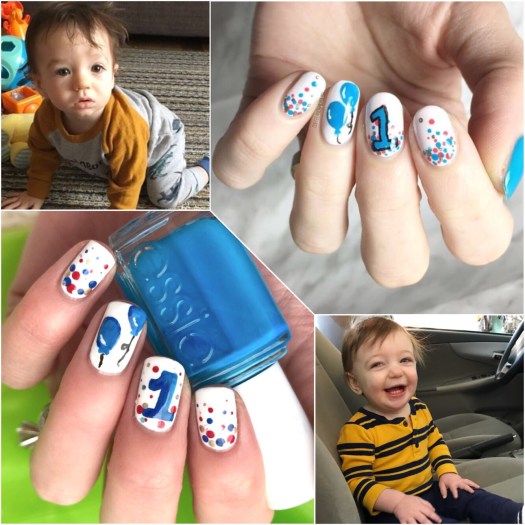
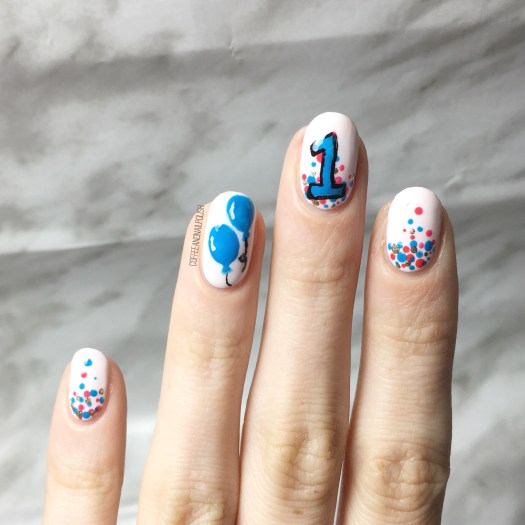
Happy Tuesday lovelies! Today I have a very special nail collab to share with you. One of the most amazing things about the nail community is the way it brings people together. Last August I did a mani swap with Hannah from @hjs_nails & we bonded over the fact we both had baby boys in February. Since our beautiful little guys share a birthday month we decided to team up & do some Bestie Twin Baby Boy Birthday Nails in their honour.

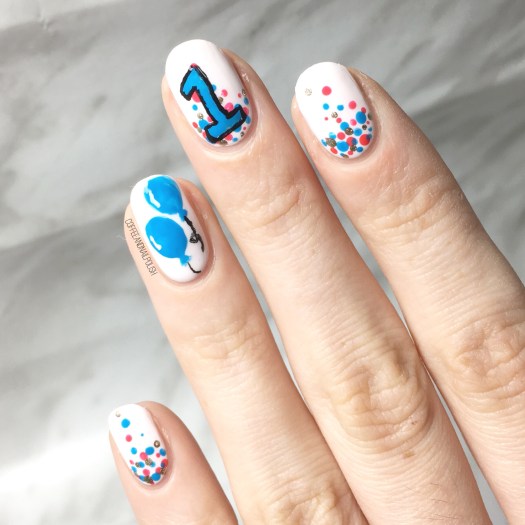
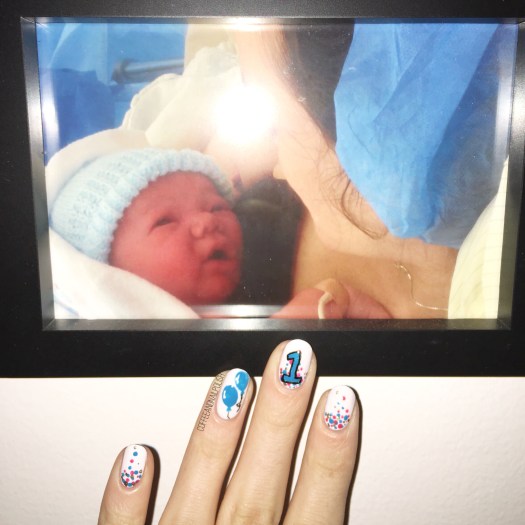
How handsome do our little guys look hanging out beside their special birthday manicures! For our designs, Hannah & I created a fun celebratory design featuring a gradient dotticure (to represent confetti), some balloons & the number one. Hannah had painted her nail design first, so I followed her polish picks to match the best I could.

For this manicure, the polishes I used were:

  • Base Coat: Quo by ORLY Breathable Kiss Me, I’m Kind
  • Top Coat: Seche Vive
  • ORLY Decades of Dysfunction
  • Essie Strut Your Stuff
  • Essie Too Too Hot
  • L’Oreal Feeling Kilty
  • Sally Hansen Hard As Nails Black Heart
  • Small detail brush from Bundle Monster
  • Small dotting tool from Bundle Monster

How cute did this design turn out?! The colour combination reminds me of a race car, which is perfection when celebrating baby boys. My little guys birthday isn’t until Thursday, but it still works because on this day last year I was on day 2 of my 54 hour labour! It’s kind of crazy to believe that I am almost the Mom of a one year old. This year has certainly been a whirl wind, & it definitely hasn’t been easy to balance Mom-life with non-Mom life (like blogging & doing my nails) but I wouldn’t trade it. It’s been a very interesting adventure.

My nails & my 9 pound baby boy.

Hope you liked this design! & don’t forget to pop over to Hannah’s instagram (@hjs_nails) & give her mani some love too!

Have a happy Tuesday! 🎈🎉🎁

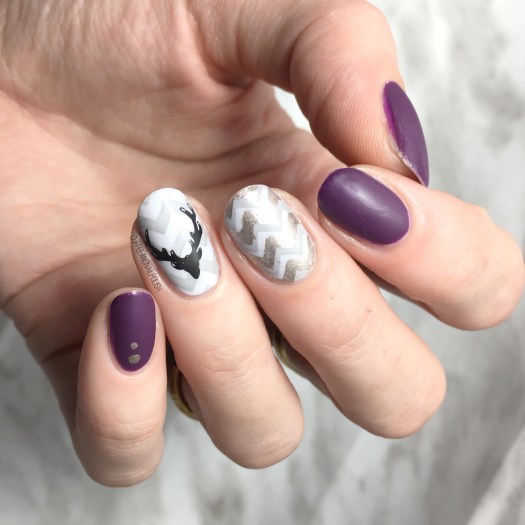
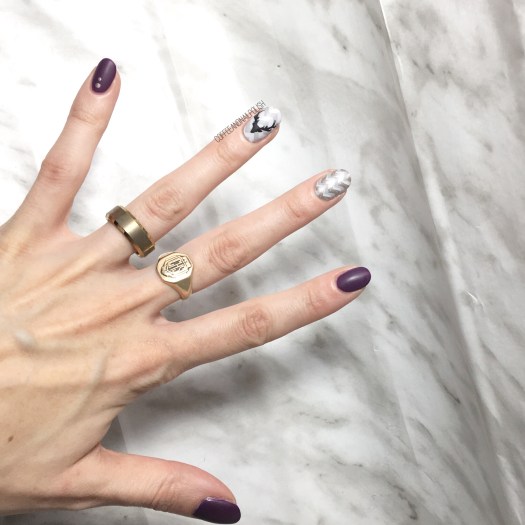
Chevron & Deer Stamped Design

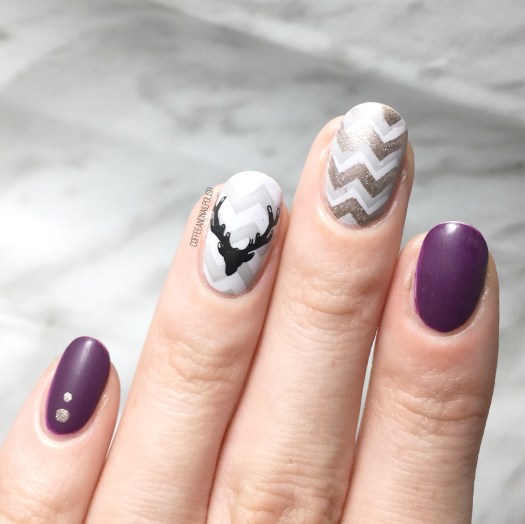
Hello lovelies! Today I have a really fun design to share with you. Back in early December, I made an order through Born Pretty Store & just recently received my goodies which included 6 new stamping plates! Obviously, I couldn’t wait to play with my new plates, because I’ve been using the same ones I bought in 2014 for ages. Today’s design was semi inspired by all the fun stag head designs that have been popping up on my Instagram feed! Finally I can create my own cute deer designs!

For this design, the polishes I used were:

  • Base Coat: Nailtek 2
  • Top Coat: Seche Vive
  • Matte Top Coat: Butter London
  • Sally Hansen Complete Salon Manicure Trouble Maker
  • Quo by Orly Breathable Barely There
  • ACO by Ardene Daydreamer
  • L’Oreal Feeling Kilty
  • Sally Hansen Hard as Nails Black Heart
  • Born Pretty Store Clear Stamper
  • Born Pretty Store Image Plate BP-L006 (item #17924)
  • Born Pretty Store Image Plate BP-L03 (item #23268)
  • Small dotting tool
  • Edge Perfection Cuticle Barrier.

Seriously, just how cute is this manicure?! I’m a little disappointed that I didn’t order these in time to get them for Christmas, so I could do cute reindeer nails, but I’m very excited for all the upcoming designs I’ll be able to do. I’m also very happy to have a brand new jelly stamper because mine as certainly seen better days & will need to be retired very soon. Don’t get me wrong, I still love doing freehand/nail vinyl designs, but there is something a little more convenient about stamping–you don’t have to spend an hour trying to paint a design, or worry about having to wait for you base to dry to apply nail vinyls (even with quick dry top coat). It’s taken me a while to finally get the hang of stamping, & while I’m not a pro by any means, I definitely feel like I’m so much better than I used to be!

What do you think of this design? Are you a fan of stamping? Let me know all your thoughts (or tips & tricks!) in the comments below.