Hello lovelies & happy Friday! The weekend is almost here.
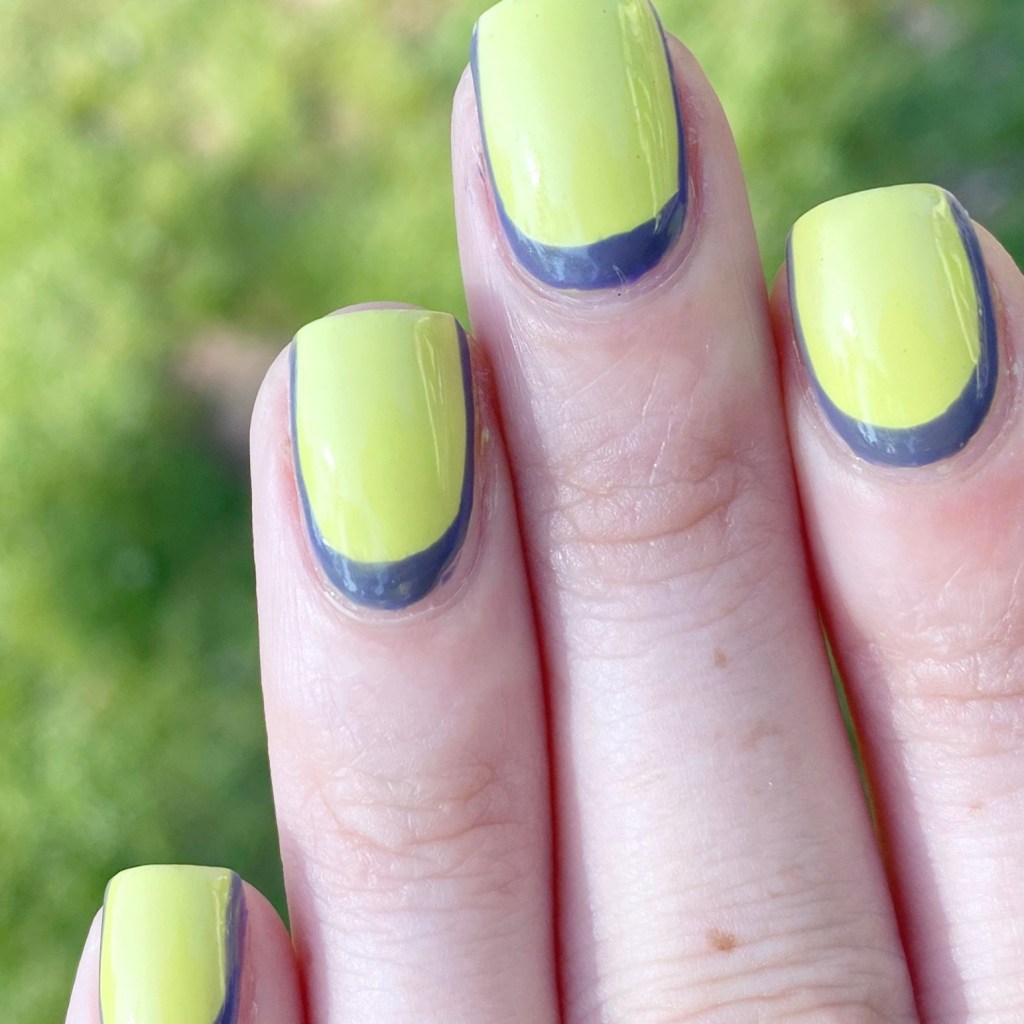
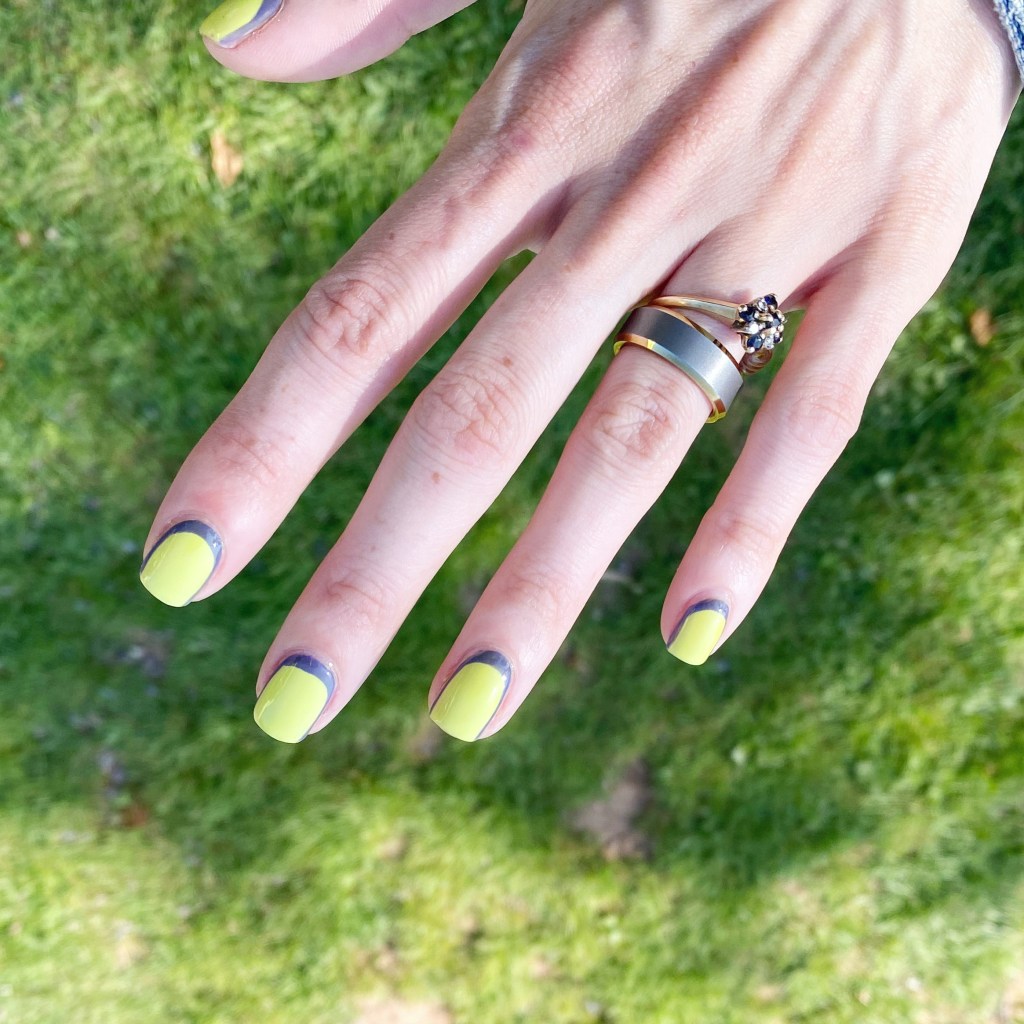
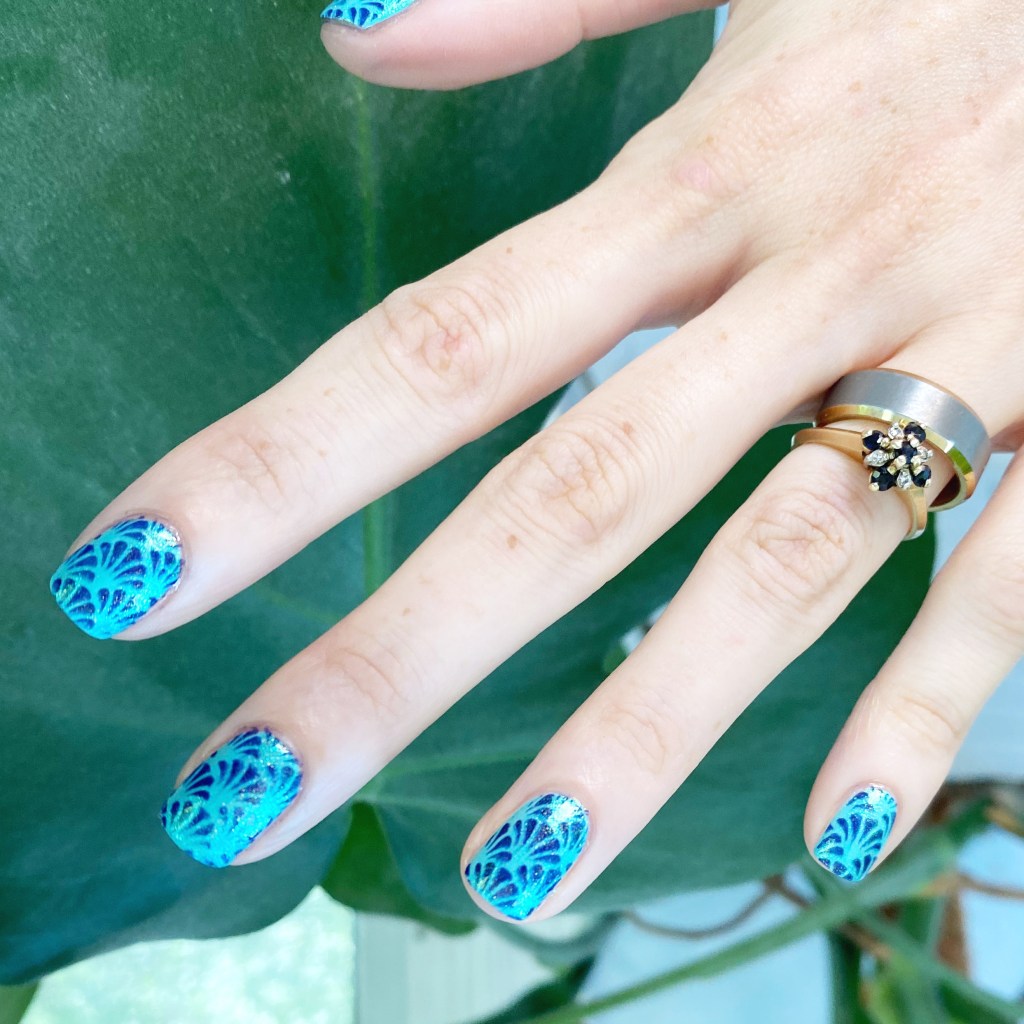
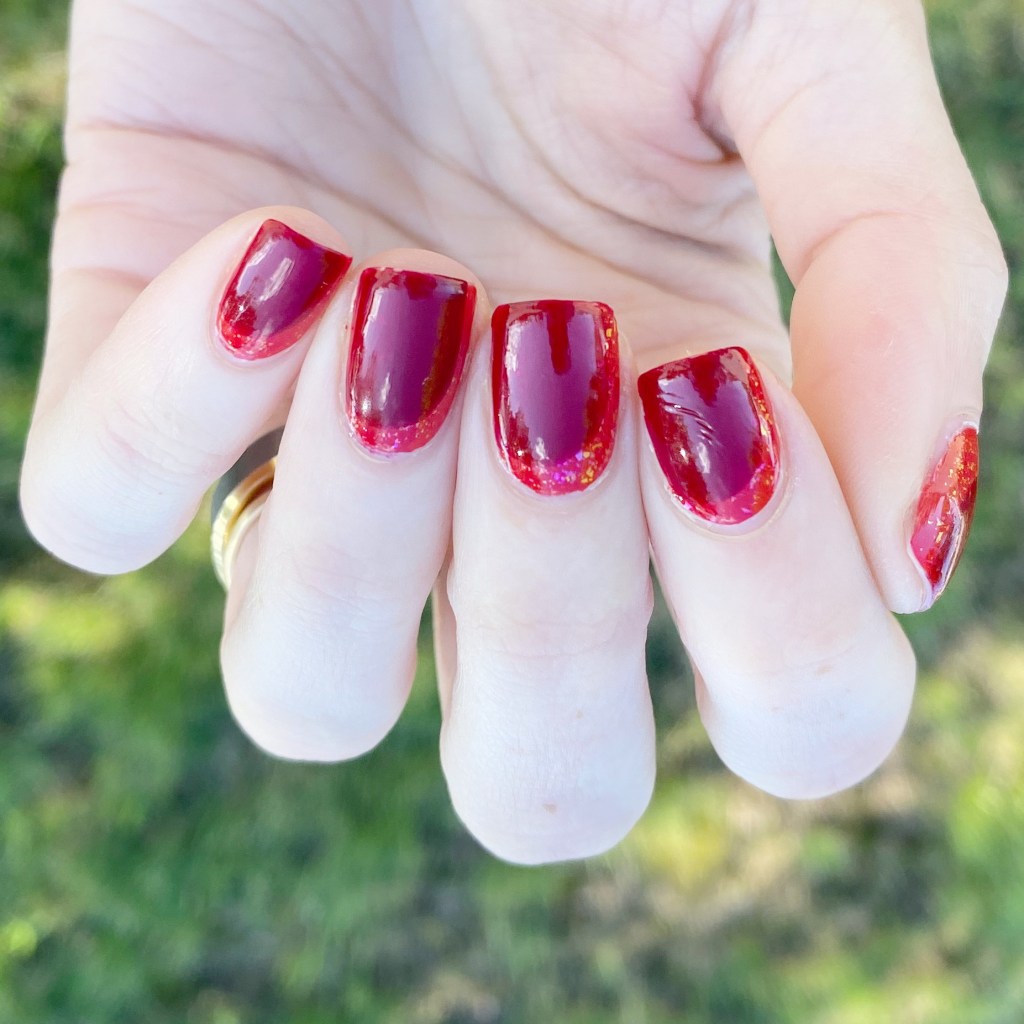
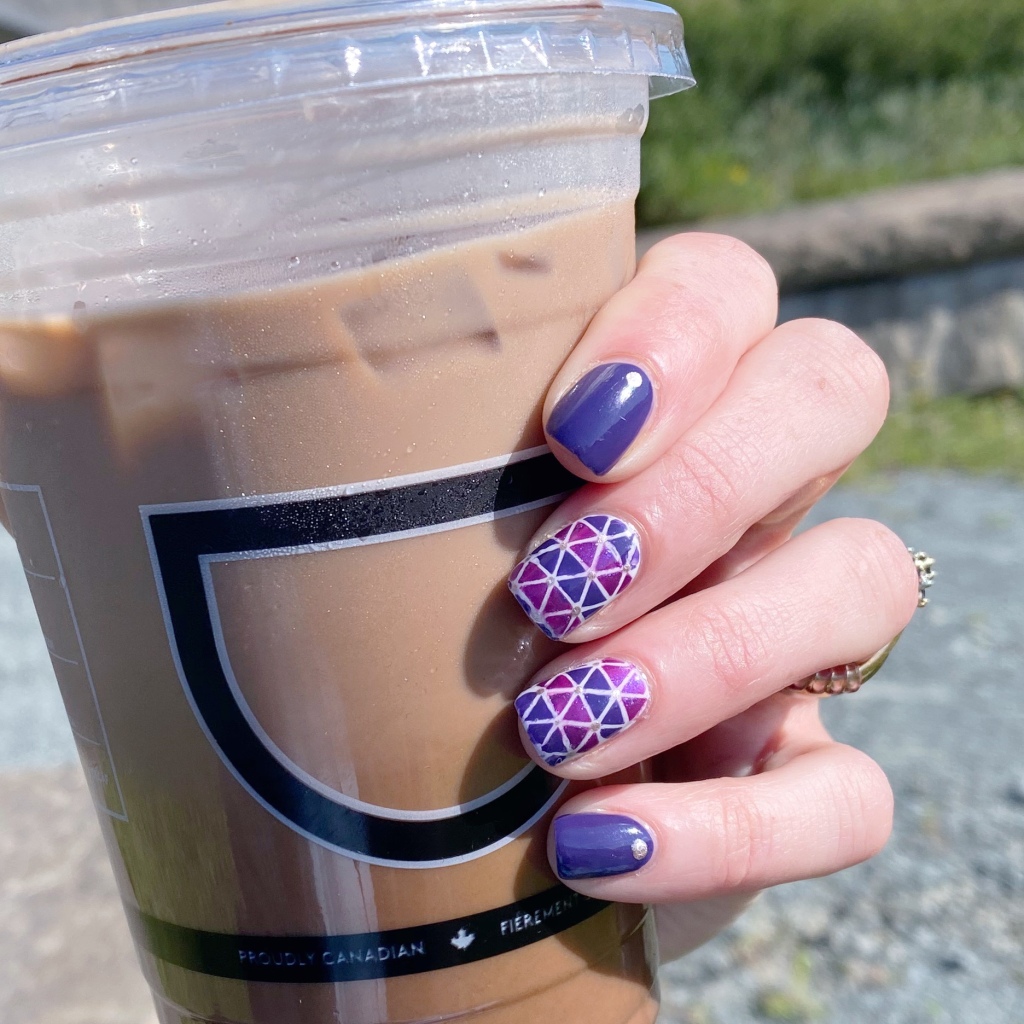
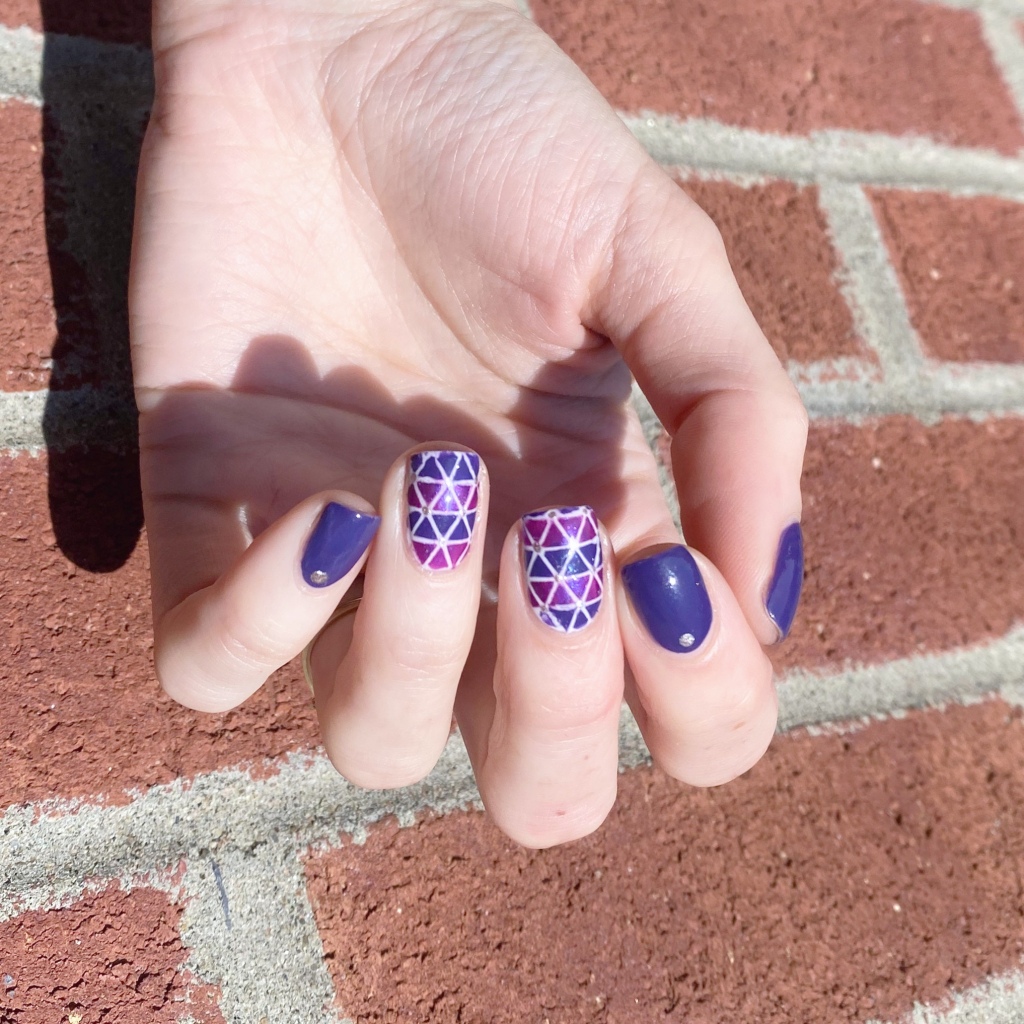
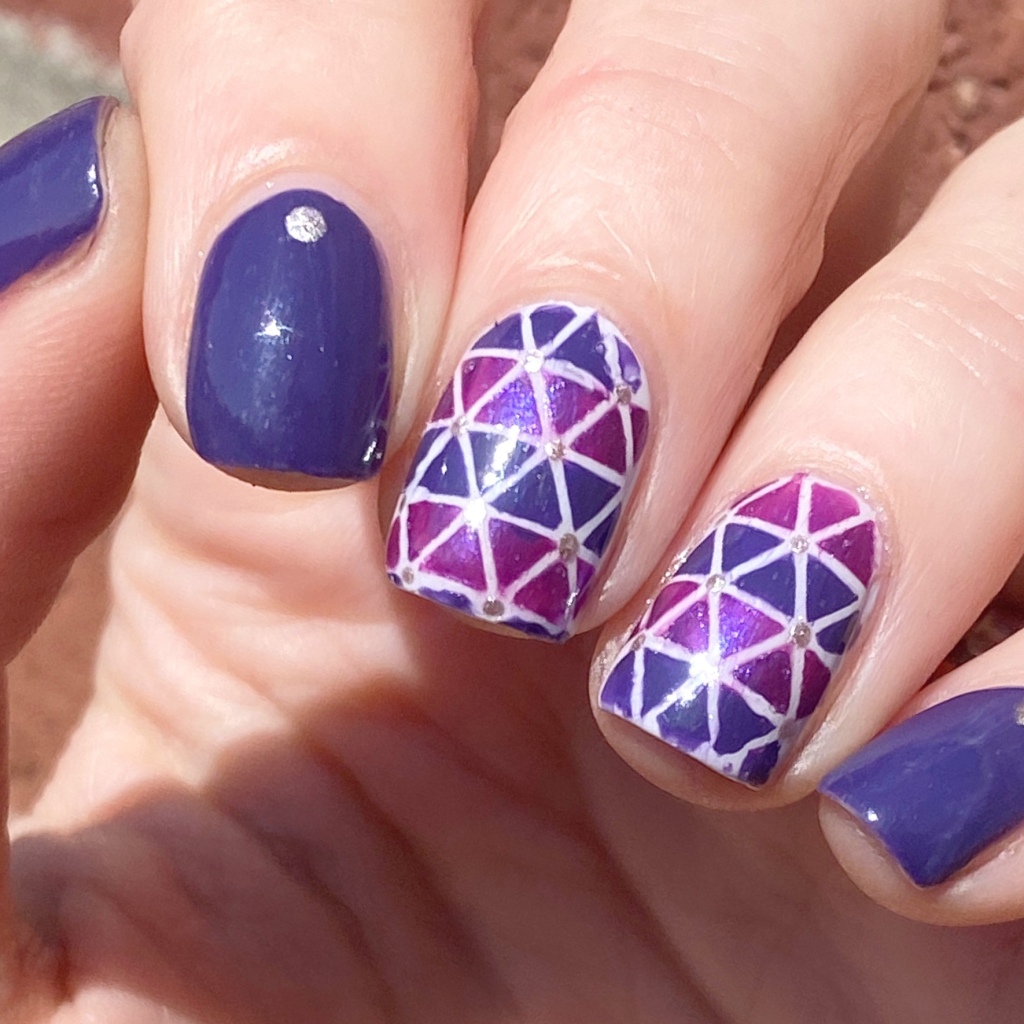
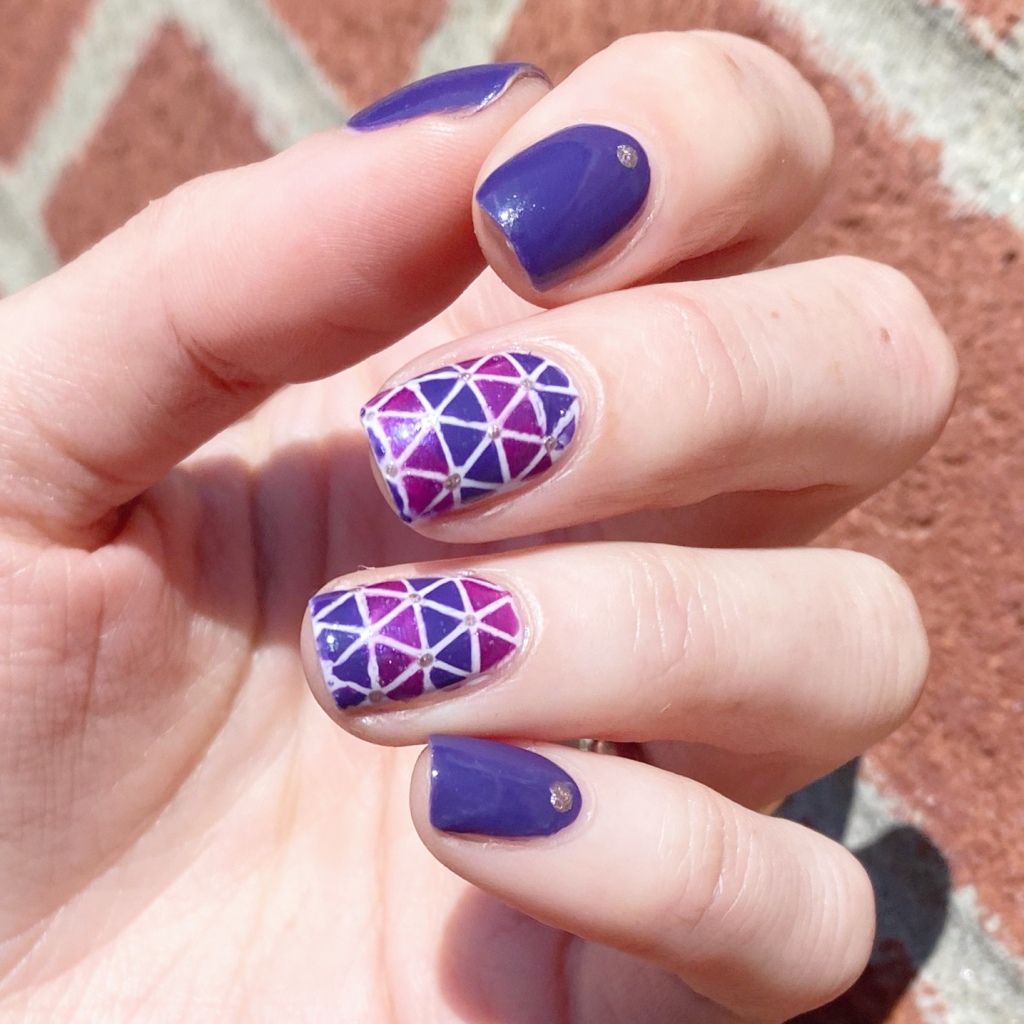
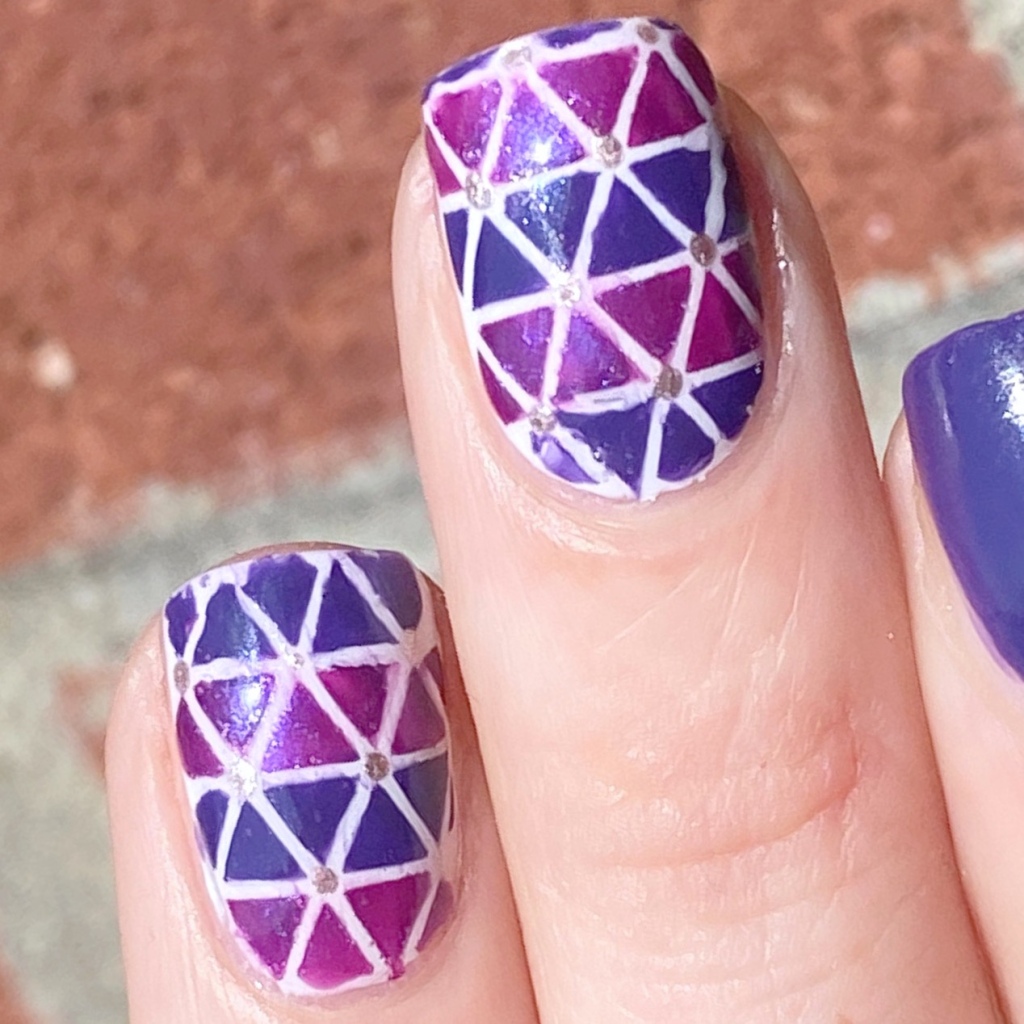
Today’s nail art look is feeling unintentionally Autumn inspired, even though I swear I’m still in a Summer state of mind. I was feeling more nail vinyls, & remembered these geometric triangle vinyl as I still had from TheBaseCoat, & knew I needed to put them to good use.
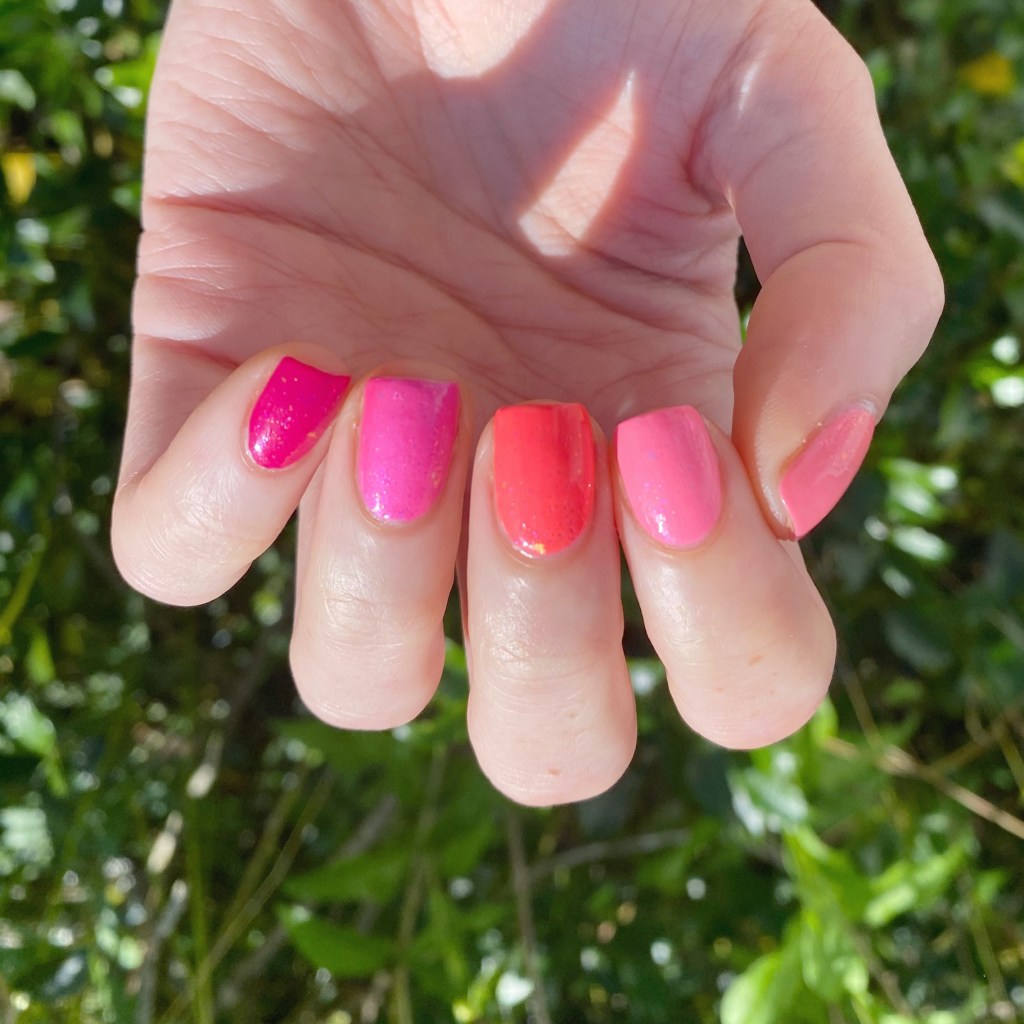
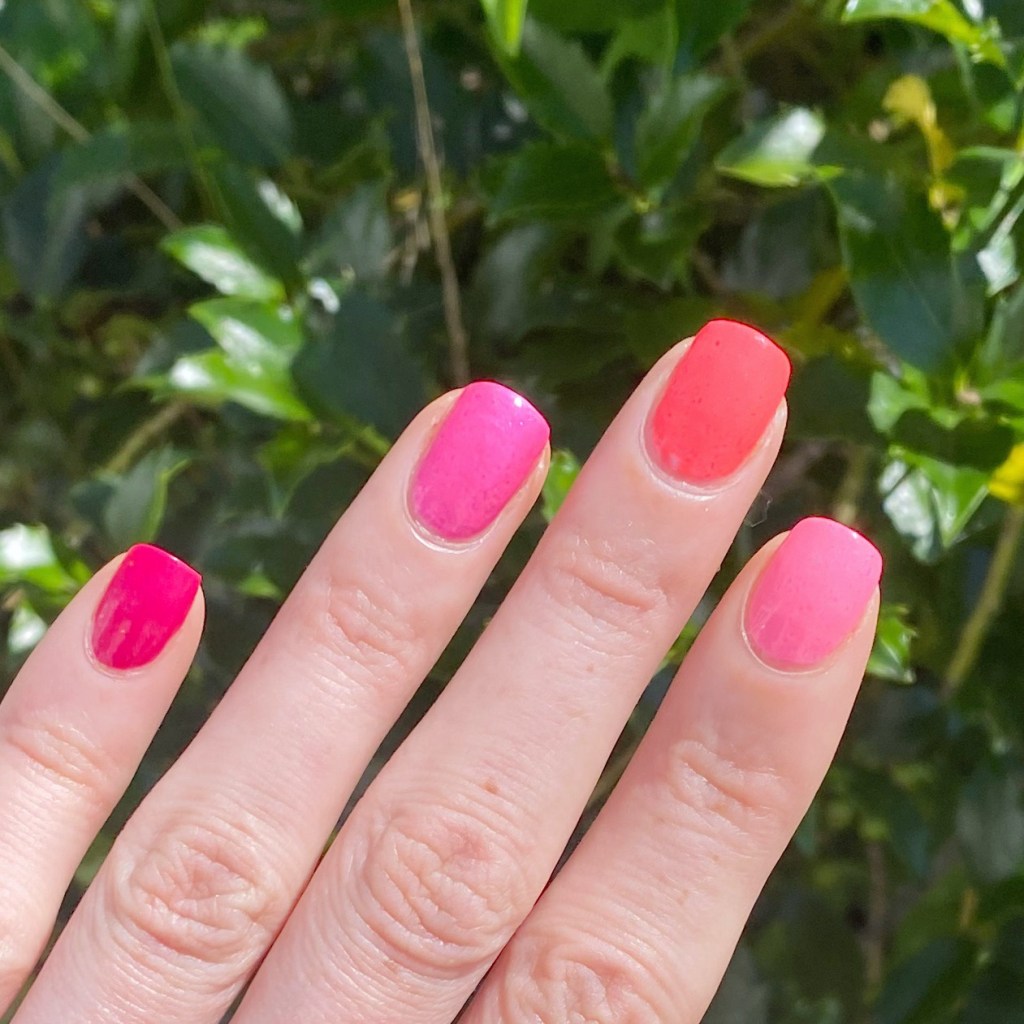
The polishes I used for this manicure are:
- Base Coat: Sally Hansen Miracle Gel Colour Grip Primer Base Coat
- Top Coat: Sally Hansen Miracle Gel Glossy Top Coat
- OPI Infinite Shine Sound of Vibrance
- OPI Infinite Shine Mariachi Makes My Day
- OPI Cannoli Wear OPI
- OPI Press * For Silver
- The Base Coat Vinyls
- NailStuff.ca Dotting Tool Trio
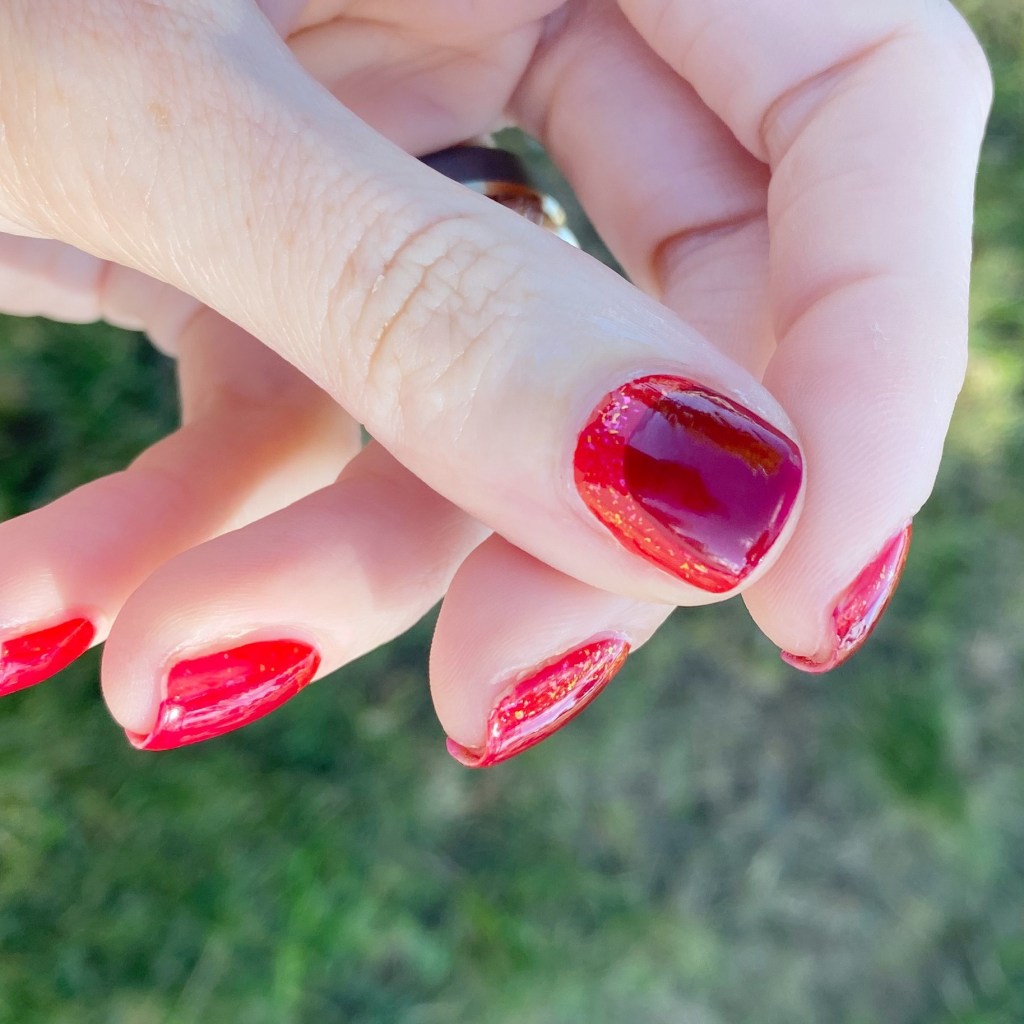
I really didn’t think these nails were going to lean so dark & Autumn, but that’s okay — I love them anyways. I would have done all my nails with my vinyls, but I’m starting to get low with this pattern—it’s one of my favourites—& they’re not in production any more.
It just looks so cute! & I added the little tiny dots as accents, & I think it just gives it something a little extra. Yes, early Autumn vibes — but I’m not mad about it! It’s just a little taste.

What do you think of this accent nail design with these geometric triangle vinyls? Are you a fan of accent nail art like this? What kind of nail art are you loving right now?
Let me know all your thoughts in the comments below!