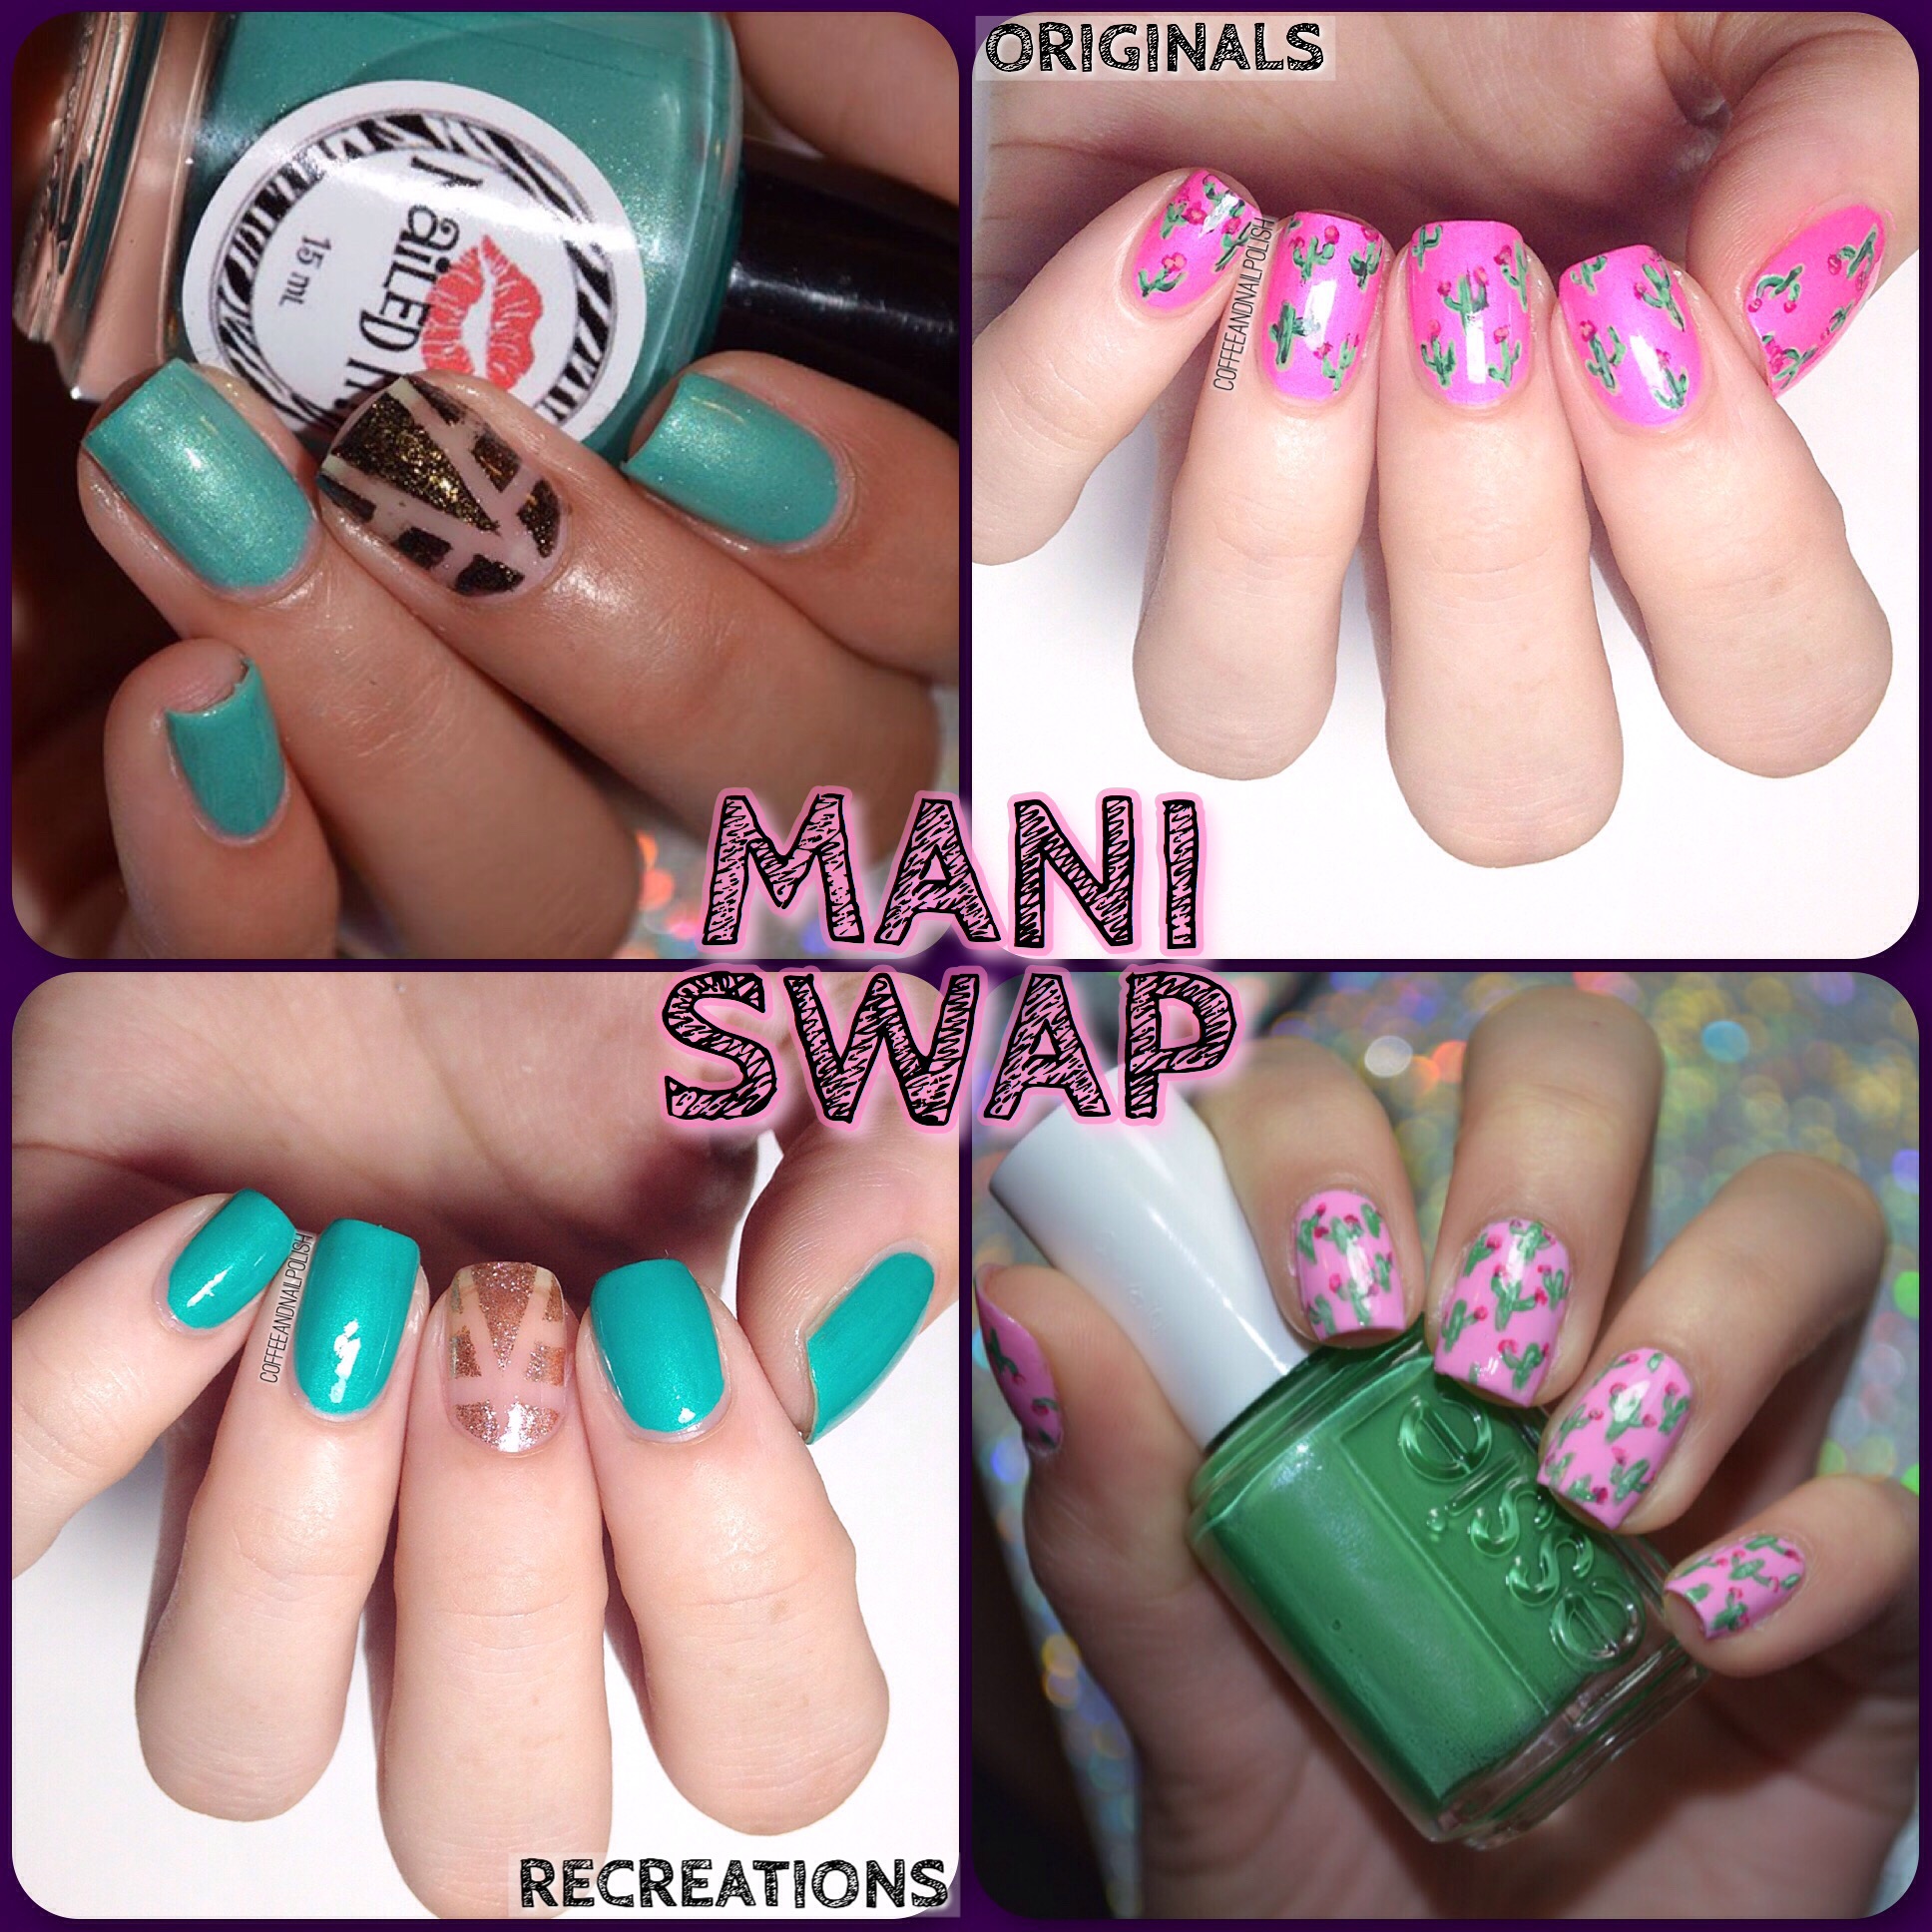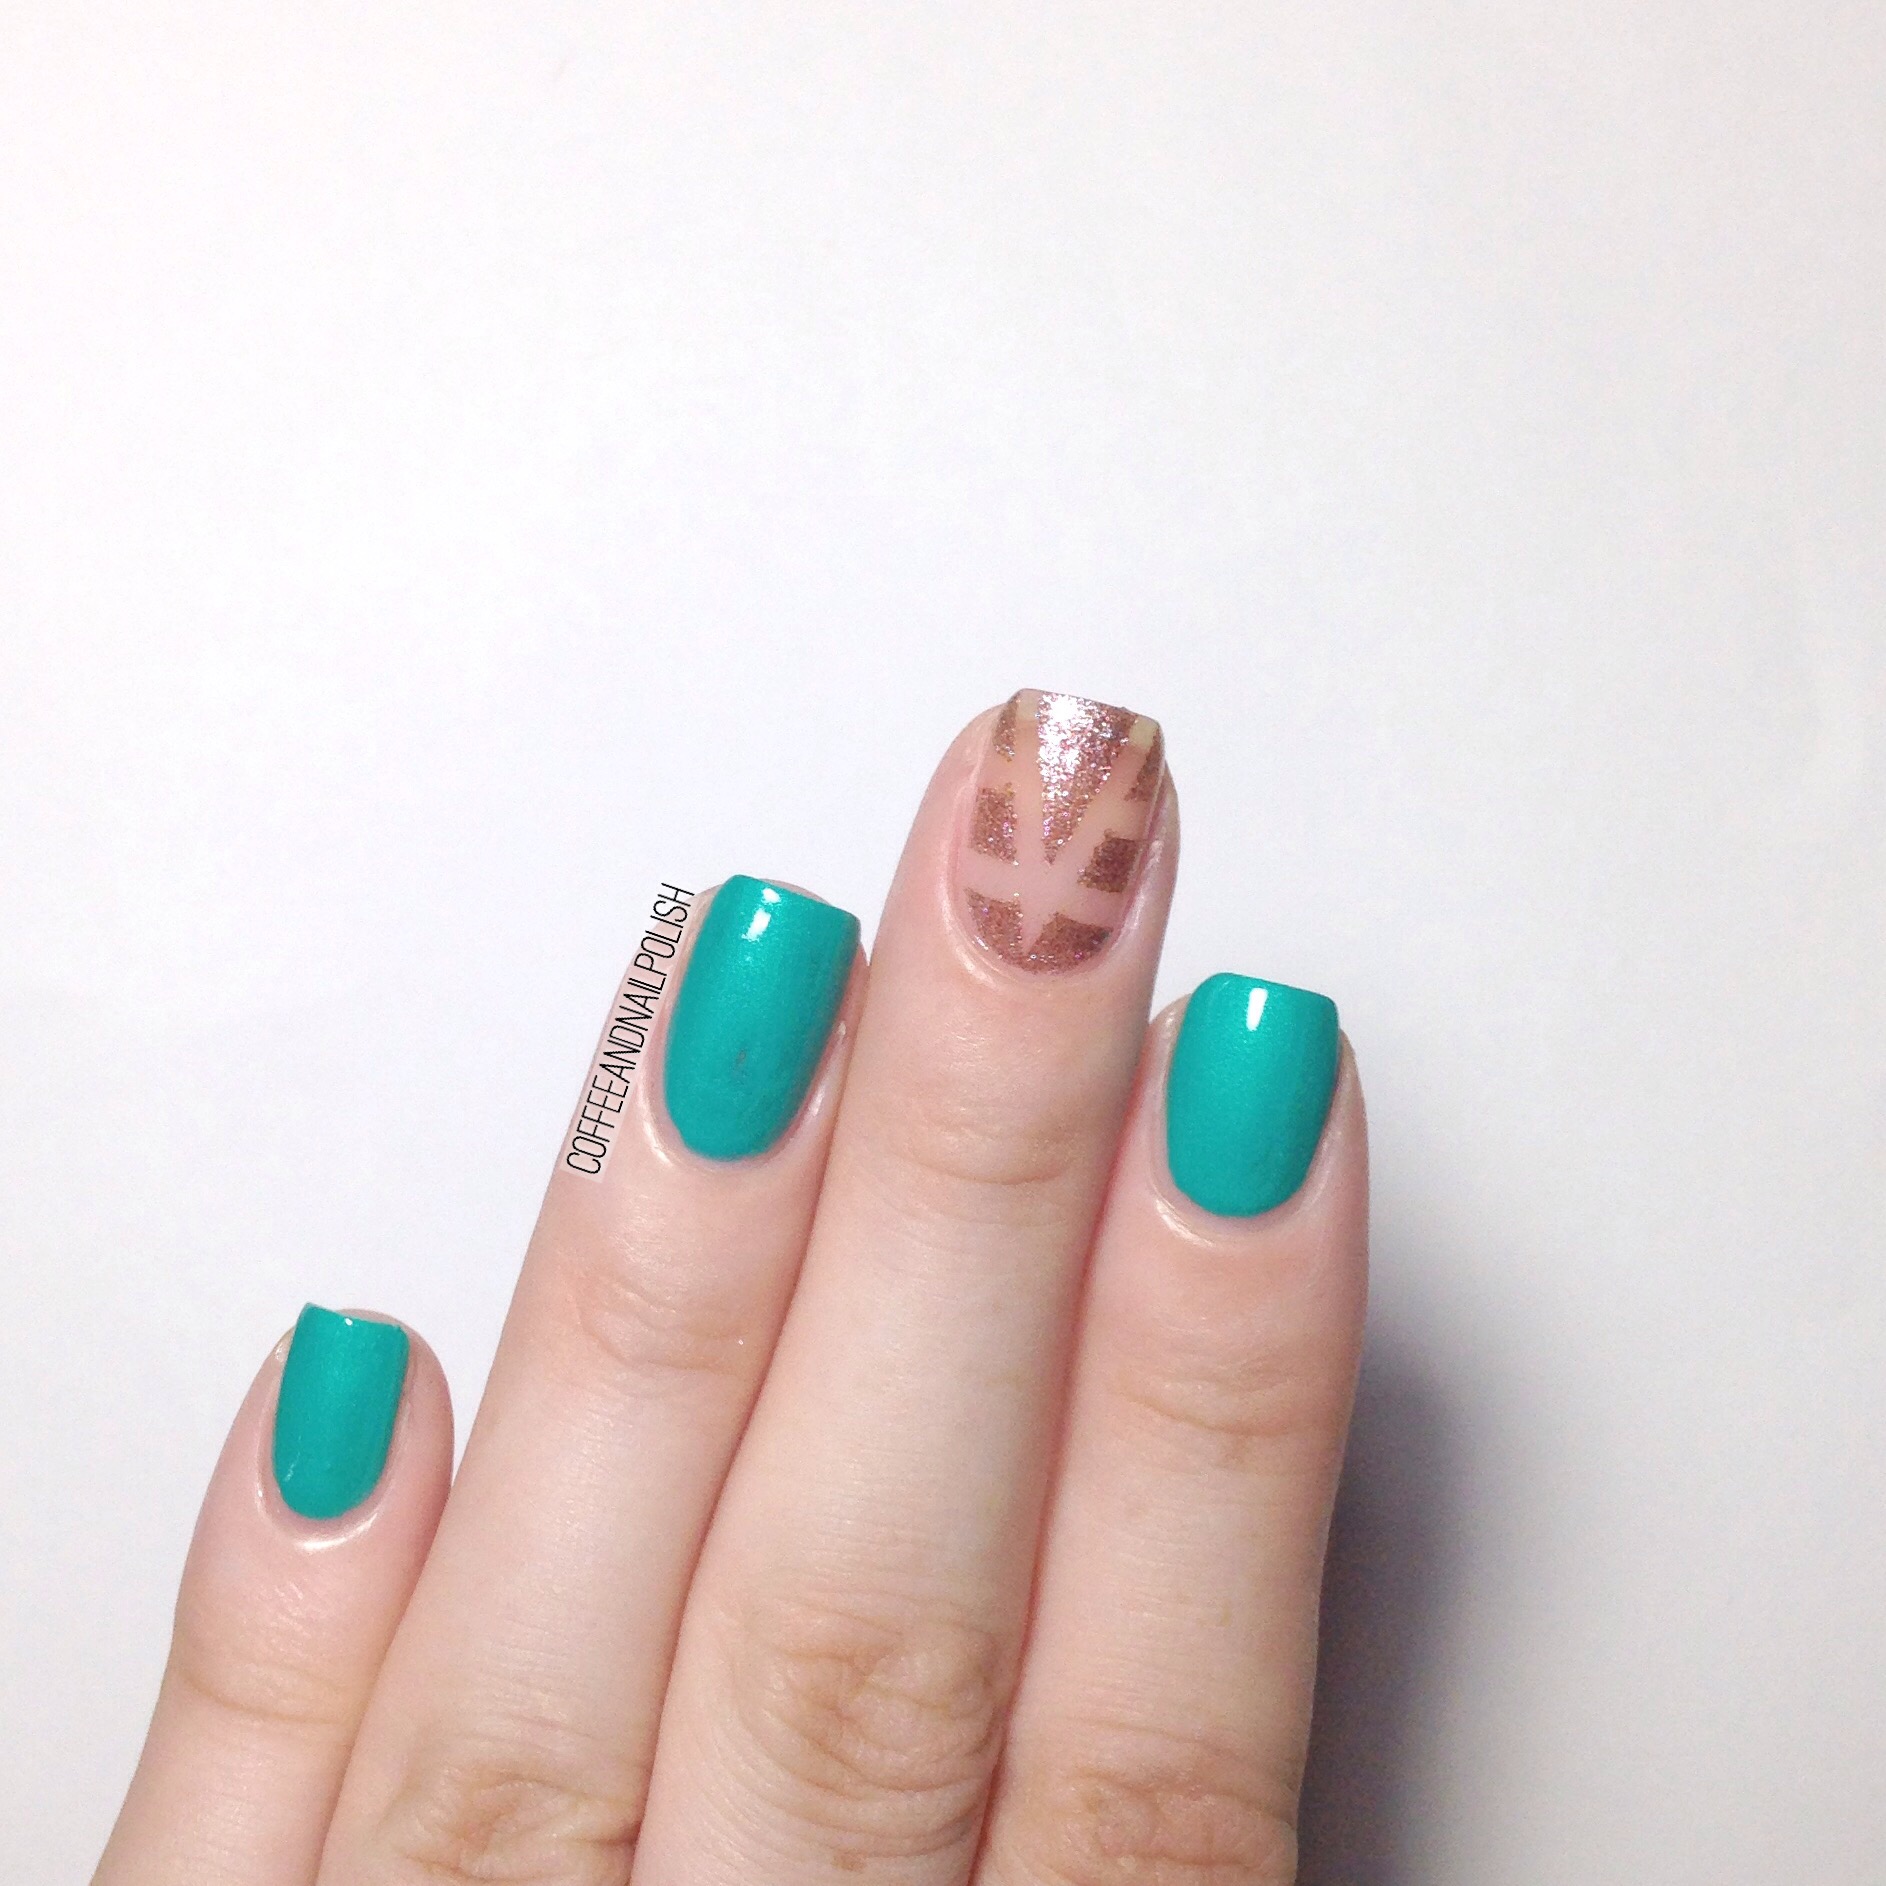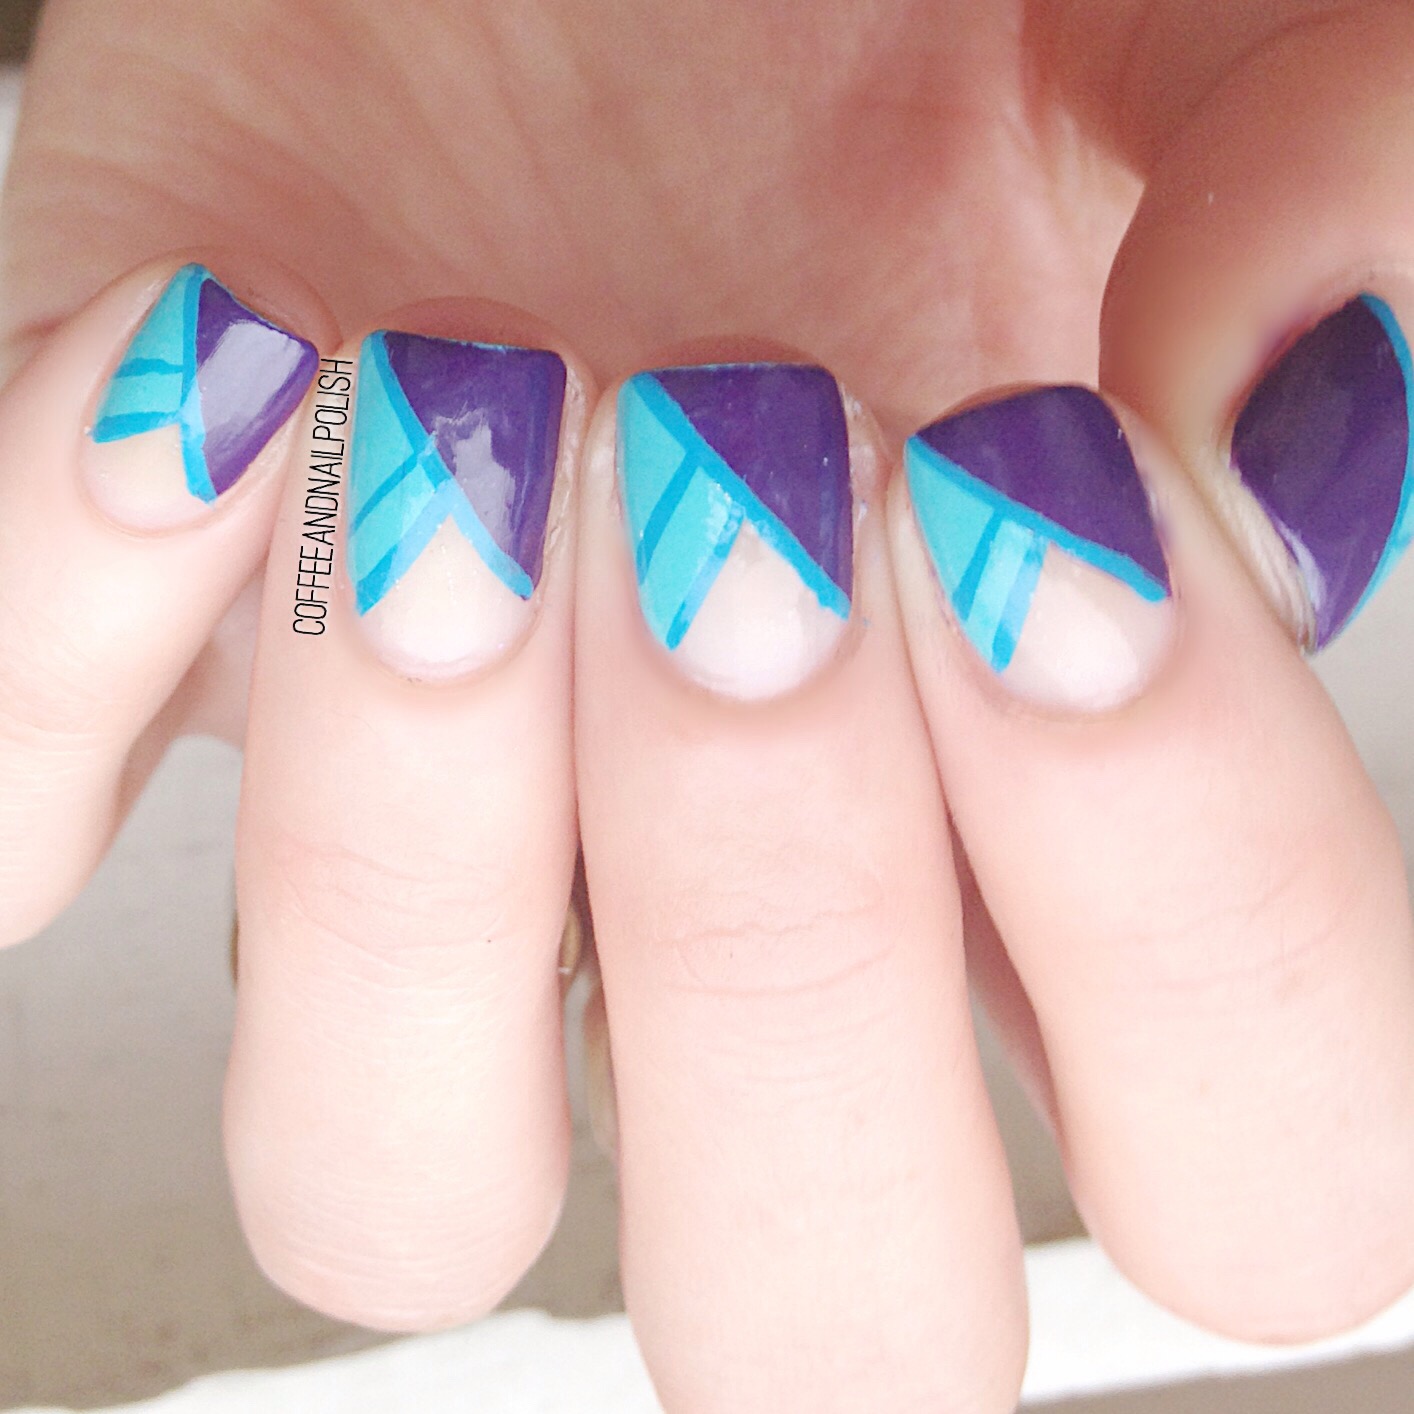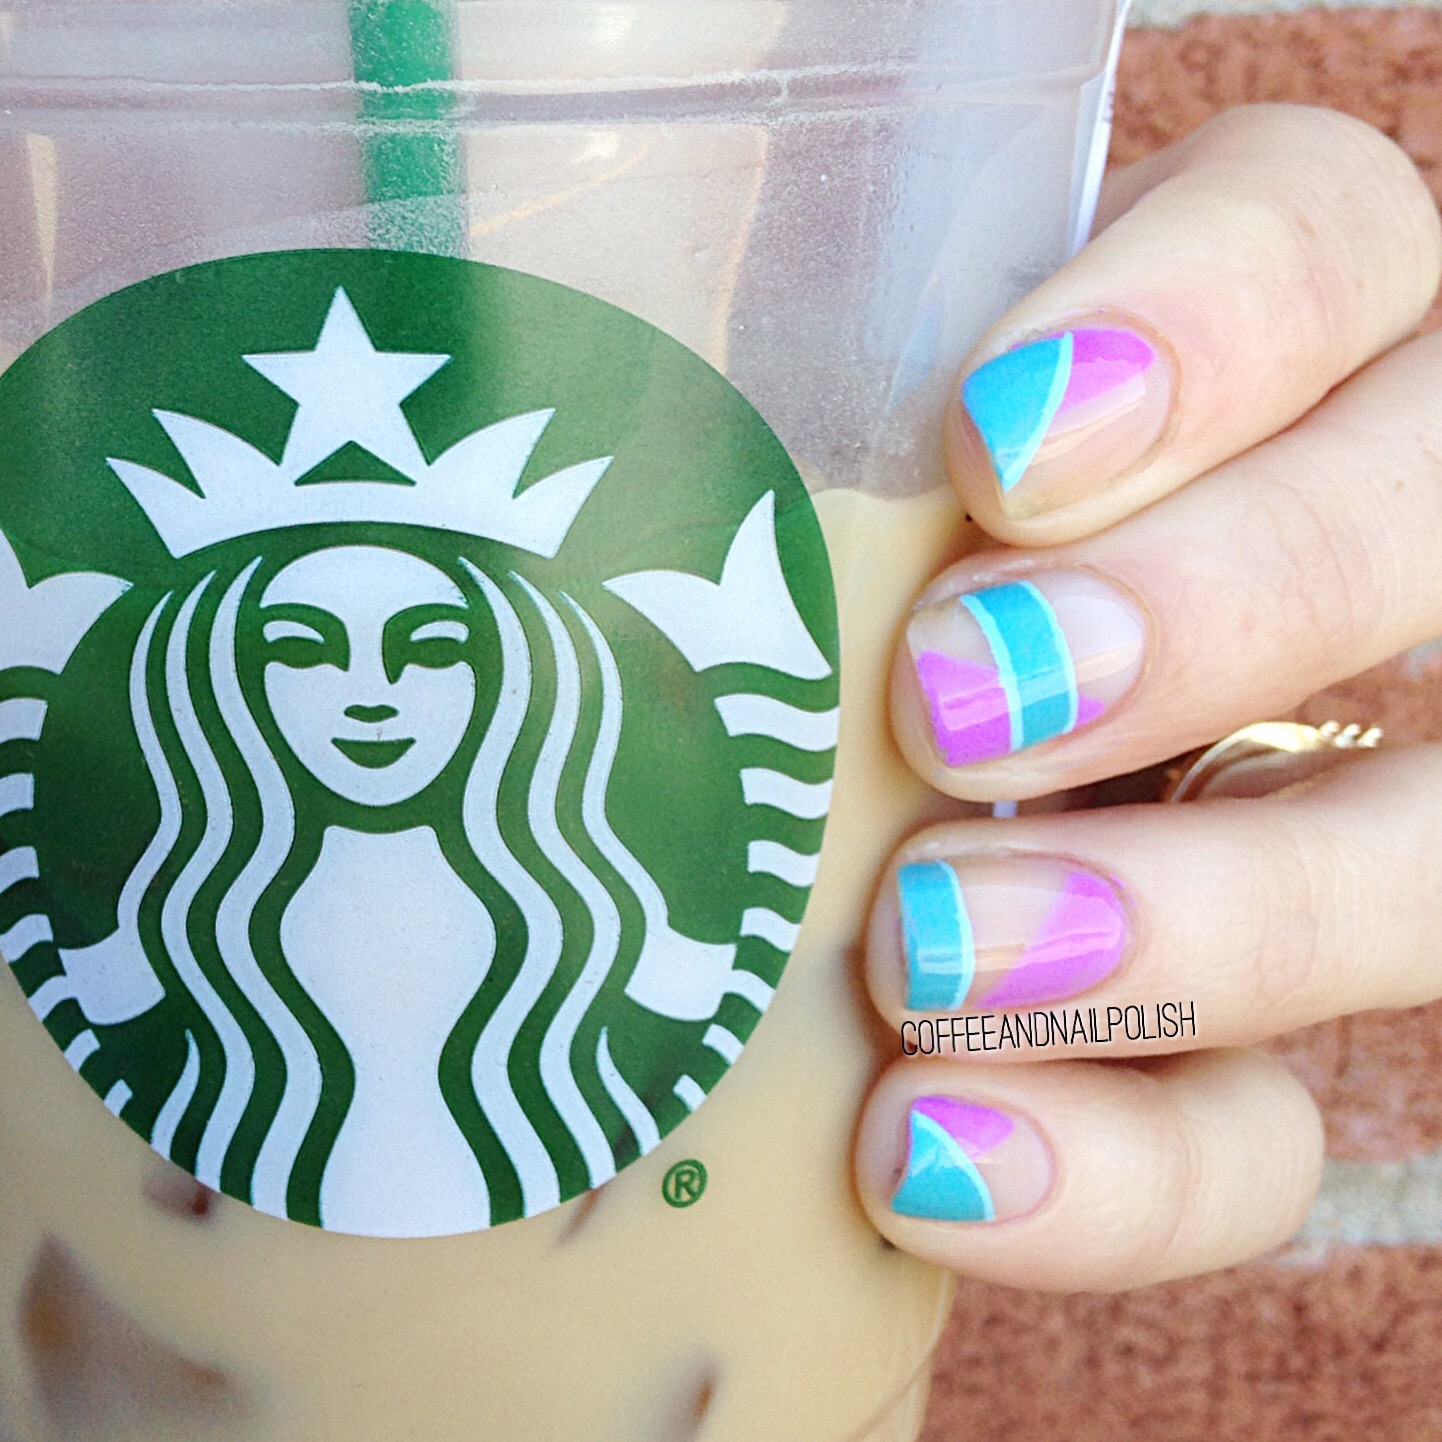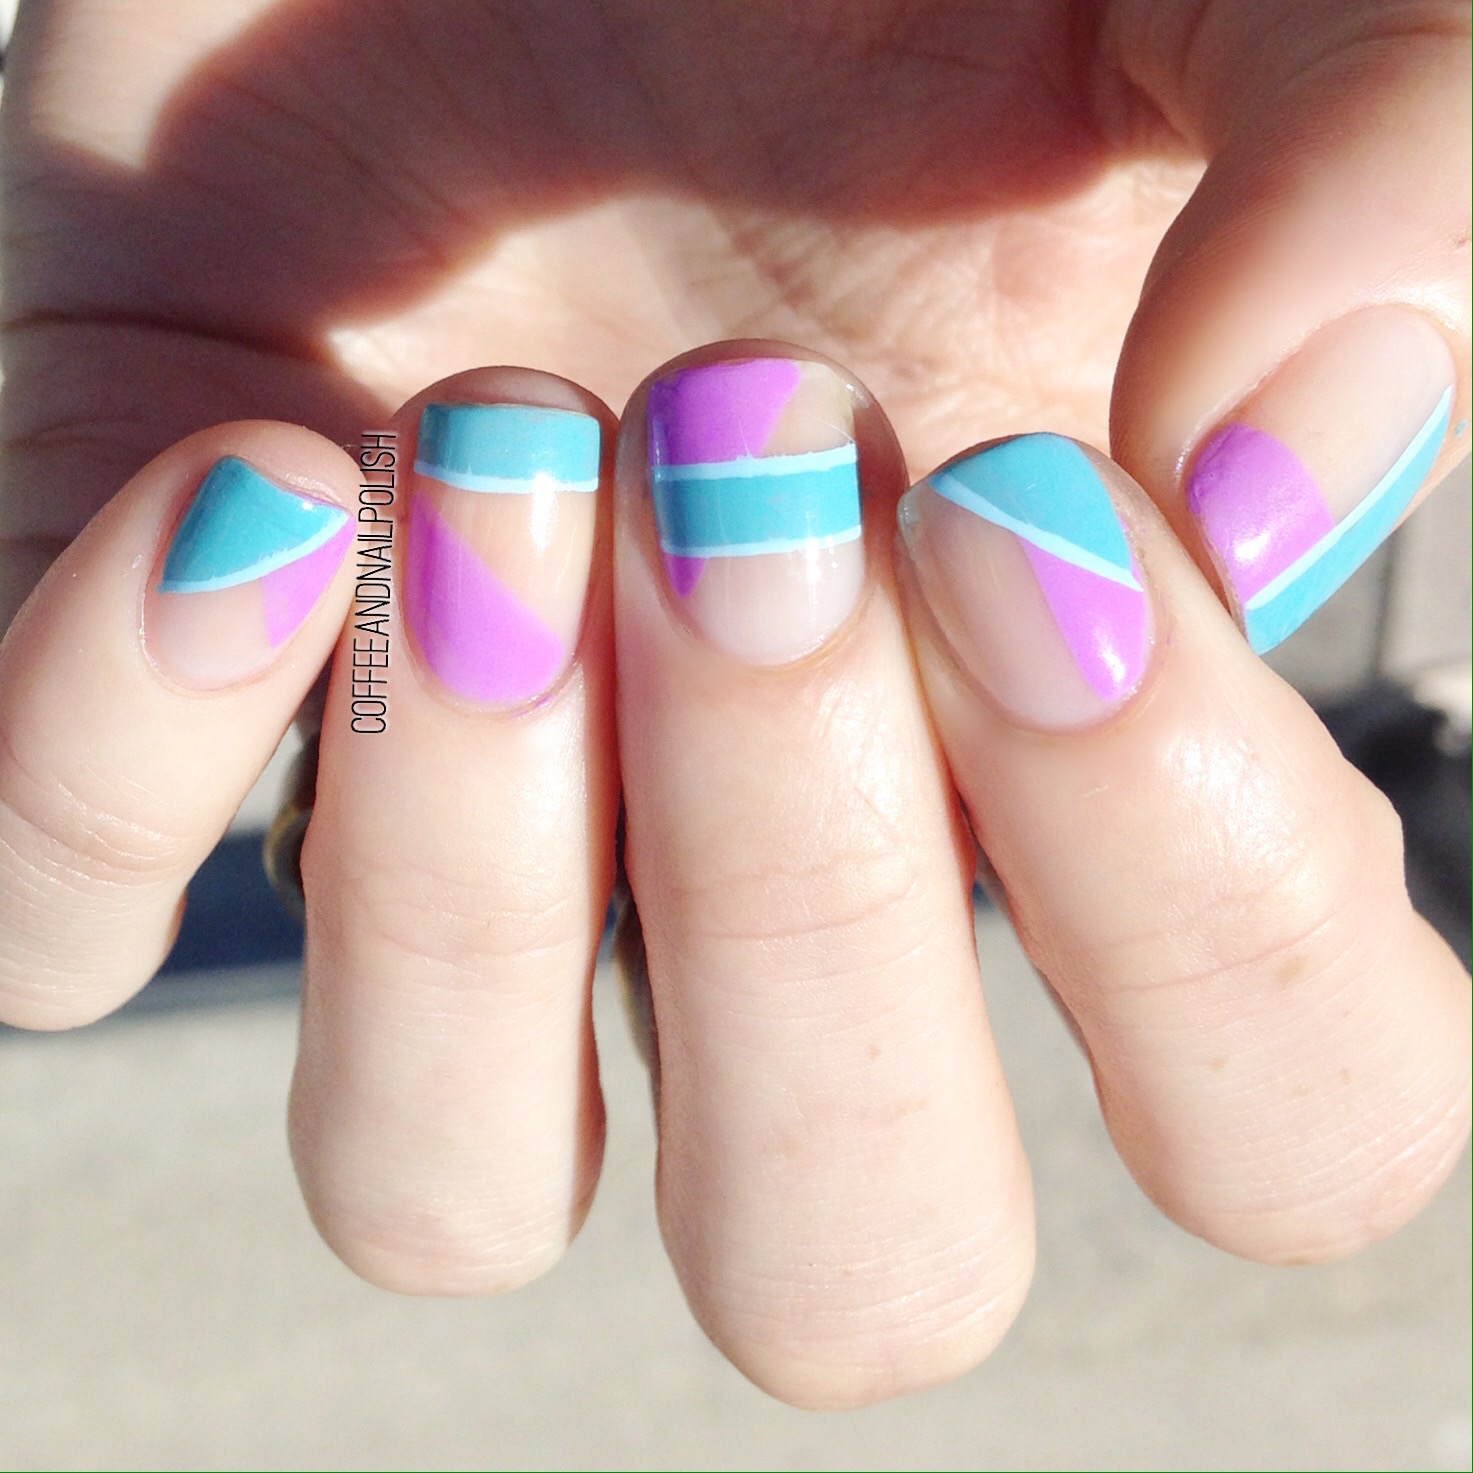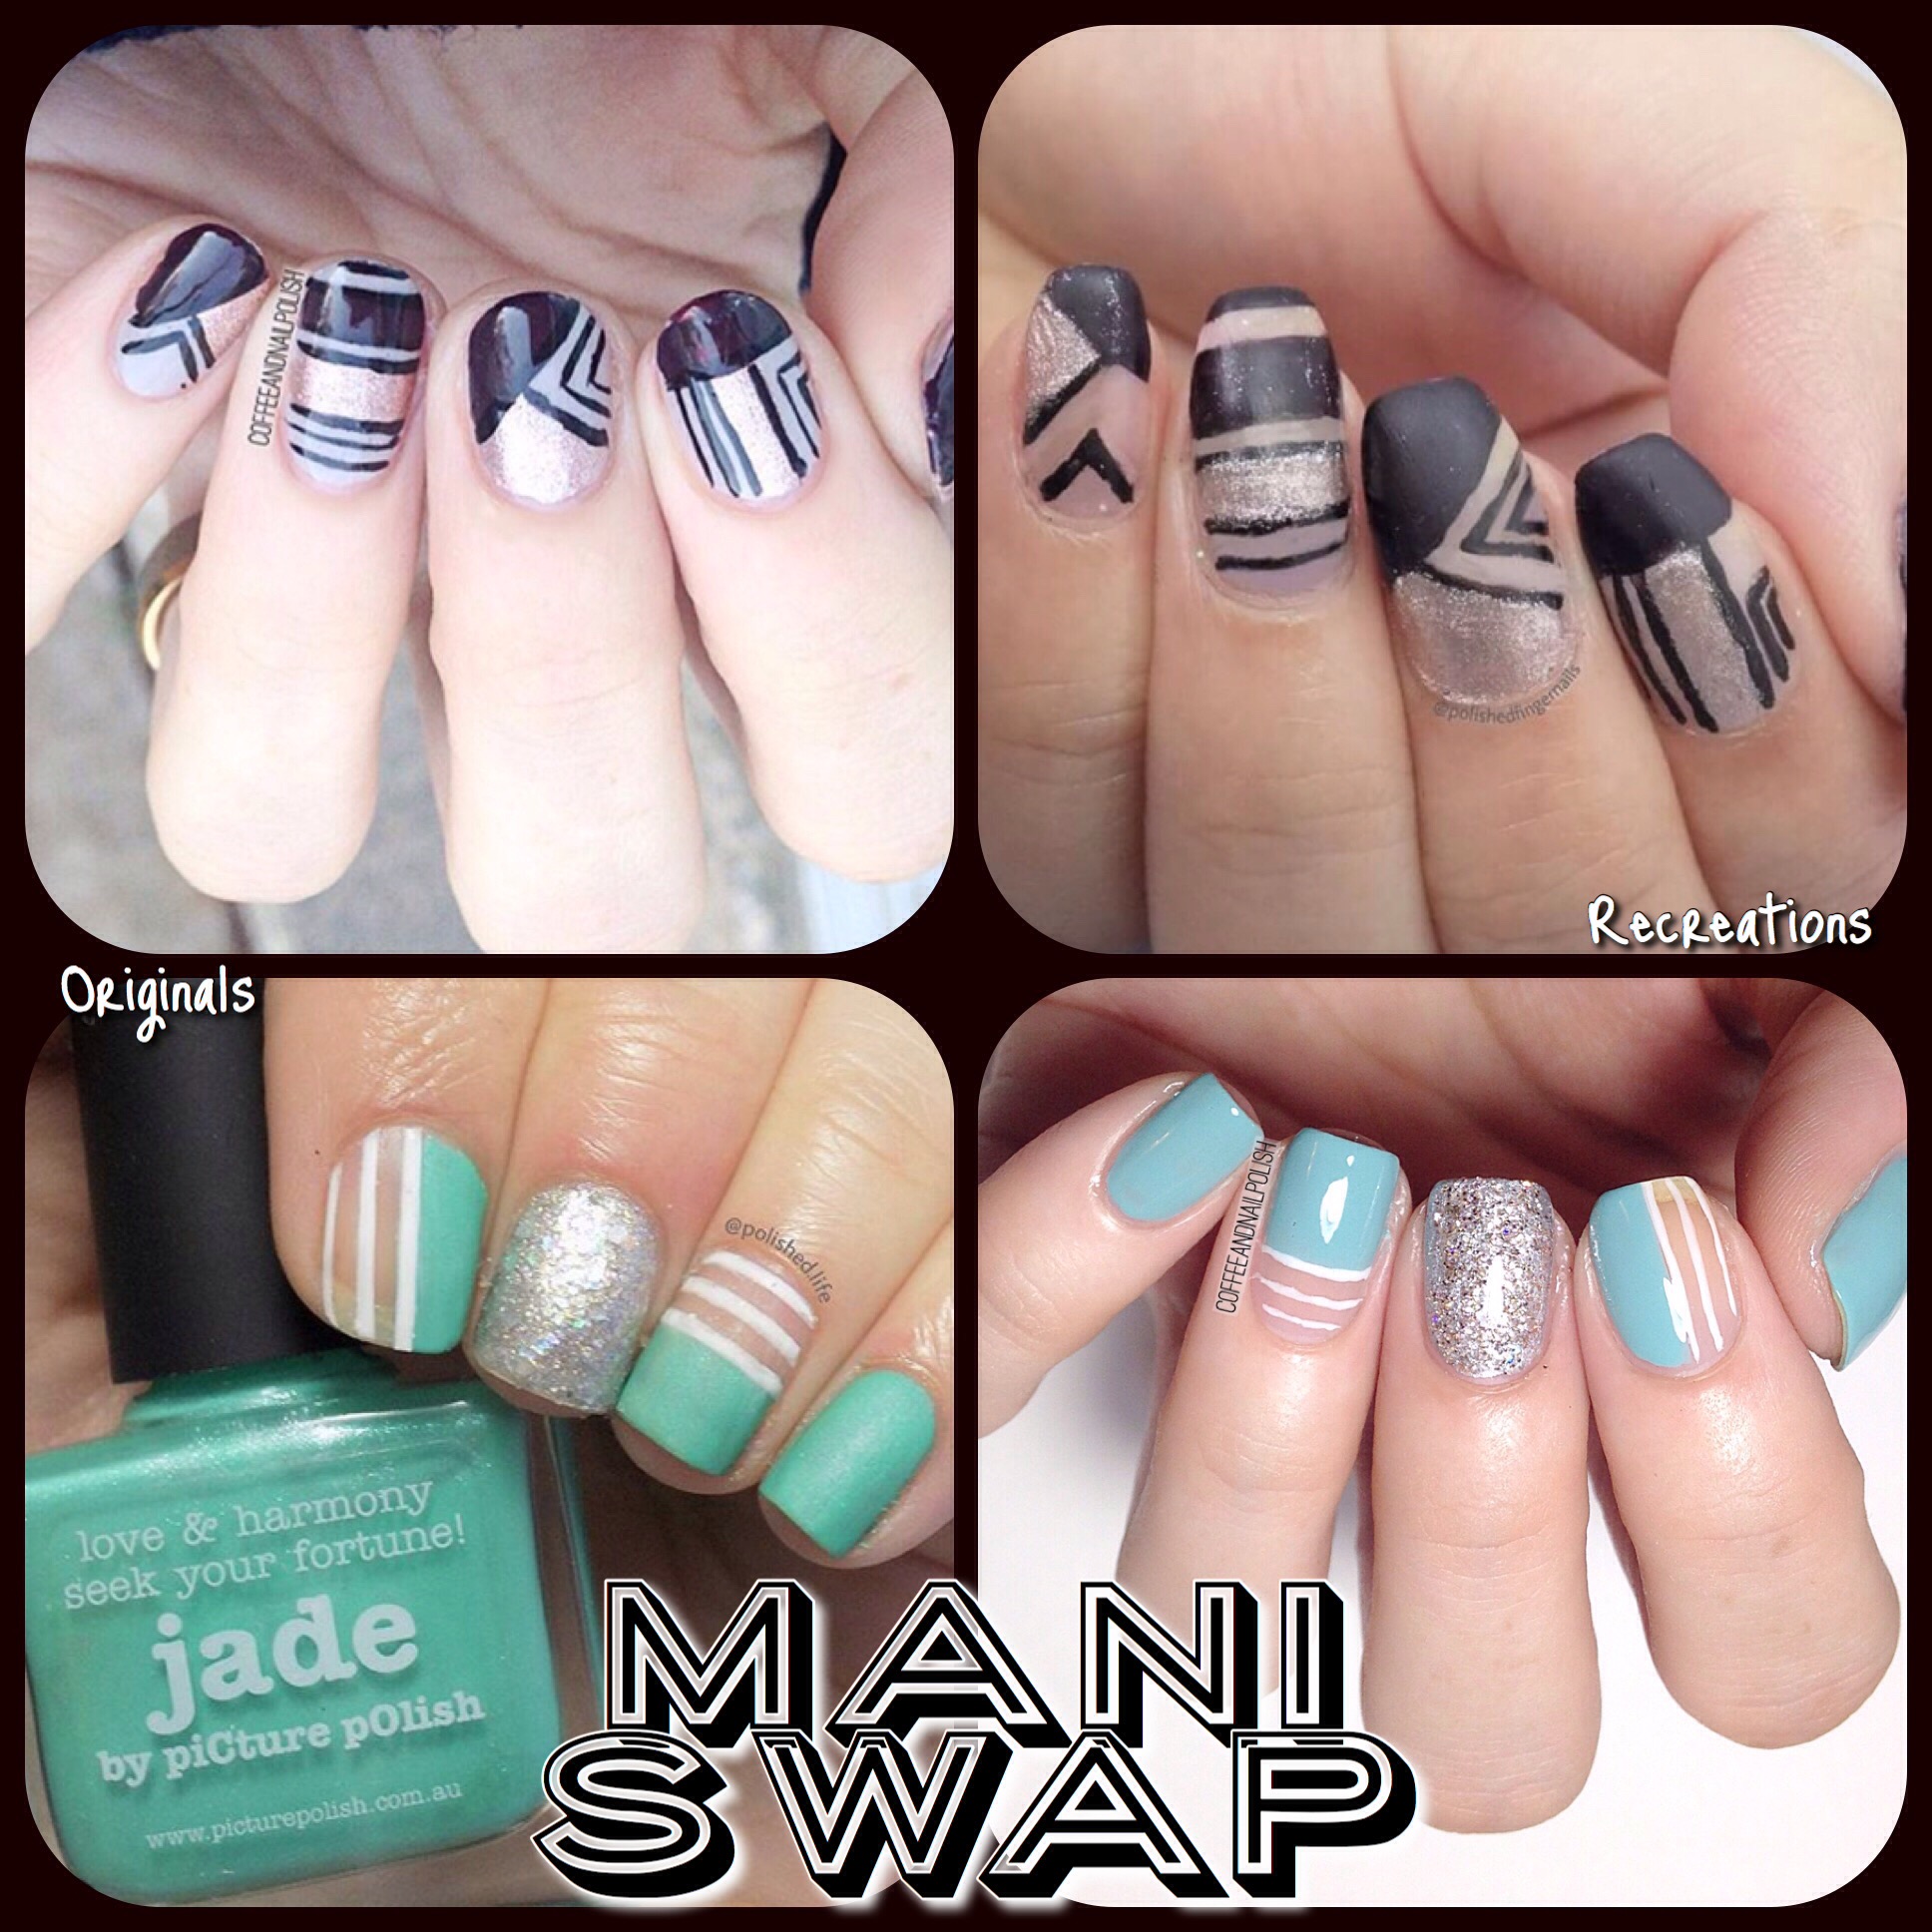
I hope you’re excited because Mani Swap week continues with a fun swap I did with Sophie (@polishedfingernails). For this swap, we both went similar directions picking Negative Space designs with line details–Sophie recreated my vampy colour blocking, & I picked her pretty teal and white design!


For this manicure, the polishes I used were:
- Base Coat: Perfect Formula Pink Gel Coat
- Top Coat: Cutex Quick Dry Top Coat
- Essie Where’s My Chauffeur?
- OPI By The Light Of The Moon
- OPI Ce-less-tial Is More
- Kiss Products Nail Art Striper in White


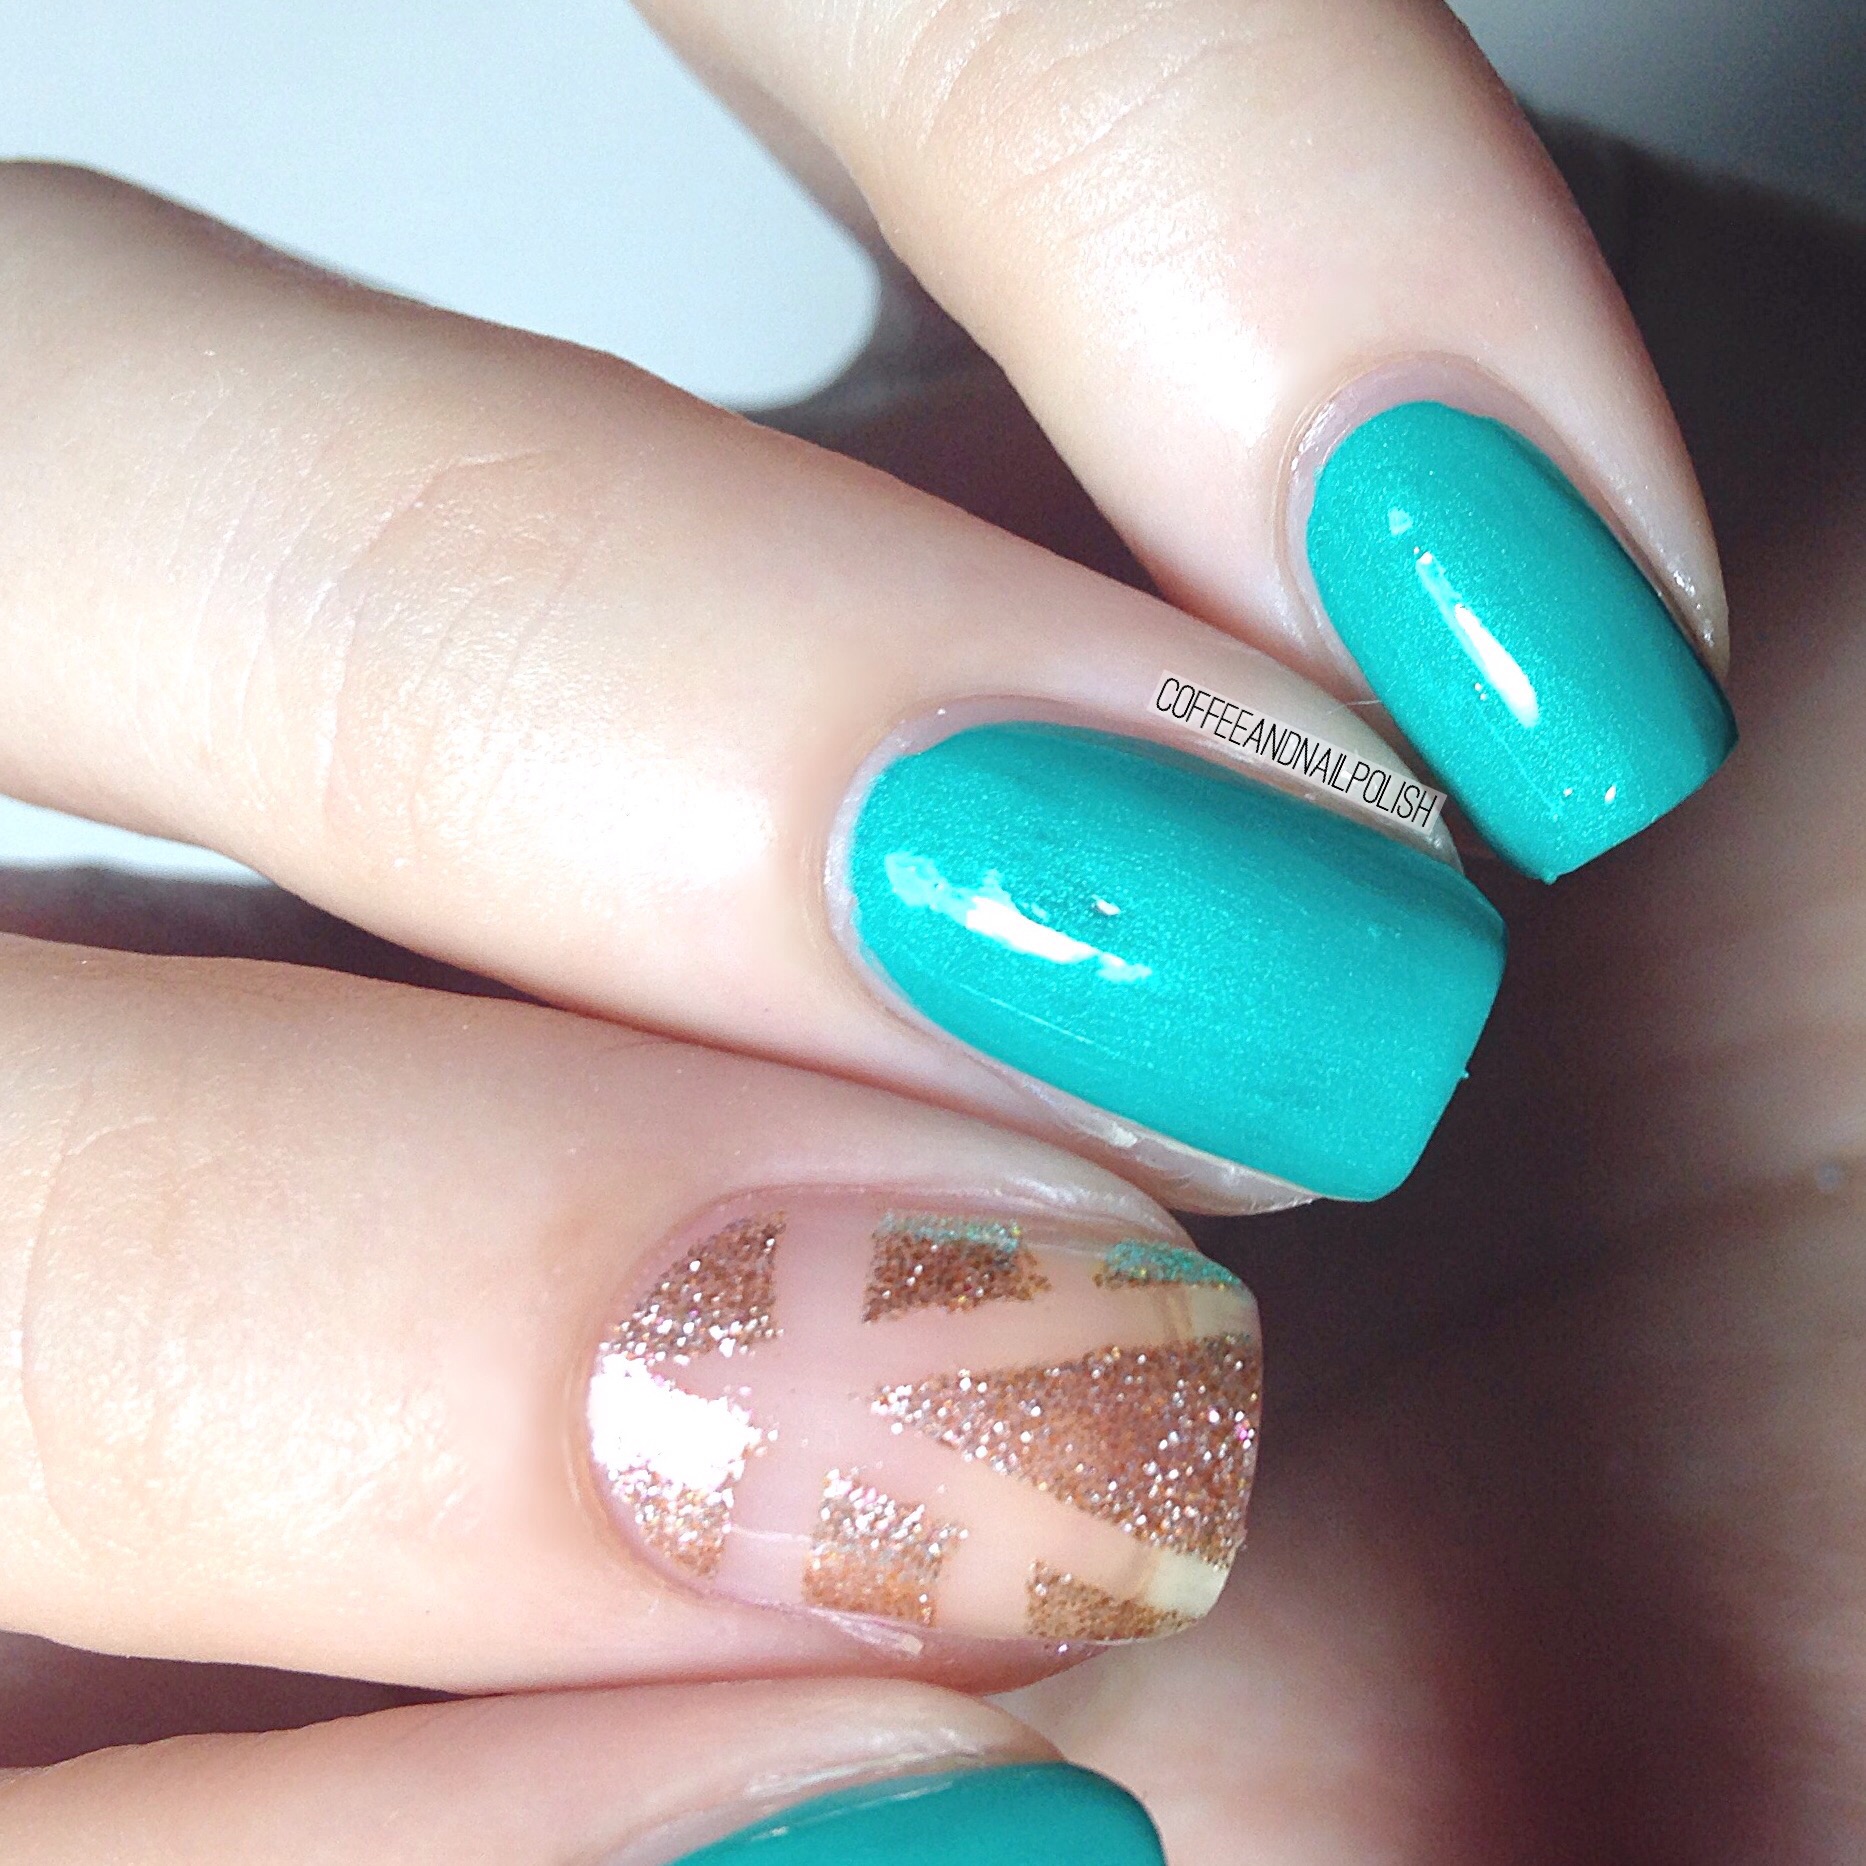
I’m not going to lie, I love this mani extra amounts because I managed to freehand everything. I’ve been trying to practice my line work, & I’m so happy with how these turned out. Also I kind of improvised the thumb nail, adding my own touch which is kind of cheating, but I didn’t know what the thumb looked like so I gave it my own spin & I think it fits in so well with the design.


So what do you think of this swap? Thanks to Sophie for joining me in this swap, & you definitely need to check out her Instagram account! She always had such unique designs!