Good Morning Lovelies!
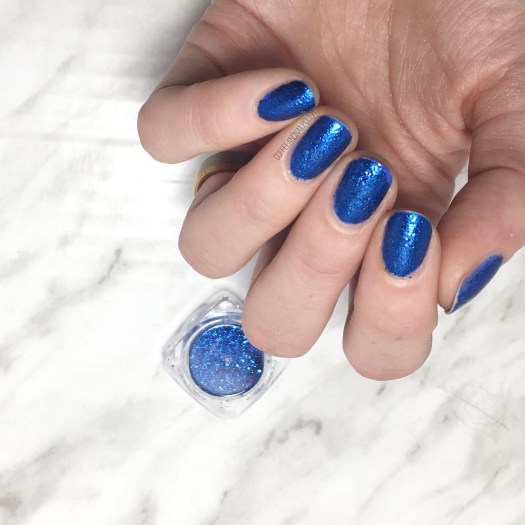
Today I’m sharing one of the beautiful new goodies I was recently gifted from NailStuff.ca! I showed off one of their new nail stud wheels earlier in the week, & now I have these metallic blue flakies swatched for you.
PR Sample. This product was gifted to me for review.


Application was super easy & simple! I love the fact that you can apply these without having to worry about using gel.
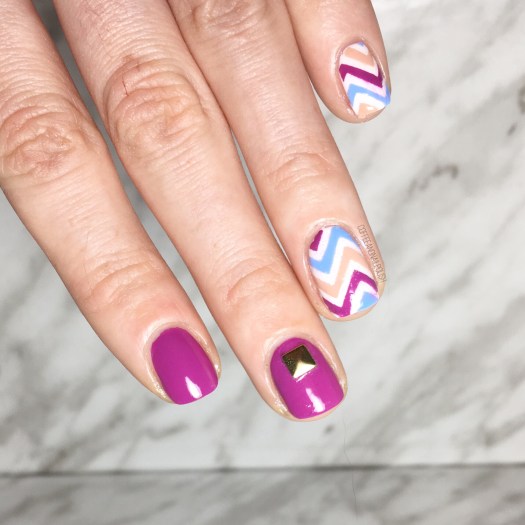
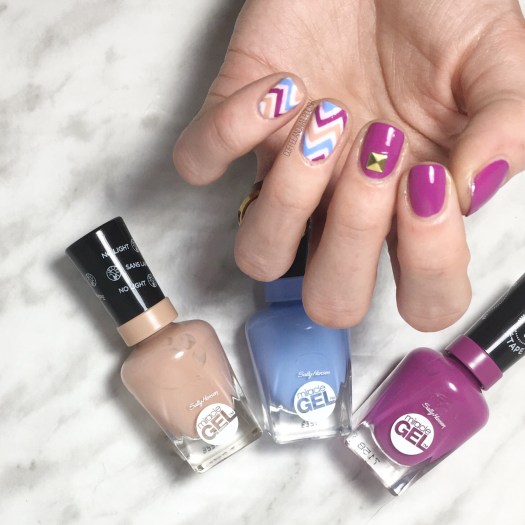
For this look, I started off by painting my nails in a complimentary shade (Sally Hansen original Pacific Blue). After a few moments applied a coat of Finger Paints Peel Off Base Coat over my blue, which is my preferred method of flakie application. Once my nails had dried somewhat, I dipped the applicator into the pot of flakies, pulled a small amount out, & brushed them down over the nail. After each nail was covered I sealed the look in with top coat.
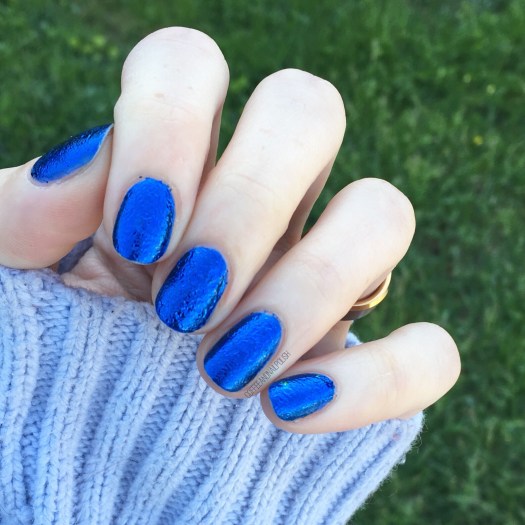
It looks like sapphires on the nail & I’m in love with it. 💙💎

These flakies are so, so easy to apply & I love it. I stayed away from using nail powders for so long because I was concerned about making a huge mess, but surprisingly I never have any issues with these NailStuff’s product!
These flakies in particular are awesome because they almost clump together like magnets when picking them up out of the pot. You don’t have to worry about spilling all your flakies all over the couch (which my husband would not be impressed about!) Also I’m so glad how little product you need to use to achieve this look–one little swipe covered each nail so I still have a ton more for future designs!
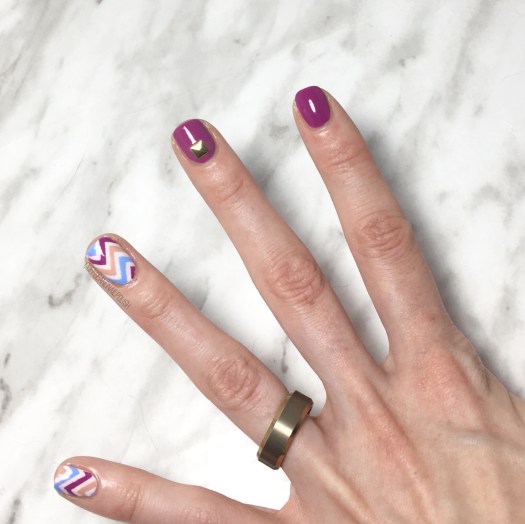
Down below shows off this look in natural light. So happy for summer for beautiful green grass backgrounds!

What do you think of these gorgeous blue metallic nails? Want to achieve this look for yourself — you can shop all the nail flakies available by NailStuff.ca here including these blue ones & a whole slew of other colours as well.
Have a happy Sunday loves! 💎