Dripping Blood French Featuring URSugar Vinyls


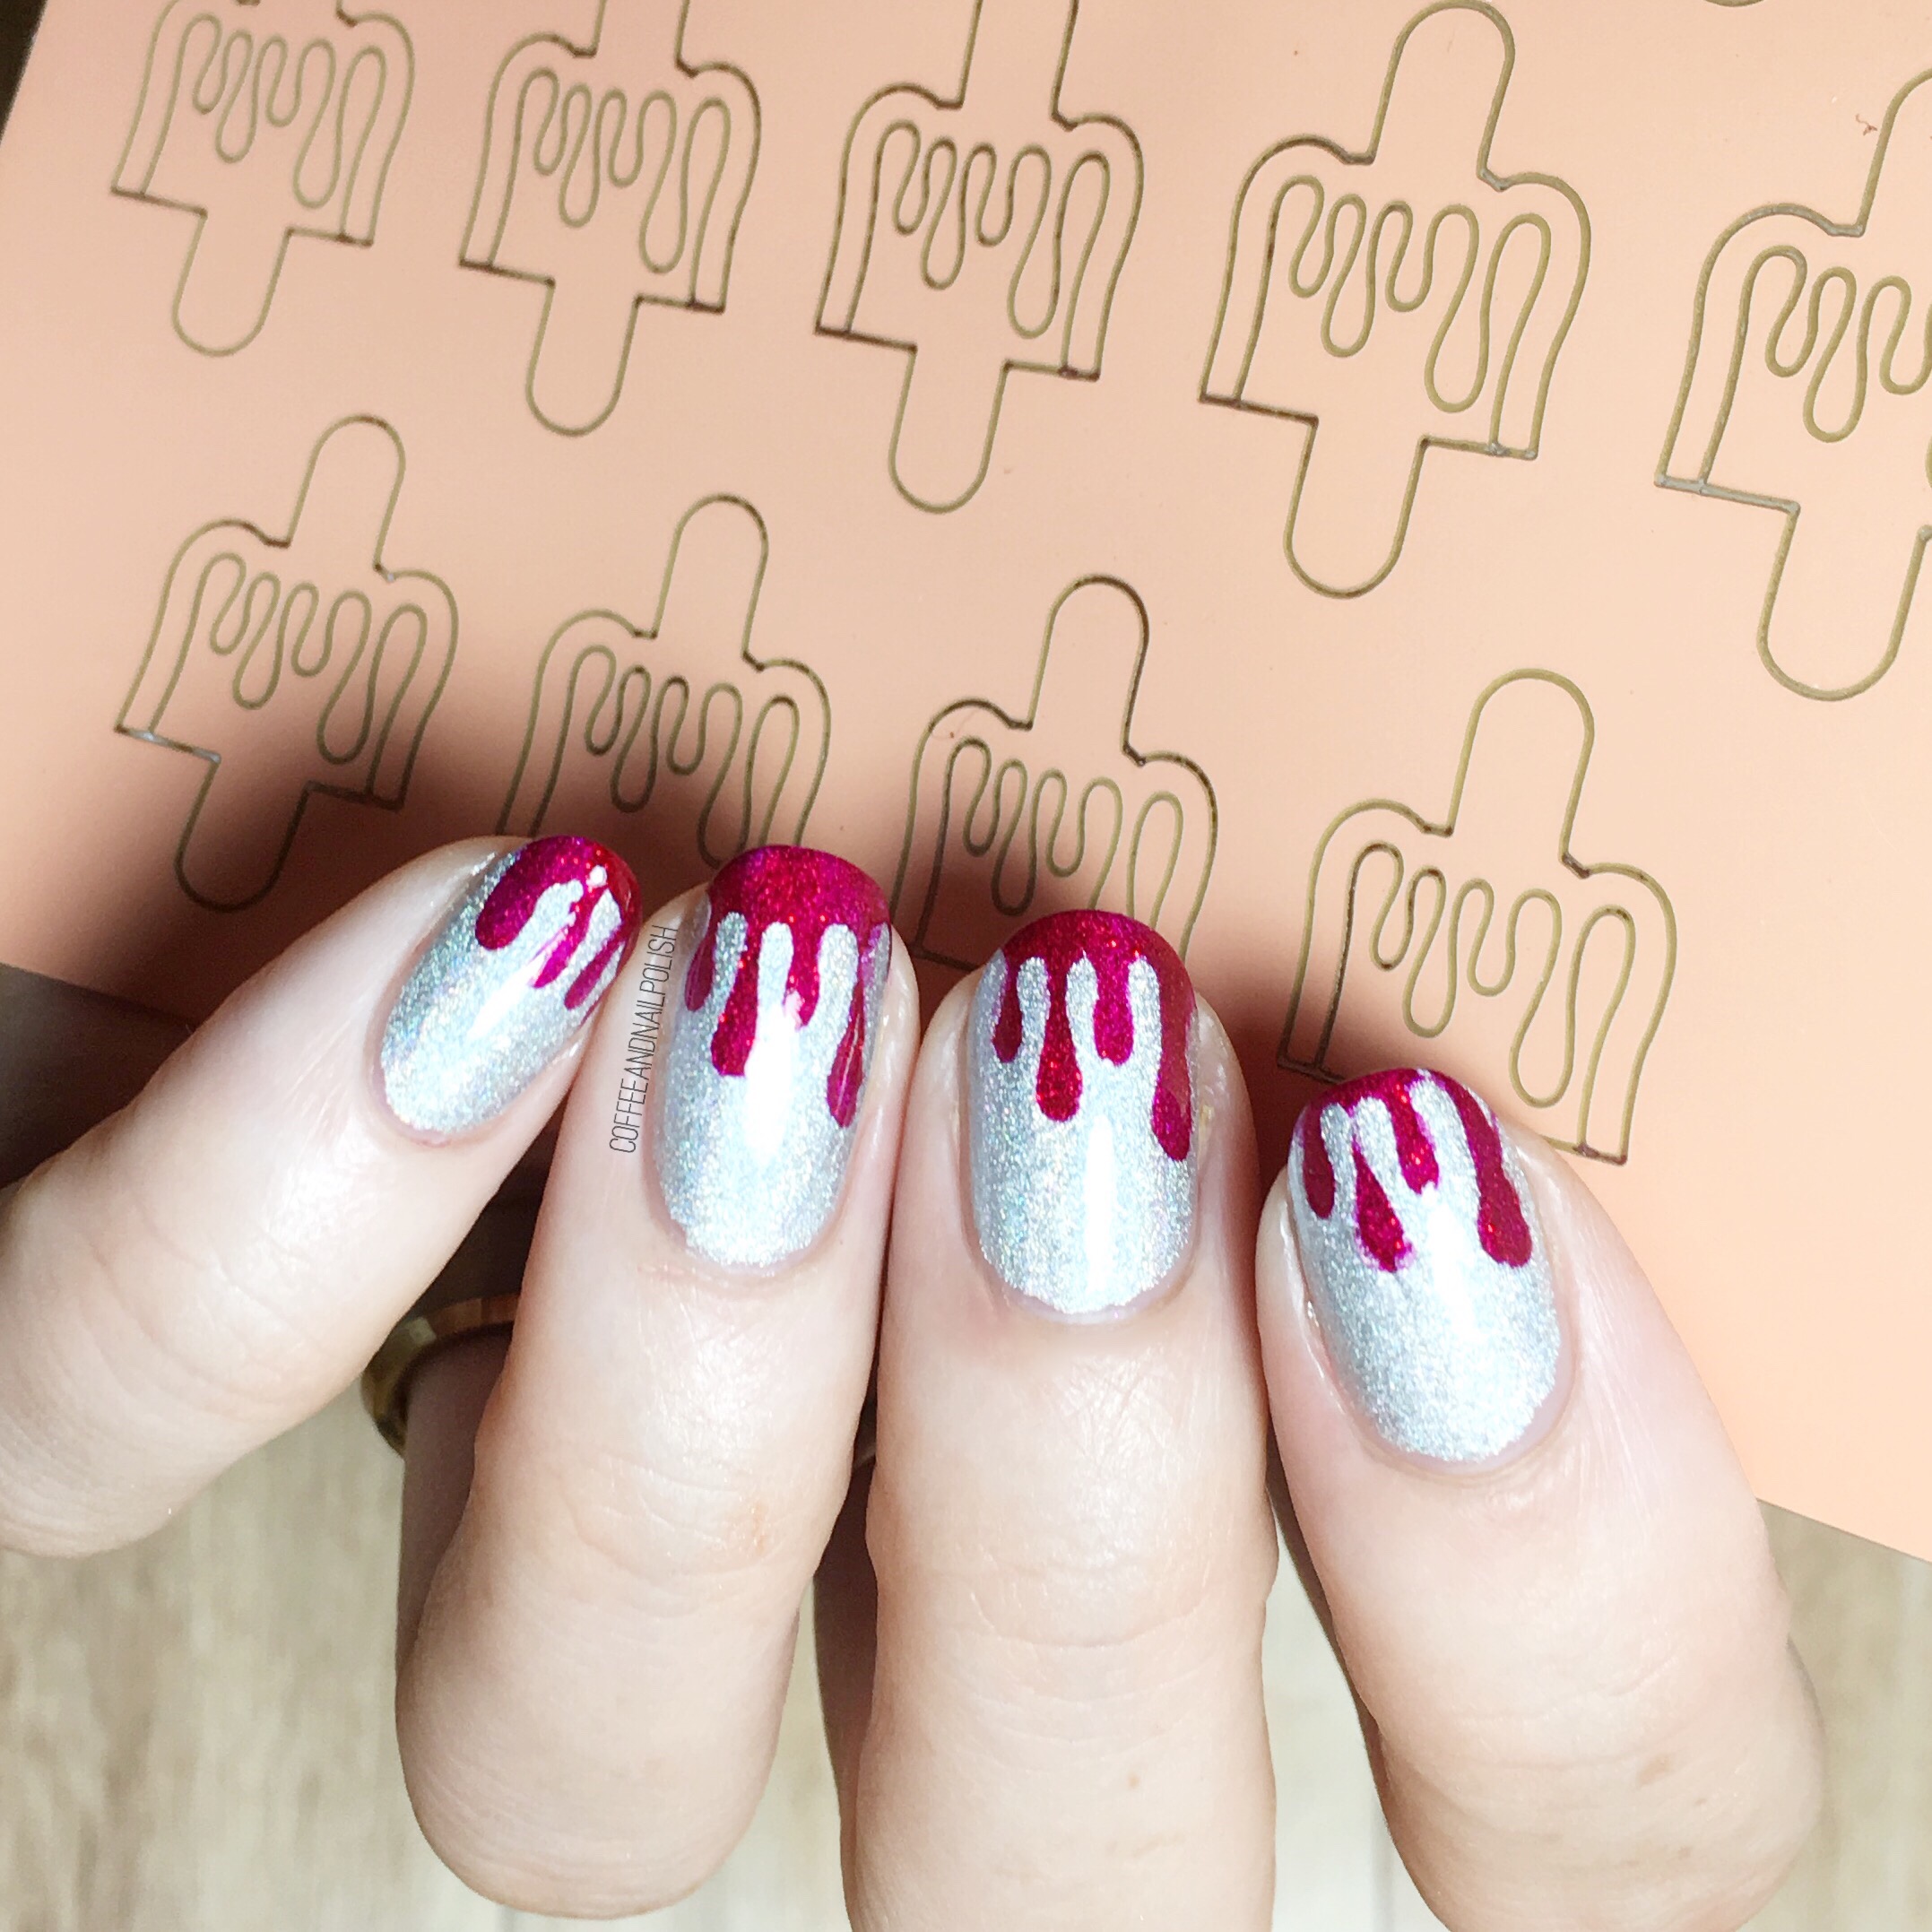
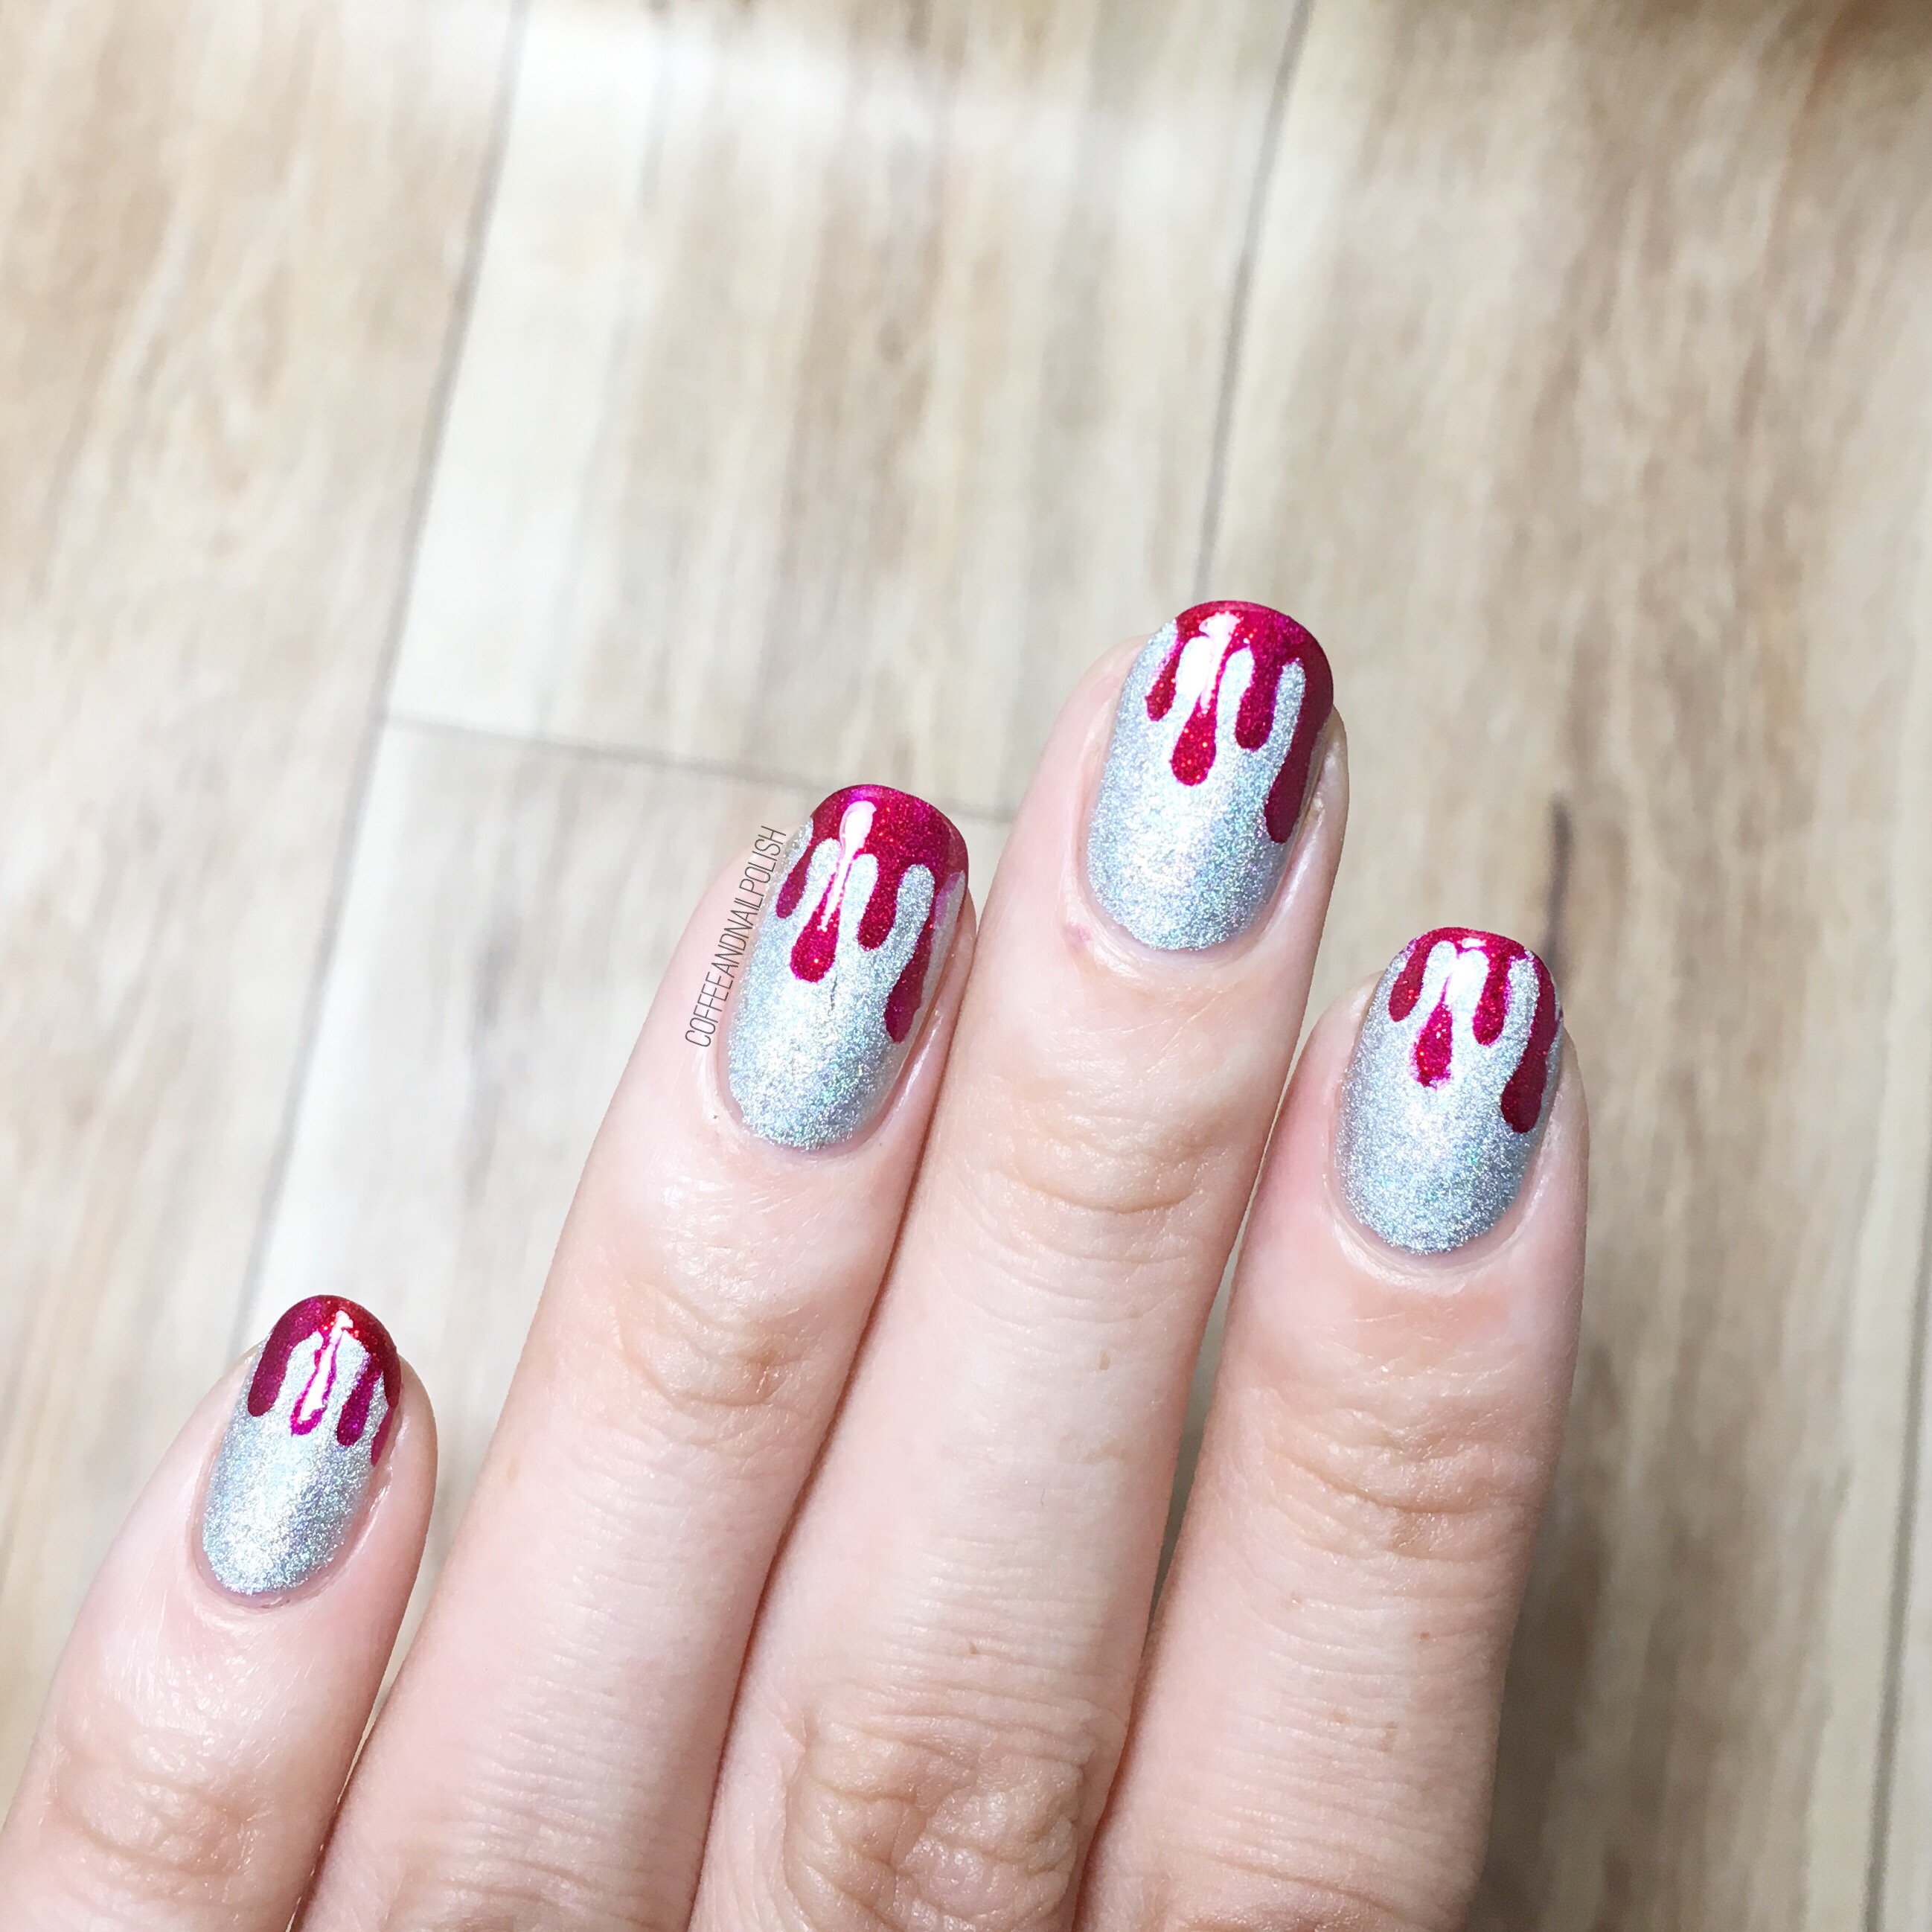
Ready for some more Halloween inspired nails? Today I have what I’m calling a dripping blood “French” Manicure that has just the right amount of scary & sparkles—which is just how I like my Halloween designs! 

The few times I’ve tried to do a dripping design, I’ve always done it using a dotting tool (which isn’t always easy to accomplish the right look.) These drippy nails were made much easier by using URSugar Vinyls which were kindly sent to me for review. 

For this manicure, the polishes used were:

  • Base Coat: OPI Natural Nail Base Coat
  • Top Coat: Cutex Quick Dry Top Coat
  • Gosh Holographic Hero
  • China Glaze Ruby Pumps
  • URSugar Drip Nail Vinyls item #AUB39877 —click to buy

These URSugar vinyls are great for a design like this. You have two options—you can paint your nails a base shade & apply the stencils & paint over with a second shade, pull off & reveal or you can use the other half to paint inside (like a stencil). I find the second option works best for a design like this, done at the tip of your nails. 

What do you think of this Halloween-y take on a French manicure? Would you wear this design? Let me know your thoughts in the comments below! 

*PR SAMPLE* Some of these items were sent to me for review. However, all opinions are my own. 

September Monthly Mani Favourites


Crazy to think that another month has gone by! & that means it’s time to round up my favourite Fall manicures from the last month. This month saw lots of Fall designs & colours & Fall coffee drinks. 

Did your favourite manicure from the last month make the cut? It’s always so hard for me to narrow down my favourites, but I have to admit I’m really in love with how my coffee nails turned out! 

Now onto the October (& Halloween 🎃) designs! 

My Very First V-Gap Design

Over the years, I’ve expiremented with lots of different nail art designs. One I haven’t tried though is the v-gap! This design has been around a long time & according to Google the creation of the design is credited to a nail artist by the name of Sophy Robson. Yes, I know. I’m always so behind on these trends! But you know how much I love chevron moons, & I thought this would be a nice change up for my favourite look. 

For this manicure, the polishes used were:

  • Base Coat: OPI Natural Nail Base Coat
  • Top Coat: Sally Hansen Diamond Flash
  • OPI My Favourite Ornament
  • OPI Lincoln Park After Dark 
  • Xroma Polish & Vinyls skinny Straight Vinyls
  • Xroma Polish & Vinyls X-stencil (inner pieces) 

There are lots of different tutorials for creating this look you can find online, but I chose to use nail vinyls to make it easiest. I applied my chevron vinyls first then added the straight vinyls down the middle—this was the easiest way to make sure everything was straight. For those who want to make this design even easier, I know What’s Up Nails has stiletto nail vinyls that would work perfectly for this design! 

I just love how these turned out—they feel super classy with the dark over the gold! This would be a great design to wear to any kind of fancy event… I know Fall is just beginning but it’s almost time for holiday parties, & these would look beautiful with a cocktail dress. 

What’s the last new design you tried? Let me know in the comments below! 

More Fall Leaves! 

Oh yessssss. I swear I’ve been just waiting for September to come back again so I could pull out my Fall leaf nail vinyls. You know my obsession with nail vinyls knows no bounds, & I love that you can pretty much find vinyls or stencils for every occasion & season. These particular leaves vinyls are from The Base Coat (whose site is currently on hiatus) but you can definitely find a ton of different versions of these Autumn themed vinyls with a quick search online.  Xroma Polish & Vinyls sells these uniquely beautiful Autumn stencils while What’s Up Nails sells the more classic Fall leaf stencil.

  • Base Coat: OPI Natual Nail Base Coat
  • Top Coat: Sally Hansen Diamond Flash Top Coat
  • ACO by Ardene Jacob Green
  • Essie Leggy Legend
  • ORLY Brilliant Boysenberry (aka ORLY Space Cadet)
  • Nicole by OPI Best Pink Ever 
  • Revlon Spidey Sense
  • The Base Coat Fall Leaves Vinyls
  • Latex Free Make Up Sponge

I love the shiftiness achieved by combining all these shades together & I think they look really great over my base of my swatch of Jacob Green. The shimmer of these metallic shades really pops over the dark green base colour. It’s literally Fall on my nails & just makes me wish I had a pumpkin spice latte & plaid blanket scarf to go along with them. 


What do you think of these Fall Leaves? Would you rock this design while drinking your favourite Fall drink? Let me know what you think (& what your drink of choice is!) in the comments below. 🍂

Tribal-esque Chevron Nails

I’m still obsessing over the OPI Iceland collection, so I felt like pulling it out for some more nail art. This time, I decided on these chevrons which ended up looking slightly tribal-esque. 

Even better, this design was super quick & easy to do which is good because I’m still pretty run down from my gluten attack but still want to do my nails. Don’t get me wrong–I enjoy complicated freehand designs. But sometimes you just want to be able to have pretty complicated nails without having to spend 2 hours crafting them! & this design is definitely perfect for that. 

For this design, the polishes used are:

  • Base Coat: OPI Natural Nail Base Coat
  • Top Coat: Sally Hansen Diamond Flash Top Coat
  • OPI This Isn’t Greenland
  • OPI Suzi & the Artic Fox
  • Xroma Polish & Vinyls X Stencil (I used the inside pieces) 
  • Small dotting tool 

How great do these two colours look together? They compliment each other really, really well. But then again these OPI shades are so gorgeous, I think it would be impossible to create a design that didn’t look beautiful. & again, these were super simple to do:

  1. Paint your nails using your base colour (in this case, OPI This Isn’t Greenland) & apply quick dry top coat. 
  2. When your base colour is completely dry (about 20 minutes), apply your nail vinyls. I find it easier to go one hand at a time. 
  3. Going one nail at a time, paint over vinyls with your secondary shade (OPI Suzi & the Artic Fox). Remove nail vinyls as soon as you apply your polish. 
  4. Once you’ve done all nails, go back with a small dotting tool & your base colour & add your dots. 
  5. Apply top coat to seal in design. 
  6. Repeat on other hand. 

What do you think of this design? Let me know in the comments below! 

Some of these lovely polishes were all gifted to me by OPI as part of the #PreenMeVIP program.