I’ve written before about my love for all things involving negative space nail art, and today I have a quick negative space accent nail to share. I’ve been trying to do my nails as much as possible while I still can, while also coming up with ideas for quick nail art I may be able to do after baby comes. Thank god for nail vinyls, am I right? Going to need to order a bunch before baby comes for those days I can actually do my nails!
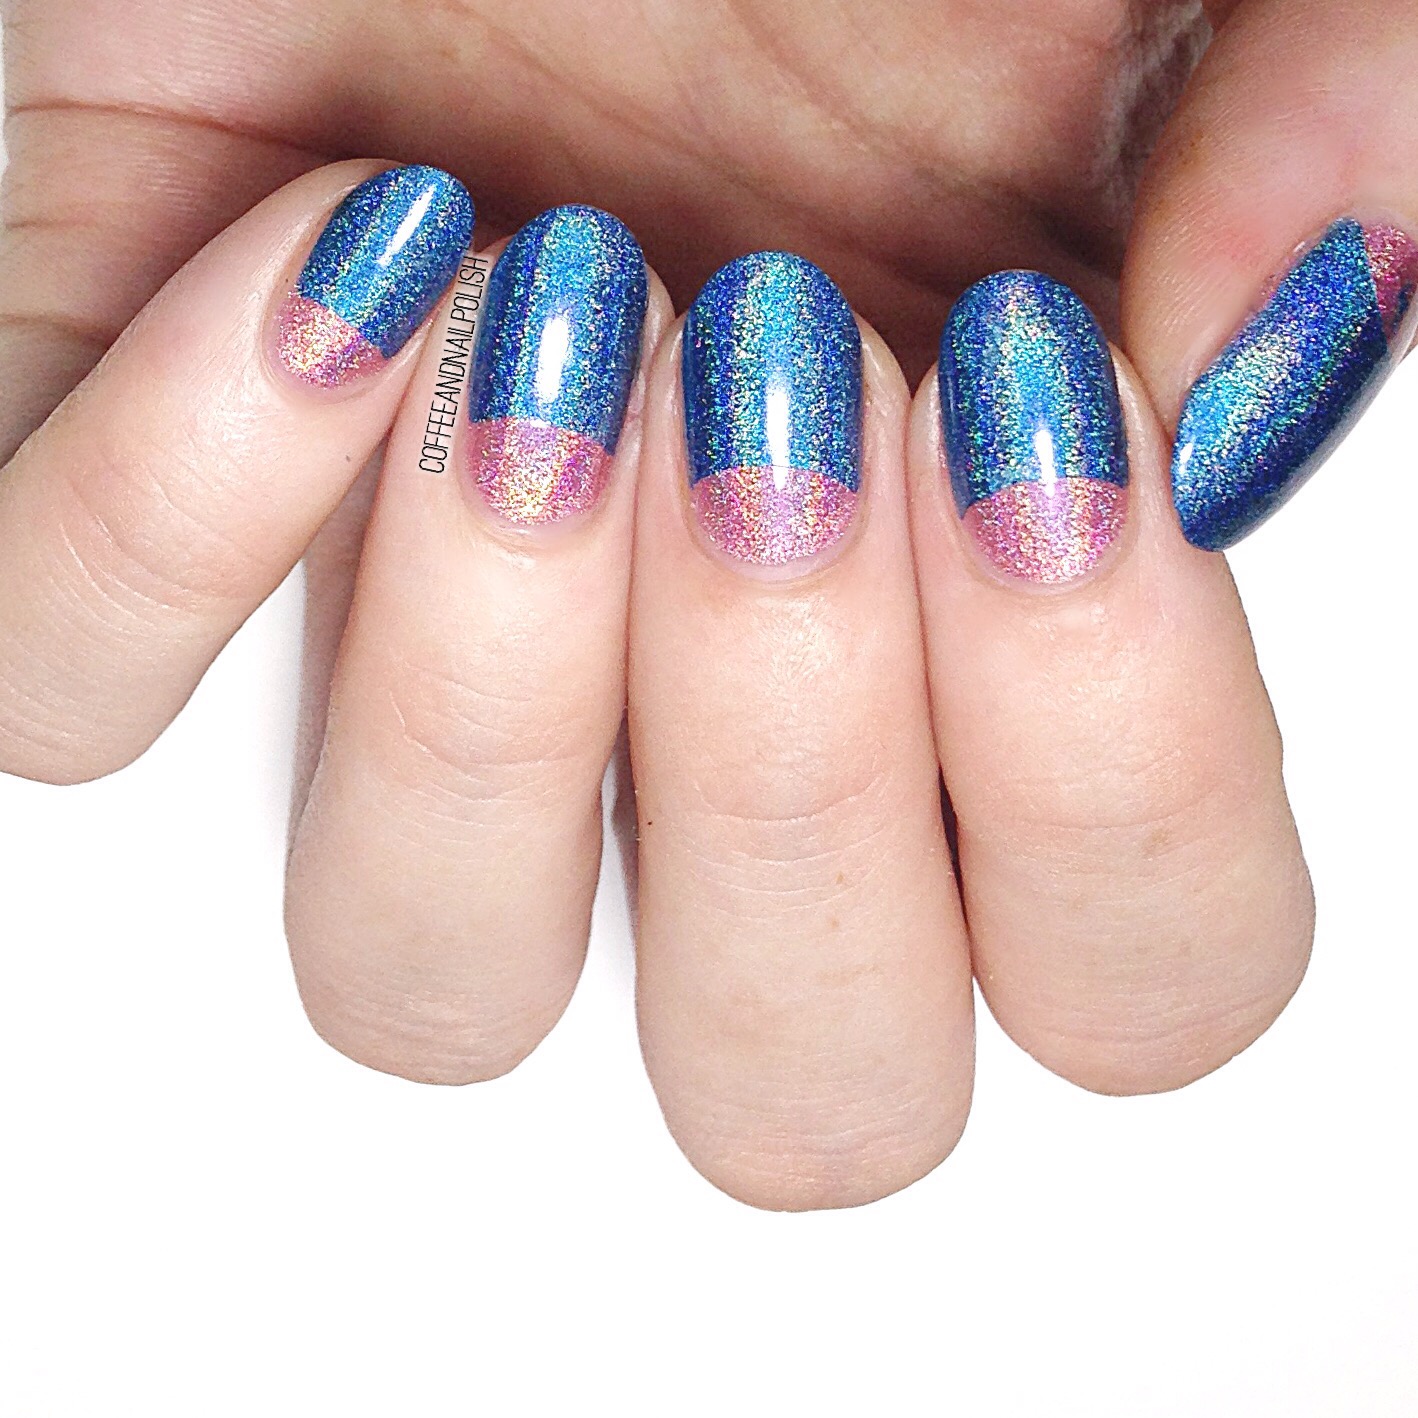
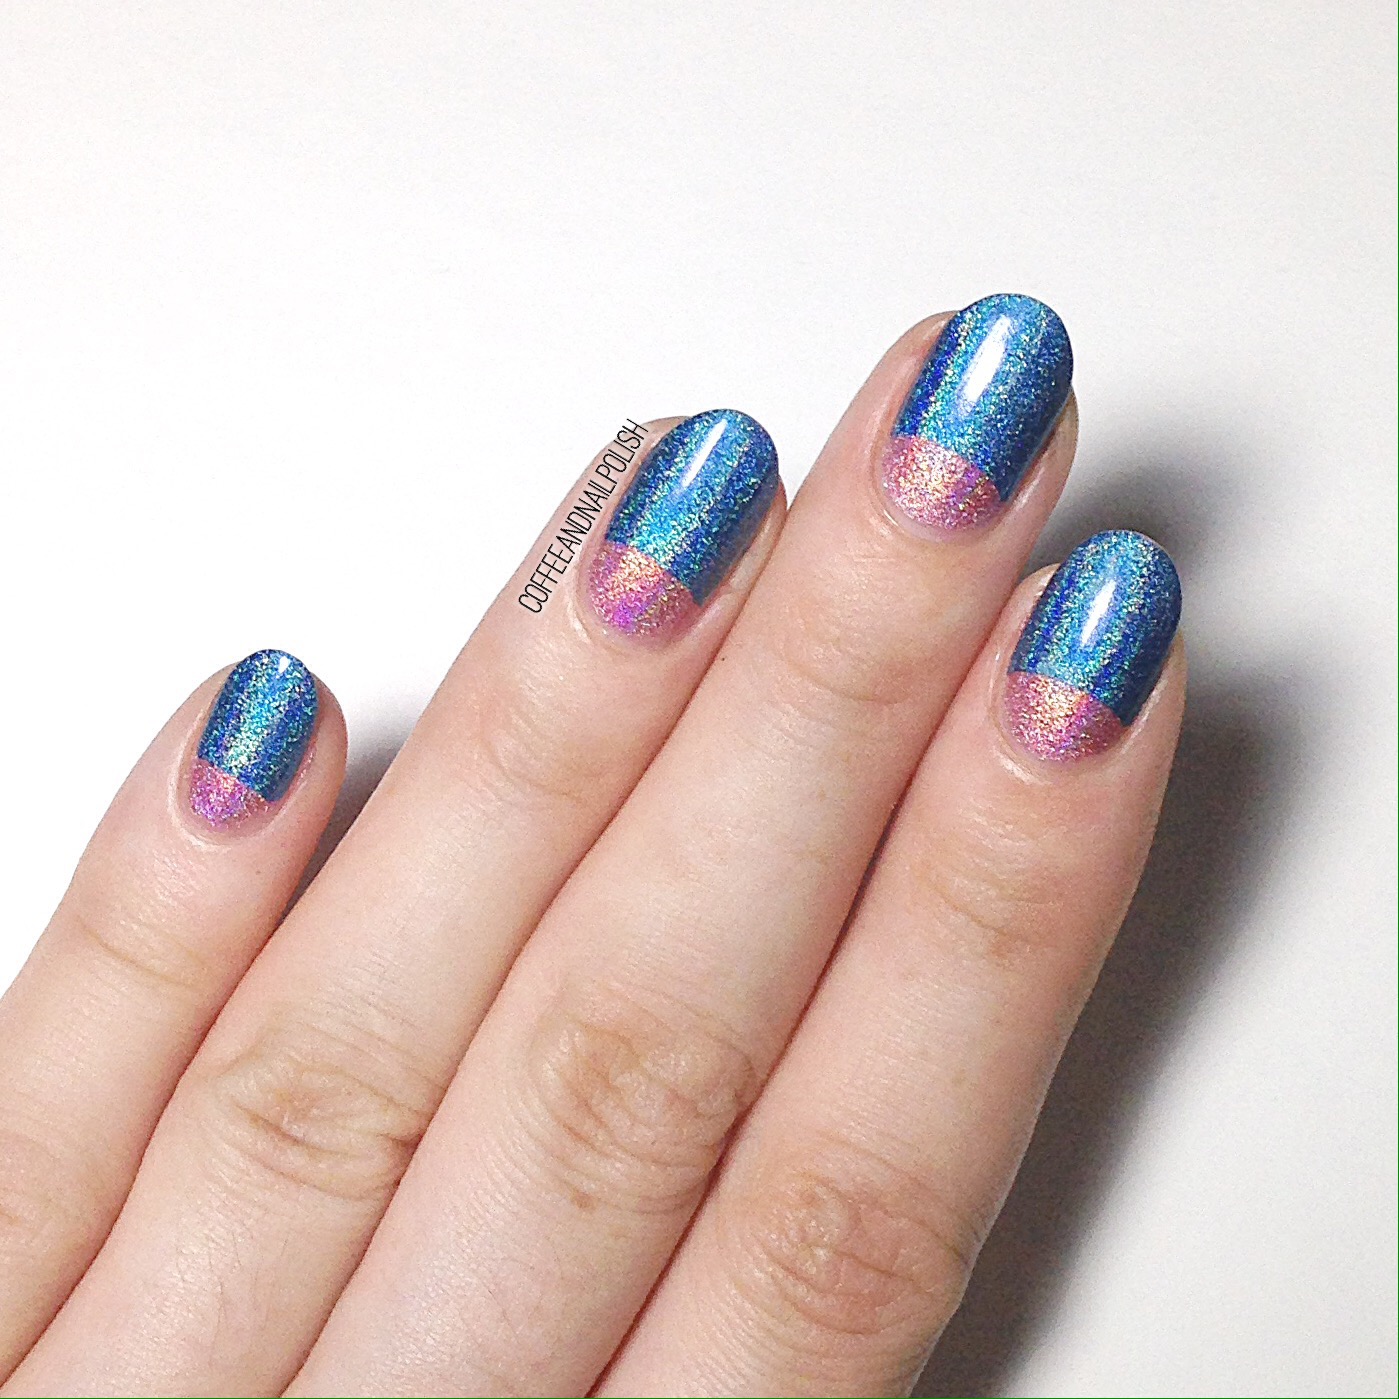
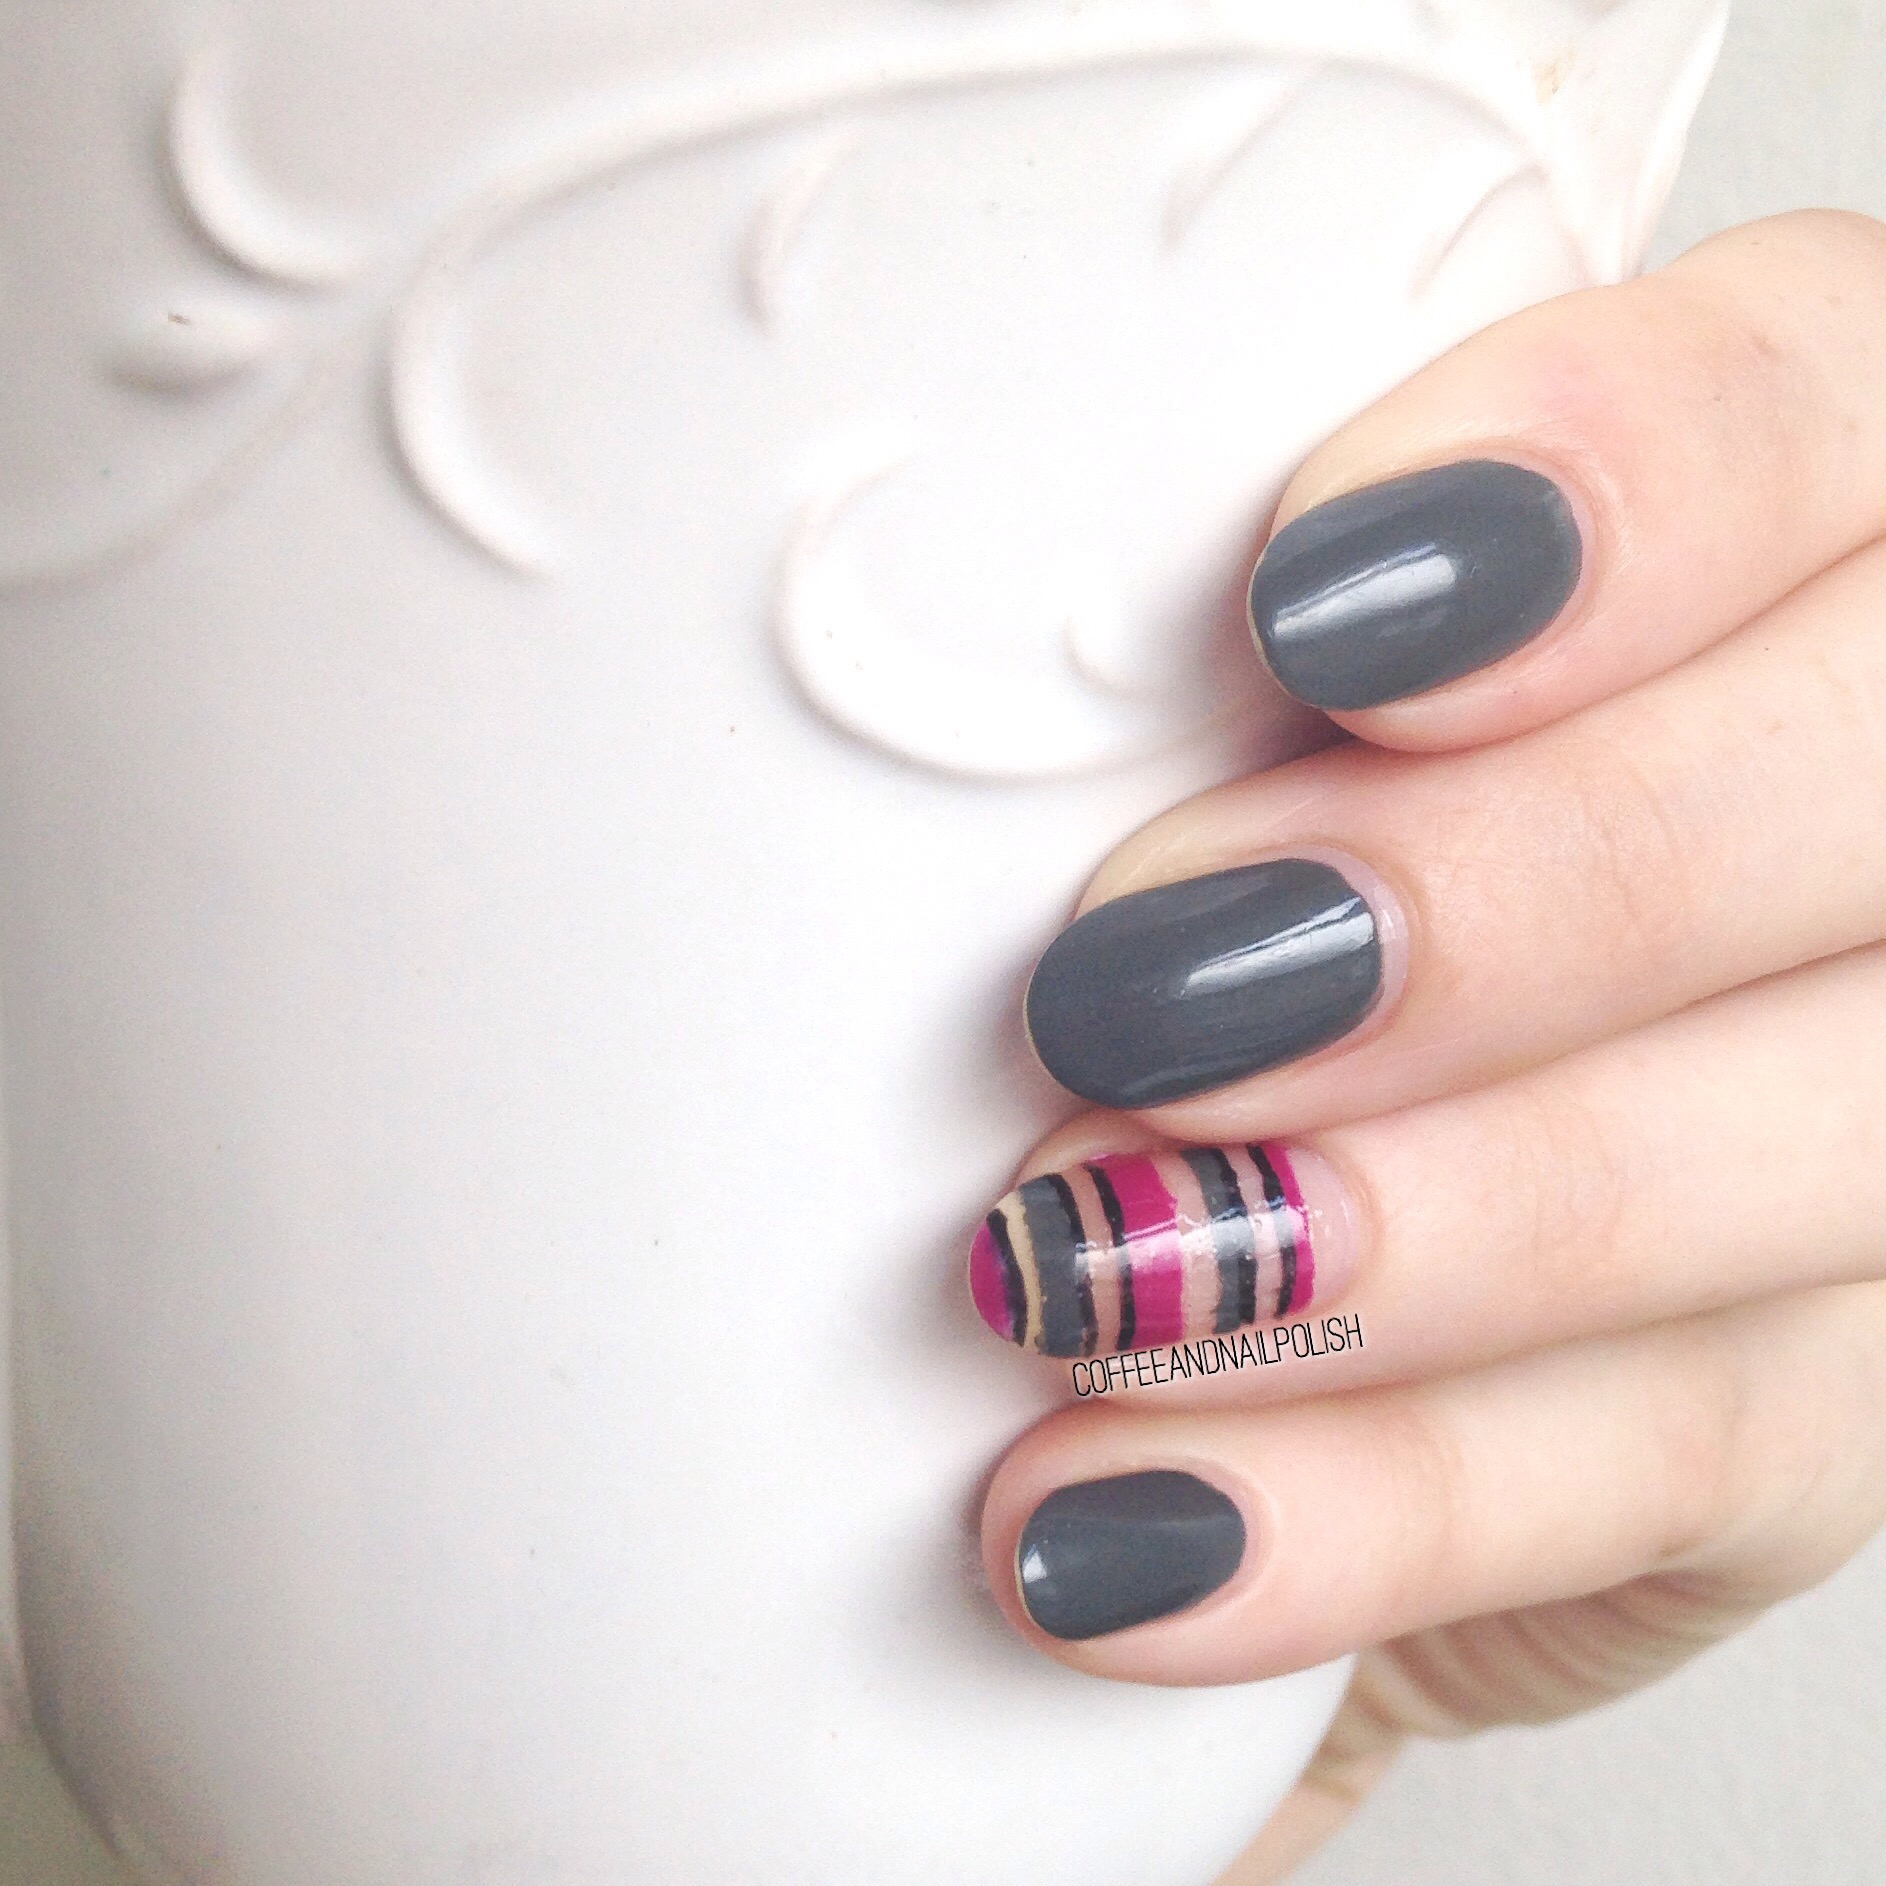
These negative space stripes are definitely perfect for a quick accent nail. They look way more complicated then they actually are! Thankfully you don’t have to wait near as long to use tape or vinyls when you’re only applying it over base coat.
 For this manicure I used:
- Essence Rock Your World!
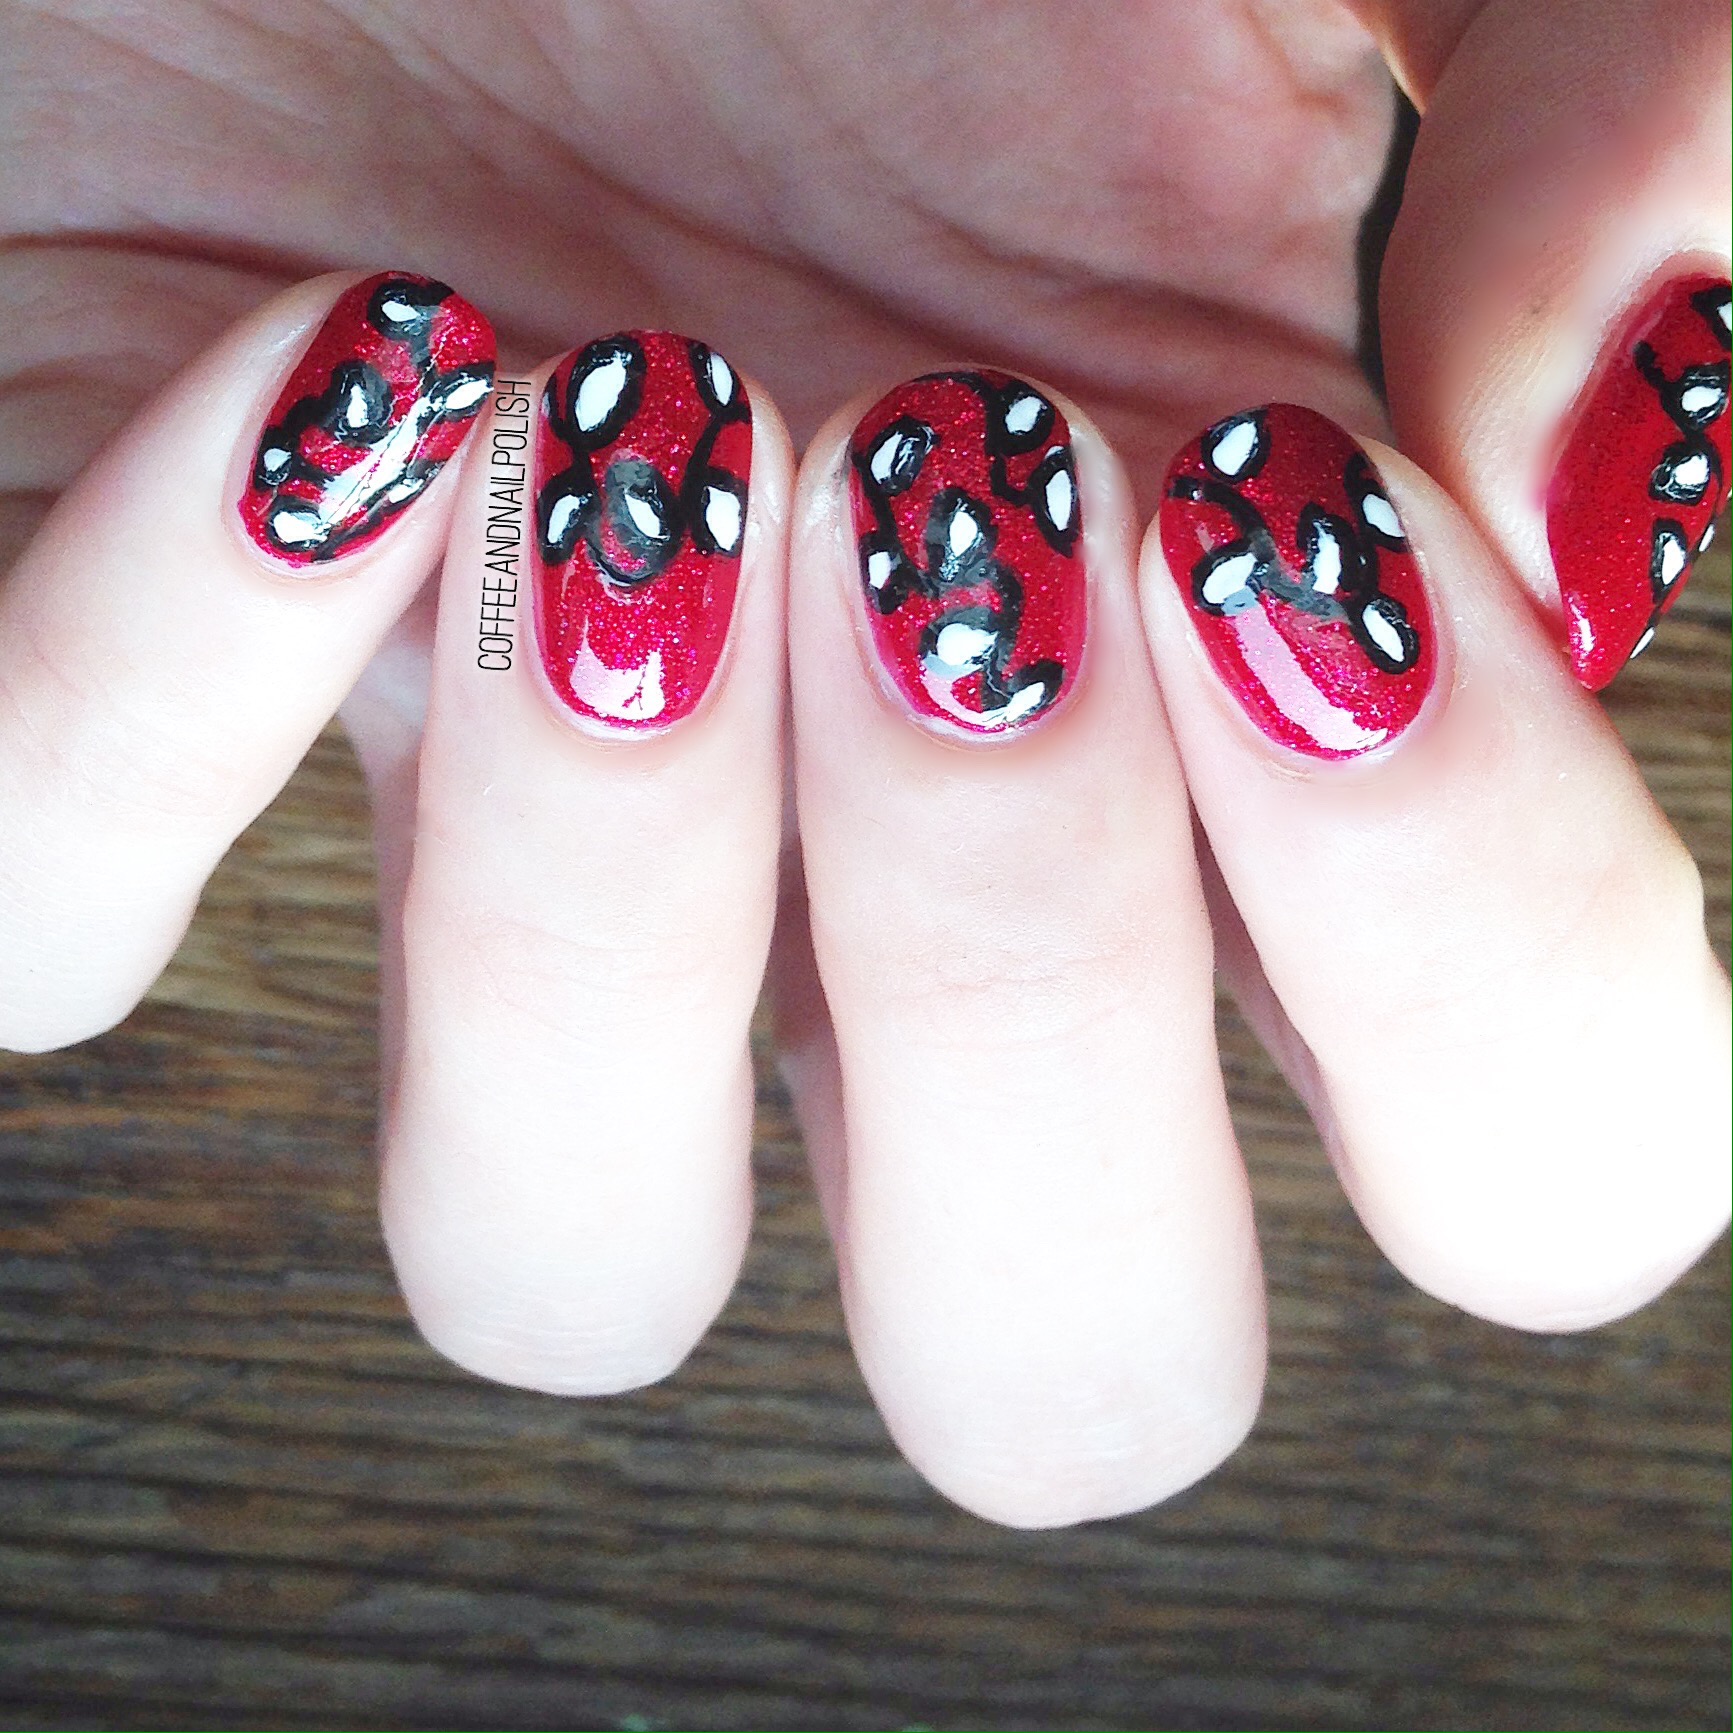
- Sally Hansen Cherry Cherry Bang Bang
- Kiss Products Nail Art Striper in Black.
- Striping Tape
- Essie Gel Setter
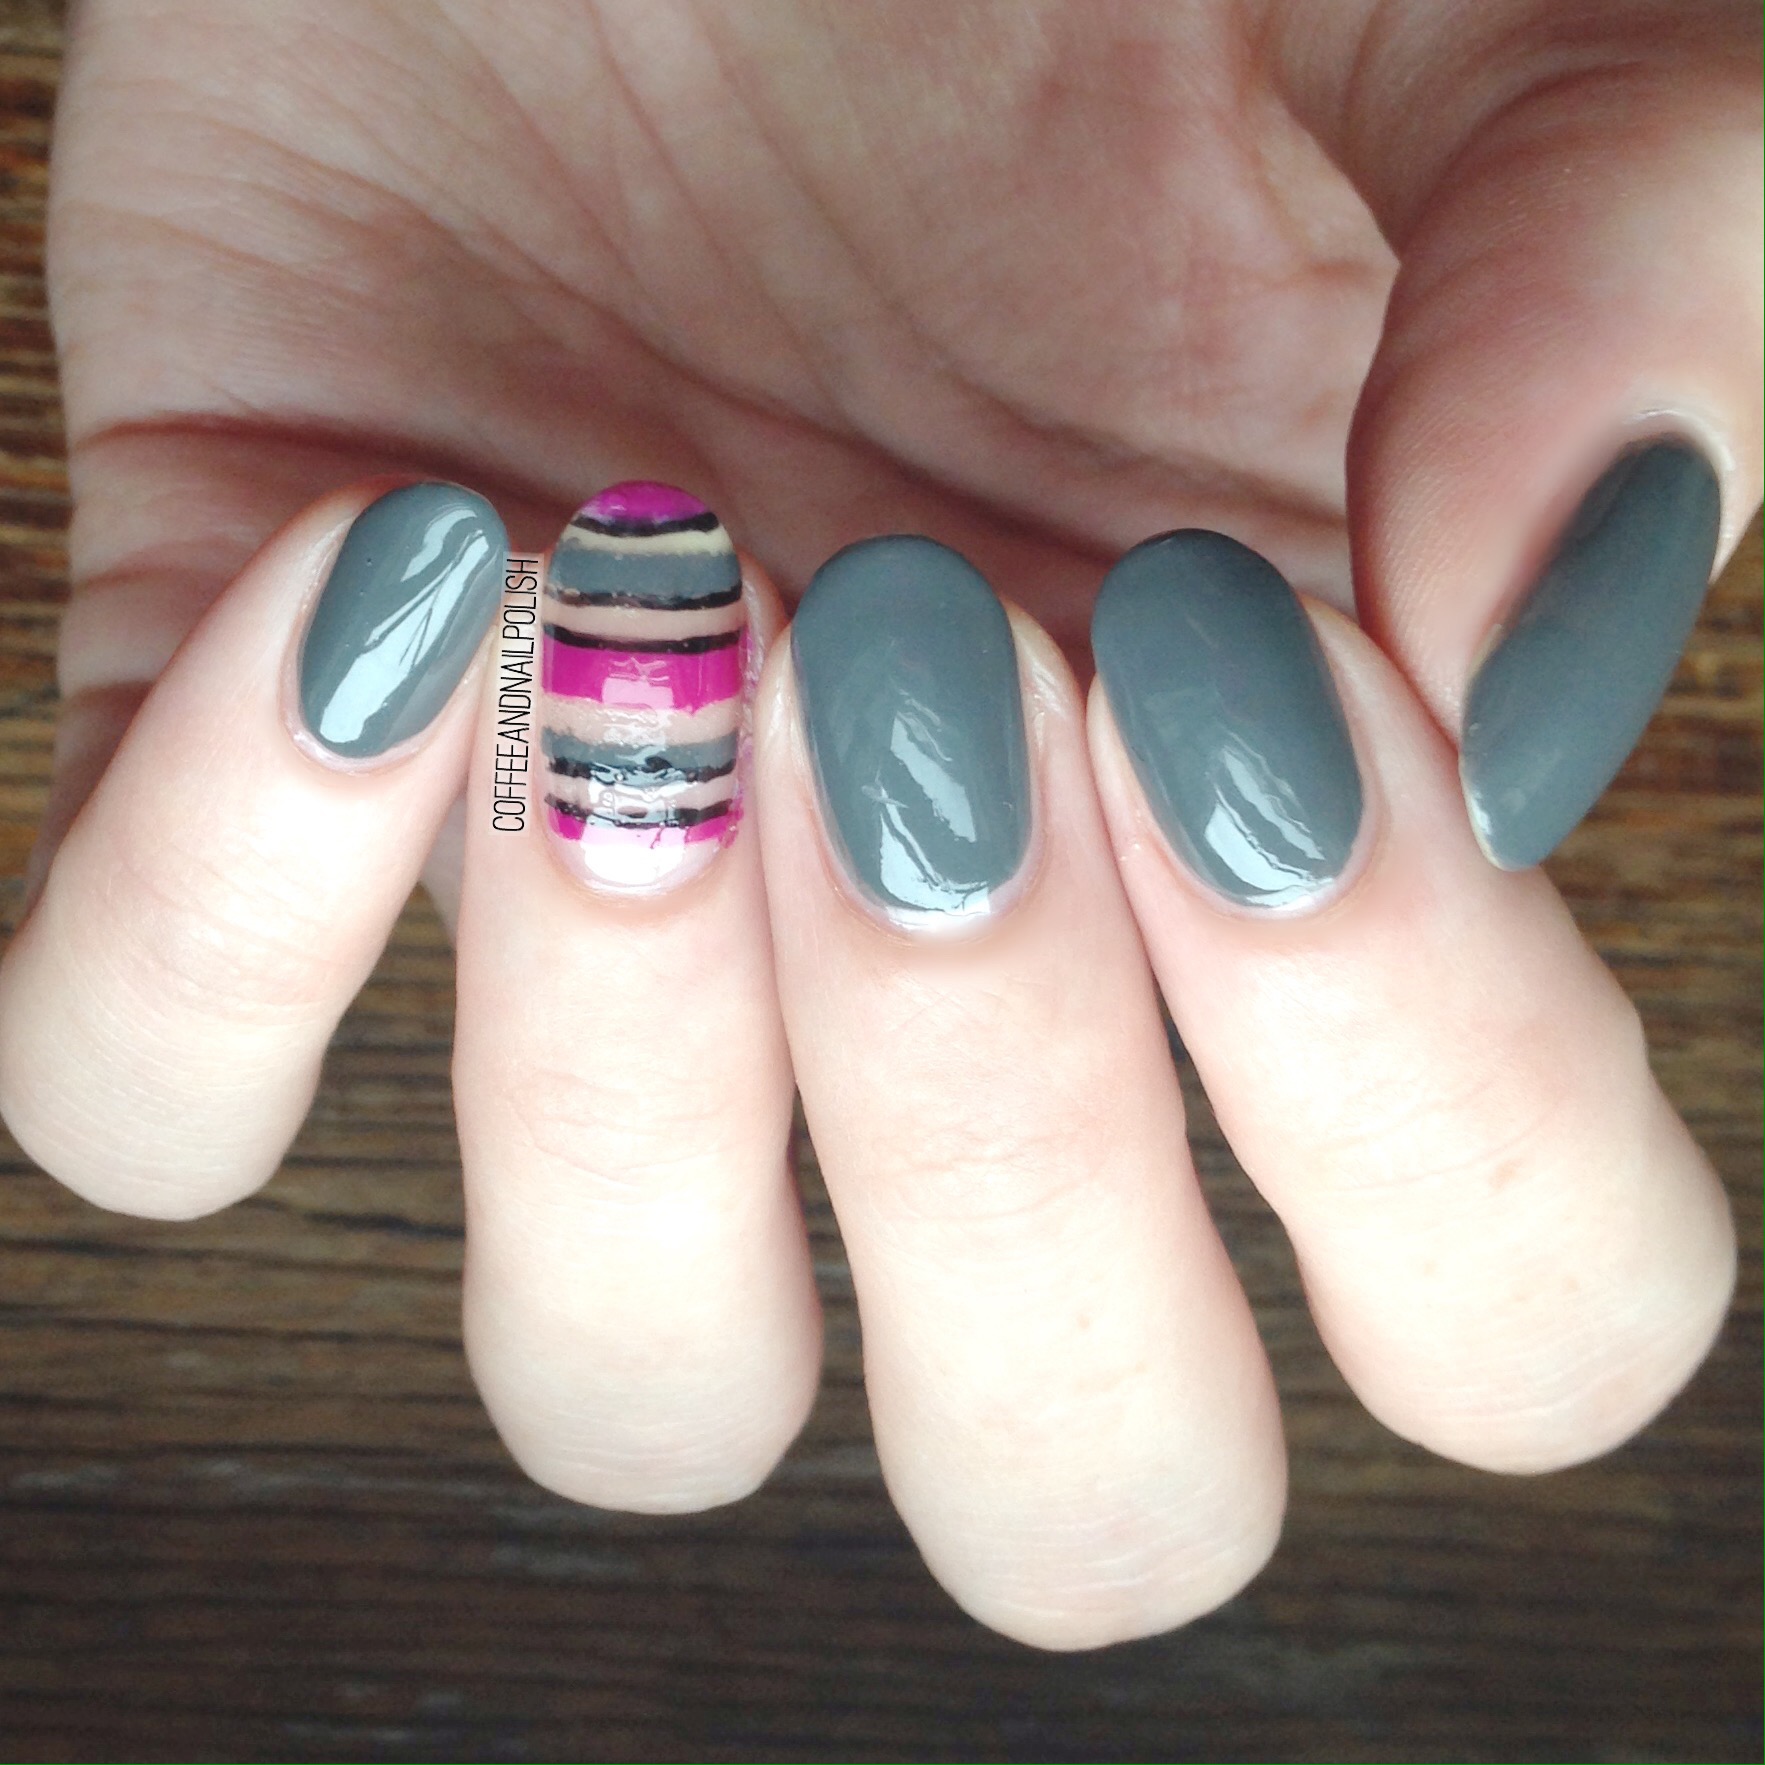
I really love the combination of grey and pink–they just always go so well together!
What are your favourite accent nail designs? Let me know in the comments below! I’ve also been thinking about maybe starting to do some tutorials, so if that is something you’d be interested in seeing, let me know.