Pink dry brush featuring Jay Godfrey cosmetics polishes. 

I was recently gifted some polishes (and lipsticks) from a new to me brand: Jay Godfrey. Since I love trying out new polishes, I couldn’t wait to put these on my fingers! The 5 polishes come in a collection paired with 5 complimentary lipsticks ranging from a soft mauve-y pink to a deep Raspberry.


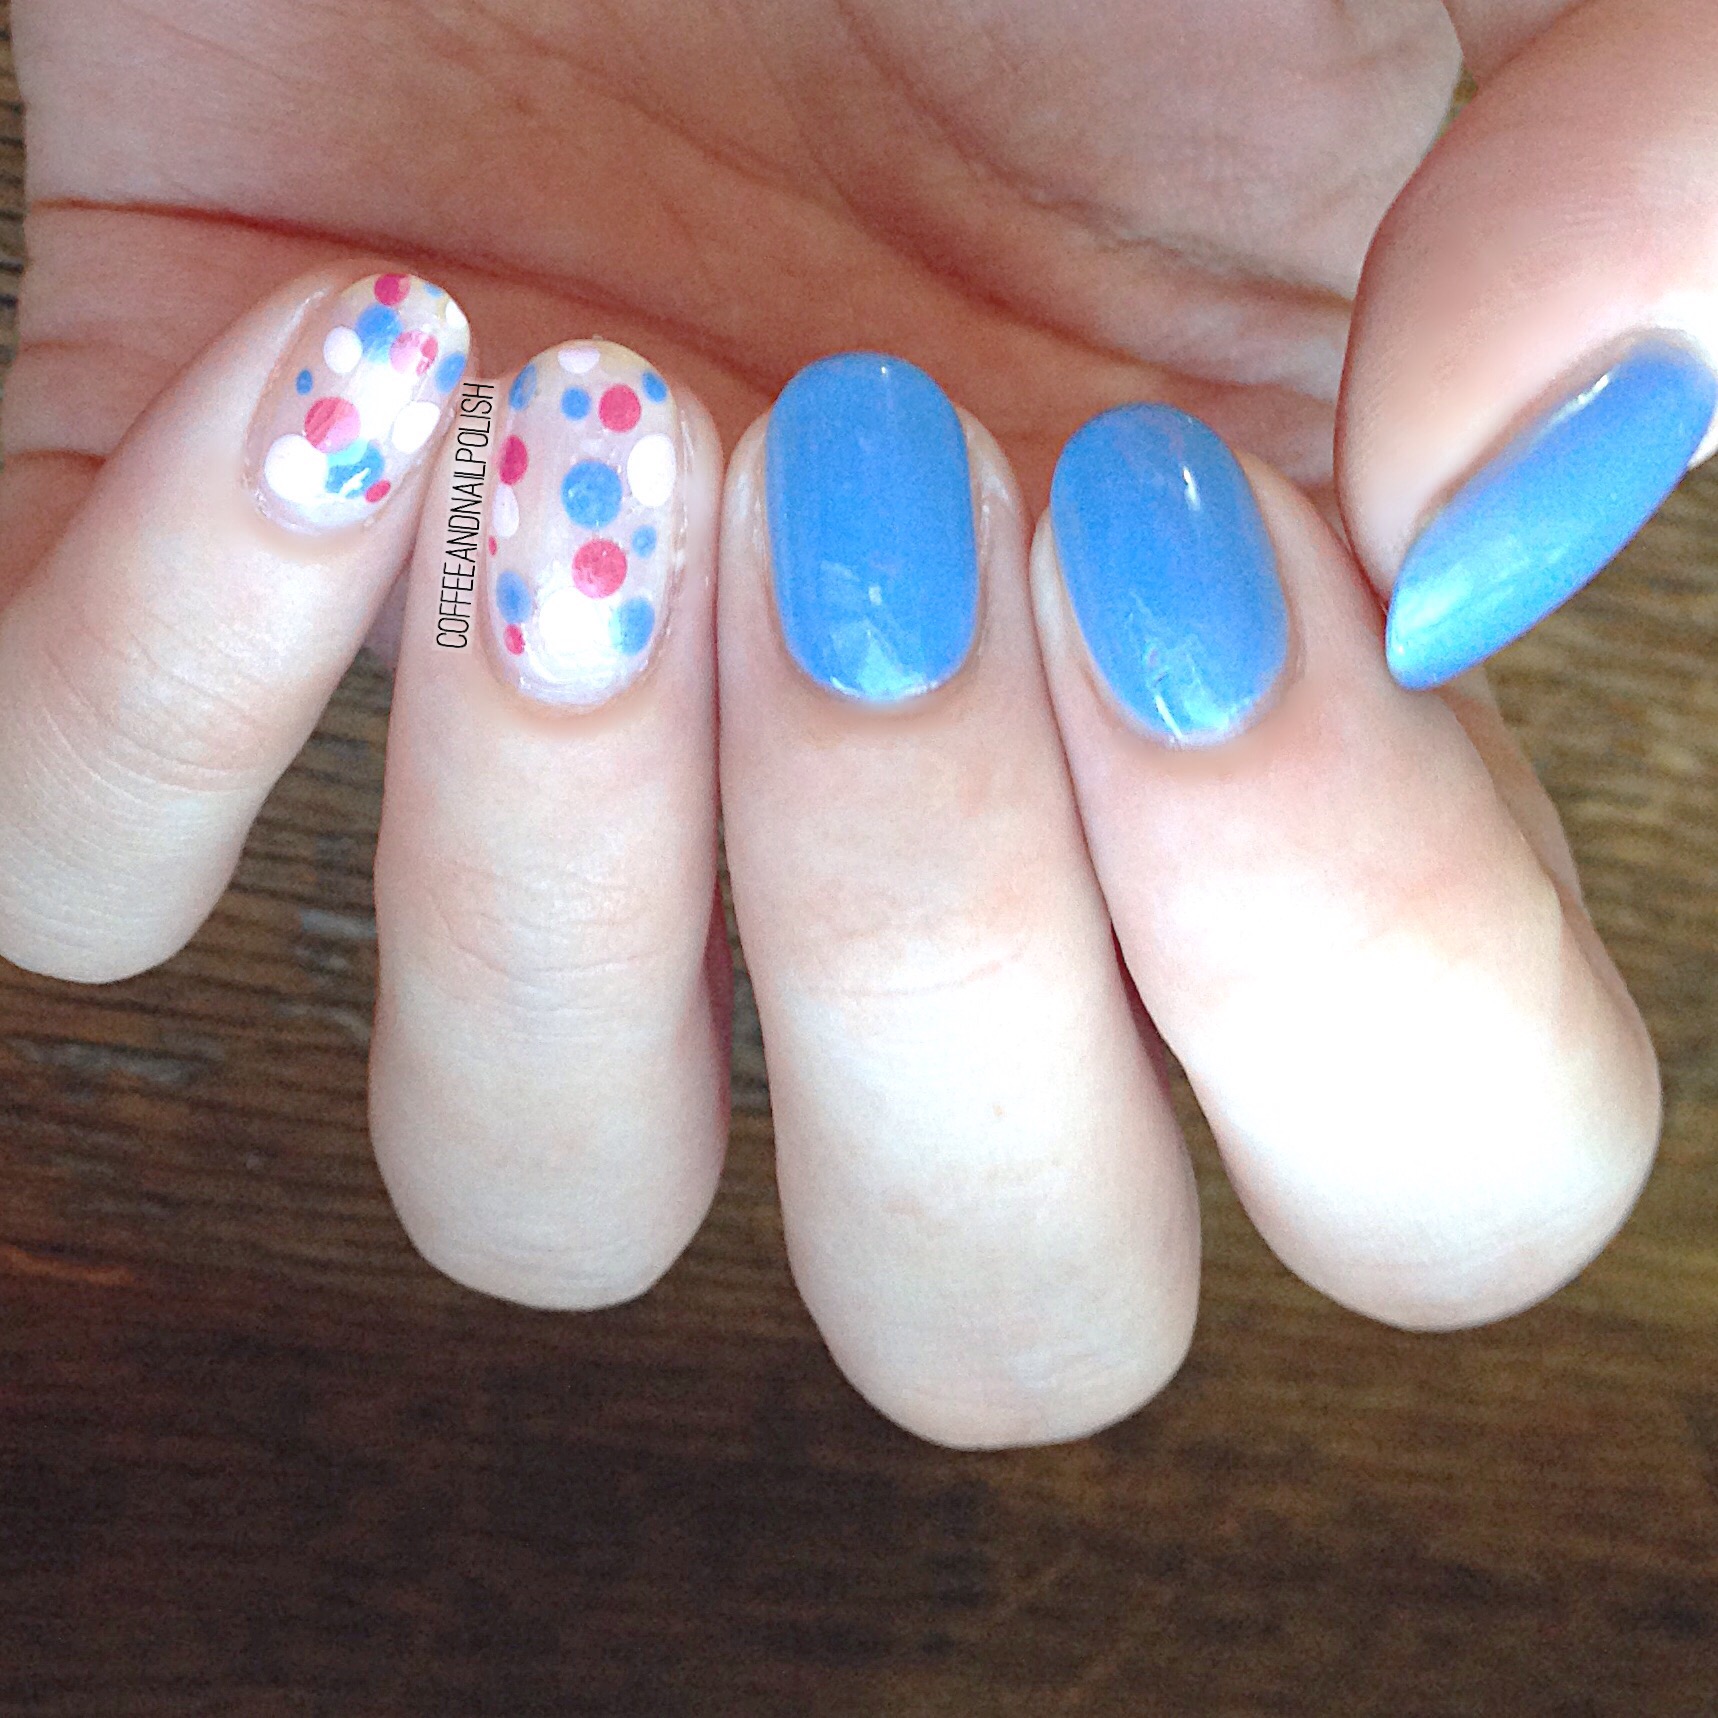
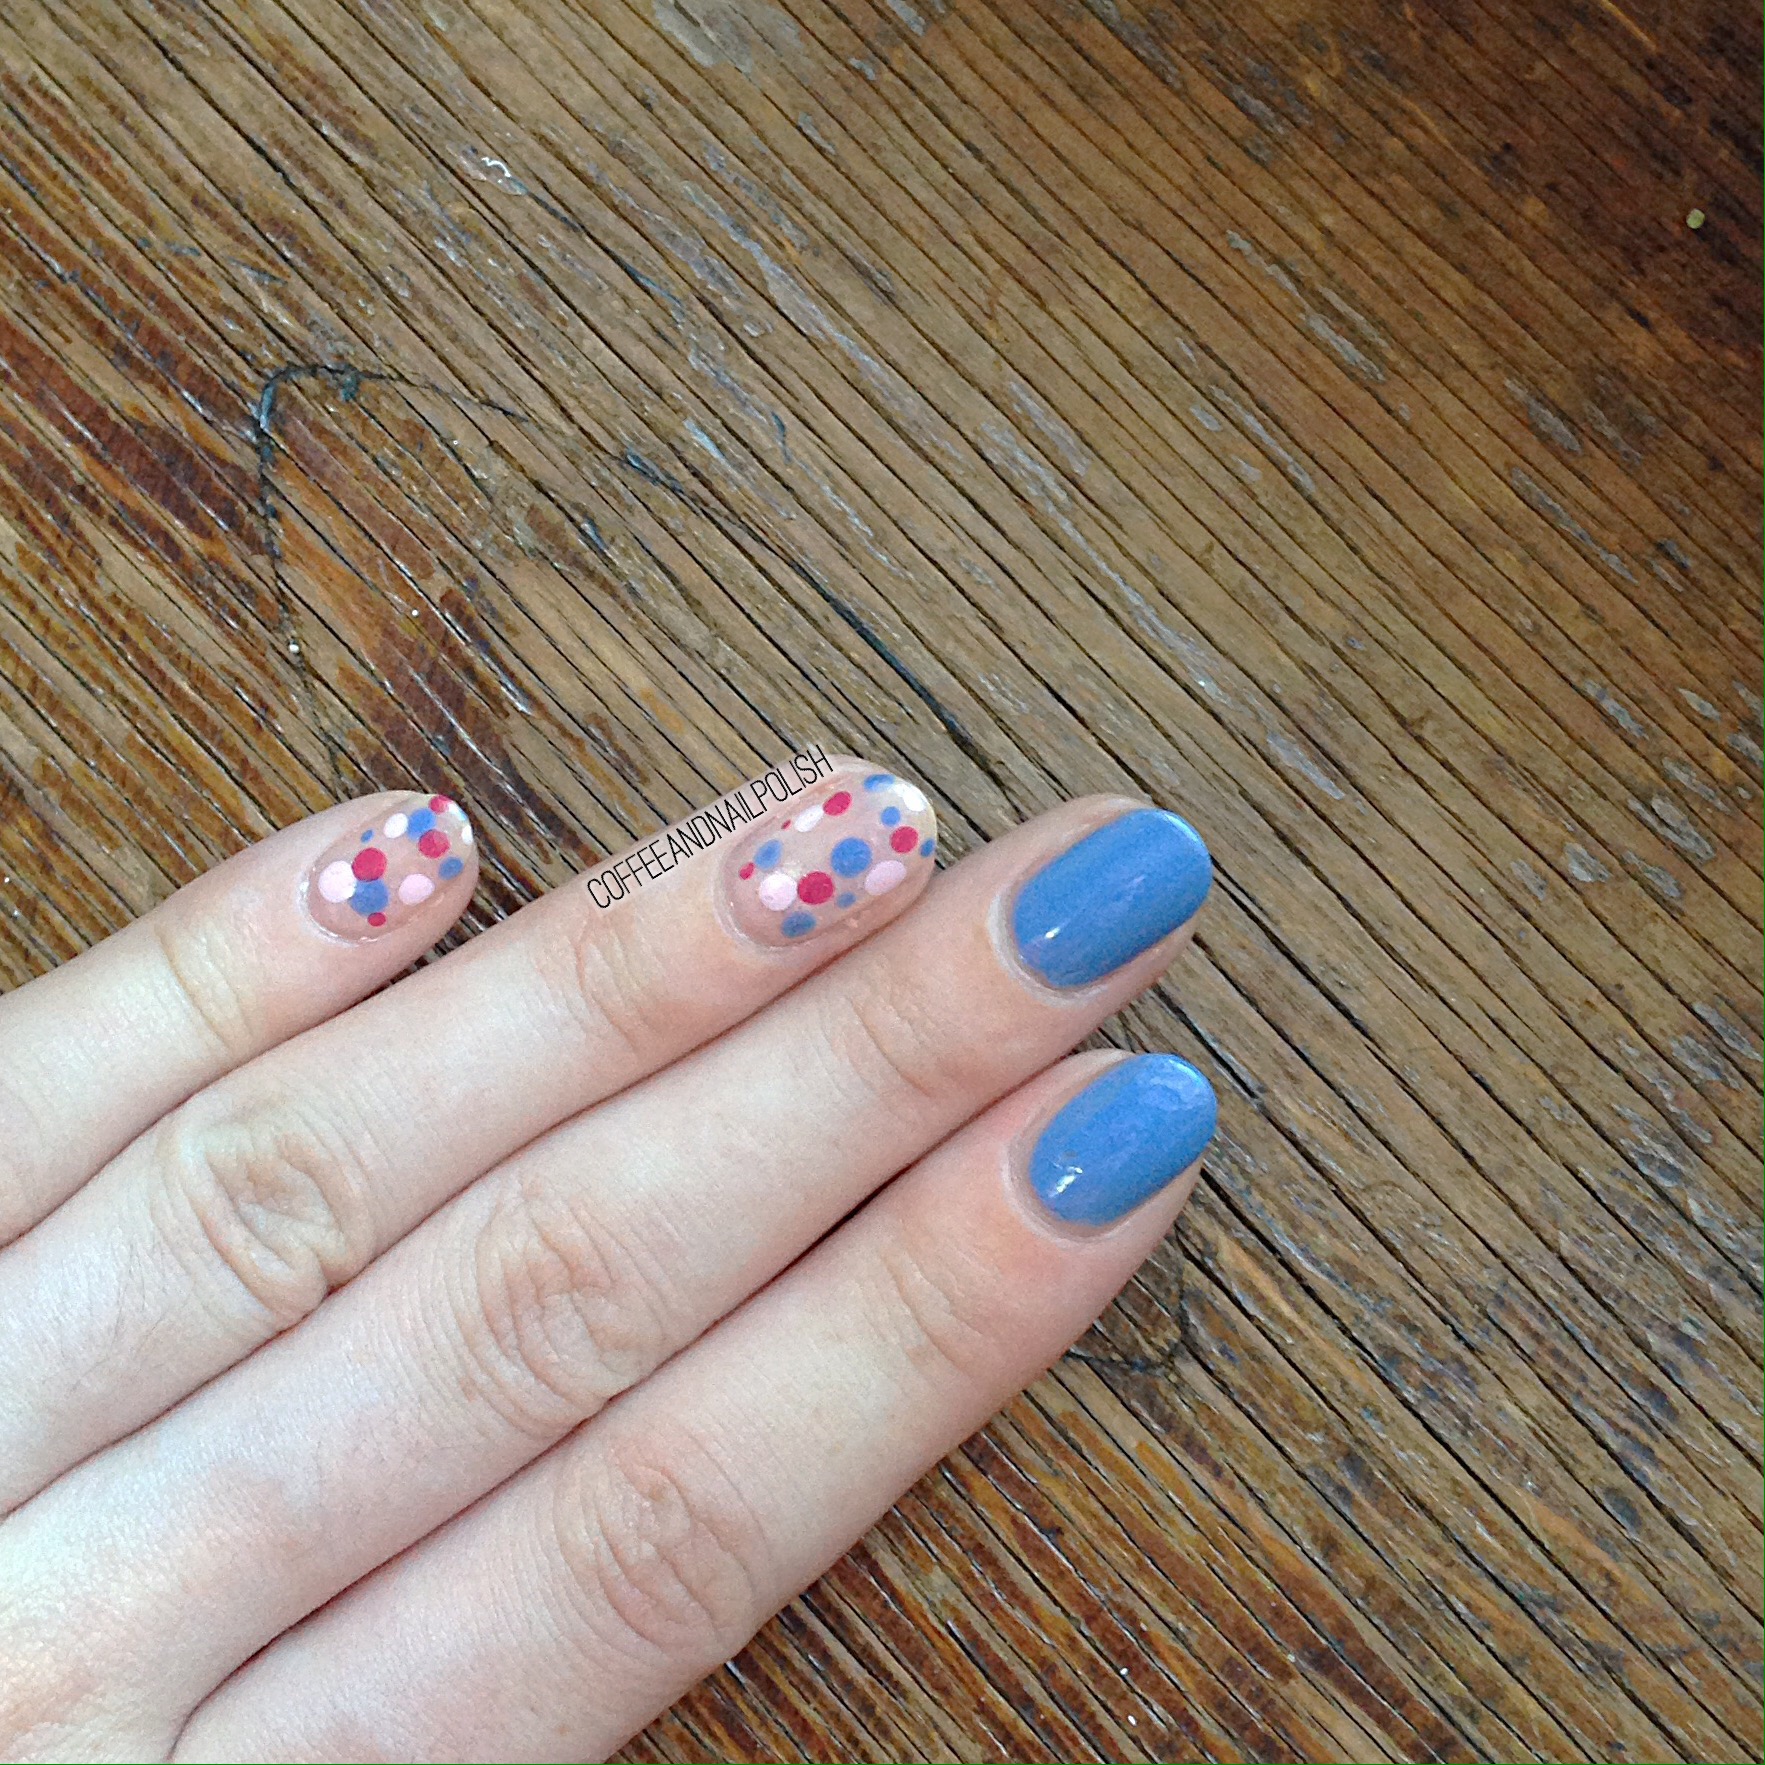
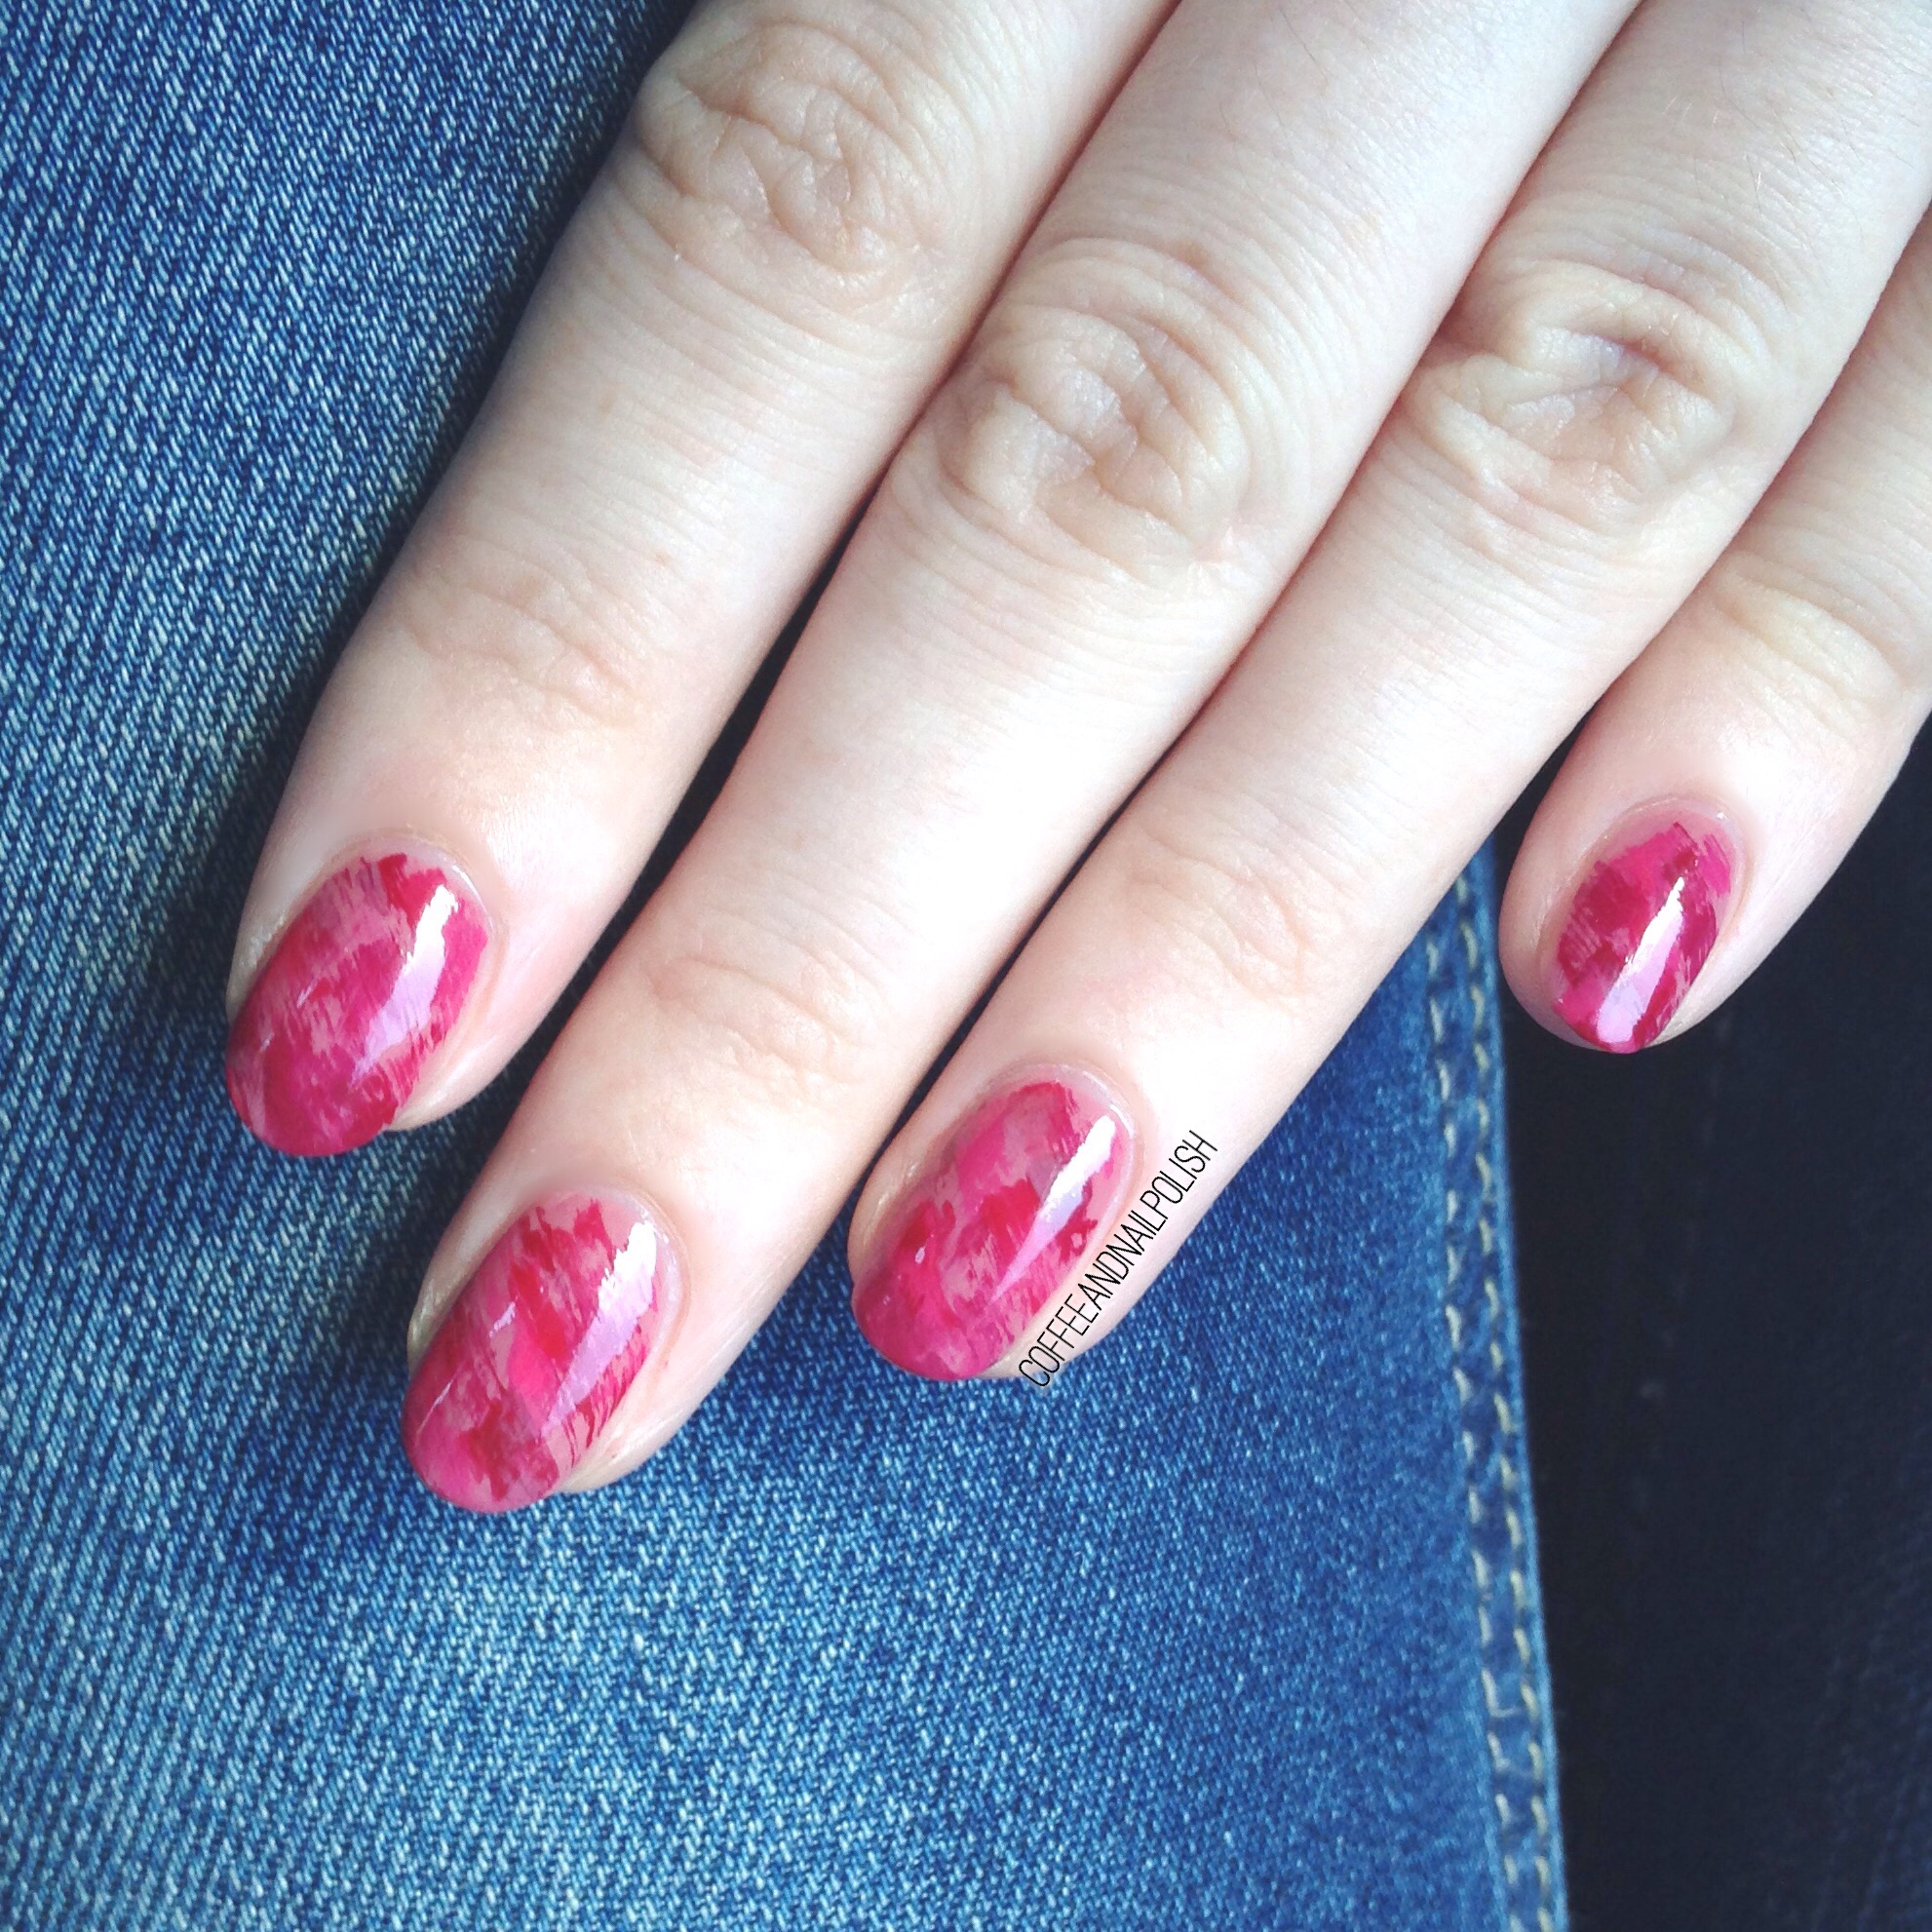
To try out these polishes, I decided to pair them together in a fun sideways dry brush (one of my favourite designs). ❤ this also would have been a great manicure and polish set for Valentine’s Day! 

The polishes I used for this manicure were:

  • Jay Godfrey Cosmetics Nude 256
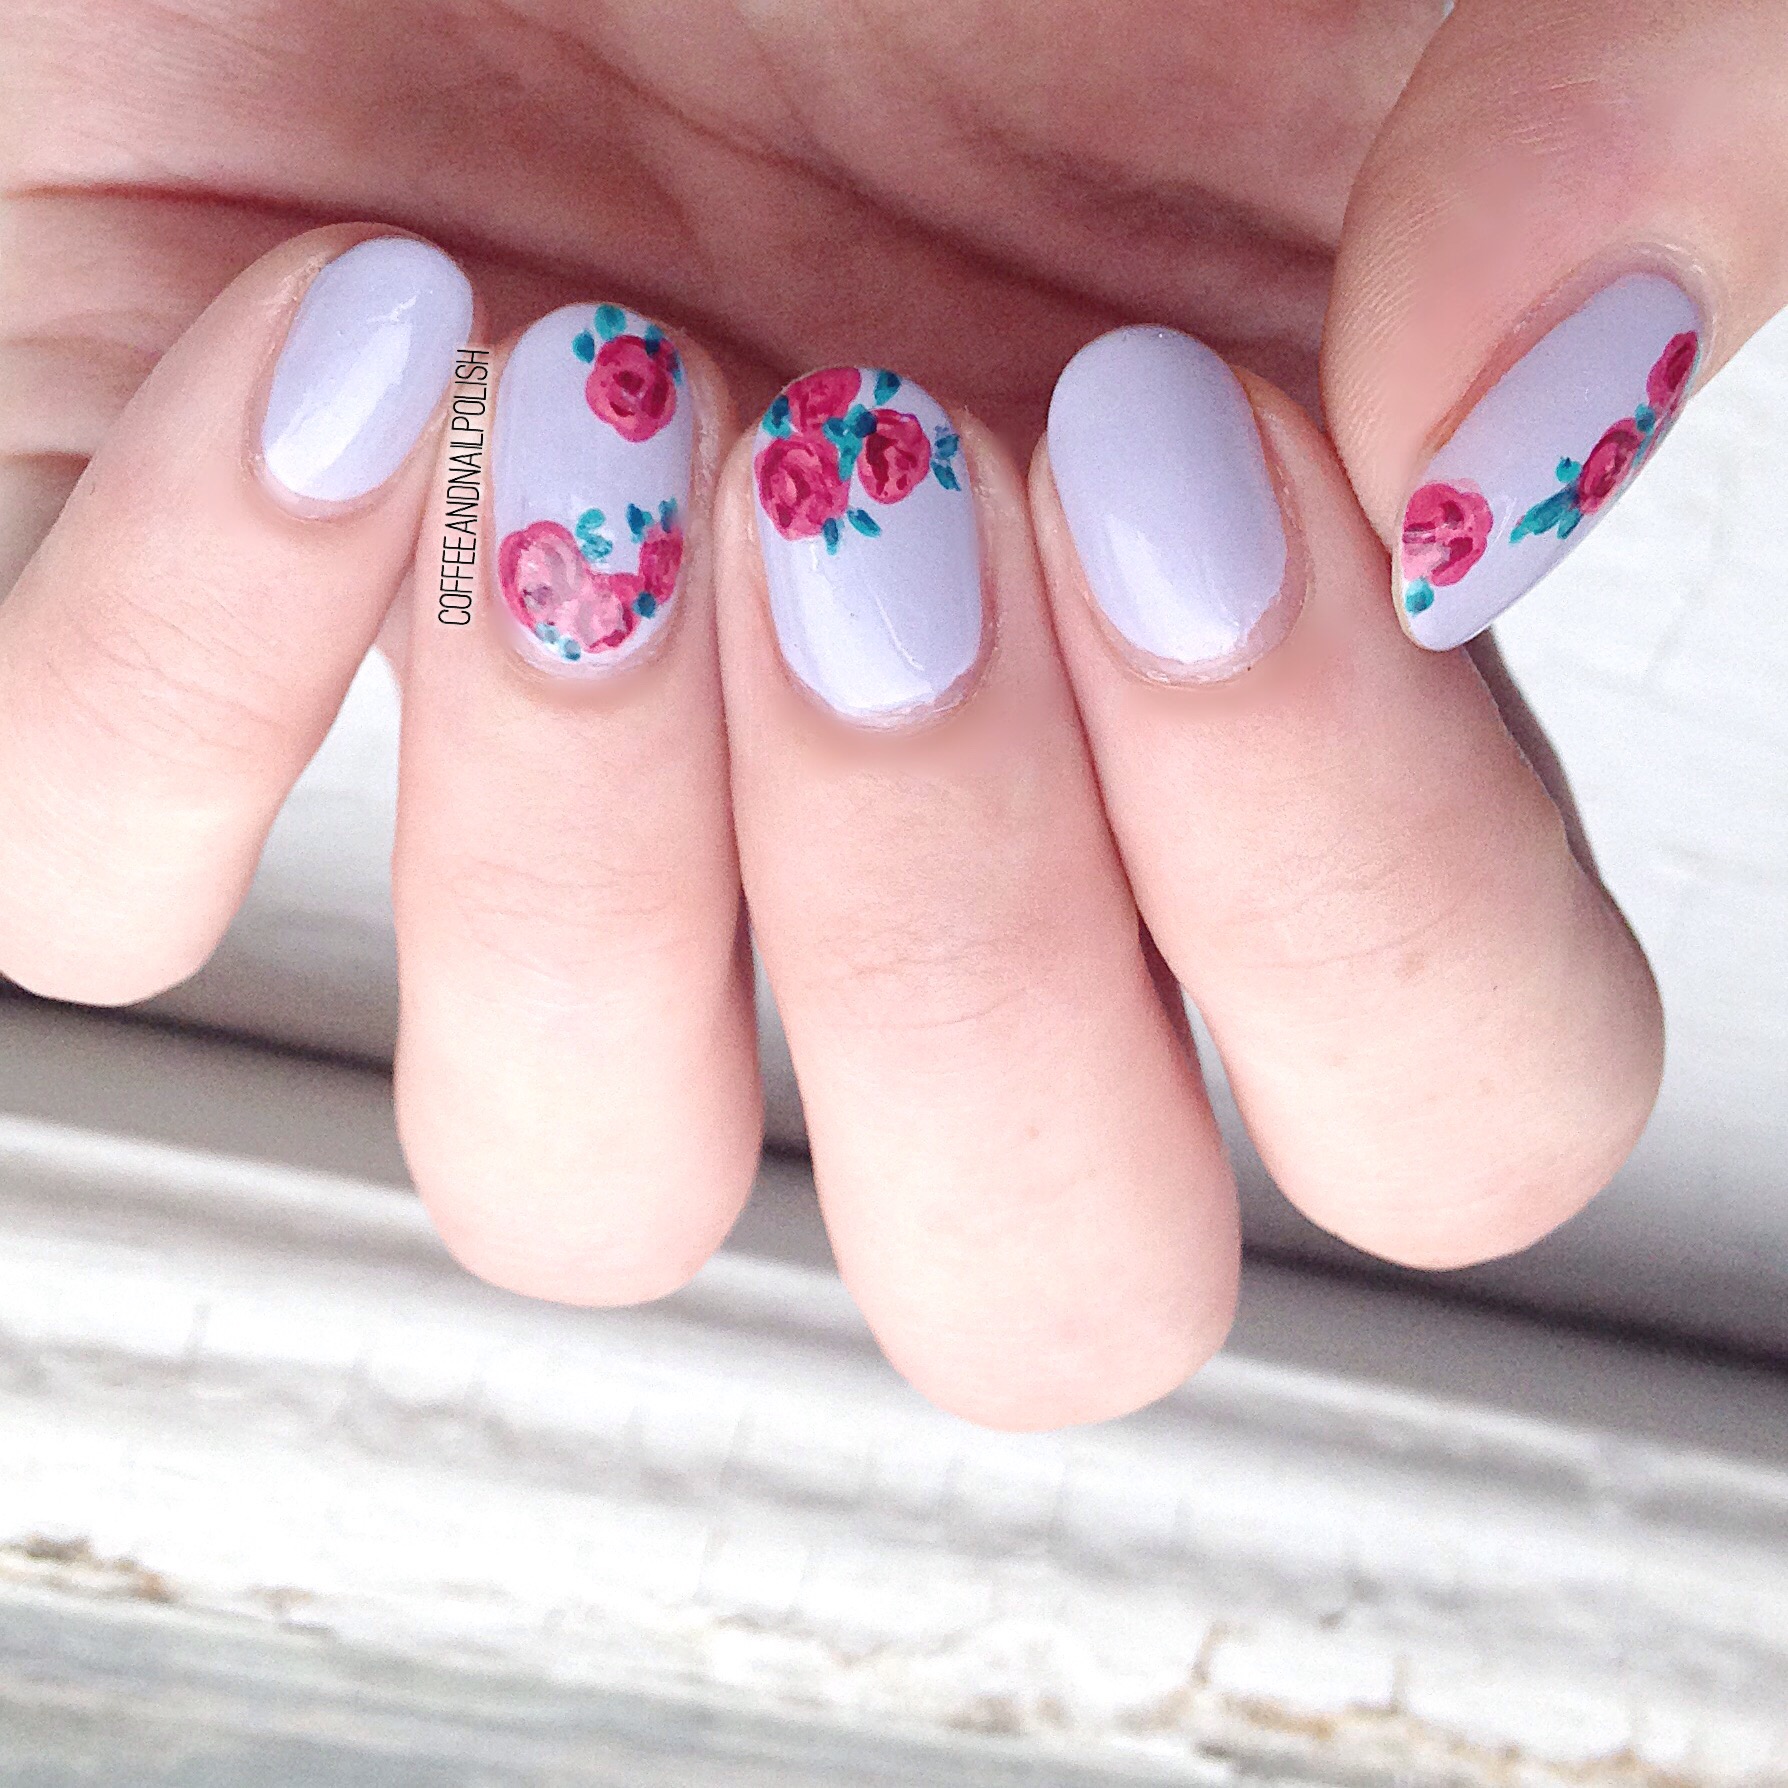
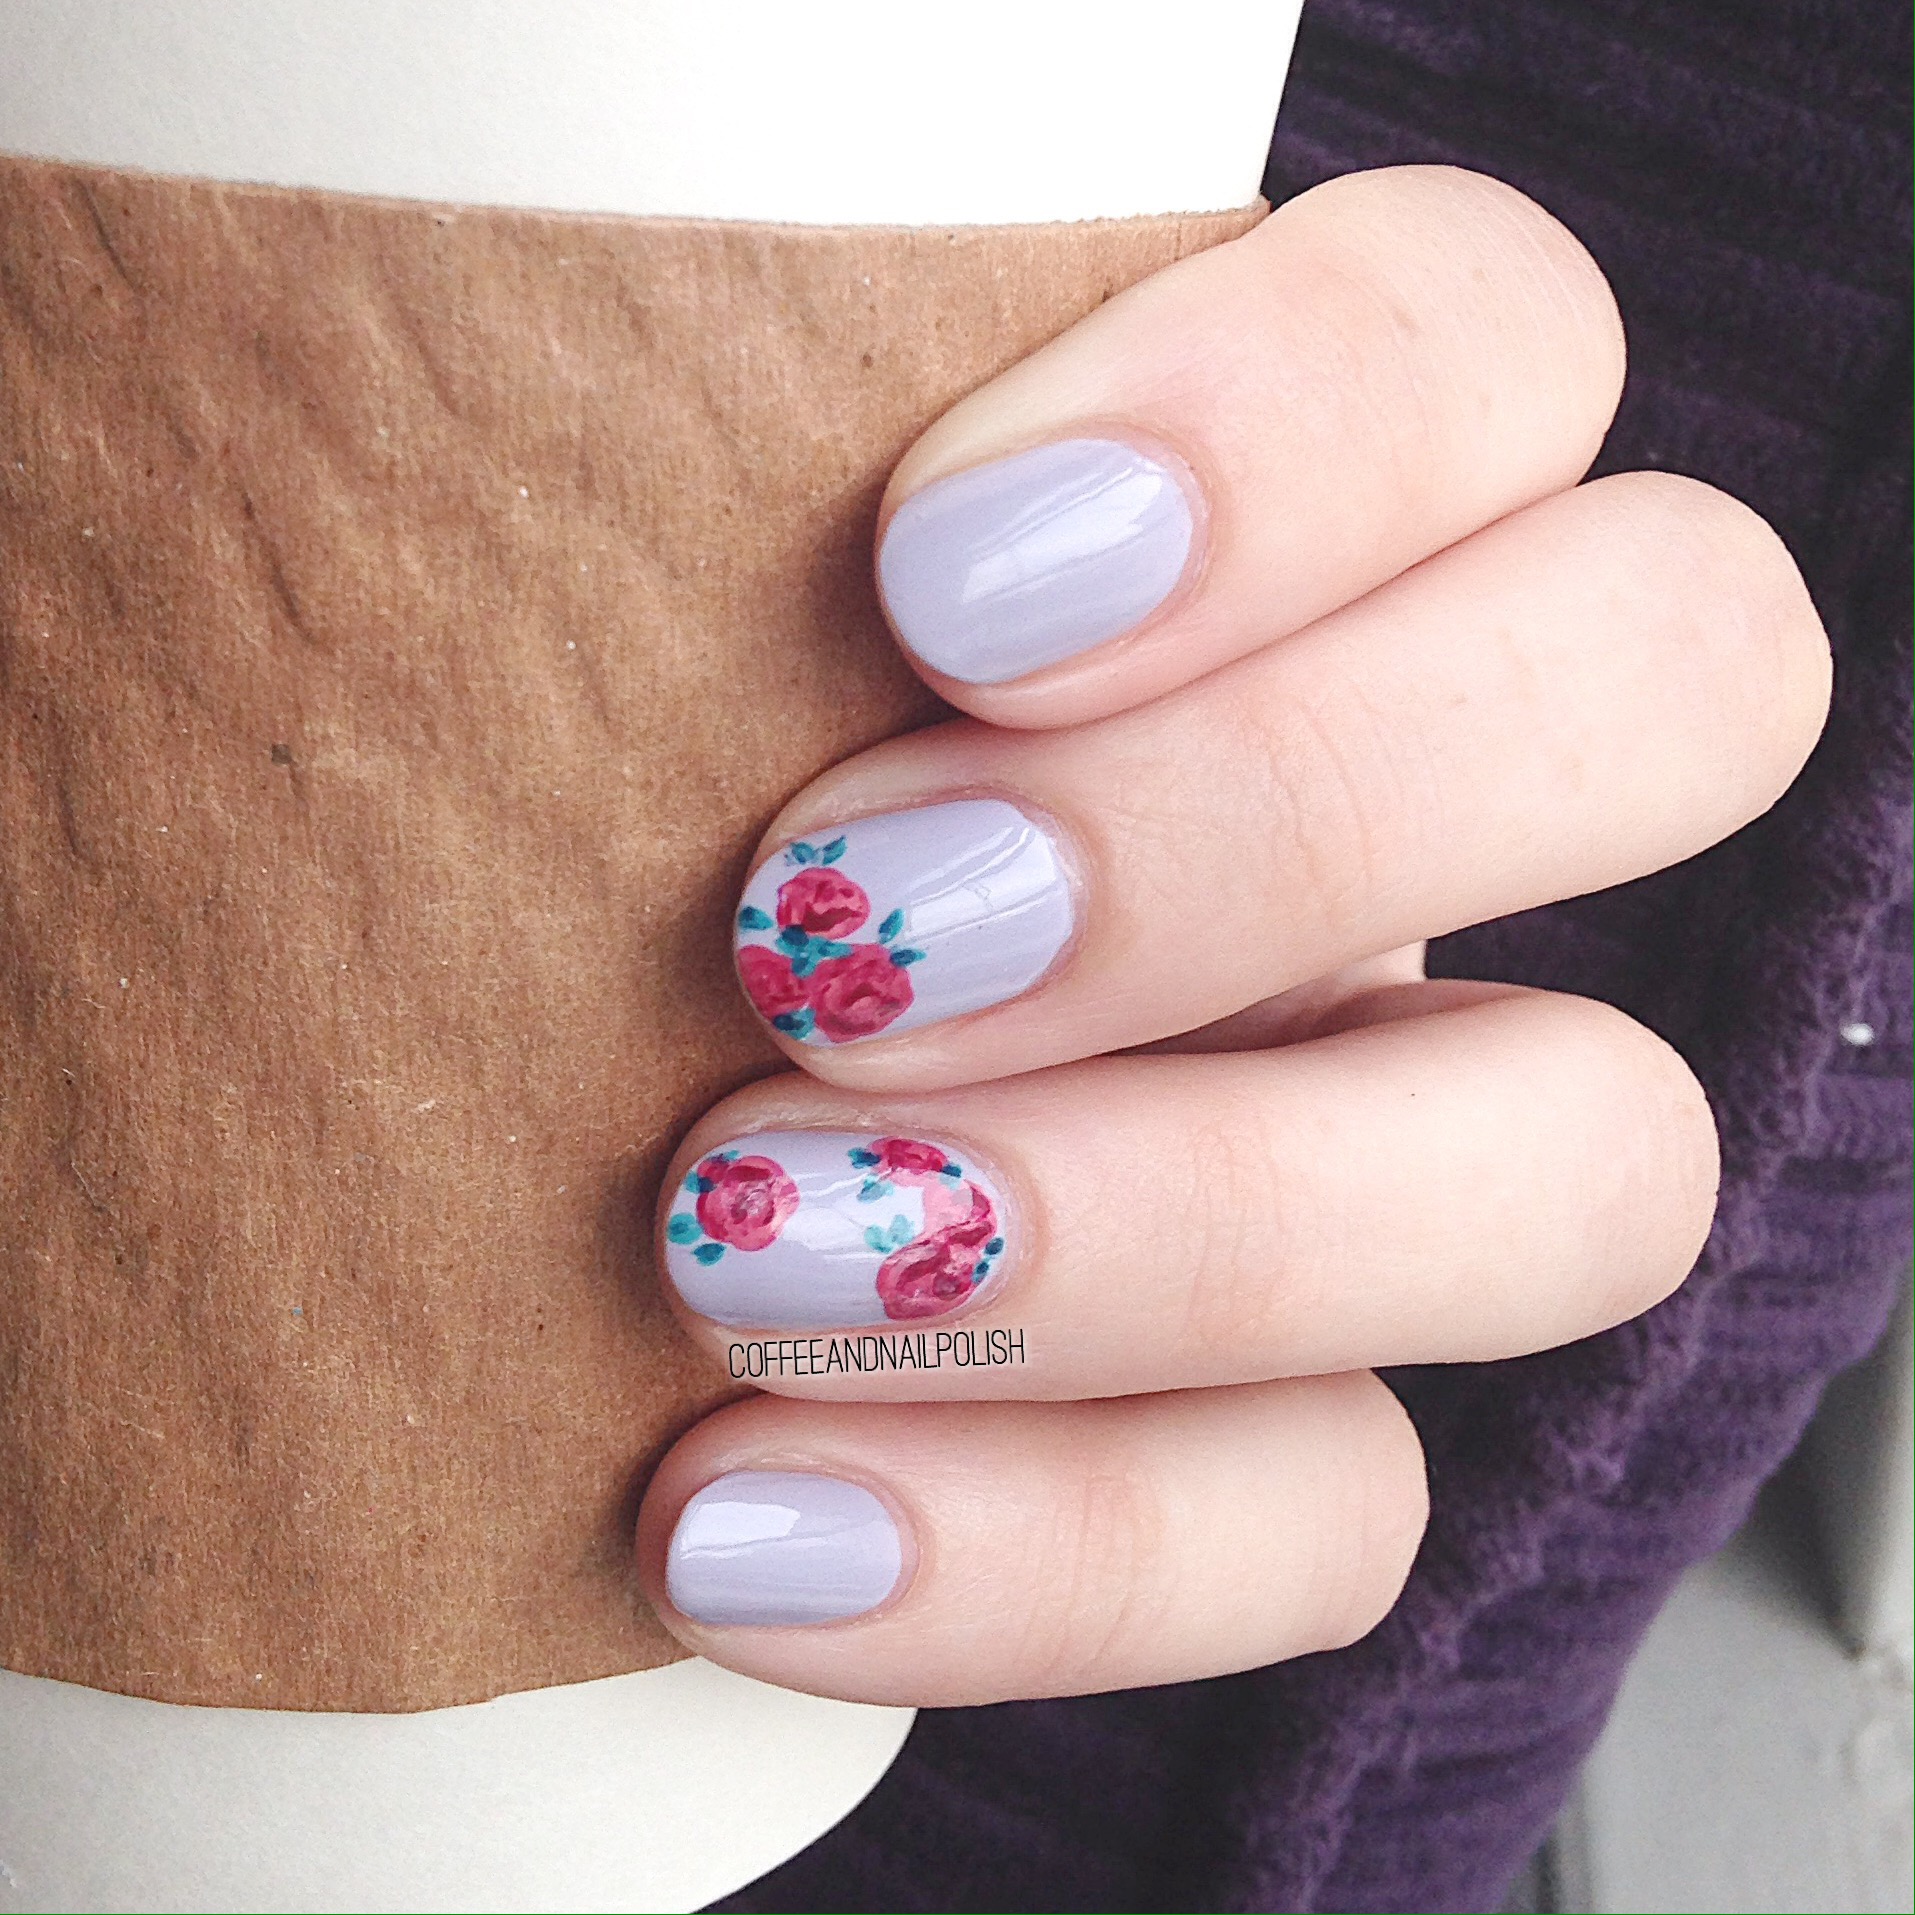
  • Jay Godfrey Cosmetics Orchid Violet 185
  • Jay Godfrey Cosmetics Nior 421
  • Jay Godfrey Cosmetics Rouge 132
  • Jay Godfrey Cosmetics Bordeaux Lust 326
  • Butter London Hardwear Quick Dry Top Coat 

To achieve this look, I started with a base of 2 coats of Nude, and then applied top coat and let it dry for about 5 minutes. I then went with each colour, removing as much polish from the brush as I could before brushing it diagonally against my base colour. I tried to alternate darker polishes with lighter colours to create a nice texture to the look. When I was happy with the design, I sealed everything in with two coats of top coat. 

So what do you think of these colours and design? I always have fun when I discover new polishes, and really quite like the formula on these, not to mention the colours. 

I’m also really excited to test out the complimentary lipsticks! So far I’ve only worn one of the lipsticks, a fuchsia pink named Casablanca, and I really liked how it looked and applied. I can’t wait to try out all the colours! I think I’ll do a whole post dedicated to the lipsticks since I’m really quite in love with them. ❤

Pink and Blue dotticure. 

I was browsing Instagram yesterday, and while admiring @traceyloveslacquer‘s monthly favourites I could helped but obsess over her dotticures (because they’re gorgeous). So obviously I needed to do my own dotticure because it’s been like a week. 😂 Seriously though, dotticures are just so easy and fun. 
The colours for this mani were inspired by baby-to-be (pink and blue) who has officially overstayed their welcome. But I really think these colours would work for a variety of occasions… even a not so typical Valentine’s Day design if you didn’t want to go strictly pink. 

The polishes used for this mani were:

  • China Glaze Secret Peru-wink-le
  • Wet N Wild 2% Milk
  • Essence Cosmetics Dreaming of Love
  • Sally Hansen Xtreme Wear Tickled Pink 
  • Essie Gel Setter 

Such a simple design, but I love how it looks! And the great thing about a dotticure is it pretty much works for every occasion and colour combination. 

February floral. 

Hello February! Crazy how quickly January flew by. This is about the time in the year where I start craving Spring so I thought some floral would be fitting. I also haven’t done a floral since September, so it was long overdue. 

Base colour is Sally Hansen I Lilac You which is such a pretty soft purple, and very Spring-y. For my roses, I used a dotting tool, small detail brush, and a whole bunch of pink polishes (and a few greens for the leaves). 

Roses were the first nail art, aside from polka dots, I ever really attempted so they hold a special place in my heart. Plus they are so girlie so they’re great for this month with Valentine’s Day quickly approaching! 

My thumb is definitely my favourite nail of this design. It just turned out so well so I had to take a solo shot of it. I also apologize for the growth–I’ve been wearing these nails for the last two days. 


What do you think of my floral nails–are you craving Spring as much as I am? 

Purple and blue chevron nails. 

Do you have favourite colour combinations? One of my favourite combination of colours is definitely baby blue and purple. They just compliment each other so well! That’s probably why I love this mani so much! 

For this mani, the products I used were:

How pretty are these? I used the inside part of the stencils from The Base Coat instead of the stencil themself, but I think they turned out so well!

Now it’s off to do some more nail art, while I still can.  Baby Taco is due in just a few days so it’s time to trim the claws down! They’re definitely not newborn compatible at their current length haha. 

Grey Saran Wrap splatter nails. 

Happy Friday everyone! Who doesn’t love Friday?

 Today I have one of my favourite easy nail art techniques to share with you–Saran Wrap splatter! I’ve featured this technique a couple times, and I’m always in love with how they turn out. It really is one of those designs where you can’t really mess up (unlike water marble which I can’t not mess up!) because you can just keep dabbing polish on until you get a look you love. 

For this manicure, I used:

  • Essie Coat Couture
  • Essie Find Me An Oasis
  • Essie Gel Setter 
  • Crinkled up plastic bag. 

To achieve this look:

  1. Paint your nails with your base coat of choice, and then apply your base colour (I used Essie Coat Couture). 
  2. Apply a layer of top coat and let dry. I wait about 5-10 minutes. 
  3. In the mean time, take your Saran Wrap and crinkled up. You can also use a plastic grocery bag or any other crinkly plastic. I always use what I have on hand. 
  4. Once your base colour has dried enough you won’t ruin it, apply your second colour directly to your crinkled up plastic and dab onto your nail one at a time. Applying liquid latex around your nails helps minimize clean up. 
  5. If you feel like you’ve put too much of your secondary polish on your nail, you can go back with your base colour and dab again. Keep going until you like how your nail looks. 
  6. Once you look how your “splatter” looks, seal in your design with top coat. 

So what do you think of this technique? Have you ever tried out this design or would you try out this design? Let me know in the comments below! And if you do try out this technique, tag me on Instagram so I can see. ❤