Do you remember what your first was? Nail polish I mean! Do you remember your first Essie, first China Glaze, & first OPI? What were the polishes that started the obsession? I was looking through my stash the other night, trying to find a colour to paint my nails, & picked up my bottle of Essie Watermelon which was the very first Essie I ever owned. I can’t ever remember the last time I put it on, so it seemed like a good day to pull it out.


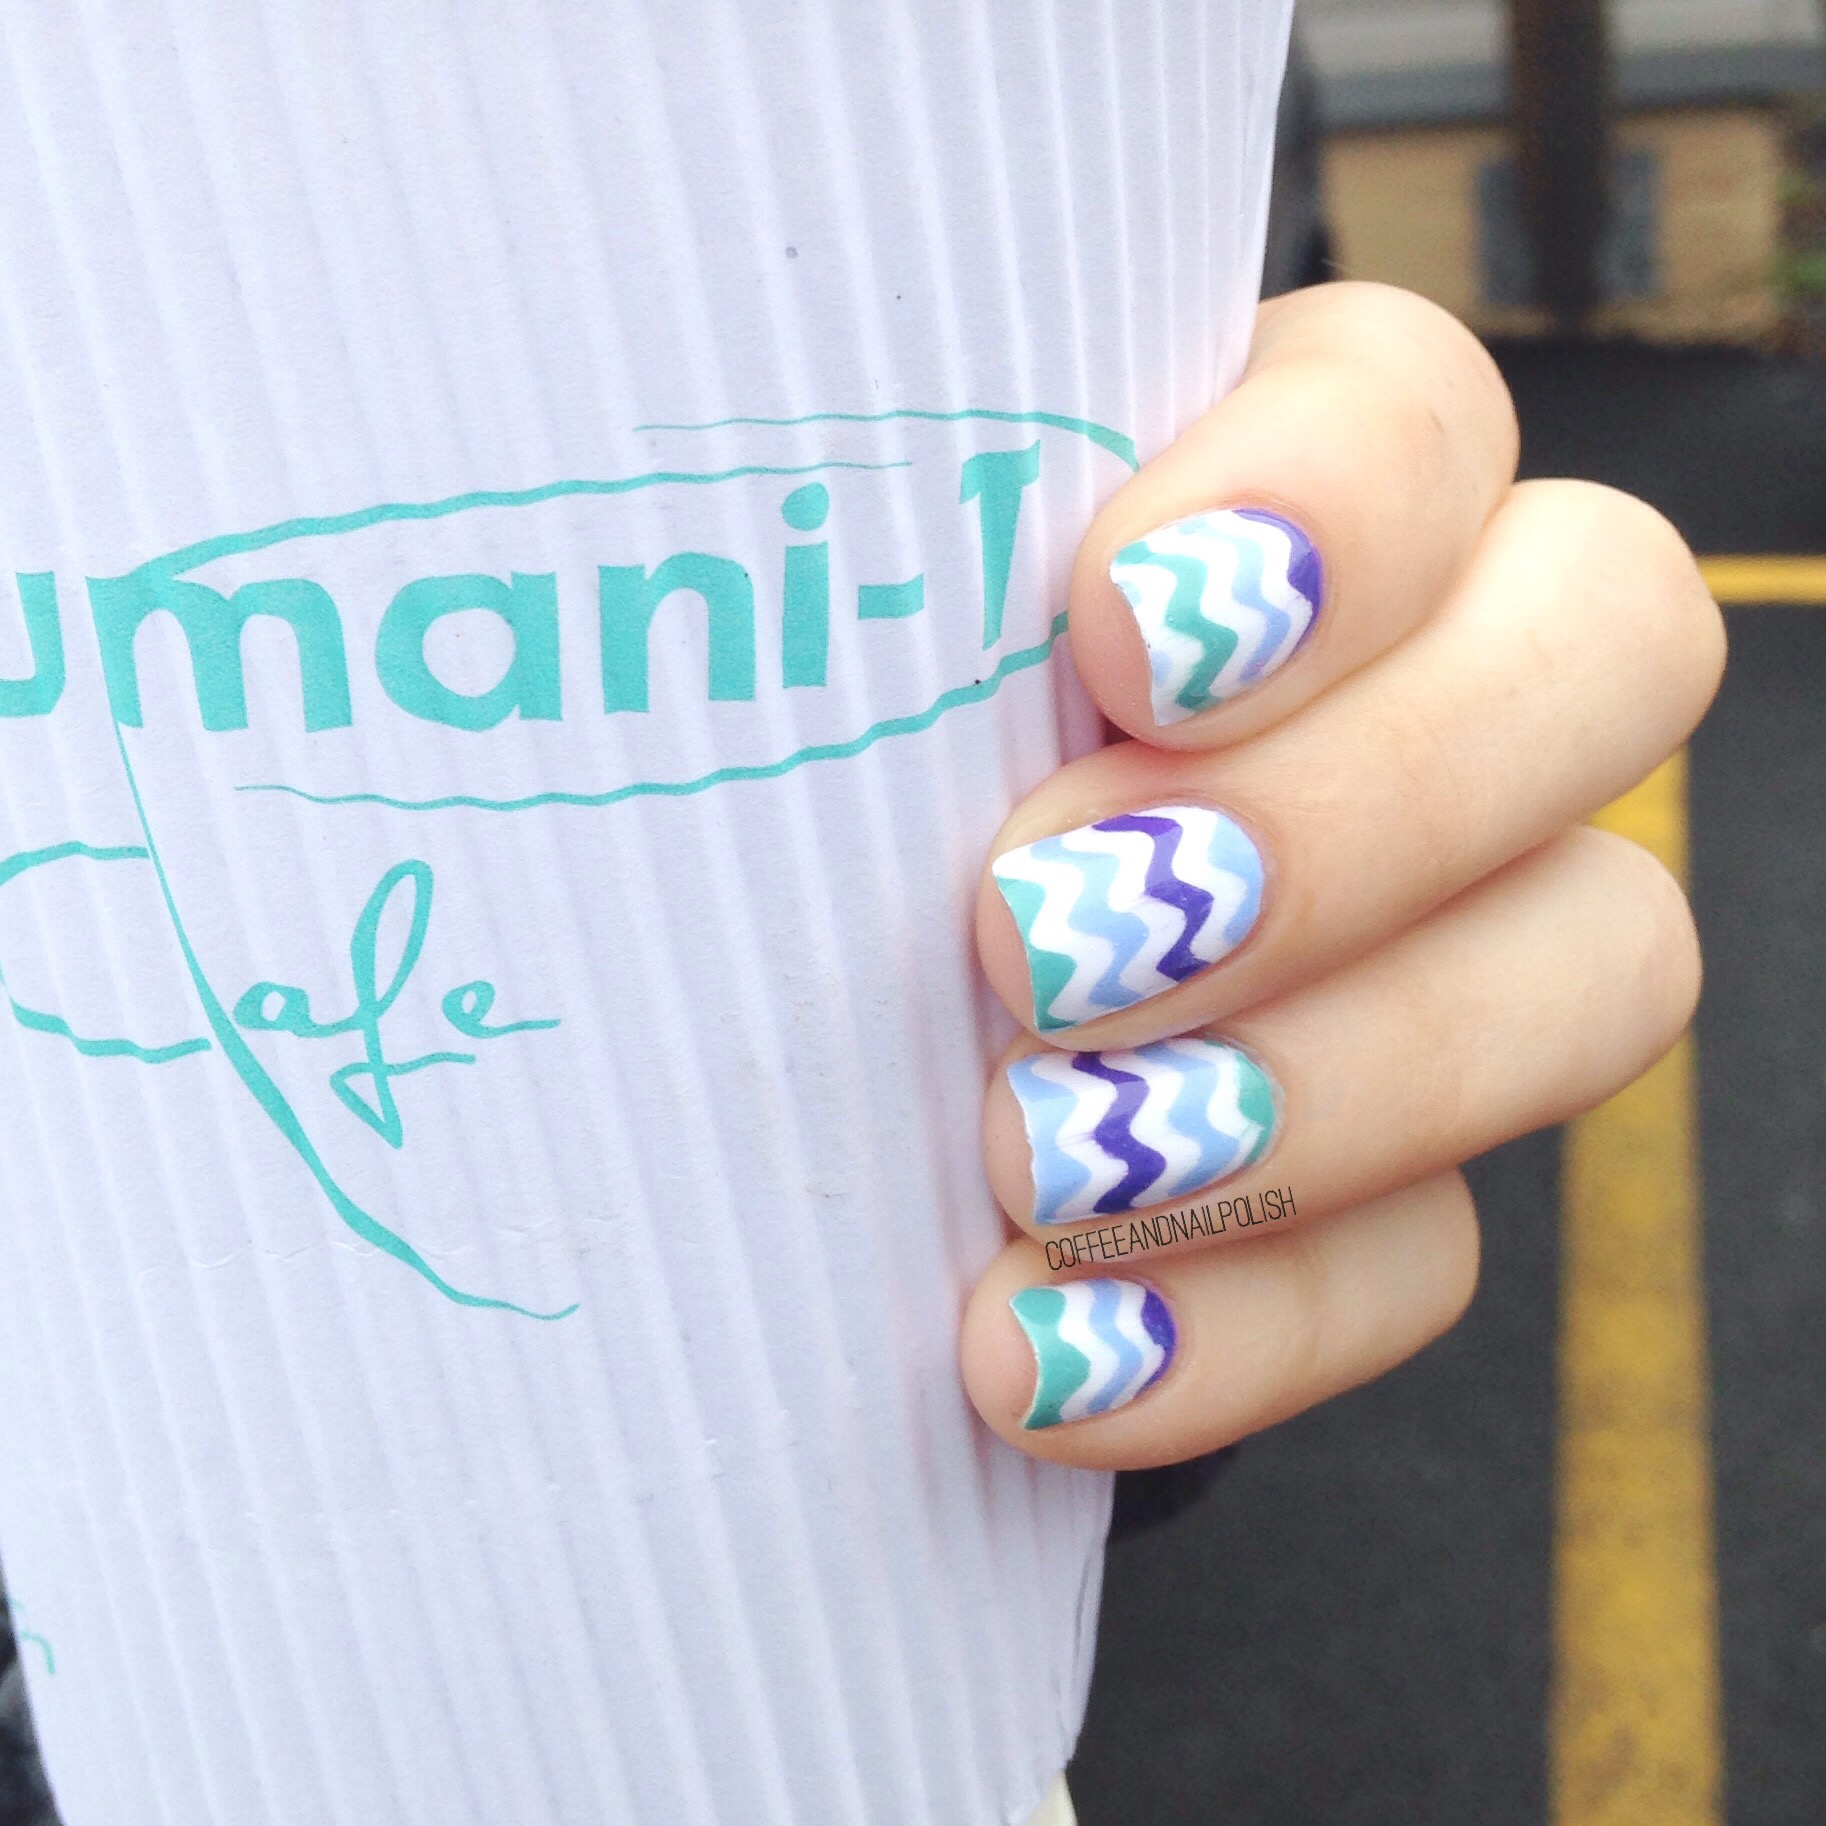
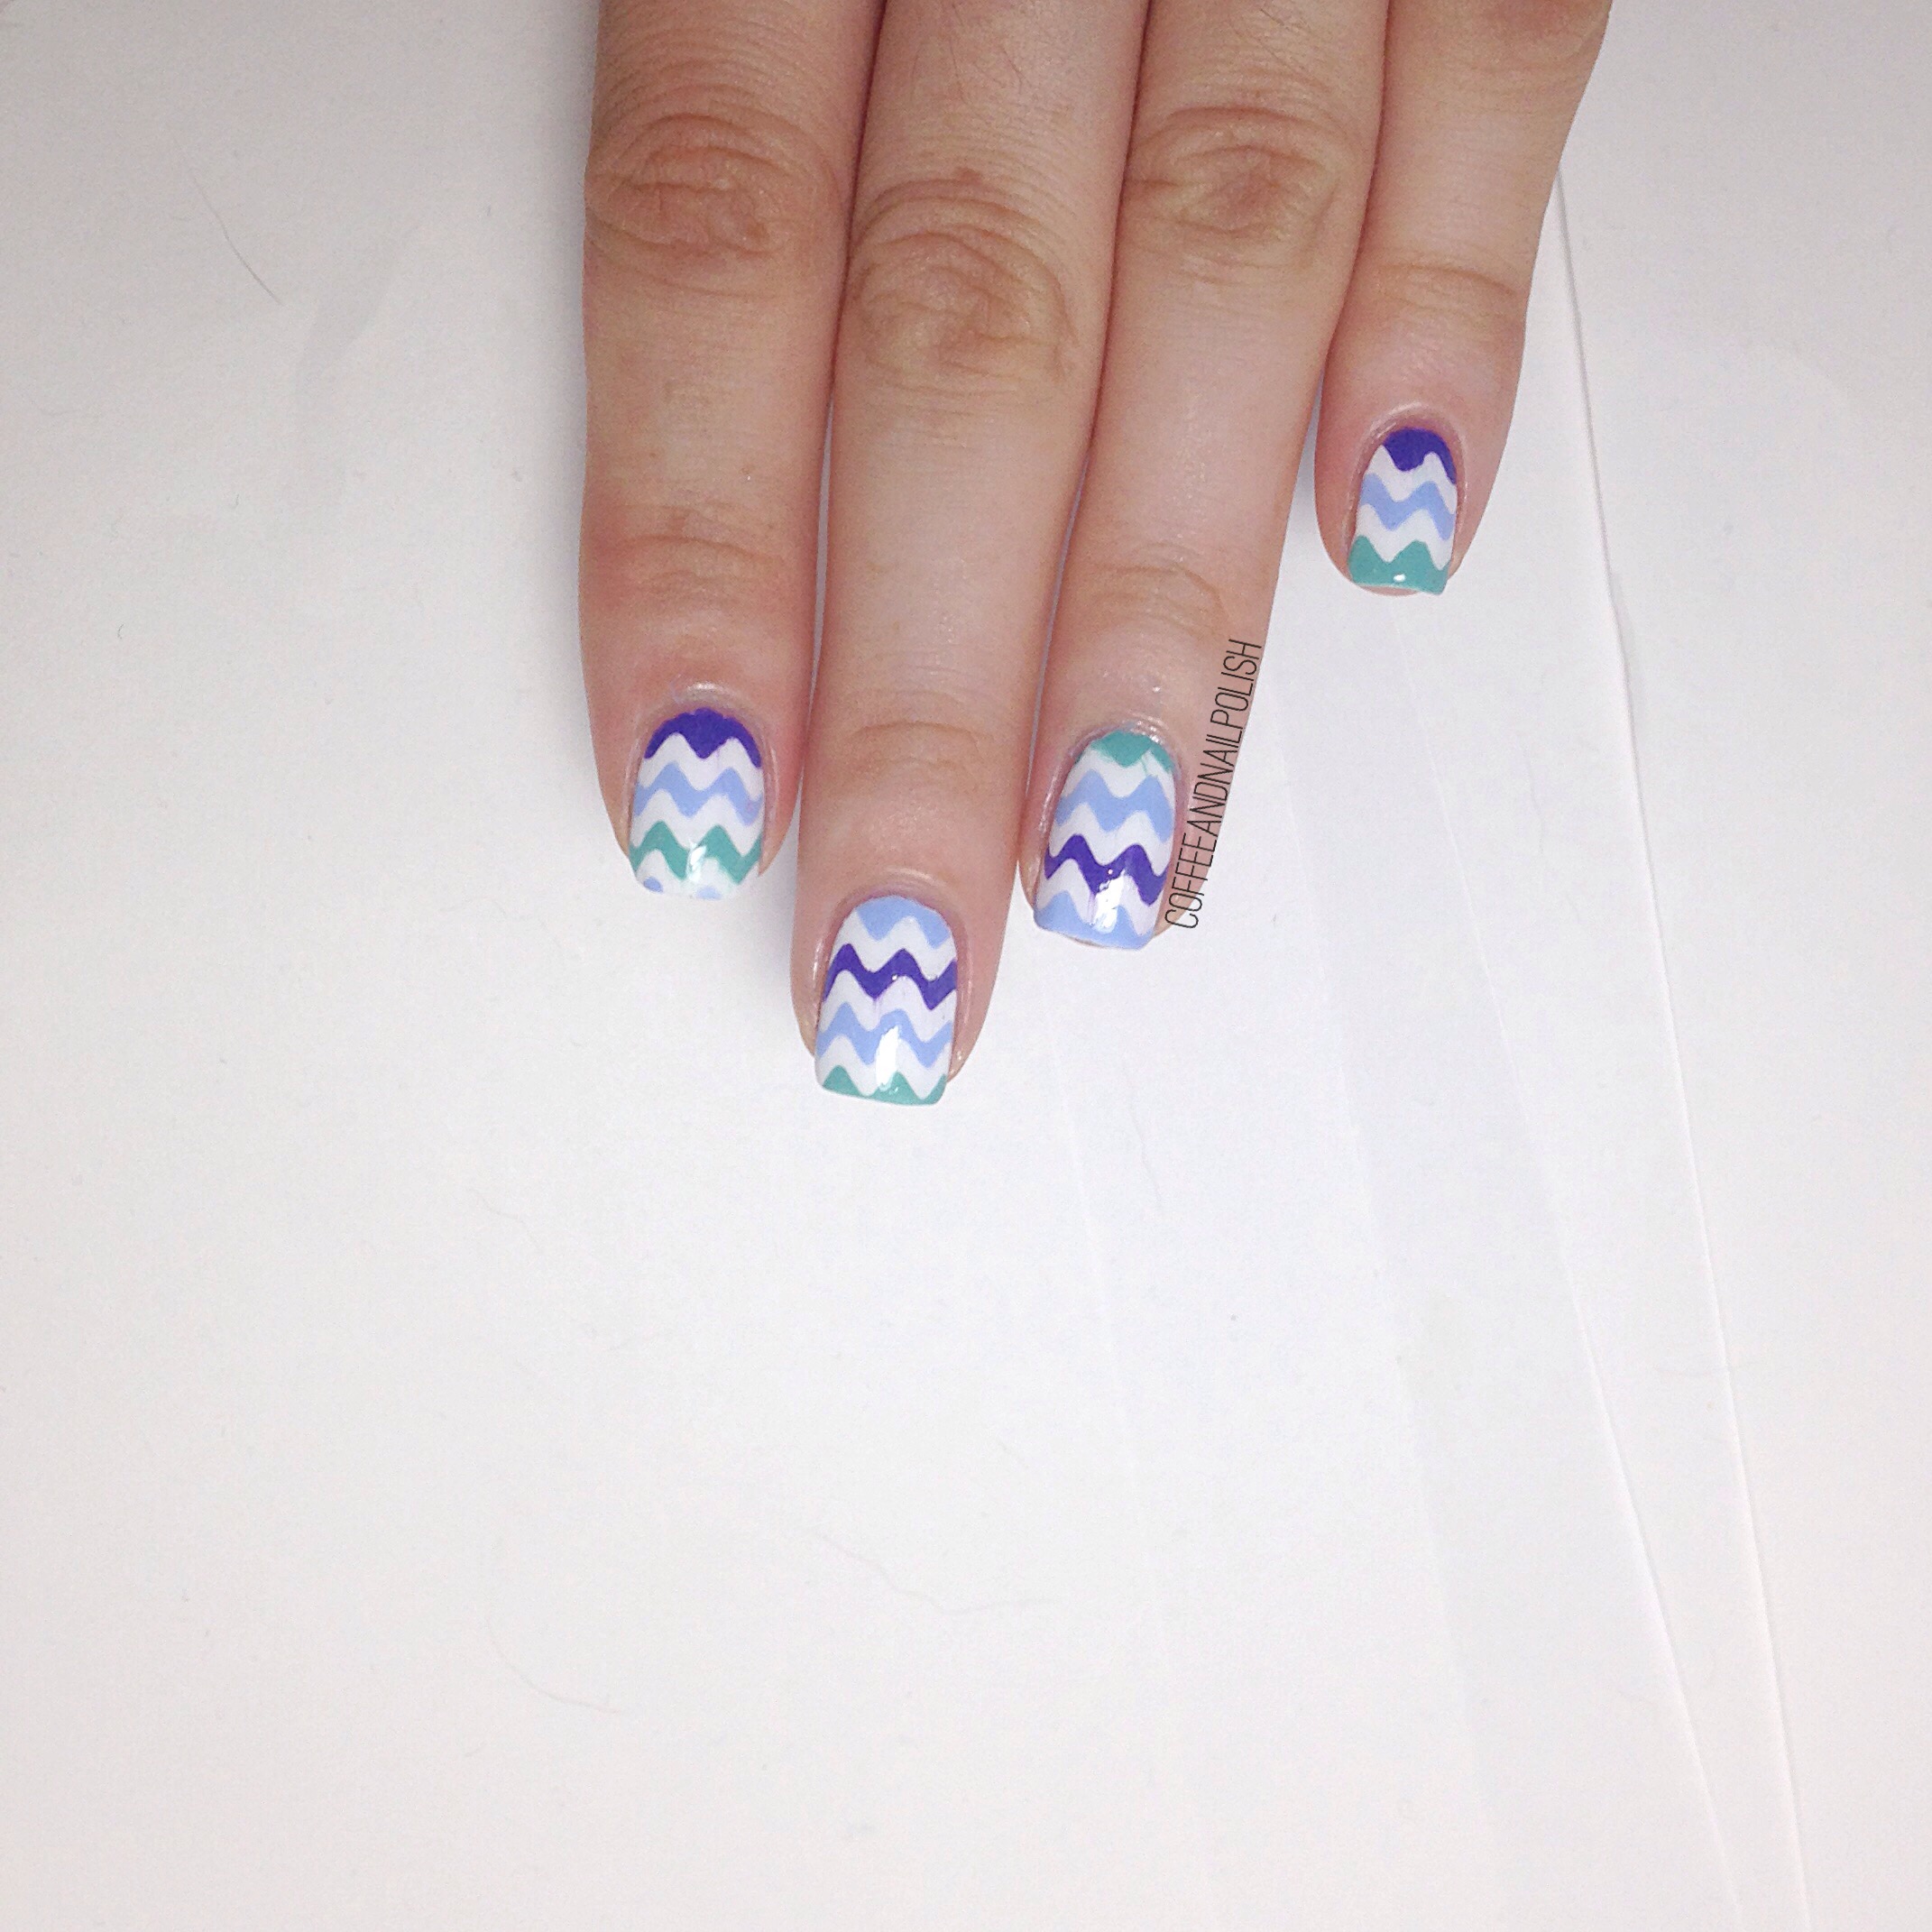
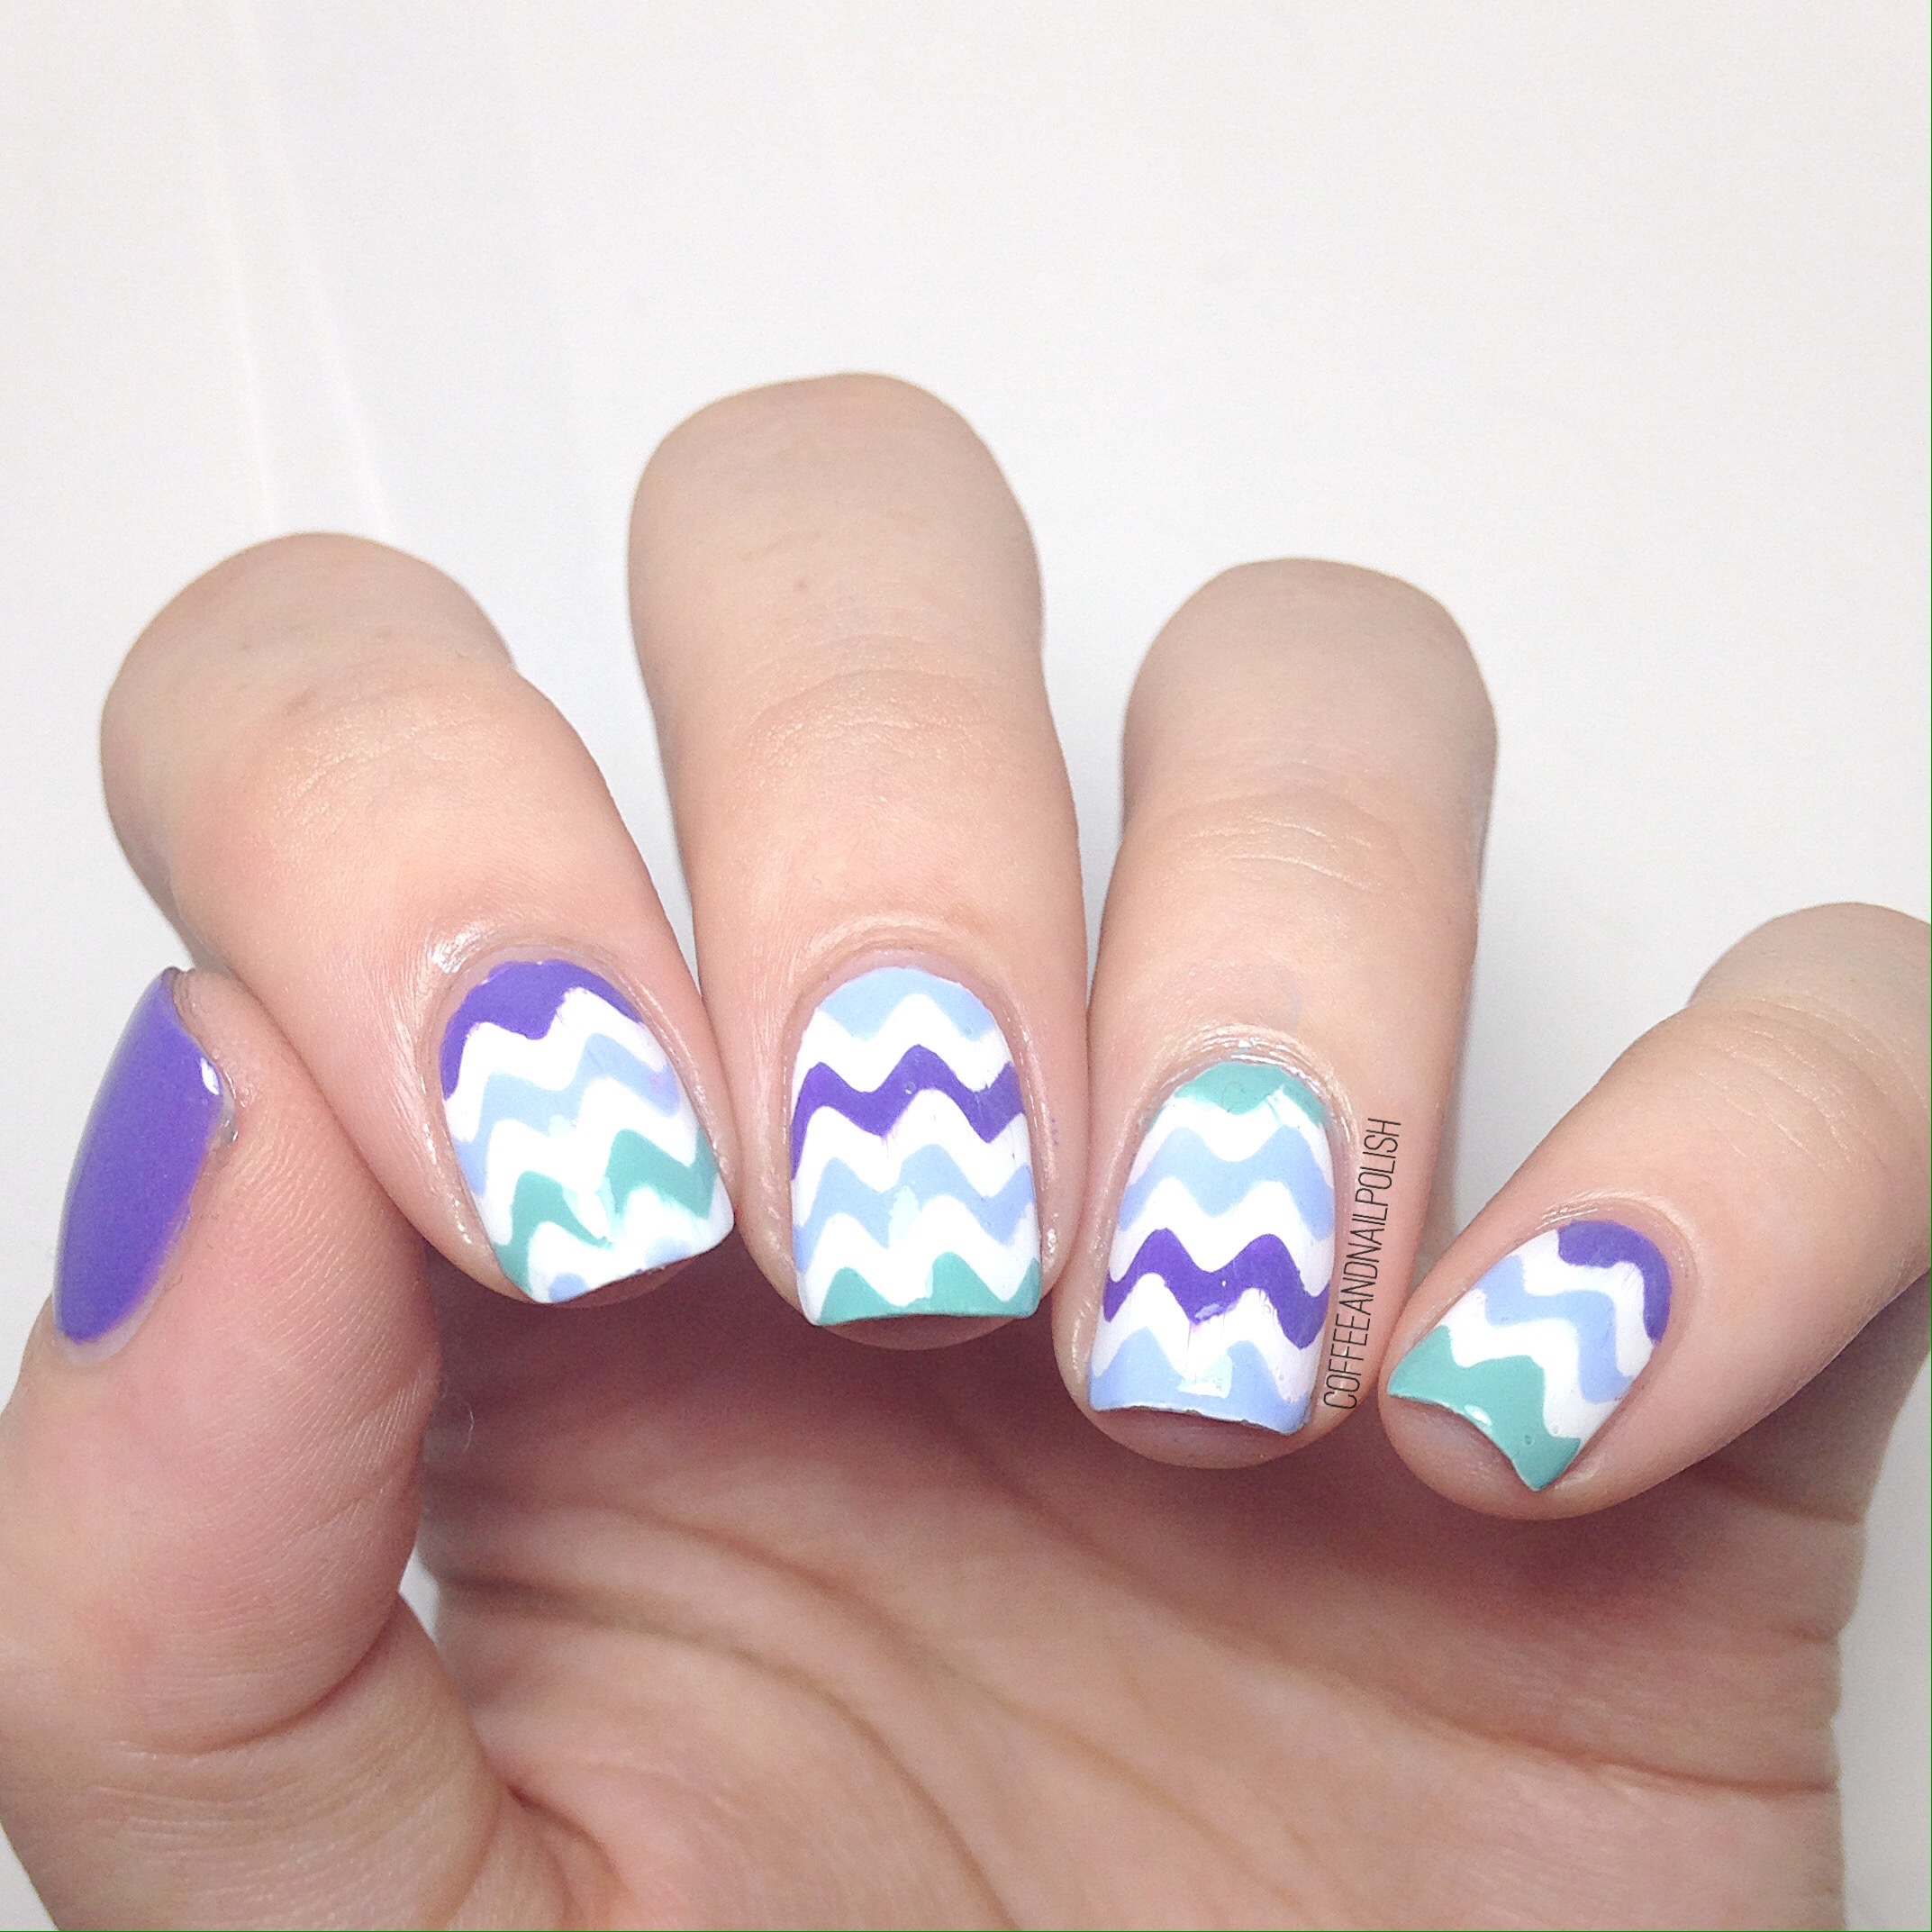
For this manicure, I used:
- Base Coat: Perfect Formula Pink Gel Coat
- Top Coat: Cutex Quick Dry Top Coat
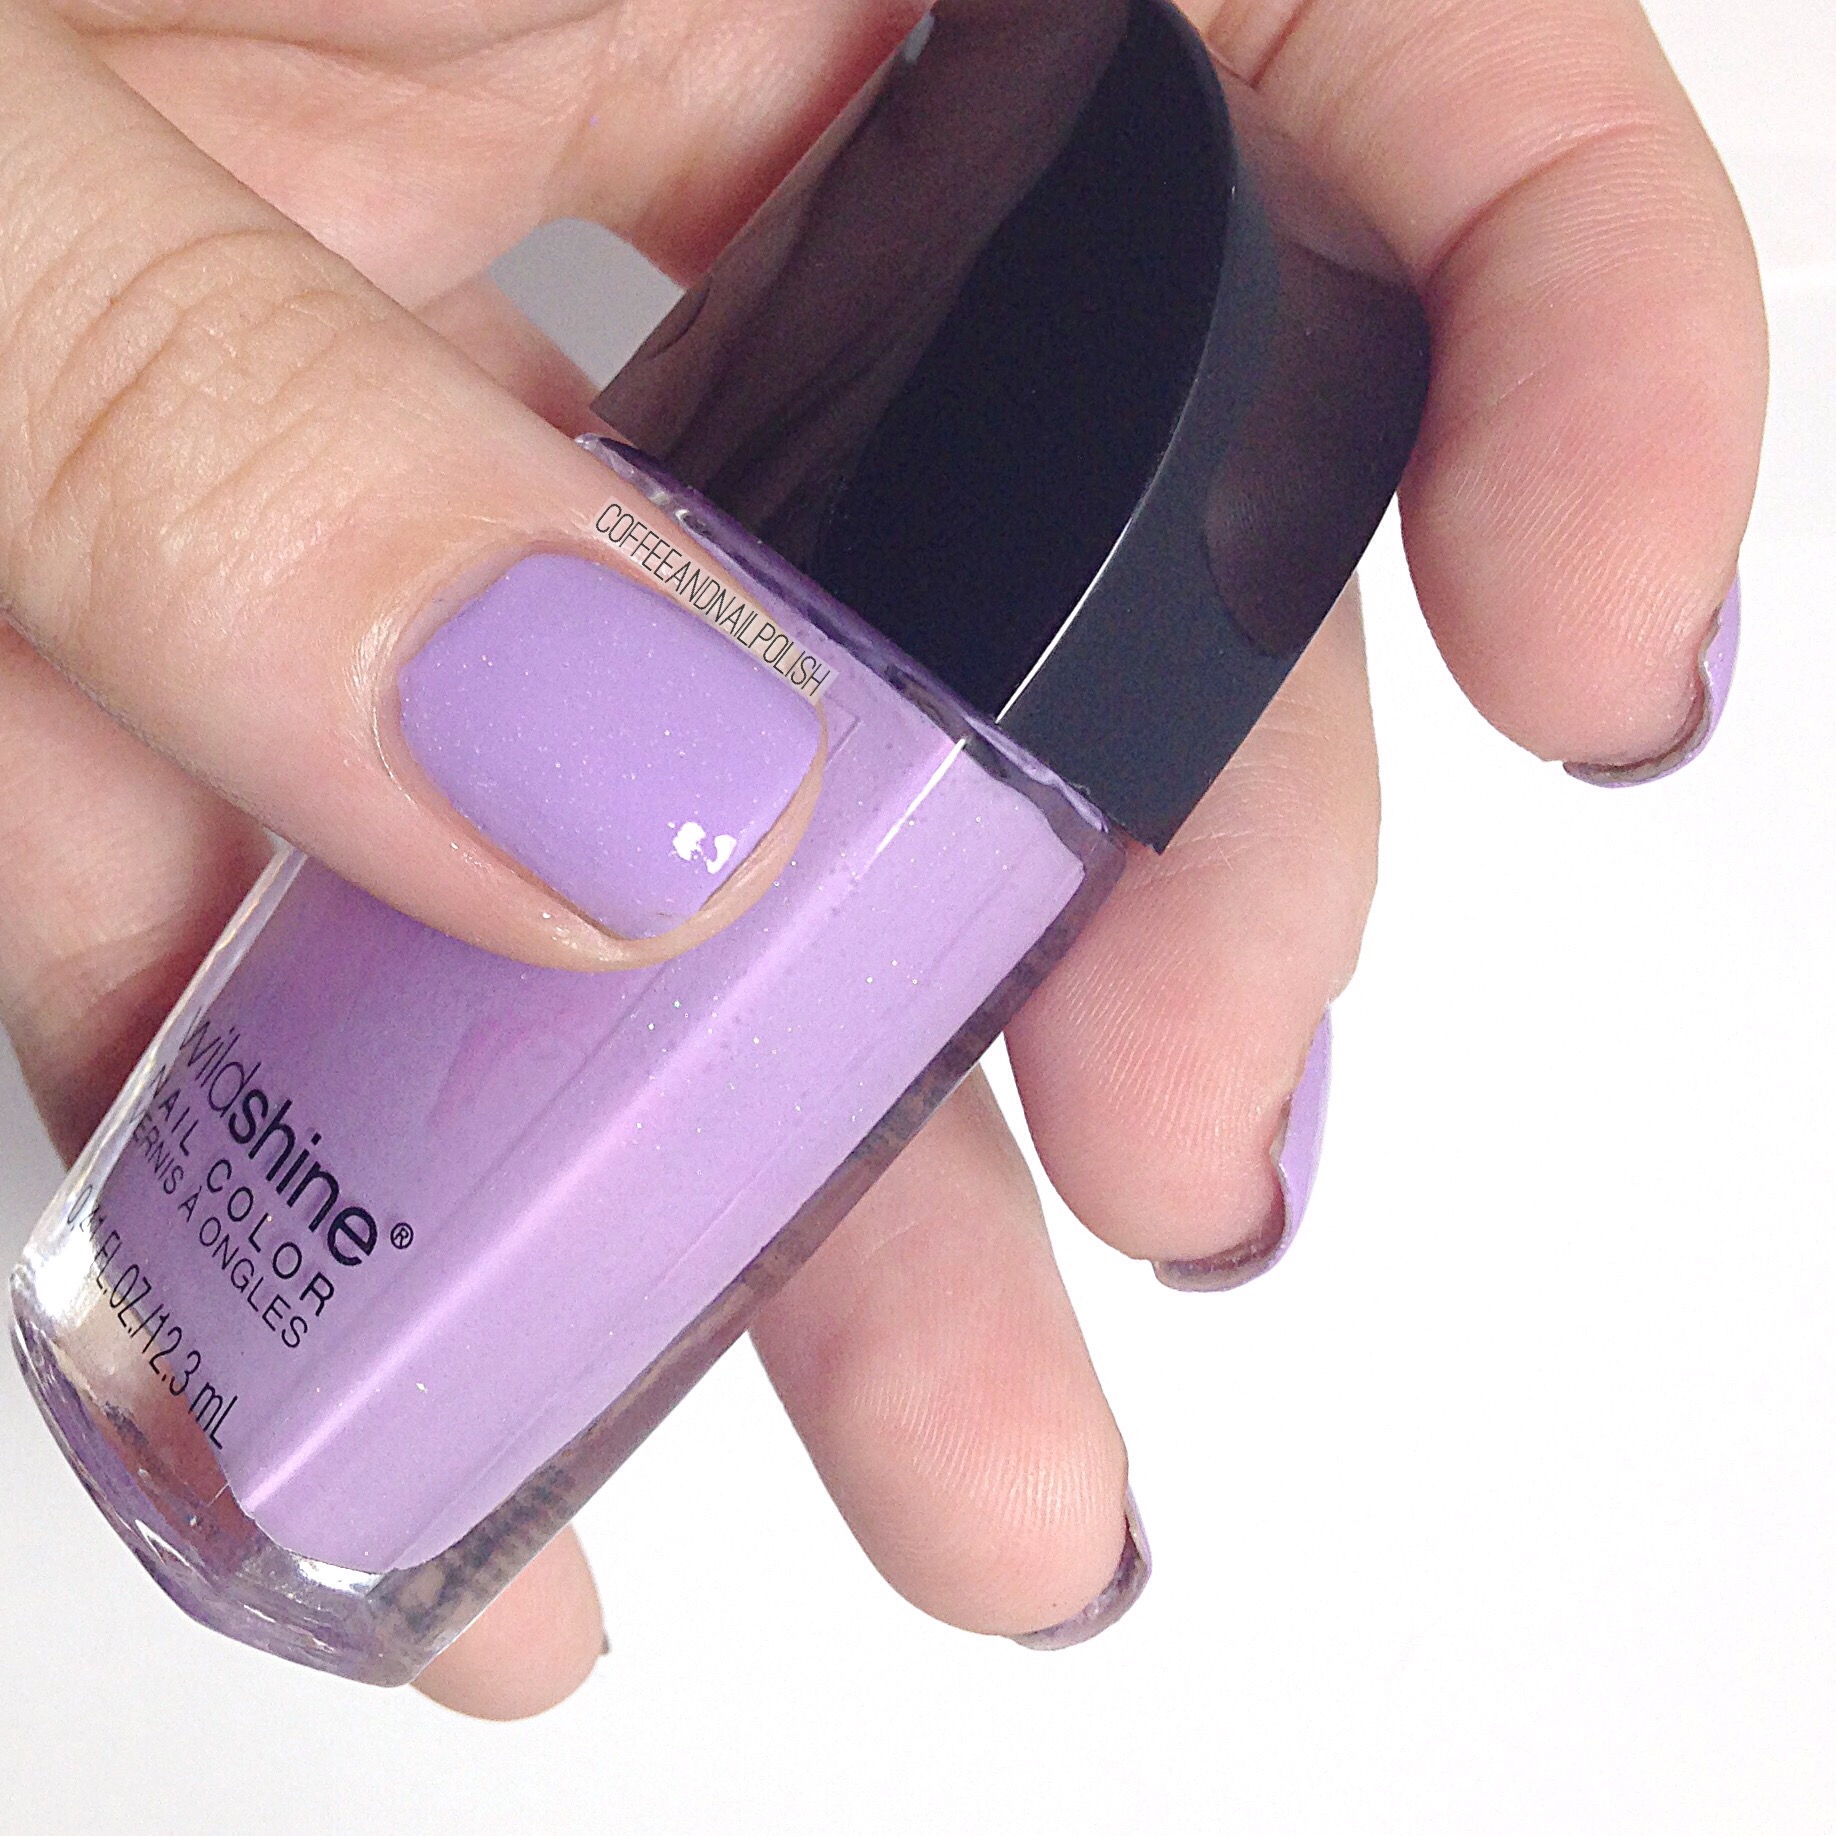
- Essie Watermelon
- Essie Strut Your Stuff
- Essie Mint Candy Apple
- Xroma Polish & Vinyls ‘X’ stencil (I used the inside part).

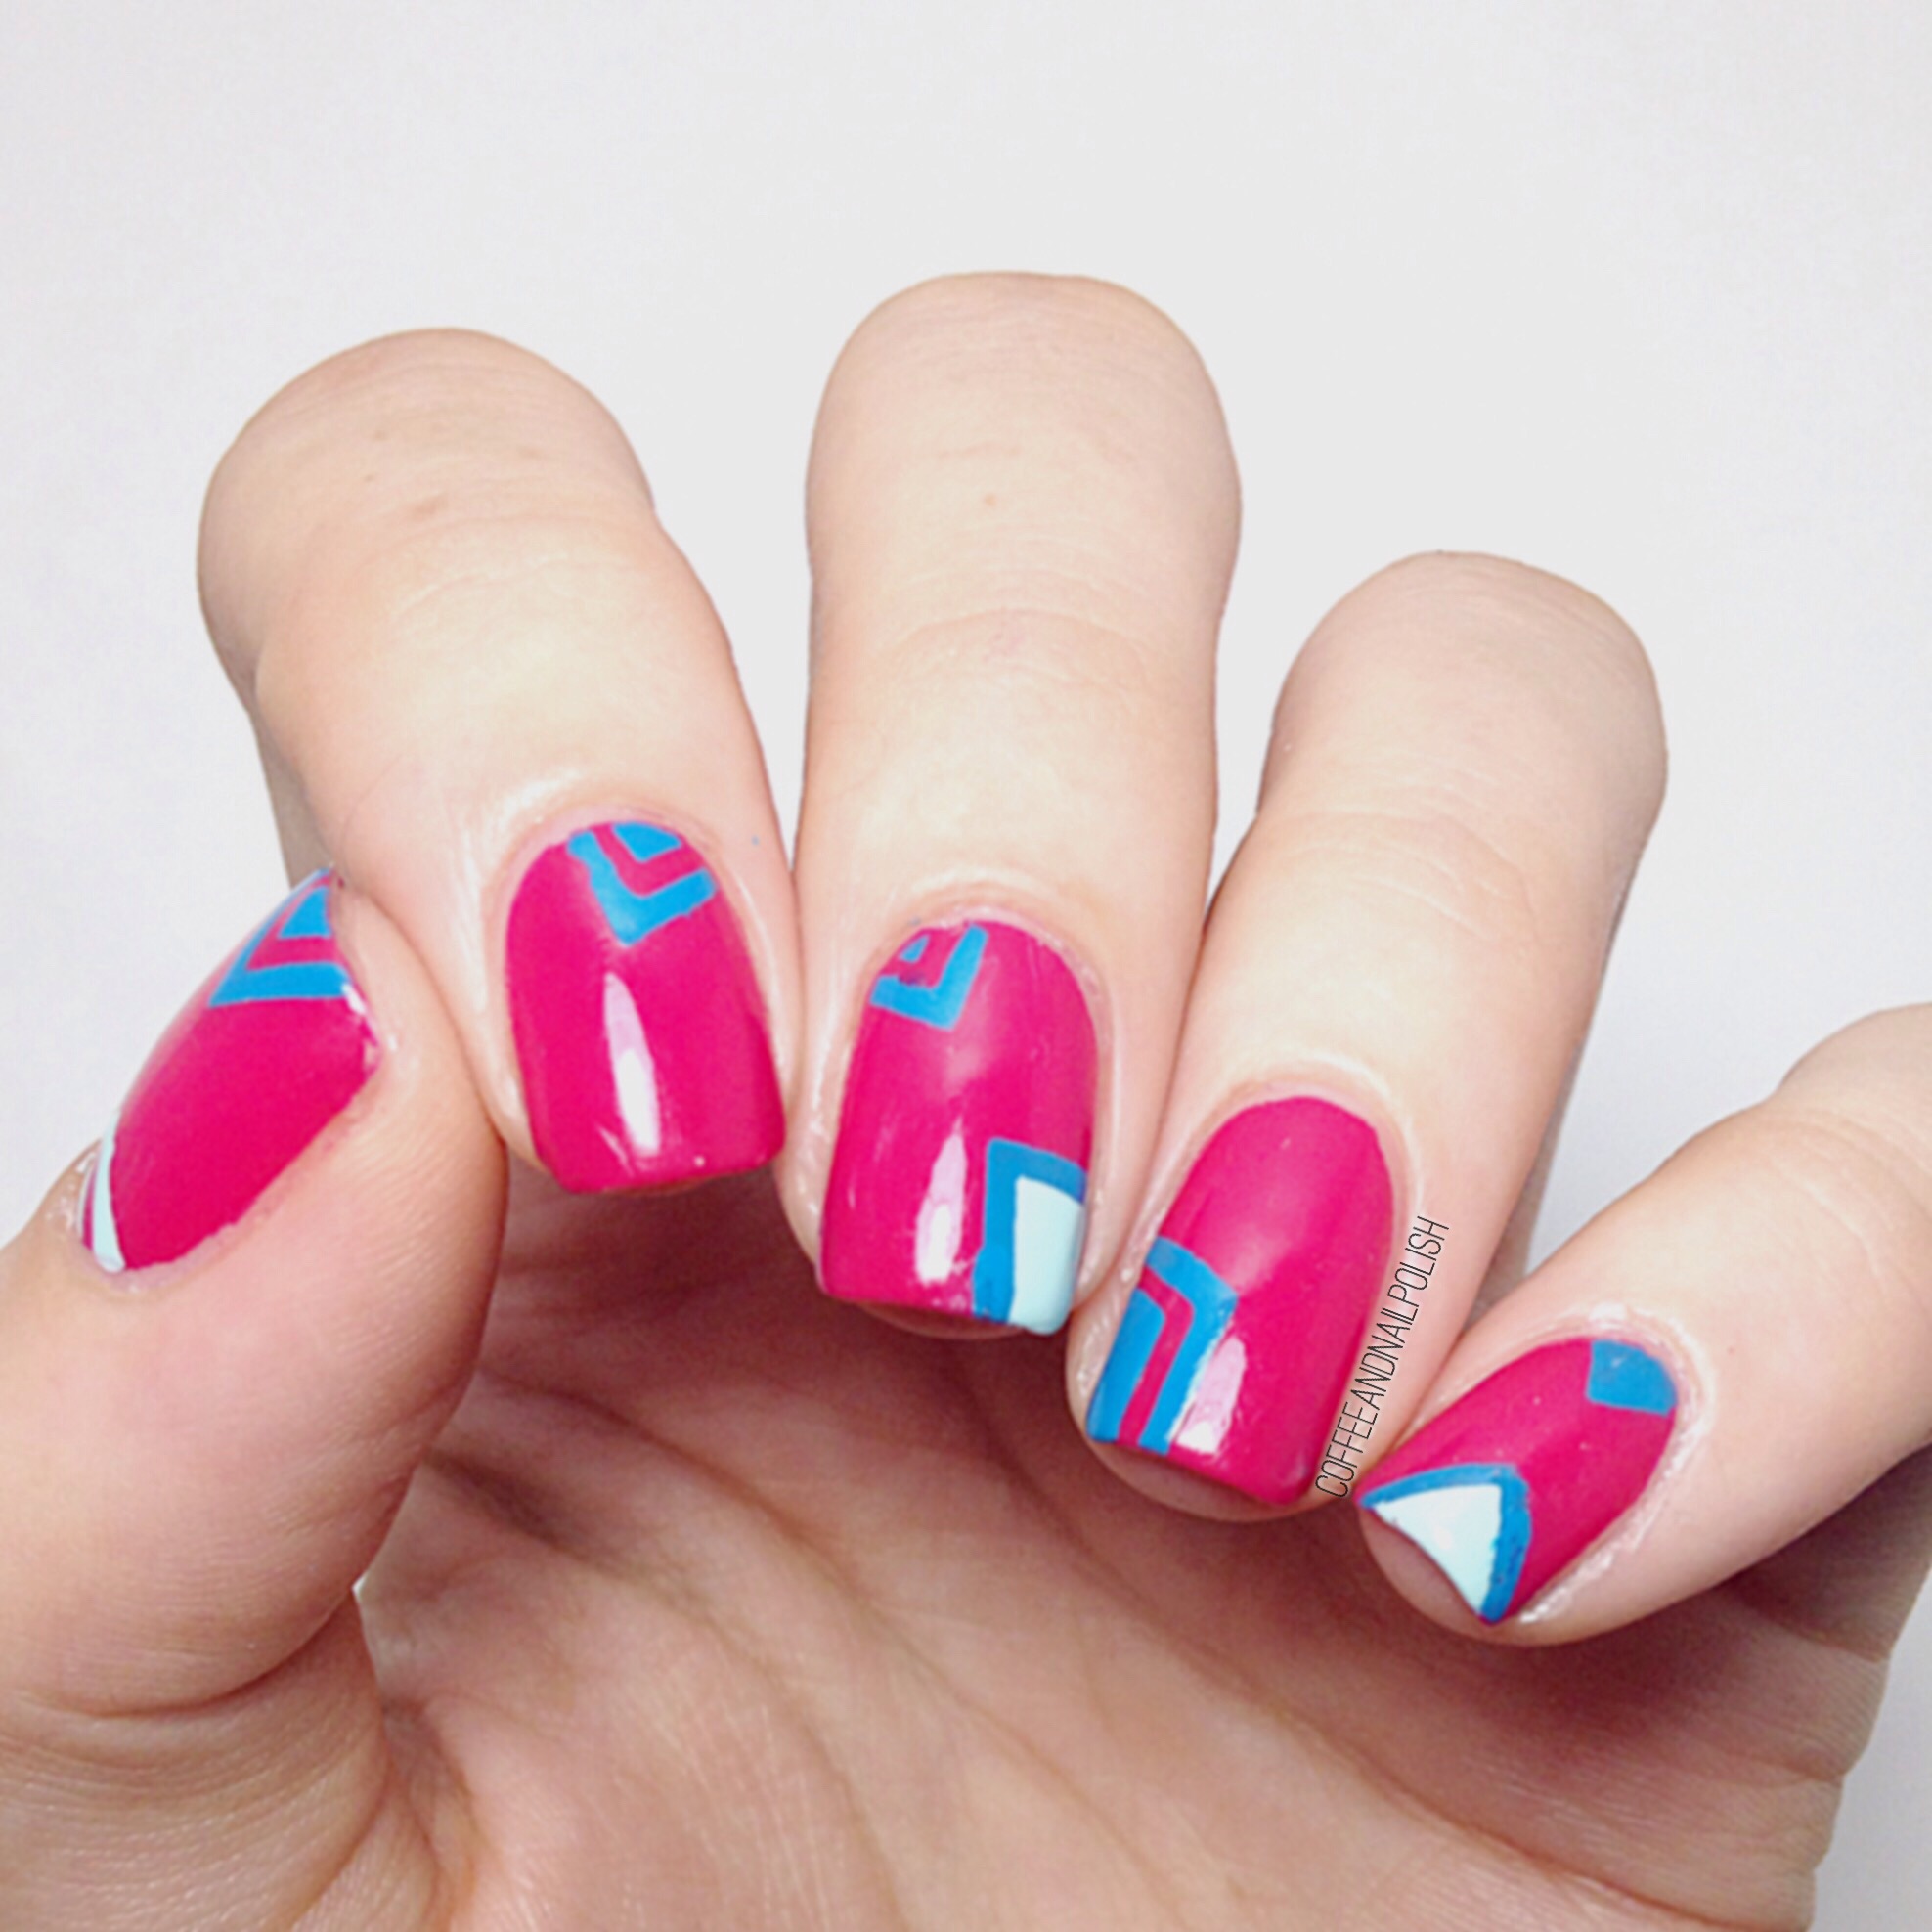
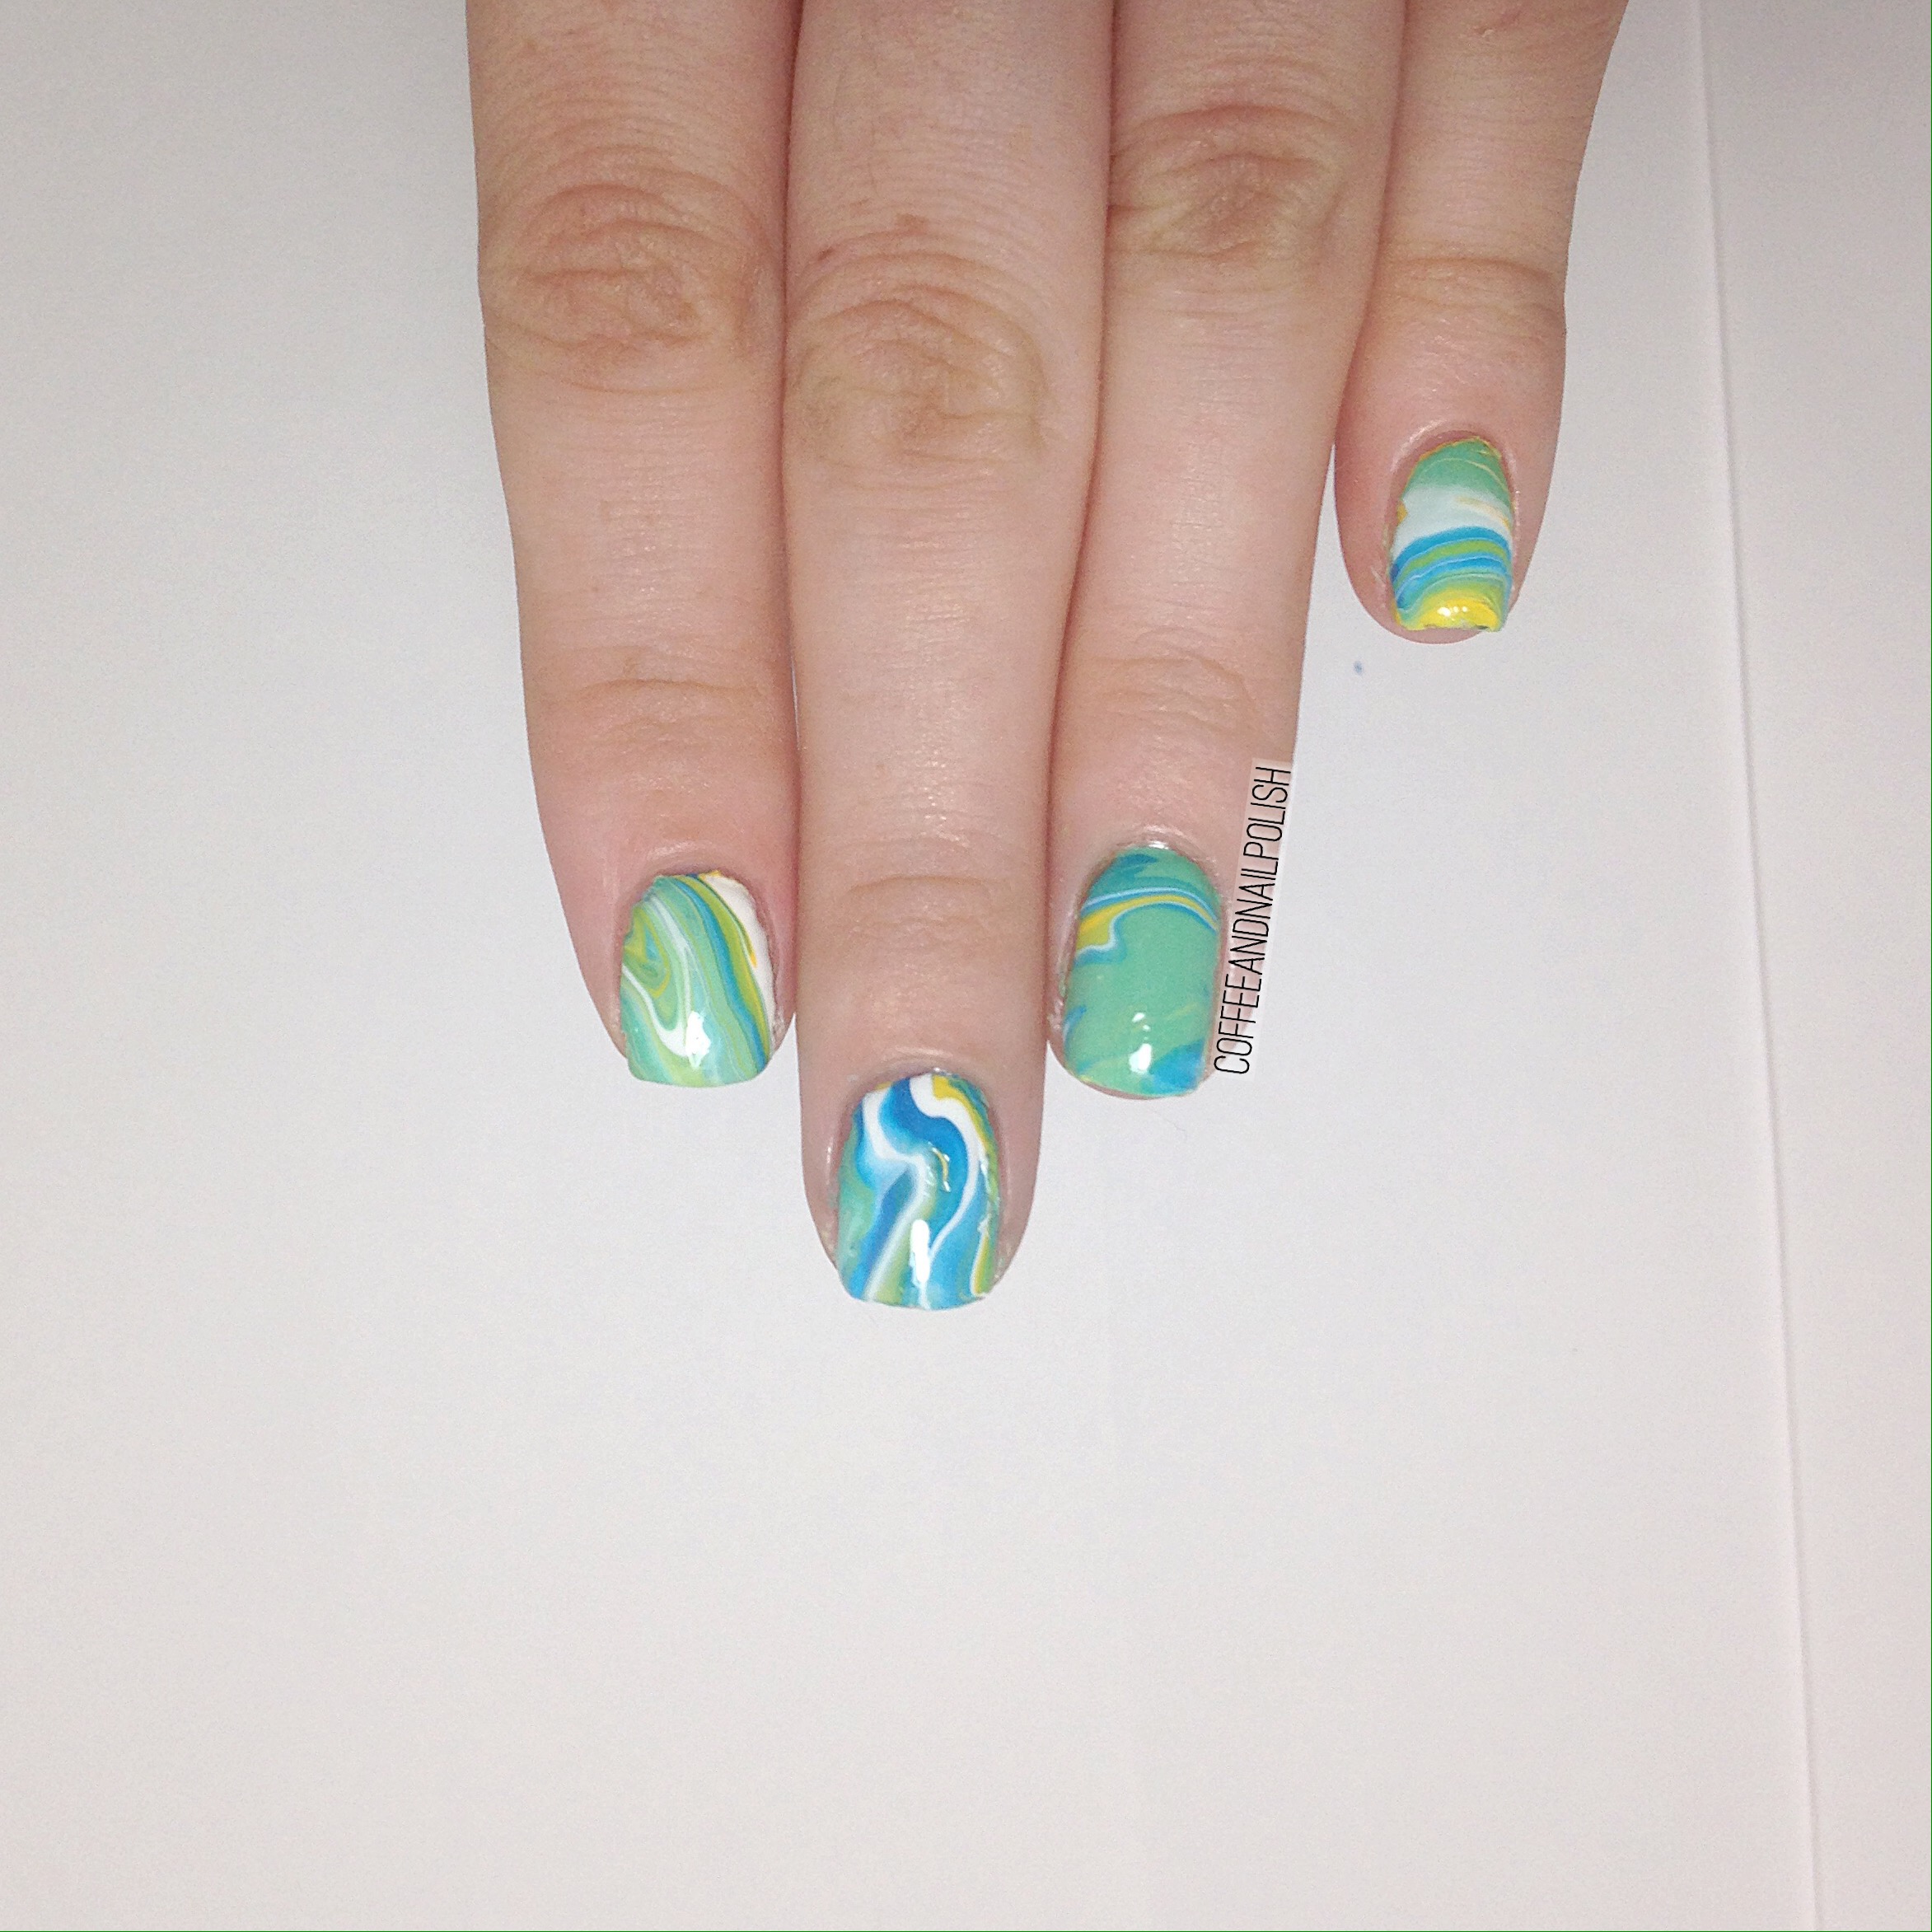
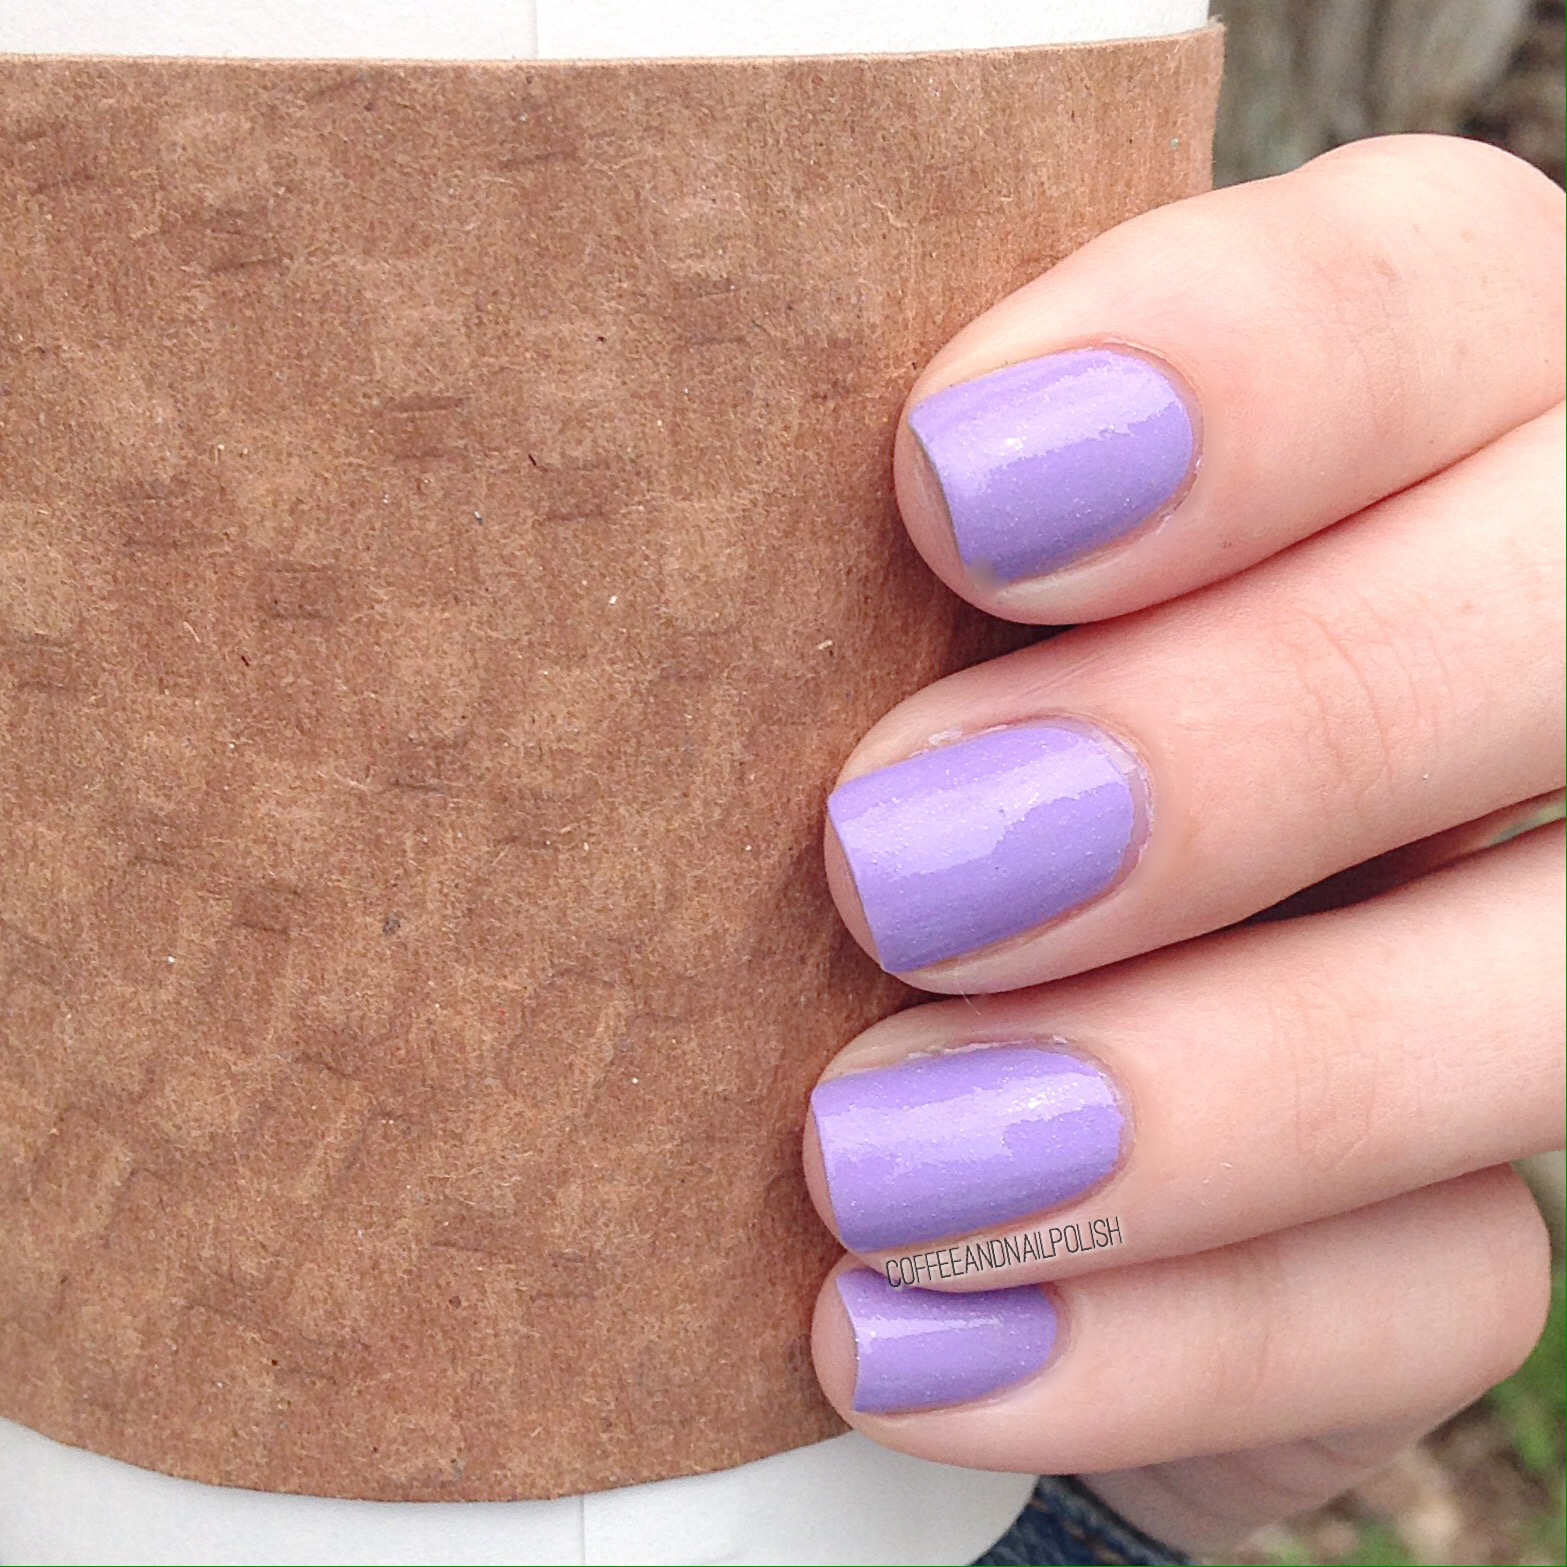
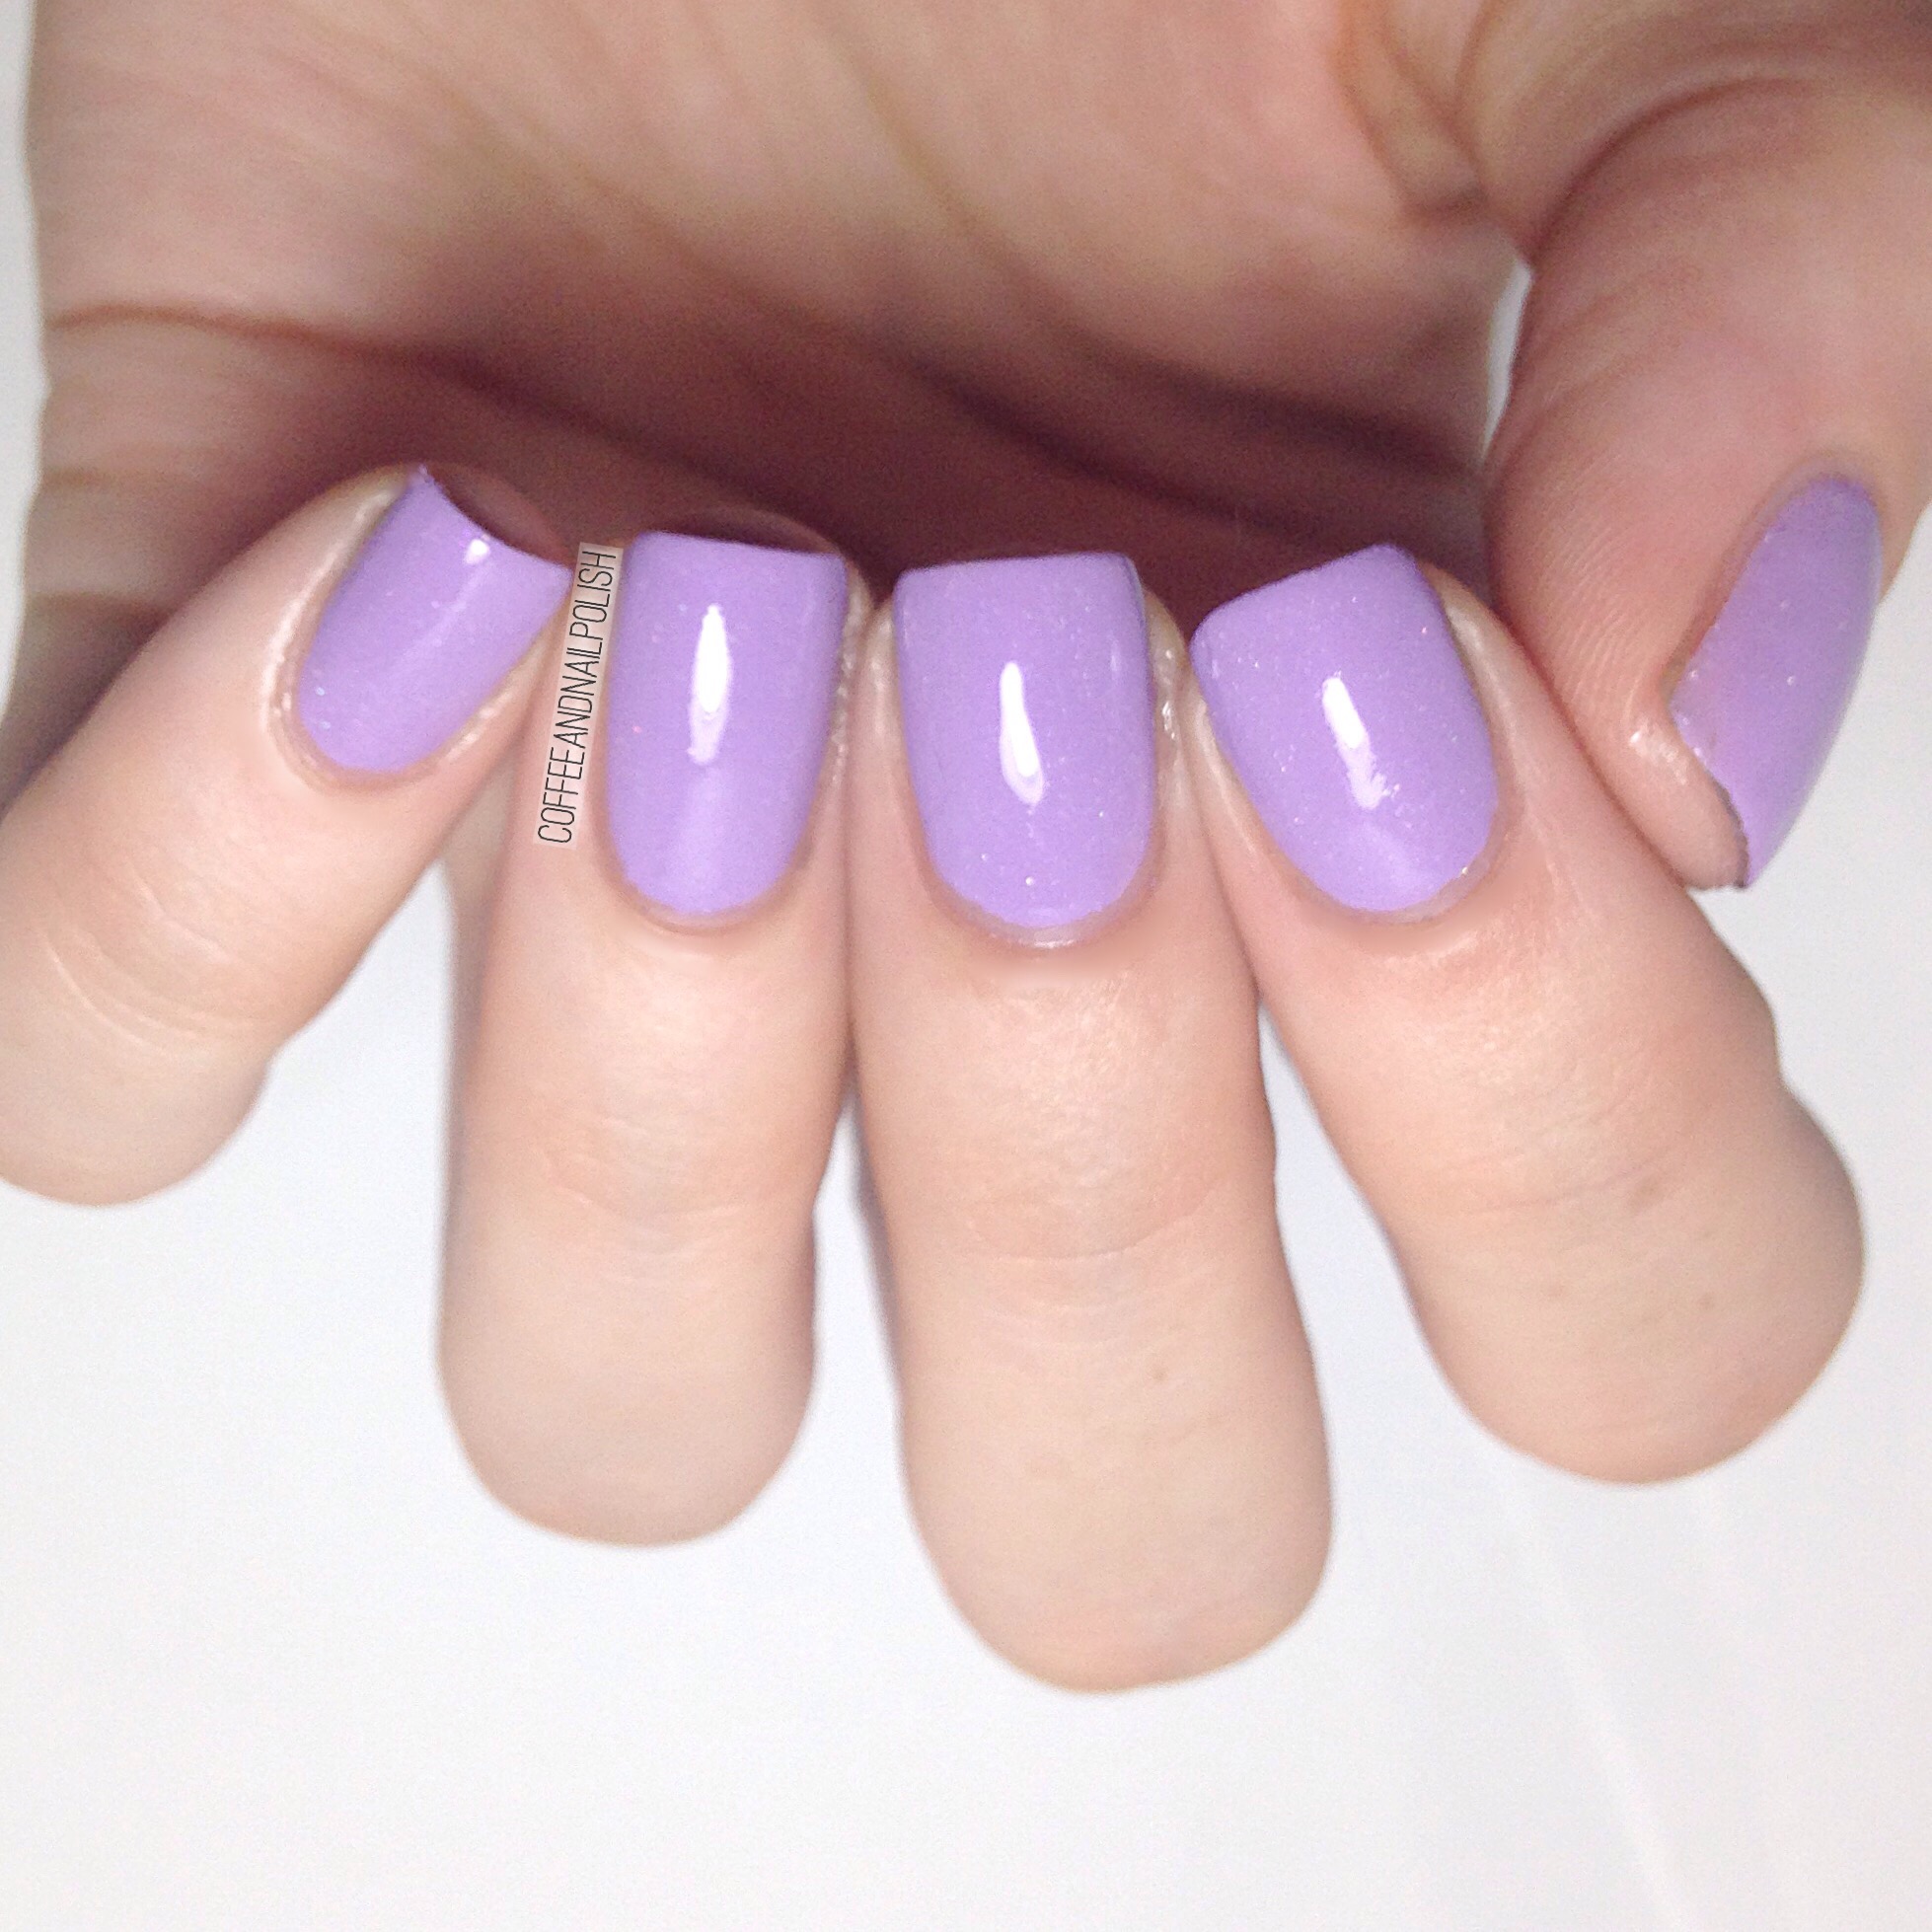
I love how these turned out! I wanted a simplistic design to compliment this juicy pink, without overpowering it. I though the blue tones of Strut Your Stuff & Mint Candy Apple complimented it well.

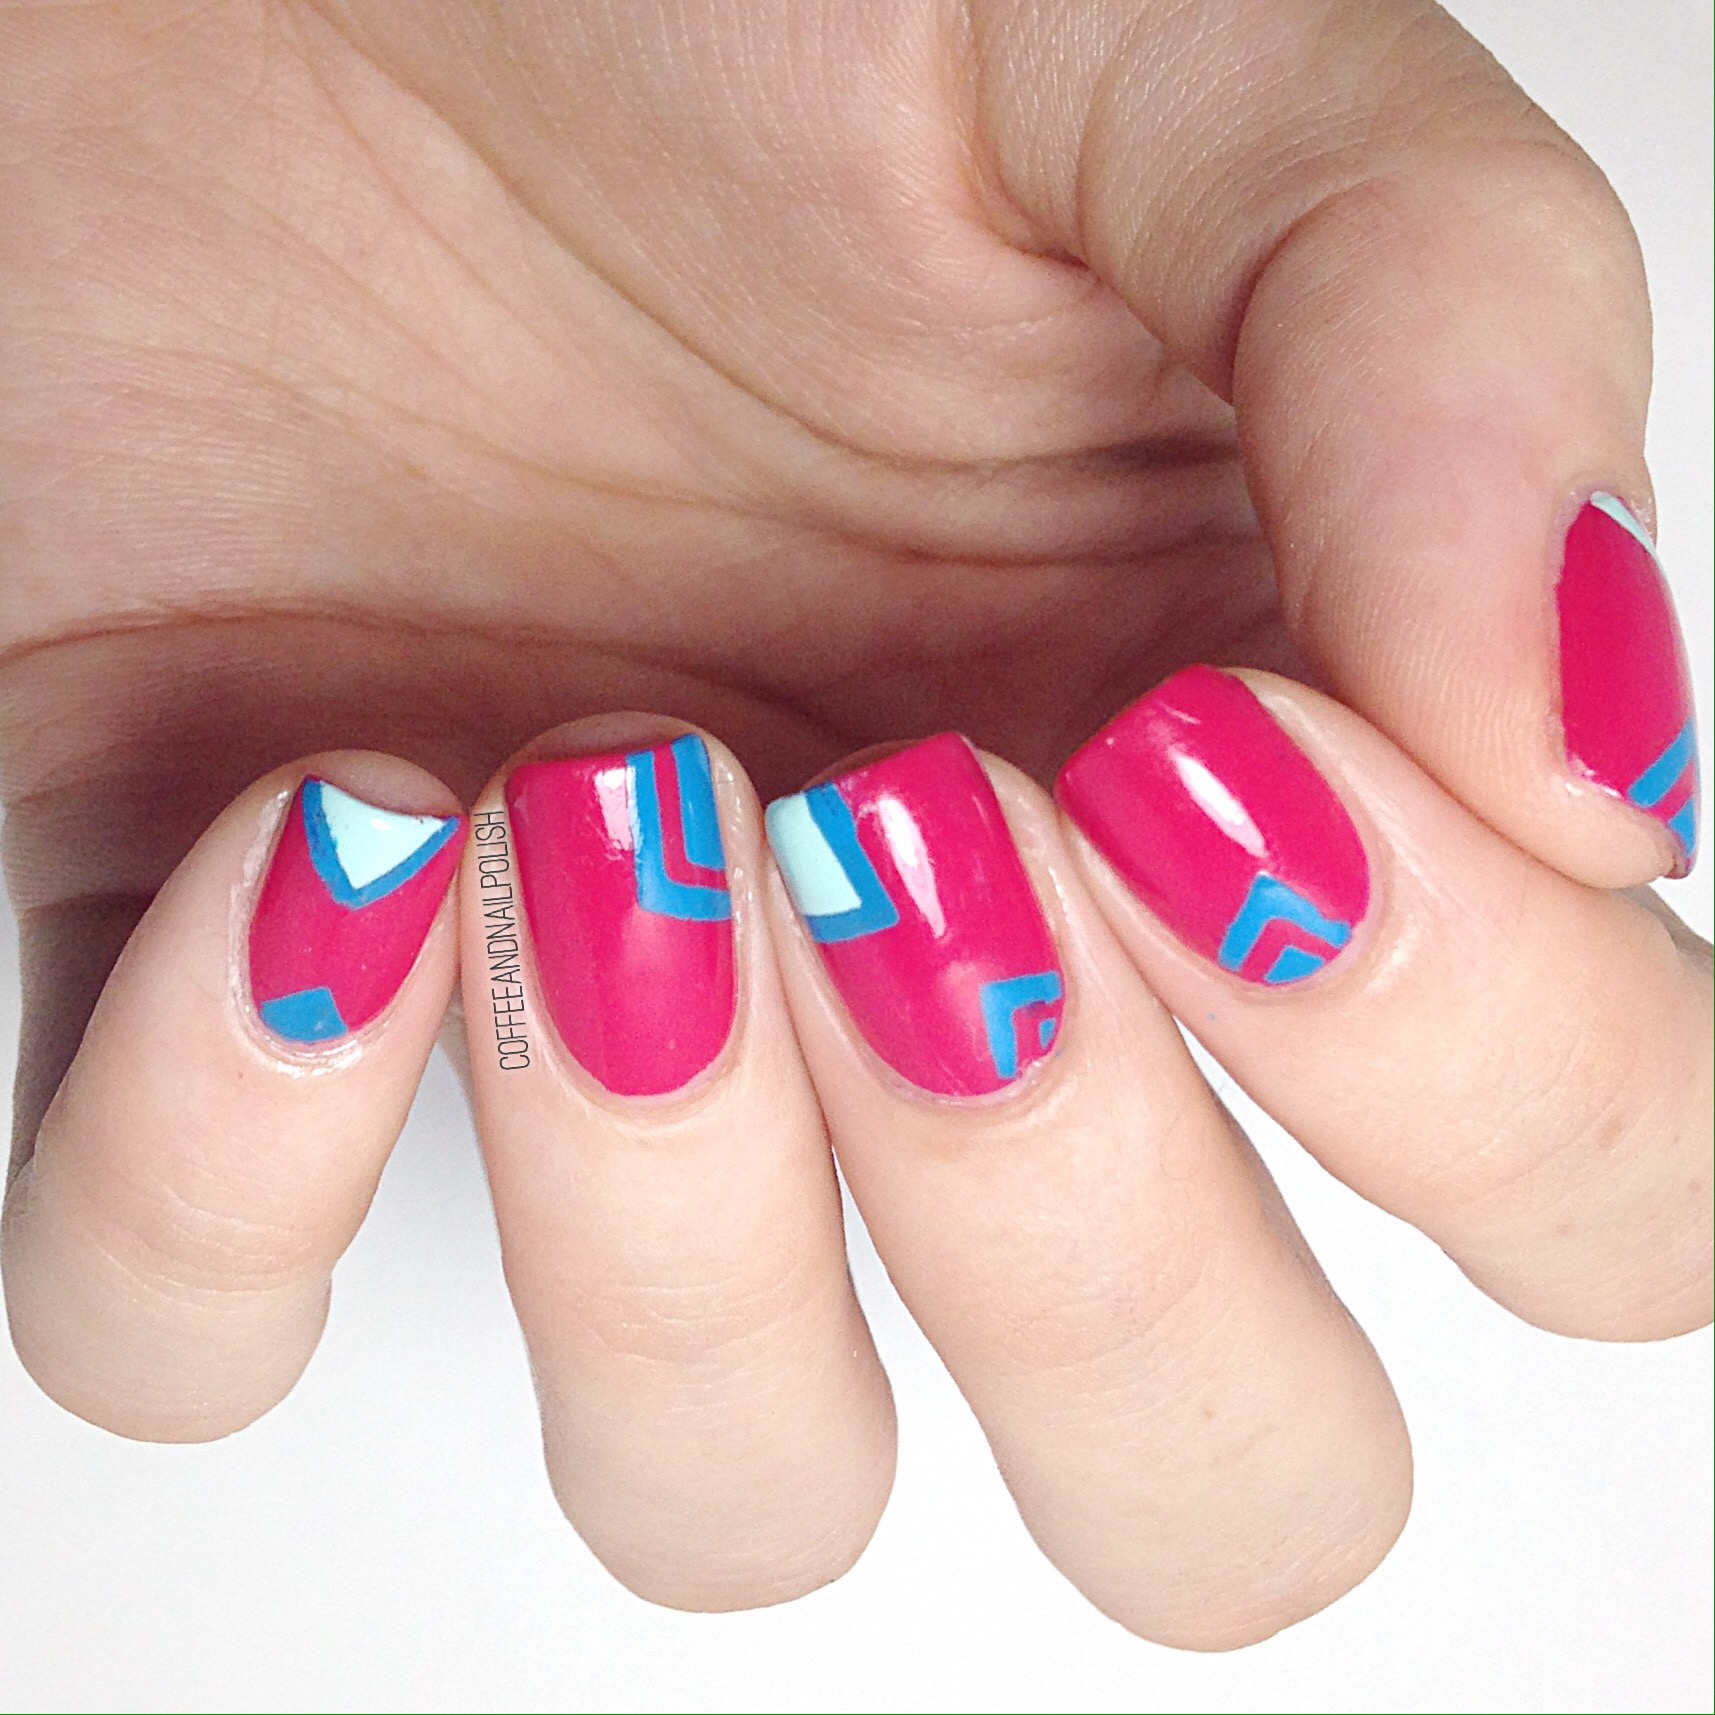
I really enjoy how Summery these ended up being. I decided to use the inside angles from my X stencils from Xroma Polish & Vinyls because they were a sharper angle than my other Chevron Vinyls. They worked really well to create these little blocks of colours.

Do you remember what your very first nail polish was? I don’t remember what my very first polish was, though I can guarantee it was probably white. I do remember what the polish that was the beginning of my nail polish addiction was though! Claire’s Evil Queen.
Let my know your first in the comments below.