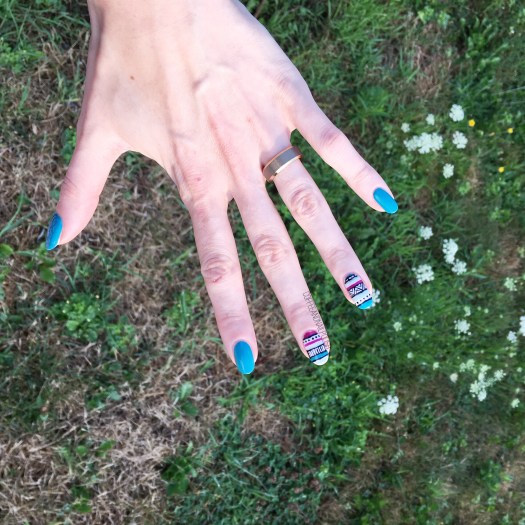
Good morning lovelies & happy Tuesday. The weather here in Halifax has definitely made the shift from Summer to Fall, especially in the mornings! You definitely need a sweater (or two!) to keep from freezing. Which means that I’ve been breaking out all my favourite Fall colours. When it comes to Autumn, I’m all about the purples, navys, maroons, greys & bronze-y shades.
Today’s manicure makes up 3/5 of those, so not bad!

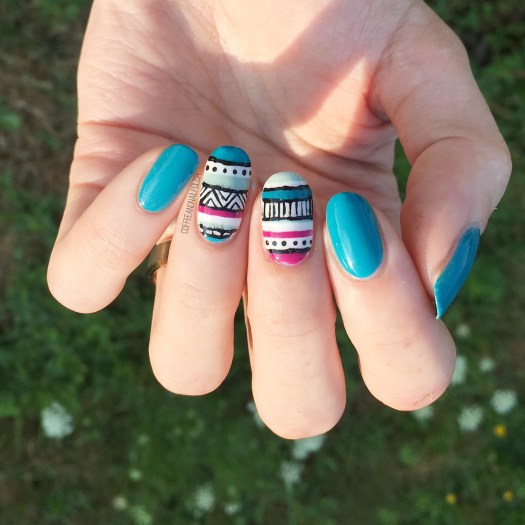
For this manicure, the polishes I used were:
- Base Coat: OPI Nail Envy
- Top Coat: Essie Speed Setter
- Essie Cocktail Bling
- Essie Leggy Legend
- Sally Hansen Complete Salon Manicure Trouble Maker
- Kiss Products Nail Art Striper in Black
- Small dotting tool


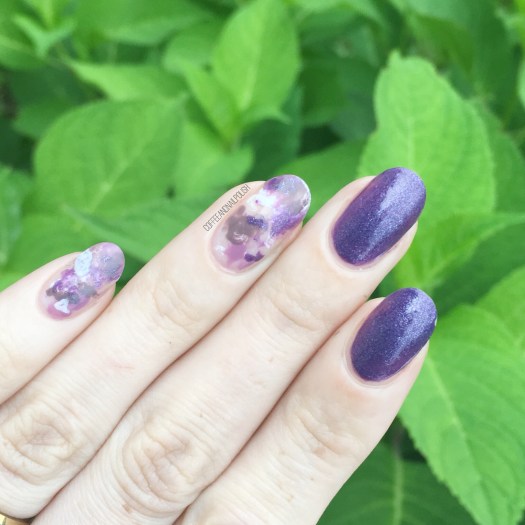
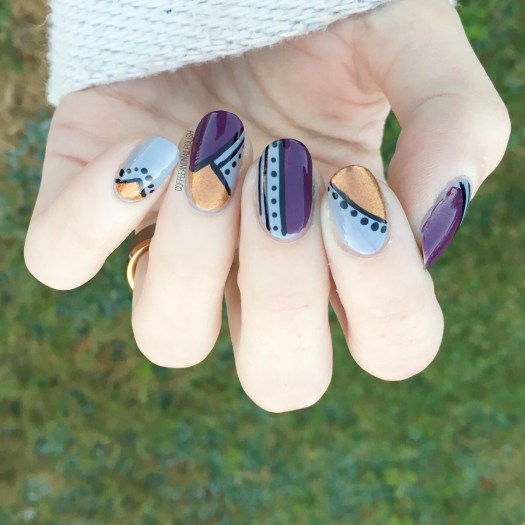
This totally wasn’t the manicure I had originally planned on doing, but then I saw this bronze shade & thought how well it would go with this purple. & I haven’t done a colour blocking look in a while, so I though this would be perfect!
This was definitely one of those manicures that came together each stroke at a time, which is kind of my favourite kind. Sometimes I have a solid plan in mind when doing my nails, & sometimes I have no plan at all.

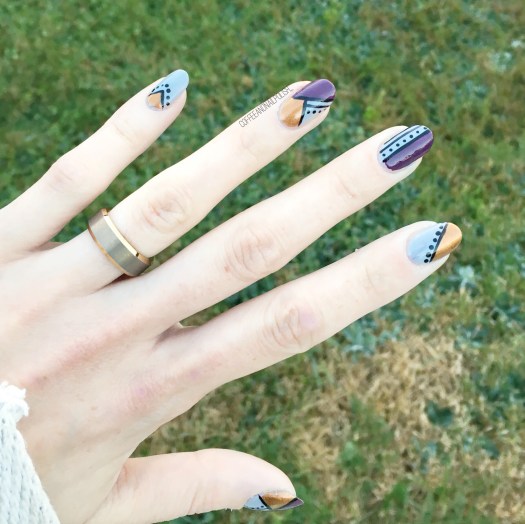
Oooooh this is my favourite time of year for pretty much everything — fashion, food, & especially nail art. Not that I don’t like Summer, it’s just I really come alive in the Autumn months. I love being able to layer, I love plaid, I love wearing tights, & I love these dark jewel toned polishes (especially purples!) Everything about Fall just feeds my soul.
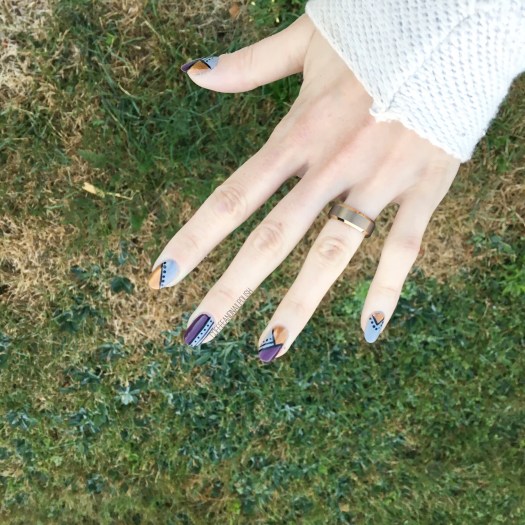
What do you think about this colour block look? What are you favourite Fall shades? Let me know your thoughts down in the comments below!