My Nails & My Cup — Holo Gradient Nails

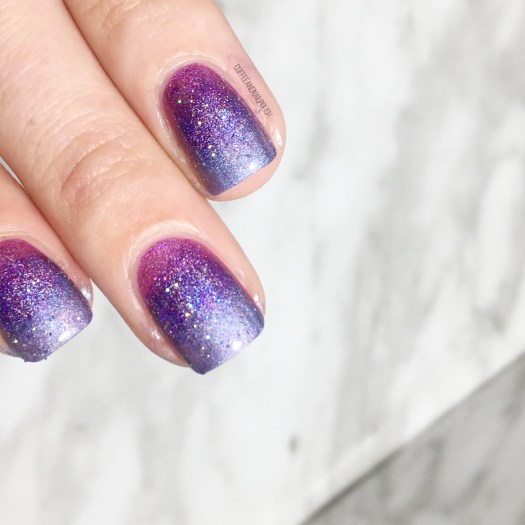
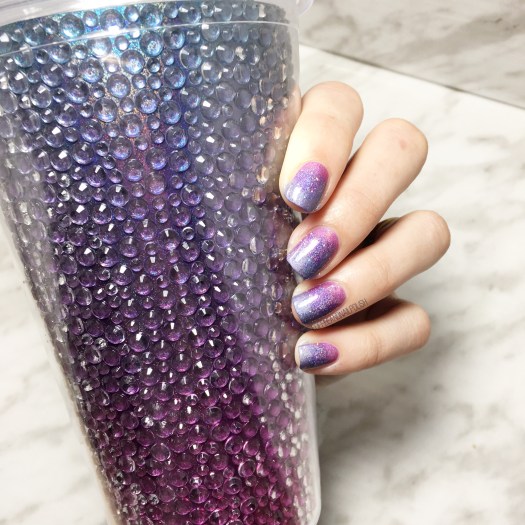
Are you guys sick of the holo yet? I certainly hope not because I have another mani to share–this time I created a Holo gradient to match my new-ish tumbler that I picked up at Claire’s on clearance for $2. It came with cute little manicure tools inside, so I had to have it!

I posted on Instagram the other day what nail art I should do on my naked nails, while holding the above cup, & received an overwhelming amount of responses saying I should match my cup… so that’s what I decided to do!
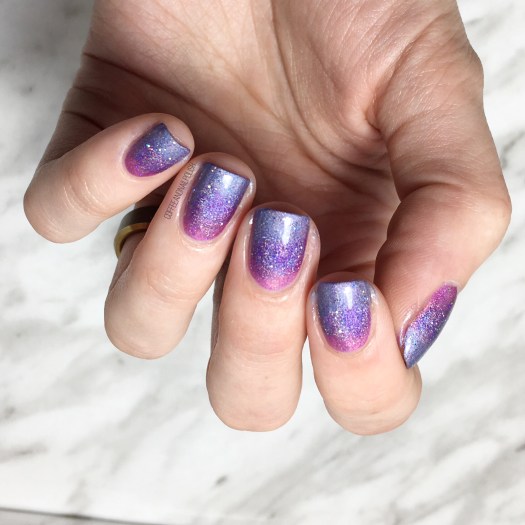
For this manicure, the polishes I used were:

  • Base Coat: Sally Hansen Green Tea & Bamboo Strengthener
  • Top Coat: Seche Vive
  • China Glaze BFF
  • Color Club Eternal Beauty
  • China Glaze 2Nite
  • Quo by ORLY Falling Star
  • Latex free make up sponge
  • Creating the holo gradient may have been one of the easiest gradients I’ve ever done! I don’t know if it’s the sparkle or formula or what, but I was as to sponge on each colour separately (which kept from making a big old mess around my cuticles) & they blended together seamlessly!
  • I know the cup has a whole bunch of rhinestones, but I definitely did not have enough on hand to apply to my fingers (or enough colours that would match) so I decided a couple coats of a scattered holo top coat could give a similar look, so I grabbed Quo by Orly Falling Star because I find the glitters larger than some of my other holo toppers (like China Glaze Fairy Dust). Gave off just enough extra sparkle on the nail without being distracting!
  • so what do you think of the holo gradient? Which colour combination do you think I should try out next? Share your thoughts down in the comments below!

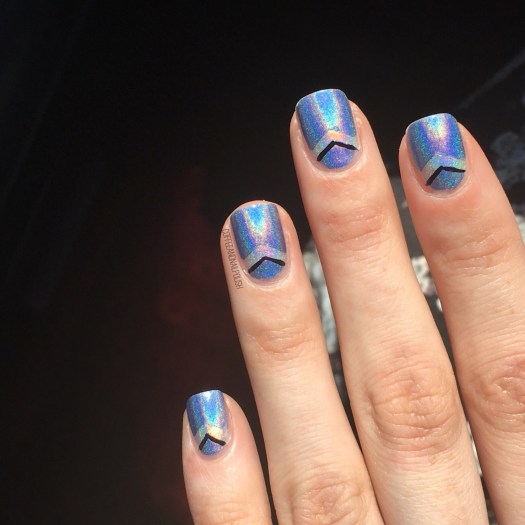
    Blurple Holo Chevron Moons 🌙

    Good morning lovelies & happy Tuesday. It is Tuesday, right? Now that I’m off work & on baby watch, I’m struggling to remember what day it is haha. All I know is it is a beautiful sunny day, & I have some more holo nails to share!

    If you follow me on Instagram, you would have seen my Instastories teasing this design. I was in the mood for some chevron half moons & some holo, so I combined the two into an awesome design!

    For this manicure, the polishes I used were:

    • Base Coat: OPI Nail Envy
    • Top Coat: Seche Vive
    • China Glaze 2Nite
    • China Glaze OMG
    • Kiss Nail Art Striper in Black
    • TheBaseCoat Stacked Chevron Nail vinyls

    Seriously, look at that holo beauty. I feel like warmer days & sunshine are reinvigorating my love for holo. Now I just need some neon holo polishes (are those a thing? We need to make them a thing) & I will be all ready for this Summer.

    & just for fun, I got an awesome sunshine shot of this manicure which just makes me love it even more. There is nothing better than holo in the sunshine. Look at that rainbow shift 😍

    What do you think of these holo Chevron moons? Let me know in the comments below!

    Now I’m off to paint my nails… but the question remains: holo or neon?! I need both!

    (Even More) Cactus Nails

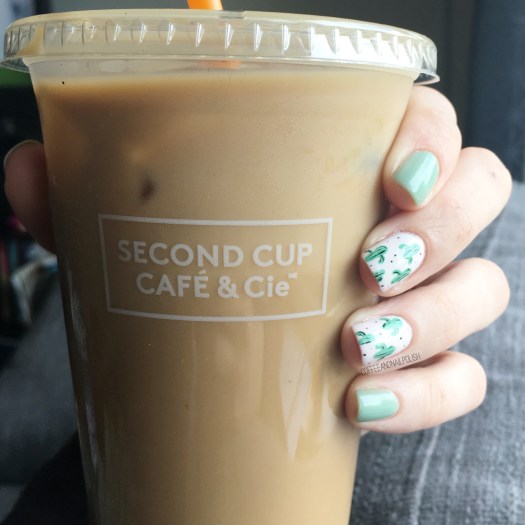
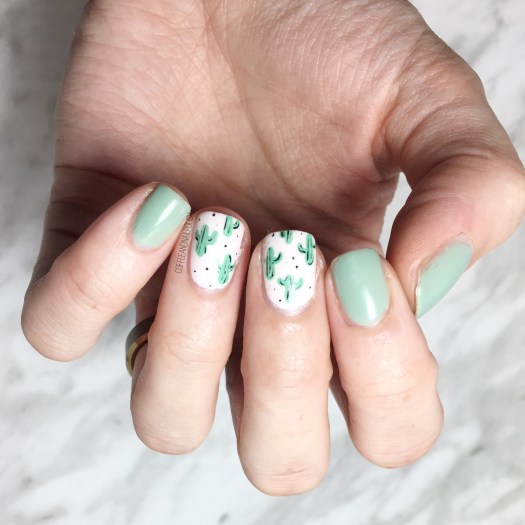
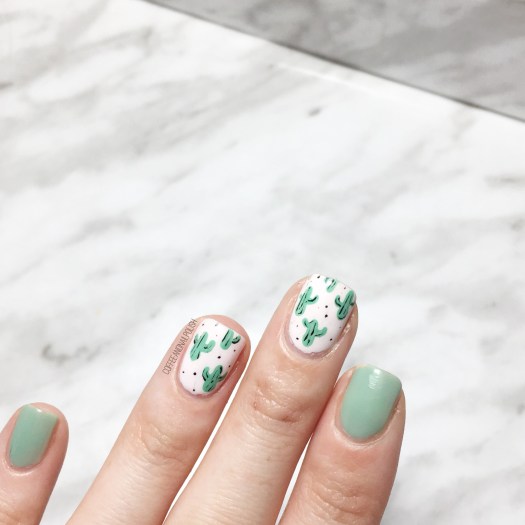
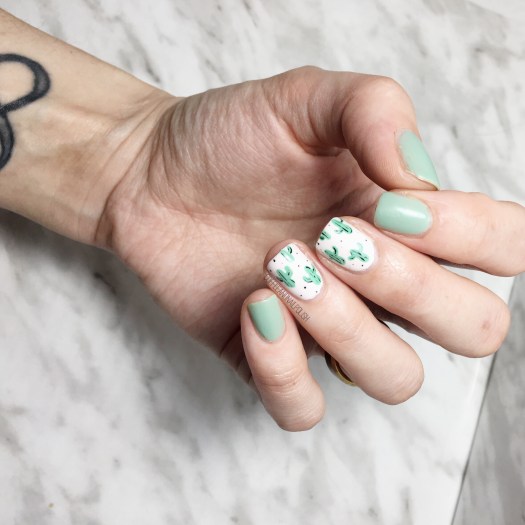
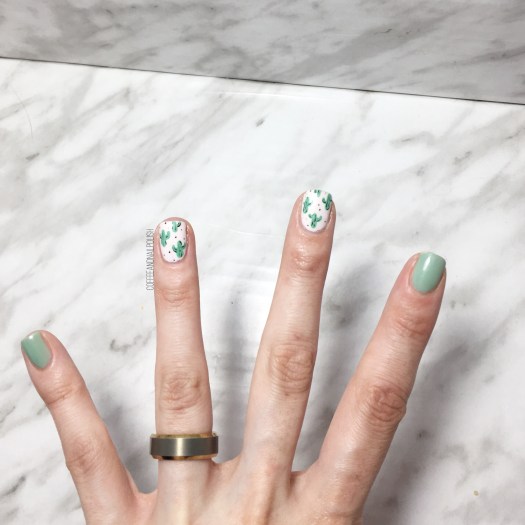
    Good morning lovelies. I hope you’re not sick of cactus nails yet! I was inspired by my brand new make up from my previous post, so obviously I had to create some nails to match!

    Cactus pattern nails have become a serious favourite design of mine to do, & I love how each nail design always turns out just a little bit different.

    For this manicure, the polishes I used were:

    • Base Coat: OPI Nail Envy
    • Top Coat: Seche Vive
    • Essie Turquoise & Caicos
    • Sally Hansen Miracle Gel Get Mod
    • Essie First Timer
    • Sally Hansen Hard As Nails Black Heart
    • Nailstuff.ca 4mm micro detail brush {PR sample}
    • Nailstuff.ca dotting tool {PR sample}

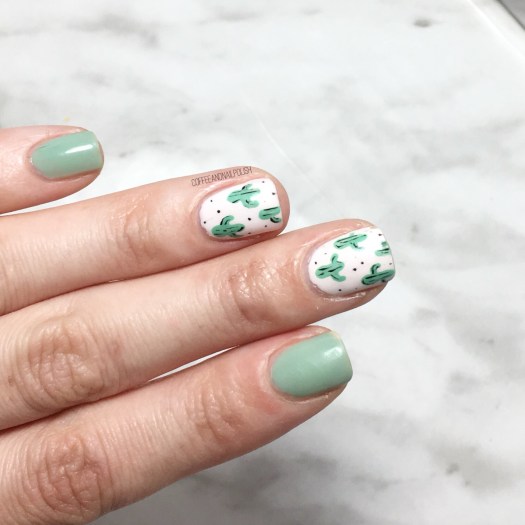
    How cute are these? I know I’m slightly bias, but I really like how these turned out. I think adding the black detailing really makes the design pop out more on the nail & reminds me of a pillow I have. Originally I was going to try & do some stamping, but I couldn’t find the plate I was looking for, so freehanding it is! & using my super tiny detail brush from NailStuff.ca was perfect for this tiny little design.

    what do you think of this cactus design? Are you sick of cactus yet? Let me know what designs you’d like to see next by commenting down below!

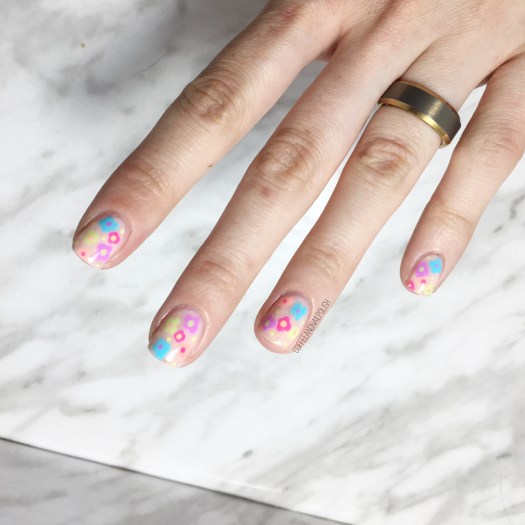
    Neon Dotticure Flowers

    {PR Sample}

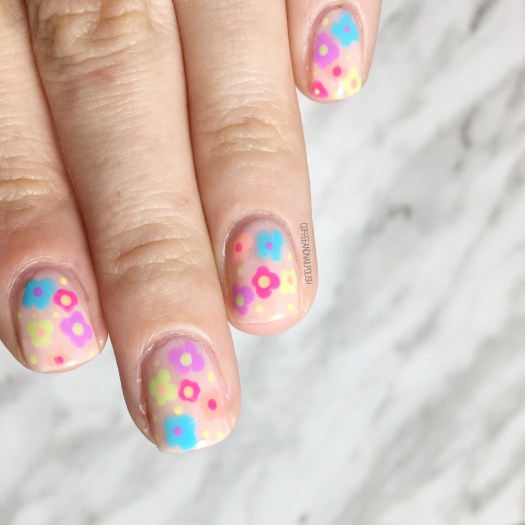
    Hello lovelies! Hope everyone is having a lovely Wednesday — here in Halifax it’s raining (again) is I decided the best way to cheer myself up would be creating another look using my newly gifted Sally Hansen Neons!

    If your looking for actual swatches of these polishes, you’re in luck–I finally got the energy to swatch & photograph last night so that post will be coming this weekend! In the meantime, I’ve been having a blast coming up with fun & colourful nail art looks using these polishes.

    Today’s design is a super simple nail art look I am pretty confident in saying anyone can achieve! All you need in a dotting tool (or a bobby pin) & an assortment of colours.

    For this manicure, the polishes I used were:

    • Base Coat: OPI Nail Envy
    • Top Coat: Seche Vive
    • Sally Hansen Miracle Gel In the Sheer
    • Sally Hansen Miracle Gel Electri-Lime
    • Sally Hansen Miracle Gel Fuchsia Fever 
    • Sally Hansen Miracle Gel Lemon Chillo
    • Sally Hansen Miracle Gel Miami Ice
    • Sally Hansen Miracle Gel Peach Please
    • Sally Hansen Miracle Gel Violet Voltage

    I was really feeling some vibrant 70s vibes & this design turned out just how I imagined in my head. The pop of colour of the flowers over the sheer base just really works together–very Summer-y & fun, which is what I’m all about right now! & cheers up the blahs brought on by the torrential rain we’ve been having the last couple days. The simplicity of this design also makes me happy–I managed to create these nails in about 30 minutes last night, after I finished all my swatching, which meant I could still make it to bed before 11pm! Haha it’s the simple things in life that make me happy.

    what do you think of this neon dotticure floral looking using the new Sally Hansen Neons? Have you seen these polishes in stores yet? I saw them in my local Shoppers Drug Mart just the other day, so you should definitely see them start popping up soon!

    *PR SAMPLE* Some of these items were sent to me for review. However, all opinions are my own

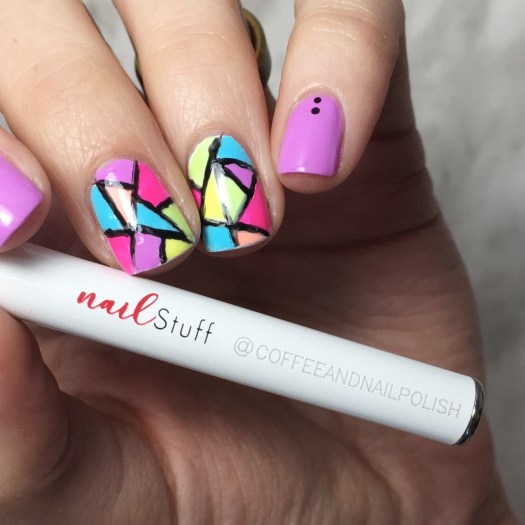
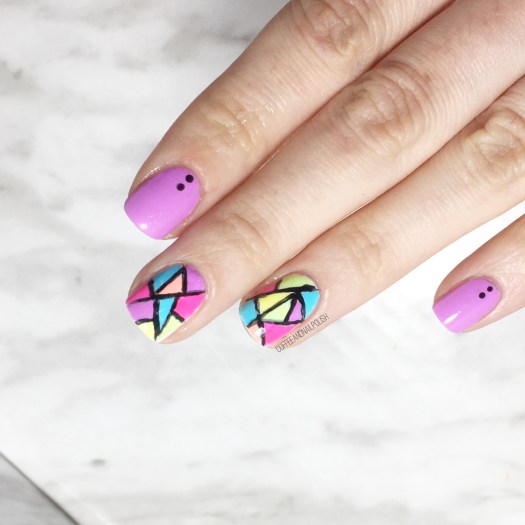
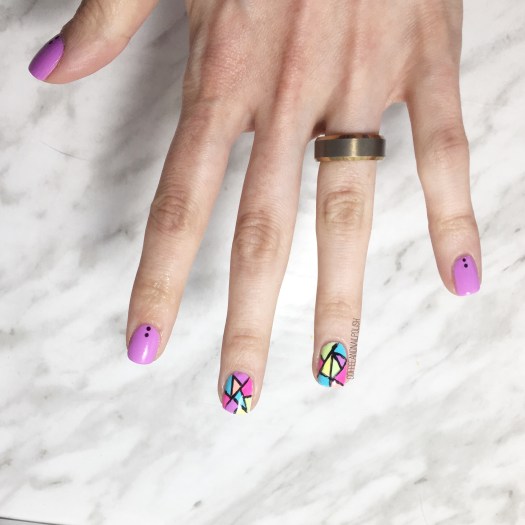
    Neon Stained Glass Nails featuring Sally Hansen Miracle Gel Summer 2019 Neons

    {PR sample}

    Hello lovelies & happy Wednesday! Today I’ve got a fun nail art look to share with you featuring the whole range of polishes from the brand new Sally Hansen Miracle Gel Neon collection for Summer 2019.

    This collection was sent to me courtesy of Sally Hansen Canada. The PR package was just adorable & included a super cute neon yellow Aldo bag. I’ve been seriously craving neons since the weather started warming up, so receiving this collection was beyond exciting & I couldn’t wait to start playing around with these polishes!

    For this manicure, the polishes I used were:

    • Base Coat: OPI Nail Envy
    • Top Coat: Seche Vive
    • Sally Hansen Miracle Gel Electri-Lime
    • Sally Hansen Miracle Gel Fuchsia Fever
    • Sally Hansen Miracle Gel Lemon Chillo
    • Sally Hansen Miracle Gel Miami Ice
    • Sally Hansen Miracle Gel Peach Please
    • Sally Hansen Miracle Gel Violet Voltage
    • Sally Hansen Miracle Gel Get Mod
    • Sally Hansen Miracle Gel Blacky-O
    • NailStuff.ca 16mm Striper Brush
    • NailStuff.ca dotting tool from Dotting Tool Trio

    It’s been a while since I did a complicated freehand look that wasn’t floral, so I was a bit nervous about my freehand lines. But I was so happy with how these turned out! These polishes are so bright & colourful, & just make me feel serious Summer vibes! 🕶☀️ Just makes me want to break out out my favourite bikini, throw on my sunbird, & take a trip to the beach.

    I have actual swatches of these shades coming up, but I couldn’t wait to create some fun nail art. I’m looking forward to a whole bunch more of nail art looks to come!

    If you’re looking for these vibrant Sally Hansen Canada Miracle Gel shades, you can find them in stores. Shoppers Drug Mart currently has them available in stores & on their website for $12.99. I’m not 100% sure if these are a Canadian exclusive, but I would definitely check out stores as these shades will be popping up in stores as the Summer continues!

    What do you think of this nail art design? Are you going to be out to find these shades? Share what you think down in the comments below!
    *PR SAMPLE* Some of these items were sent to me for review. However, all opinions are my own