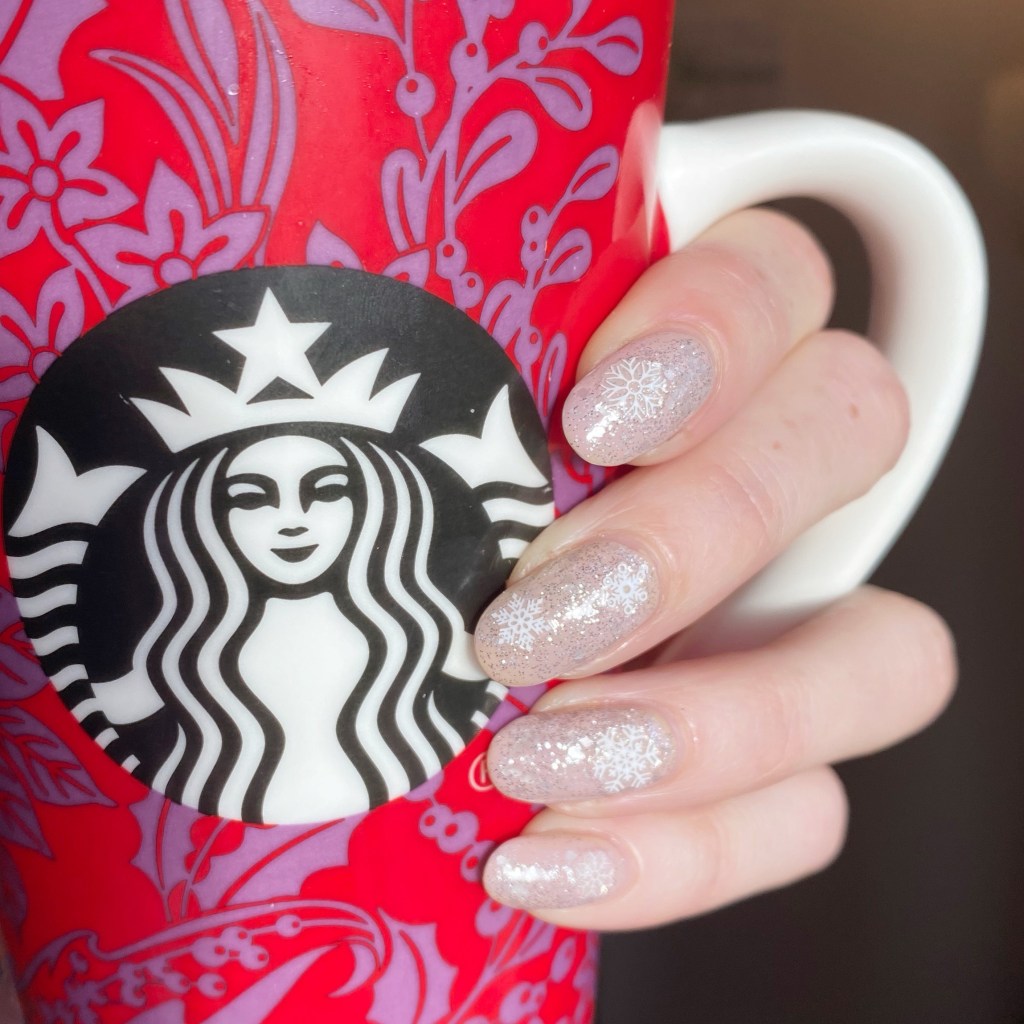
Glittery Snow Globe Inspired Nails ❄️❄️❄️

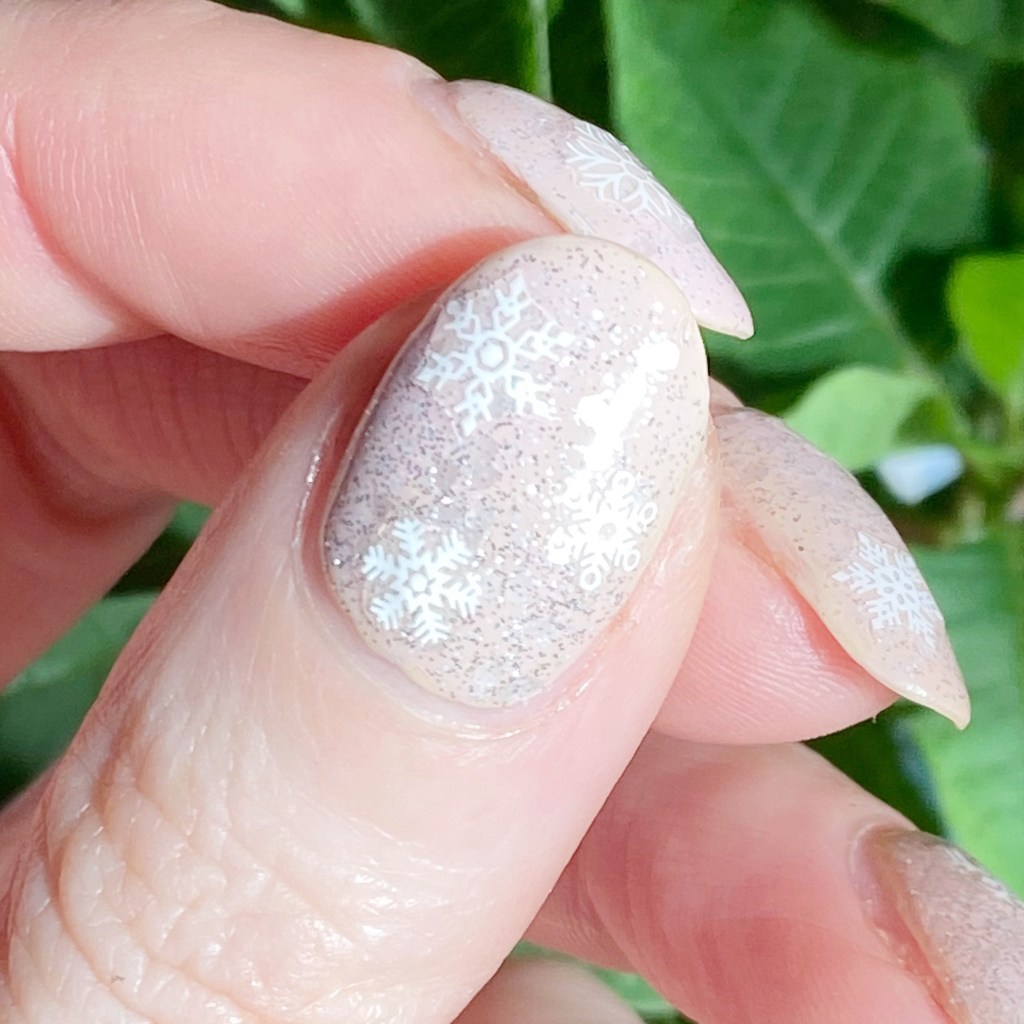
Hello loves & happy Wednesday! A chilly, icy, windy Wednesday here. Winter is quickly approaching, so I feel like some snowflake nails aren’t completely out of the realm of possibility.

I’m officially going all in on the holiday nails so if you have any requests for fun nails, let me know! I’m always up for creating some fun holiday looks to inspire people.
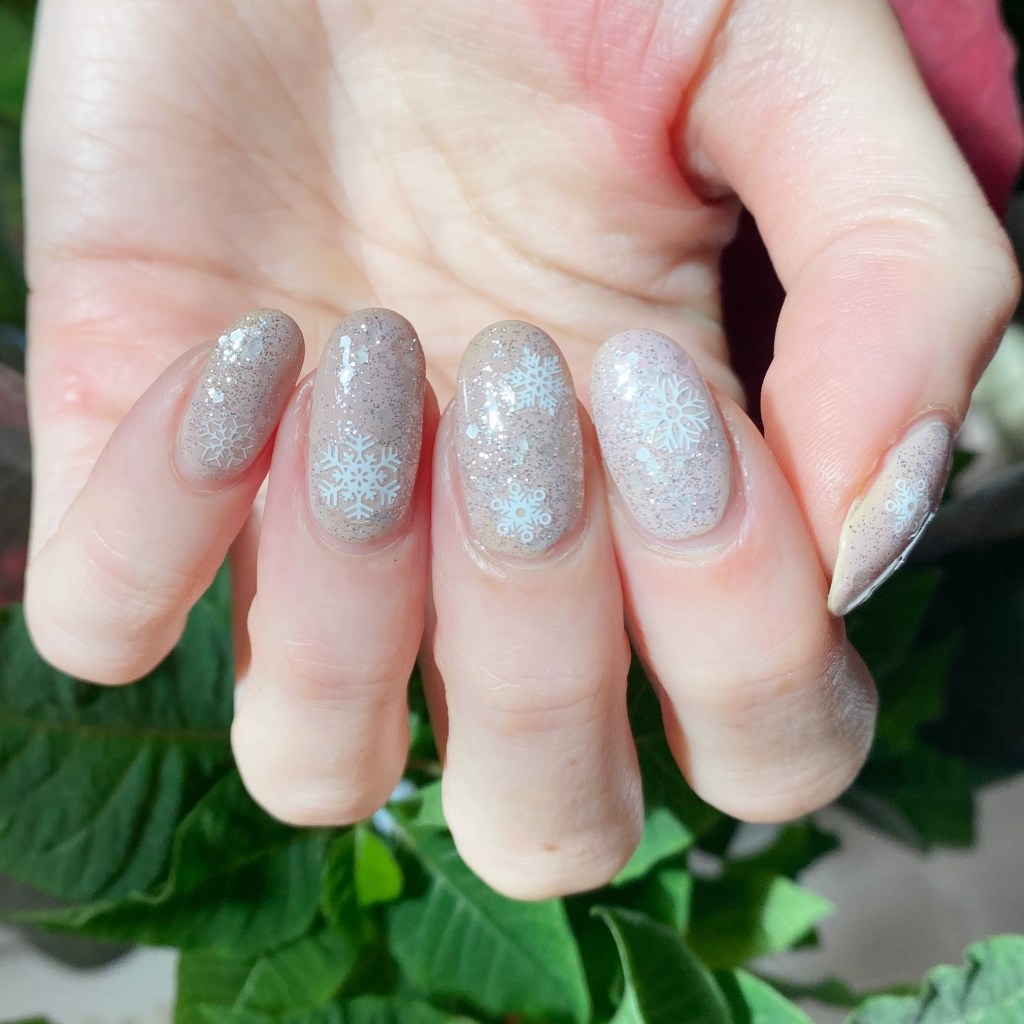
The polishes I used for this manicure are: 

  • Base Coat: NailStuff Essentials Base Coat *
  • Top Coat: Nail Stuff Essentials Quick Dry Top Coat *
  • Sally Hansen Miracle Gel Living in the Presents
  • OPI Pirouette My Whistle
  • NailStuff.ca Snowflake stickers

*PR/Gifted
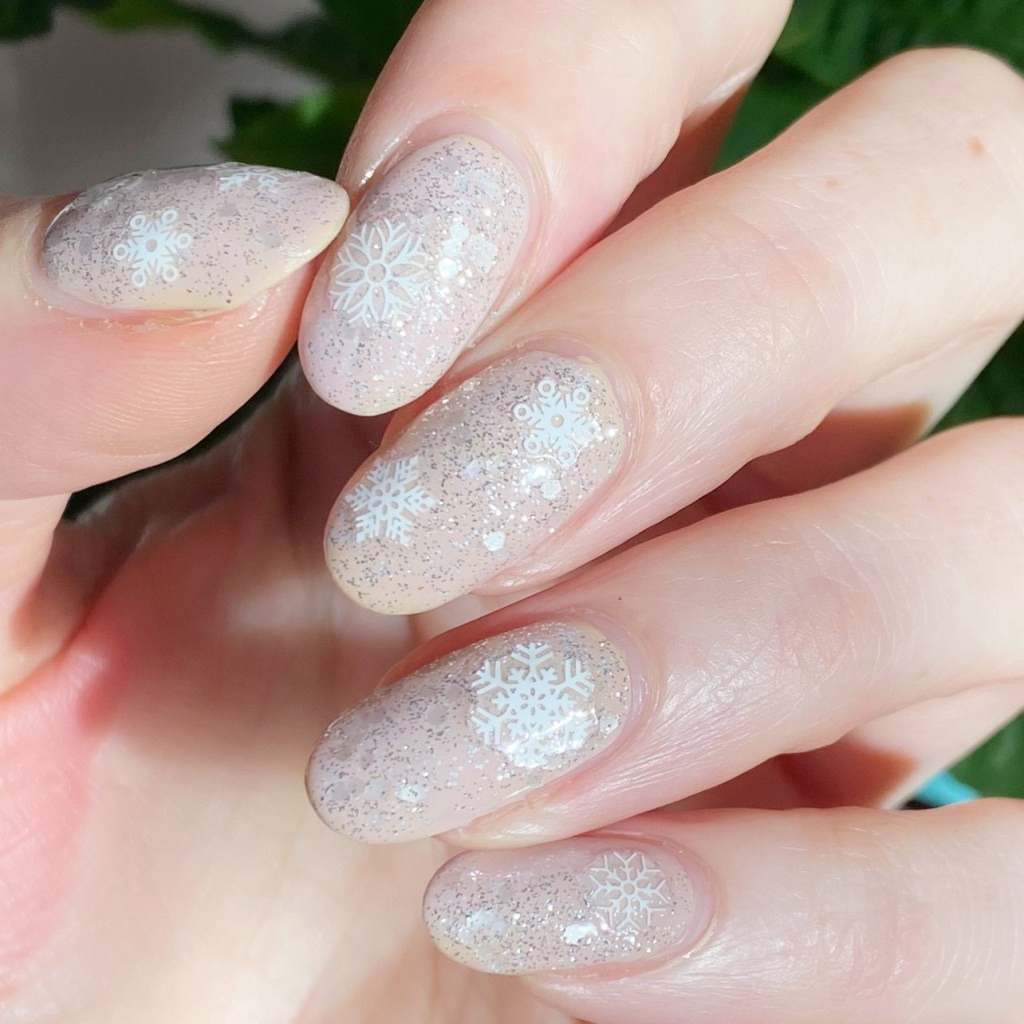
Don’t these just remind you of a snow globe? I love how they turned out. These were so super easy to do, & I love how beautiful they look. Plus the thick glossy top coat from NailStuff Essentials really sealed in the stickers so you don’t have to worry about any edges sticking up.

They just turned out so beautiful, & I love how that the colours are more subdued but then you also get the fun glitter.
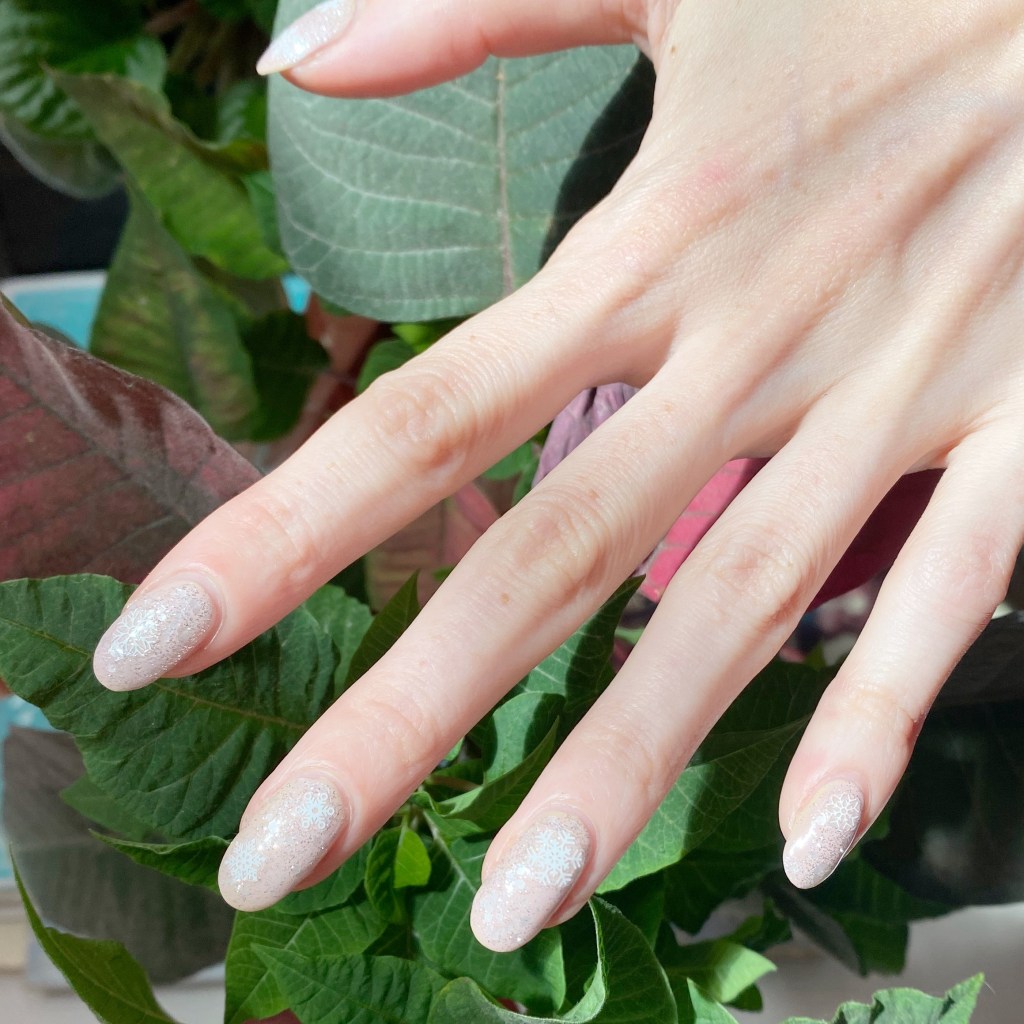
What do you think about these glittery snowflake nails? Sadly, this was the last manicure I did with long nails — I had a pretty awful break after I wore them, & am now rocking some serious shorties. But they’ll be fun to do some Holiday nail art looks on my shorties, & also inspire those with shorties as well!

Happy Wednesday!

♥︎

Easy Halloween Skittle with Ella + Mila

*contains PR

Hello lovelies & happy Thursday! The countdown is officially on — we have one week until Halloween! Guess it is time to sneak in as many Halloween manicures as I can!

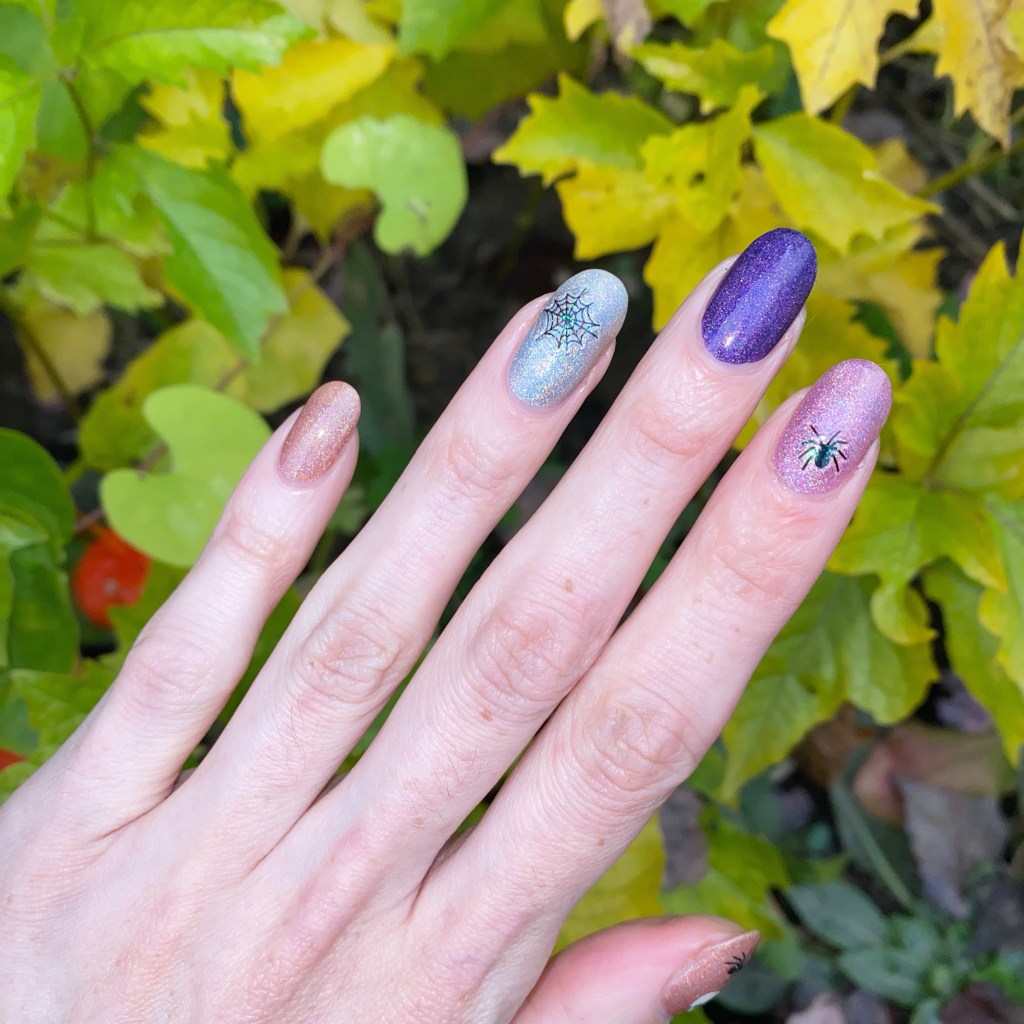
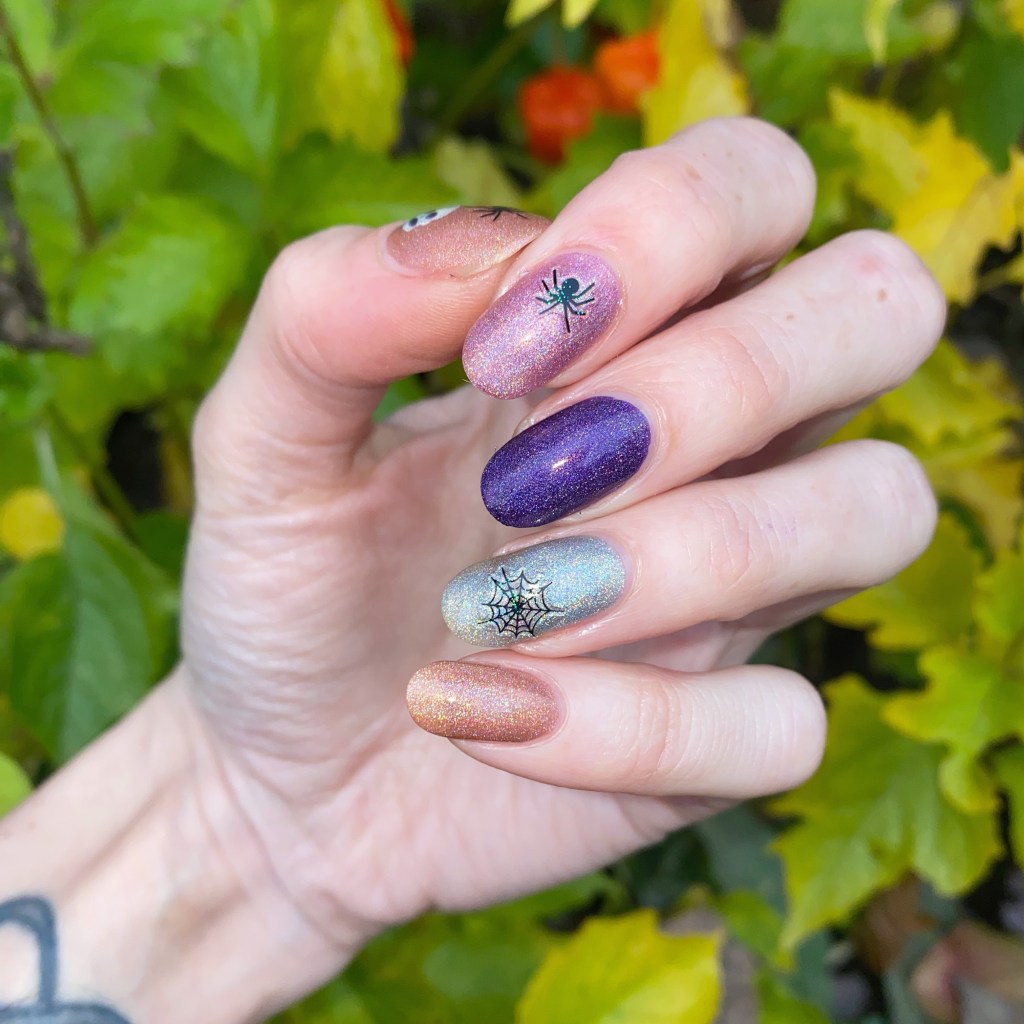
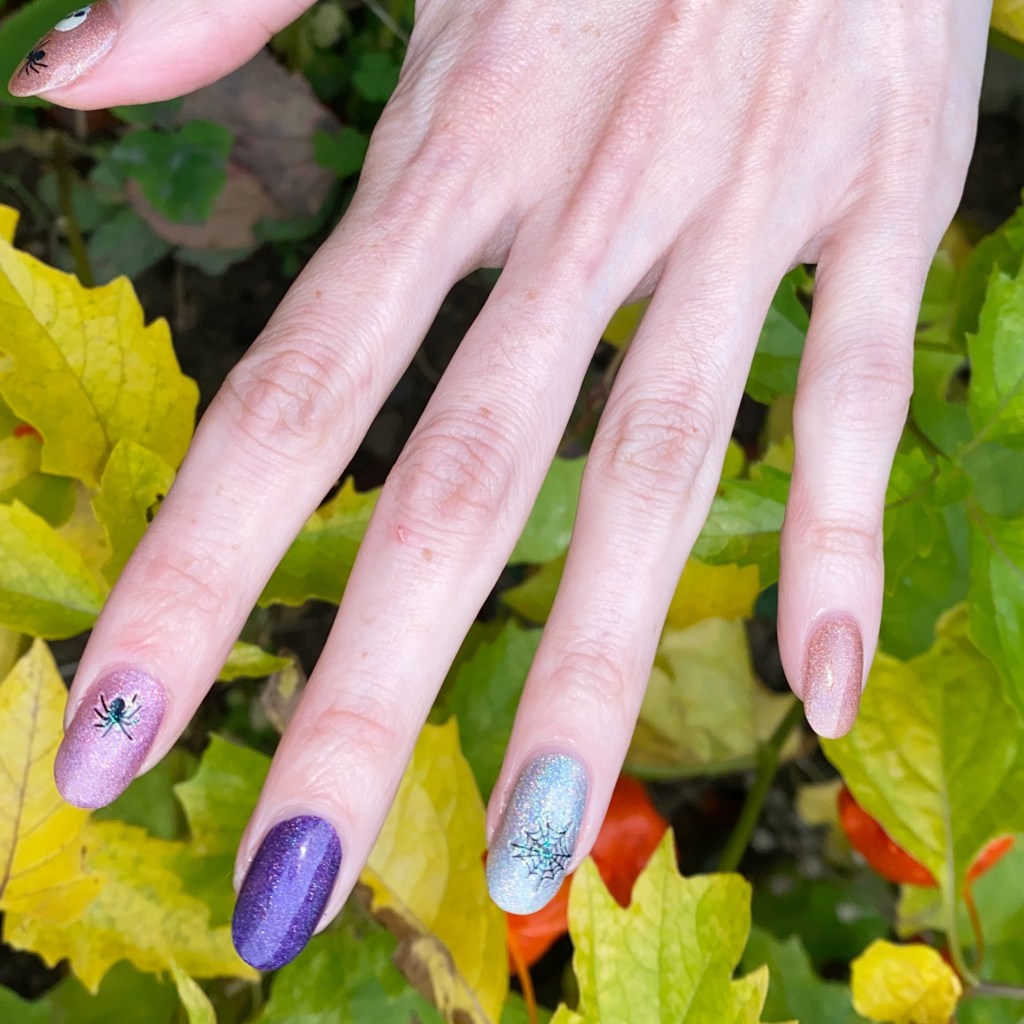
Today we’re starting off easy with some Halloween nail art stickers on a skittle. I was recently gifted some beautiful polishes from Ella + Mila, & I thought they would be a fun base for some new Dollarama nail art stickers! So I paired the colours together with a few simple stickers & I think it turned out so fun. Chic & simple.

The polishes I used for this manicure are: 

  • Base Coat: Ella + Mila All About The Base (Base Coat) *
  • Top Coat: Ella + Mila In A Rush (Top Coat) *
  • Ella + Mila Oasis *
  • Ella + Mila Dragonfly *
  • Ella + Mila Violet Skies
  • Ella + Mila Zephyr *
  • Dollarama Halloween Nail Art Stickers

*gifted

How beautiful are these shades from Ella + Mila? I feel like these colours are perfect for Halloween nail art that’s not typical colours. I mean, I feel like purple & orange are classic Halloween colours, but the dark purple & pink do work as well too. I will have full Swatches of the whole collection I was send coming hopefully this weekend, or the next. But I couldn’t wait to put on a few of the shades as soon as I received them! They’re just so beautiful.

(You can use THIS LINK to check out their site — it is an affiliate link so thank you if you use it!)

& I recently found more fun new Halloween nail art stickers at my local Dollarama store, so naturally I needed to use them immediately. For $1.25 they’re such a steal!

What do you think about this manicure? Do you like this Halloween skittle? Would you wear this design? Let me know all your thoughts down in the comments below!

Happy Thursday.

♥︎

GLAM NAILS CHALLENGE AUGUST (2024) —Plants 🌿🌱

Hello lovelies & happy Monday! I know, how long has it been since I did a Monday post. But I’m really excited for August because I am dedicated to doing another round of Glam Nails Challenge & this month is the month! So let’s go!

The first prompt of the month is plants. & I thought it was the perfect reason to break out these Born Pretty Store holographic stickers I had in my collection! These pretty tropical leaves stickers were the perfect look for my first prompt of Glam Nails Challenge August.

The polishes I used for this manicure are: 

  • Base Coat: LA Colors Mega Grow Base Coat
  • Top Coat: Essie Gel Setter
  • Essie U Wish
  • Born Pretty Store Holographic Tropical Leaves Stickers

How pretty are these stickers! I received these for review forever ag0 ( I think right when I got pregnant with my daughter) so I never got a chance to really review them because I got so sick. They’re easy to apply–the trick is you really have to make sure you press down hard on them, & there is no air bubbles or gaps.

The gold looks so nice against the burnt red of Essie U Wish. I quite enjoy this combo. I tried to get a picture of these in the sunshine, but the holographic effect almost did a disservice to the manicure. But they’re very fun! In fact, it’s reminding me I’m going to need to order some Autumn/Halloween nail stickers from NailStuff.ca very, very soon!

What do you think about this nail art look for the first prompt of Glam Nails Challenge August? Are you as excited as I am for this month? Let me know what you think down in the comments below. I’ll post all the prompts for this month, so you can follow along too!

& check back on Wednesday because I am really, really excited for the next manicure!

Enjoy your Monday

♥︎

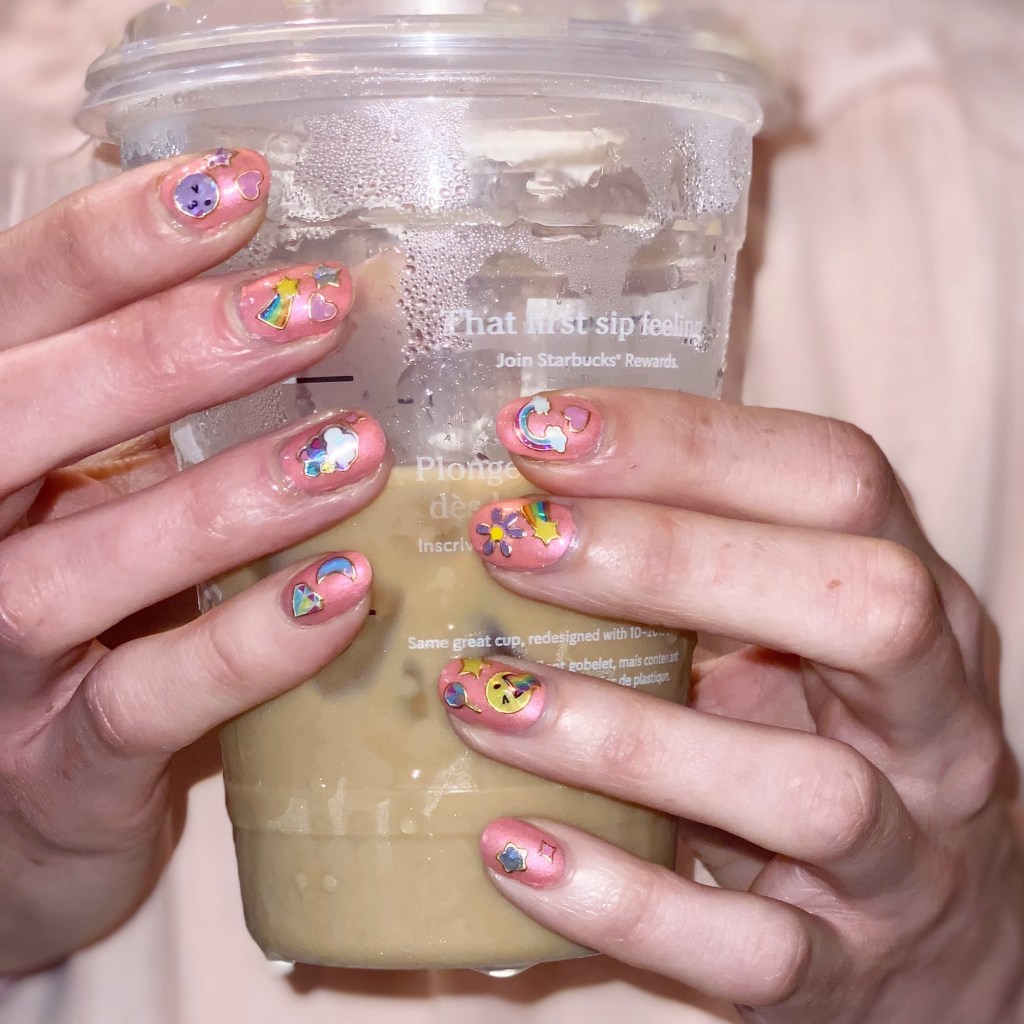
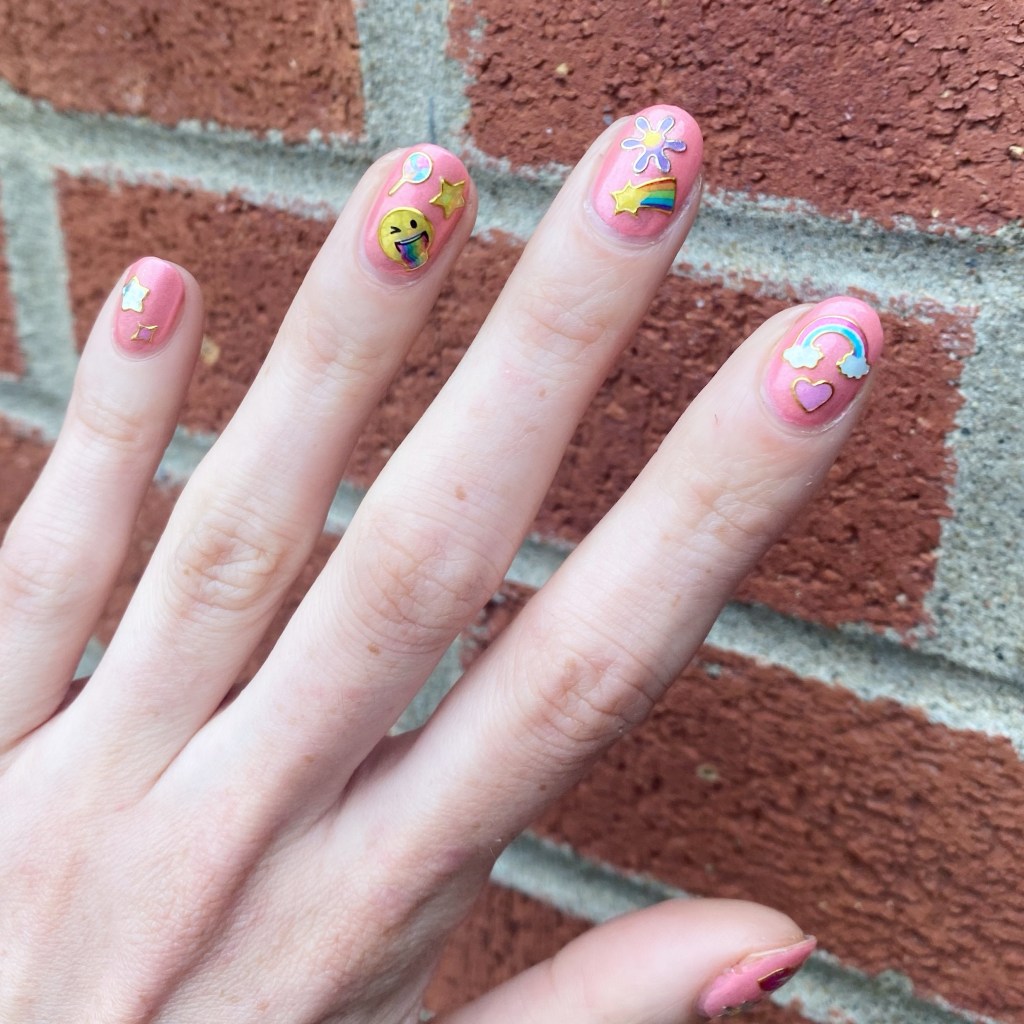
Emoji Inspired Nails 💋💗🌈🌸 (Easy Nail Art)

Hello lovelies & happy Thursday! It’s hot, sunny & beautiful lately & feels just like the kind of Summer days I like.

Today I’m sharing a new manicure & a bit of a nail art hack. I’ve posted before about my absolute love of nail art stickers.

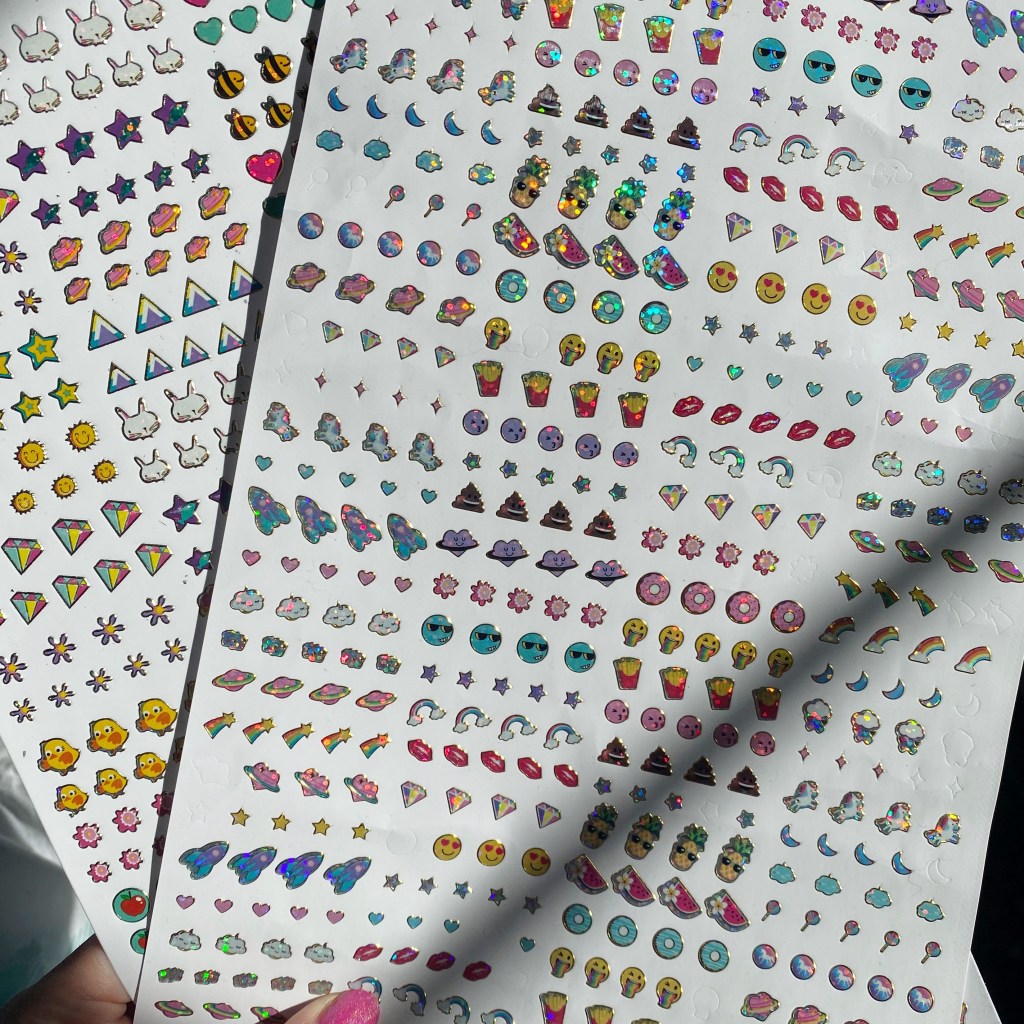
Recently I was in my local Dollarama & found these massive sheets of small foil emoji inspired stickers for $1.25 & thought they would be perfect for stick on earrings for my daughter. But then I realized they were the perfect size to potentially work for nail art stickers & so naturally I bought 2.

The polishes I used for this manicure are: 

  • Base Coat: Essie Here to Stay
  • Top Coat: Essie Gel Setter
  • China Glaze Thistle Do Nicely
  • China Glaze Everglaze Optimal Opal
  • Dollarama Small Foil Emoji Stickers

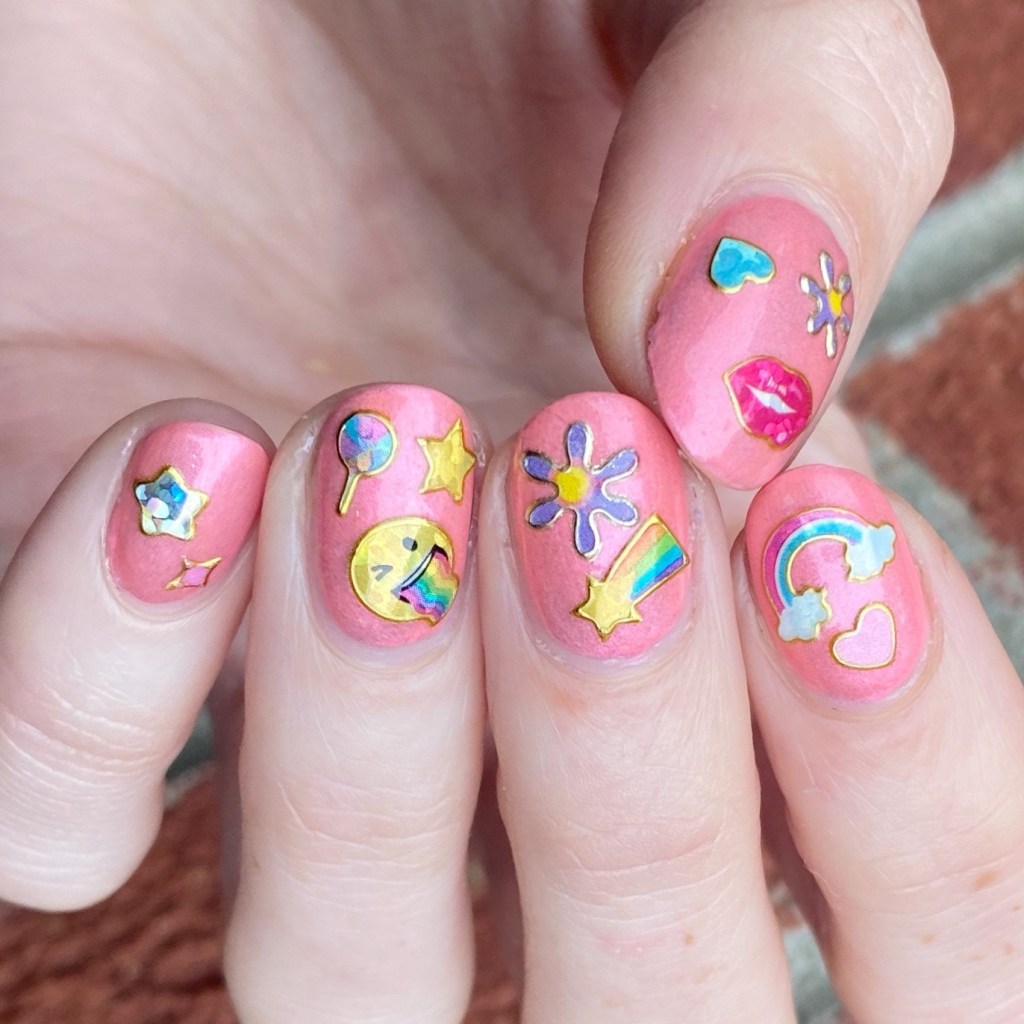
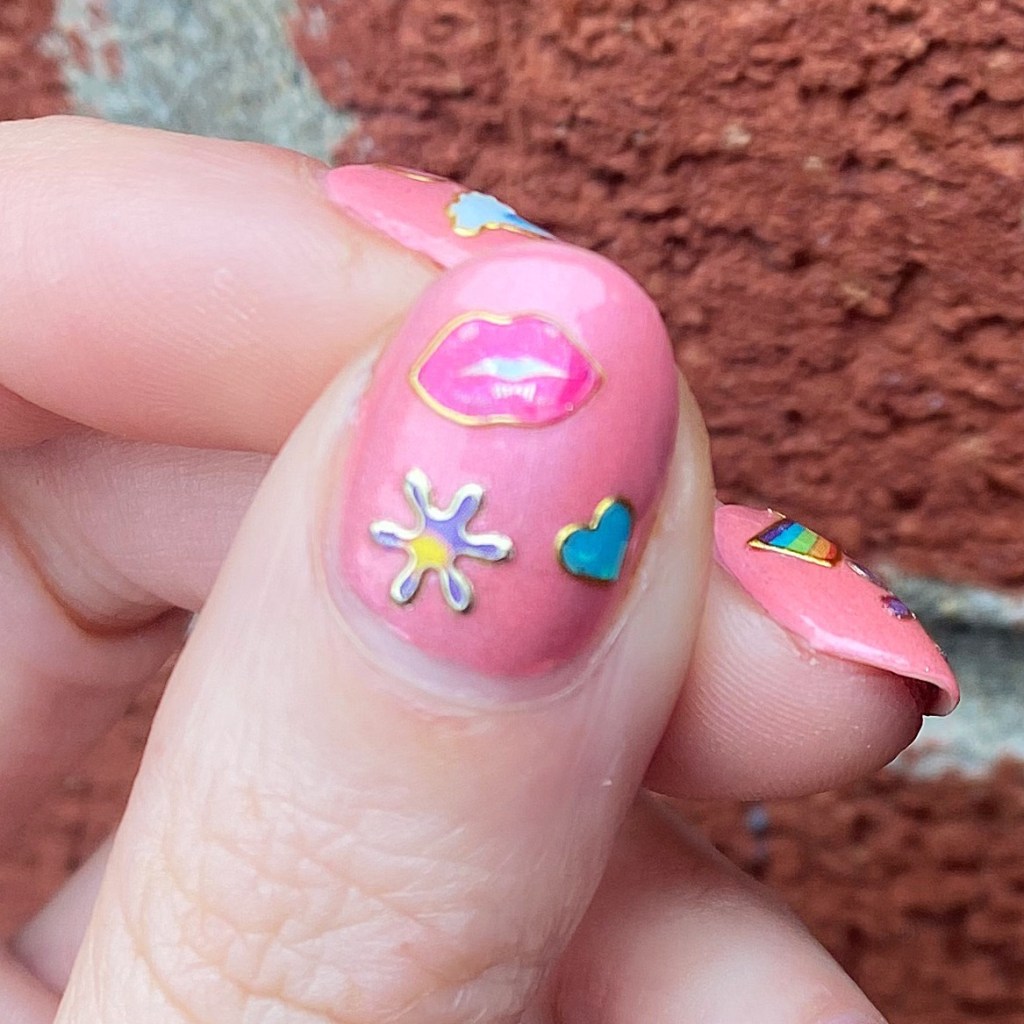
Okay I’m really really impressed with how easily these stuck to my nails, & adhered to my already dry base. They were fairly flexible & easy to stick on the nail, or adjust slightly if needed. I used tweezers to pull them from my sheet, & attach them to my nails, & most of the stickers I picked were easy to apply.

For removal, it was just as easy to take off. I did have a few stickers which were lifting by the end of the day, but that could be avoided with a thicker top coat.

Over all, I think these stickers were perfect for easy nail art at a great low price. Obviously, I want to support small businesses that sell nail art stickers, but times are tough right now, & I think everyone deserves to have beautiful nails so if you can find cute stickers to use on your nails at an affordable price — you should totally take advantage of it!

Would you want me to do a post featuring other Dollar Store items I’ve found for doing your nails? Let me know down in the comments below!

Happy Thursday!

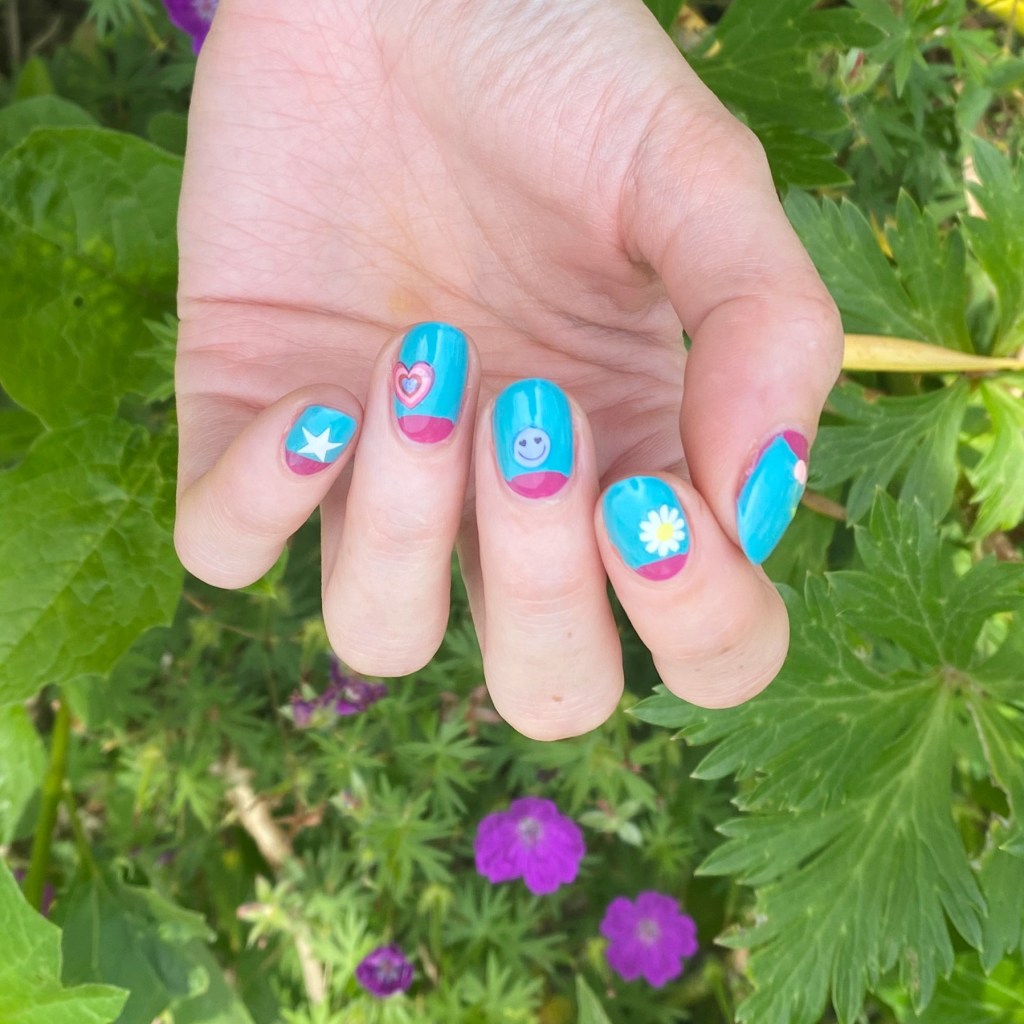
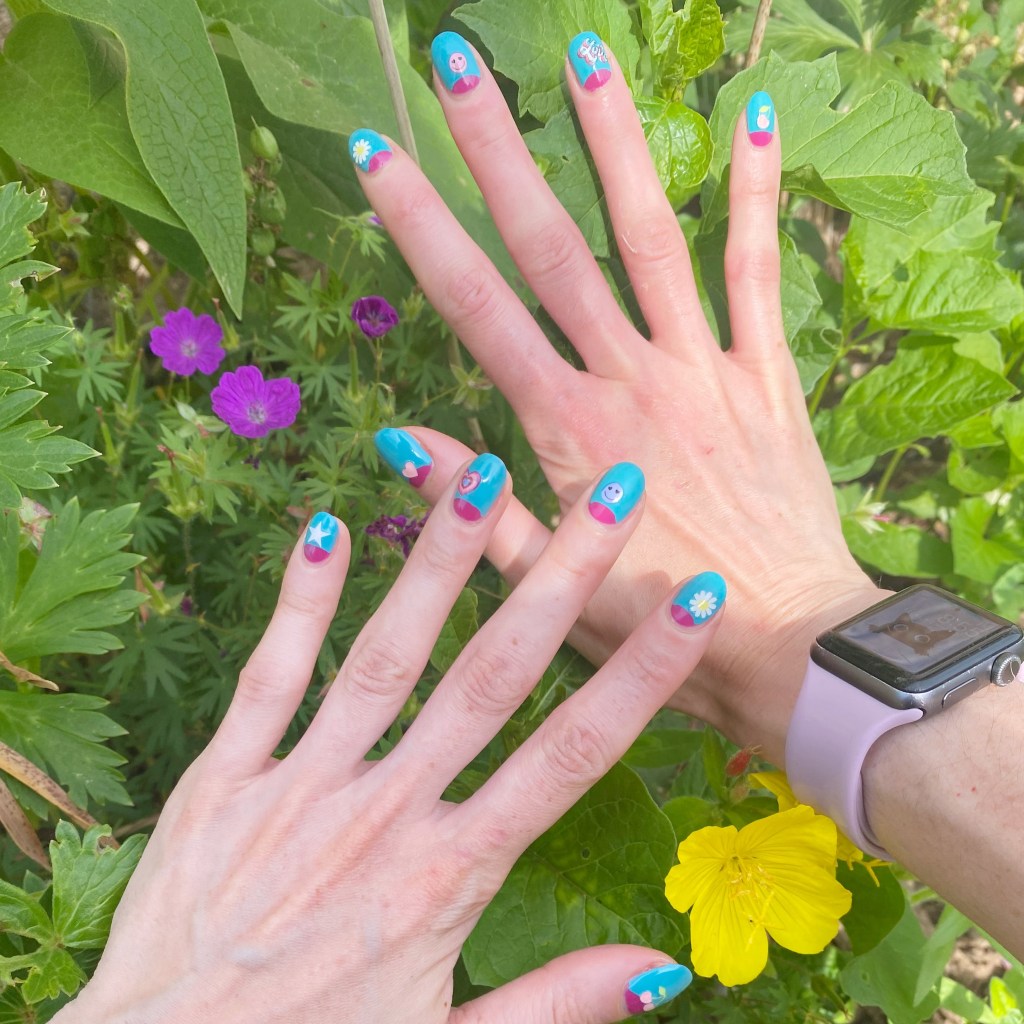
Half Moons & Nail Art Stickers

Good morning lovelies & happy Friday! I hope everyone had a wonderful week! It’s almost the weekend, which is looking to be wet & rainy. Not so much fun for summer. But I have a fun, bright Summery look to share with you!

The polishes I used for this manicure are: 

  • Base Coat: Essie Here to Stay
  • Top Coat: Essie Gel Setter
  • Essie Swoon in the Lagoon
  • Essie In The Cab-ana
  • Assorted nail art stickers (including some from Olive & June)

Okay, I’ll be honest — I’m not a 100% sure how I feel about this look. I love my half moons, because I always love a good half moon design, but I’m not sure how I feel about the addition of my little nail art stickers. I’m not sure if they mesh together, or clash, but I really wanted to do something different.

What do you think about this sticker half moon design? I’m really trying to come up with newer nail art designs, but after 10 years of this blog, I’m getting a bit stuck on what to do. Maybe I should break out my stamping plates again, & see what fun patterned nails I can come up with!

Happy Friday! Enjoy your weekend!

🖤