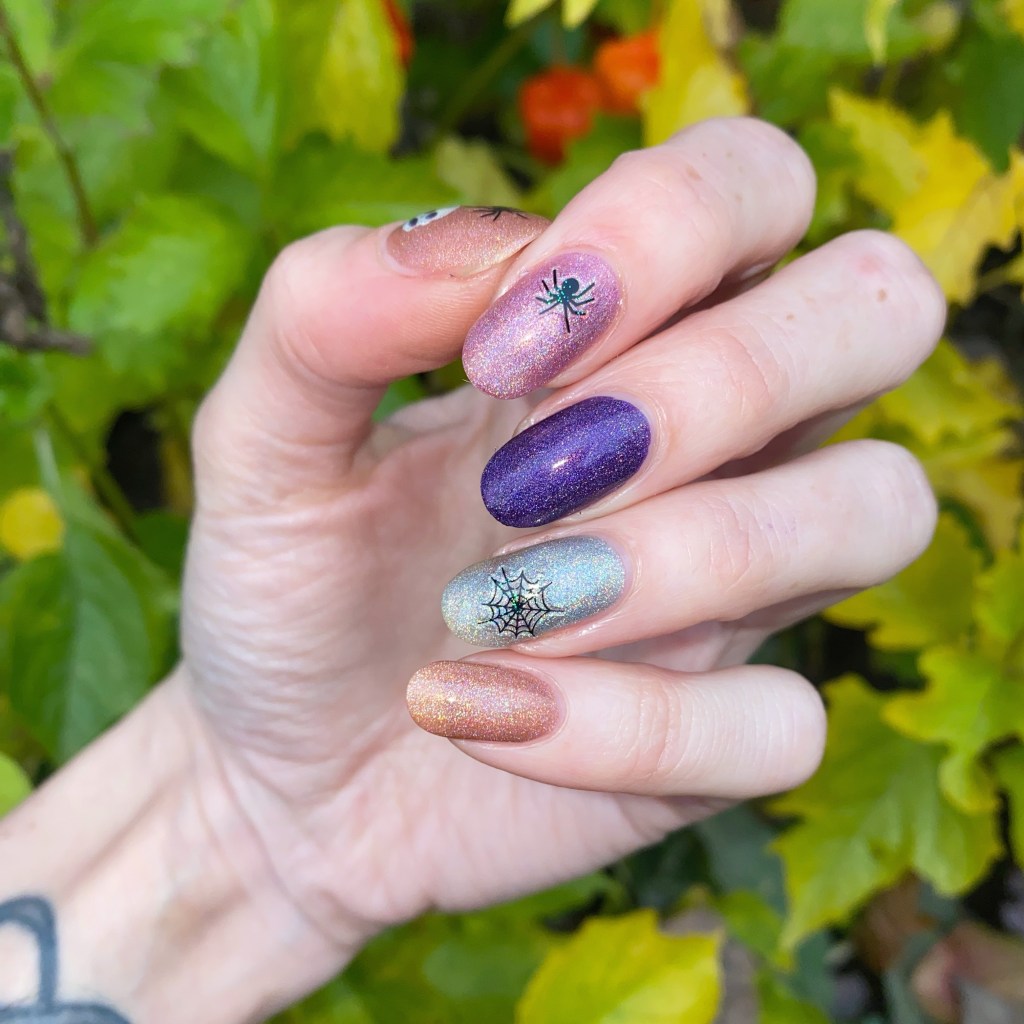
GLAM NAILS CHALLENGE OCTOBER 2025 — Sugar Skull 💀🌸

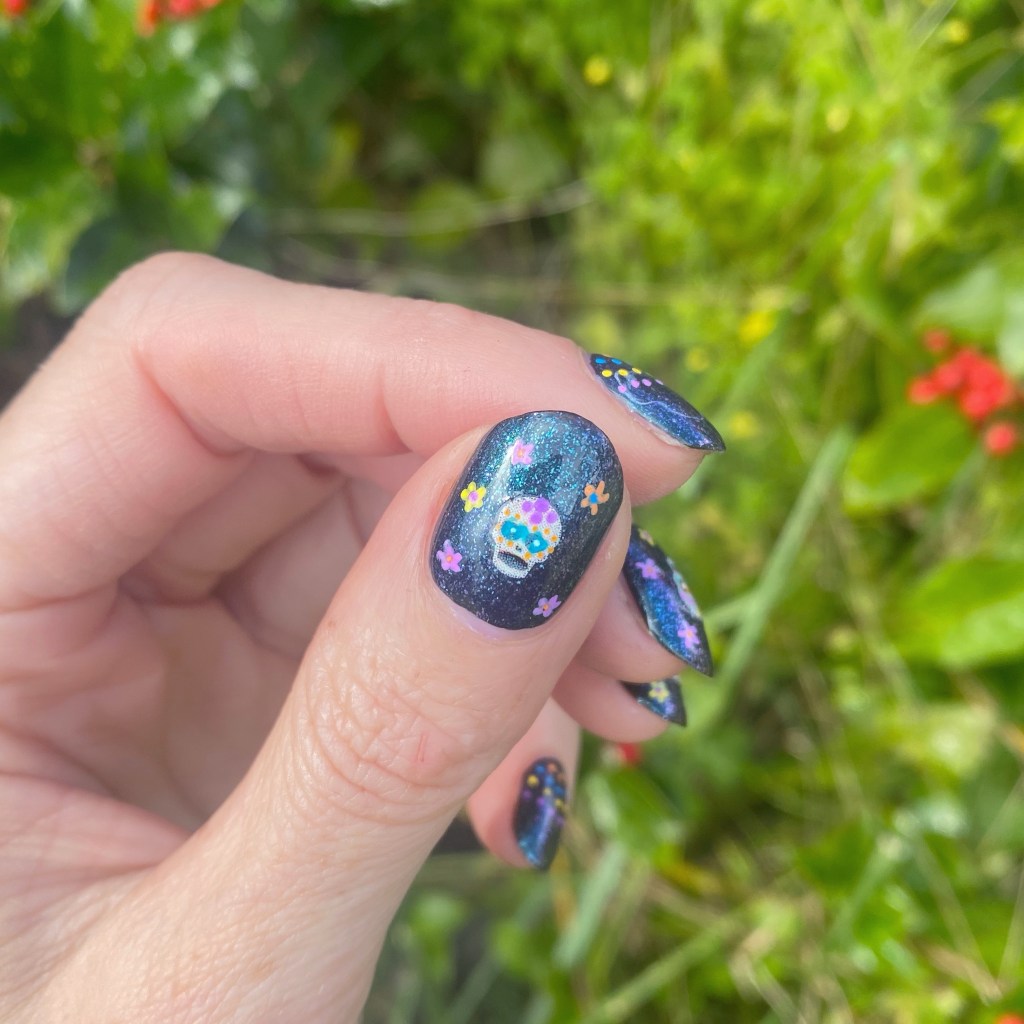
Hello lovelies — Happy Monday! Today is a beautiful start to the week, because it’s time for the second prompt of Glam Nails Challenge October! & the next prompt we have is Sugar Skull! I attempted Sugar Skull nails only once before, but wasn’t exactly super happy with how they turned out. So I had an idea to redeem myself, & I’m actually obsessed with the end result!

The polishes I used for this manicure are: 

  • Top Coat: Sally Hansen InstaDri Top Coat (red bottle) 
  • Base Coat: Essie Hard to Resist (purple)
  • Icing Store Black
  • Claires Cosmic Babe Nail polish Cosmic Blue
  • Madam Glam Nail Art Pen Orange *pr
  • Madam Glam Nail Art Pen Yellow *pr
  • Madam Glam Nail Art Pen Blue *pr
  • Madam Glam Nail Art Pen White *pr
  • Sally Hansen I ❤️ Nail Polish pen in Purple
  • Dollarama Spooky Halloween Nail Stickers (skulls)

So my original plan was I was going to hand paint skulls on my nails, but that wasn’t really working — & then I was going to stamp on a skull, but I didn’t really like the images that I had. But I remembered I recently purchased some new nail art stickers at Dollarama so I decided to use those are my base for my sugar skull design!

After I applied my skull stickers to the fingers I wanted them on, I then went in with my nail art pens one colour by one colour, & created a fun pattern on each skull face. I tried to do something bright, & eye catching, plus some fun little flowers. Then, on the two fingers I didn’t do skulls, I just added a few colourful dots in a half moon to keep them all looking fluid & cohesive.

What do you think about my Sugar Skull nails? Do you think I did the prompt justice?

Don’t forget that you can follow along with all the designs this month by checking out #glamnailschallengeoct25 on Instagram. There are so many beautiful designs to see, I definitely recommend taking a peek!

Happy Monday

🖤
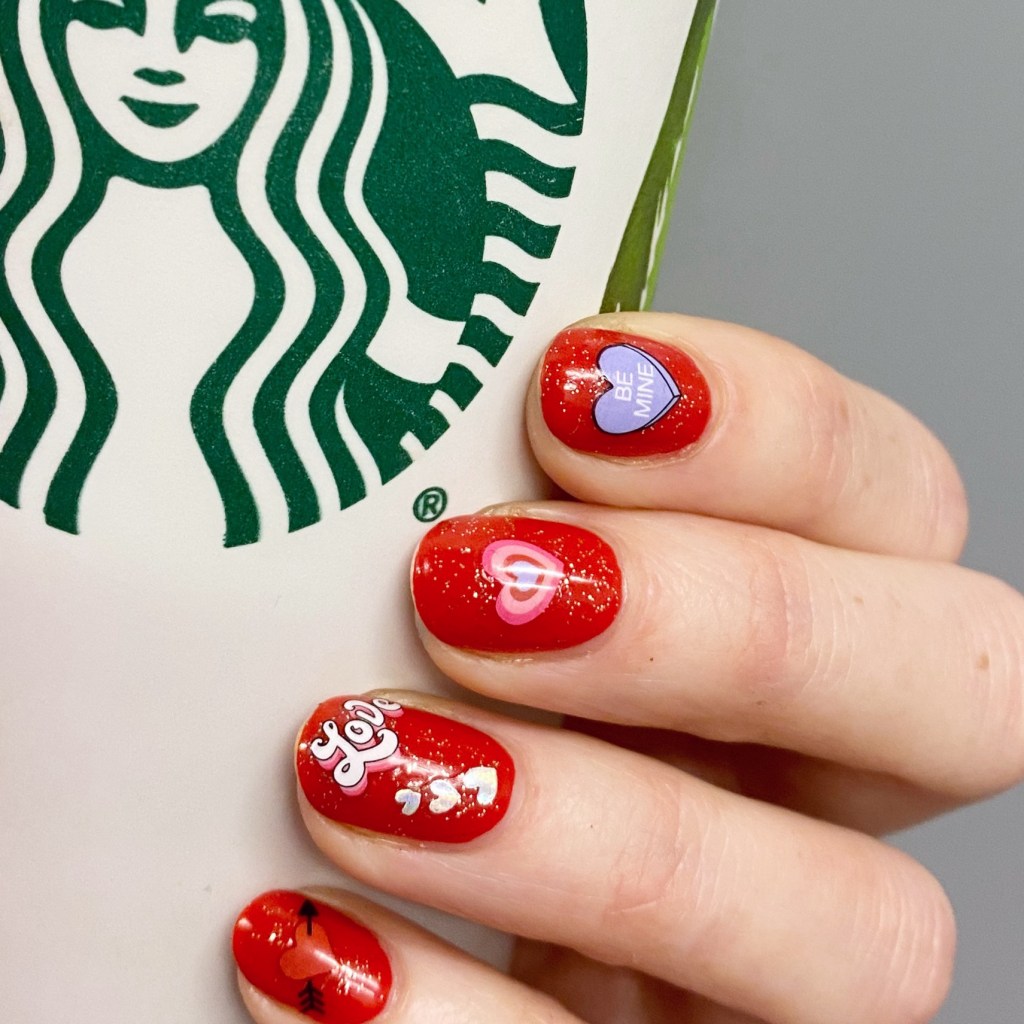
Cutesy Valentines Nail Art (Using Nail Stickers) 💗💘

Good morning loves & happy Thursday. I know, I know. It’s been a while. Remember when I said February was going to hopefully be an easier month? Well… not so much. Just not in the way I was expecting.

Anyways though — let’s not worry about that & instead focus on my nails! Because that’s why everyone is here, isn’t it? & it’s almost Valentine’s Day, which means I get to show off some V-Day inspired nails. 💅 💘 & I have lots more love inspired looks to come.

The polishes I used for this manicure are: 

  • Base Coat: NailStuff Essentials Base Coat *
  • Top Coat: Essence Colour Shield Top Coat 
  • Essie Gel Couture Rock the Runway *
  • Ellen Tracy Gold Glitter Topper (no name, my mum got it for me in a set from Winners)
  • Valentine’s Day Nail Art Stickers (I don’t remember the brand, but I bought them at Indigo on clearance for like $5)
  • Kiss Products rainbow & heart stickers

You would not believe the amount of nail art stickers & decals I have at my disposal that I onlh get to bring out a few times of years. But I do get excited when I have an excuse to use them! Stickers are such a great option when you’re short on time, or tired, or just feeling uninspired or lazy.

That’s why they’re one of my favourite nail art tools!

What do you think of these quick & easy Valentine’s Day nails using these cute graphic stickers? Do you love them as much as I do? Let me know your thoughts down in the comments below, & share your favourite brands of nail art stickers in the comments below.

Happy Thursday

🖤

GLAM NAILS CHALLENGE DECEMBER (2024) — Ornaments 🎄✨

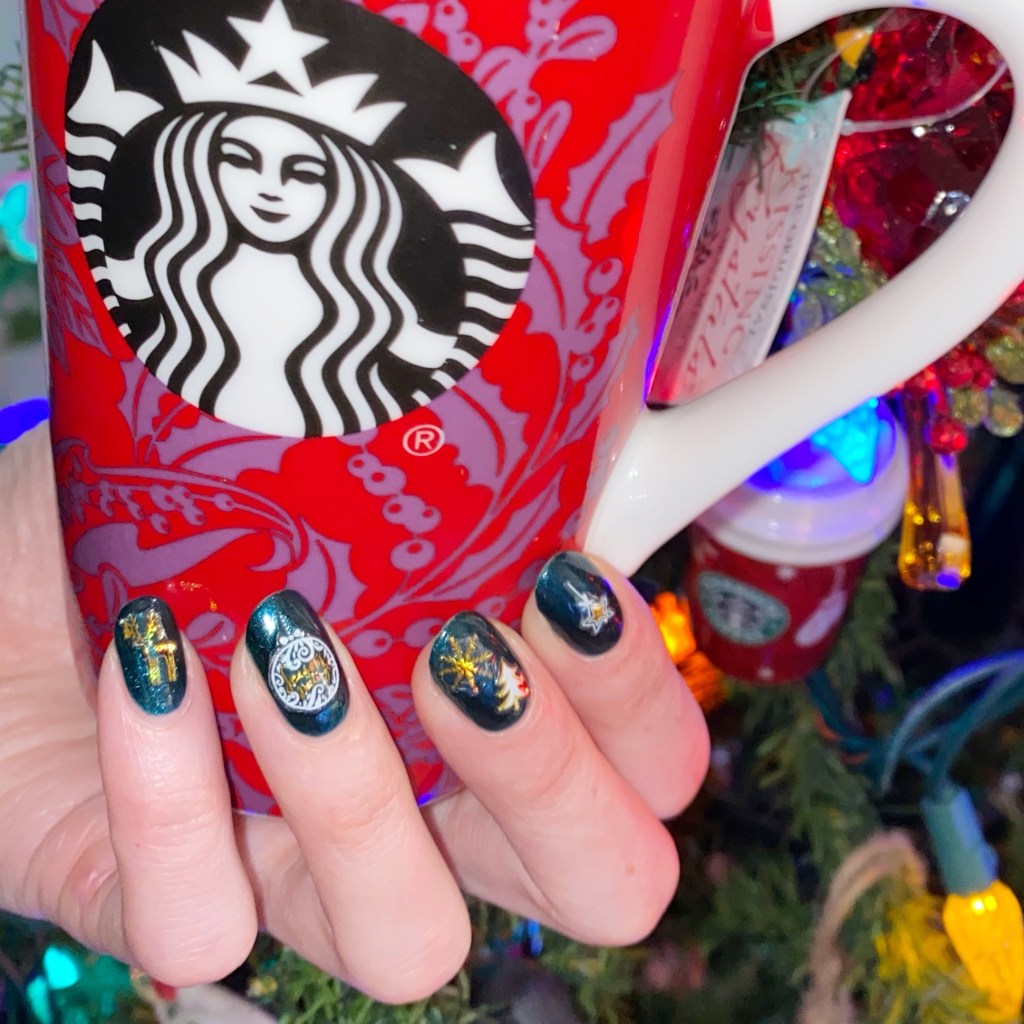
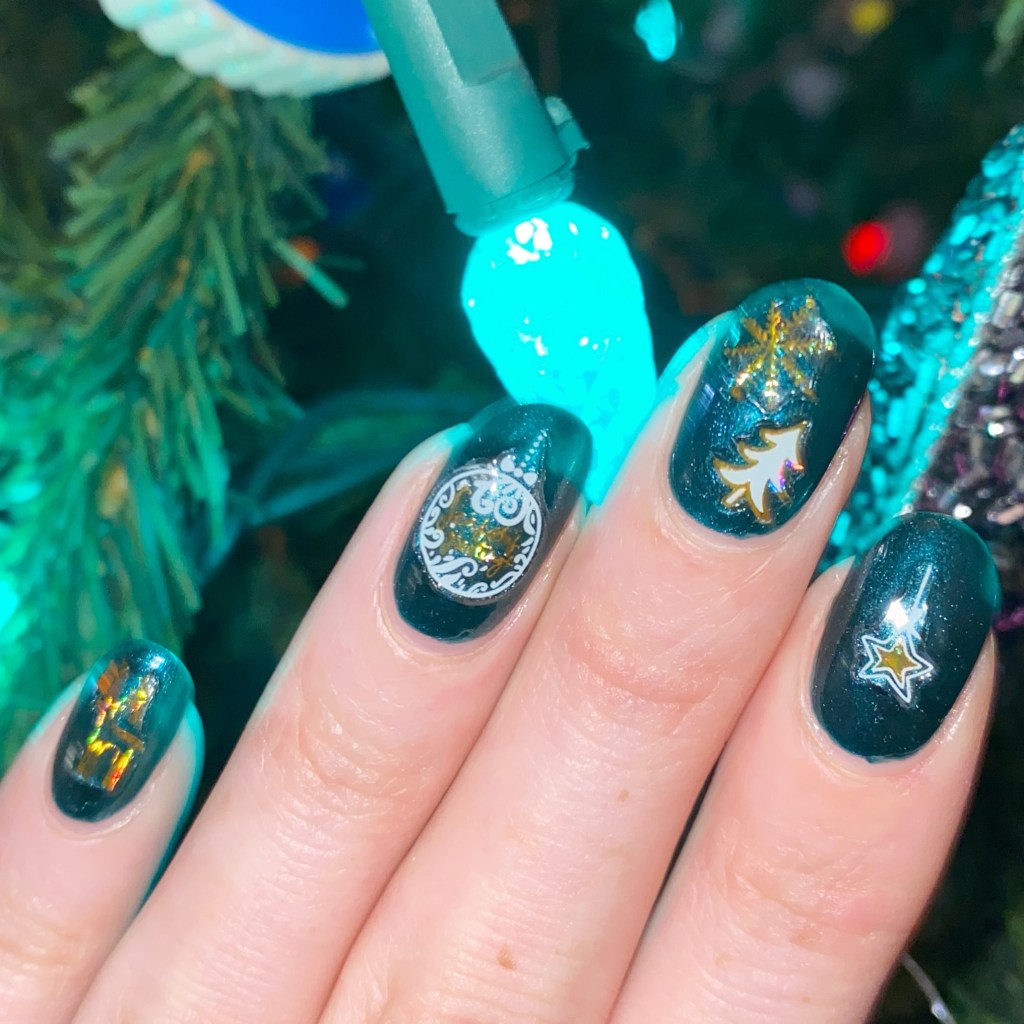
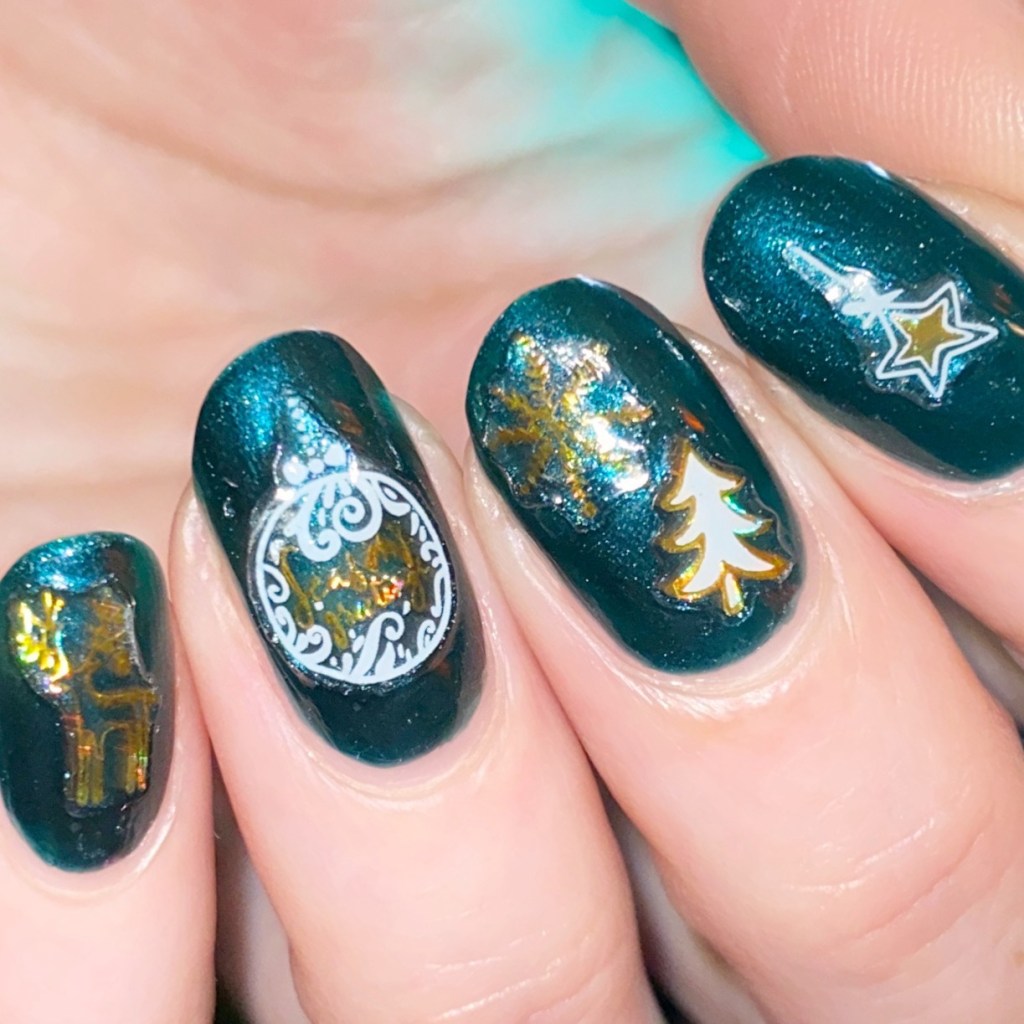
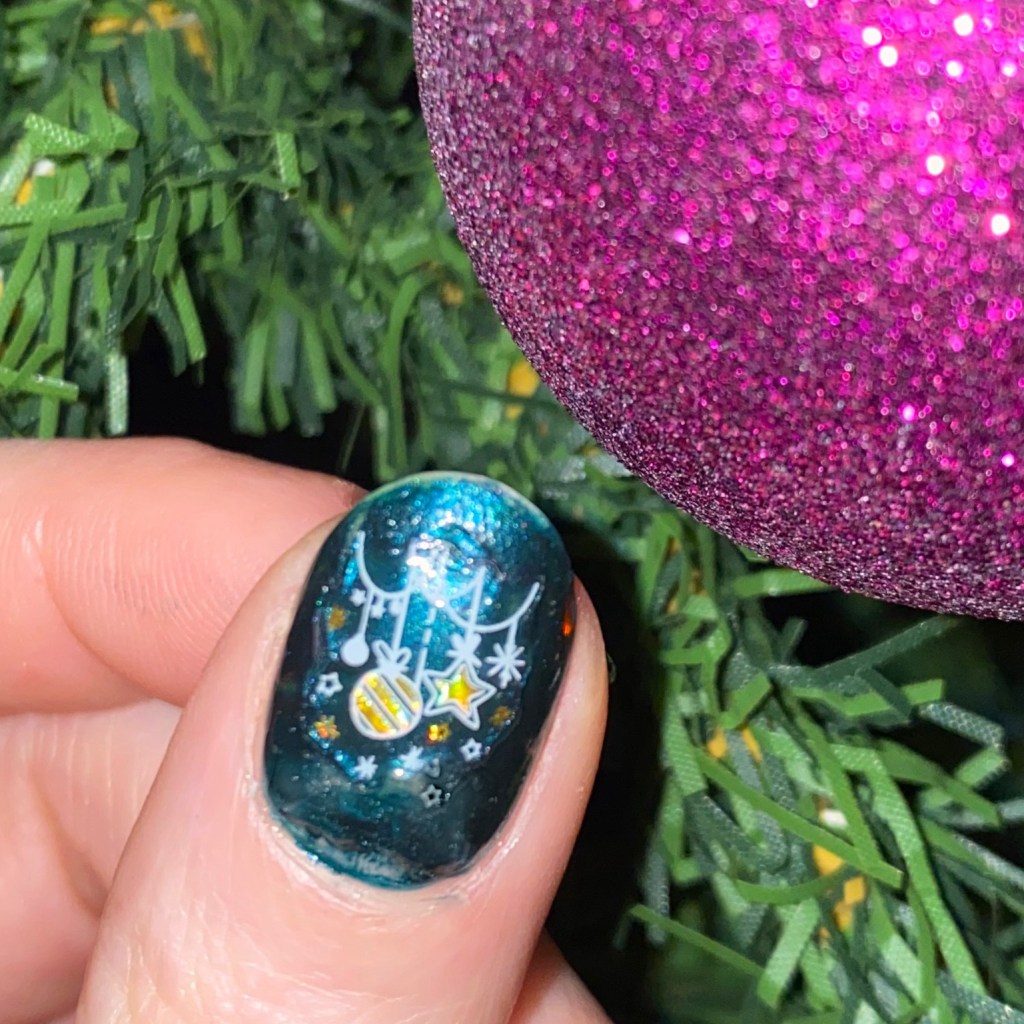
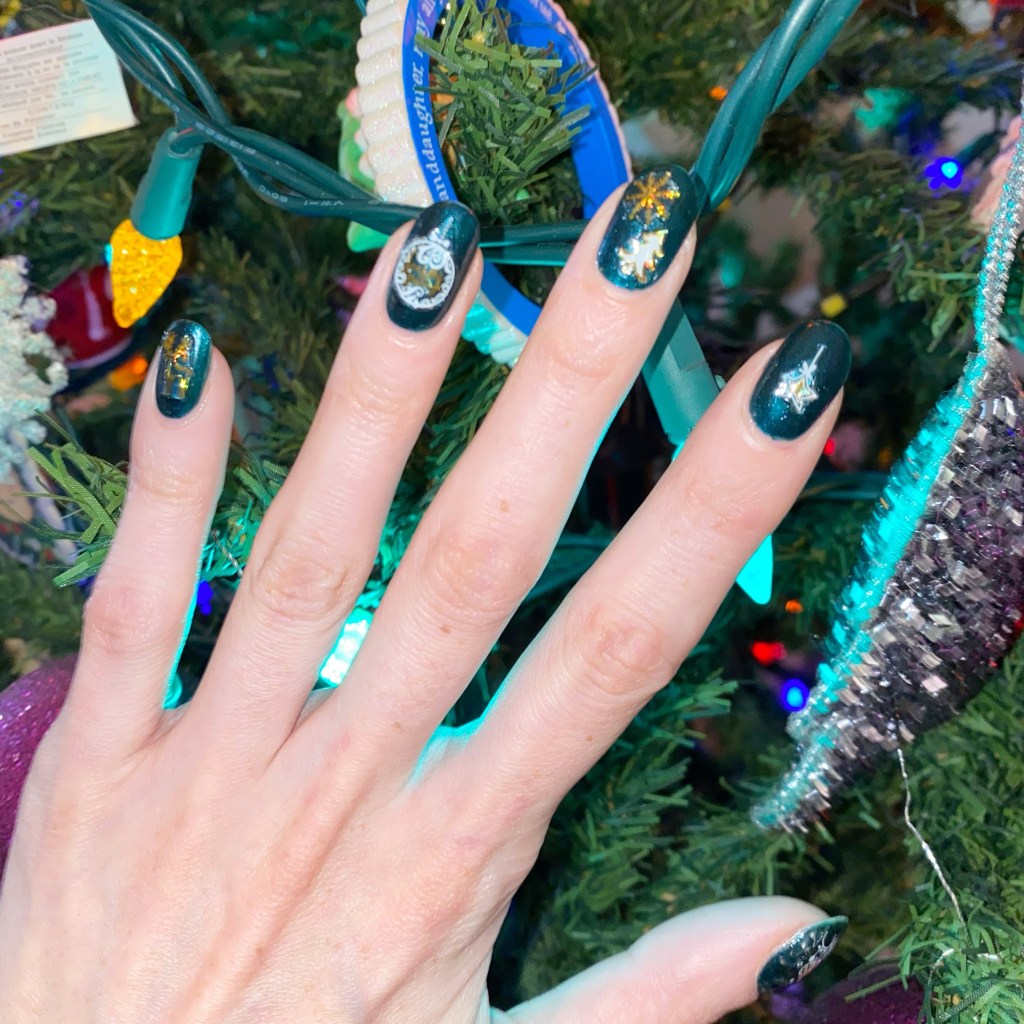
Hello loves & happy Friday. It’s a busy Friday here, & Christmas is so close. It is also time for the next prompt of Glam Nails Challenge December which is ornaments. & I had the perfect nail art stickers from NailStuff to create this easy look!

The polishes I used for this manicure are: 

How cute are the holographic gold & white nail art stickers?! I chose a darker base shade so they would really pop against it & show off! & then used a thick & glossy top coat to seal them in best I could so no edges would be pulled. & I just think they look so beautiful — plus they were simple easy to do. & that holographic finish really catches people’s attention.

What do you think about this ornament nails (poised perfectly in front of my own decorated Christmas tree)? I do love a simple nail art look sometimes & there is nothing less time consuming than nail art stickers!

Don’t forget to pop on over to Instagram & follow all the amazing designs using #glamnailschallengedec24.

🖤

Glittery Snow Globe Inspired Nails ❄️❄️❄️

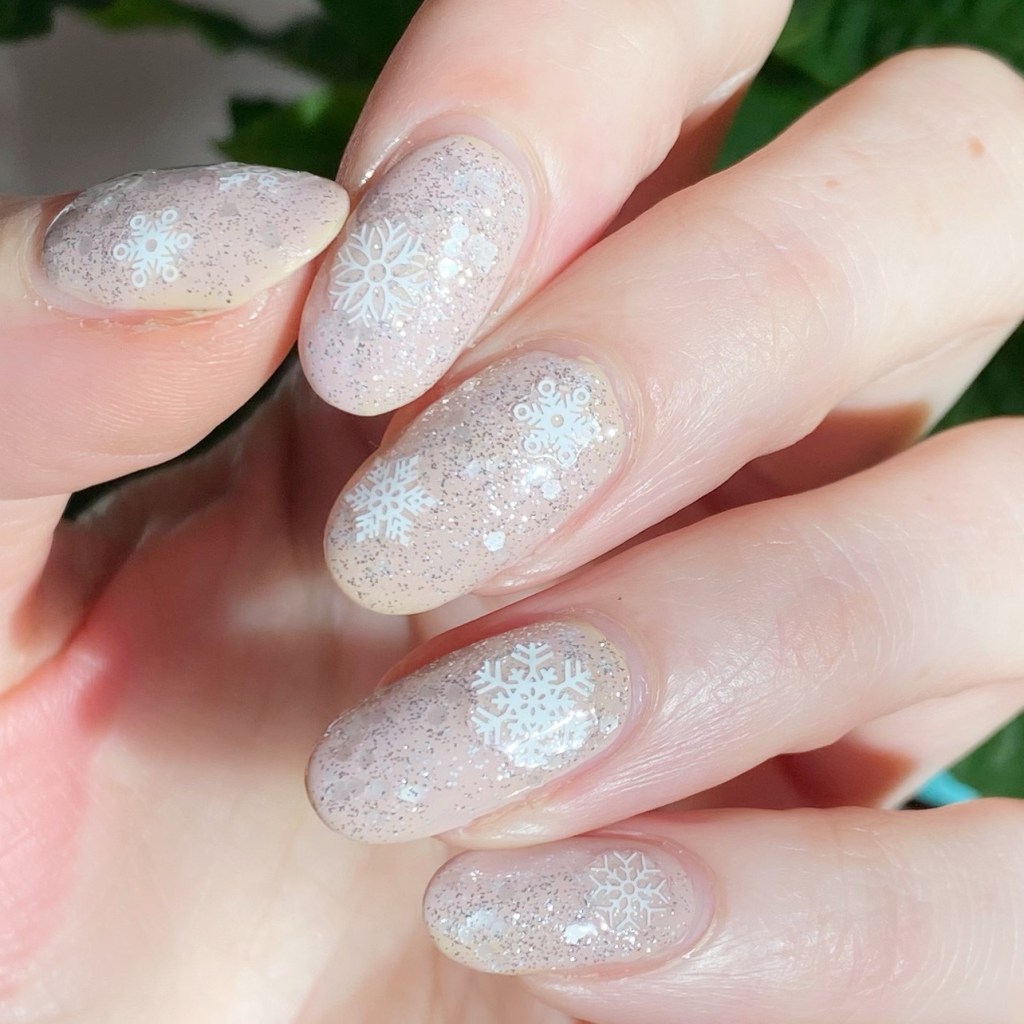
Hello loves & happy Wednesday! A chilly, icy, windy Wednesday here. Winter is quickly approaching, so I feel like some snowflake nails aren’t completely out of the realm of possibility.

I’m officially going all in on the holiday nails so if you have any requests for fun nails, let me know! I’m always up for creating some fun holiday looks to inspire people.

The polishes I used for this manicure are: 

  • Base Coat: NailStuff Essentials Base Coat *
  • Top Coat: Nail Stuff Essentials Quick Dry Top Coat *
  • Sally Hansen Miracle Gel Living in the Presents
  • OPI Pirouette My Whistle
  • NailStuff.ca Snowflake stickers

*PR/Gifted

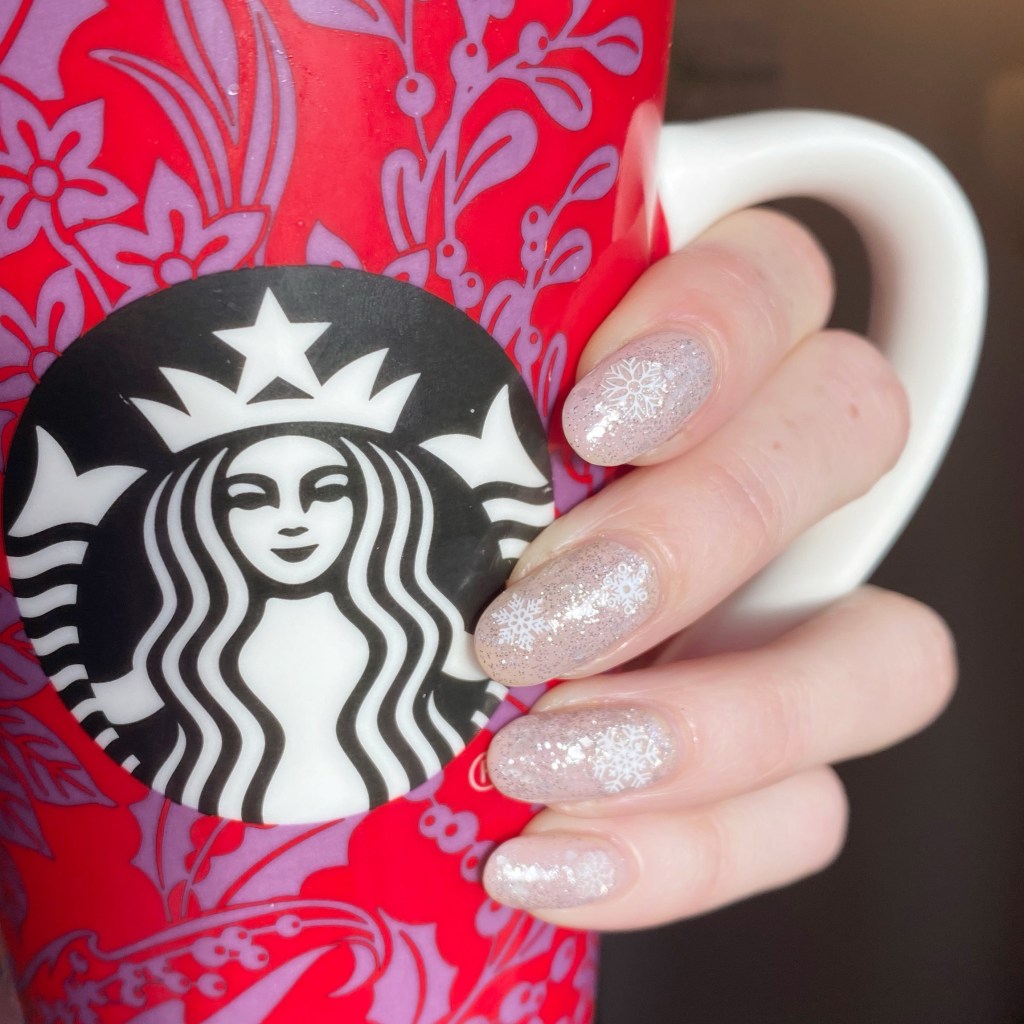
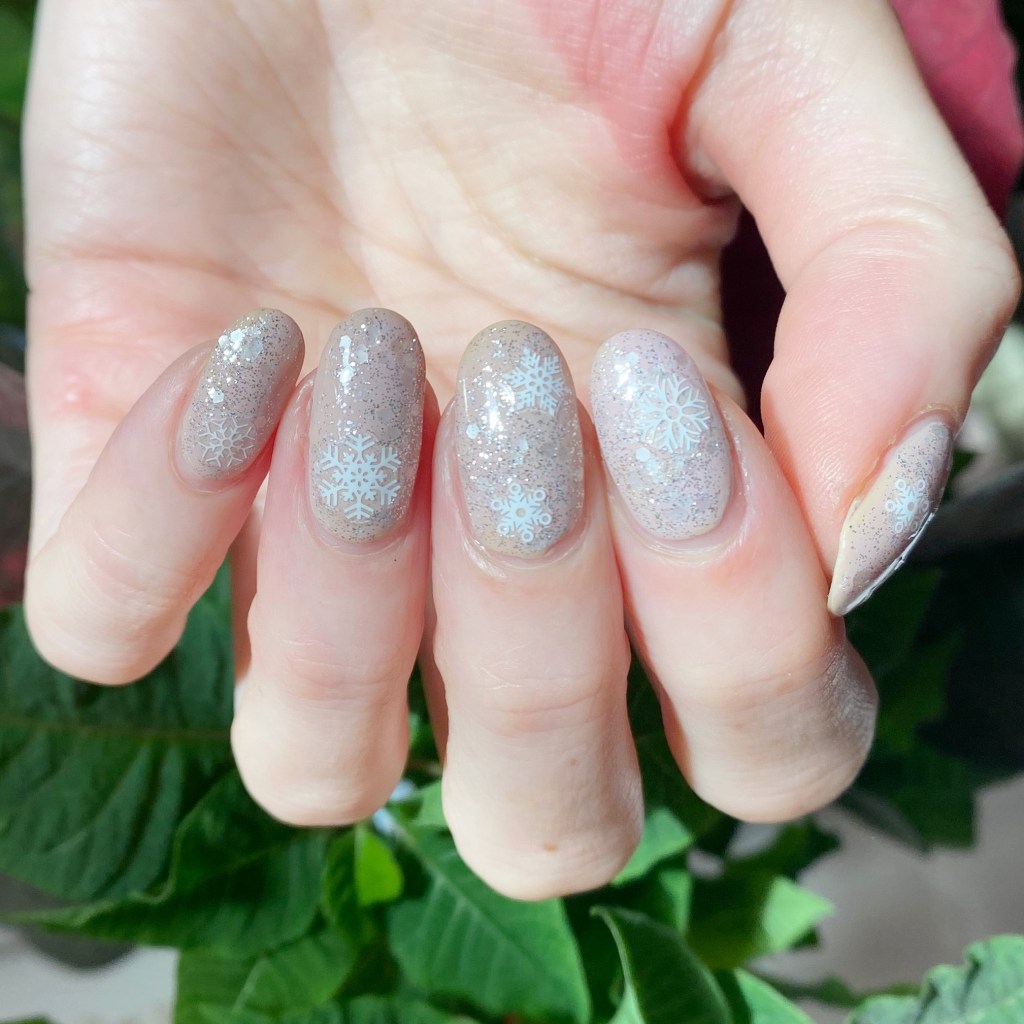
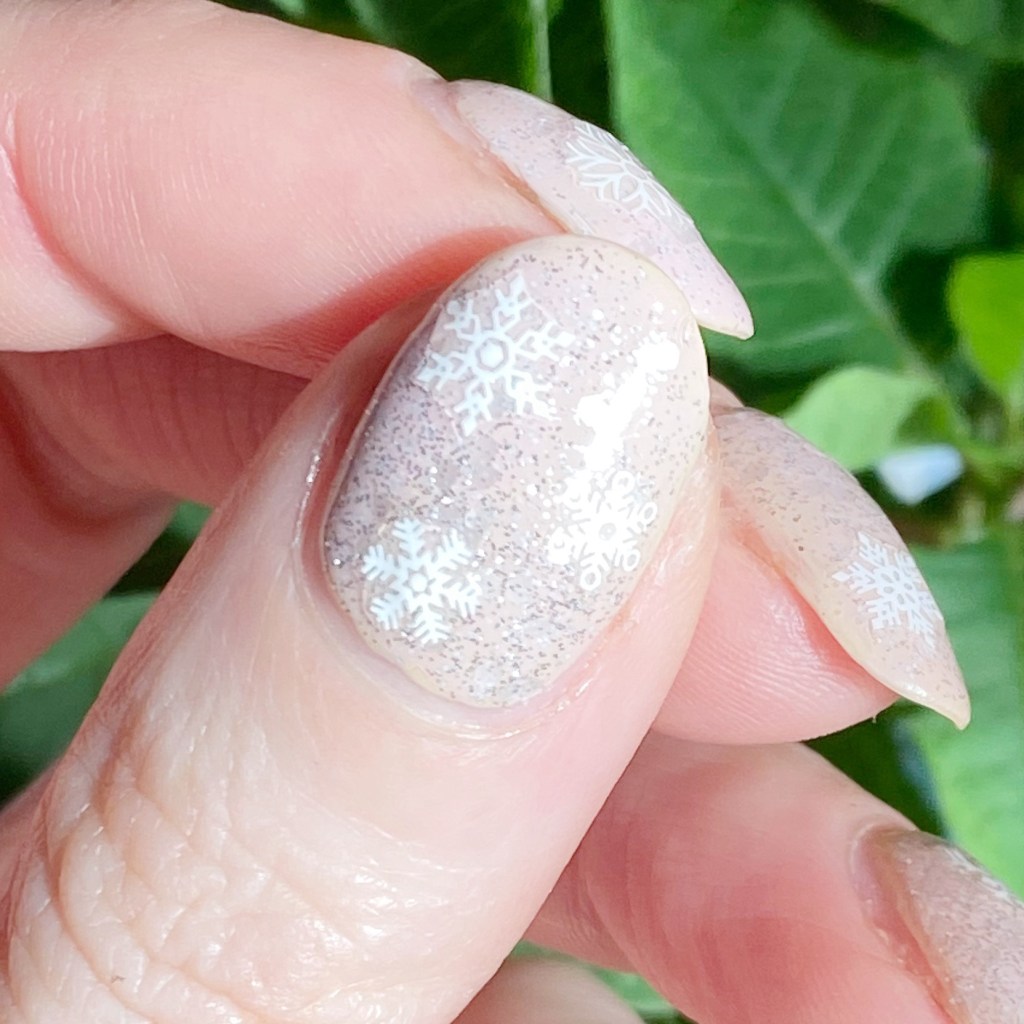
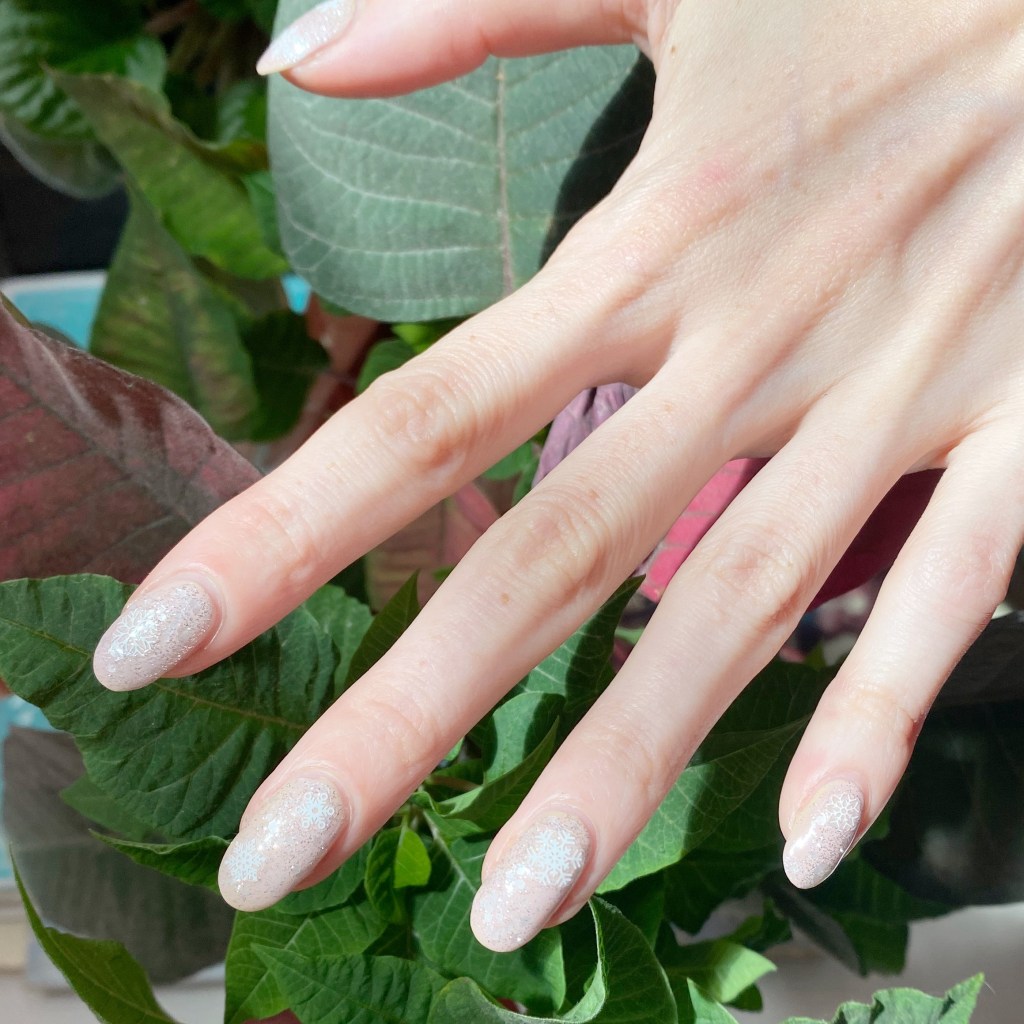
Don’t these just remind you of a snow globe? I love how they turned out. These were so super easy to do, & I love how beautiful they look. Plus the thick glossy top coat from NailStuff Essentials really sealed in the stickers so you don’t have to worry about any edges sticking up.

They just turned out so beautiful, & I love how that the colours are more subdued but then you also get the fun glitter.

What do you think about these glittery snowflake nails? Sadly, this was the last manicure I did with long nails — I had a pretty awful break after I wore them, & am now rocking some serious shorties. But they’ll be fun to do some Holiday nail art looks on my shorties, & also inspire those with shorties as well!

Happy Wednesday!

♥︎

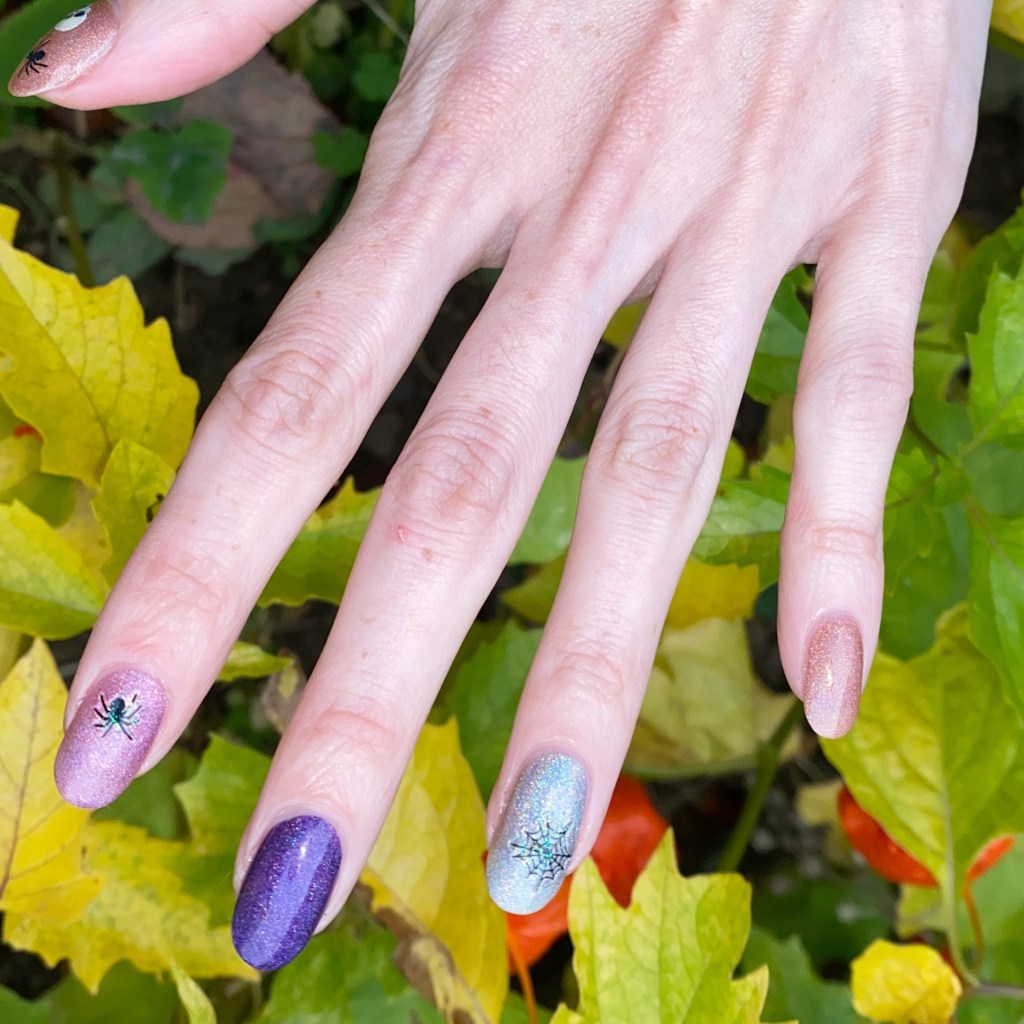
Easy Halloween Skittle with Ella + Mila

*contains PR

Hello lovelies & happy Thursday! The countdown is officially on — we have one week until Halloween! Guess it is time to sneak in as many Halloween manicures as I can!

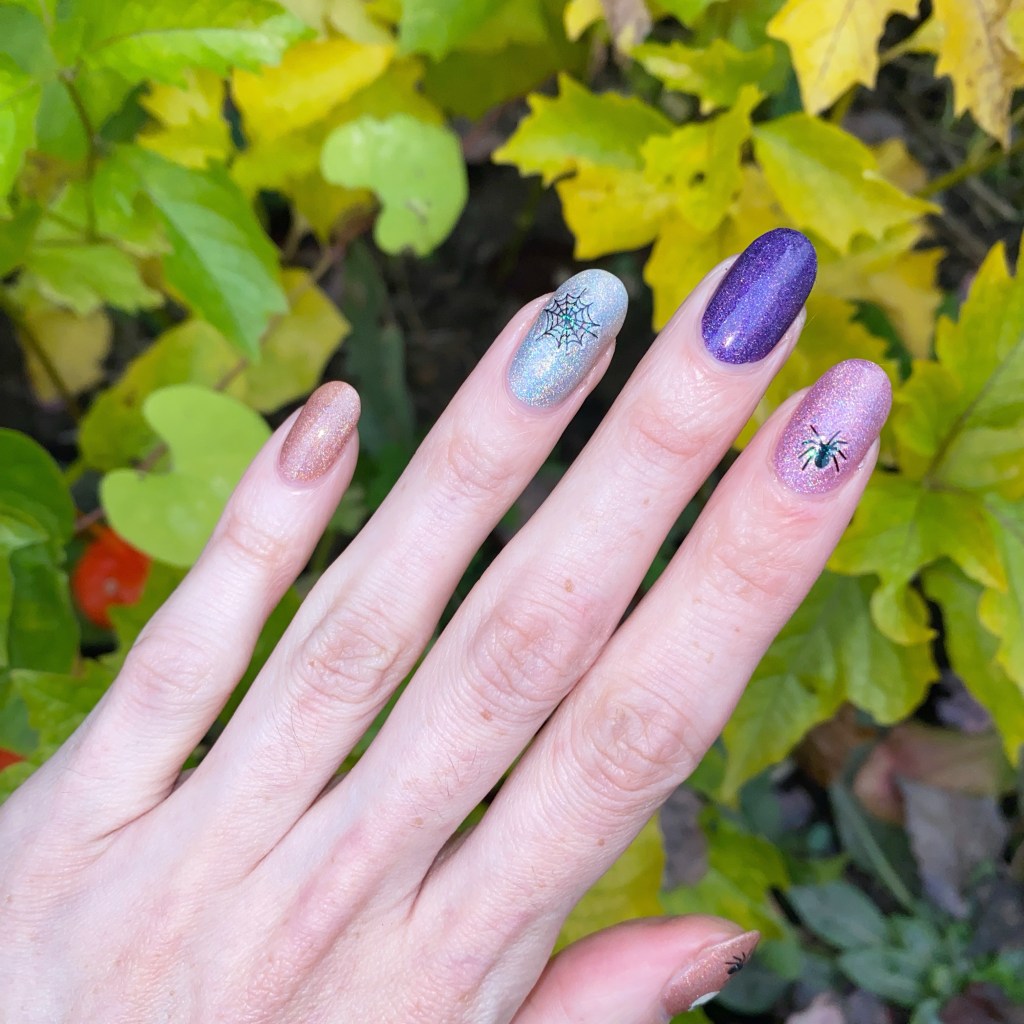
Today we’re starting off easy with some Halloween nail art stickers on a skittle. I was recently gifted some beautiful polishes from Ella + Mila, & I thought they would be a fun base for some new Dollarama nail art stickers! So I paired the colours together with a few simple stickers & I think it turned out so fun. Chic & simple.

The polishes I used for this manicure are: 

  • Base Coat: Ella + Mila All About The Base (Base Coat) *
  • Top Coat: Ella + Mila In A Rush (Top Coat) *
  • Ella + Mila Oasis *
  • Ella + Mila Dragonfly *
  • Ella + Mila Violet Skies
  • Ella + Mila Zephyr *
  • Dollarama Halloween Nail Art Stickers

*gifted

How beautiful are these shades from Ella + Mila? I feel like these colours are perfect for Halloween nail art that’s not typical colours. I mean, I feel like purple & orange are classic Halloween colours, but the dark purple & pink do work as well too. I will have full Swatches of the whole collection I was send coming hopefully this weekend, or the next. But I couldn’t wait to put on a few of the shades as soon as I received them! They’re just so beautiful.

(You can use THIS LINK to check out their site — it is an affiliate link so thank you if you use it!)

& I recently found more fun new Halloween nail art stickers at my local Dollarama store, so naturally I needed to use them immediately. For $1.25 they’re such a steal!

What do you think about this manicure? Do you like this Halloween skittle? Would you wear this design? Let me know all your thoughts down in the comments below!

Happy Thursday.

♥︎