Celestial Nails with Deco Beauty Stardust Stickers ✨🌙

Hello lovlies & happy Wednesday. It’s been a while.

Post-Halloween was a bit brutal, & the mid-November pre-Christmas bleakness always leaves me so uninspired. You know? When it’s too early for Christmas, & missing the Halloween vibes are over, I just don’t know what to do with myself. This time of year is a nail art black hole.

However! I recently visited a local store by where.I live–Splurge Boutique–& they sell a huge selection of Deco Beauty nail art stickers. I’ve been wanting to try them out for a while, as I’m a huge nail sticker fan, so I decided to treat myself to a few packs for those days when I feel a bit uninspired.
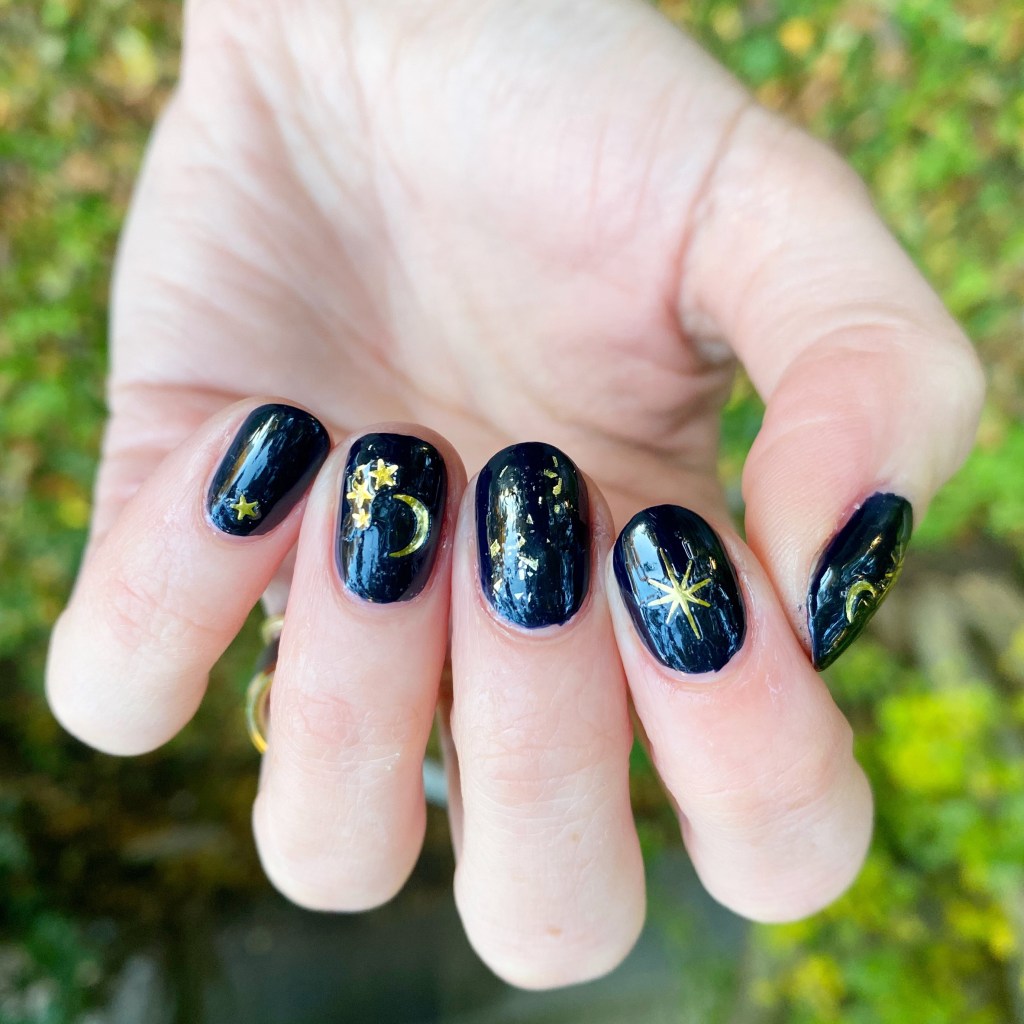
The polishes I used for this manicure are:

  • Base Coat: Sally Hansen Hard As Nails Hardener
  • Top Coat: Sinful Colors Power Paint Top Coat + Essie Good To Go
  • Essie After School Boy Blazer
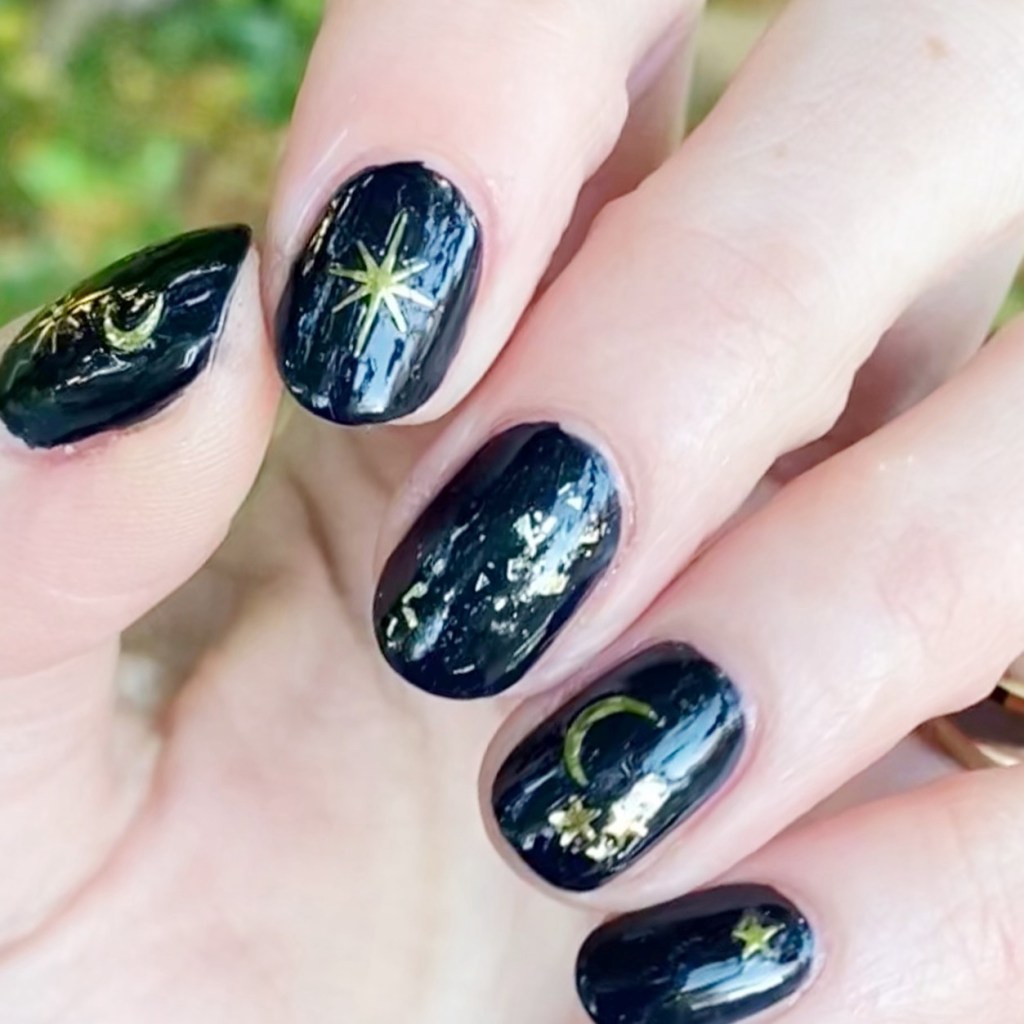
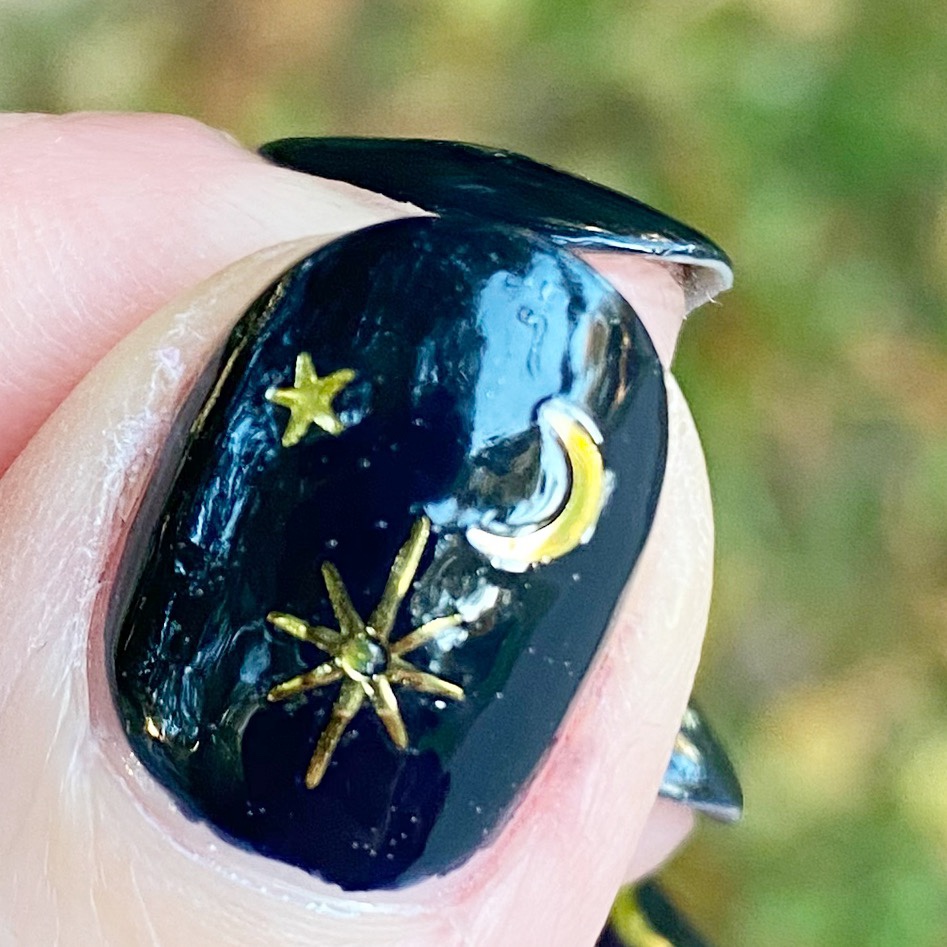
  • Deco Beauty Stickers in Stardust
  • Small Tweezers
  • YSL Beauty Feuille D’Or
  • Small Dotting Tool

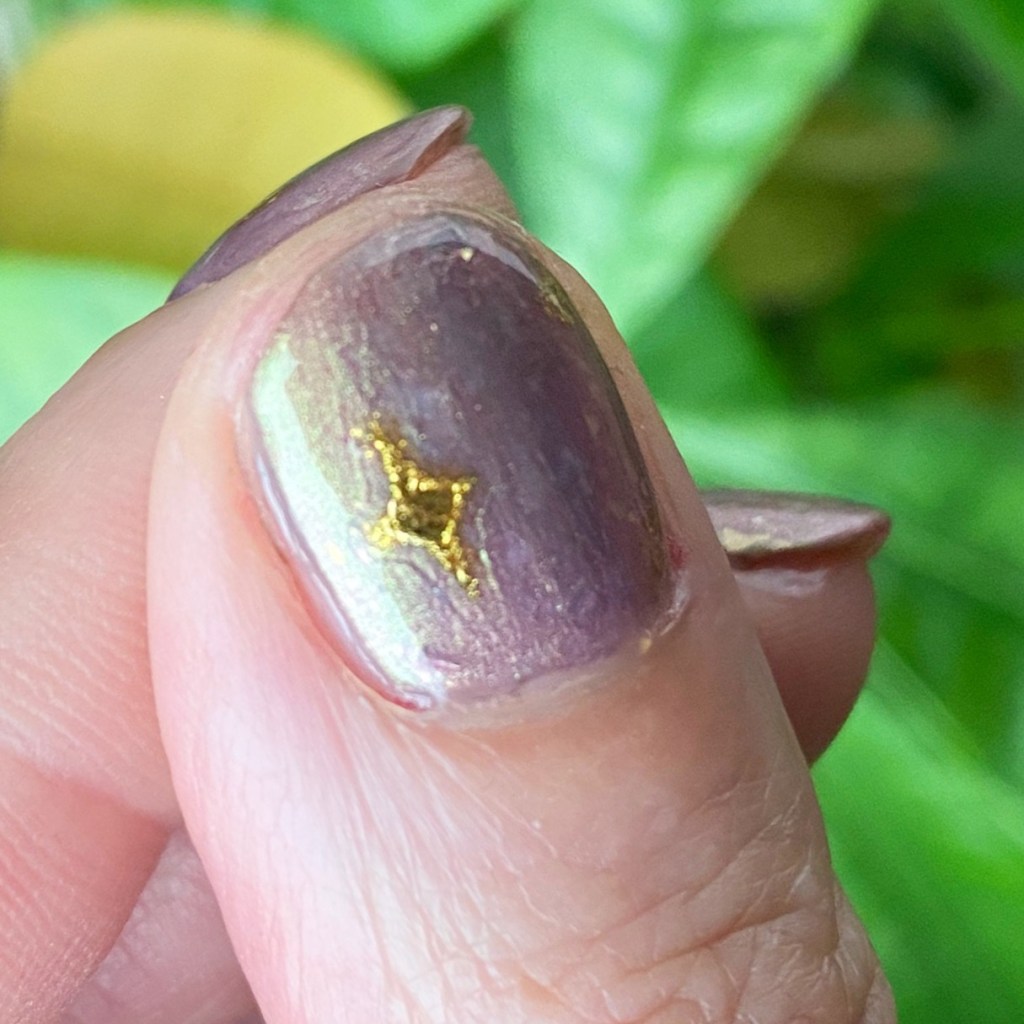
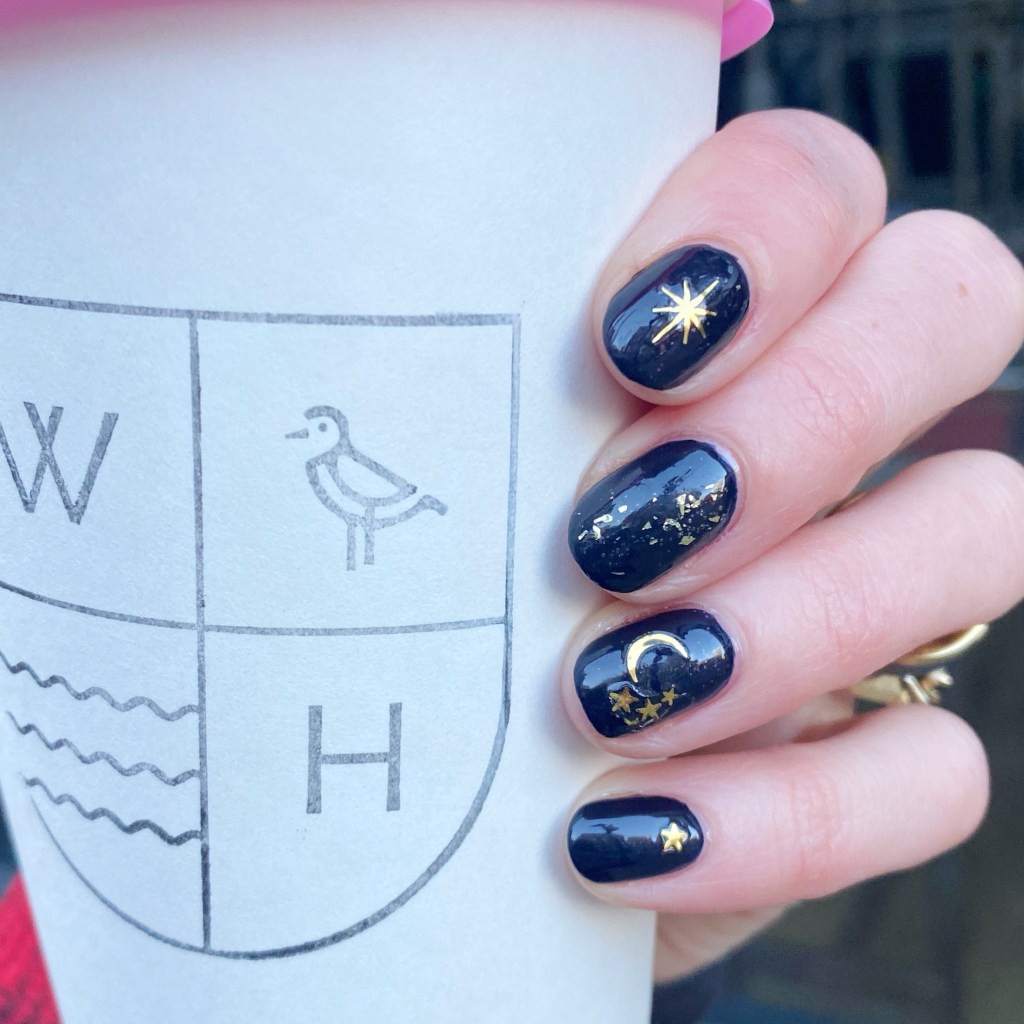
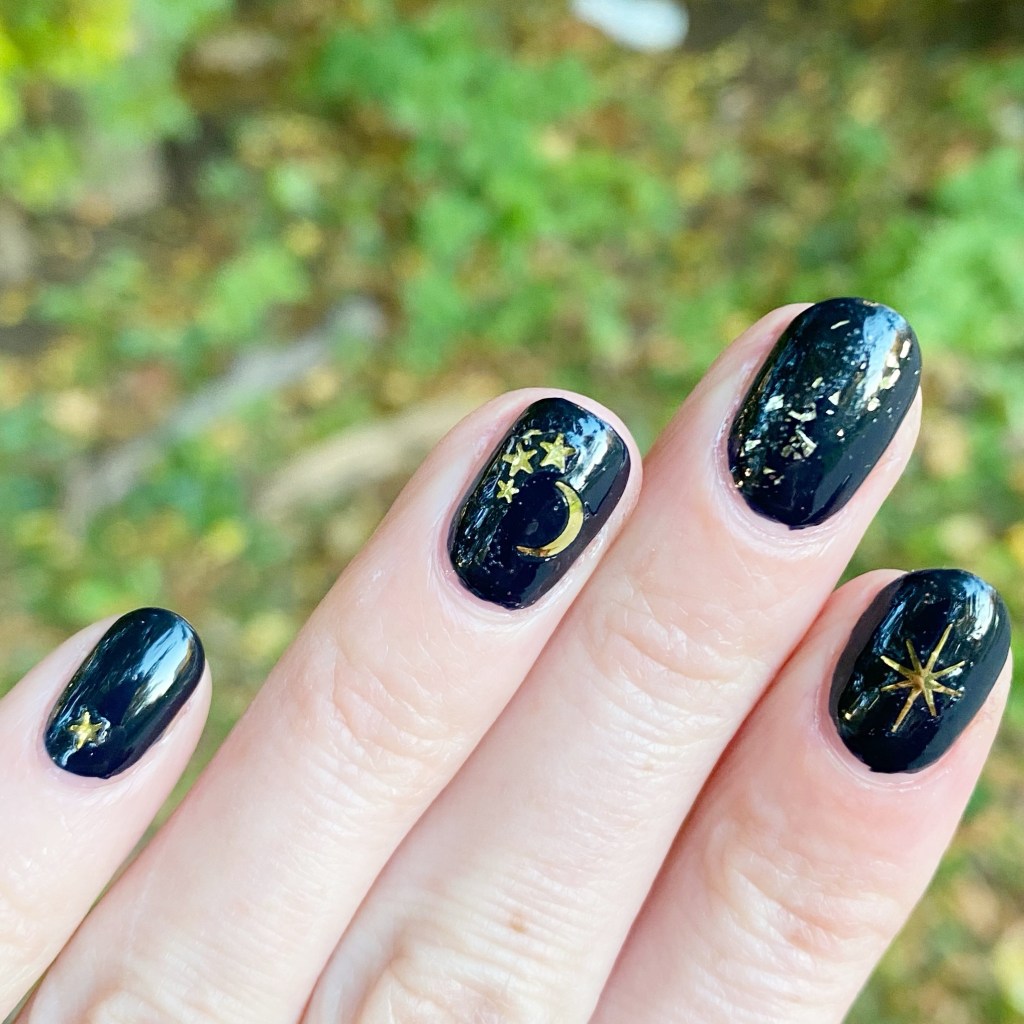
The first nail art stickers which caught my eyes were these beautiful celestial designs. I love the moons & stars, & the gold finish. They were super easy to apply, & I love how flatly they lay on the nail. I had no issues with lifting, & a nice coat of top coat really locked them in.

I also added a bit of gold sparkle on my middle finger, just for a little extra pizzazz. It was the perfect easy manicure to throw on & go. It created a beautiful look without much thought, & that’s why I love nail art stickers.
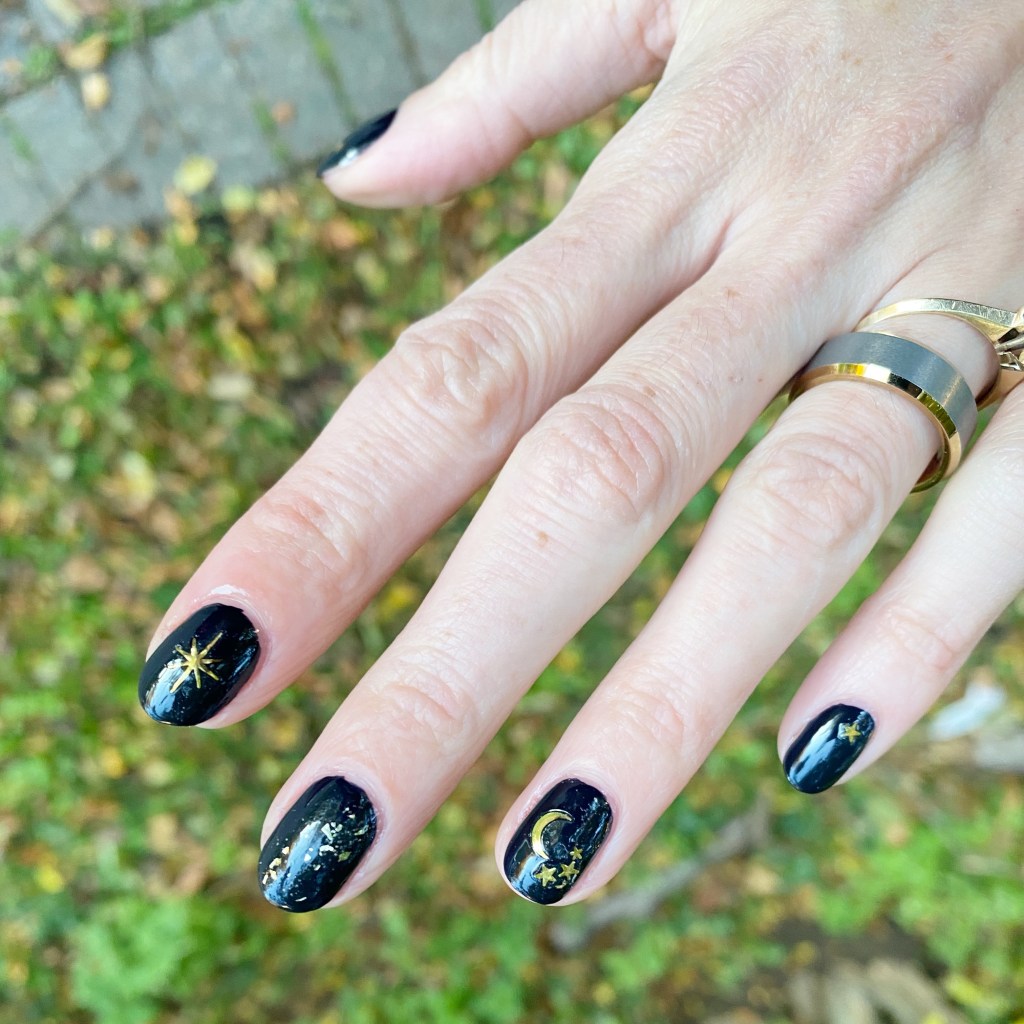
What do you think about this look using Deco Beauty stickers? I purchased these for $19 CAD + tax (I also got a second set on clearance that were $10) which is pricey, but they quality is definitely there, & that lasted through a whole work shift… even when the nail polish was chipping.

I’d love to know your thoughts, & if you have any expeirnce with these stickers! Also, if you have any suggestions on November nail designs, please let a girl know! I’m dying for some inspiration.
Halloween Nail Art Stickers 🕸️👻

Hello lovelies & happy Wednesday!

It is absolutely freezing today, which is crazy because I feel like this time last year it wasn’t nearly as cold. At this rate, we’ll be wearing our winter coats for Trick or Treating on Saturday (just like when I was a kid).

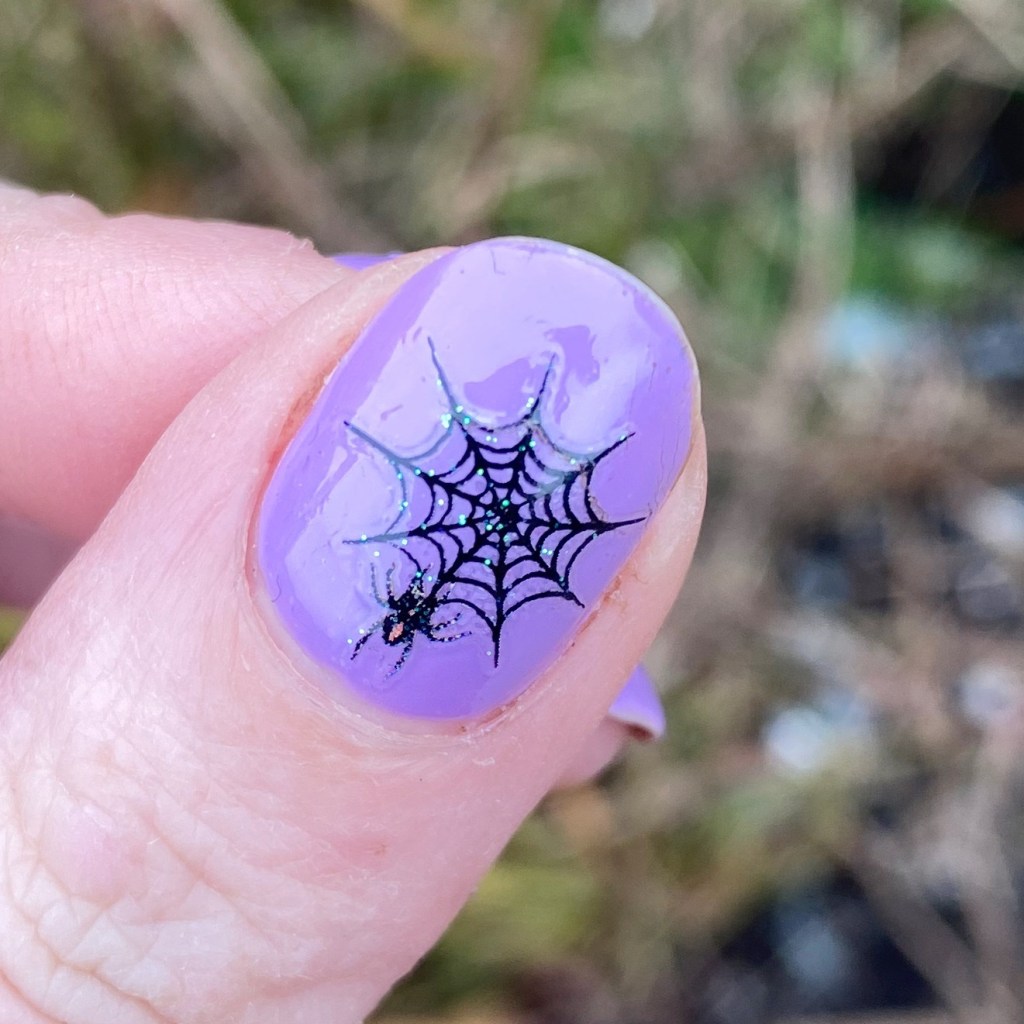
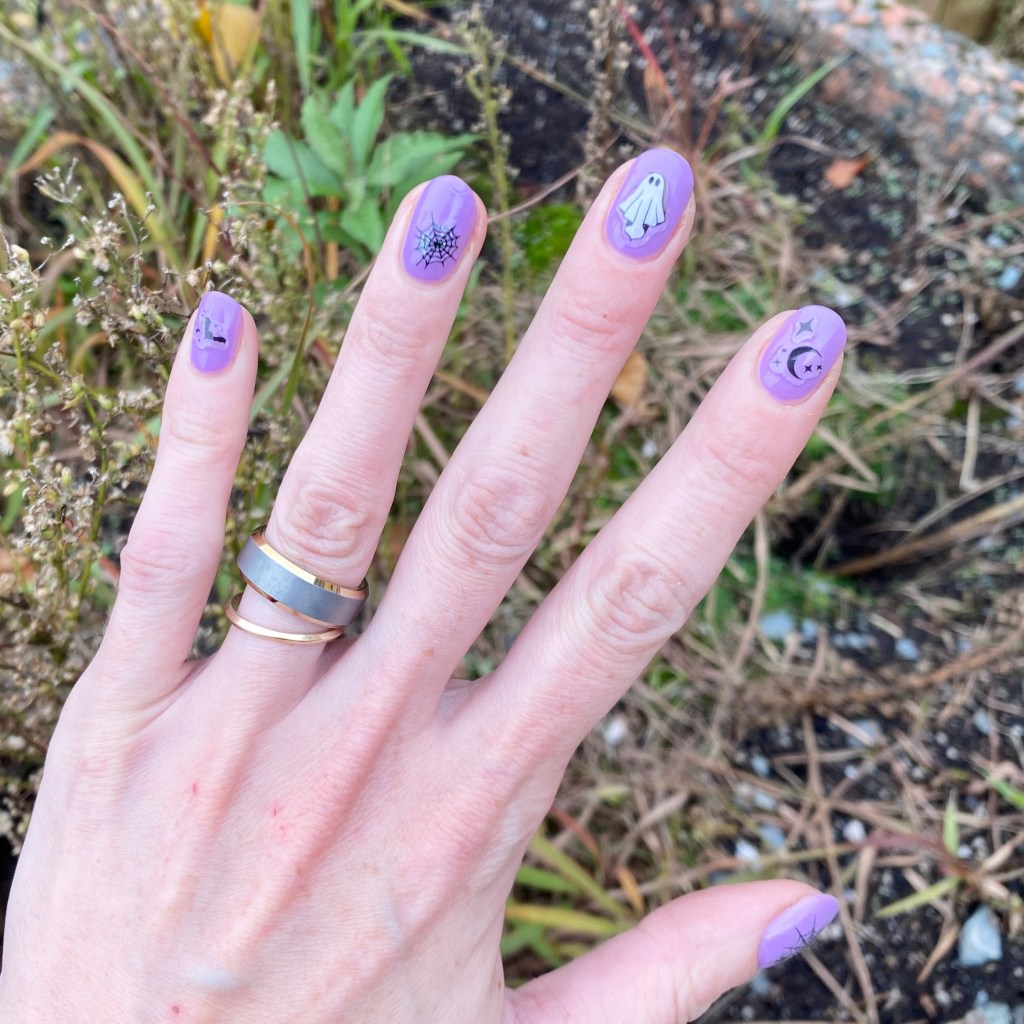
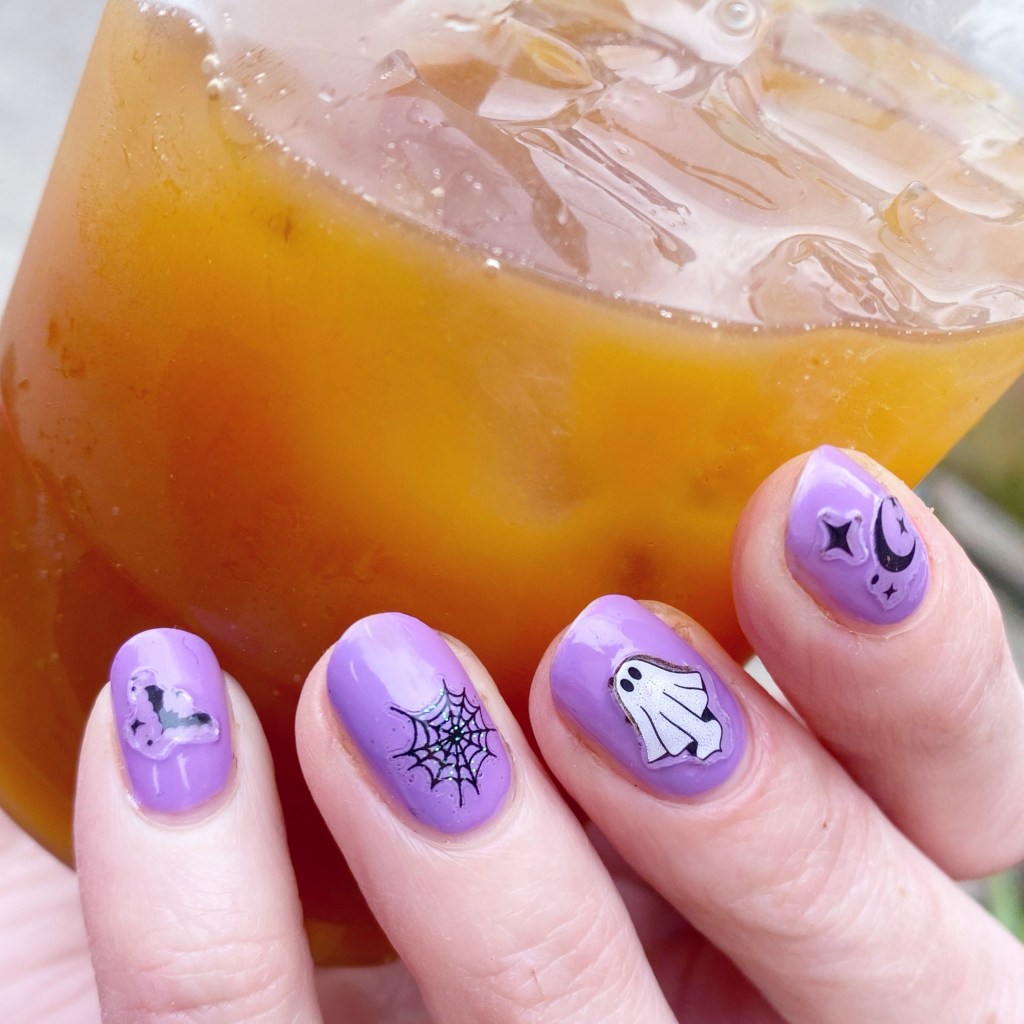
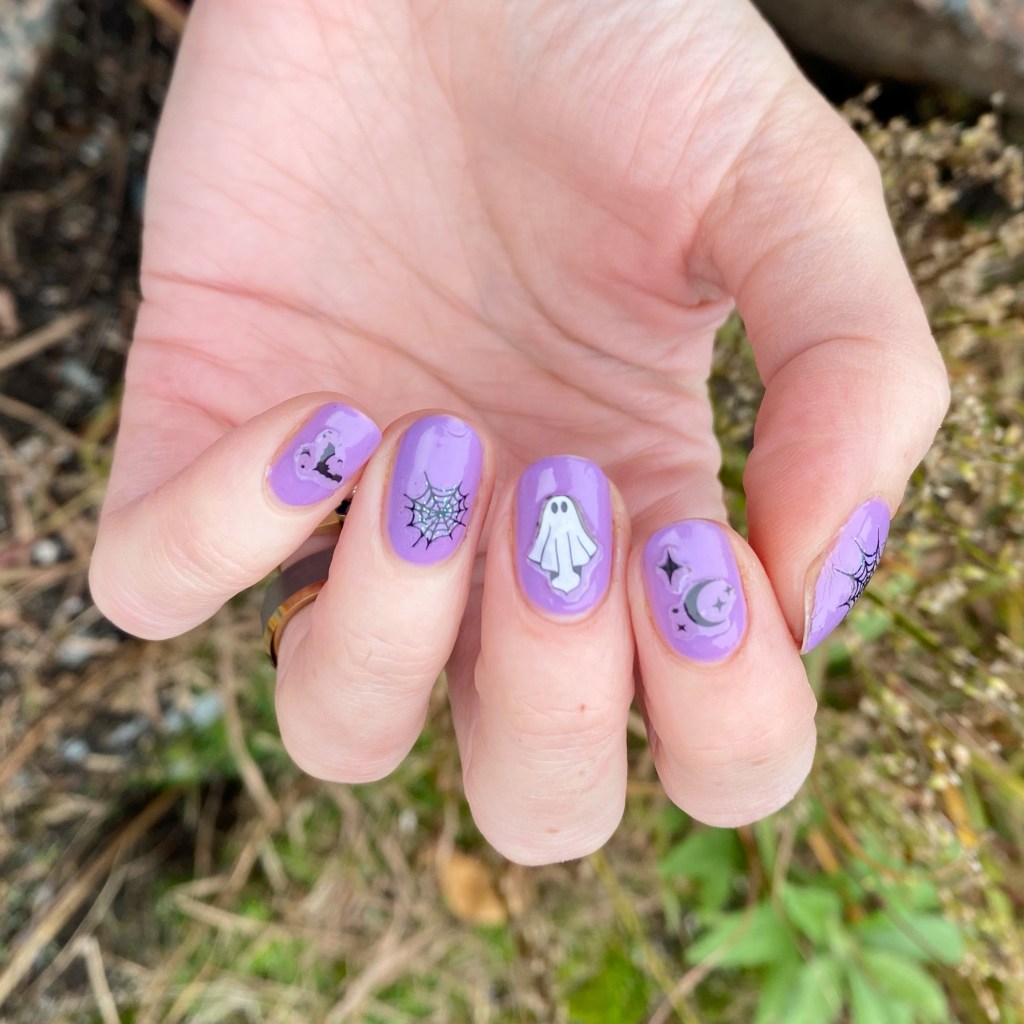
Today though, I have some quick & easy Halloween nails I recently did, using a selection of nail art stickers from Wet N Wild’s Halloween release. We all know my love of nail art stickers for easy manicures, so I was excited when I stumbled across their new release.

The polishes I used for this manicure are:

  • Base Coat: Sally Hansen Maximum Growth Base Coat
  • Top Coat: Sinful Colors Power Paint Top Coat + Sally Hansen Insta-Dri Top Coat
  • Essie Worth The Tassel
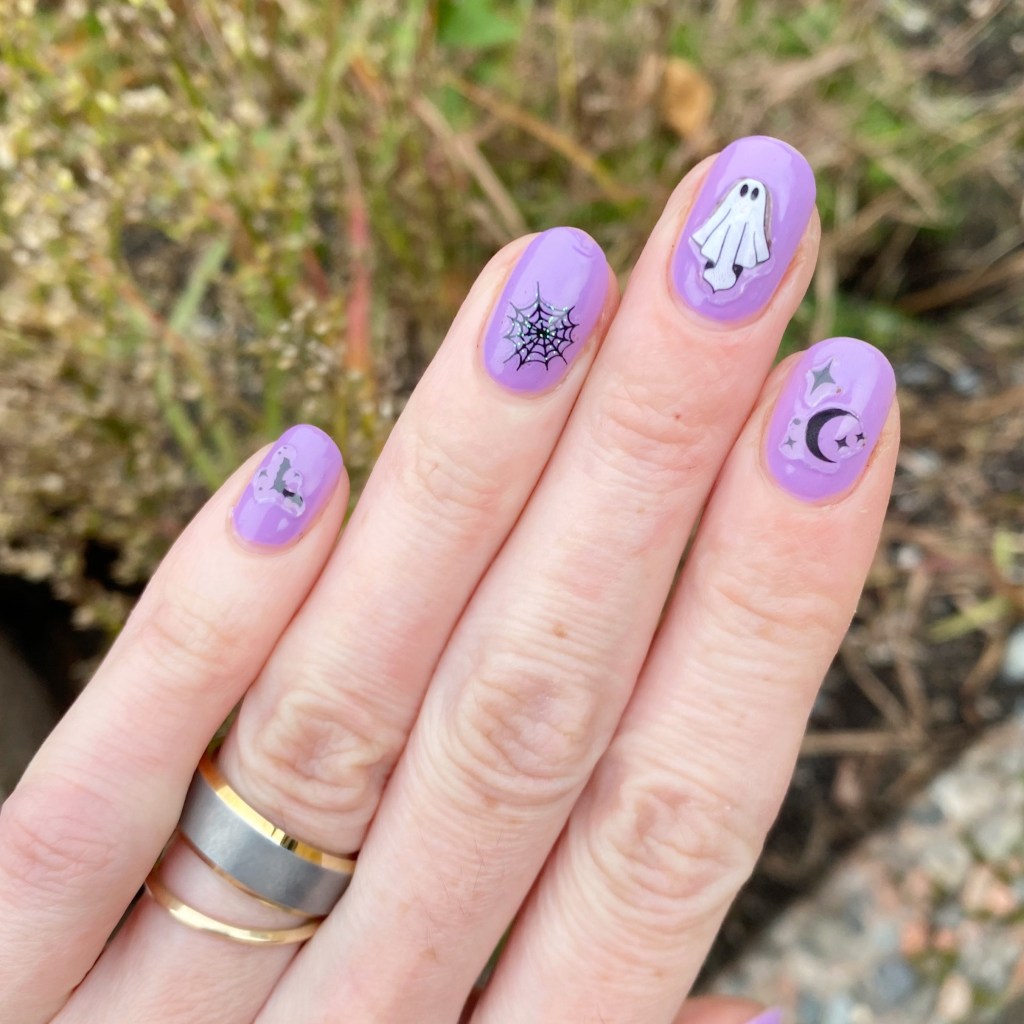
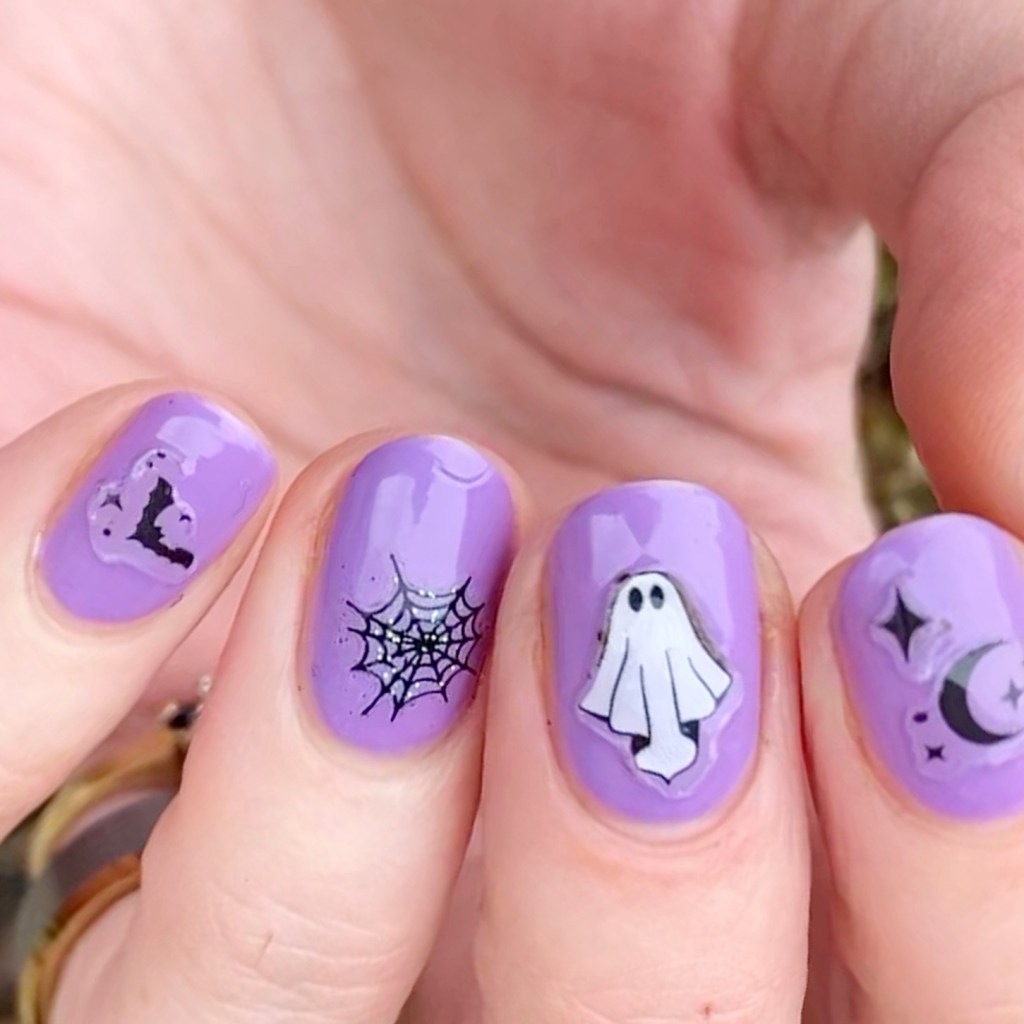
  • Wet N Wild Fantasy Makers Boo-Niverse Nail Art Stickers
  • Dollarama Spiderweb stickers

I’m always on the hunt for Halloween nail art stickers to add to my collection, so when I saw the Wet N Wild Fantasy Makers stickers at my local Lawtons, I had to get them. Shoppers had the Alien ones, which didn’t feel as Halloween-y to me, so I needed the spooky ghost stickers!

I started with a purple base, because I really wanted my stickers visible on the nail. Then I picked one (or two) sticker for each nail. I decided to add some spiderwebs from my Dollarama collection, because I felt like it matched the vibe.

Over all, I liked these stickers — they held up well against a very busy cafe shift (minus a few coffee grounds under my ghosty). I do find you can kind of see the outline of the stickers, but I feel like an extra coat of thick top coat would help with that.

What do you think of this look? Like I said, I love nail art stickers because they make doing my nails quick & easy when I don’t have a lot of time for hand painting, or it creates designs I might not be able to freehand on my own.

Happy Wednesday!

Lavender & Gold Romantic Celestial Nails ✨🌙

Hello lovelies & happy Friday! The weekend is upon us… unless of course, you’re like me, & working the entire weekend.

Today though, I’m excited because I feel like I created one of the prettiest nail designs I’ve done in absolute ages. Soft, & romantic… I’m kind of (very) in love. I also feel like this is kind of a different look for me, but the vibe reminds me a bit of a pair of press on nails I tried out a few years ago that I loved.

The polishes I used for this manicure are: 

  • Base Coat: Essie Hard To Resist Strengthner
  • Top Coat: Sinful Colors Power Paint Top Coat + Essie Speed Setter
  • Joe Fresh Gel Look Mauve-ulous
  • Revlon Daydreamer
  • Joe Fresh Gold Rush
  • Essie Get Your Groove On
  • Icing store nail stickers — the stars
  • NailStuff Mermaid Tail Brush — 7mm liner brush

I feel like I perfectly colour matched these nail stickers from Icing I’ve had in my stash for a good… 7 years, to the freehand lines & crescent moon I pained. They look so good together! I was also going to try & add some rhinestones to this look, but it was getting late, & I was so scared of messing up what I had already painted, so I kept them as it.

But aren’t they giving a fun celestial vibe? I was inspired by a few manicures I saw on Pinterest, & these stickers as well. So much so, that when I was at Dollarama, & saw a nail sticker kit with similar stickers, I had to buy it. I’m already planning on a similar vibe, with a mix of dark & light purples, closer to Halloween.

So what do you think of this celestial nail design? Do you just love the pattern & colour combo. I’m kind of obsessed with the shift on Revlon Daydreamer. It is absolutely dreamy.

Let me know what you think about this look, & let me know what kind of nail vibe you’d like to see in the future.

☼ ☽

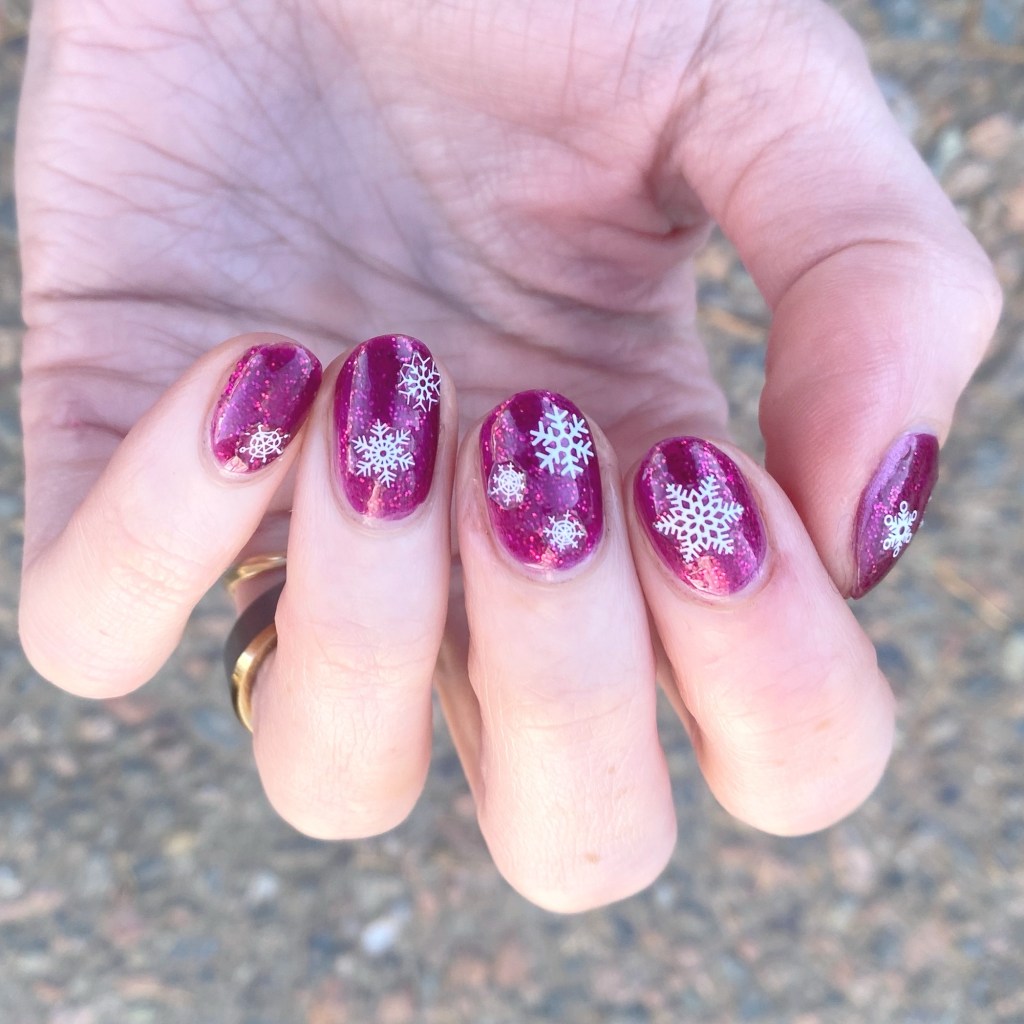
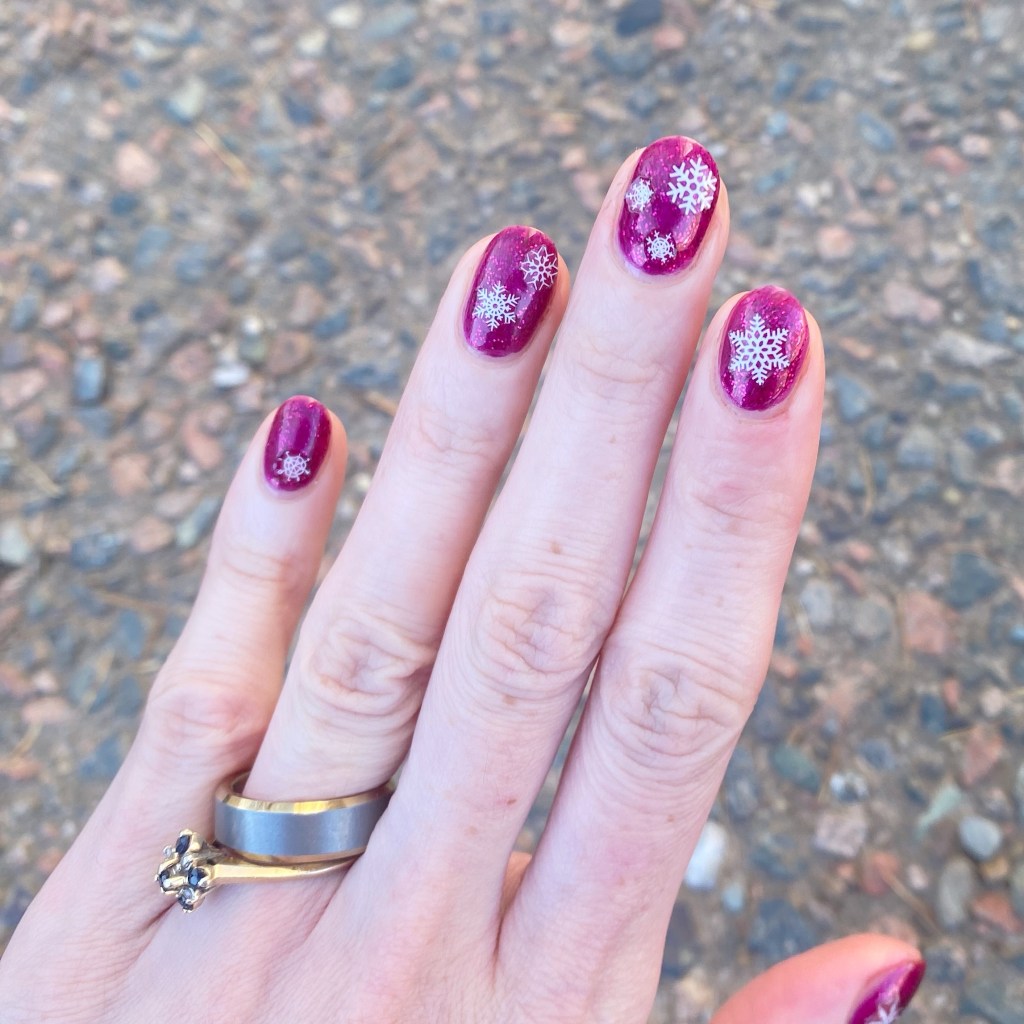
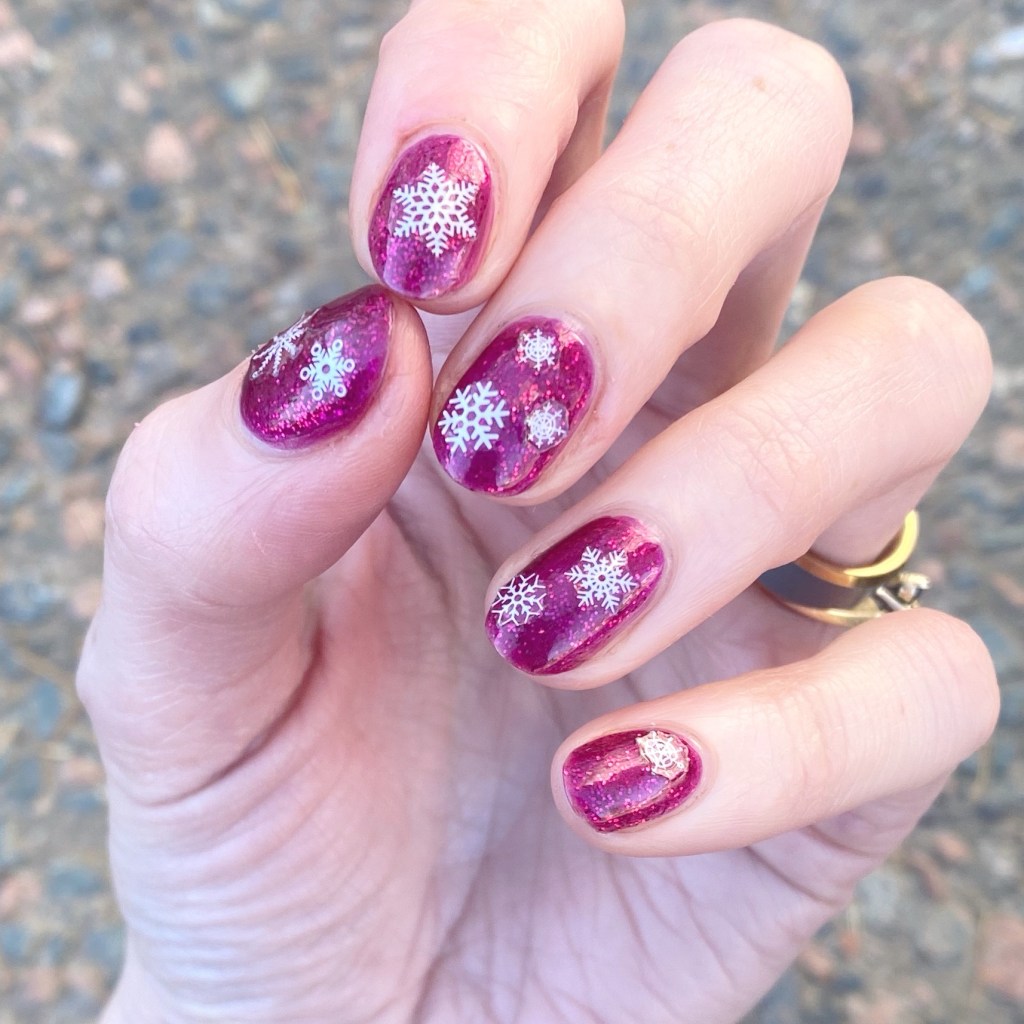
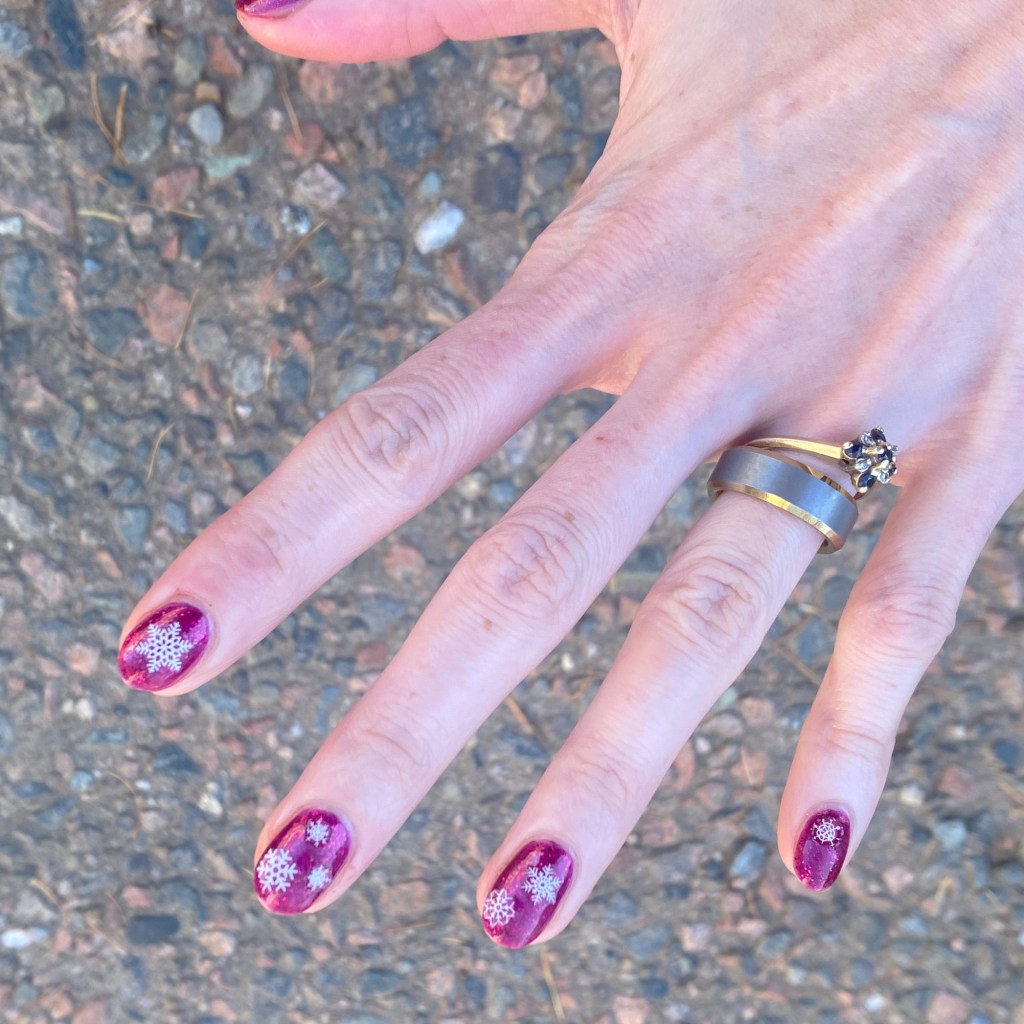
Pink Glitter Snowflakes

Hello lovelies!

Happy day after (American) Thanksgiving to my American readers, & happy Black Friday! This is my first year in a while I’m not working in retail for Black Friday sales, so I’m kind of enjoying the breather.

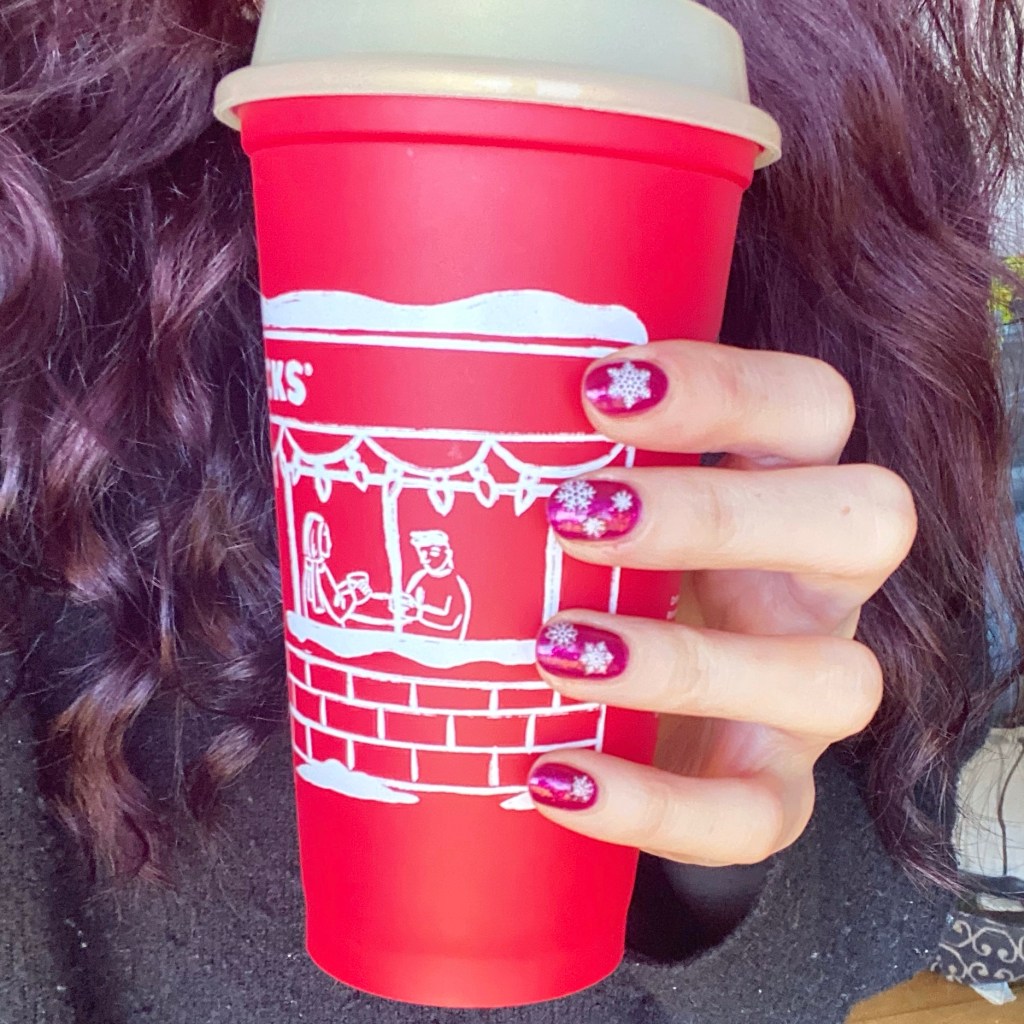
But we can’t deny — Christmas is coming. & even though I’m feeling less than zero Christmas spirit this year, I figured it was time I at least tried to summon some Holiday/Winter spirit. So naturally I thought we’d dip our toes in with some snowflake nail art stickers.

The polishes I used for this manicure are: 

  • Base Coat: Sally Hansen Miracle Cure
  • Top Coat: Sally Hansen InstaDri Top Coat (red bottle) 
  • Sally Hansen Miracle Gel Wrapped in Love
  • Ardene Dancing Queen
  • NailStuff.ca Snowflake Nail Art Stickers

First off, I’m officially petitioning for glitter pink to become an official Christmas colour. Secondly, I love how cute these are! I’ve had these nail art stickers in my collection forever, & I love that they’re still being used for cute nail art looks.

& it was way simpler than me trying to hand paint snowflakes on my nails! The white of the stickers just pop so well against that pretty pink. Definitely giving Christmas vibes — at least for me.

What do you think about these pink glittery snowflakes? Are they giving holiday vibes? Let me know all your thoughts in the comments below! & how you’re getting your nails into the festive spirit.

Happy Friday

🖤

GLAM NAILS CHALLENGE OCTOBER 2025 — Haunted House

Hello lovelies & happy Wednesday! I hope everyone is having a lovely & safe week so far. It’s a busy week as we prepare for Halloween, but we have one more prompt for Glam Nails Challenge October, & I couldn’t wait to share my design with you — even if I’m posting it a bit late in the day!

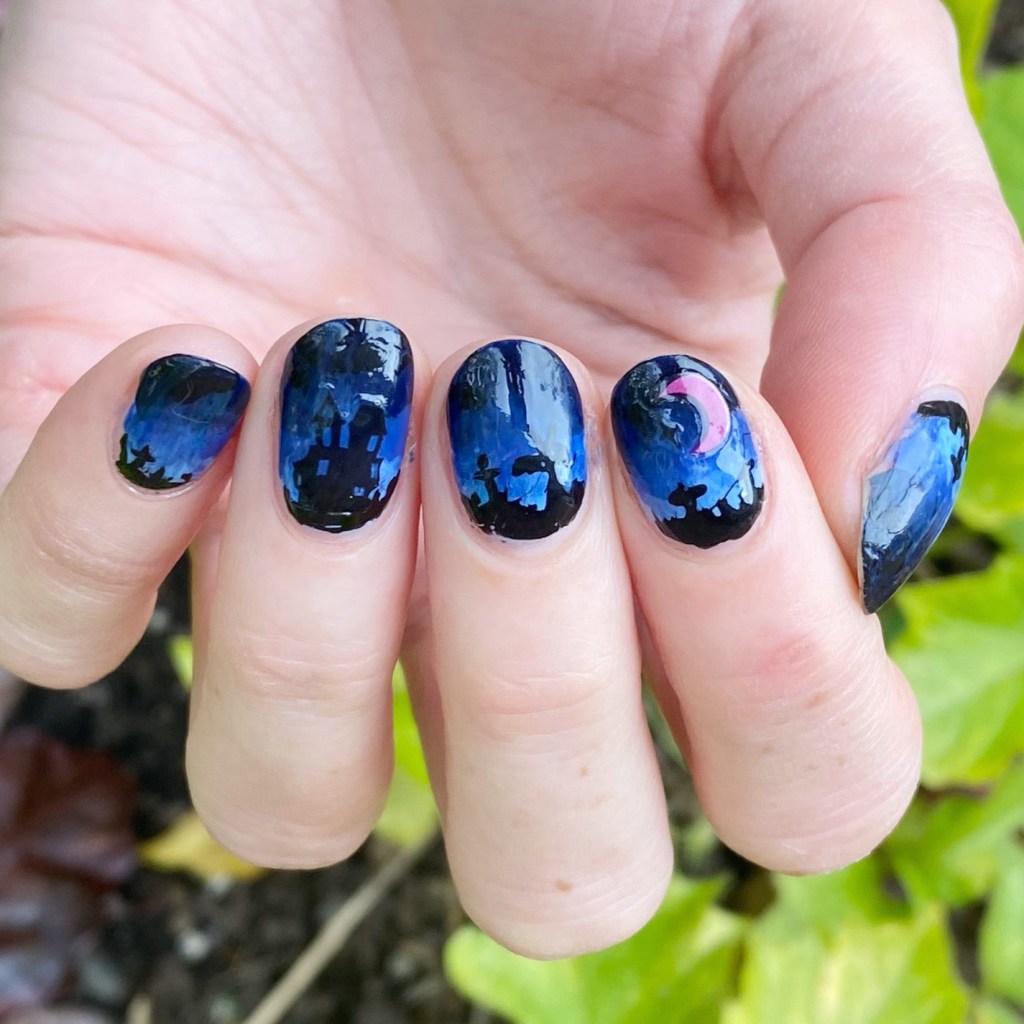
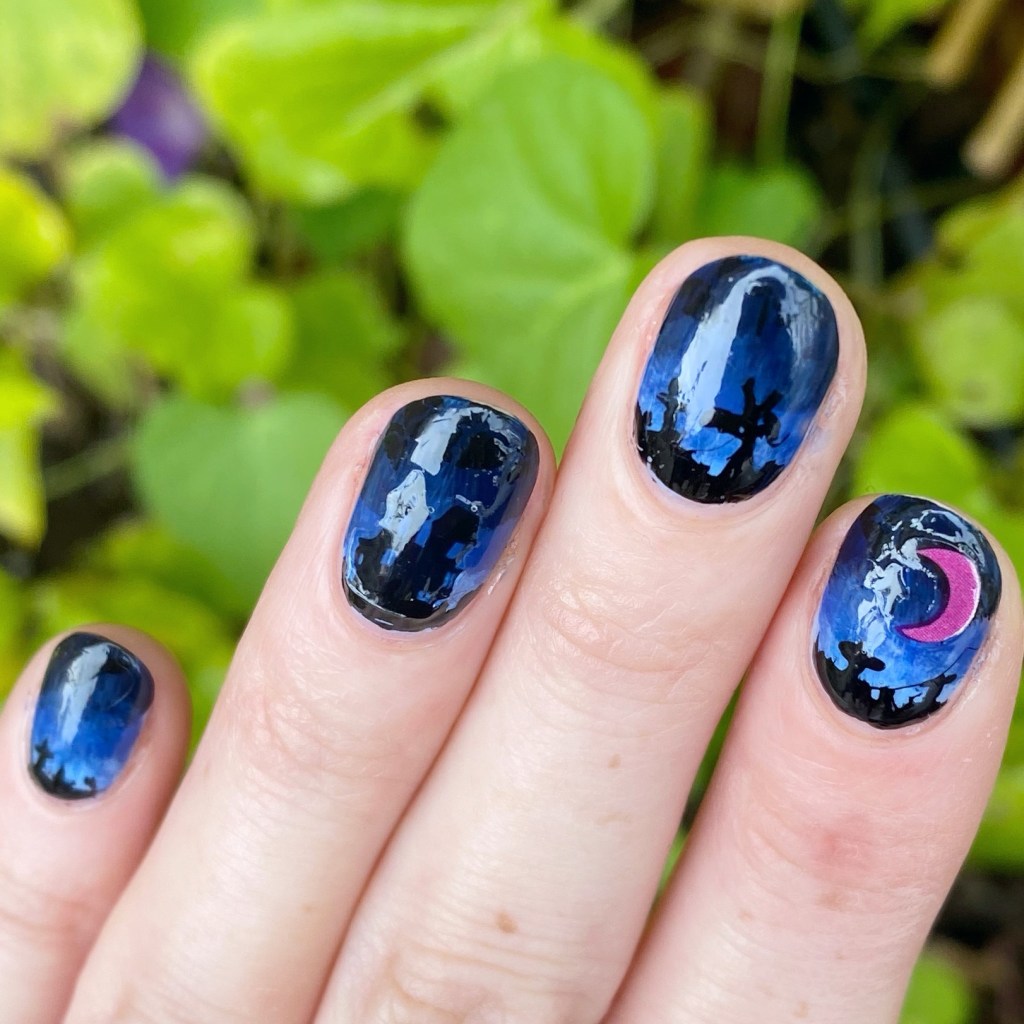
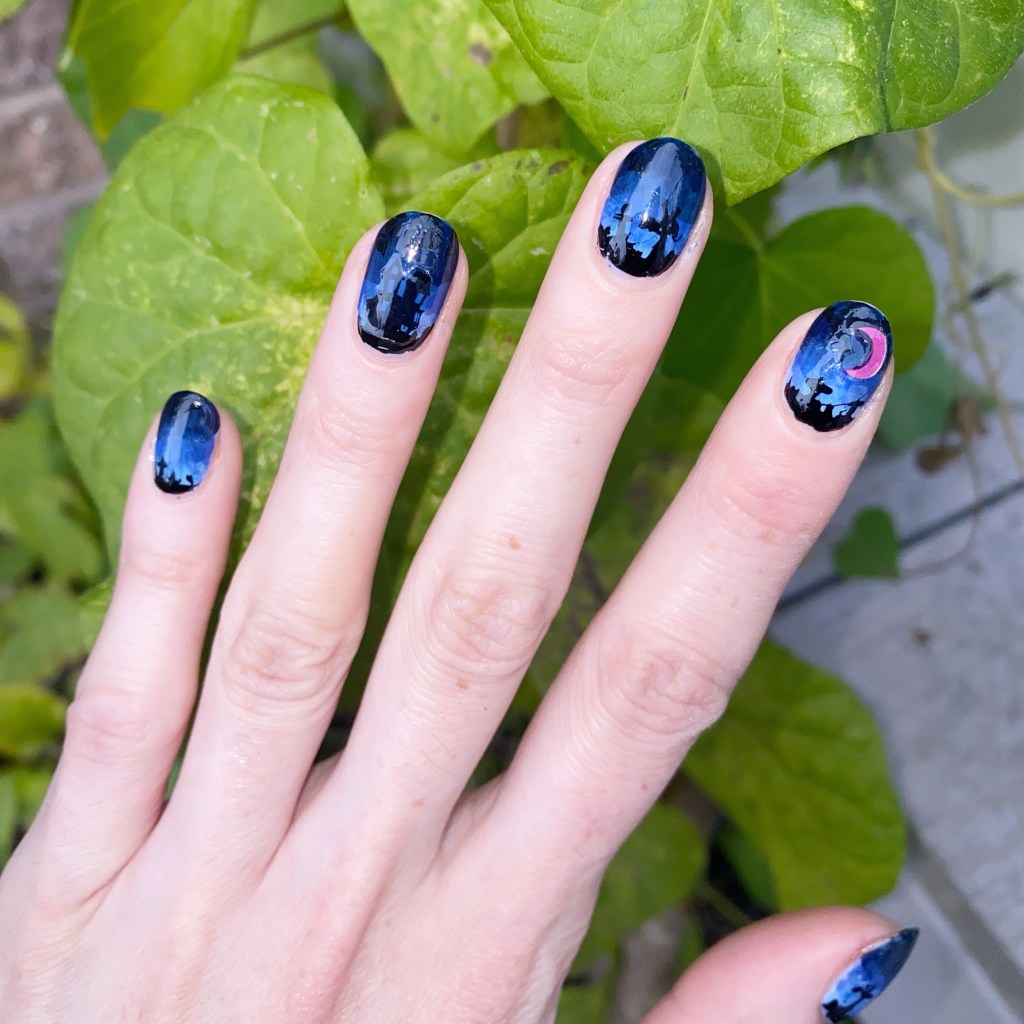
The final prompt for October is Haunted House, & I’m super proud of my spooky haunted house design I created.

The polishes I used for this manicure are: 

  • Top Coat: Sally Hansen InstaDri Top Coat (red bottle) 
  • Base Coat: Essie Hard to Resist (purple)
  • Sally Hansen Miracle Gel Sugar Fix
  • Sally Hansen Miracle Gel Beatnik
  • Sally Hansen Complete Salon Manicure Dark Hue-mor
  • Quo by Orly Nail Art Striper in black
  • Wet n Wild Nail Art Stickers Trick Me, Treat Me style
  • LA Colors Crackle Top Coat Black
  • NailStuff.ca Mermaid Tail 7mm Liner Brush

I tried my best to create an atmospheric spooky background for my design, & painted the graveyard/spooky background. Then, I had a Wet n Wild nail art sticker that was a haunted house that I placed on my ring finger — which saved me from having to handpainting it! & the pink moon just seemed like a fun little touch to add as well.

& with that, we are done Glam Nails Challenge October for another year! Crazy to think that we are so close to the end of 2025. It’s been a crazy year, so I’m excited to close out the year with some fun designs.

If you’ve been following along with this challenge thank you! I had so much fun painting my nails this month, & sharing all my Halloween design with you!

Have the lovelies rest of your day!

♥︎