Matte St. Patrick’s Day Dotticure 🍀

Hello lovelies! Happy St. Patrick’s Day 🍀 although this feels like a very strange thing to say considering the state of the world right now. I hope wherever you are, you’re safe & healthy & stocked up on all the essentials you need. Like coffee.

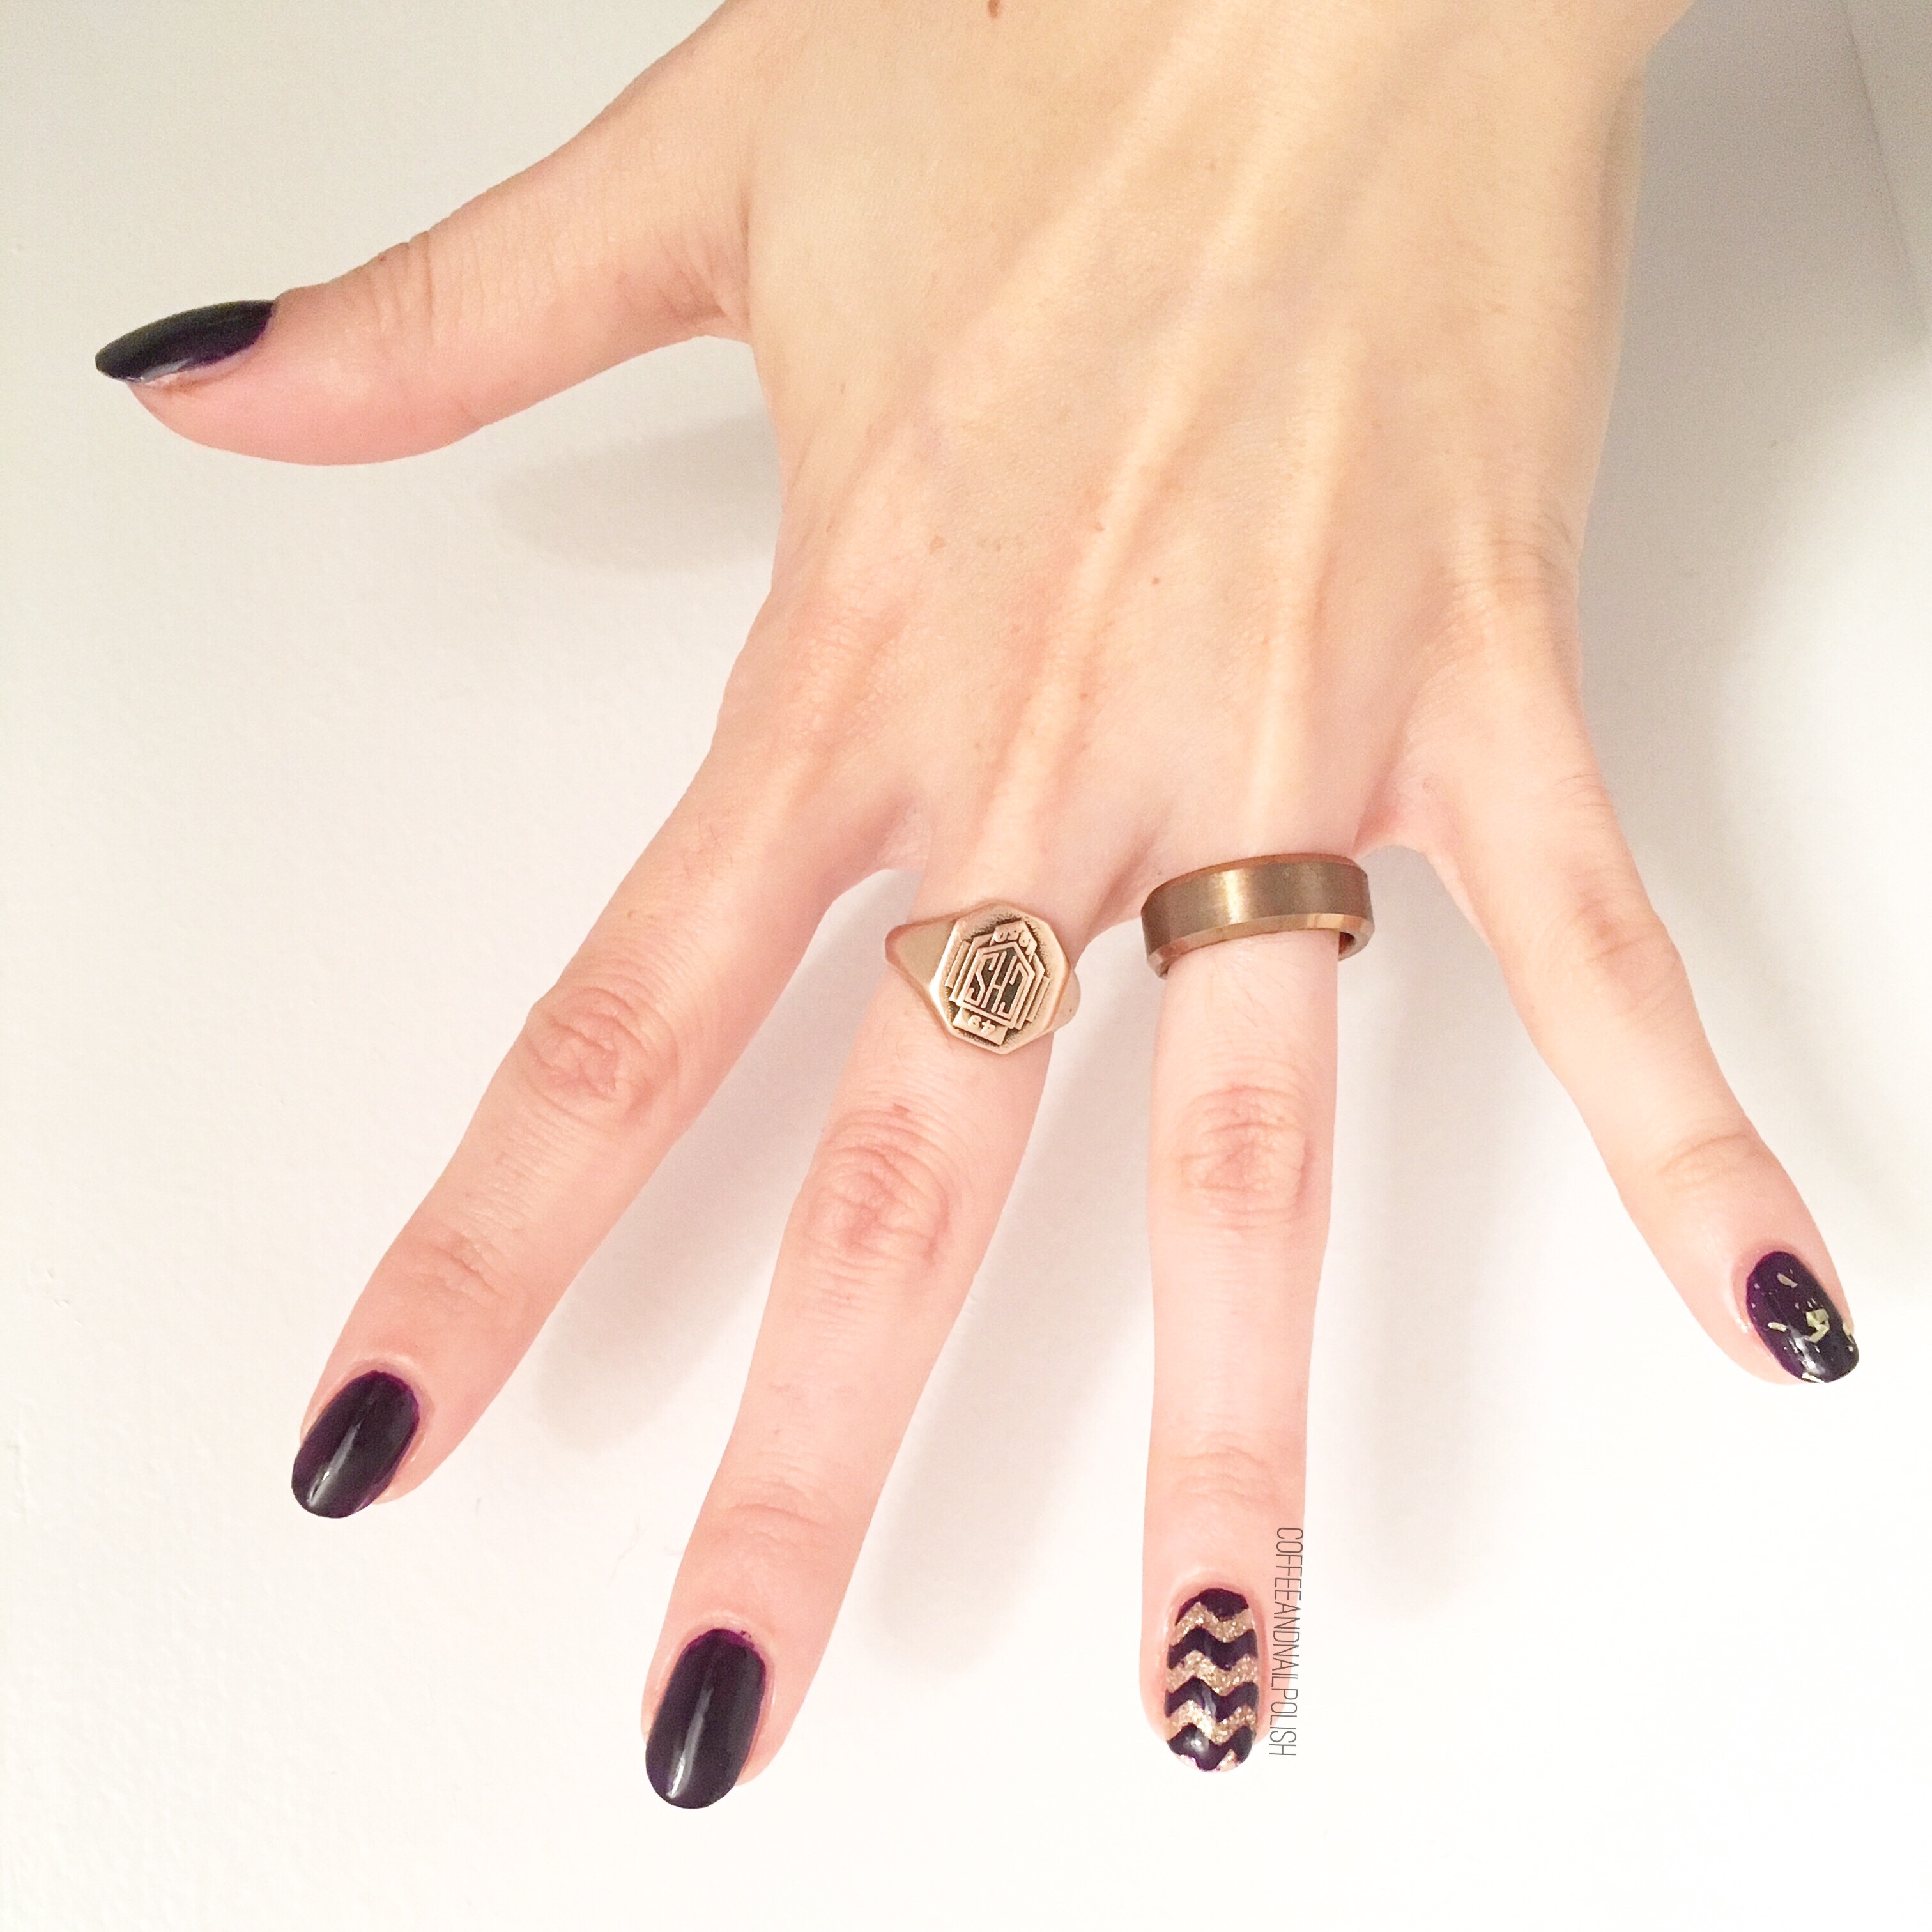
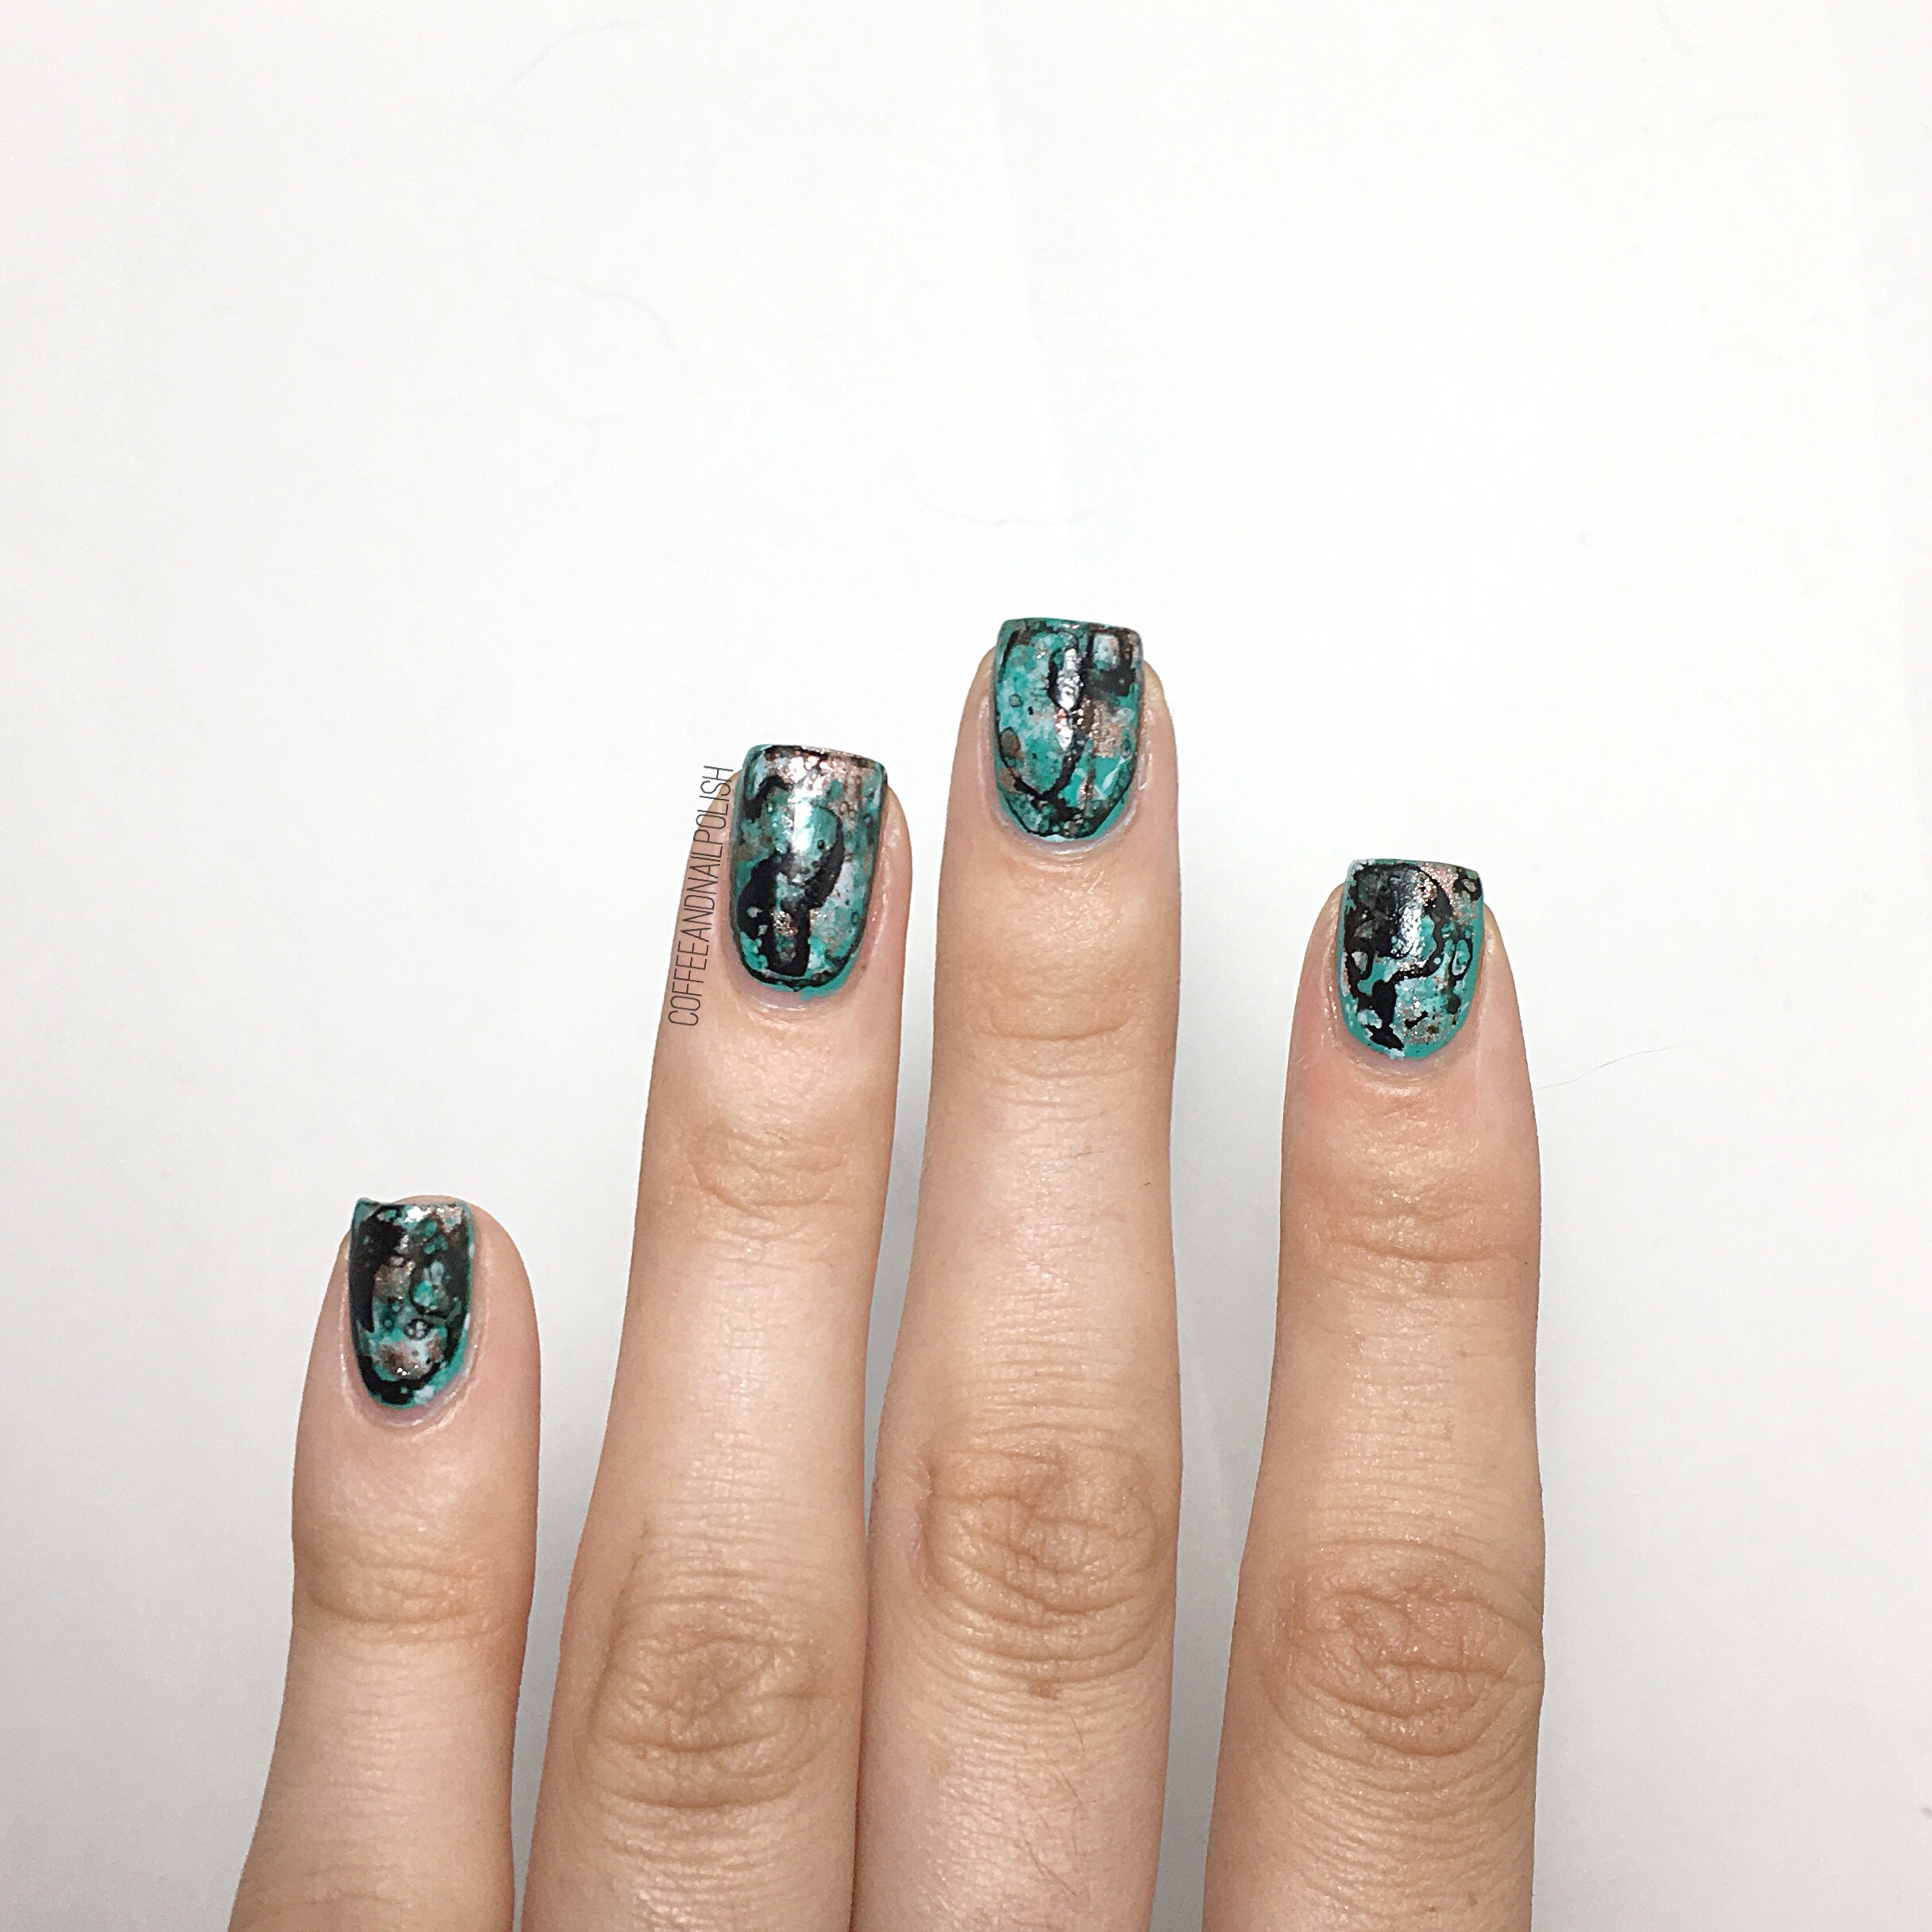
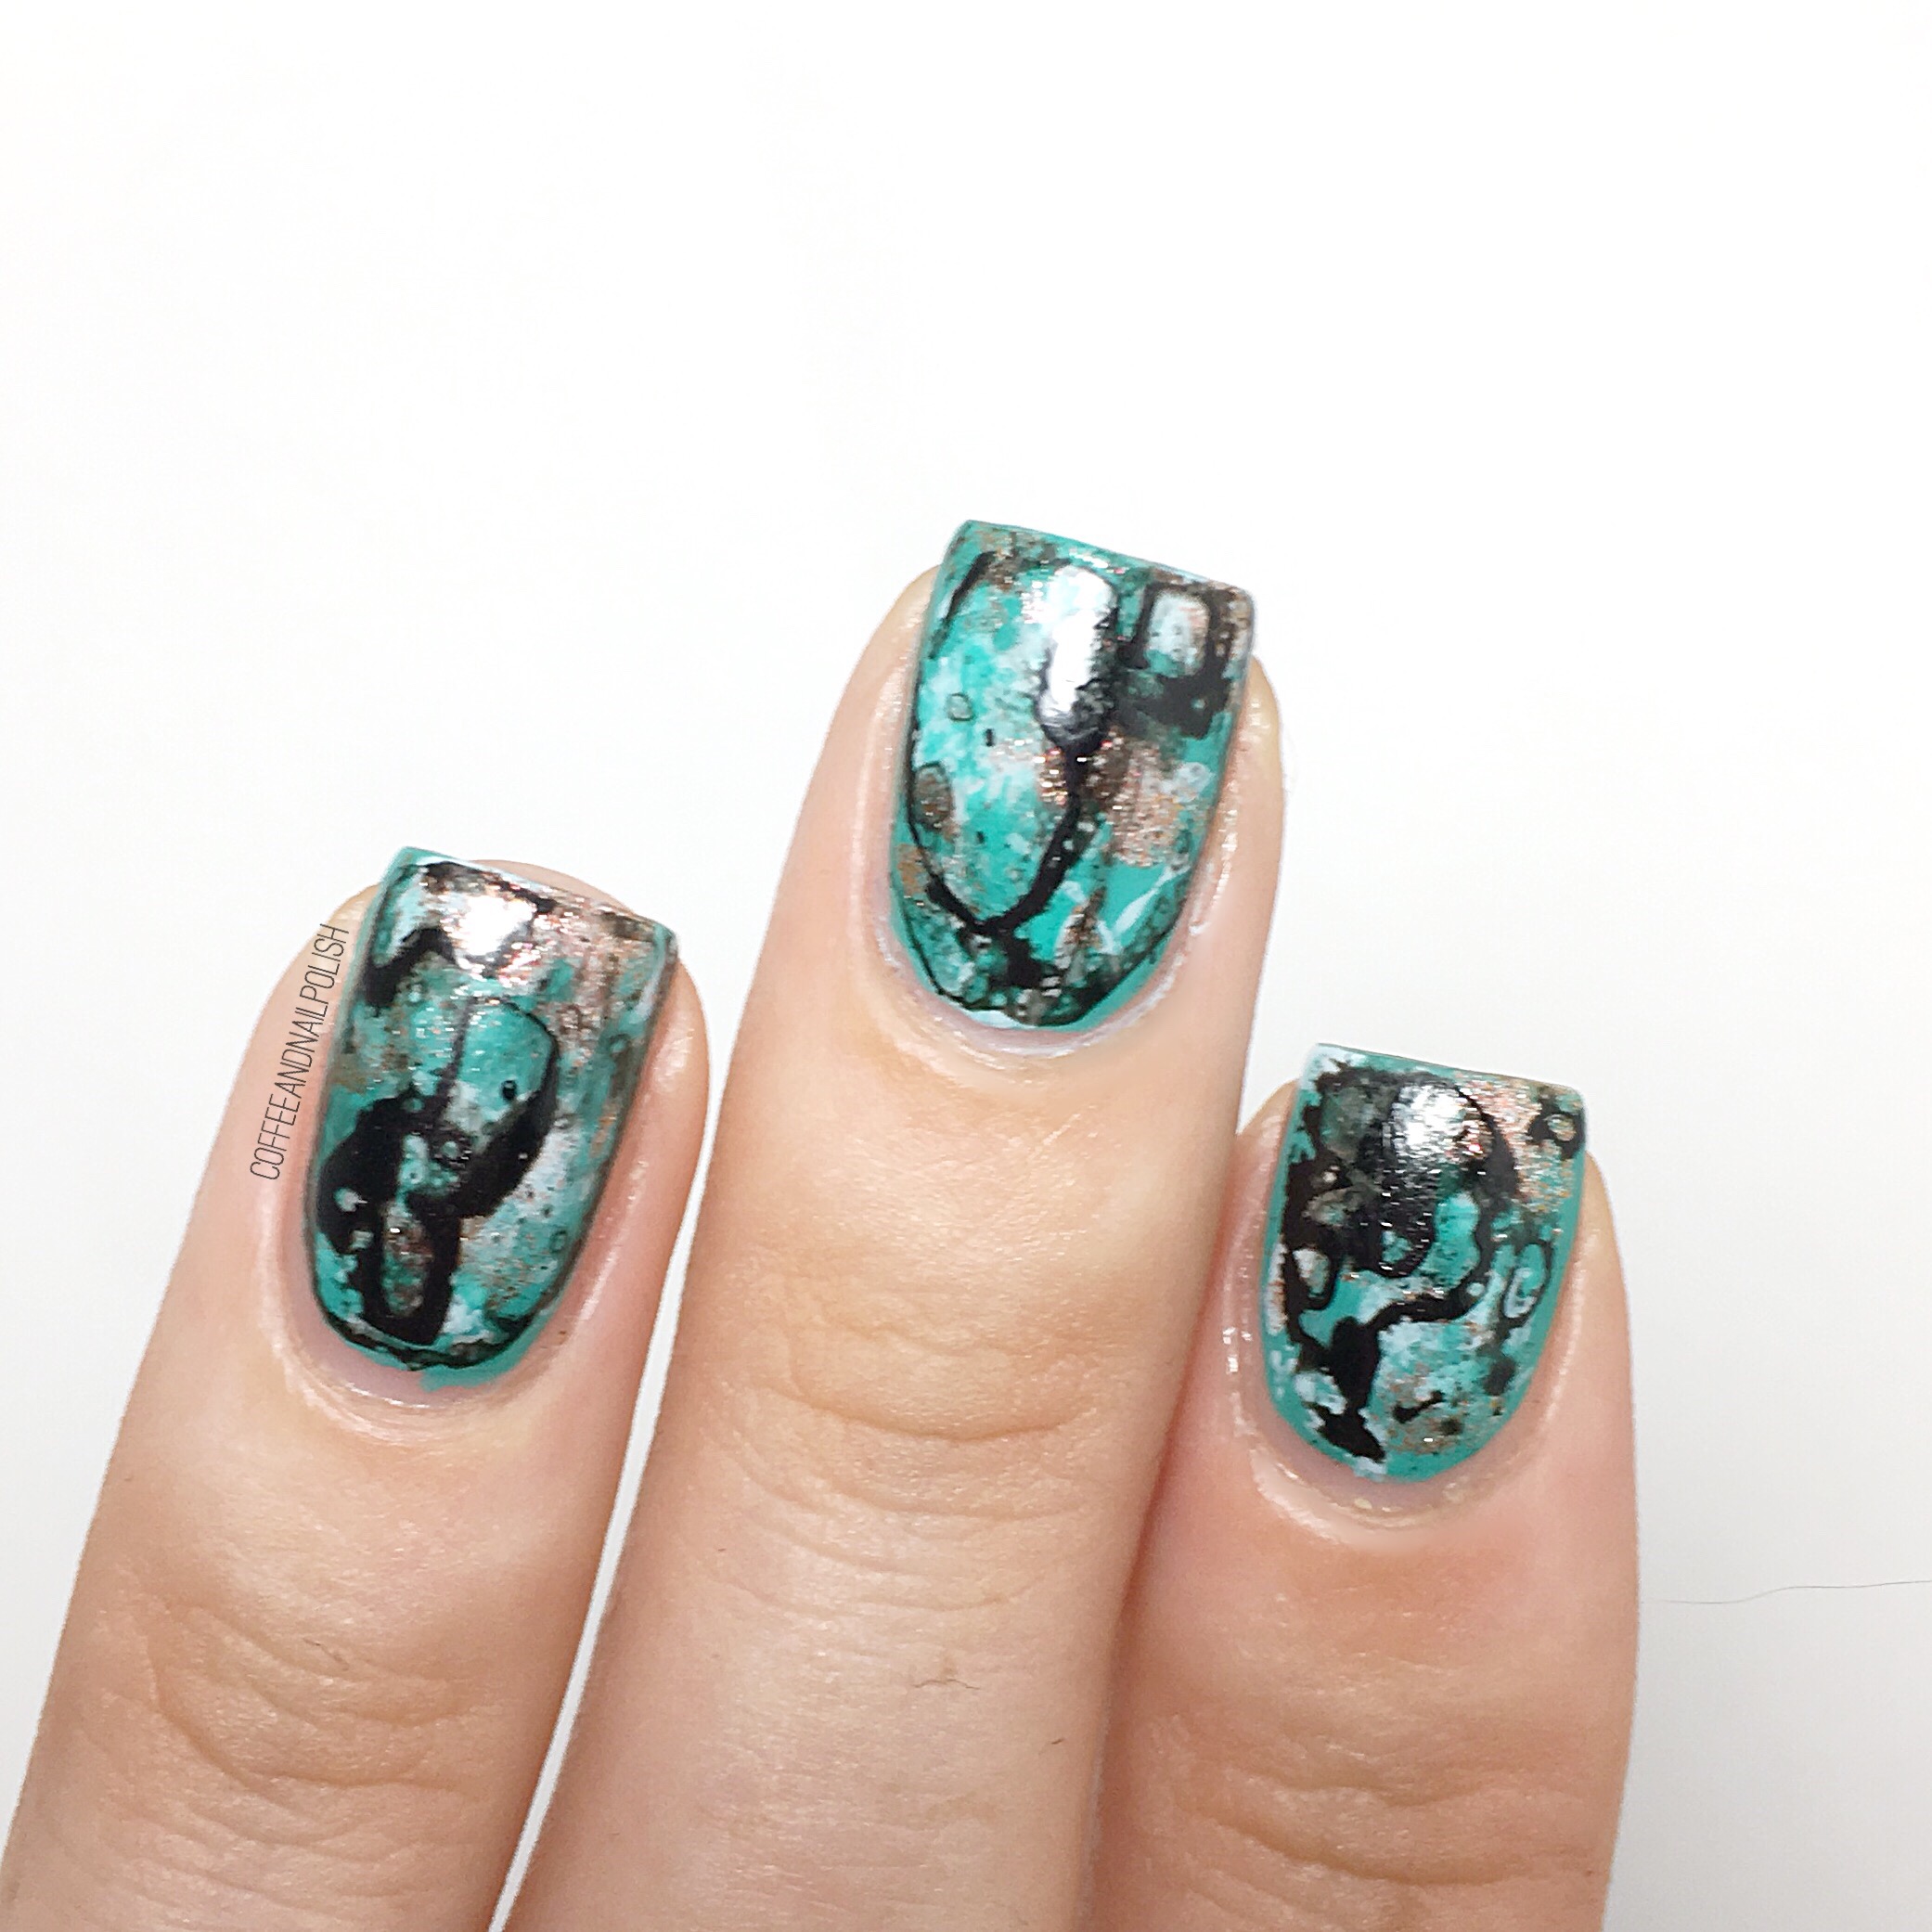
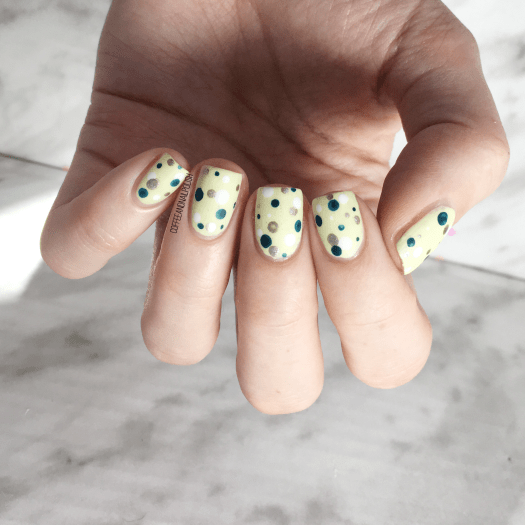
For the first time in a long time, I wasn’t feeling the St. Patrick’s Day nails this year, but decided at the last minute (yesterday) to do something, anything. & what is more fun & festive than a green themed dotticure!

For the manicure, the polishes I used were:

  • Base Coat: Sally Hansen Good Kind Pure Hardener
  • Top Coat: Essie Gel Setter
  • Matte Top Coat: Sally Hansen Miracle Gel Matte Top Coat
  • My Beauty Spot pistachio green (no name)
  • Sally Hansen Miracle Gel Get Mod
  • L’Oréal Feeling Kilty
  • Quo by ORLY Diva
  • NailStuff.ca Dotting Tool Trio  (COFFEE10 to save 10%)

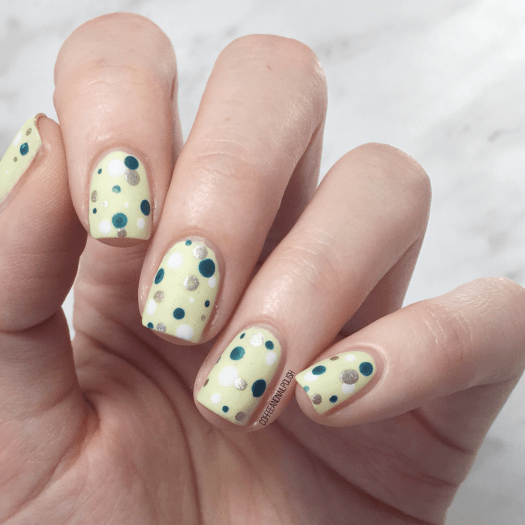
This look makes me happy, not only because it’s relatively quick & so easy to do! A dotting tool was the very first nail art tool I ever purchased, & by far they are the ones I’ve used the most over the last decade of me obsessively painting my nails! The great thing about a dotticure is that you grab a few festive colours & you can create a manicure for any holiday! Orange & black = Halloween. Green, red & White = Christmas. Pastels = Easter.

Easy peasy.

What do you usually do for St. Patrick’s Day? Back in my bit crazier days, I would take the day off from work & go party at a friends house literally all day. Those were crazier times for sure. Now I pretty much stick to kombucha & maybe Irish Cream flavoured coffee!

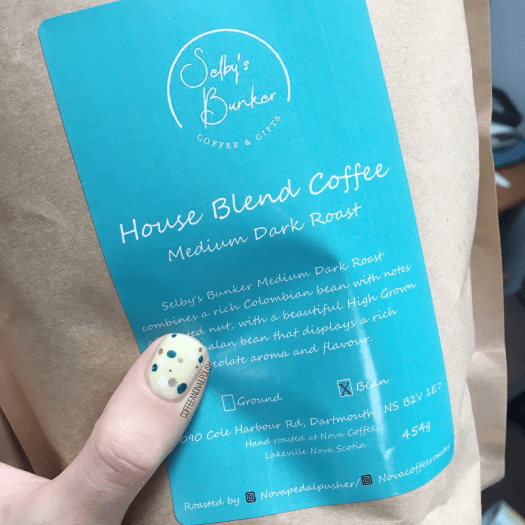
This year, like I said, with all the fear about Covid-19, we’ve stocked up on goods for the next little while. But I am set when it comes to coffee — we made sure to hit up Selby’s for some at home coffee! ☕️

Stay safe (& healthy!) loves

Vacation Nails! 

This week, I took a mini vacation with our Lil Bubs to visit my parents up in Northern New Brunswick. Usually when I travel I tend to bring an assorted variety of nail goodies with me, because I know I will need to change up my manicure. However, because I know my Mum has quite the stash of polish on hand (she’s started painting sea glass jewellery peices with it—I’ll share a picture at the end!) I decided to leave my polishes behind for the opportunity to play around with the many shades she owns. 

For this manicure, the polishes I used were:

  • Base Coat: OPI Nail Envy
  • Top Coat: Seche Vive 
  • My Beauty Spot unnamed dark purple
  • L’Oréal Because I’m Worth It
  • L’Oréal The True Gold Transforming Top Coat
  • Essence Metal Glam Steel-ing the Scene 
  • Kiss Products zig zag Nail Vinyls 

These are definitely Fall nails. I’ve been really feeling gold & purple lately (especially together). I also totally forgot how good Steel-ing the Scene looks over dark colours (I also have a bottle in my stash at home.) This is a great combination which sadly I couldn’t capture as well as I would have liked thanks to some fairly dull bathroom lighting. Even still, I really dig how this mani turned out. At first I wasn’t quite sure but the more I stared at it, the more I like how everything came together. 

& just for fun, here is one of the beautiful pieces of sea glass my mum painted (using nail polish!) for the jewelry she’s been making. I have a couple pieces she’s made & they’re such pretty statement pieces. 


What do you think of this vacation design? Do you do your nails while on vacation or stick with what you leave with? What are your vacation nail essentials? Let me know in the comments below! 

Turquoise Marble Stone Nails


Happy Friday! Today I’m sharing a gemstone/Turquoise stone design. I attempted a similar design three-ish years ago so it felt like a good chance to revisit this design! This is is also the first post using my brand new iPhone 6s. I just can’t get my over the picture quality–it’s awesome! 


For this manicure, I used:

  • Base Coat: Perfect Formula Pink Gel Coat
  • Top Coat: Cutex Quick Dry Top Coat
  • My Beauty Spot unnamed Teal
  • Essie Mint Candy Apple
  • Sally Hansen X-treme Wear Golden-I 
  • Layla Bubbley Effect in Black 

For this design, I kind of made up the technique on the fly. I started off with my base of teal. I then took a piece of crinkled up plastic bag, and dabbed on Mint Candy Apple & Golden-I & finished off with some top coat to seal in the base. After I felt like my base was dry enough (about 5-10 minutes) I grabbed my bottle of Layla Bubbley effect & added splots of the polish on each nail. I then went & ran that nail under water to remove some of the polish which left the black bubbles on the nail. Depending on how it turned out, I would add more black again and repeat the process. When I was happy with each nail, I finished off the whole design by sealing in with top coat. 

This is a super simple design, & it ended up being relatively quick to do. & definitely less clean up than using the traditional water spotted technique that you see for creating stone nails. However, because Layla Bubbley is a special effect polish, I’m not sure how well it would work with normal polish (I’m guessing probably not very well.) However, I’m thinking it might work out with acrylic paint which I’ll have to add to my list of things to do! If you try it out, let me know how it works out! 

So what do you think of these turquoise stone nails? Would you wear these? Let me know your thoughts in the comments below! 

Drag Marble Decals 


If you’ve been around a while, you’ve probably heard me mention before how I can’t water marble. I’ve tried to do it, I really have but the results never turn out quite right. So thanks to rewatching old Simply Nailogilcal videos on YouTube, I wanted to see if I can cheat at watermarble using my silicone mat, ala Cristine!

So for my first Drag Marble decal experiment, I decided to try a couple different designs that would sort of look like watermarble (if you didn’t look too closely). I did about 15 different decals using different polishes to see which colours/polish formulas worked best & picked the three best to apply.

For each manicure I used my silicone craft mat & a water marble tool from Bundle Monster. For how to apply decals, there are lots of useful tutorials on YouTube. I also topped all designs with my Cutex Quick Dry Top Coat.

Continue reading “Drag Marble Decals “

Smooshy accent nails using a silicon mat! 

I’m getting so much use out of my silicone craft mat! I understand now why people love their nail art mats so much–the options are endless. I wanted to try out some smooshy nails, & I saw this technique some on Instagram before (I just can’t remember by who unfortunately) so I decided to give it a try. 


For this manicure, I used:

  • Base Coat: Perfect Formula Pink Gel coat 
  • Top Coat: Cutex Quick Dry Top Coat. 
  • My Beauty Spot unnamed green colour.
  • Essie Wrap Me Up
  • Essie Bobbing for Baubles
  • Essie Cocktail Bling
  • Nicole by OPI A Phil’s Paradise
  • Born Pretty Store Peel Off Tape
  • Born Pretty Store Clear Stamper
  • Silicon Craft Mat

For this look, I started by dropping different colours onto my mat, & moving them around some to spread around the colour. I then took my clear stamper & pressed down, smooshing the polishes together. I immediately then pressed the stamper down on my nails to create the marbled look, & finished everything off with top coat.

I really love how these turned out. You can never go wrong with marbled nails. I don’t know if I could consider this an easier way to create smooshy nails, but it was definitely fun! You still want Liquid Latex around your cuticles to keep your clean up minimal! 

What do you think of this mani? What is your favourite design to create on your silicone mat? I’m always looking for inspiration, so share your nail art ideas in the comments below!