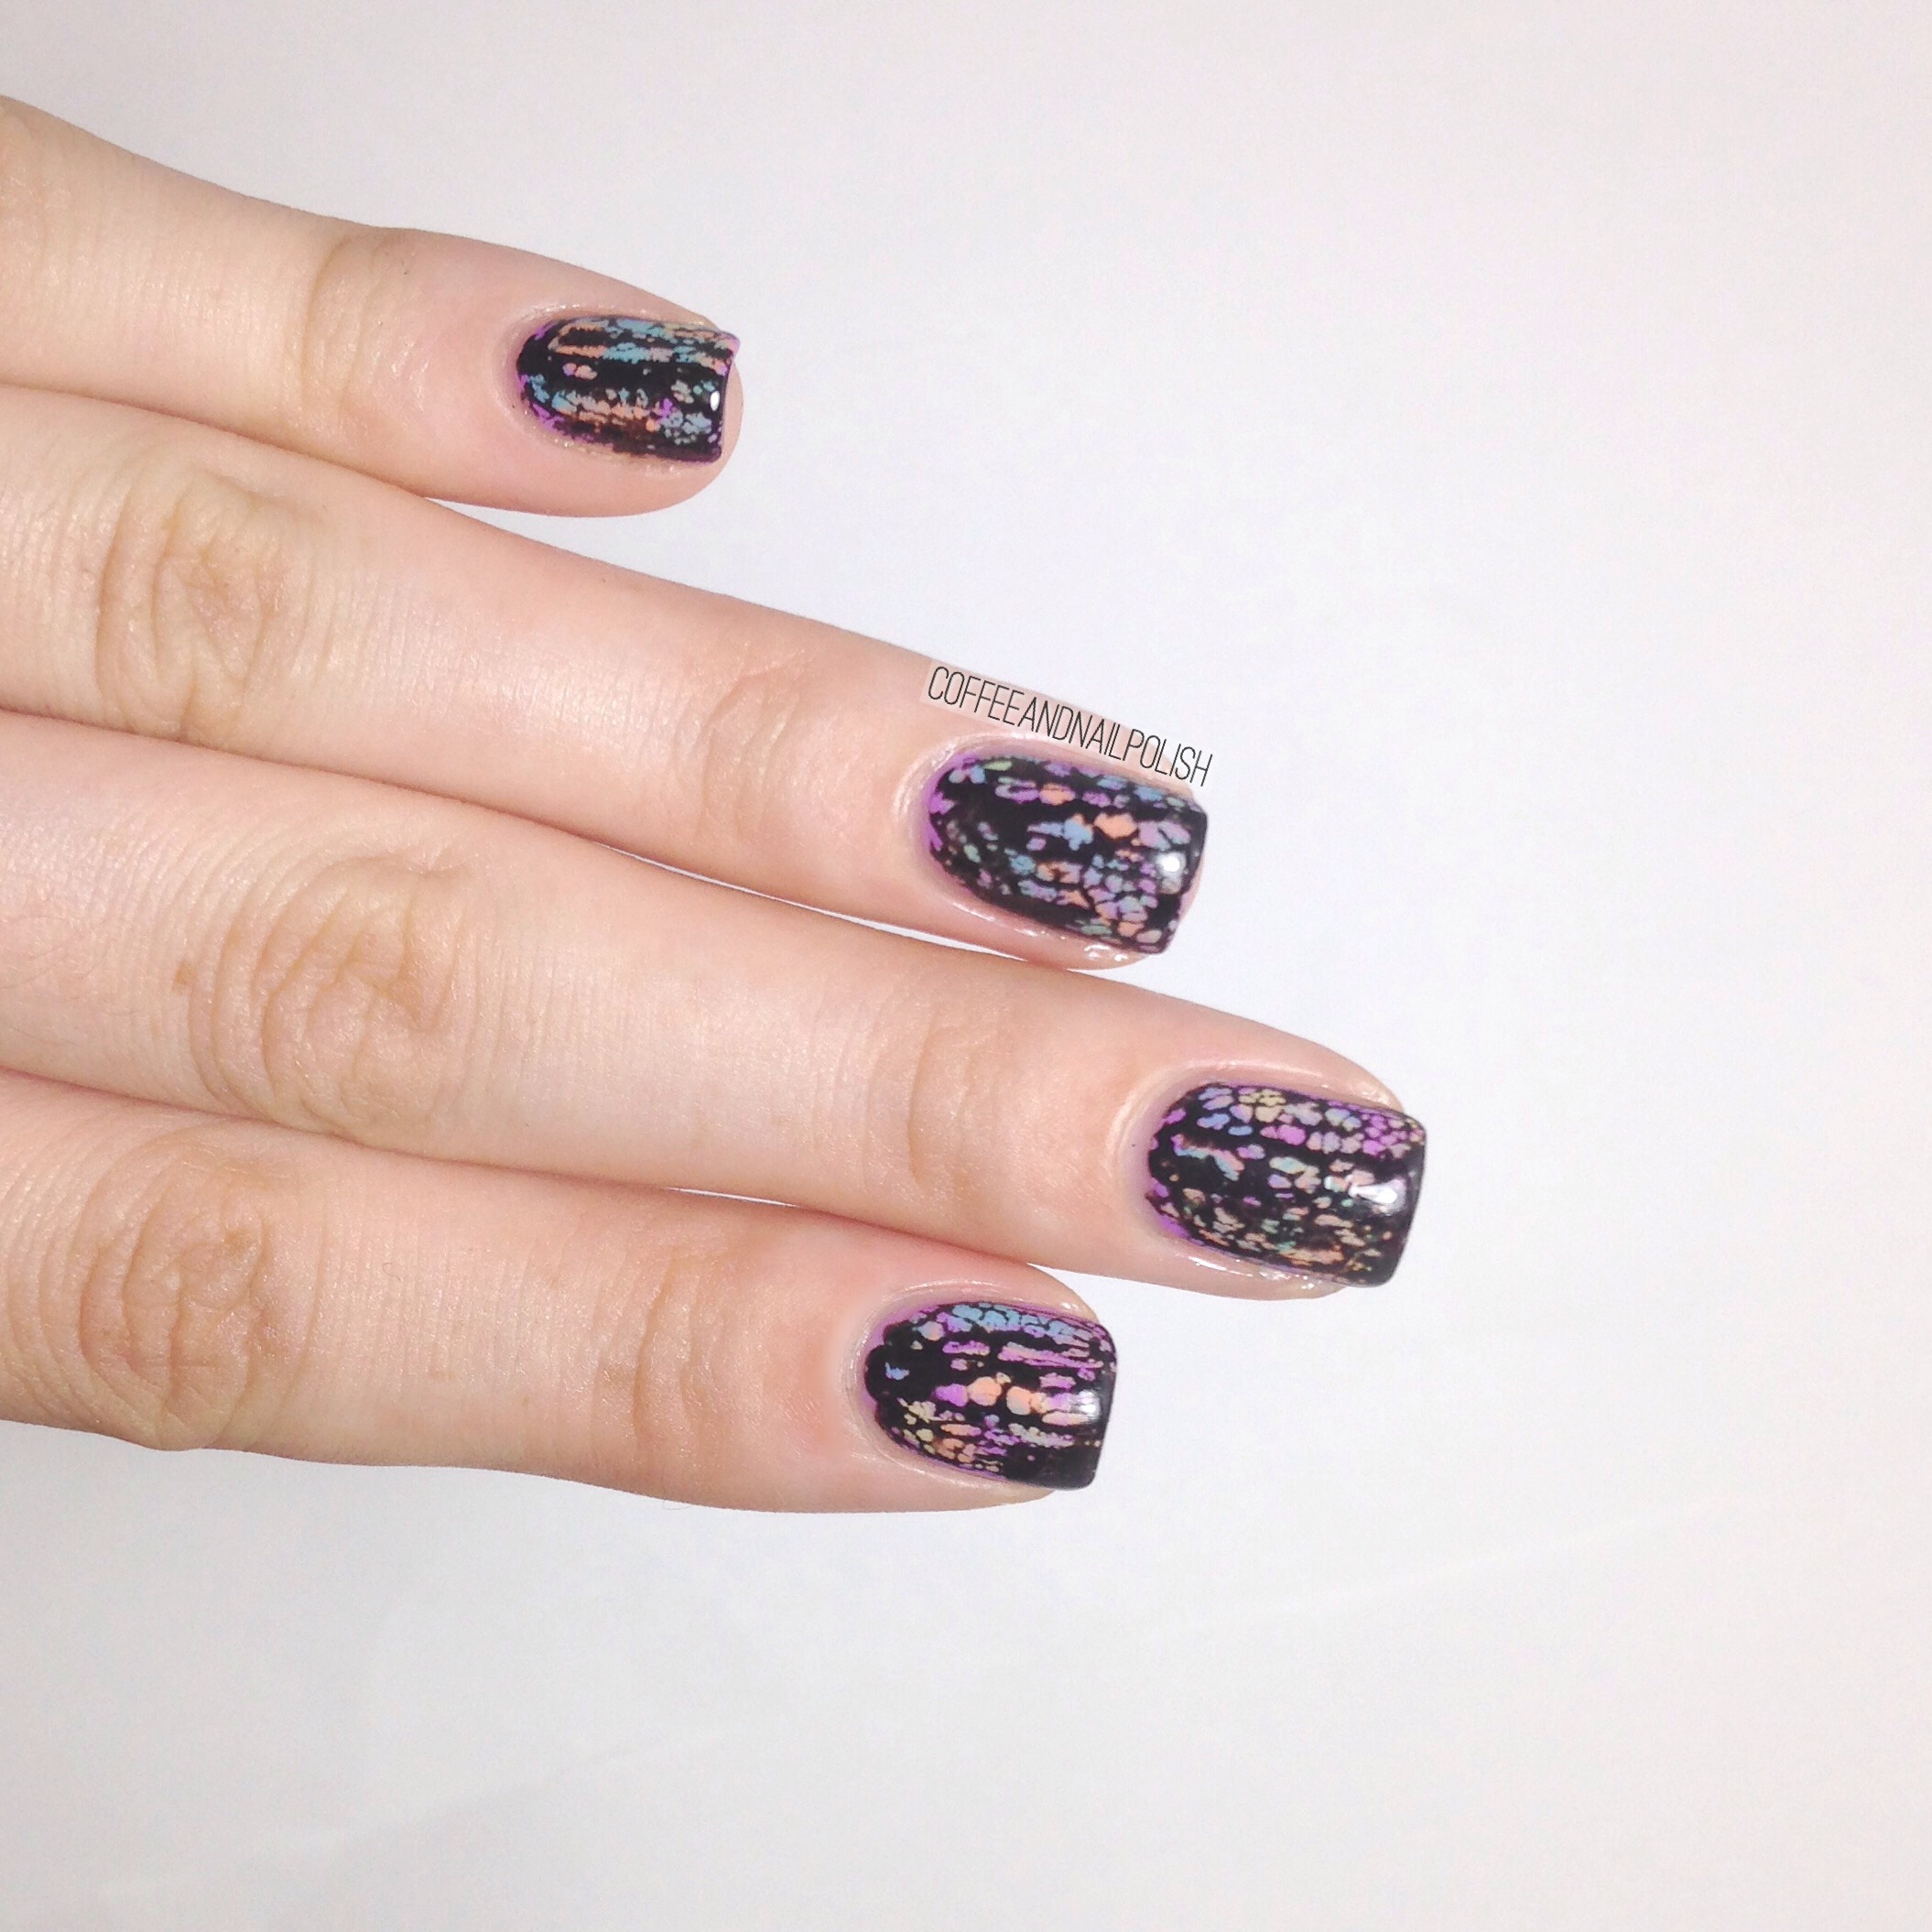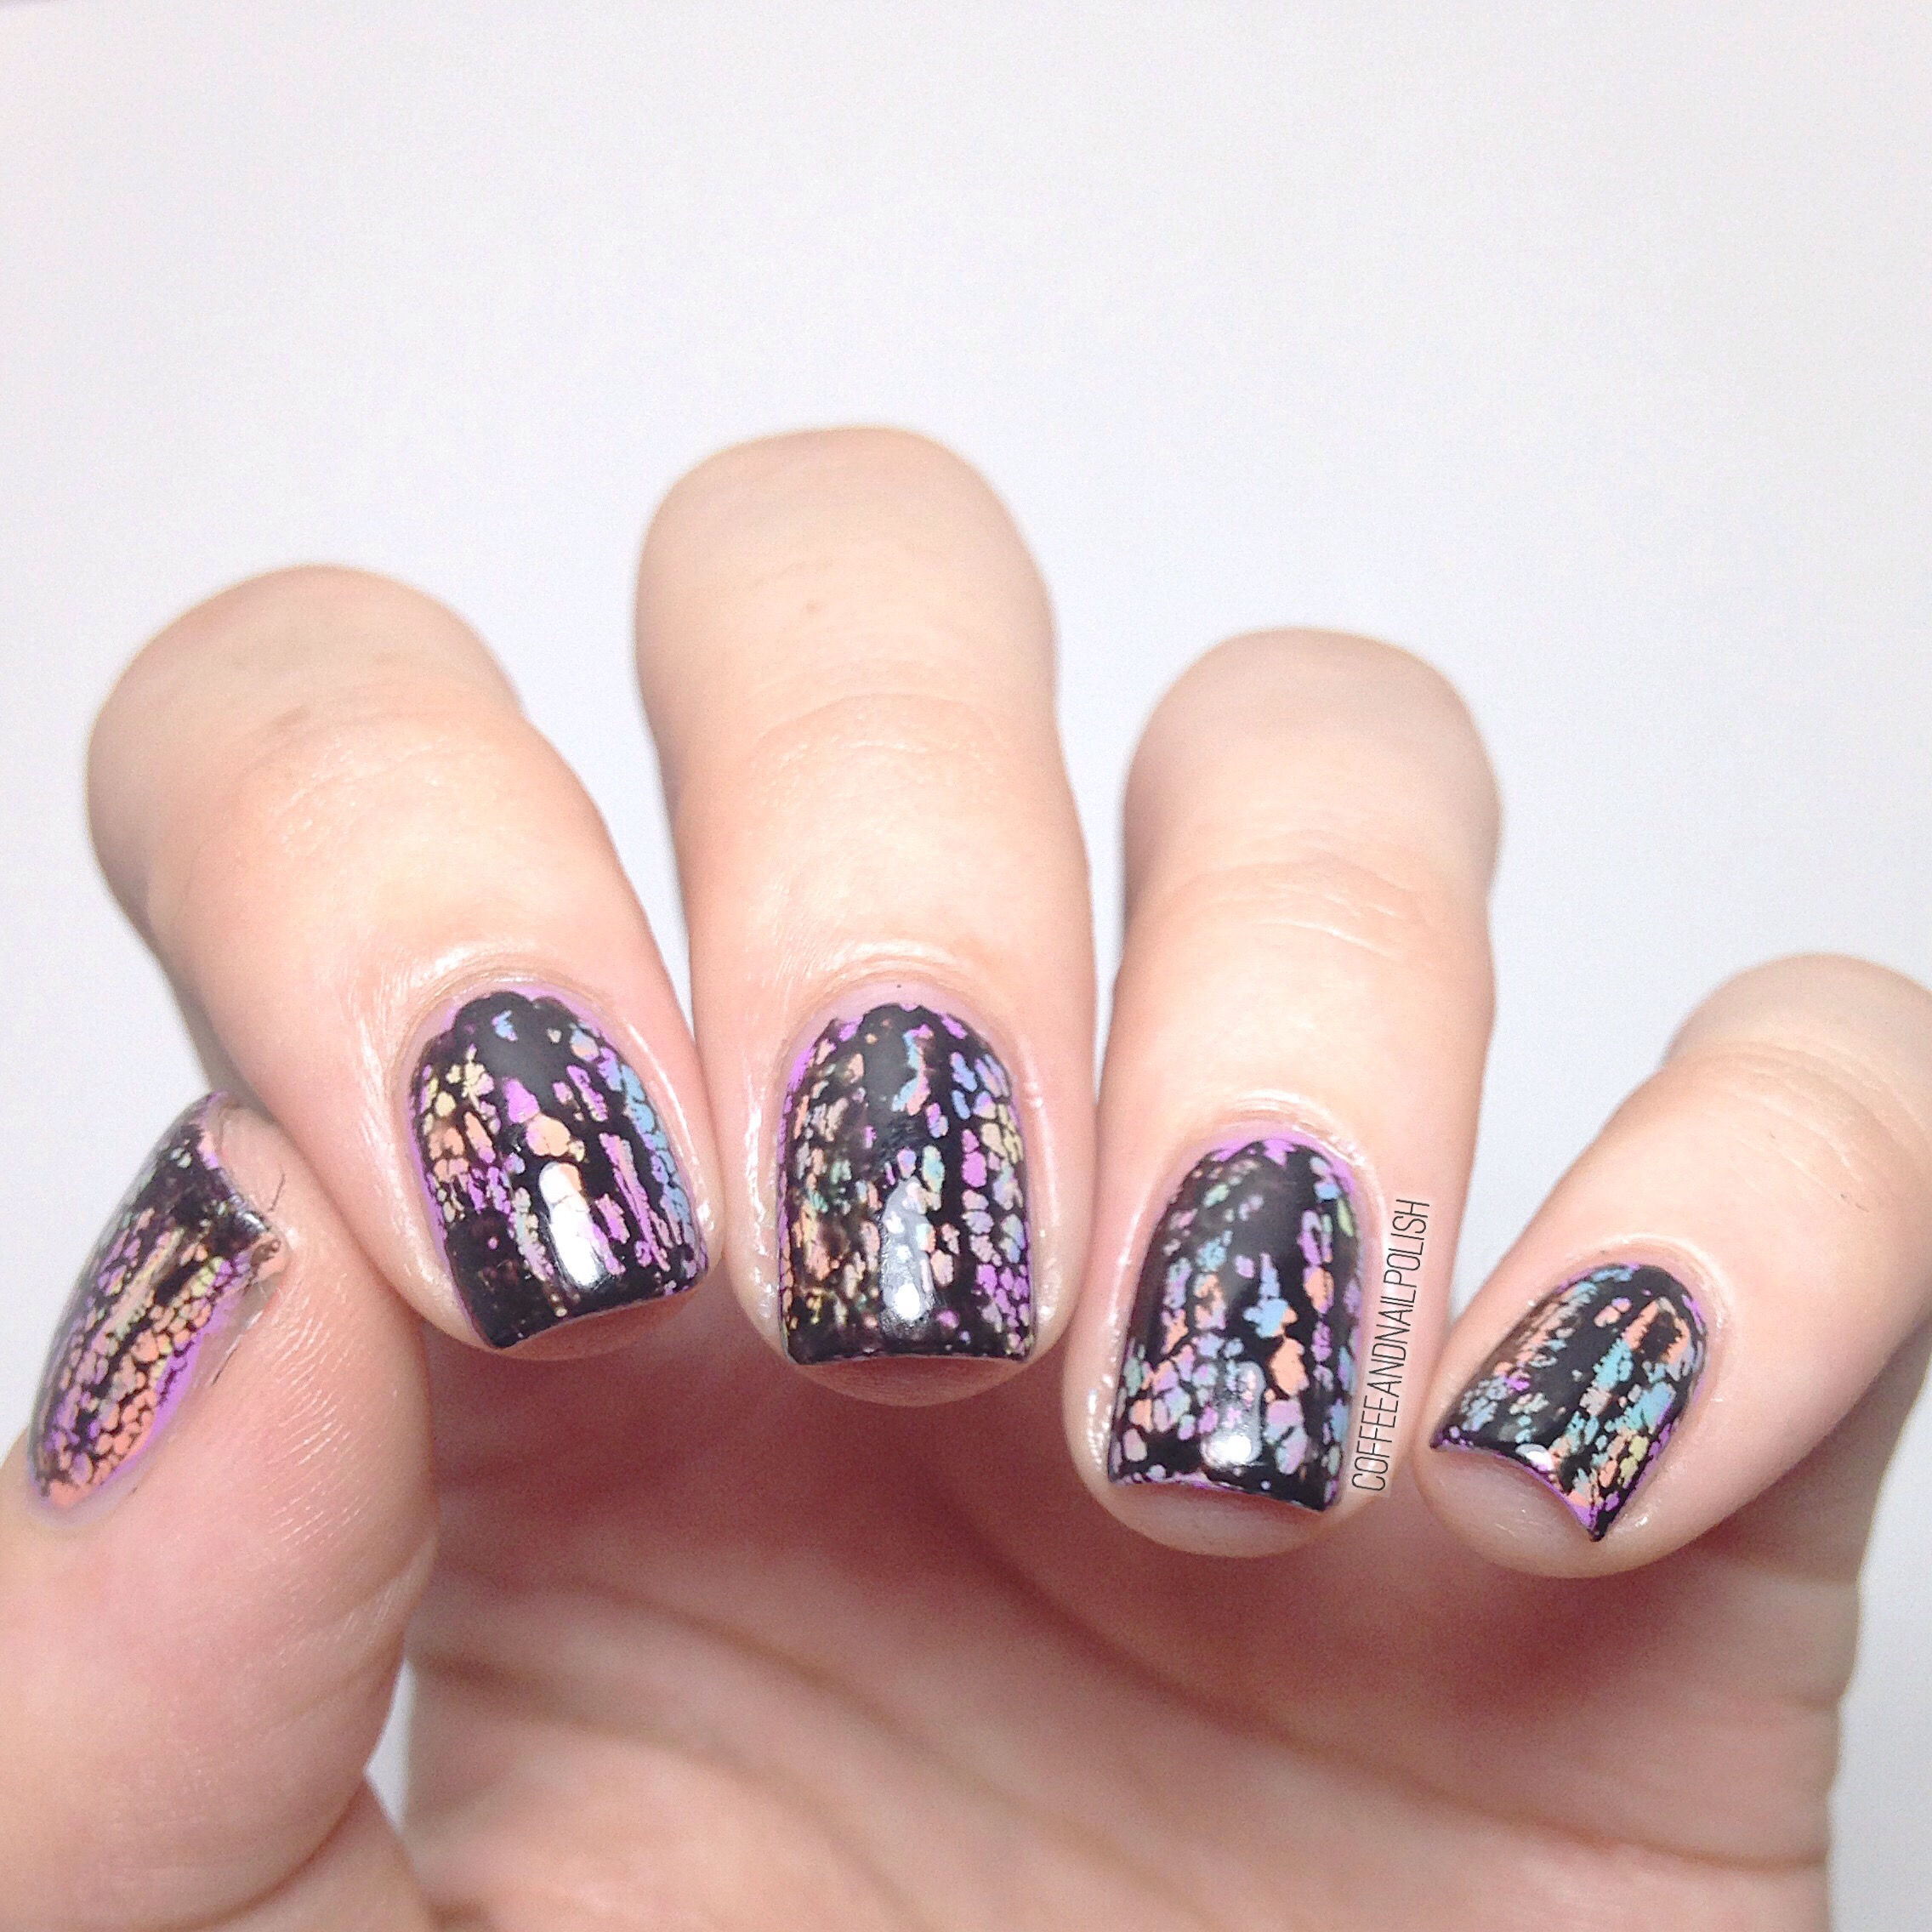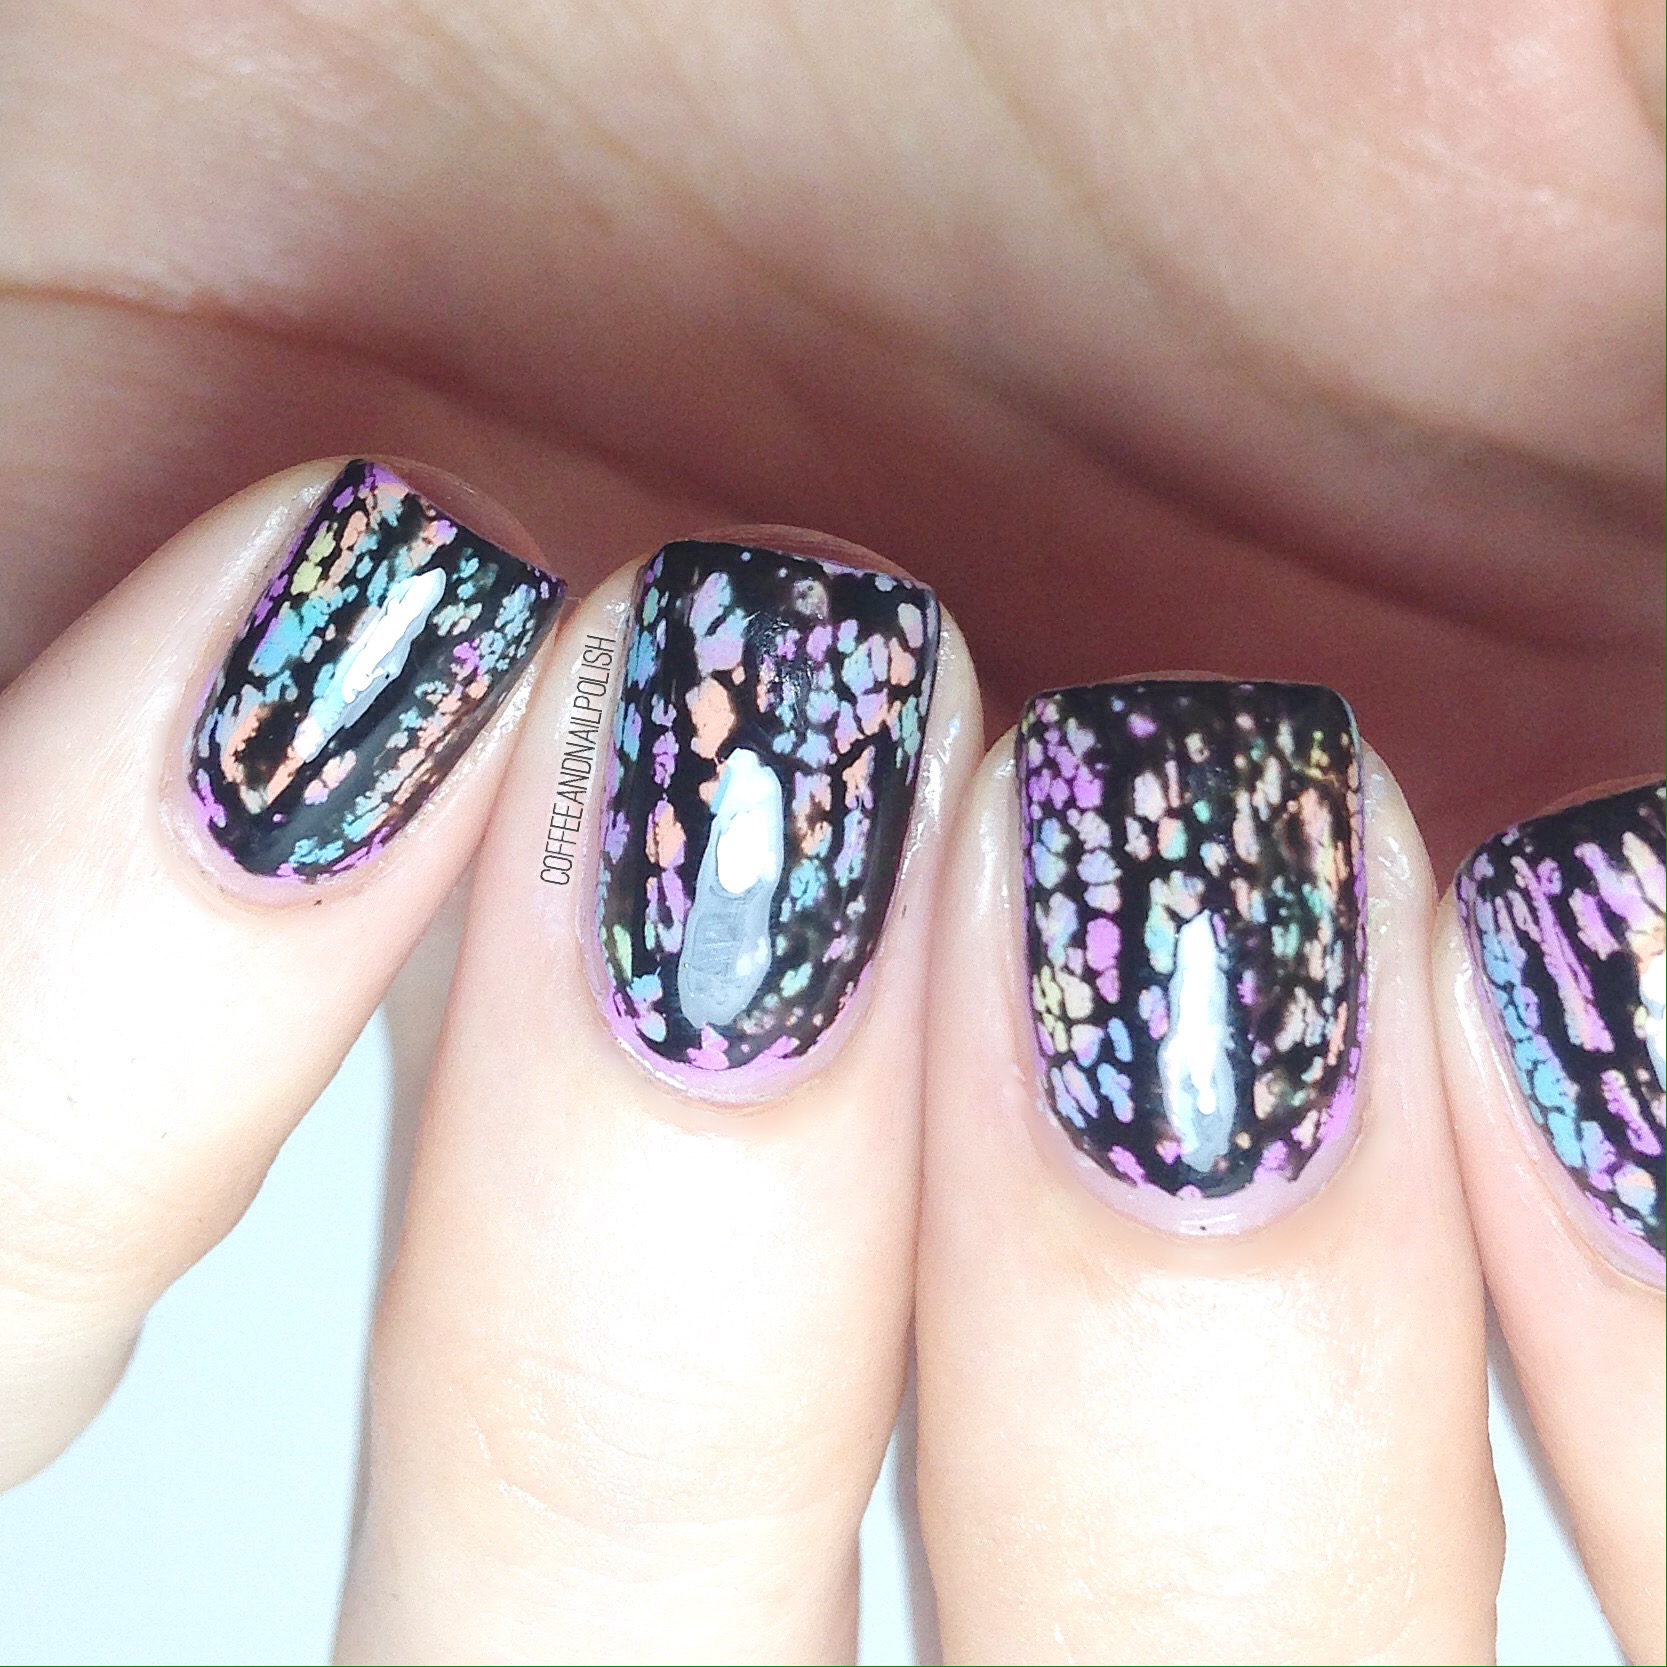
Fairy Dust-ed Half Moons 


Happy First Day of May! I hope the weather wher you are is more beautiful than the cloudy grey skies covering Halifax. 

I recently refreshed my bottle of China Glaze Fairy Dust & I’m obsessed all over again. I’ve been adding it to all my manicures because the sparkle is just so pretty. I realized I hadn’t done any half moons in quite a while so it felt like a good time for some. 

For this manicure, I used:

  • Base Coat: Perfect Formula Pink Gel Coat
  • Top Coat: Cutex Quick Dry Top Coat 
  • OPI Two Timing The Zones 
  • OPI Lost My Bikini in Monoloki
  • China Glaze Fairy Dust
  • Paper Hole Reinforcements

So pink & purple is definitely my favourite half moon colour combination. I’ve done it a lot, but it just pairs so well together. 💜💗 & adding the holo glitter of Fairy Dust just improves it even more. 

 Feel a gradient coming on featuring these colours, with Fairy Dust of course. All gradients just need Fairy Dust, it’s pretty much a requirement. 


What’s is your favourite glitter top coat? Obviously my #1 is Fairy Dust but if I had to pick another I would say the Quo By ORLY Matte Glitter Topper or Essie Shine of the Times. If there is one thing almost as beautiful as holo glitters, it’s definitely flakies. 

Let me know your top picks in the comments below! 

April Mani Favourites! 


It’s that time again! 

Rounding up the end of the month (& the beginning of a new month) with my favourite manicures for April! This was a super busy month for me, nail wise, so there were too many options to choose from! Haha it was a struggle.  But I did manage to narrow it down to only 6. 

Which design is your favourite for April? Did it make the list? Let me know in the comments below. ♥️
Desert Sunset inspired nails

Coachella is finishing up this weekend, which means lots of festival inspired nails have been popping up in my feed! I’ve never been to Coachella, but I DO know it takes place in the desert so I thought these desert sunset gradient nails would be perfect to channel my inner festival goer (instead of what I’m actually spending today doing which is cleaning my bedroom & putting away way too much clothing while simultaneously trying to convince the baby to nap.)


For this design, I used:

  • Base Coat: Perfect Formula Pink Gel Coat
  • Top Coat: Cutex Quick Dry Top Coat 
  • Color Club Almost Famous 
  • OPI Where Did Suzy’s Man-go?
  • Essie Play Date
  • Color Club Pucci-licious
  • Sally Hansen I ♥️ Nail Art pen in Black. 
  • Latex Free cosmetic sponge 
  • Born Pretty Store Liquid Latex Peel Off Tape

My bottle of top coat is reaching the bottom which lead to some weirdness & shrinking. Never the less, I really love the colour combination of this gradient with the desert landscape. I could totally see these fitting in at Coachella, or another similar music festival! 🌄 all I need is a flower crown & some cut off denim shorts & I’d fit right in! 

I think I’ve rediscovered my obsession with gradients, clean up be damned. (Thank goodness for Liquid latex.) & I think I’m slowly getting better at them! They make me happy. This colour combo worked out so well, I just can’t stop staring! Even my husband commented how wicked these were (& without asking even!)

What do you think of this design? Let me know in the comments below!

Unicorn Inspired Gradient 🦄

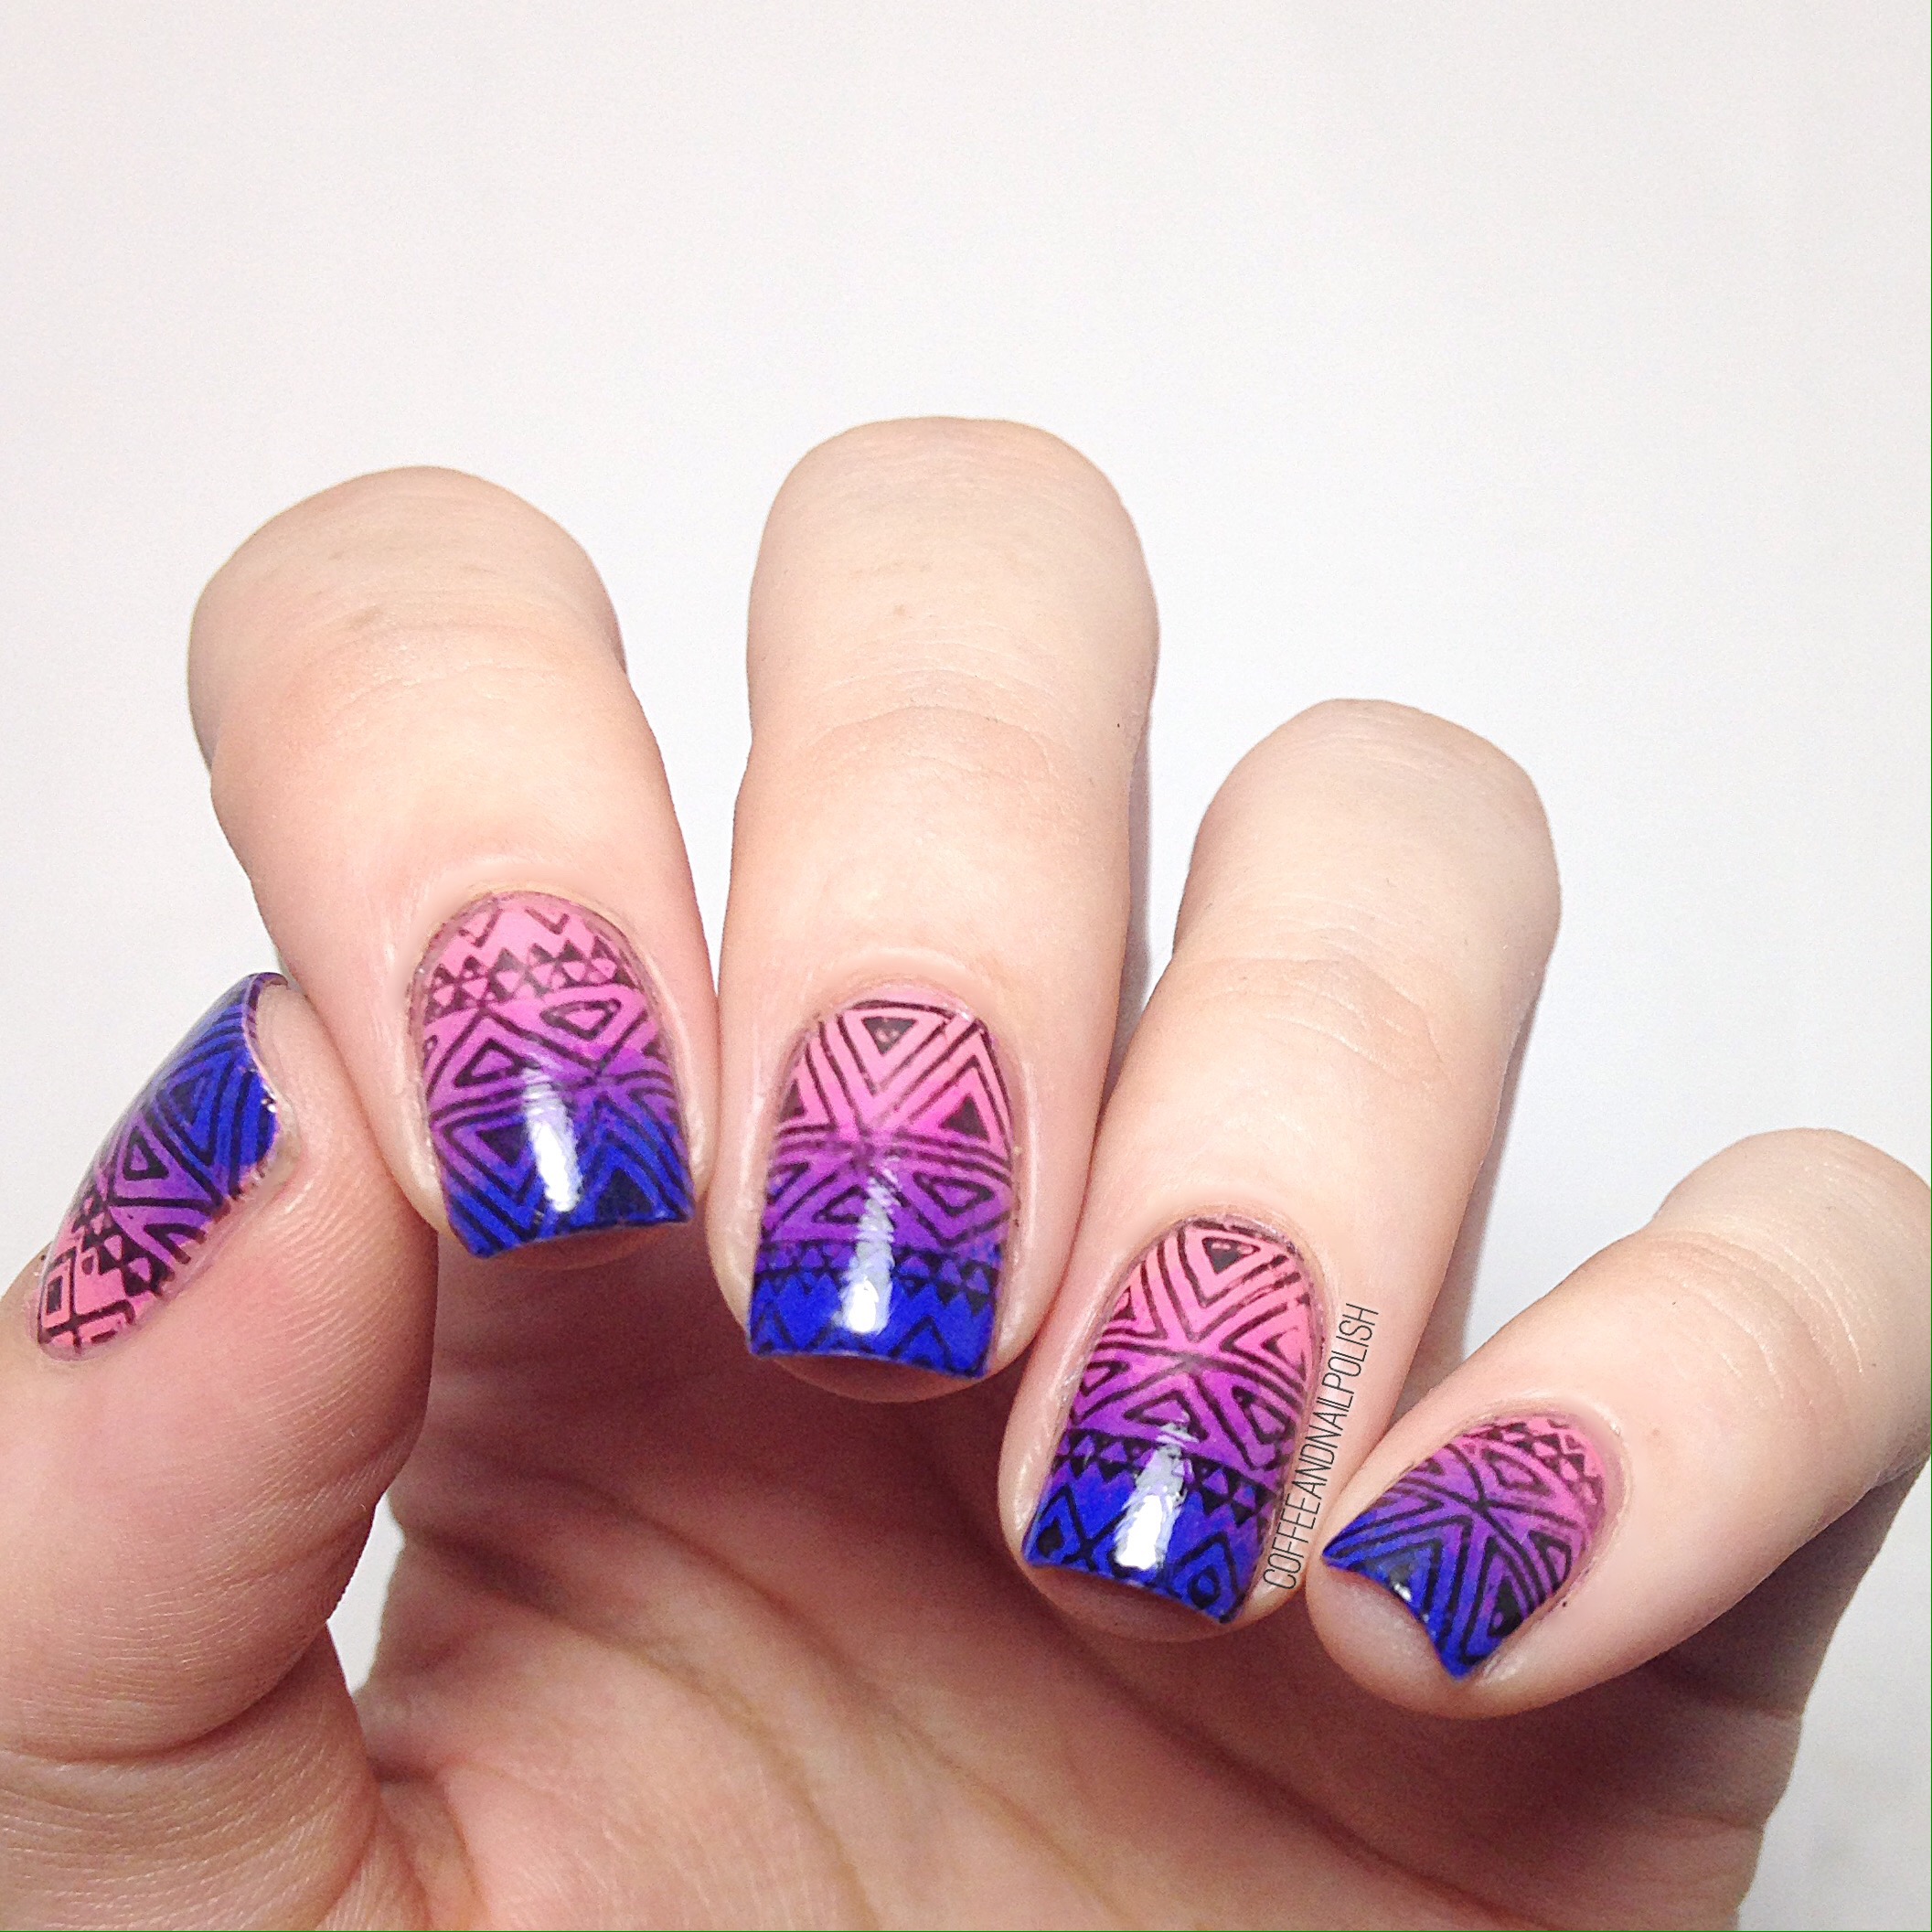
So by now you’ve probably been introduced to the Unicorn Frappuccino that Starbucks released yesterday. I know it completely blew up my Instagram & Facebook feeds… everyone & their grandma was showing off the drink on social media. Personally I have no interest in trying it–not a fan of frapuccinos (too much sugar), I can’t have any dairy so no whip cream, & there isn’t even any coffee in it! But that doesn’t mean I don’t want to join in the unicorn fun, so I took inspiration from the colours of the drink to create a Unicorn inspired gradient! 

For this manicure, I used:

  • Base Coat: Perfect Formula Pink Gel Coat 
  • Top Coat: Cutex Quick Dry Top Coat
  • Sally Hansen X-treme Wear Orchid Around
  • Sally Hansen X-treme Wear Royal Hue
  • China Glaze Fairy Dust
  • Latex Free cosmetic sponge (purchased at Dollarama)
  • Born Pretty Store Peel off Liquid Tape

It’s been so long–too long–since I played around with a gradient, so I’m a little rusty. But I’m pretty happy with how these turned out. The colours might not exactly match its inspiration, but I thought it was a good attempt. It would have been more fun if I had one of those cute unicorn stencils (I think they’re by Twinkled-T) to add a holo glitter unicorn on my ring finger, but with a little Fairy Dust added it still has that magical feel. 

Have you tried Starbucks Unicorn Frappuccino yet? Does it taste as magical as it looks? Part of me wants to order one just to take a picture of it with my nails (because I’m silly like that) but that would be a serious waste of money that could be better spent (on coffee, for example). Oh well, when you can’t drink it, why not wear it in your nails!

What do you think of this gradient? Do you see the inspiration? Let me know your thoughts in the comments below! 🦄

Water colour shattered glass nails. 


I recently won a few contests on Instagram, & one of them was the Spring collection of decals from Kayla Ray Vinyls, as well as 6 sets of stencils that I got to pick. One of the stencils I picked was the Shattered Glass stencils. 

The polishes I used for this manicure were:

  • Base Coat: Perfect Formula Pink Gel Coat
  • Top Coat: Cutex Quick Dry Top Coat 
  • ORLY Color Blast Valley Girl
  • Hard Candy Coconut
  • China Glaze Sun Upon My Skin
  • LA Colors Gloomy
  • OPI Where Did Suzi’s Man-go?
  • Kayleigh Ray Loves Shattered Glass Vinyls

I was really impressed with these vinyls. They were so easy to use, & even though I was creating this water colour effect, there was very little bleeding under the vinyl. This was my first time using clear vinyls, & I can understand the appeal of them. & the end result turned out so neat! This was one of my favourite techniques last Spring/Summer, & I can see it making a comeback. I had kind of forgotten how good this technique looked! 

What do you think of this design? What is your favourite vinyl design? Let me know in the comments below!