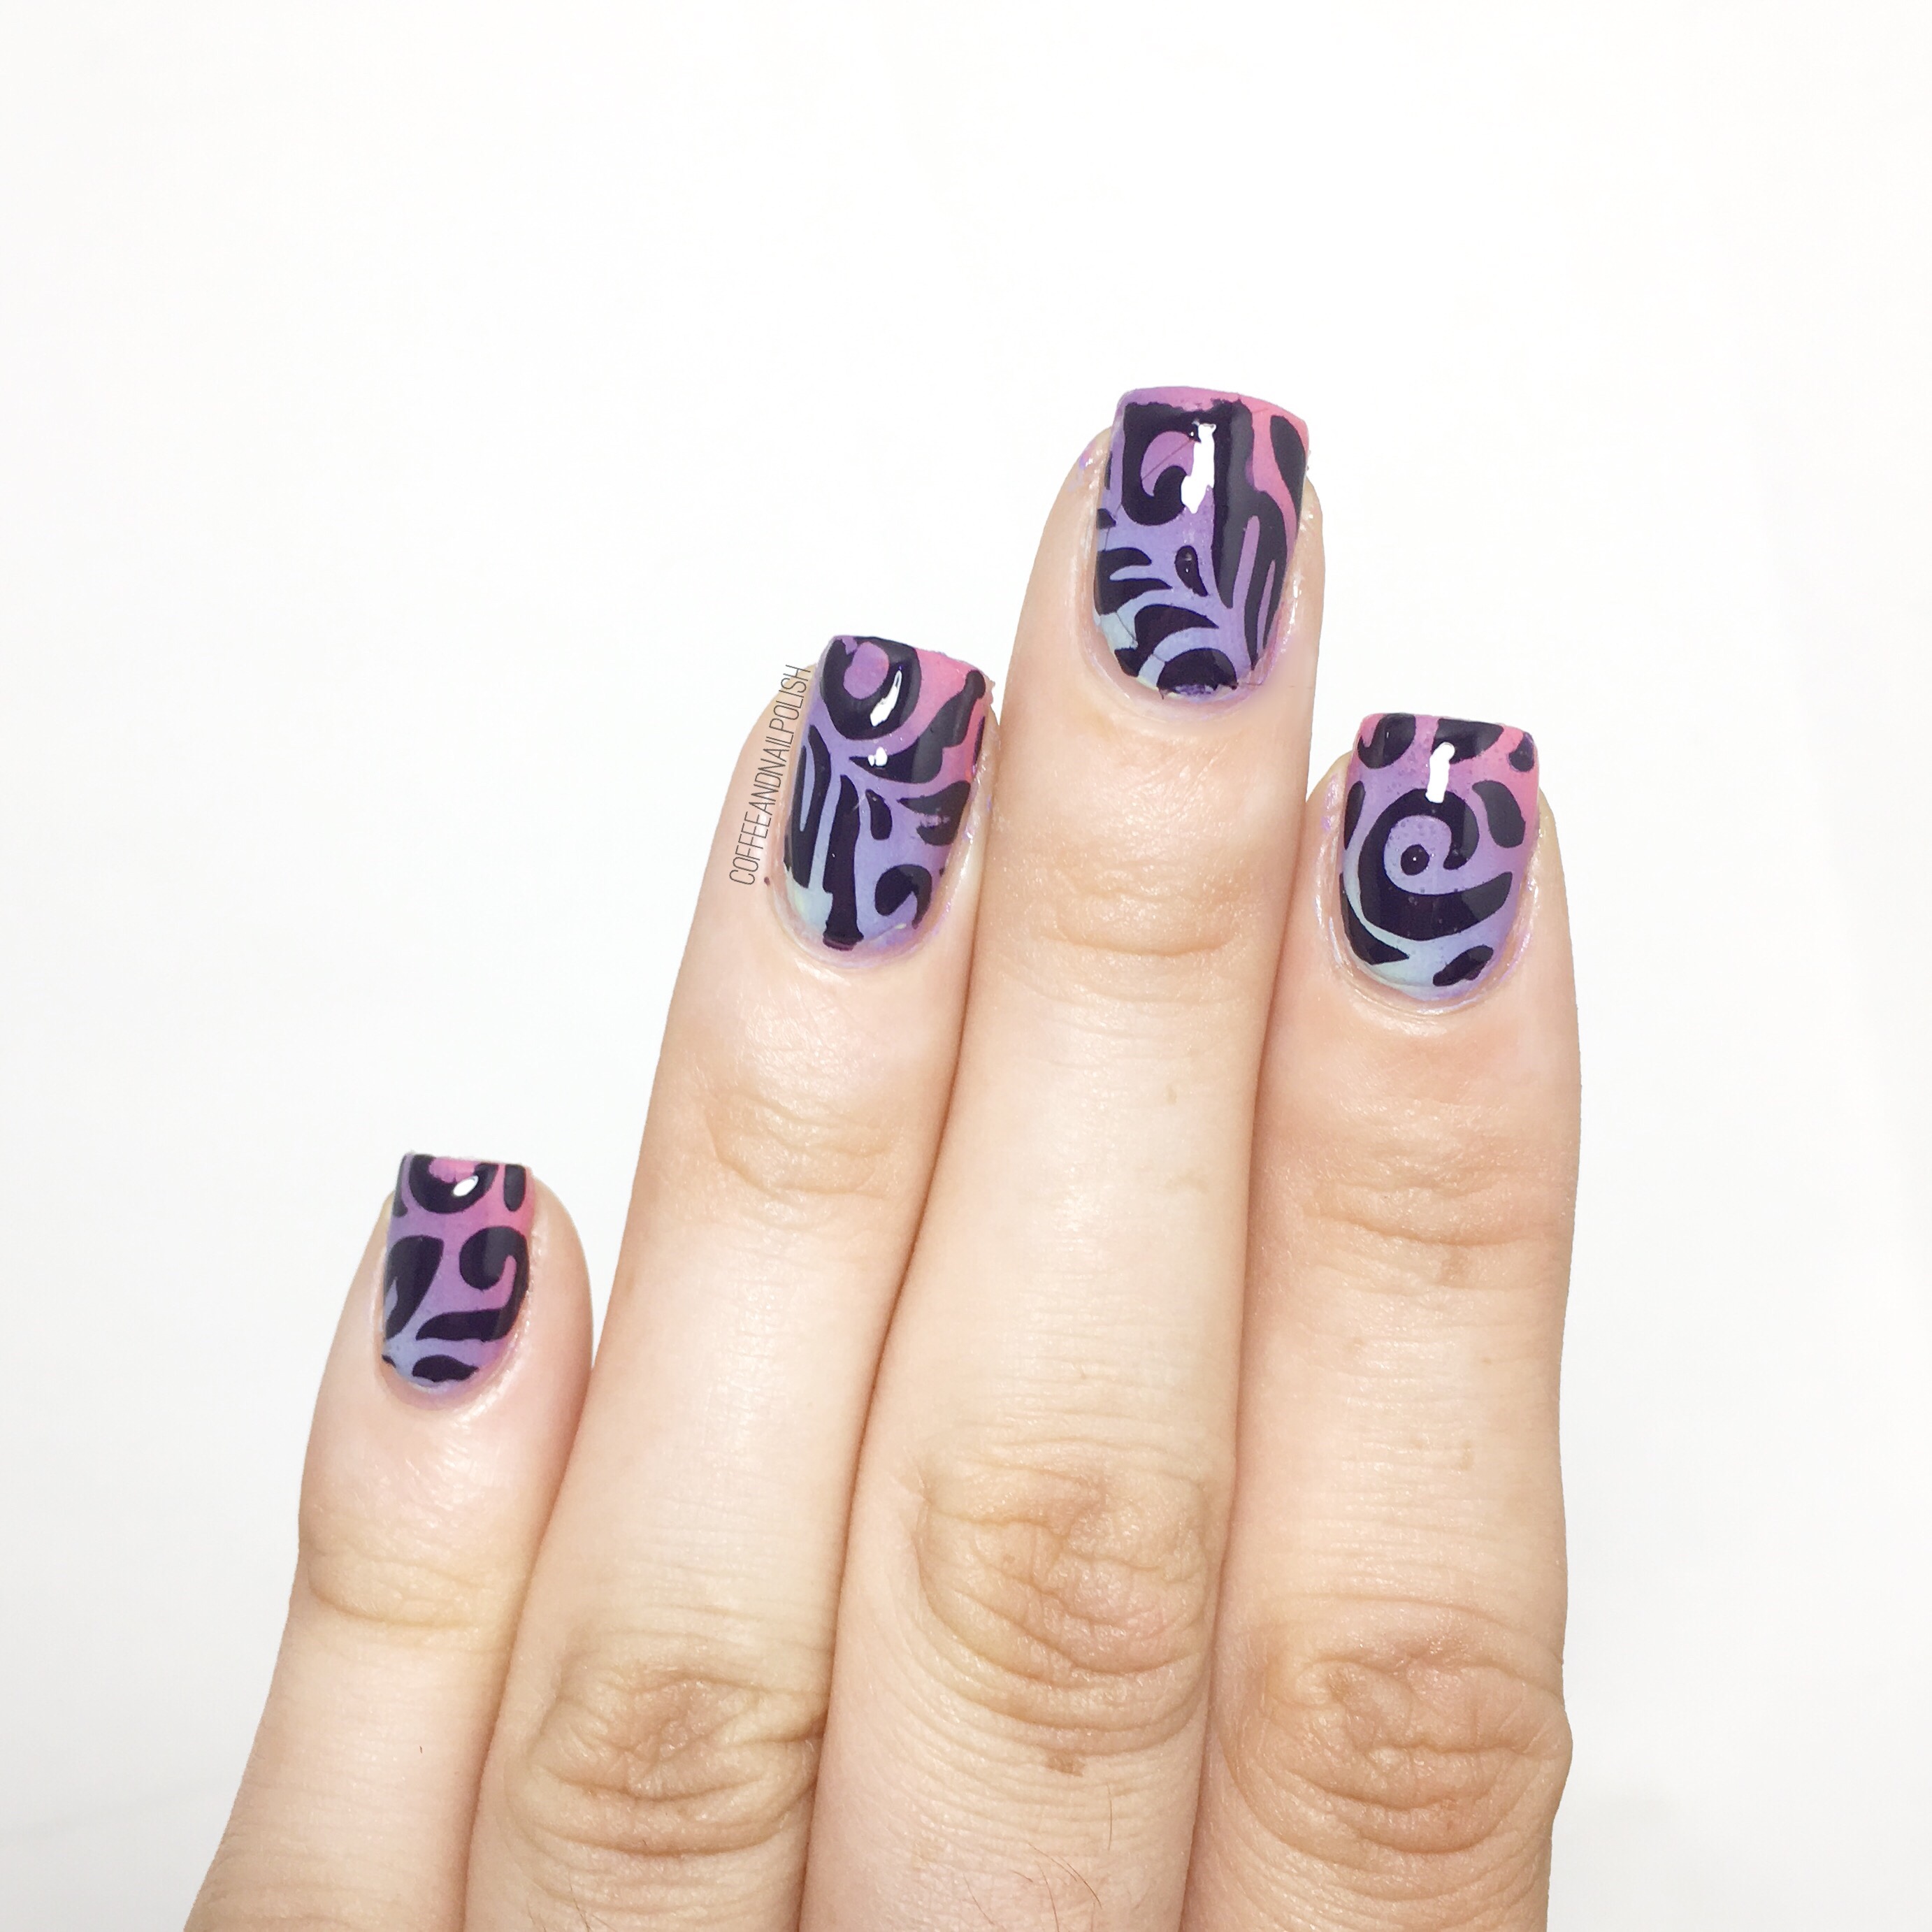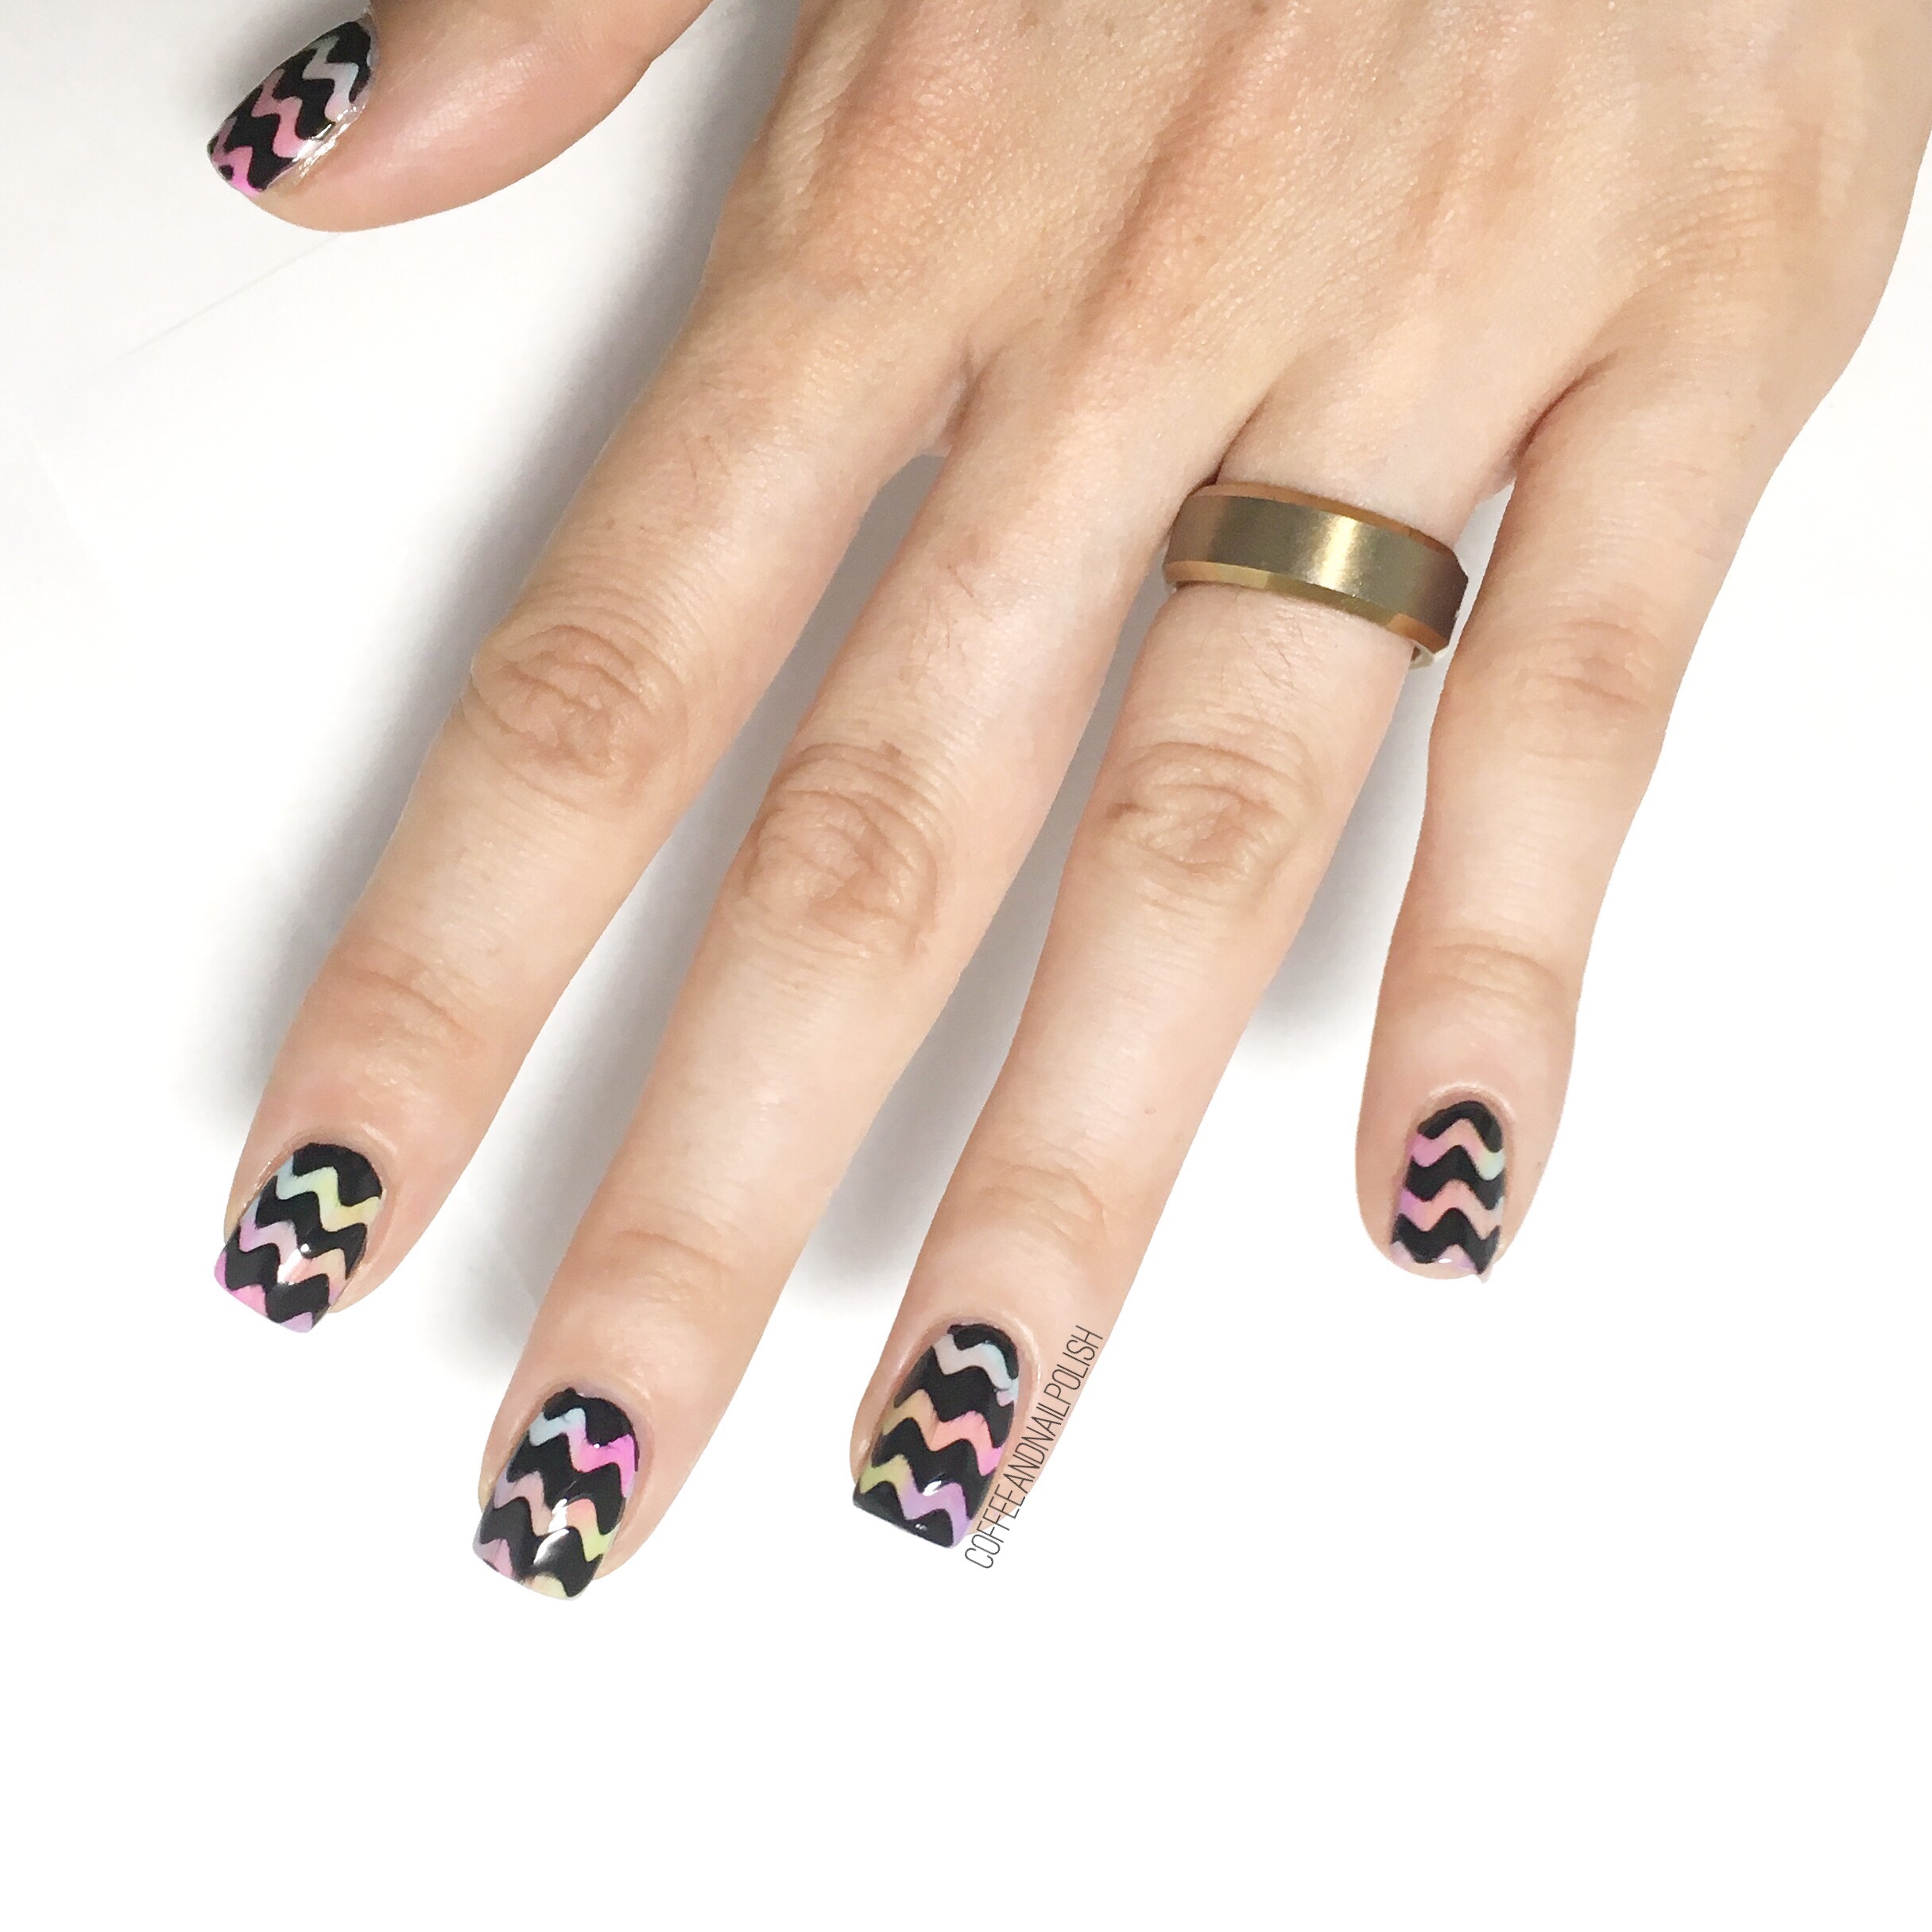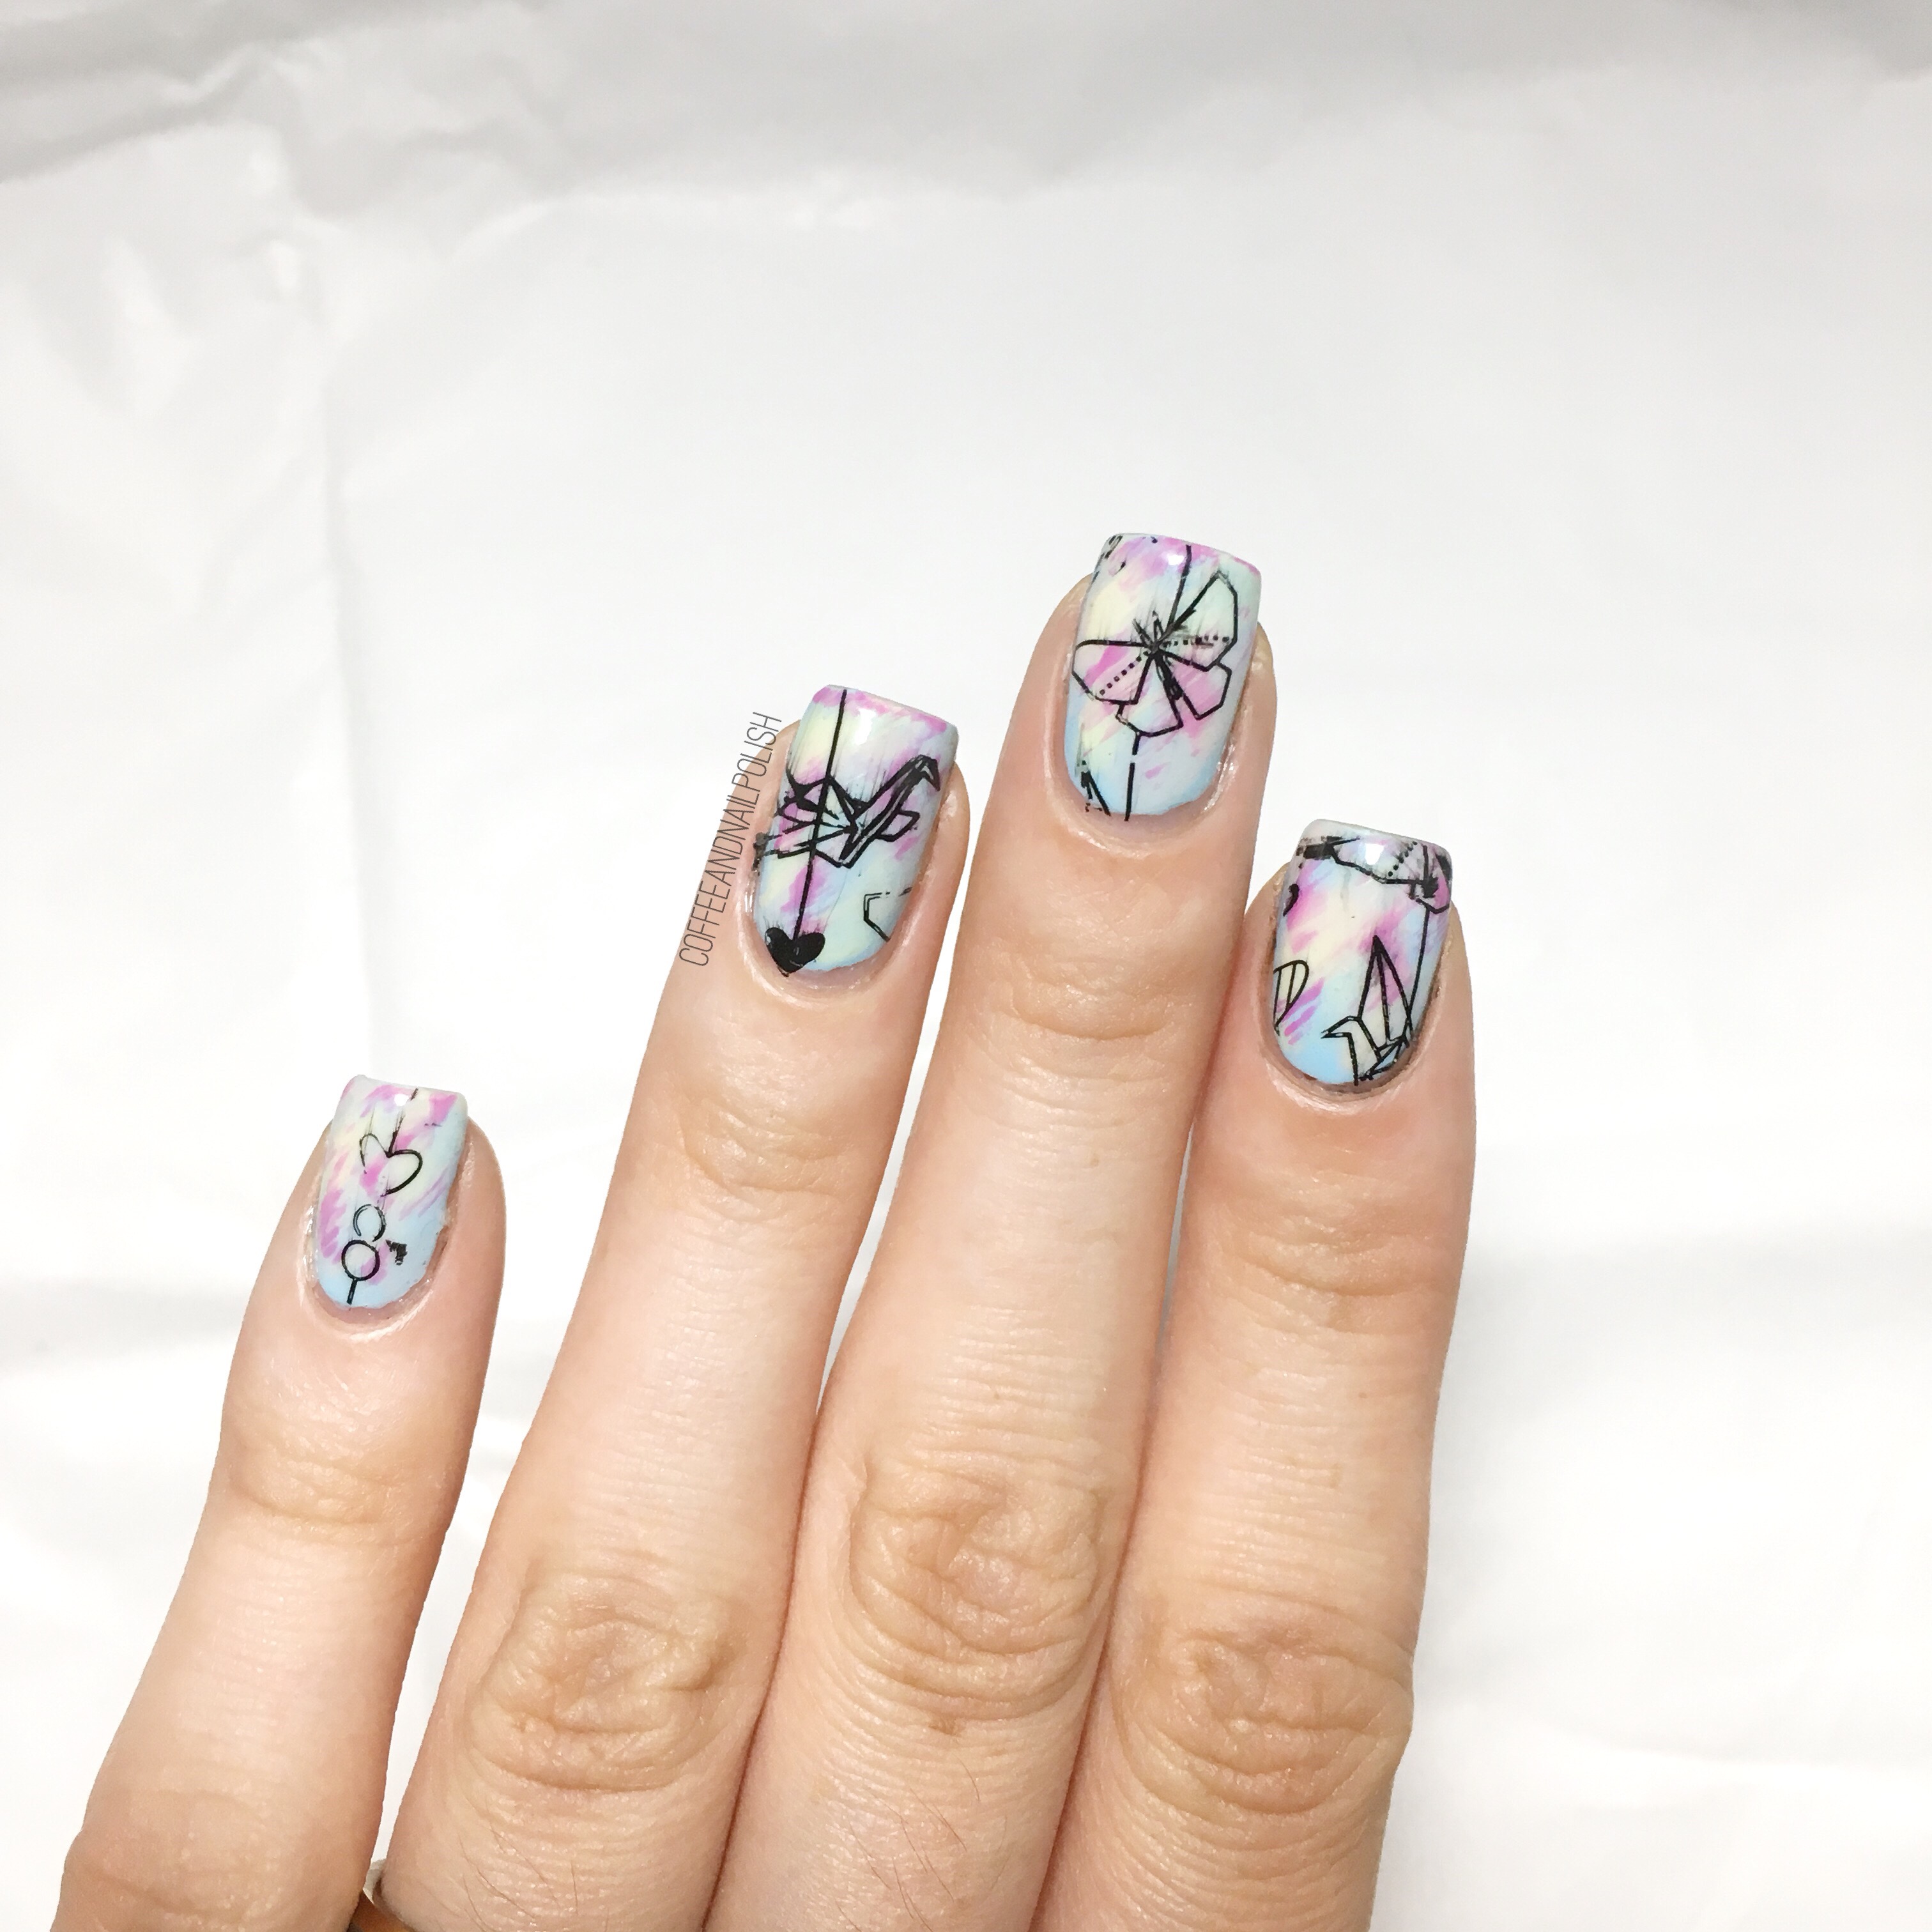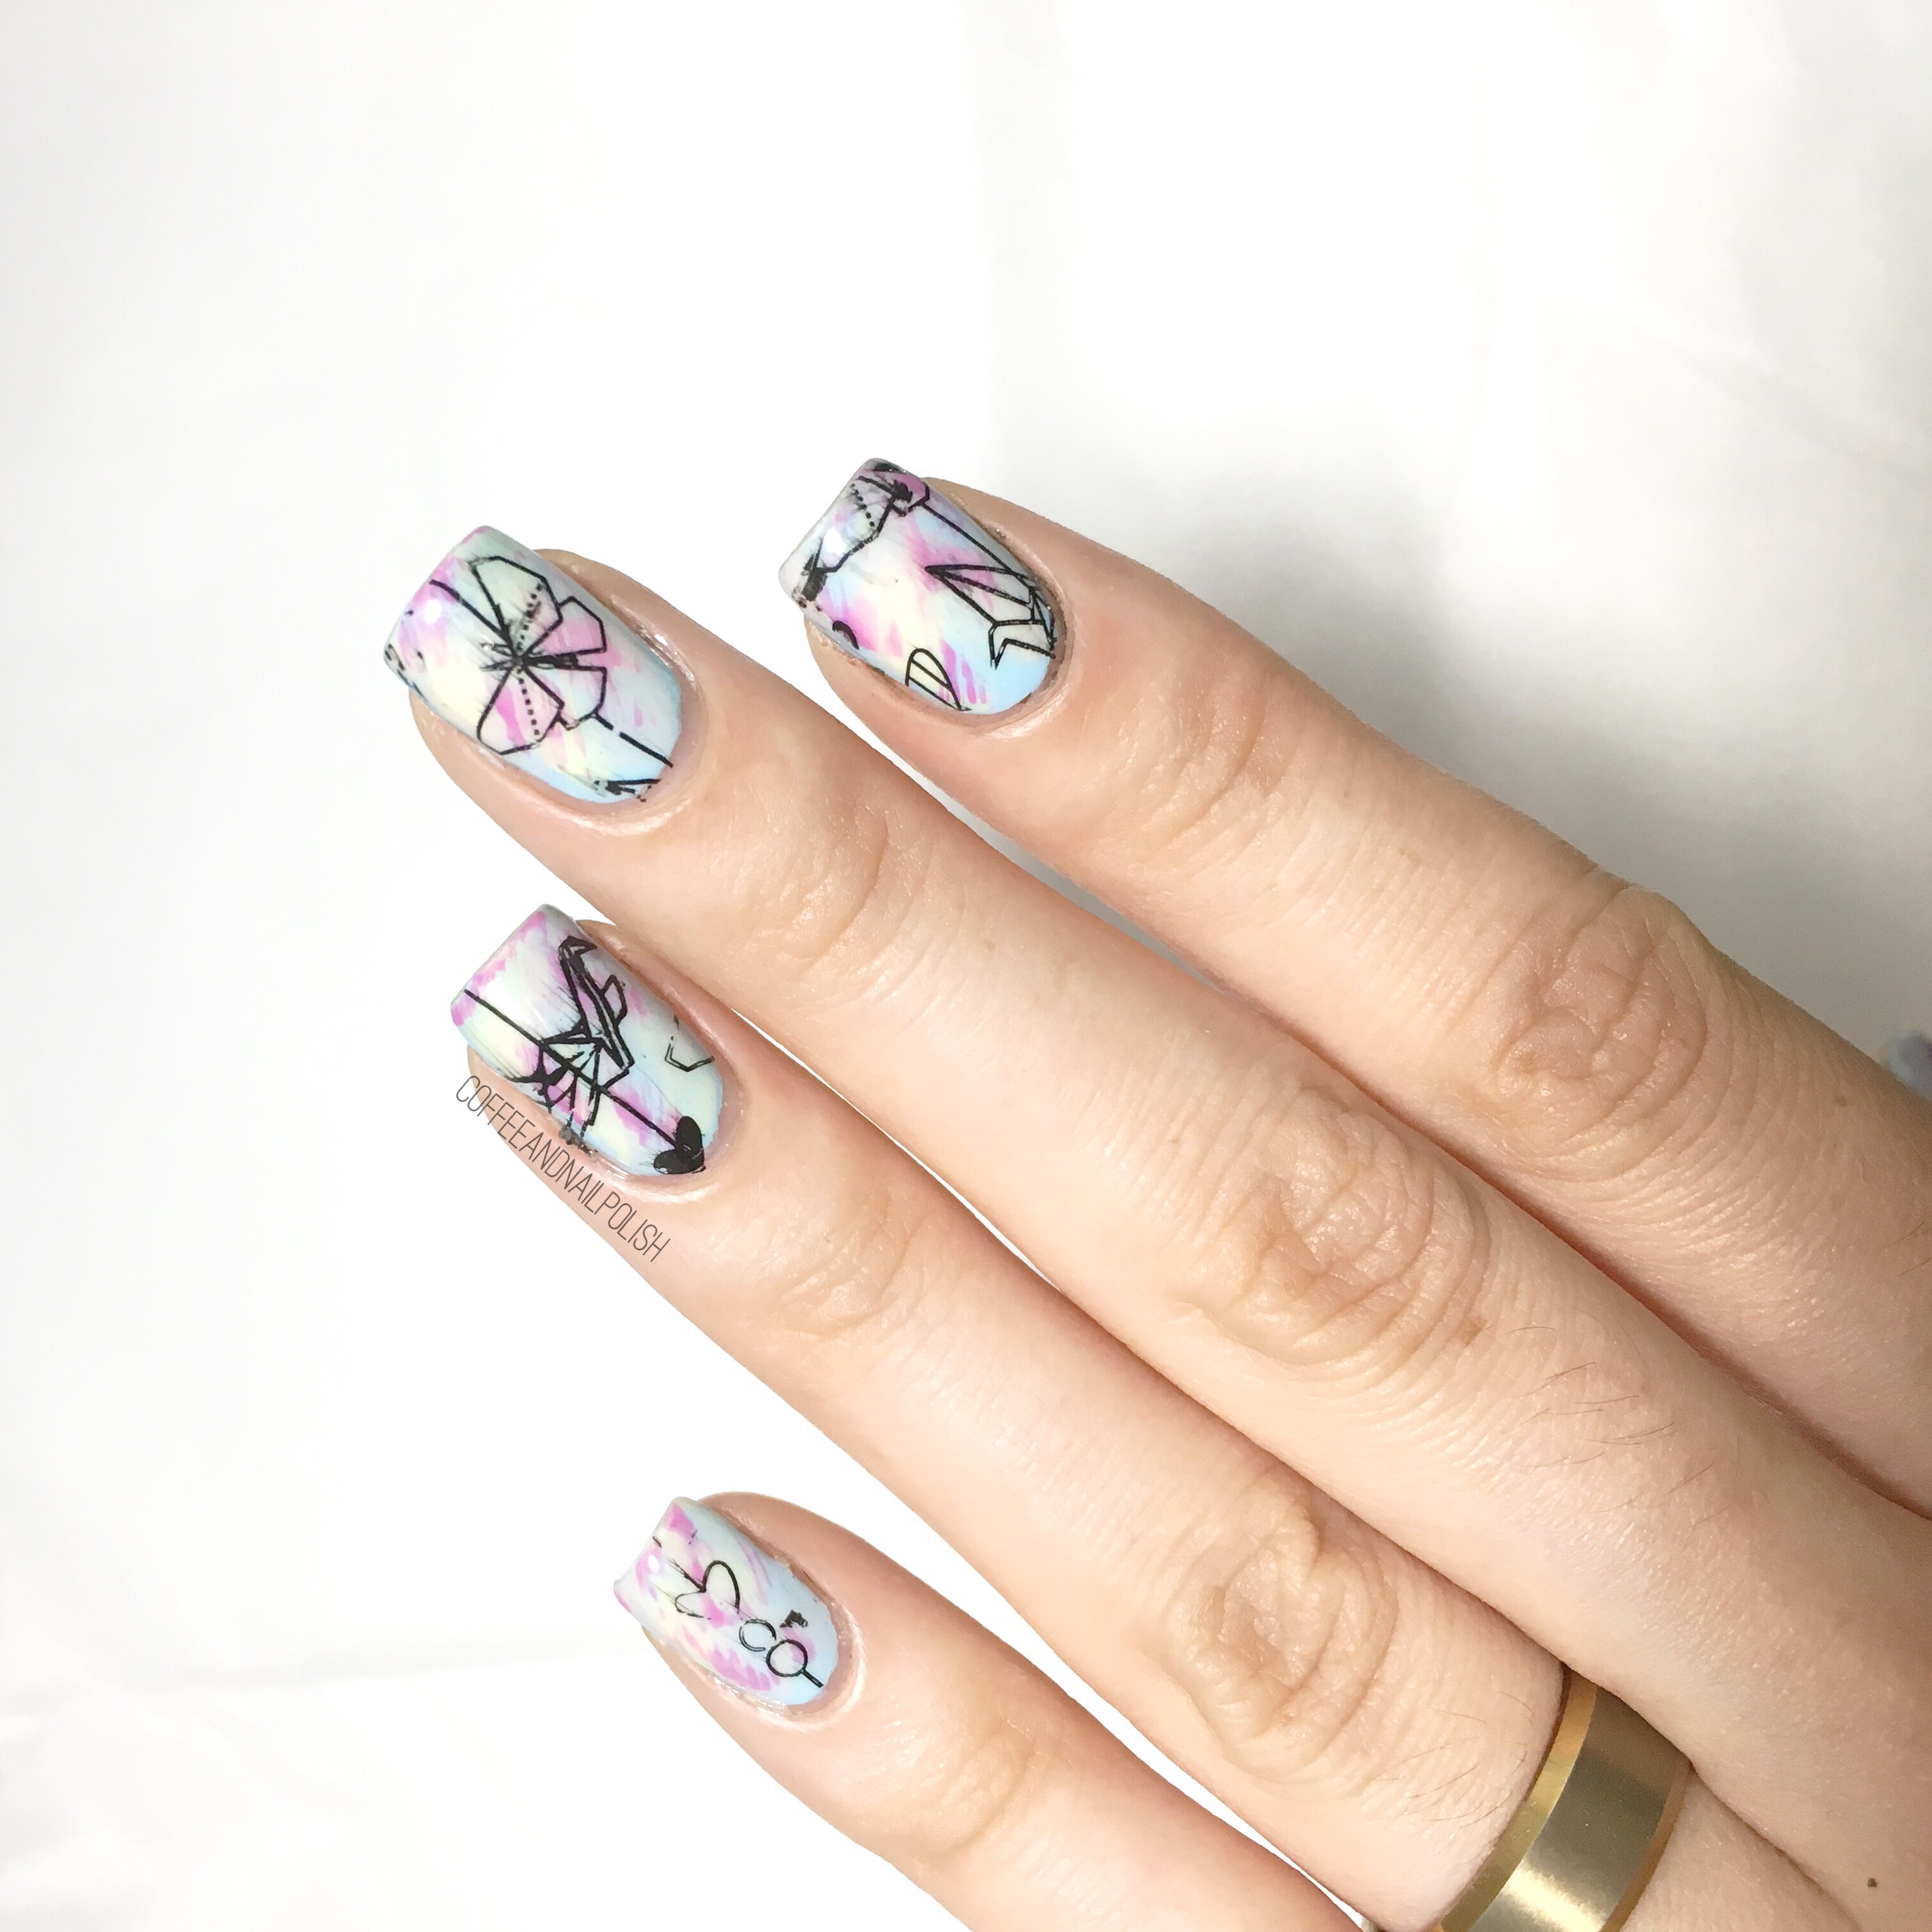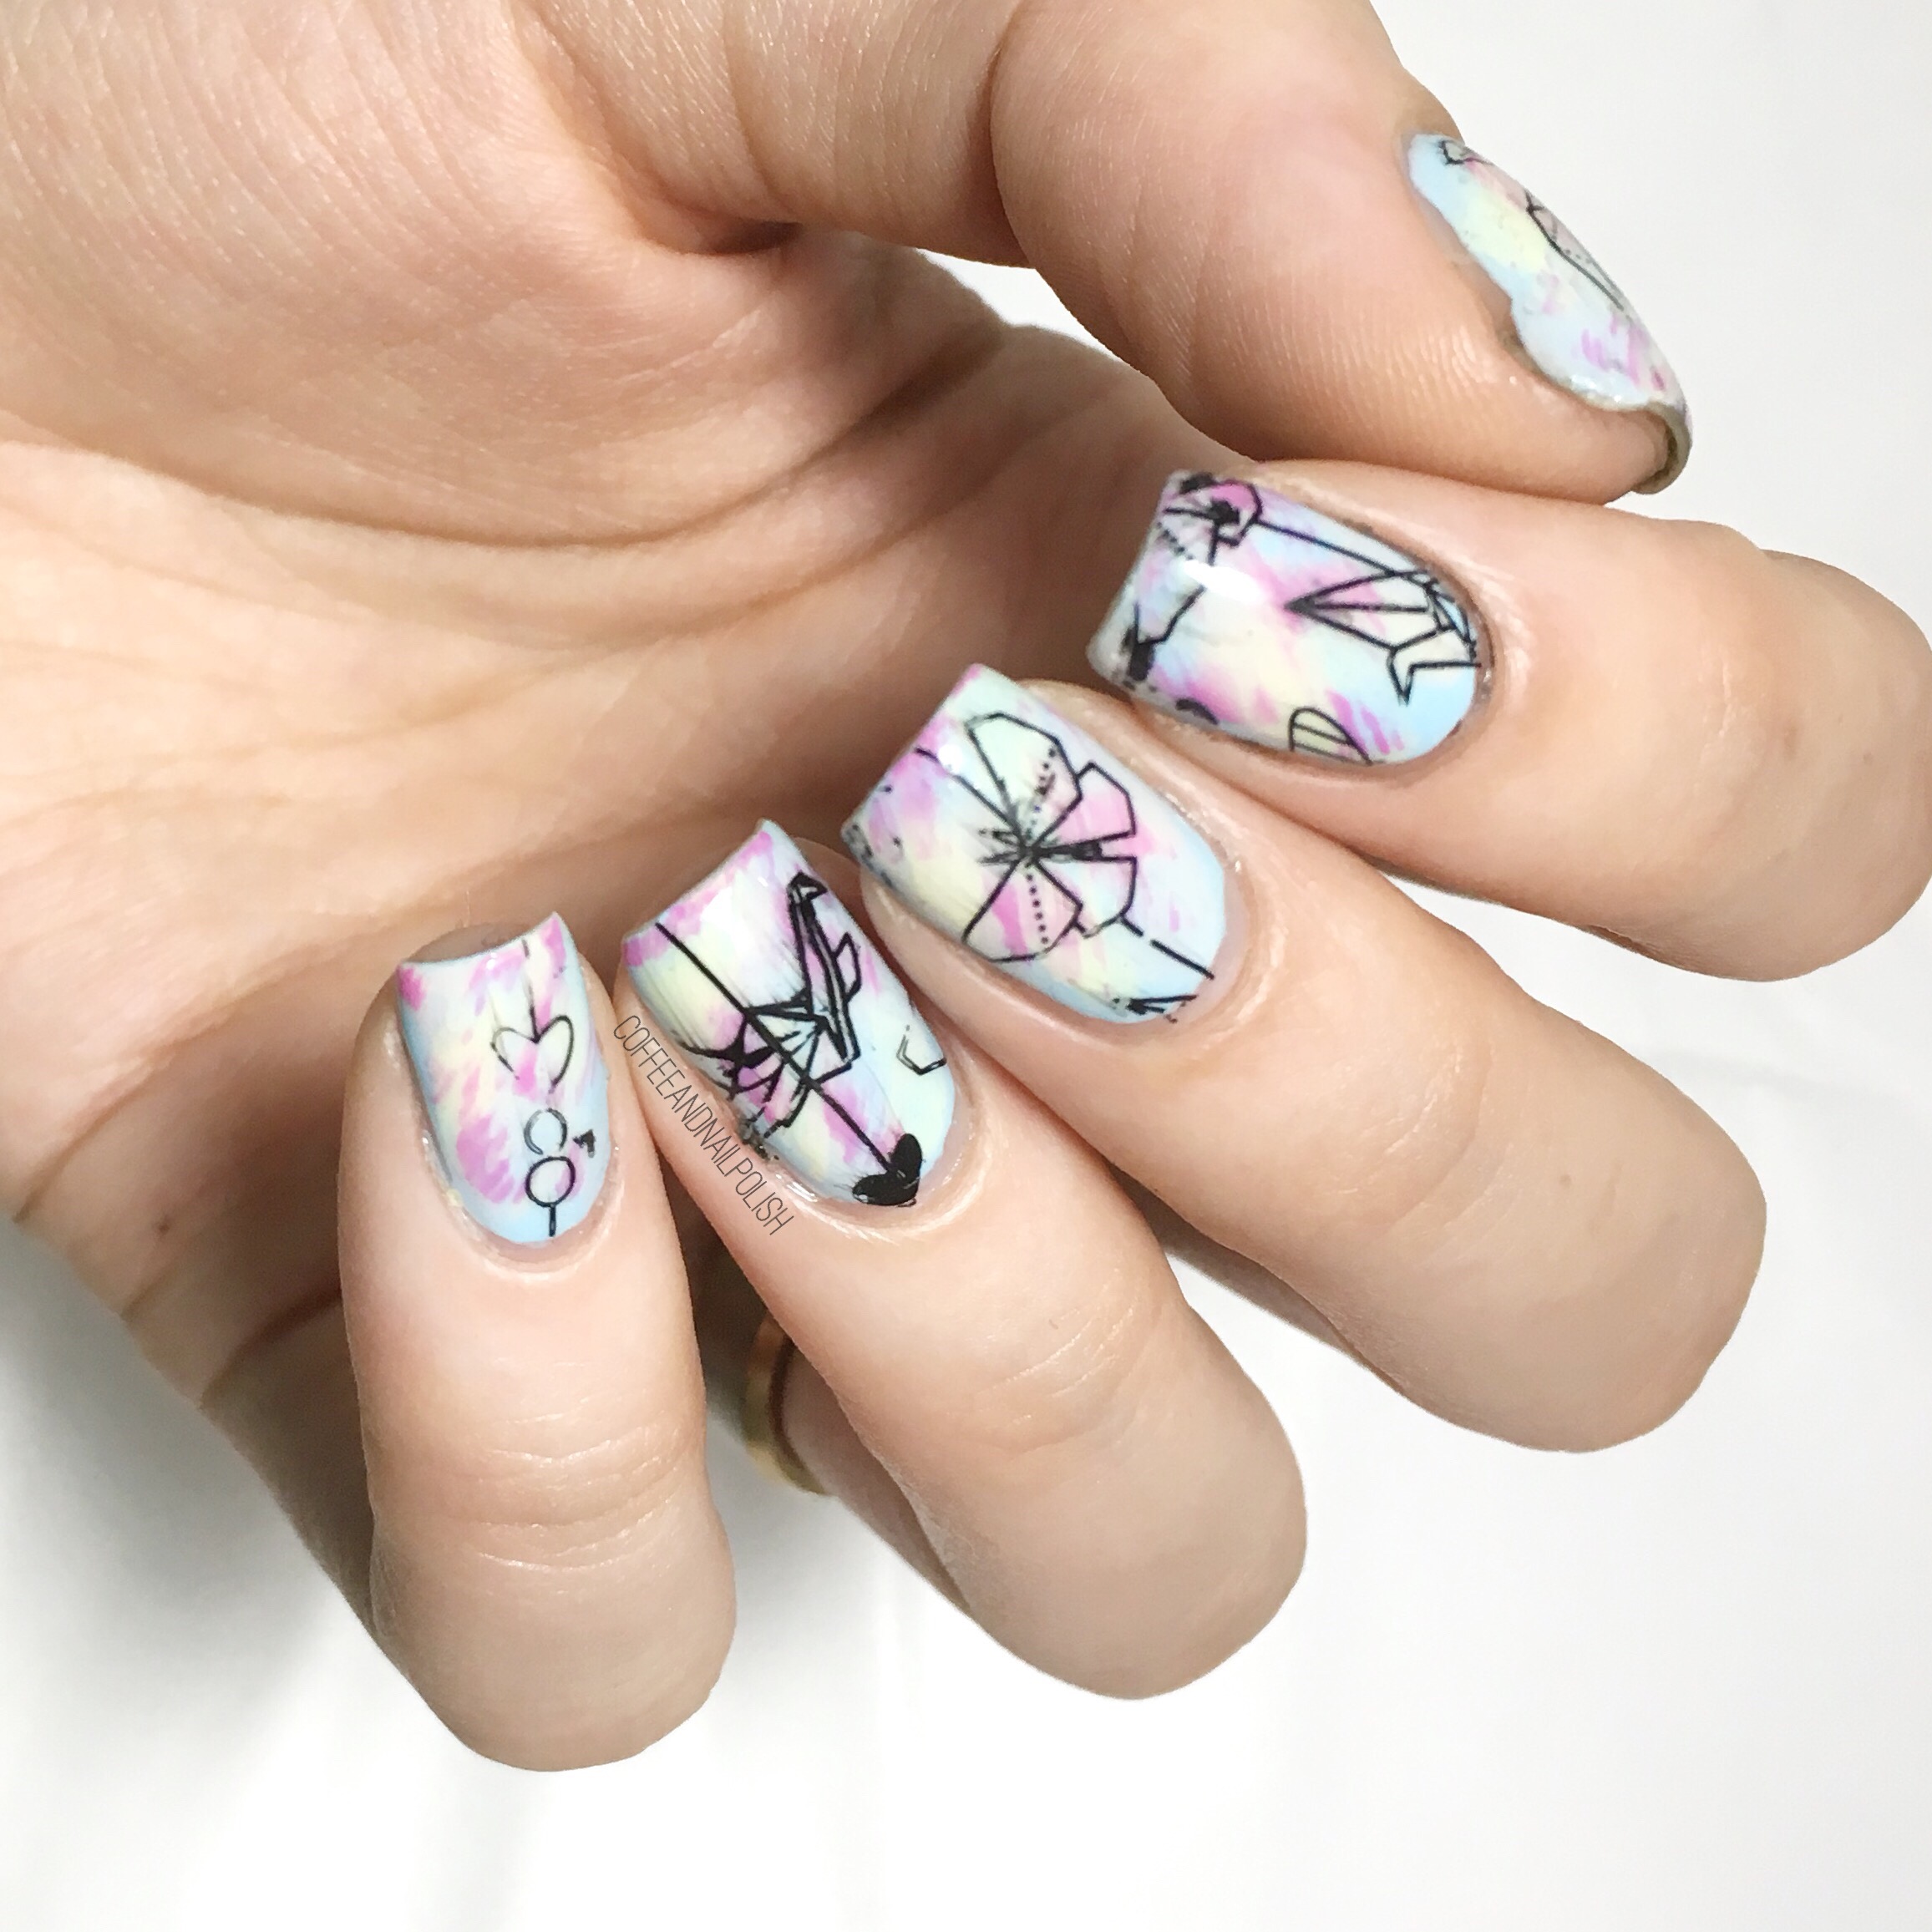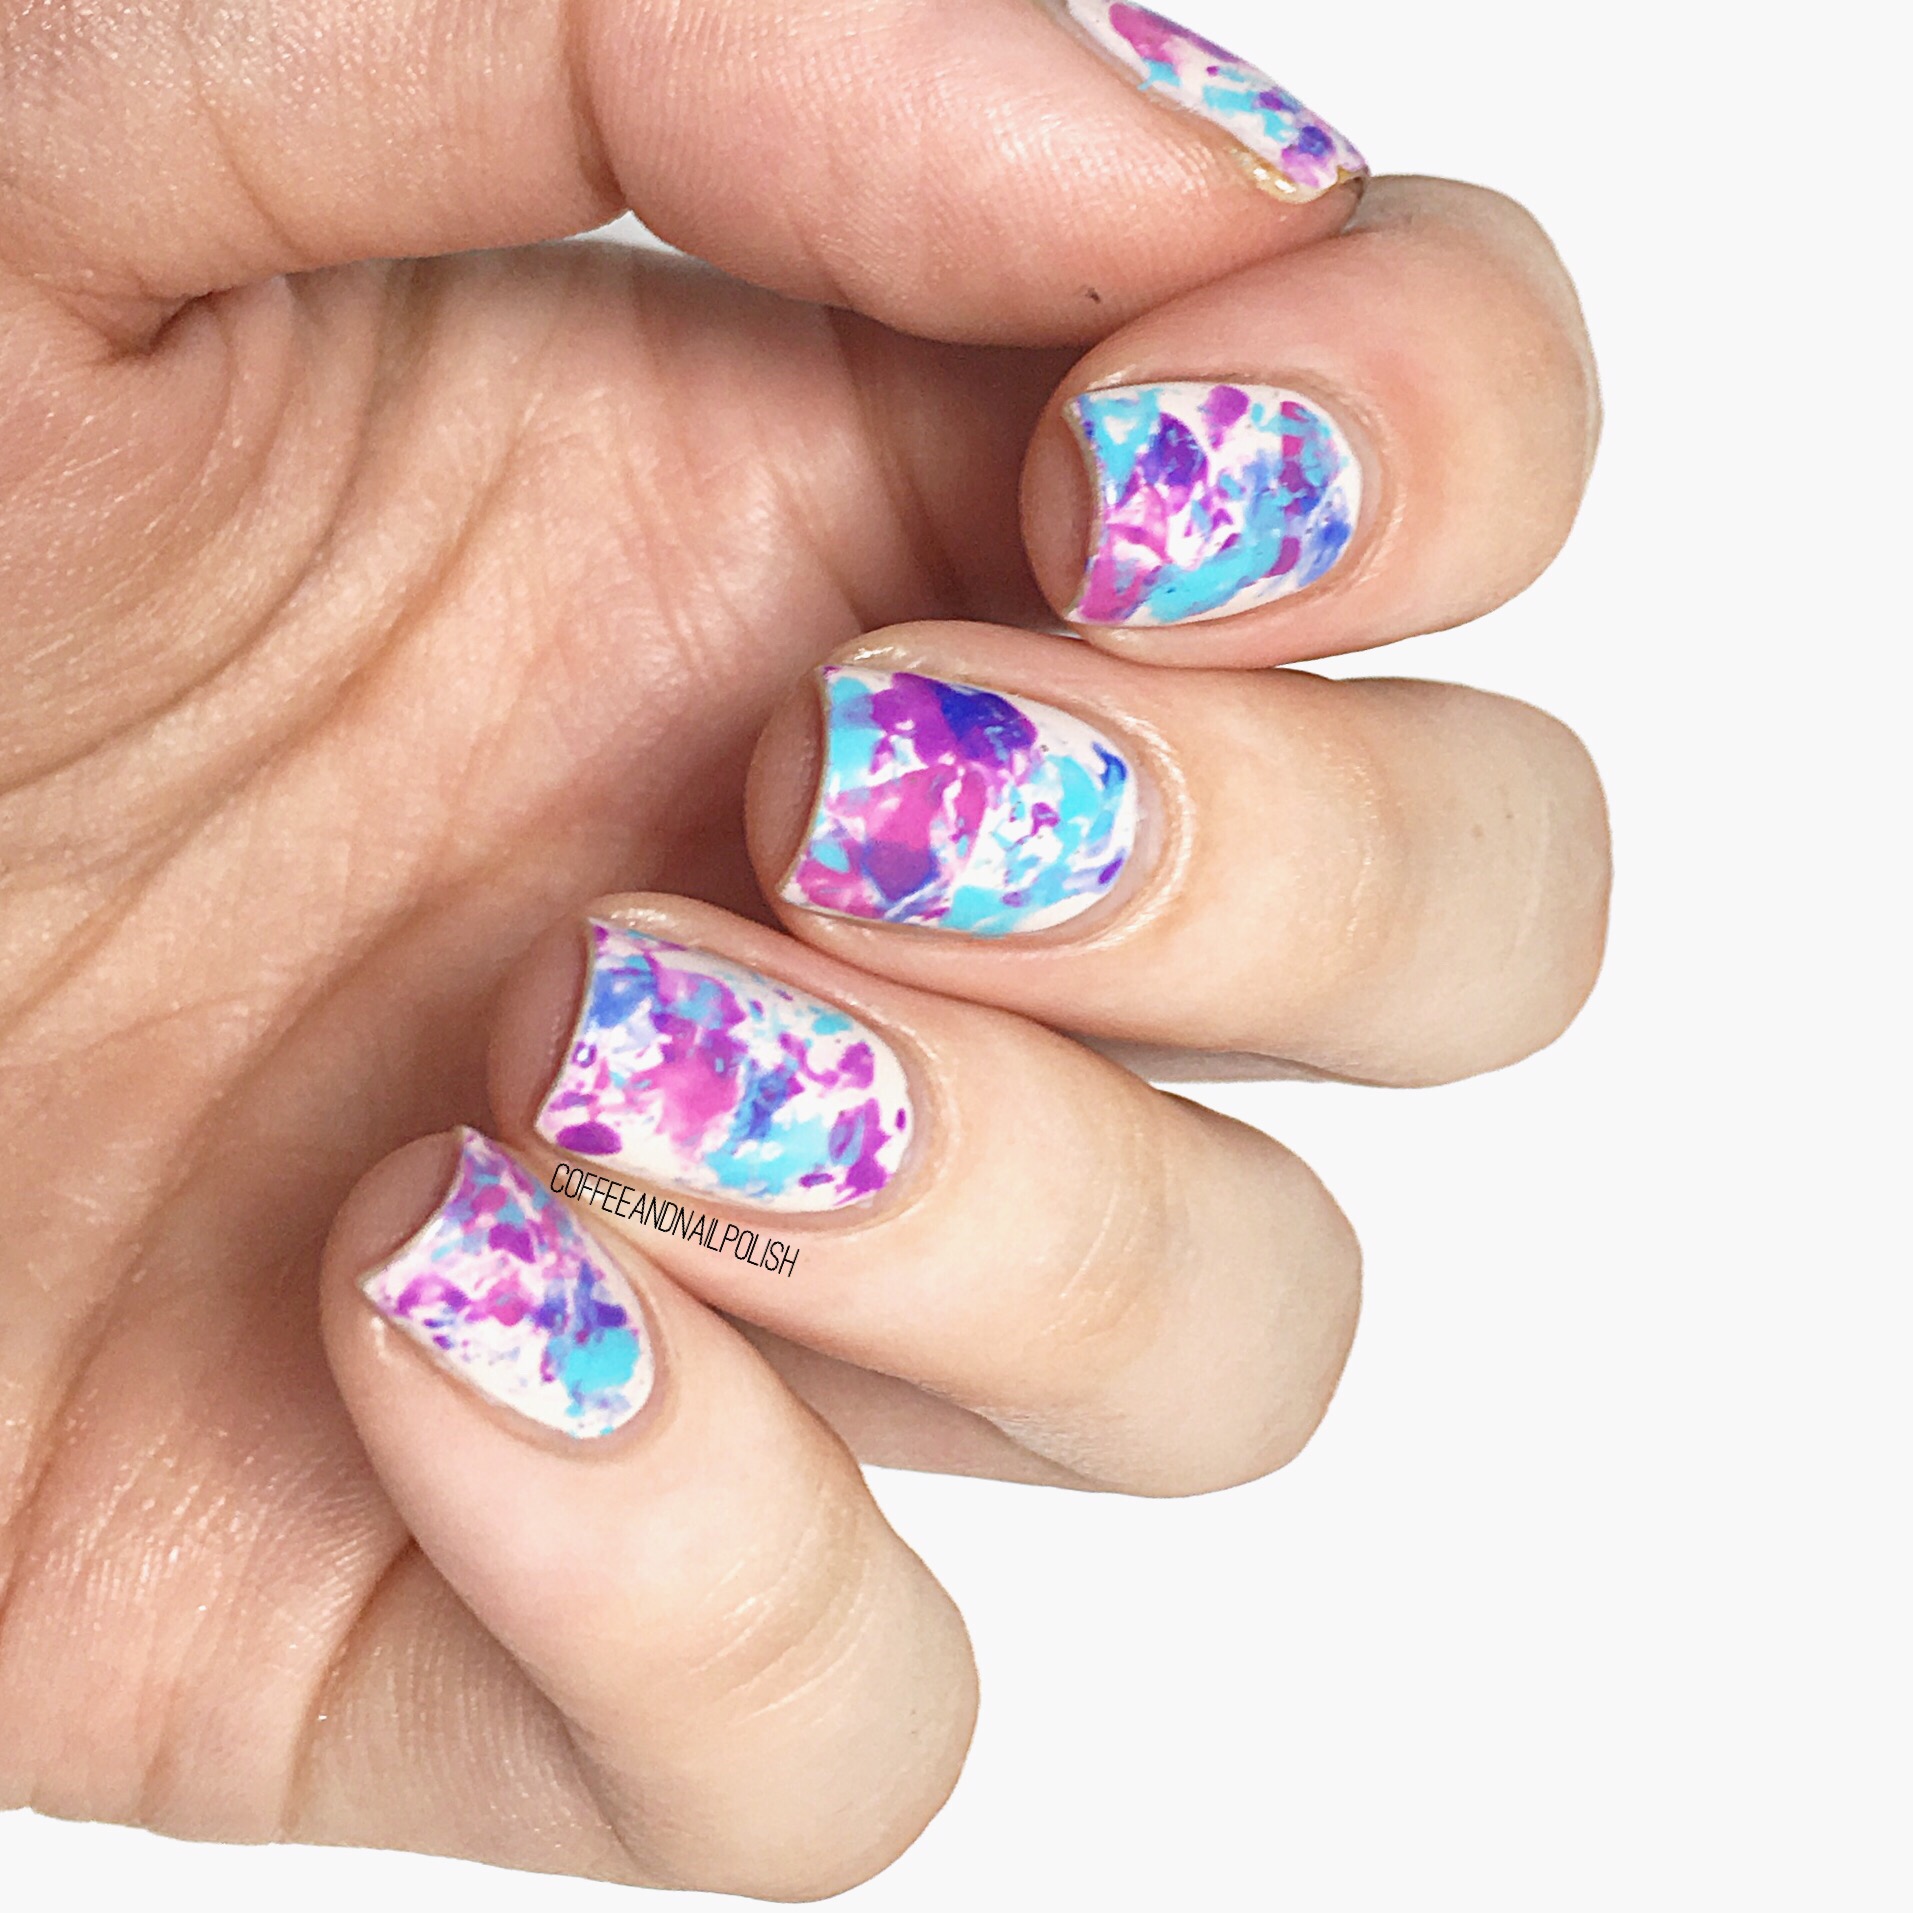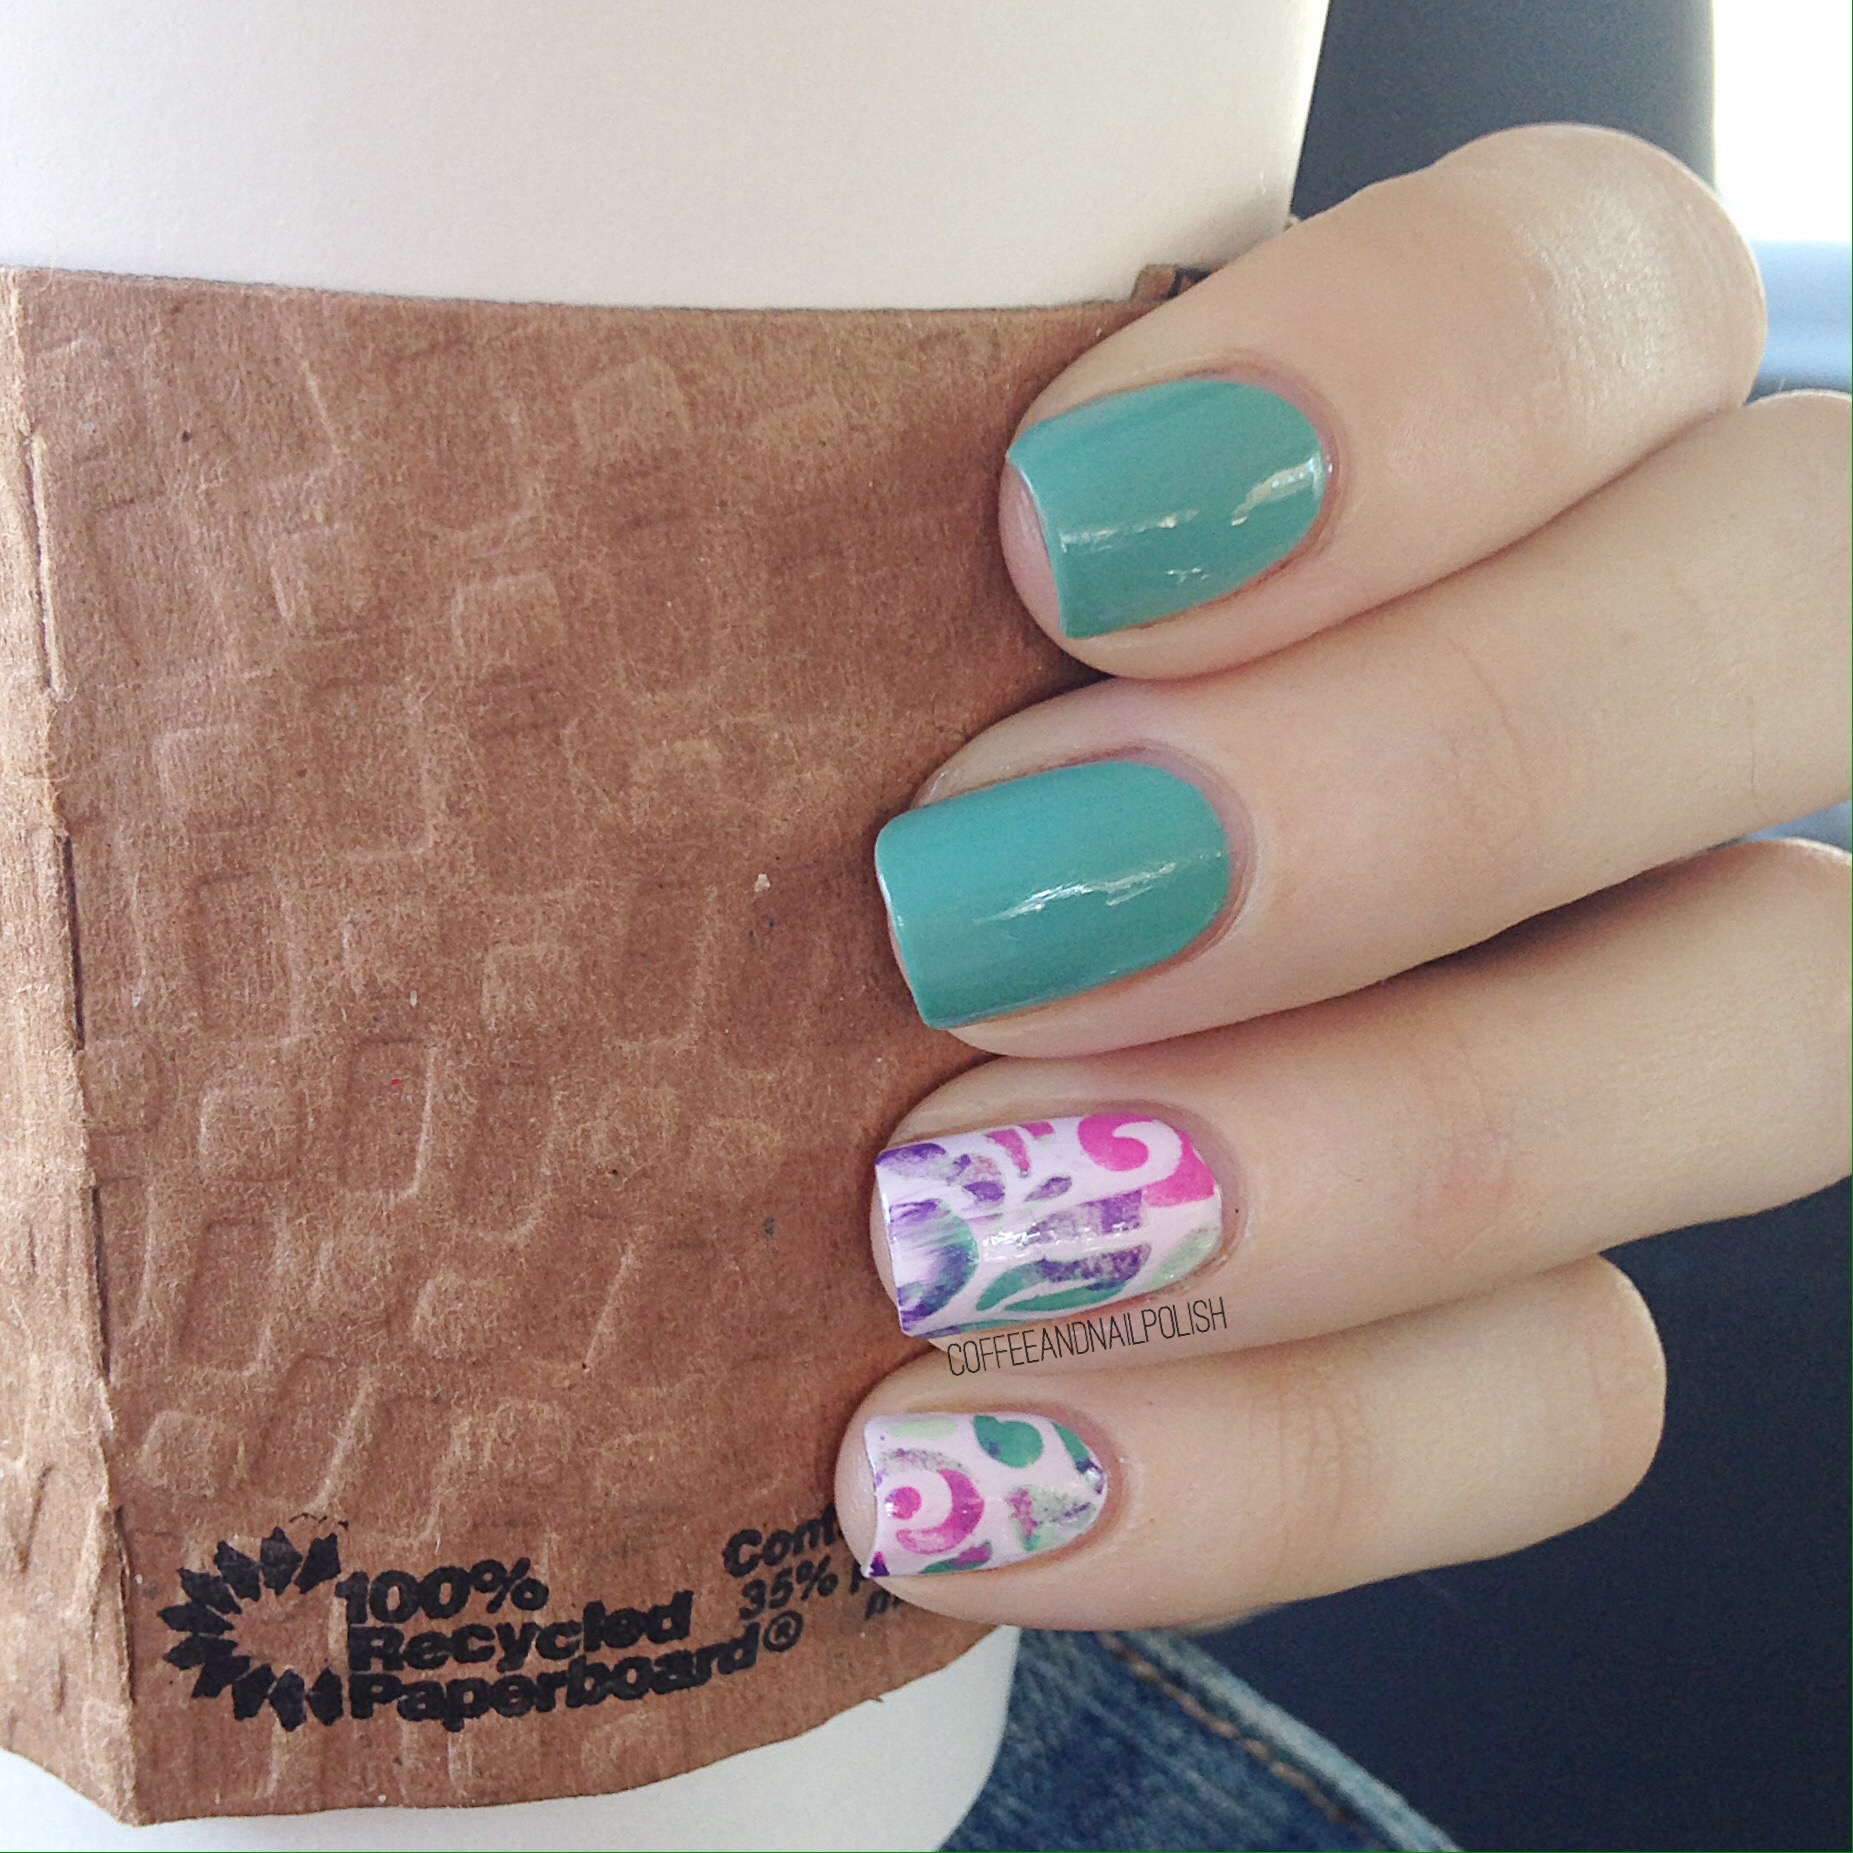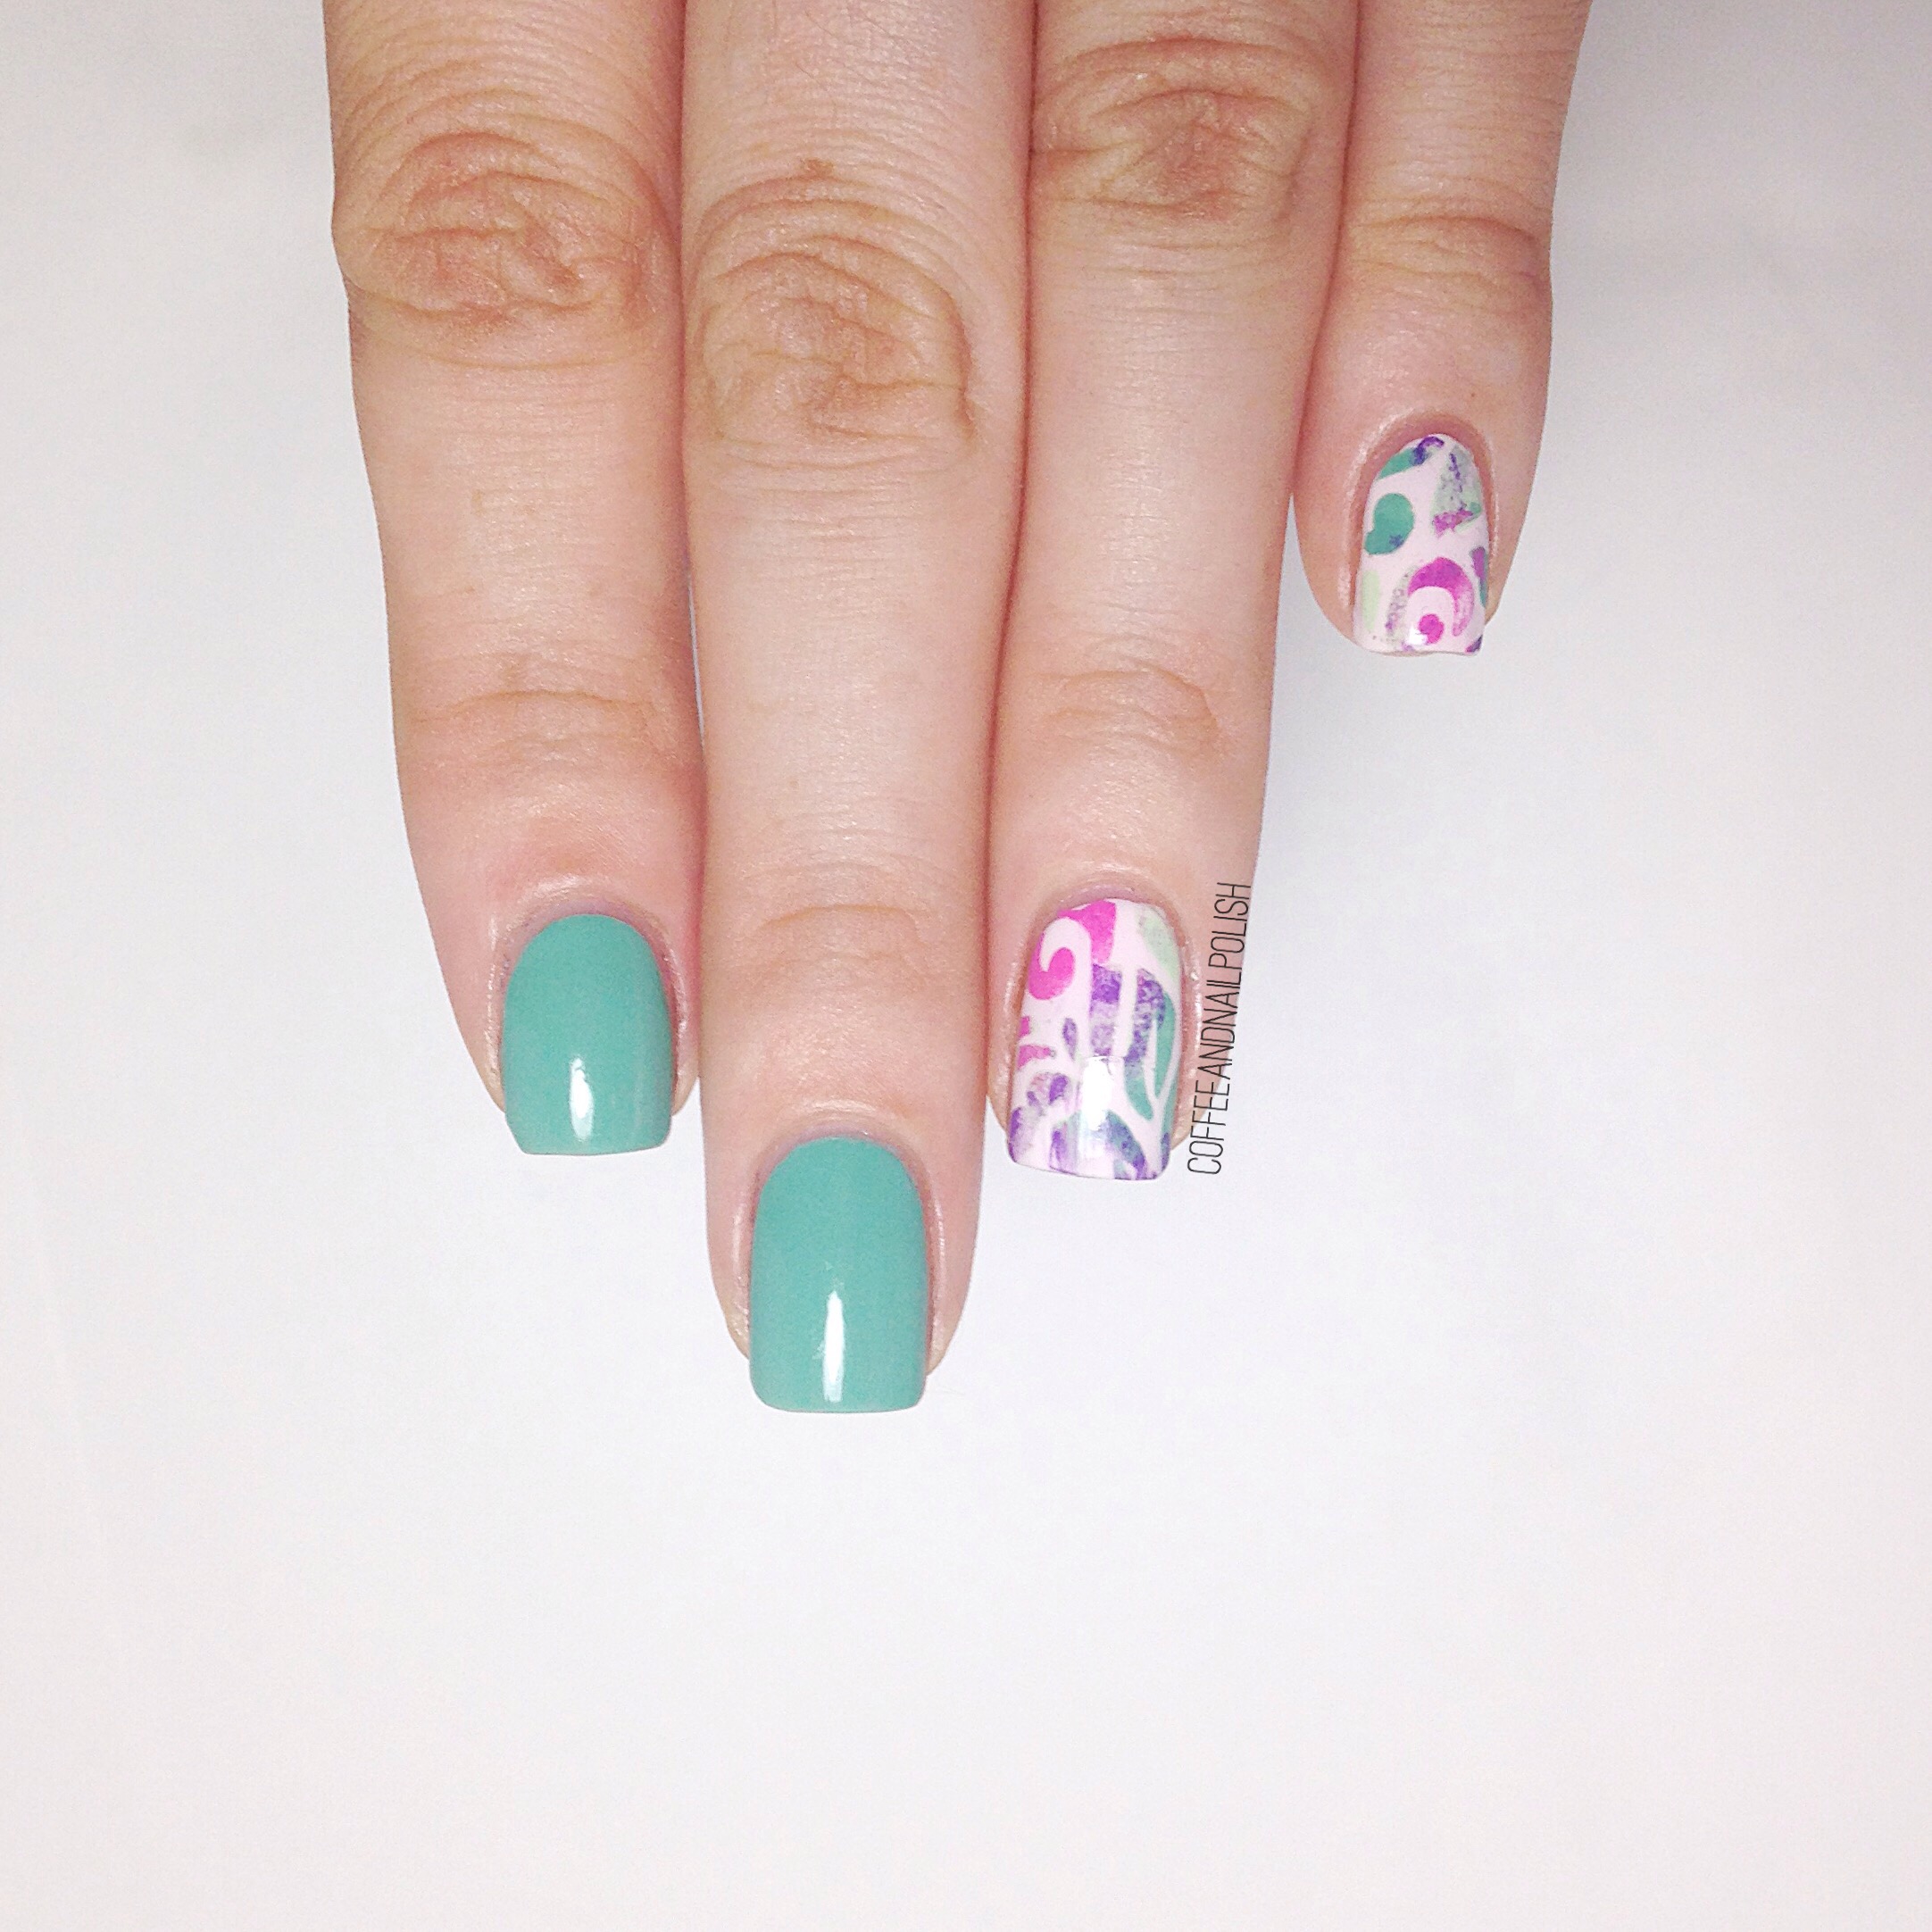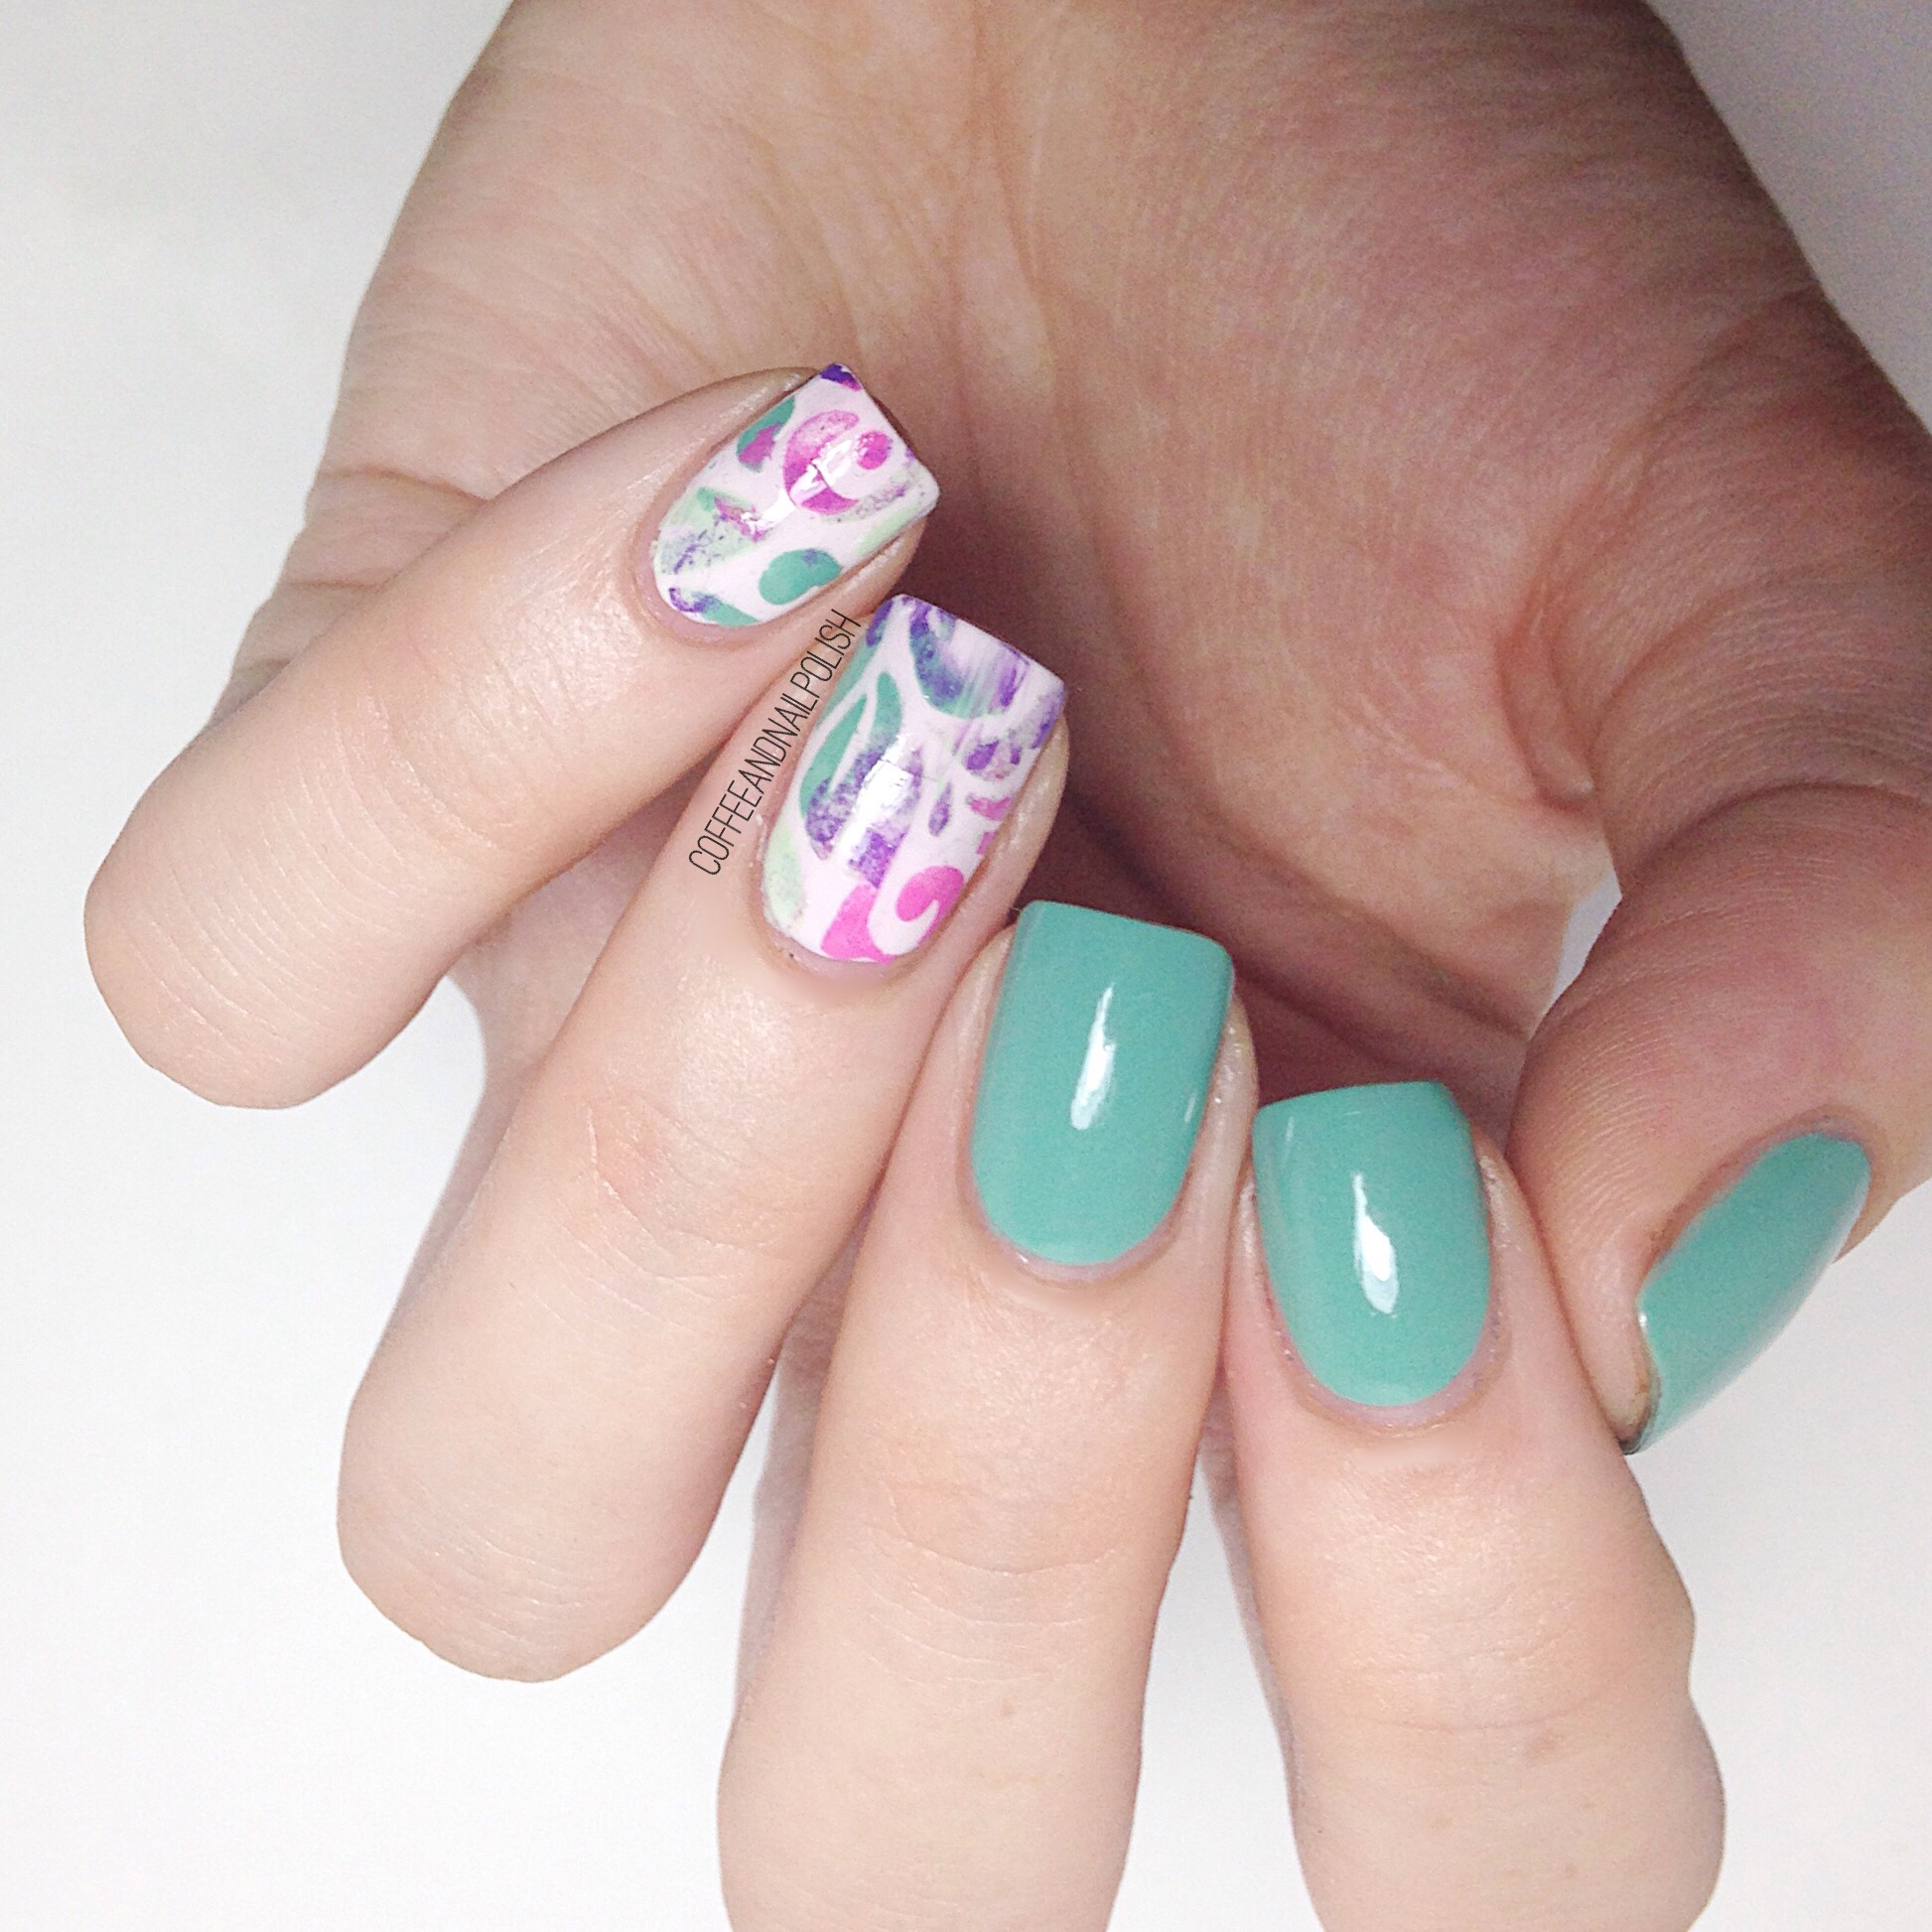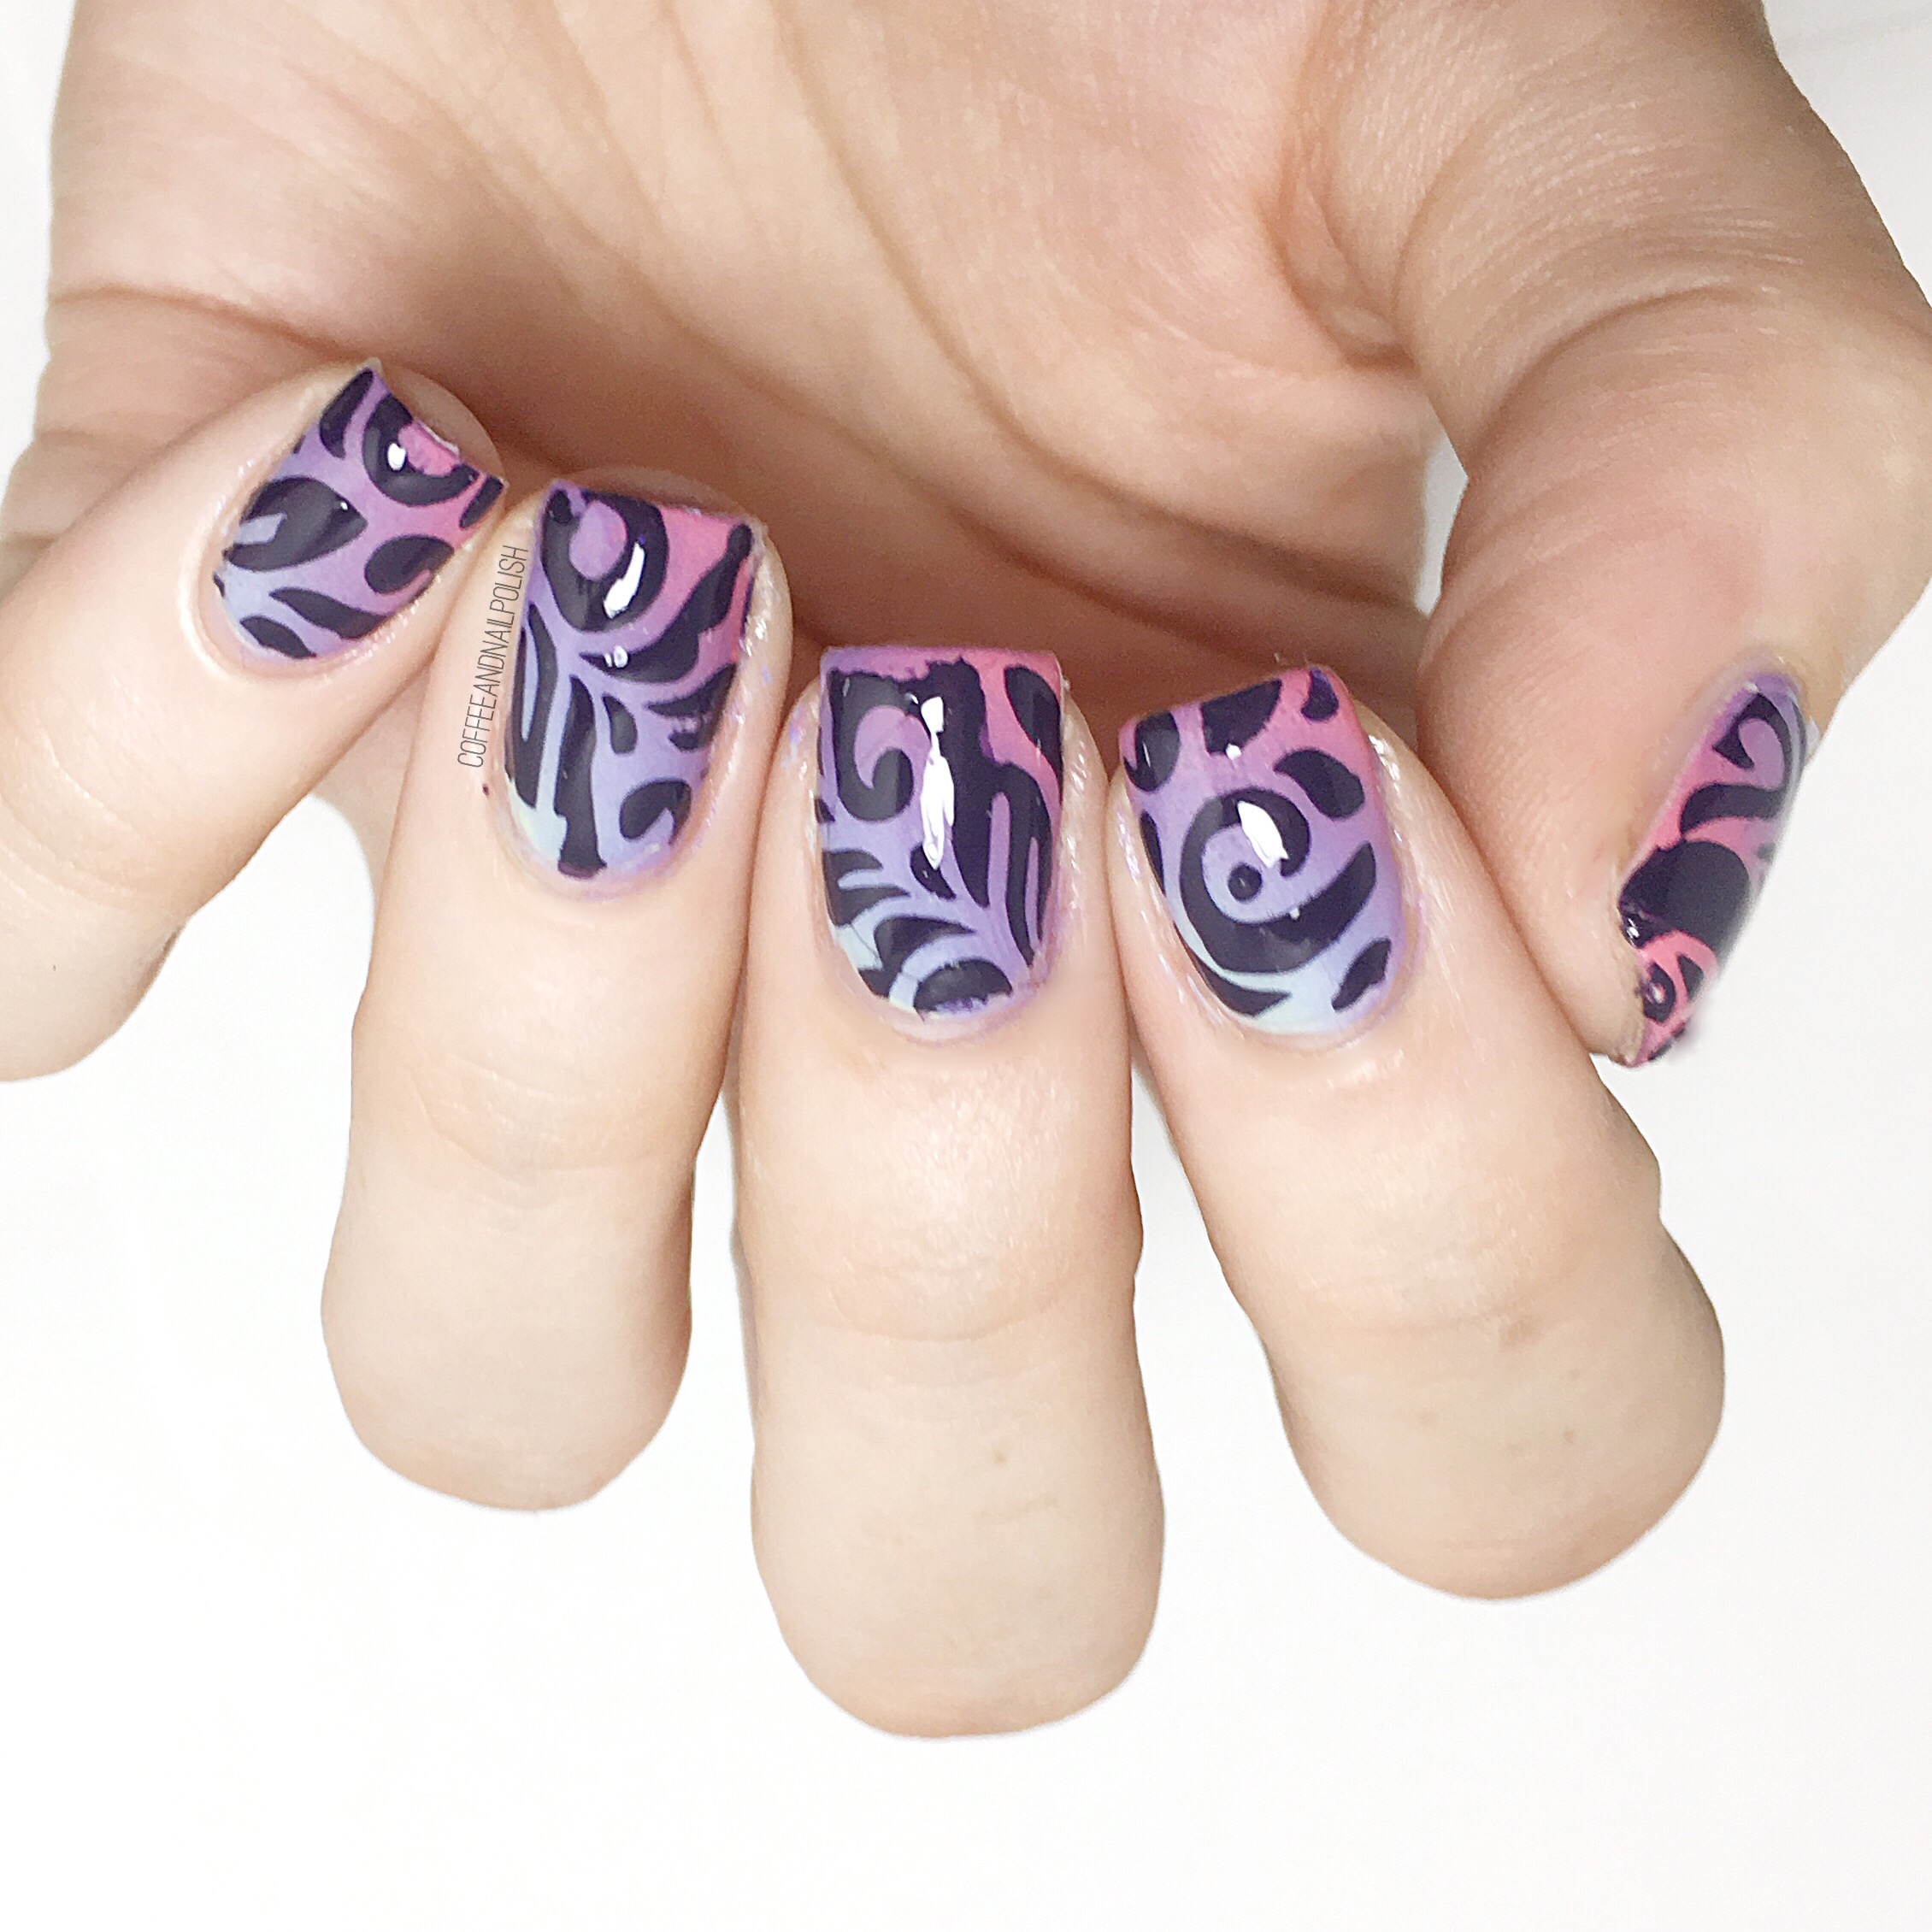
Tribal Print Gradient Nails

I know I say this every time I do my nails, but these have to be one of my favourite gradients I’ve ever done. Seriously–just look! It turned out so pretty. I’d never claim to be a gradient expert, but damn if I don’t feel proud of how these turned out! & what does better with a gradient than a little stamping? I don’t think I’ve done any stamping since before the Lil Bubs was born, & I didn’t realize how much I missed it. 

For this manicure, I used:

  • Base Coat: Perfect Formula Pink Gel Coat
  • Top Coat: Cutex Quick Dry Top Coat
  • Essie Lounge Lover
  • China Glaze Glow With The Flow
  • China Glaze Plur-ple
  • Essie Butler Please
  • Yves Saint Laurent Noir Brilliant
  • Born Pretty Store Peel Off Liquid Tape
  • Born Pretty Store Stamping Plate (QA66)
  • Latex Free Make Up Sponge

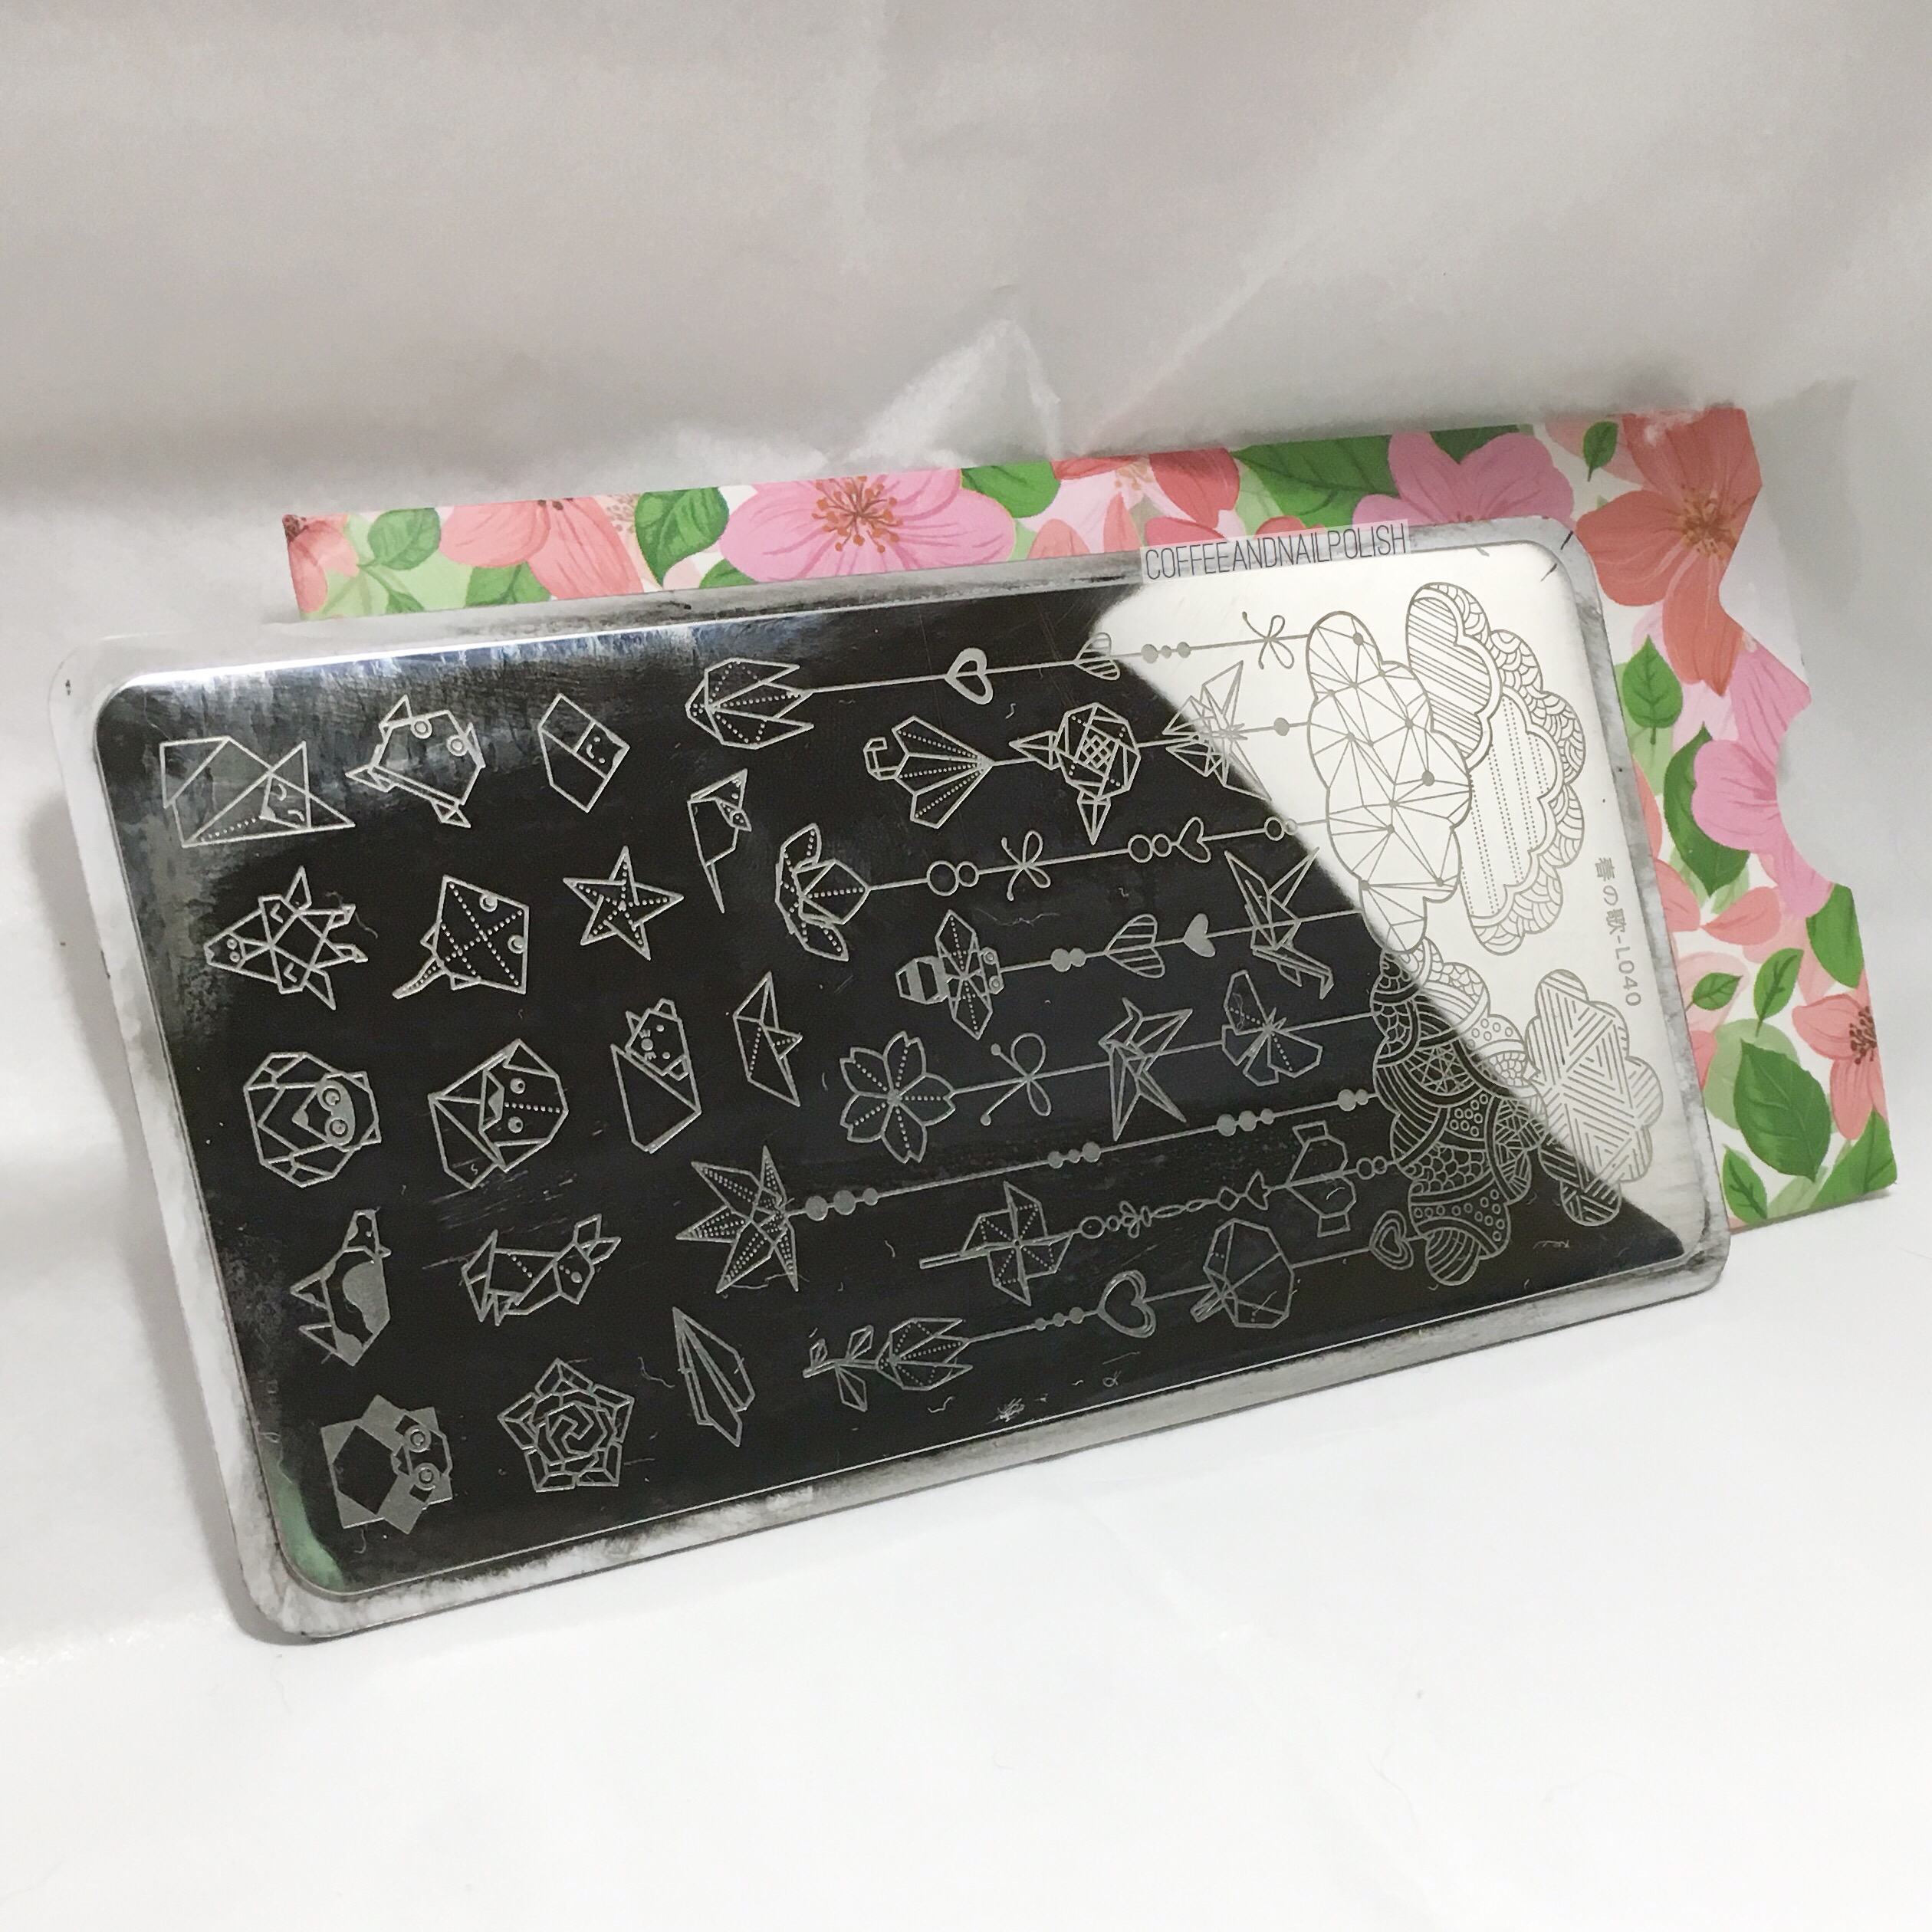
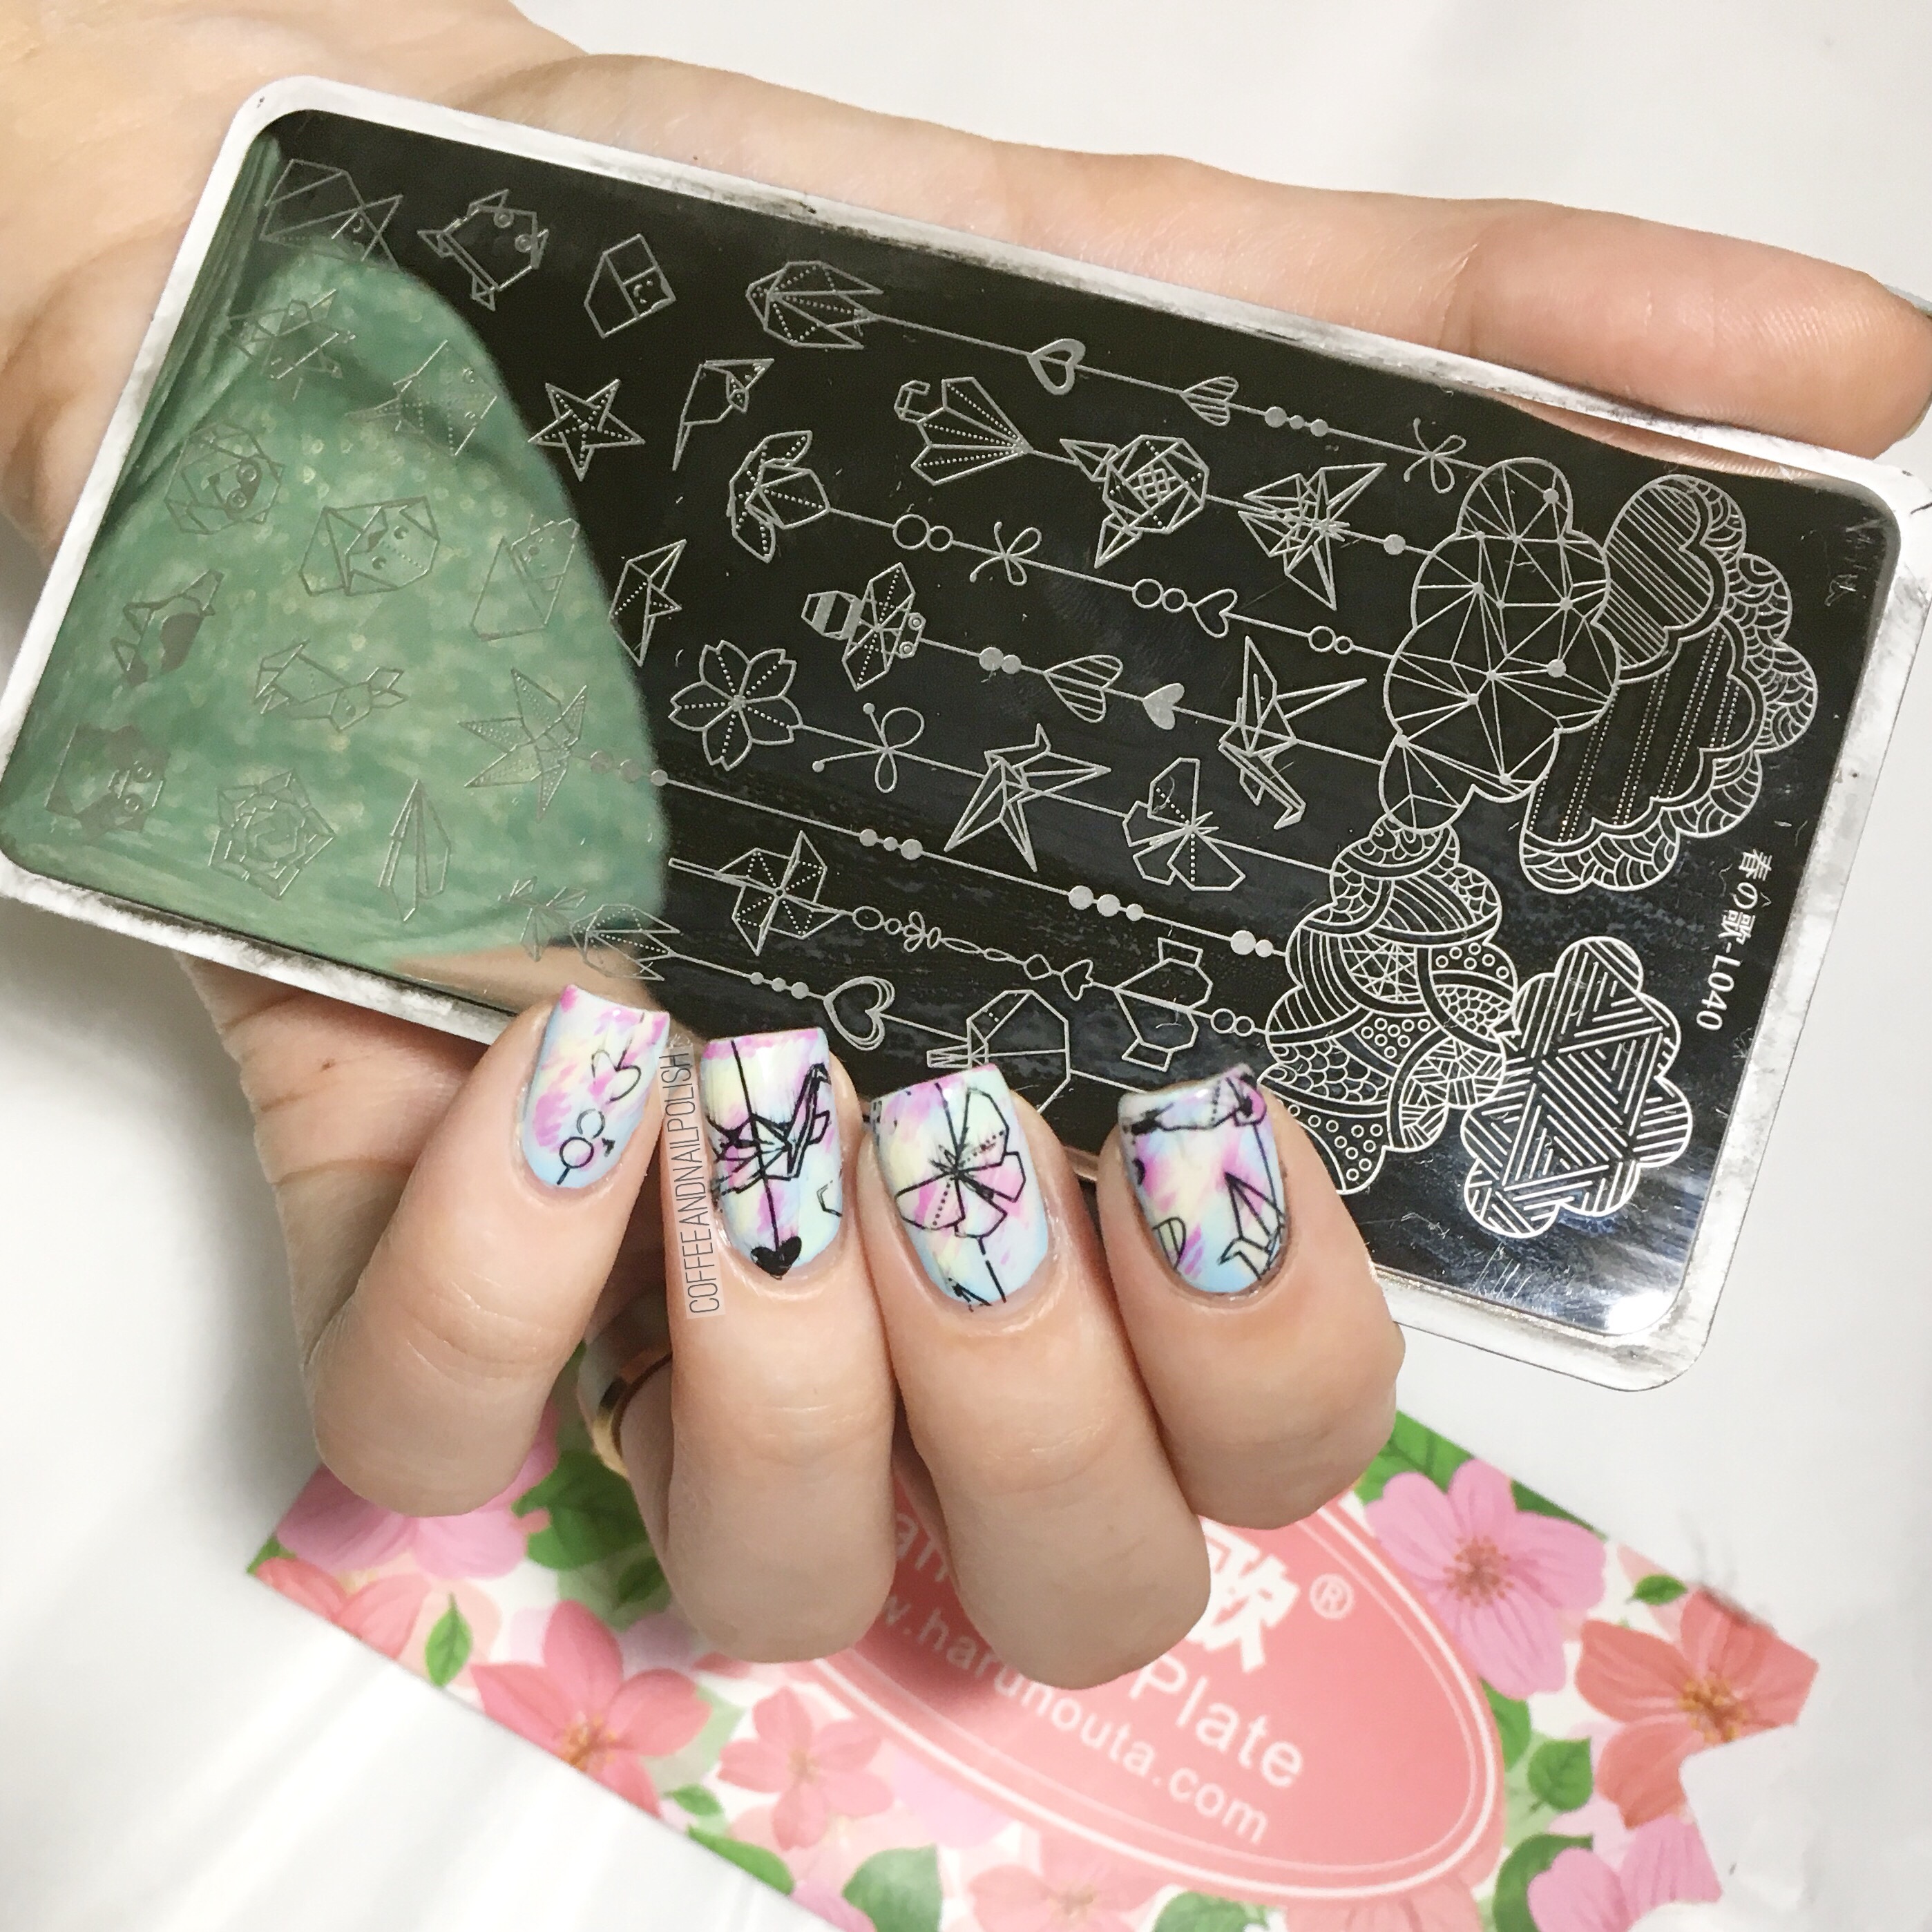
Why don’t I stamp more often, seriously? Well mostly because I only have the same few stamping plates. But hopefully I can change that soon because it just makes for sure an intricate manicure. I would never freehand this design (at least not without a lot of crankiness & frustration!) 

For my gradient, I started off with a basic sponged gradient & then went back over the gradient dry brushing my colours for a bit of a rustic look. It lead to an interesting blend that I really, really like. 

What do you think of this mani? Let me know your thoughts in the comments below! 💜

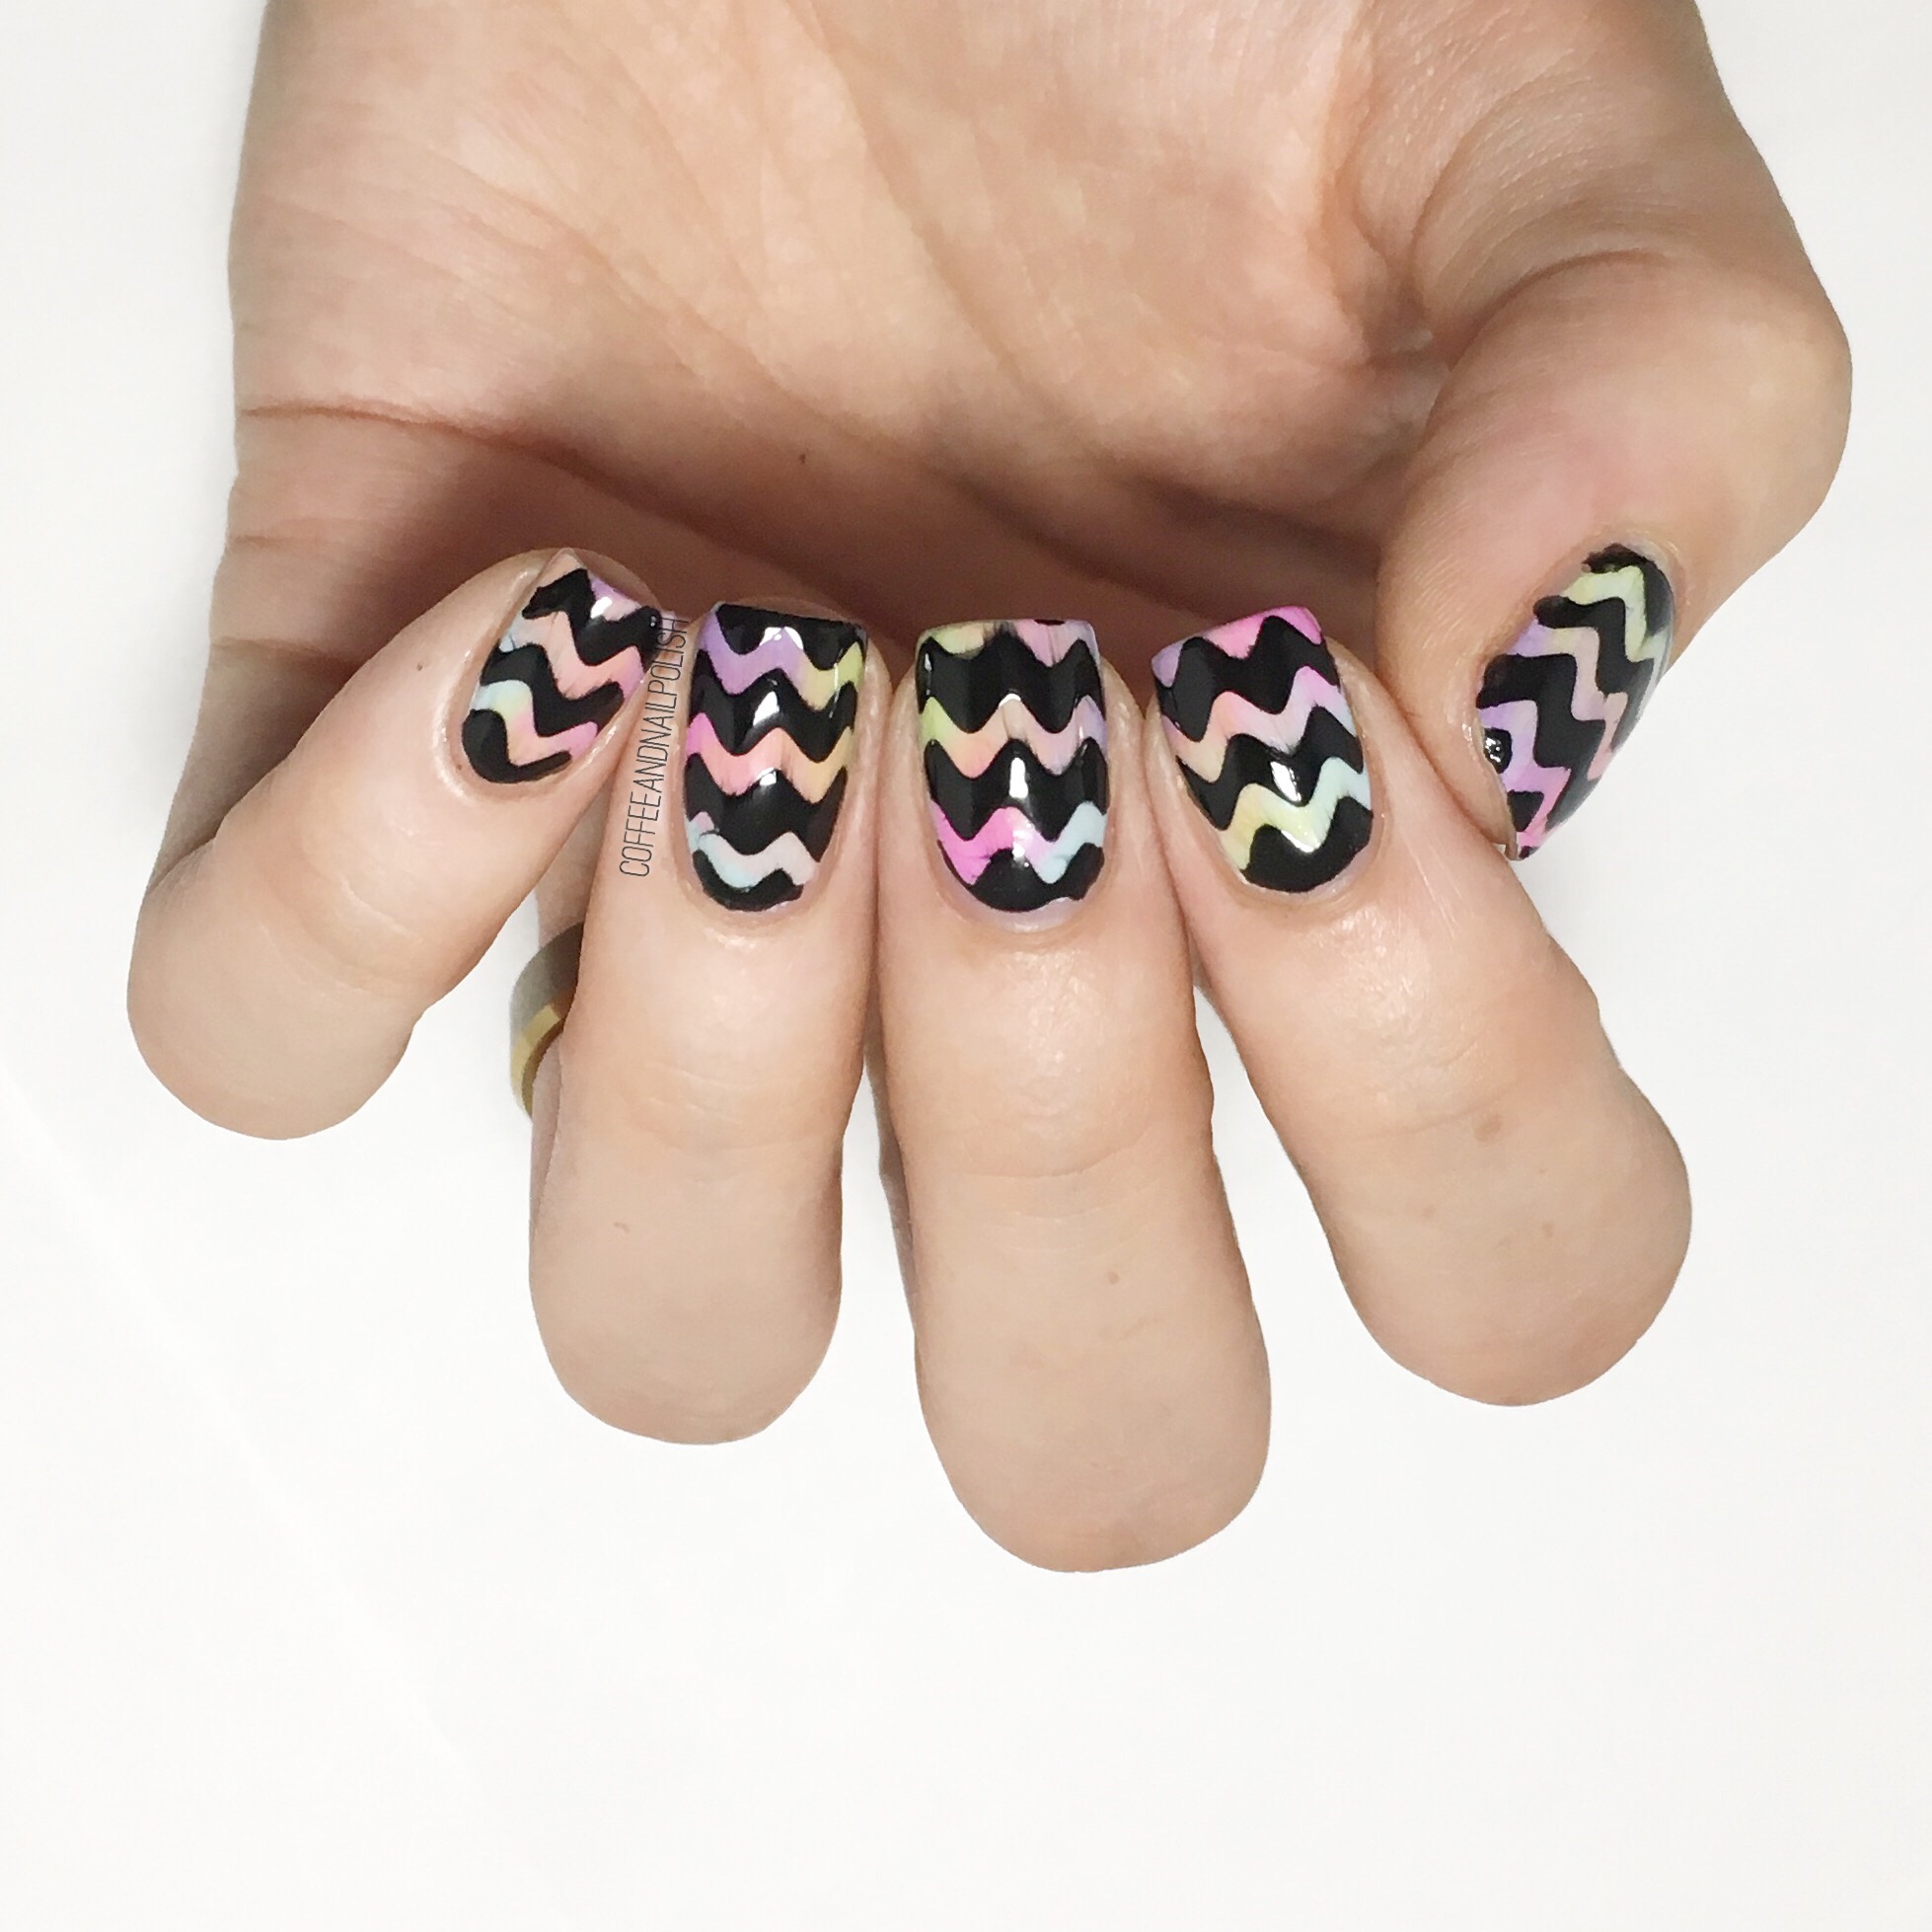
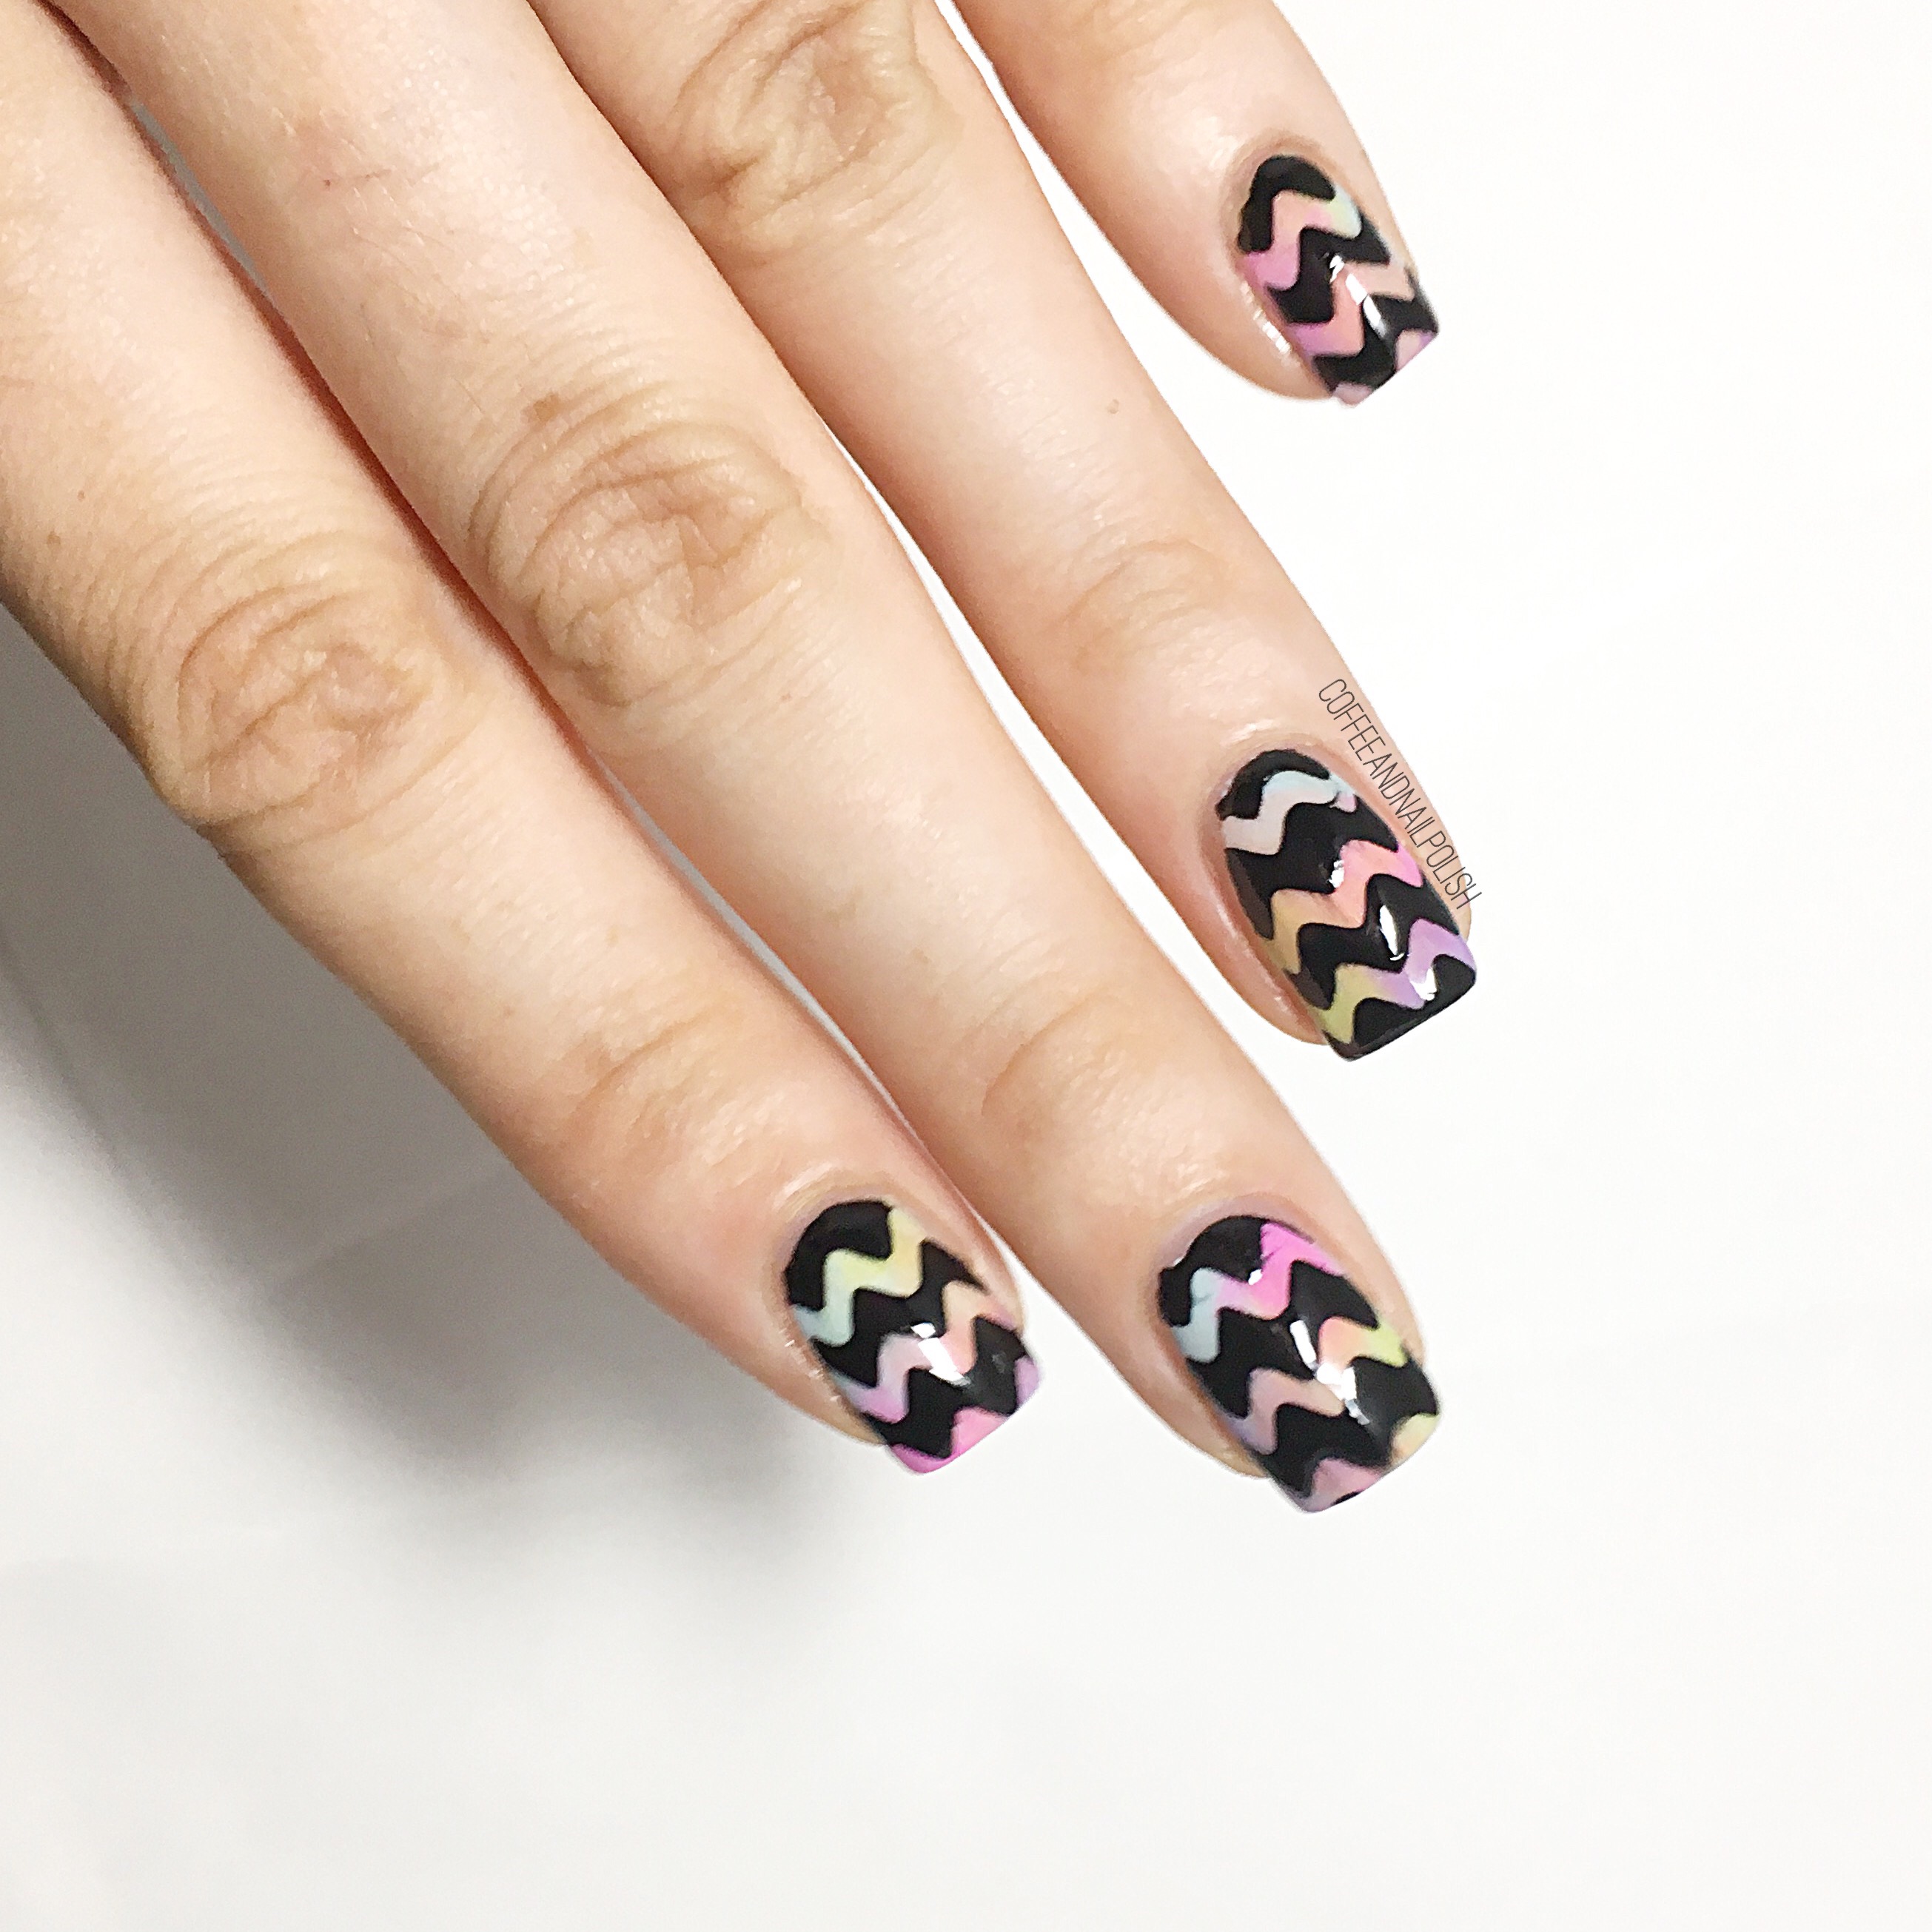
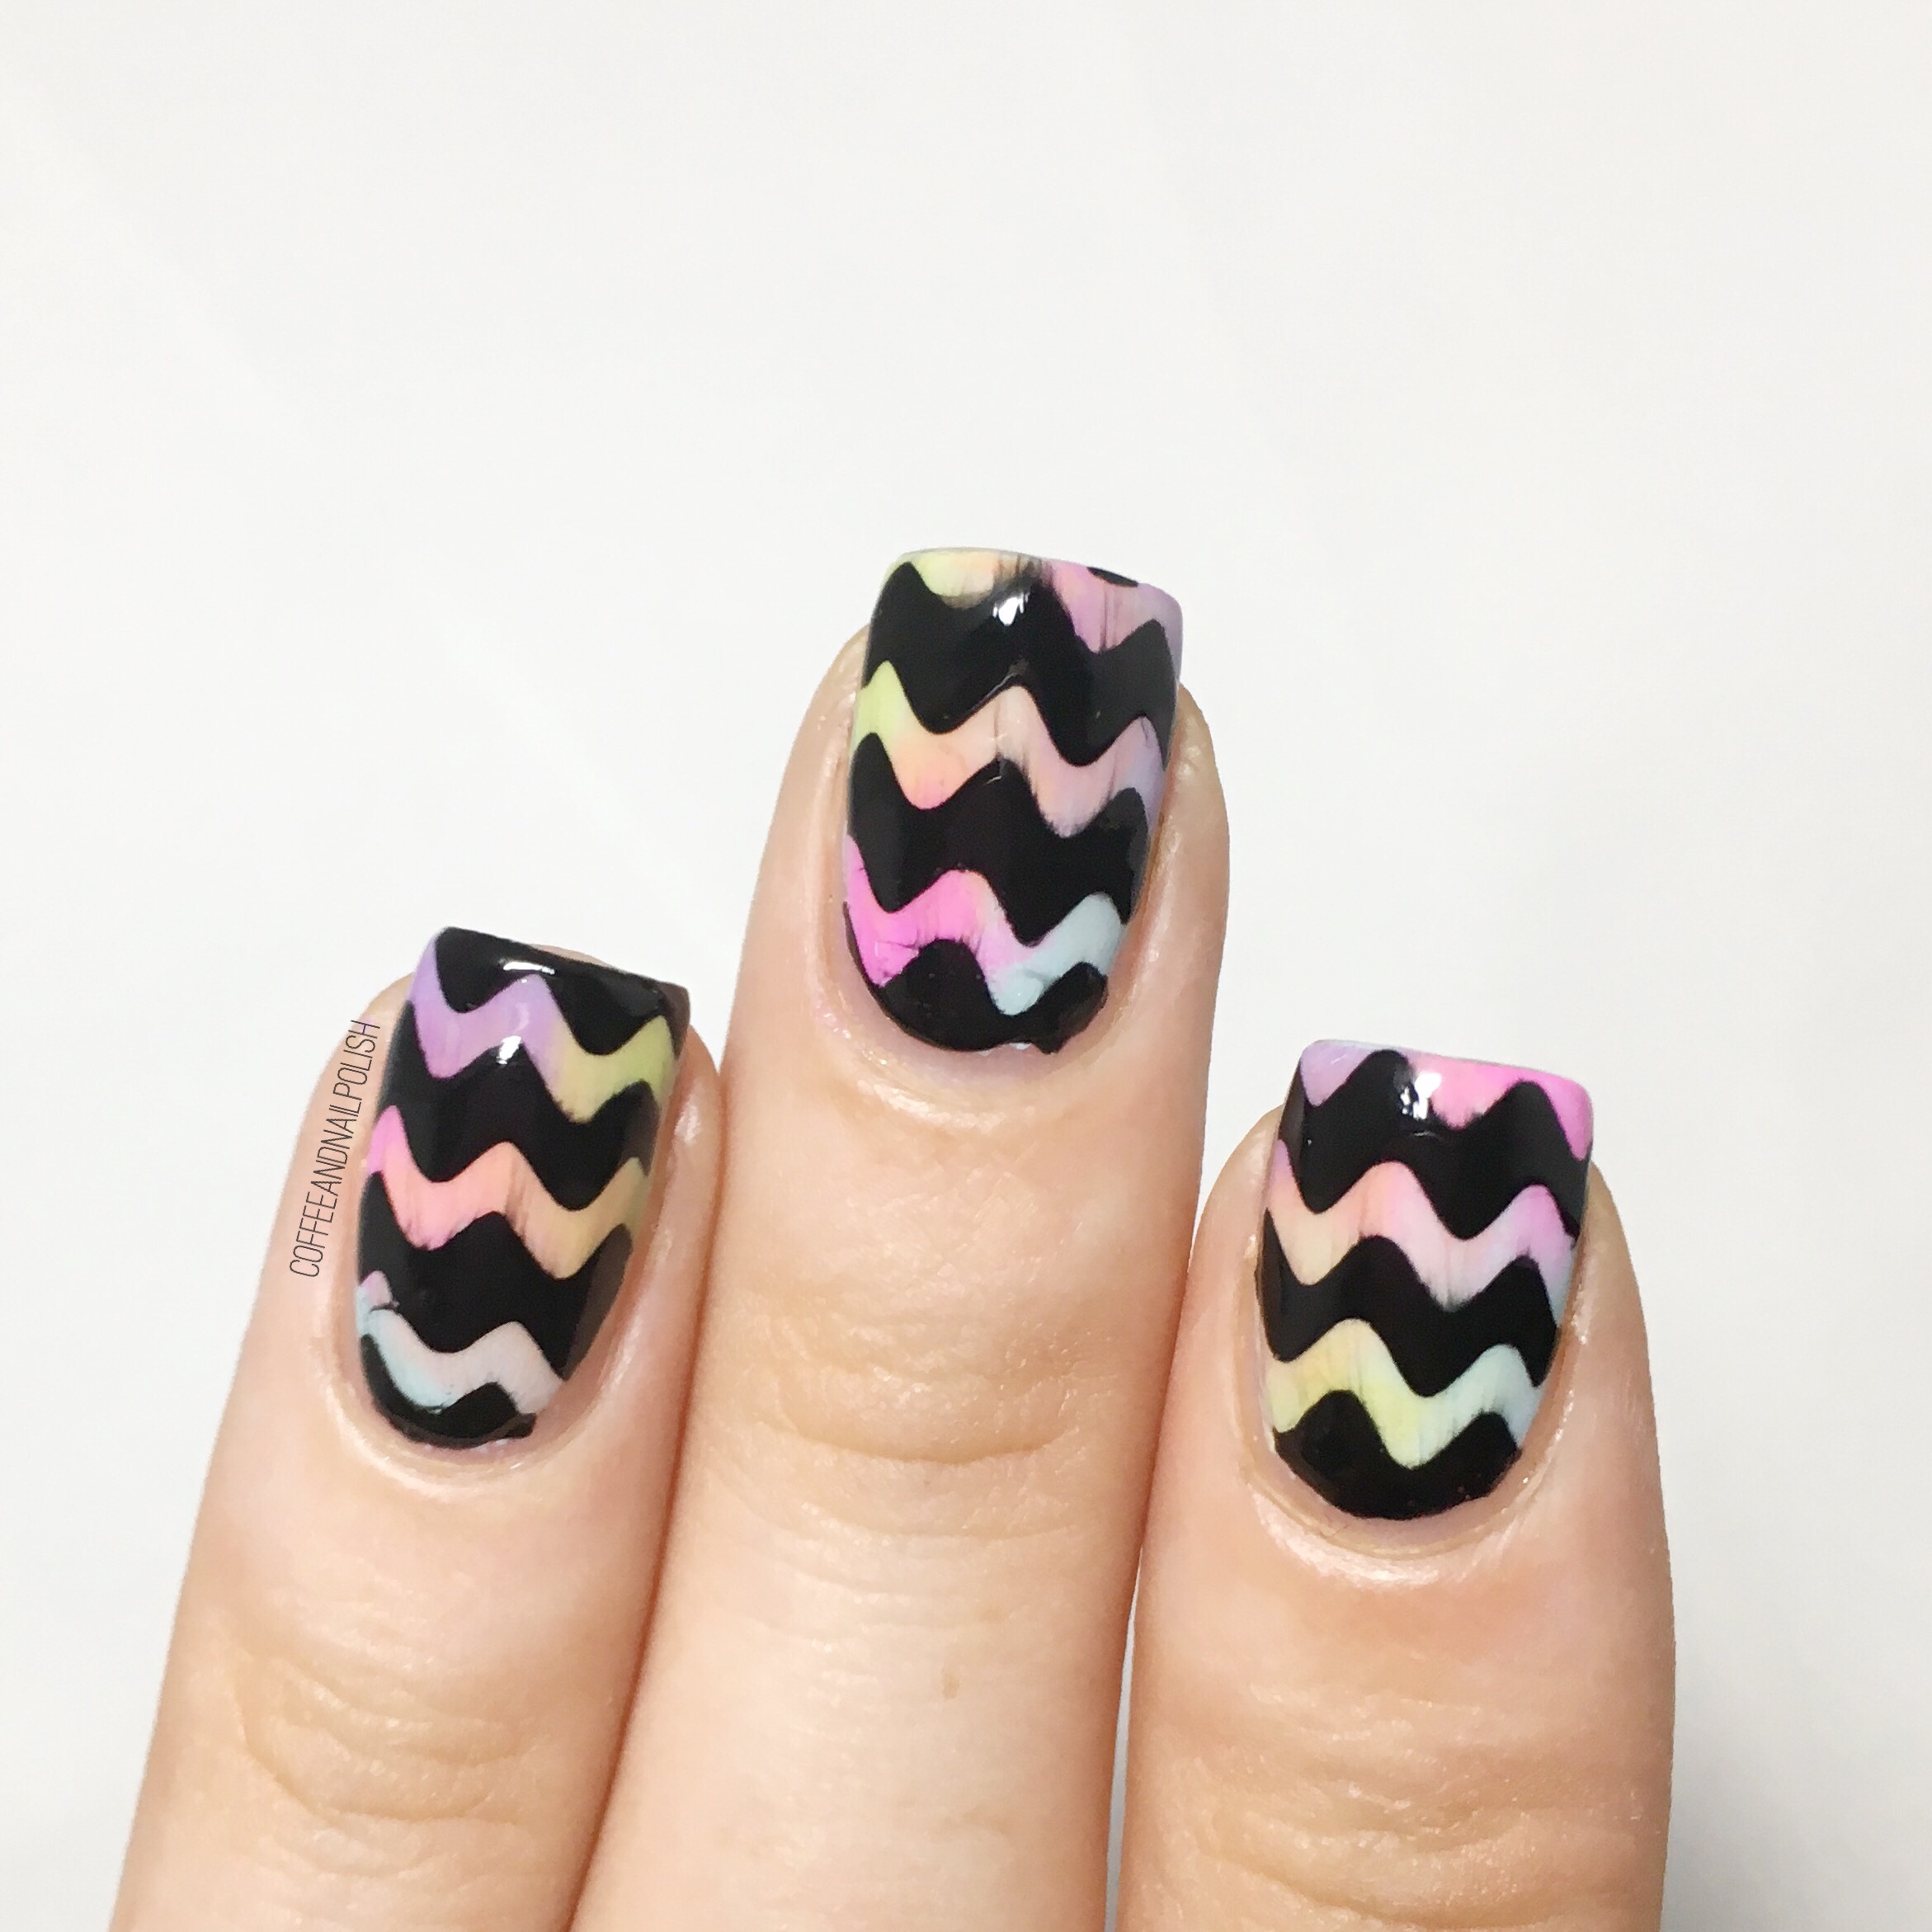
Spring Drip Marble decals


Have I mentioned enough how much I’m loving my silicone mat? I’ve been having a blast creating fun decals with it. I can’t believe it took me so long to get on the silicone mat trend. That’s me–always behind on the times! But now that I’ve caught up to modern times, I’m having a blast playing around & can’t get enough.

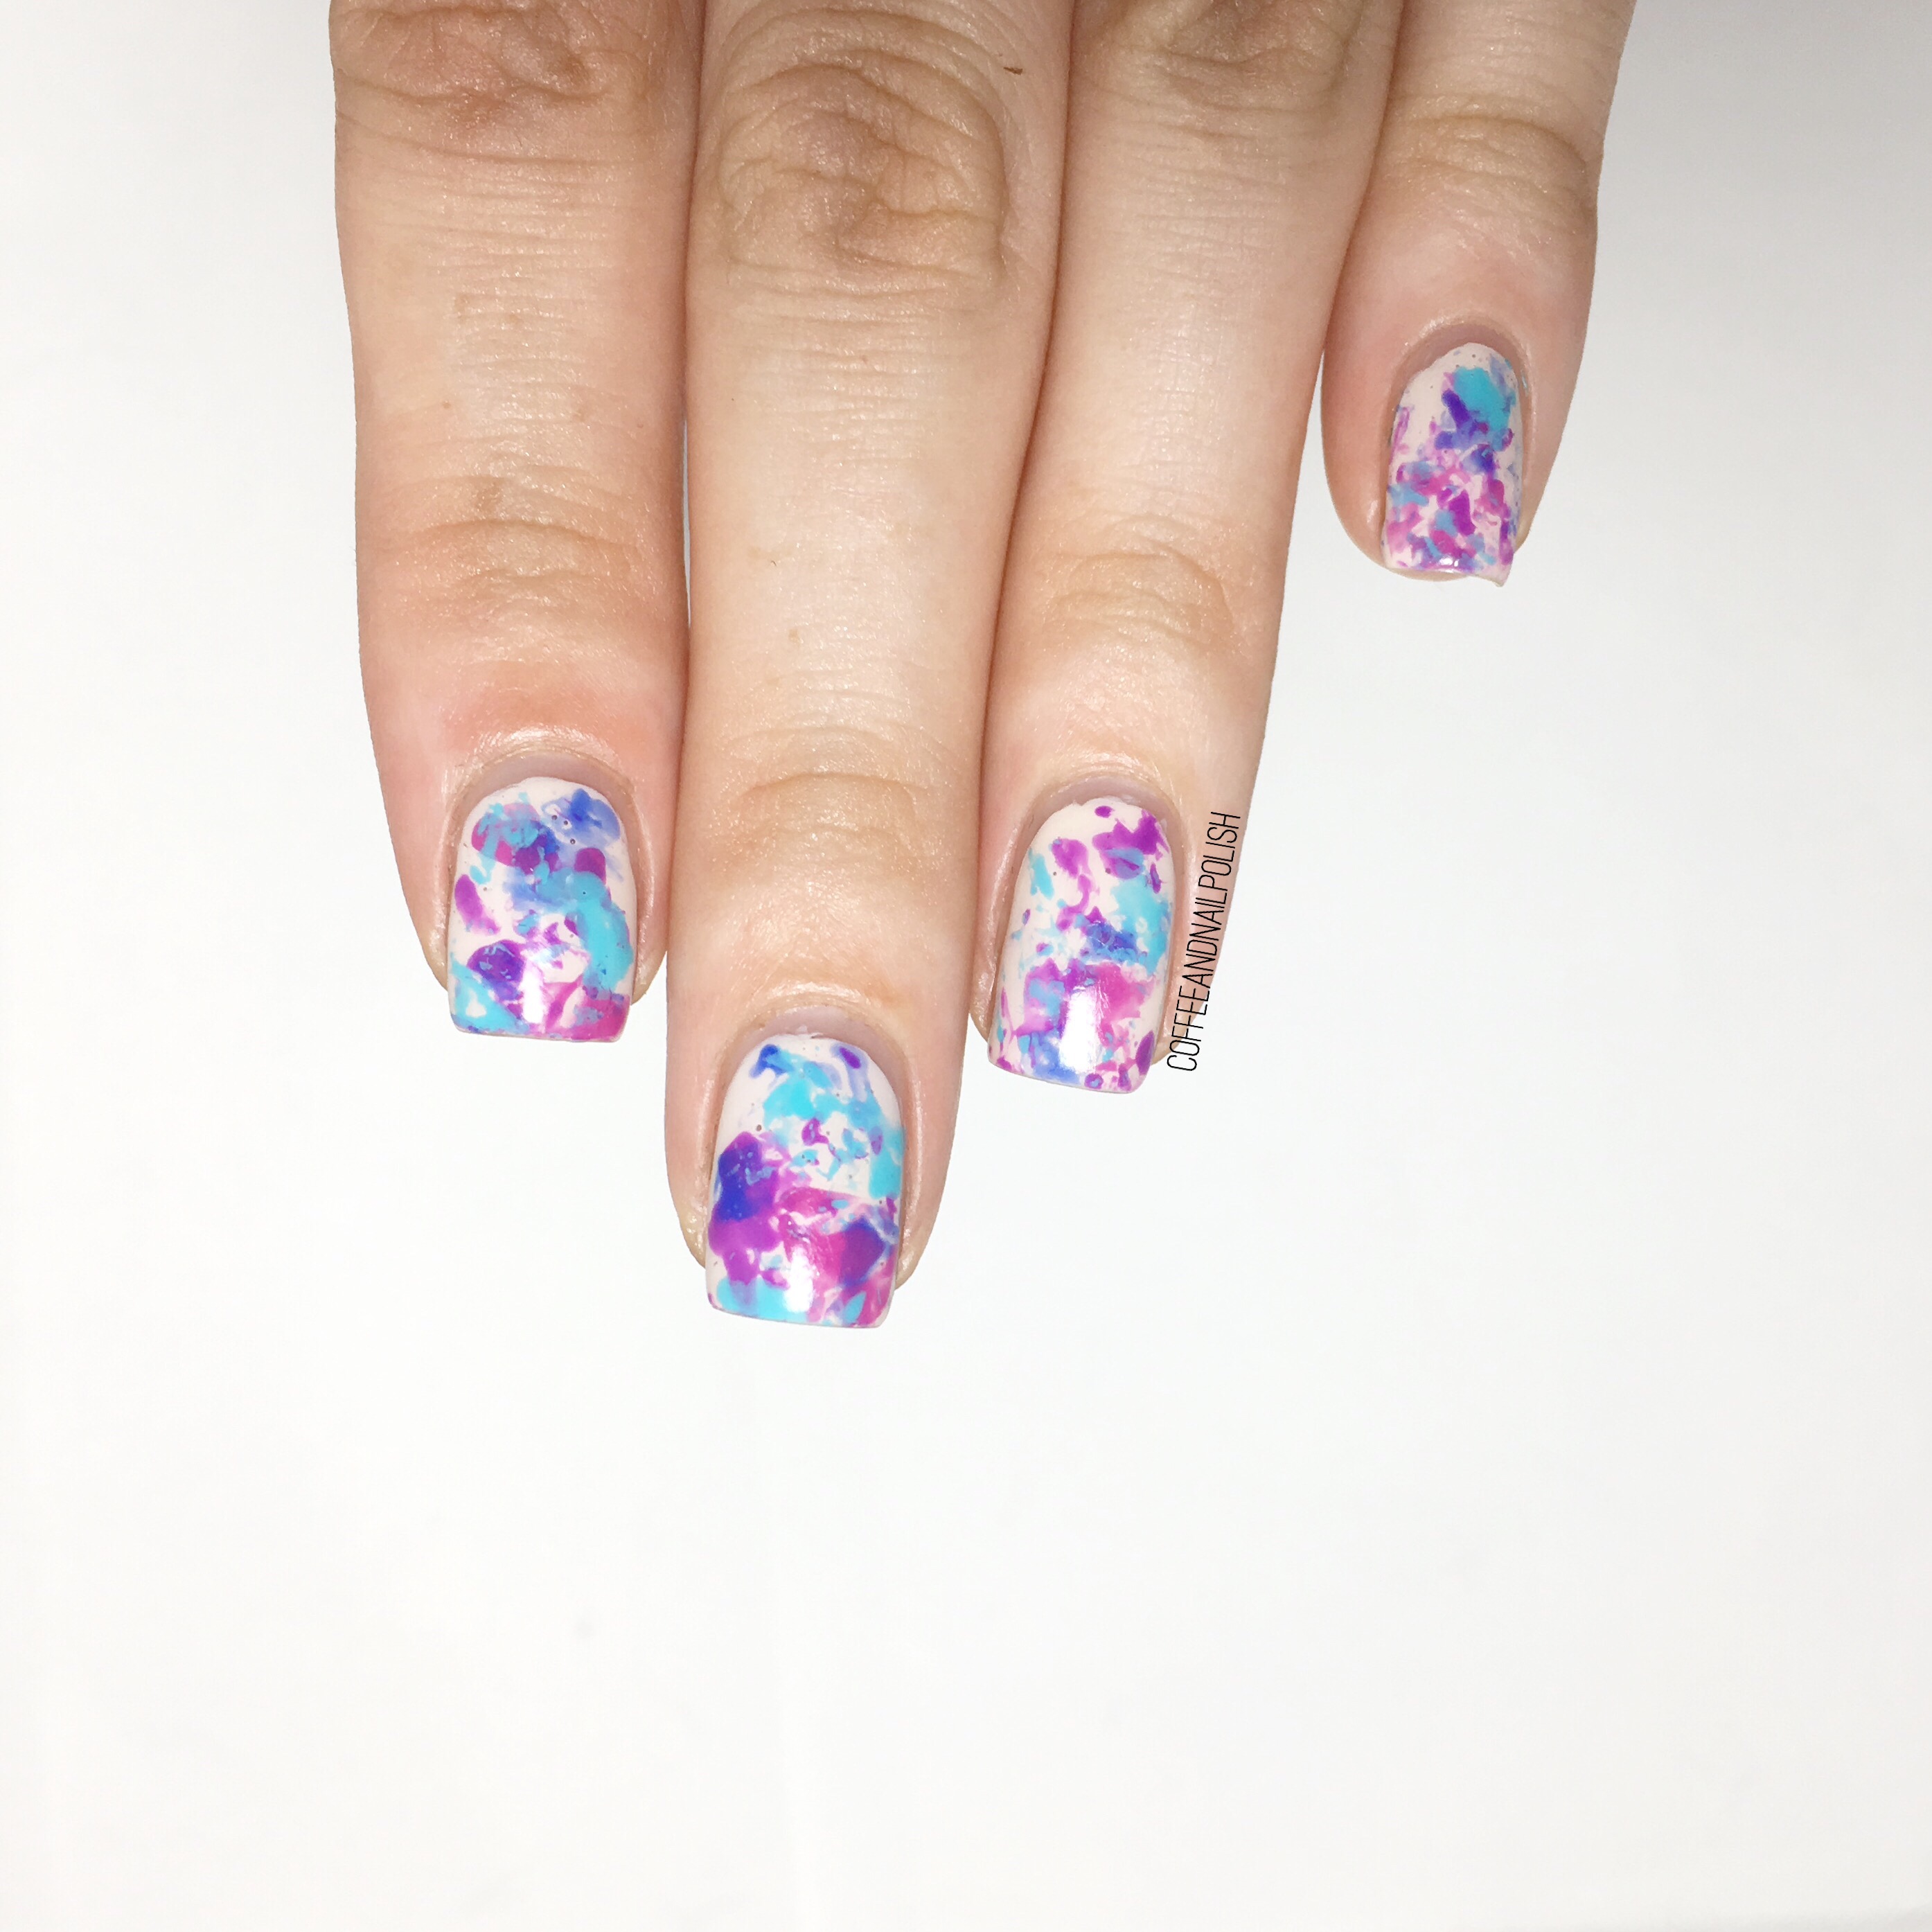
This drip marble is from a few weeks ago. I had decided to pull out a few more Spring-y colours for another drip marble. These are kind of similar to the Earth Day drip marble I created colour wise. I don’t often reach for green shades, but I’m starting to find myself craving them more. They’re great shades for Spring!

For this manicure, I used:

  • Base Coat: Perfect Formula Pink Gel Coat
  • Top Coat: Cutex Quick Dry Top Coat
  • Color Club Almost Famous
  • Essie Strut Your Stuff
  • Essie First Timer
  • OPI Angel With A Lead Foot
  • Silicone Craft Mat

I wanted some fresh colours (& an excuse to wear use my new bottle of Color Club Almost Famous!) I had originally planned to do a yellow to blue gradient with these colours, but decided at the last minute to make these decals instead. & application definitely gets easier with practice.

So what do you think of this manicure & colour combination? I think it looks so fresh! The colours just meld together so well, I’m completely obsessed! 💛

Splatter Nails with @xromapolishandvinyls!

Happy Monday everyone! 

I was recently sent some nail vinyls to play with from @xromapishandvinyls & as soon as they arrived I couldn’t wait to pull them out & start creating. You know how much I LOVE my nail vinyls, & Xroma Polish and Vinyls have a ton of awesome creative designs available on their site

First design I grabbed to play around with was the splat stencils! 

For this manicure, I used:

  • Base Coat: Perfect Formula Pink Gel Coat
  • Top Coat: Cutex Quick Dry Top Coat
  • Essie Butler Please
  • ACO by Ardene Ice Mist
  • Quo by ORLY mini unnamed pink
  • Quo by ORLY mini unnamed mint 
  • Xroma Polish and Vinyls Splat Stencil 
  • Small dotting tool 

Isn’t this pattern so much fun?! I’m sure I’m not the only person who loves splatter nails but hates the clean up. Plus even with filling in my splats individually, this manicure was easy & surprisingly quick to do! 

These were so much fun to do & even more fun to wear! They even matched my OOTD. I’d definite recommend checking out Xroma Polish And Vinyls site yourself, & all the amazing patterns available. They ship world wide from Australia, & mine arrived super quick! I think it took only 6 business days & I live on the other side of the world in Canada so I though that was really impressive. 

What do you think of this manicure? Let me know in the comments below! 

Feeling 90s With Neon Spotted Nails 

Too many rainy days have left me craving some neon nails, so I decided to grab some bright colours to cheer myself up. In the process I saw my bottle of Layla Bubbly in Black & thought it would look really neat over a neon-ish base colour. 

For this manicure I used:

  • Base Coat: Perfect Forumla Pink Gel Coat
  • Top Coat: Cutex Quick Dry Top Coat 
  • ORLY Scenic Route
  • Icing Breakfast at Tiffany’s 
  • China Glaze Sun Upon My Skin 
  • Icing Pink A Boo
  • Layla Cosmetics Bubbly Effect in Black

I’ve owned this bottle of Layla Bubbly effect for a while (I scored it on sale at Lawton’s in the clearence like 3 years ago) but this was the first time I really got it to work for me the way I imagine it’s supposed to work. I did wait until the next morning to add the black, so maybe that made the difference? Either way I’m super excited about how it turned out! Like crackle nails, it just offers an easy way to create nail art without excessive work (or mess). 

& incase you were interested in seeing what my base looked like before I added the Bubbly topper, here was the base. I tried to attempted @laqvid‘s wet dry brush design but I’m definitely going to need to give it more practice. 

What do you think of this design? Have you ever tried the Layla Bubbly Effect polishes before? Let me know the comments below! 

Drag Marble Decals 


If you’ve been around a while, you’ve probably heard me mention before how I can’t water marble. I’ve tried to do it, I really have but the results never turn out quite right. So thanks to rewatching old Simply Nailogilcal videos on YouTube, I wanted to see if I can cheat at watermarble using my silicone mat, ala Cristine!

So for my first Drag Marble decal experiment, I decided to try a couple different designs that would sort of look like watermarble (if you didn’t look too closely). I did about 15 different decals using different polishes to see which colours/polish formulas worked best & picked the three best to apply.

For each manicure I used my silicone craft mat & a water marble tool from Bundle Monster. For how to apply decals, there are lots of useful tutorials on YouTube. I also topped all designs with my Cutex Quick Dry Top Coat.

Continue reading “Drag Marble Decals “