Neon Glitter Gradient

Hello loves & happy Monday!

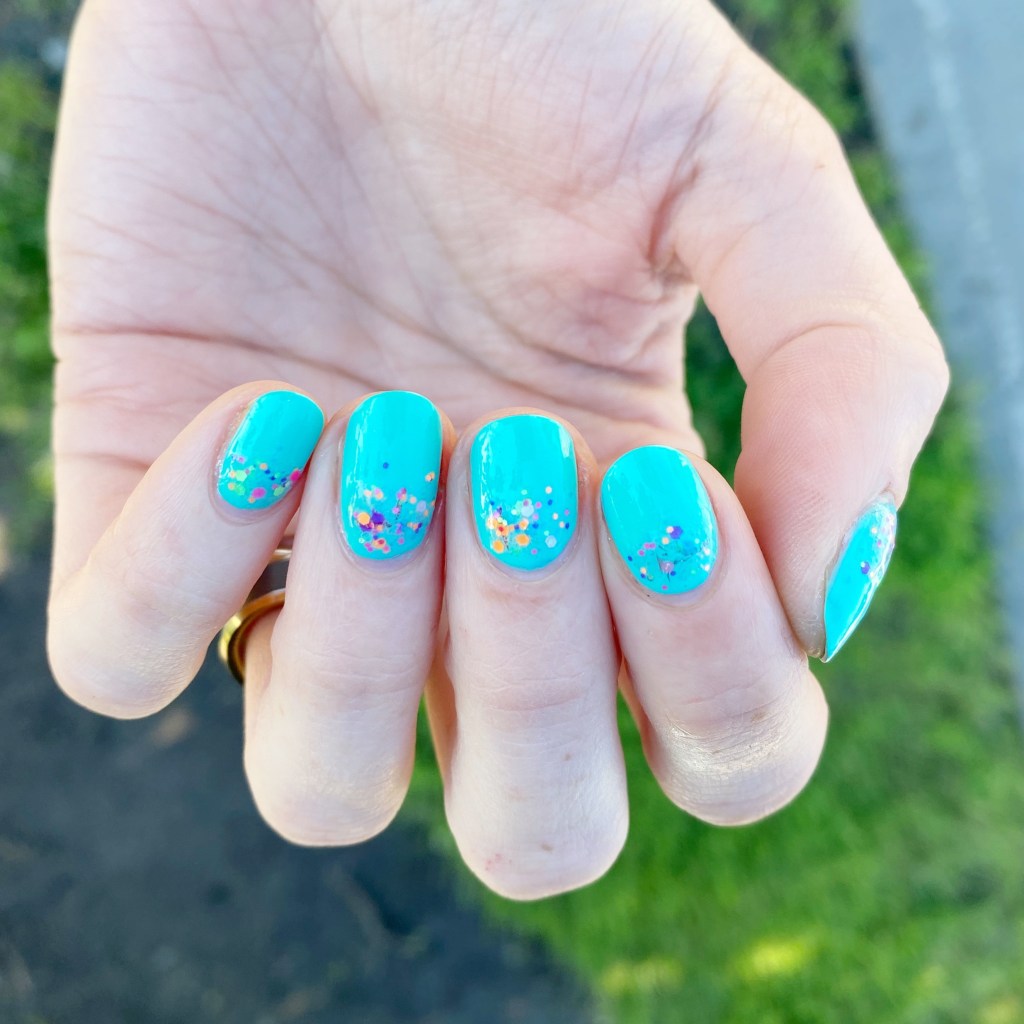
I hope everyone is having a lovely start to their week. Summer is in full swing, so I hope everyone is getting to enjoy it. Today I’m sharing a fun nail art look I recently did that are giving me pool party vibes. I’ve had China Glaze Too Yacht To Handle in my stash for a long time, but I think this is the first time I’ve actually grabbed it to wear on my nails.

I feel like this shade is one I’ve seen lots of fellow nail bloggers talk about & wear, but I never thought to wear it myself. But you know — I get it now. This shade is so Summer it hurts. The colour is very vibrant & neon, you almost need sunglasses while wearing it.

The polishes I used for this manicure are: 

  • Base Coat: Essie Hard To Resist Glow & Shine 
  • Top Coat: Sally Hansen Miracle Gel Top Coat
  • China Glaze Too Yacht To Handle
  • China Glaze Point Me To The Party

Neon glitter over a neon base? Yes please.

Again, this is giving me pool party vibes — if I was cool enough to be invited to a pool party haha. But either was, I love the brightness of this manicure, & China Glaze Point Me To The Party still remains one of my favourite glitters, even after all these years. & this look was so easy to do, requiring no tools at all, & I’m here for that. I know a lot of my nail art lately has been bordering on super simple, but sometimes a funky simple manicure is what you need.
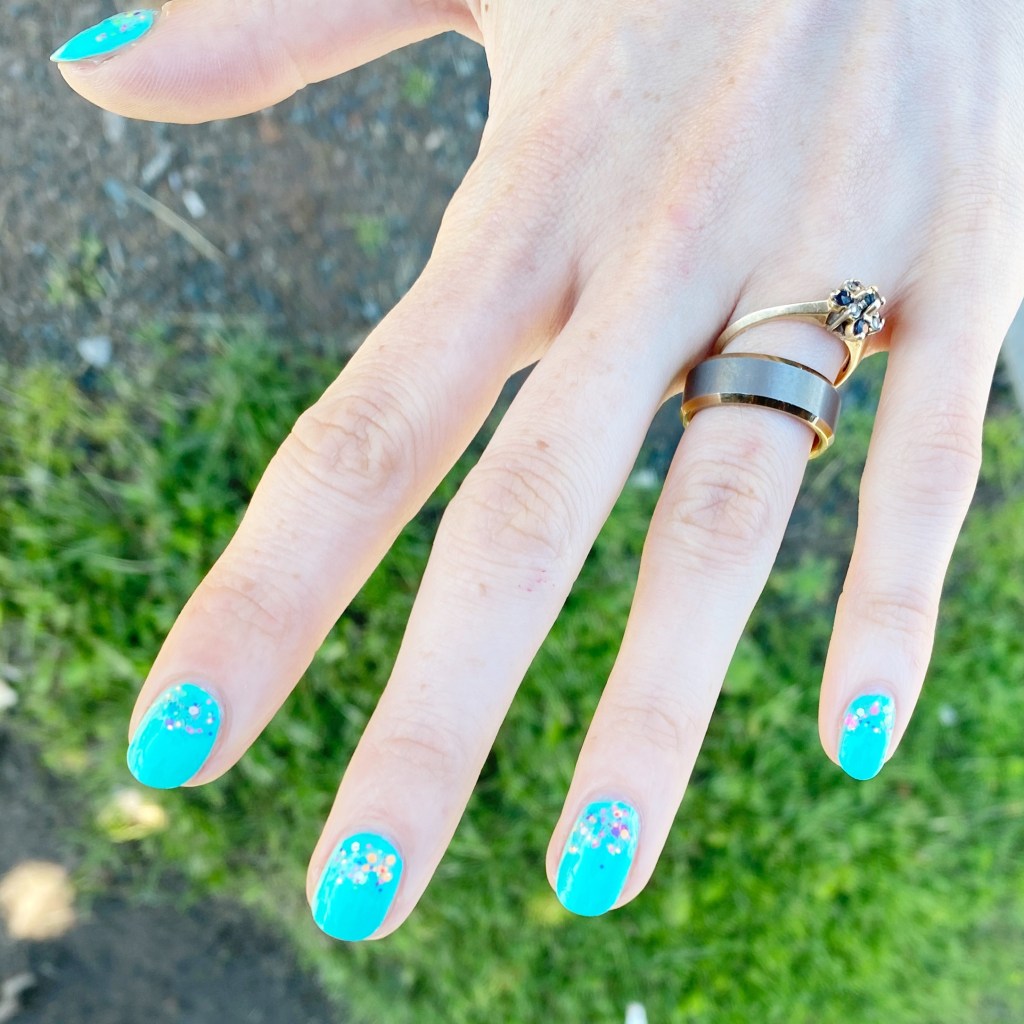
What do you think about this neon glitter gradient? Are you feeling the Summer-y vibes too? Do you have China Glaze Too Yacht To Handle in your stash? Let me know all your thoughts down in the comments below!
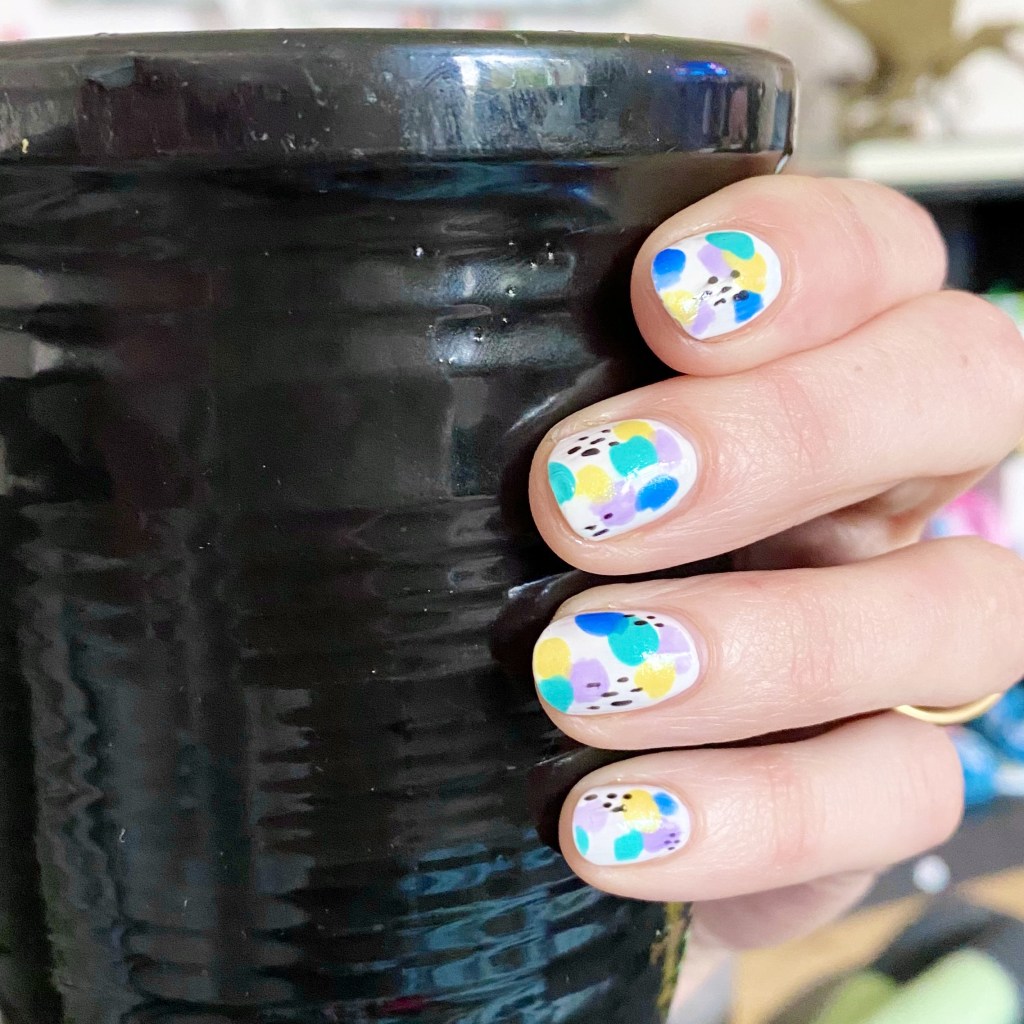
Summer Bright Abstract Dots

Features Gifted Product in Exchange for Content

Hello lovelies & happy Tuesday! I hope everyone’s week is off to a lovely start.

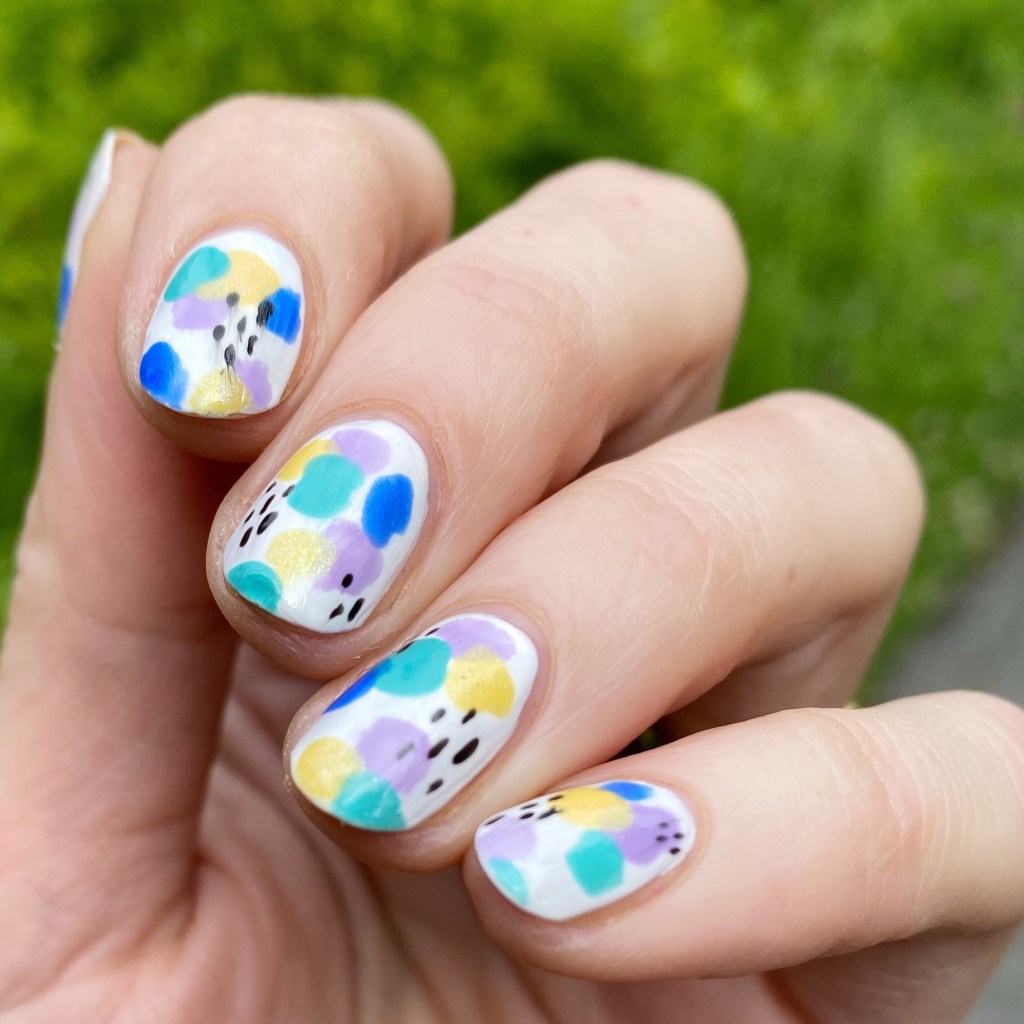
I’m actually excited because I’ve been creating some fun nail art lately. I’ve been inspired by my nail polish, & sunny days, & bright colours. So I’ve been creating a bunch of fun, & easy, nail art looks lately. There is something about painting my nails that just makes me feel a little less stressed, & right now I will take all the stress relief I can get.

The polishes I used for this manicure are: 

  • Base Coat: Essie Hard To Resist Glow & Shine 
  • Top Coat: Sally Hansen Miracle Gel Top Coat
  • Sally Hansen Miracle Gel x Friends A Moo Point 
  • Sally Hansen Miracle Gel x Friends Yellow Taxi 
  • Sally Hansen Miracle Gel x Friends Laven-door
  • Sally Hansen Miracle Gel x Friends How You Bluein’?
  • Sally Hansen Miracle Gel x Friends The One With the Teal
  • Sally Hansen Miracle Gel Black-O
  • NailStuff.ca Dotting Tool Trio
  • NailStuff.ca 4mm Micro Detail Brush

This look was partially inspired by this manicure I did a few Summers back, but decided to brighten up the colour scheme a bit.

Also my little girl decided she really wanted her nails painted like Mummy, so I decided to recreate this nail art on her tiny little nails, & I’m quite impressed with how they turned out! It was surprisingly easy, even on her tiny little nails. I always get really excited when she asks me to paint her nails, especially when she wants her nails painted like me.

What do you think about this abstract dot looks? I’m still really loving these bright & fun Sally Hansen x Friends Miracle Gel collection. They’re just so much fun for Summer.

Products featured in this post were provided in exchanged for content.

Summery Floral

Features Gifted Product in Exchange for Content

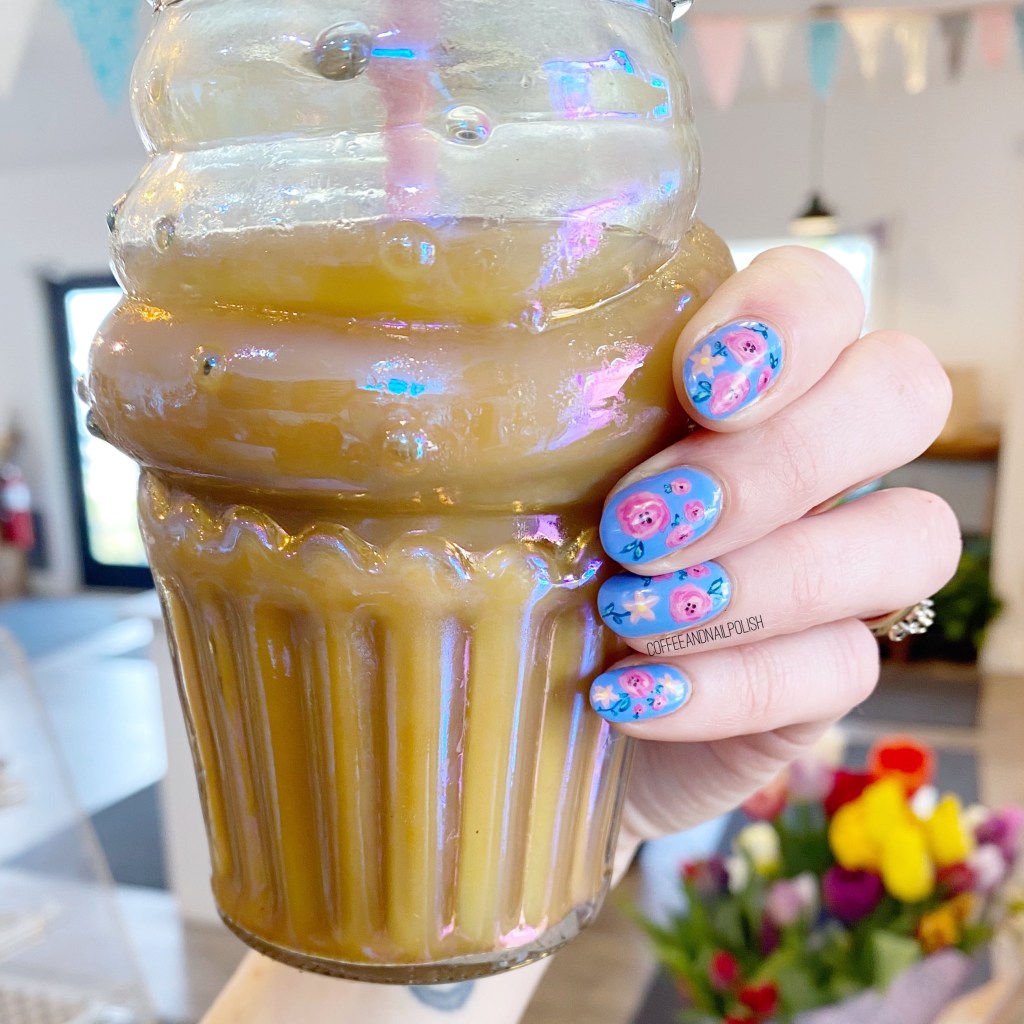
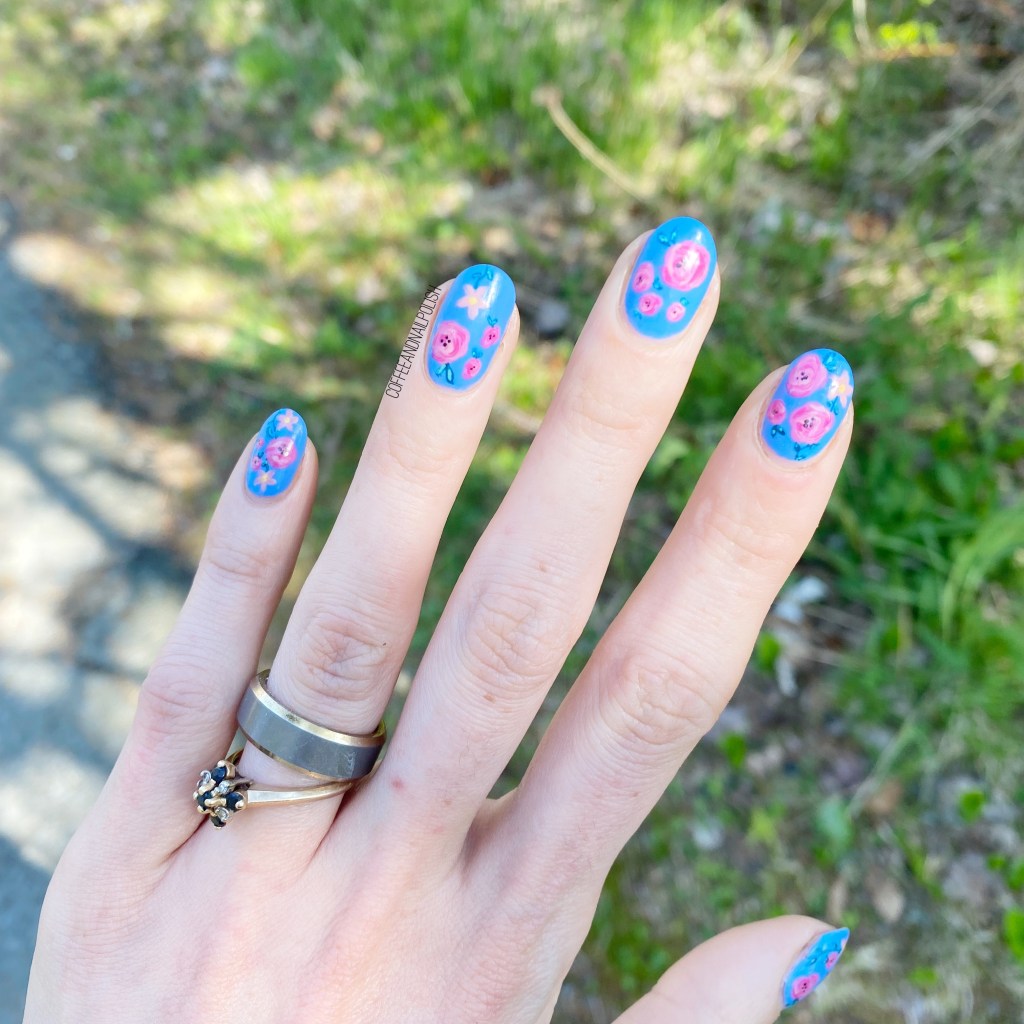
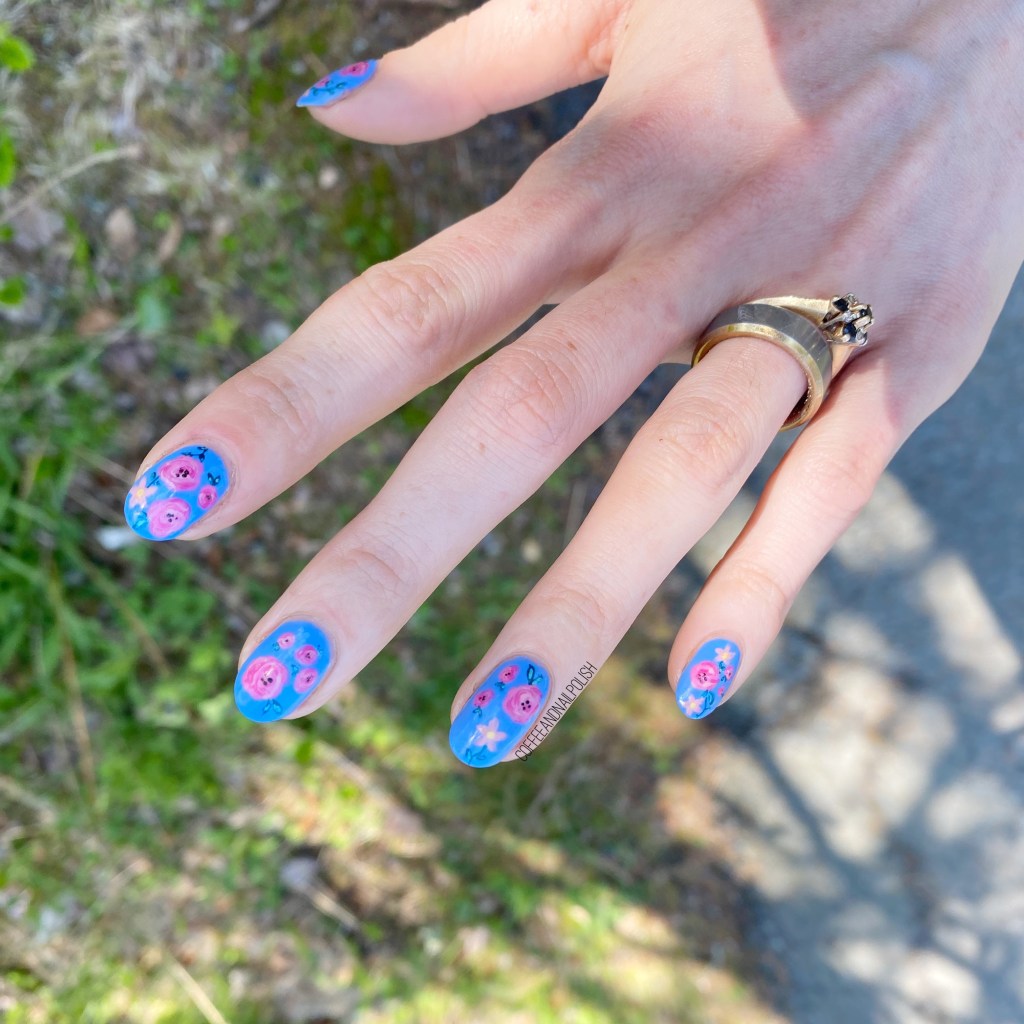
You know what it’s been a while since? The last time I wore my my nails! So naturally I needed to pick some of my newer shades I’ve received lately (& a few oldies from my collection) & incorporated them into a beautiful floral look.

The polishes I used for this manicure are: 

  • Base Coat: Essie Hard To Resist Glow & Shine
  • Top Coat: Essence Extreme GEL Top
  • Sally Hansen Good Kind Pure Blue Moonstone
  • Sally Hansen Good Kind Pure Love You Lotus
  • Sally Hansen Good Kind Pure Peony Origins
  • Sally Hansen Good Kind Pure Pink Cardamon
  • Sally Hansen Good Kind Pure Black Stone
  • OPI Nature Strong Emflowered
  • OPI Nature Strong Cactus What You Preach
  • OPI Nature Strong Daisy Strong
  • Essie Off Tropic
  • NailStuff.ca Dotting Tool Trio
  • NailStuff.ca 4mm Micro Detail Brush

I love love love this bright blue base of Sally Hansen Good Kind Pure in Blue Moonstone. Like I mentioned in the swatch post, it’s definitely my favourite of the shades I received. The colour is so perfect for Spring… Summer… everything! & it really makes the flowers pop.

What do you think about this floral design? Do you like the pairing of these colours? Let me know all your thoughts down in the comments below.

Products featured in this post were provided in exchanged for content.

All thoughts are honest & my own.

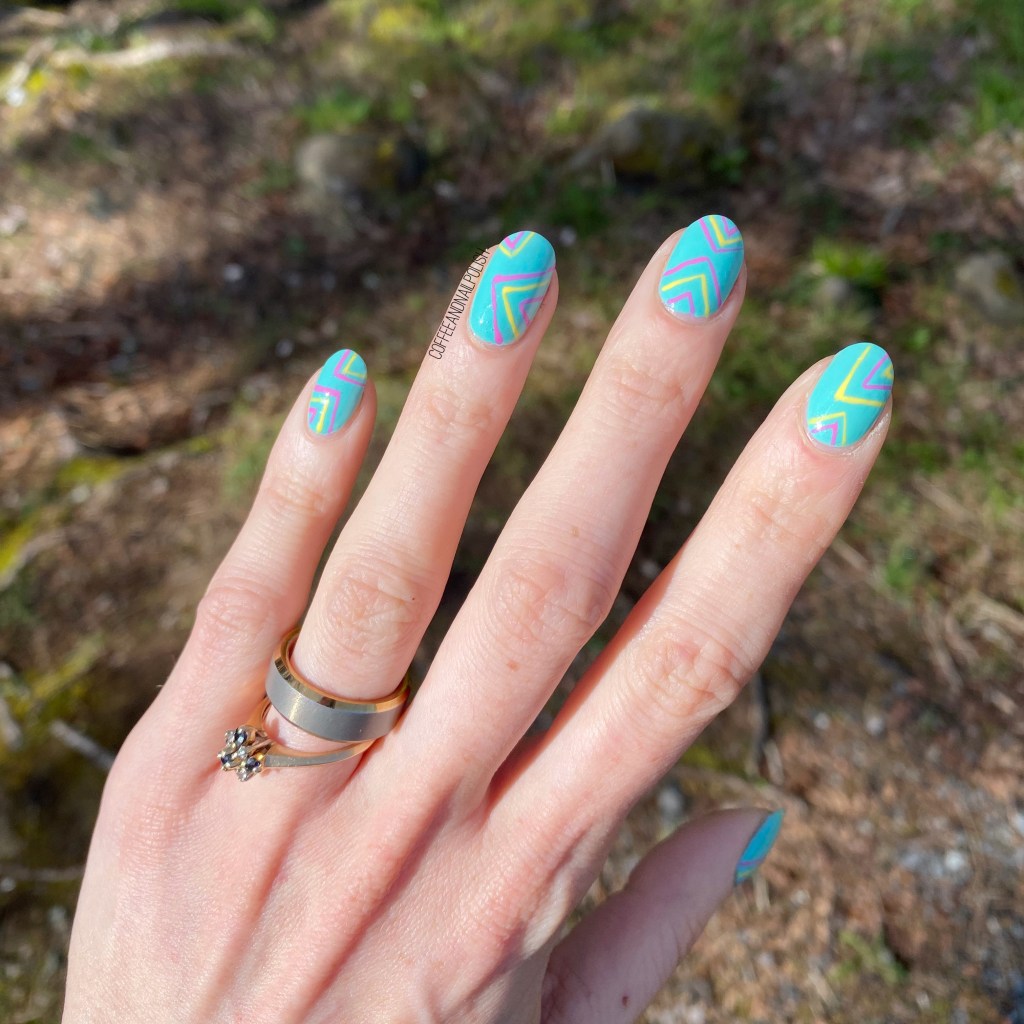
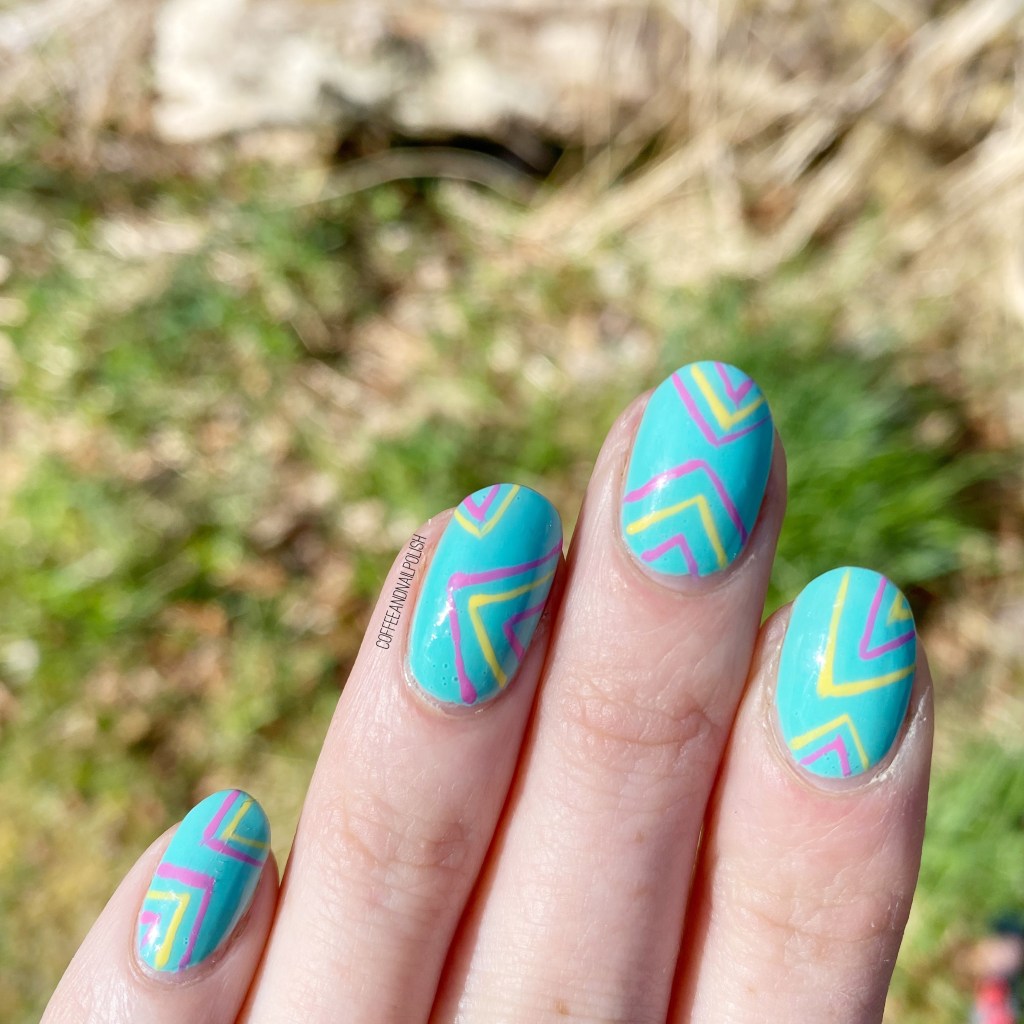
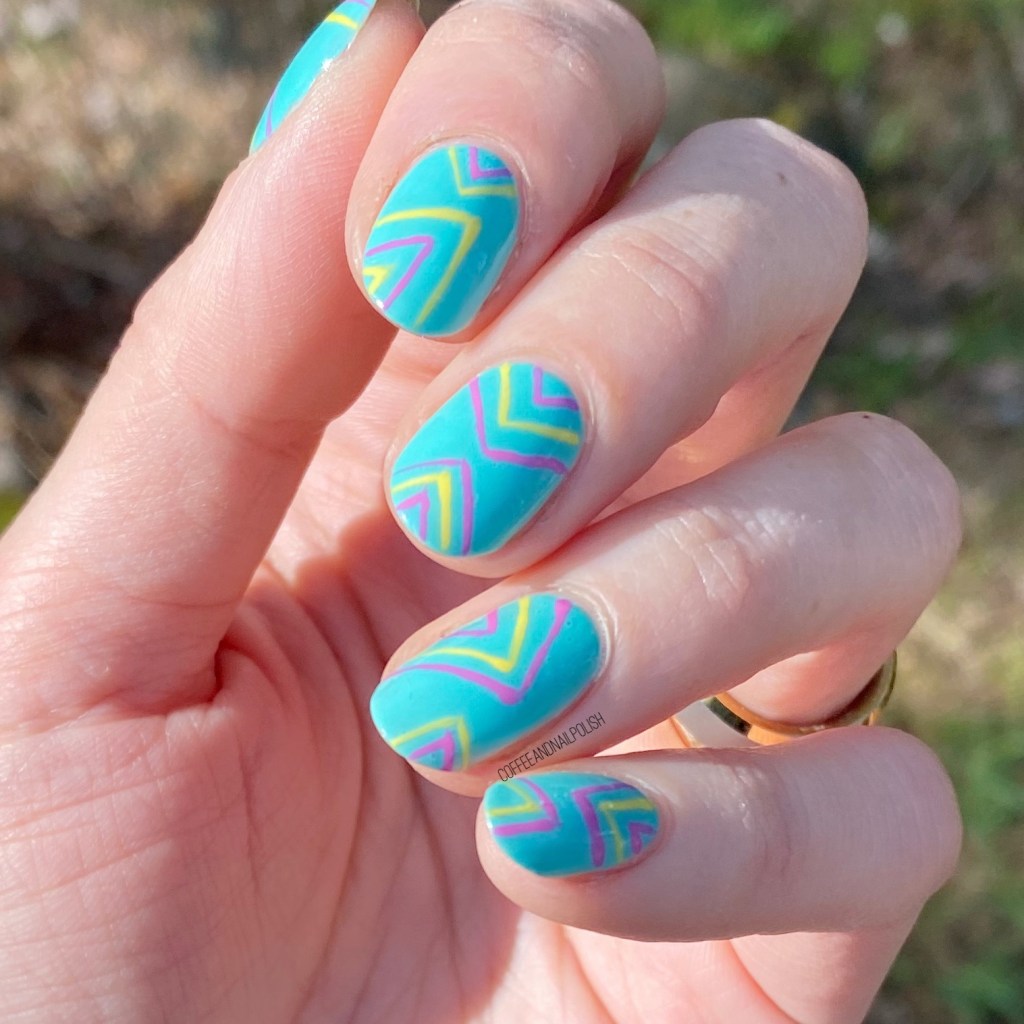
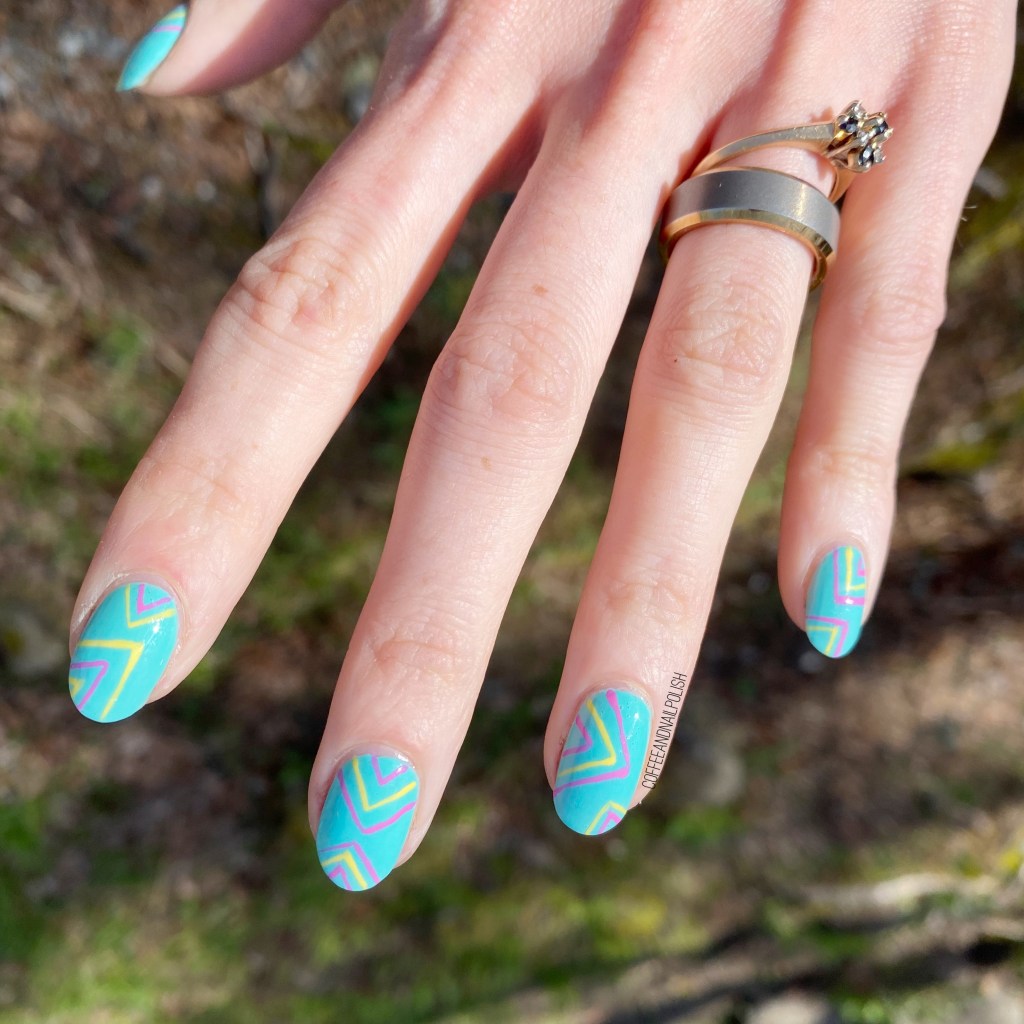
Summer Geometric Vibes

Features Gifted Product in Exchange for Content

Hello lovelies & happy Friday! I hope everyone is having a lovely week — & is very excited about the weekend to be! It’s been so beautiful around here this week, I’ve been able to break out my favourite Summer dresses. It’s been awesome.

So obviously it’s been inspiring my nail polish choices. & thankfully I have those three beautiful OPI Nature Strong polishes from TradeSecrets.ca that are really perfect for Summer!

The polishes I used for this manicure are: 

  • Base Coat: OPI Natural Nail Base Coat
  • Top Coat: OPI Nature Strong Top Coat
  • OPI Nature Strong Cactus What You Preach
  • OPI Nature Strong Make My Daisy
  • OPI Nature Strong Emflowered
  • NailStuff.ca 16mm Striper Brush

How fun is this colour combination? I really like how the pink & the yellow pop again this base. Also this aqua/turquoise is such a poppy colour — I love it as my base shade. It’s such a good colour. Also these geometric lines are giving me old school 90s solo cup vibes.

What do you think about this look? Are you, too, feeling the Summer vibes with these warmer temperatures?

Let me know what shades you’re wearing right now to embrace Sunny days?

Products featured in this post were provided in exchanged for content.

All thoughts are honest & my own.

Pastel Geometric Tips

Good morning lovelies & happy Thursday! It’s almost the weekend — & the end of the month! I can’t believe how quickly April has sped by. It’s actually crazy.

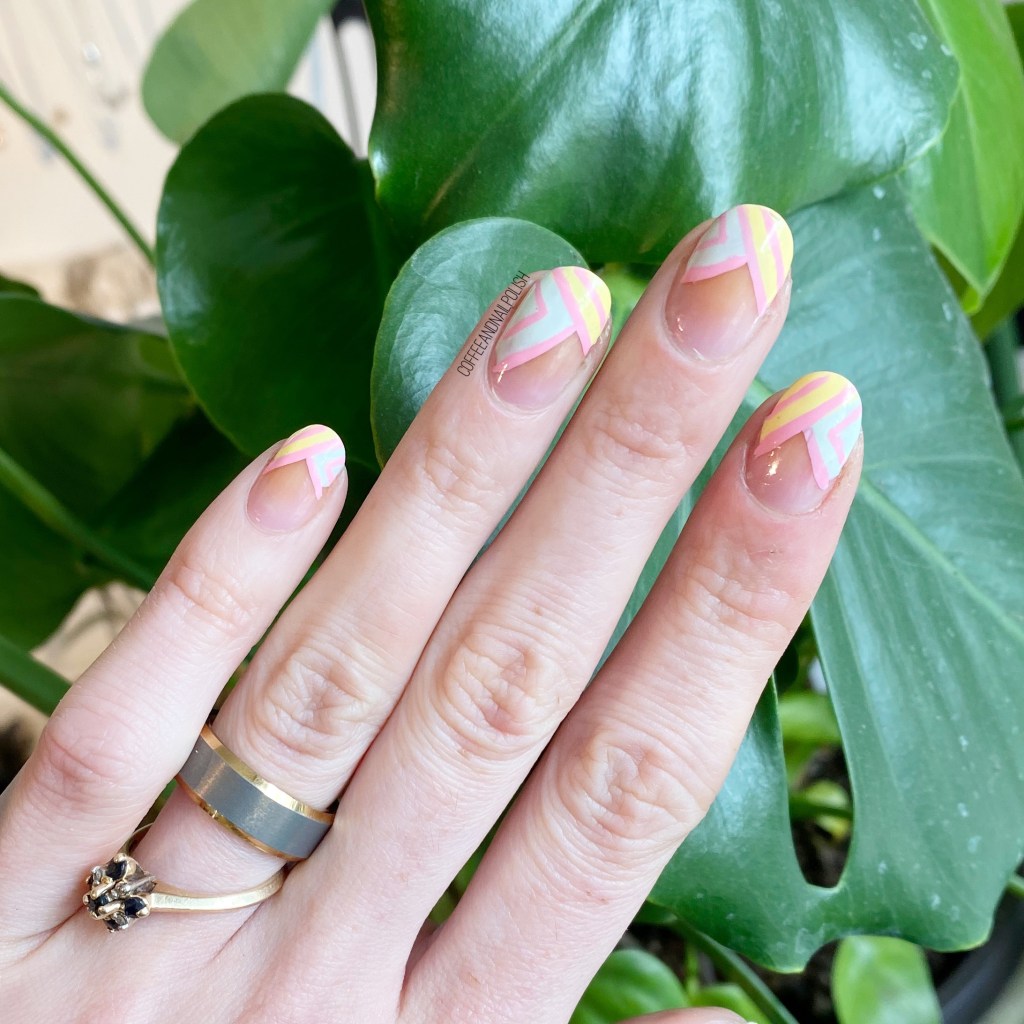
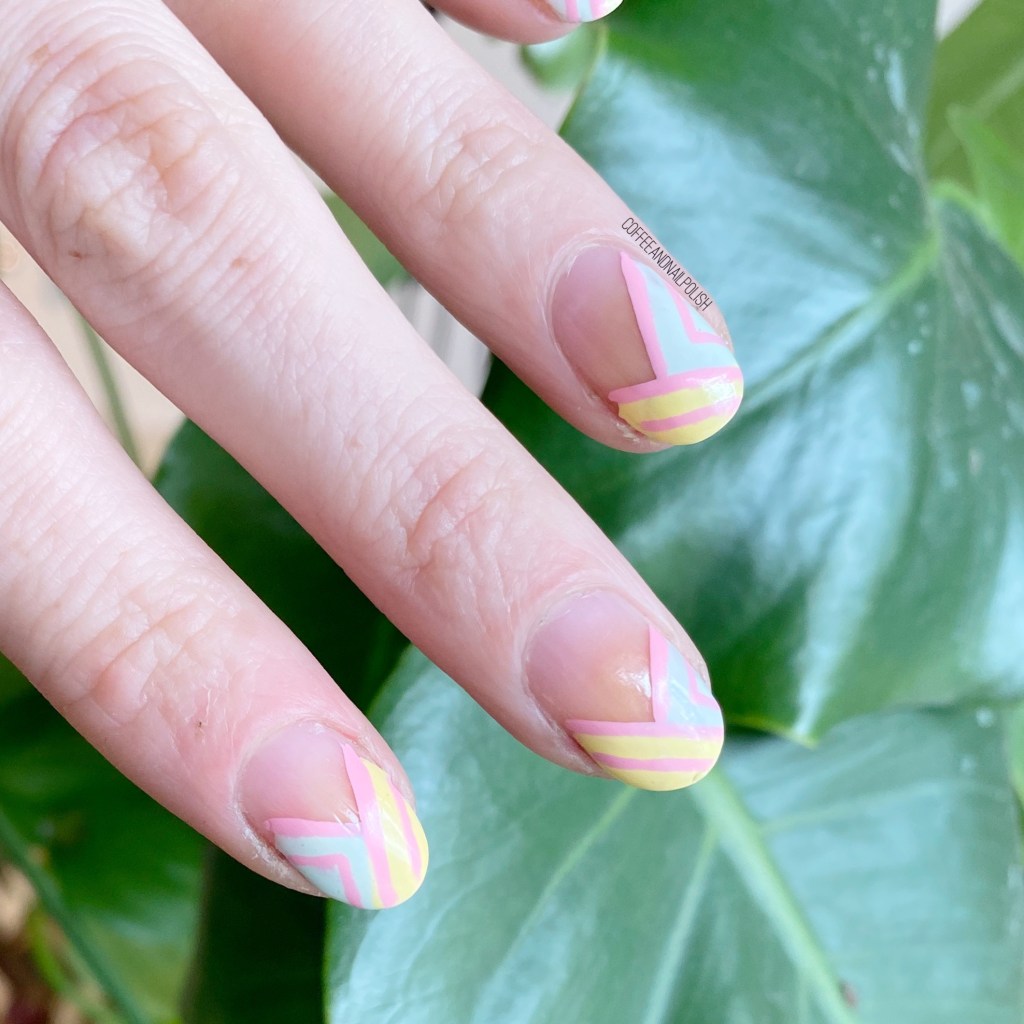
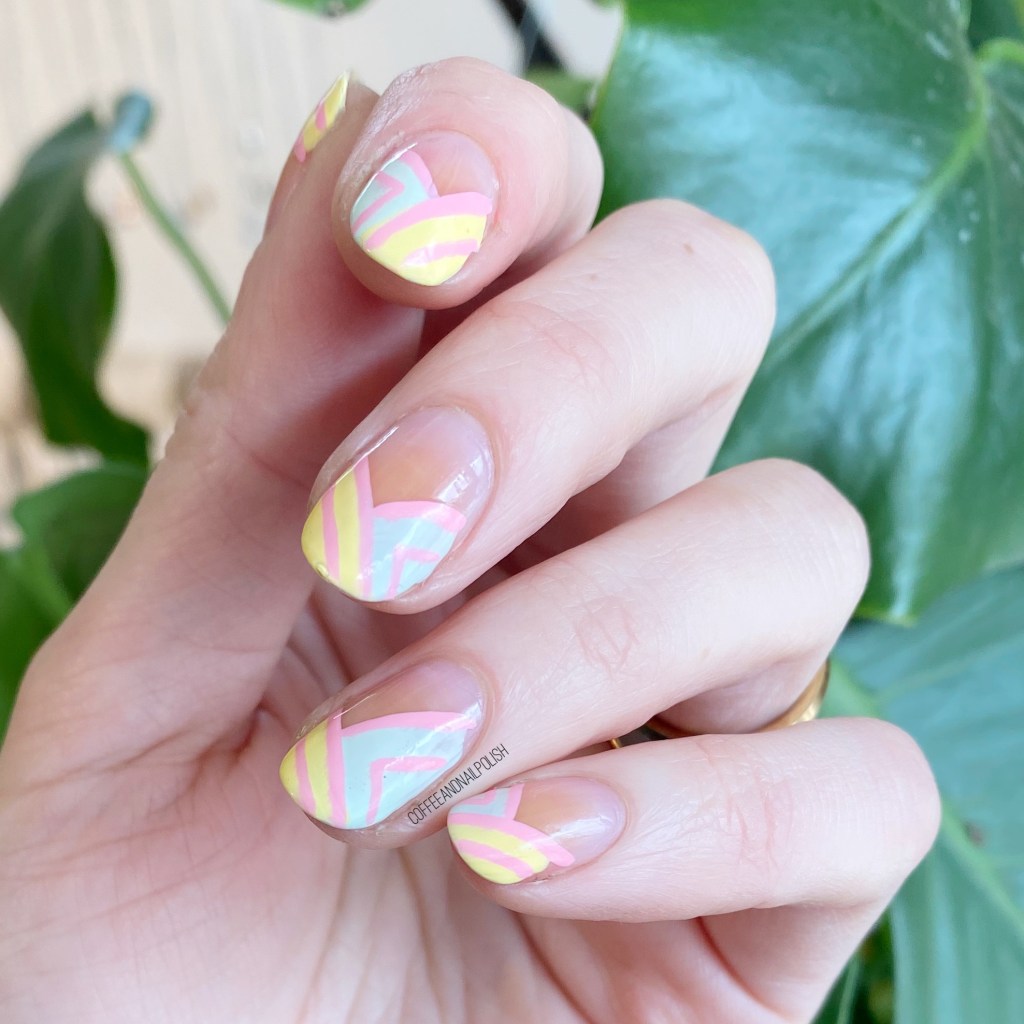
Today I have some pretty pastel geometric tips to show off. I was feeling a bit of a colour block look, & we went from there & I love the final look. I’ve been looking at old negative space geometric looks (like this one circa 2016) & really have been missing them! So I thought a blast from the past was in order.

The polishes I used for this manicure are: 

  • Base Coat: Essie Hard To Resist Glow & Shine
  • Top Coat: Essie Speed Setter
  • Revlon Ultra HD Snap Nail Enamel Making the Most
  • Sally Hansen Miracle Gel Sweet Pea
  • Color Club Art Club Pink Pastel

How beautiful do these shades look paired together? I think they’re very Spring-y & fun. 🌸

This was done completely without nail art tools, brushes or vinyls — but if you didn’t feel like you could do a clean enough application, you could definitely use them. I just didn’t feel like waiting that long for my base coats to dry.

Plus I find by using the Art Club striper around the edges, it gives it a nice clean finish & hides any mistakes I might make.

What do you think about these pastel geometric tips? Are you a fan of this look & colour combination? Let me know in the comments below!

Have a lovely Thursday.