Neon Drag Marble

Good morning lovelies & happy Tuesday! Hope you’re having a lovely start to your week.

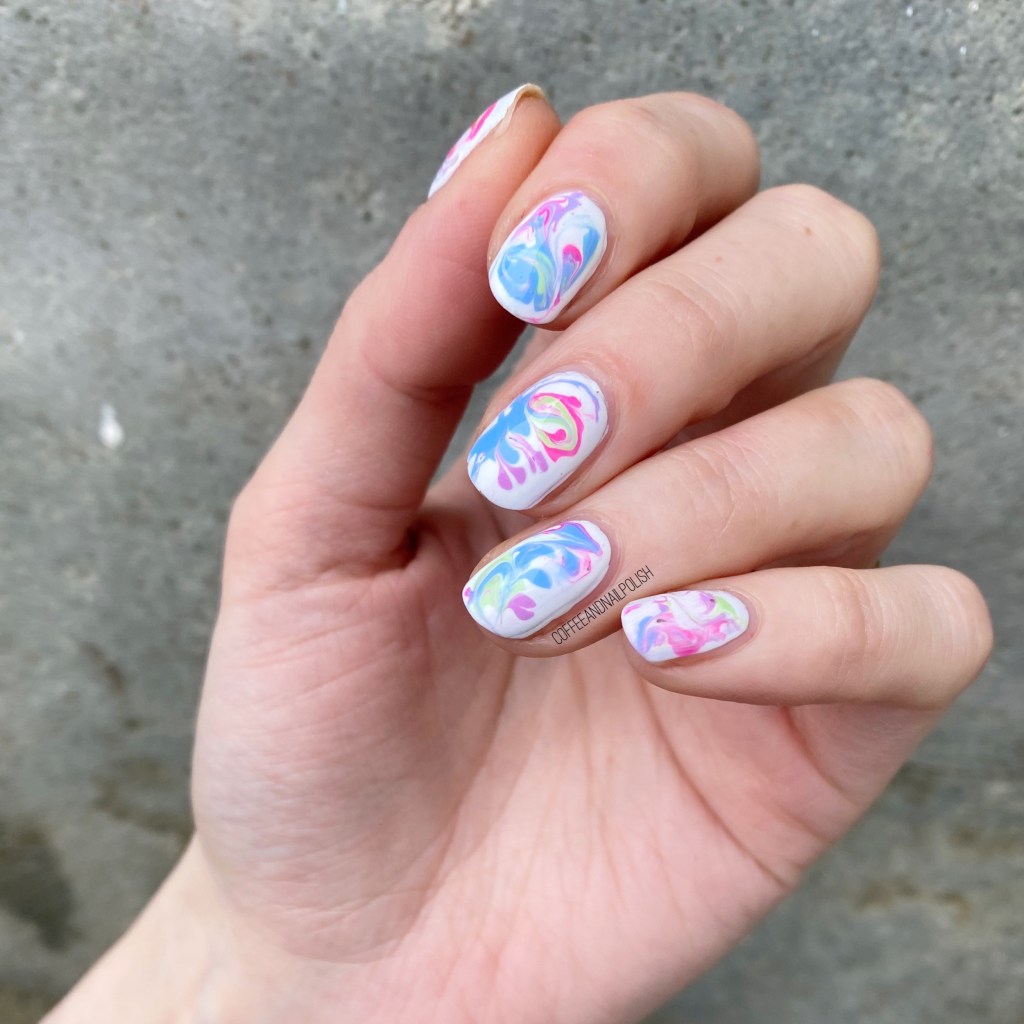
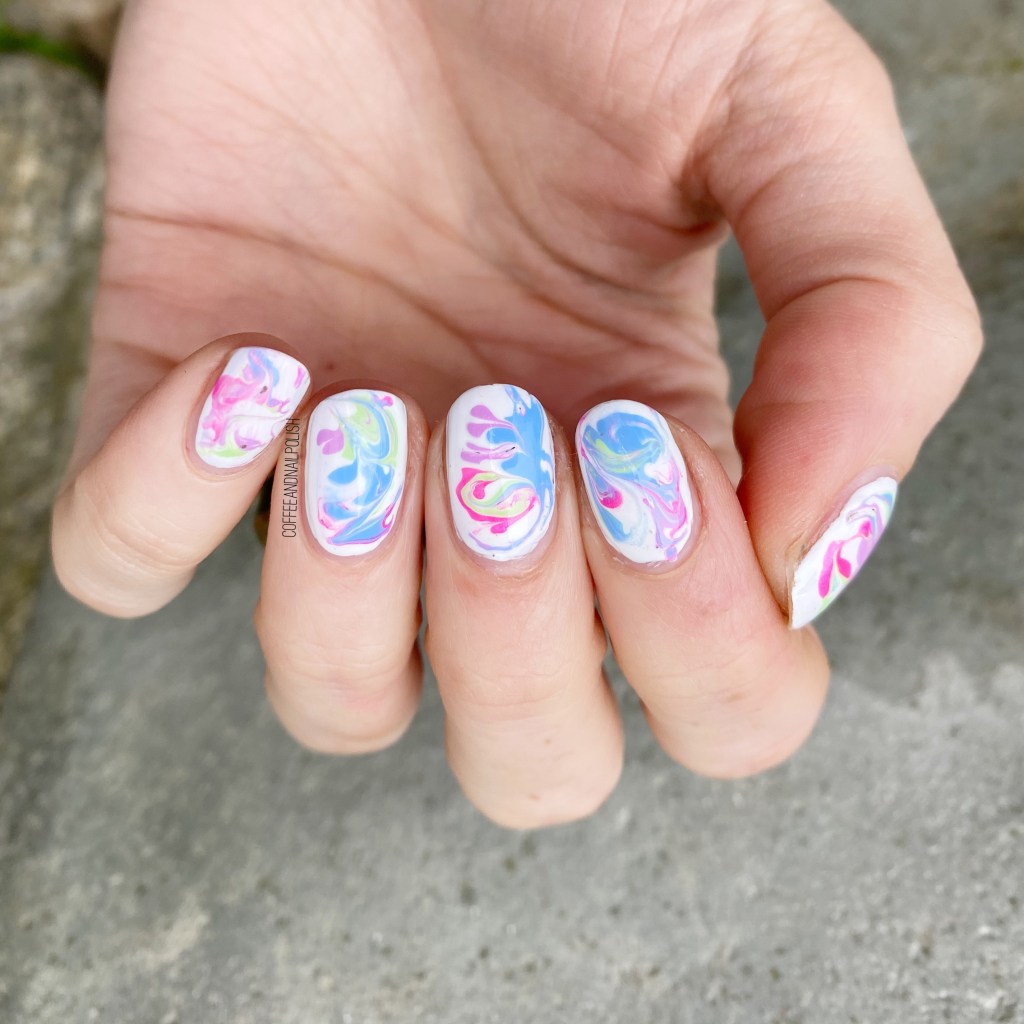
Today I’m showing off a fun drag marble design I wore recently. I haven’t really done a drag marble in a while, & I thought one featuring a few neon-ish shades would be beautiful.
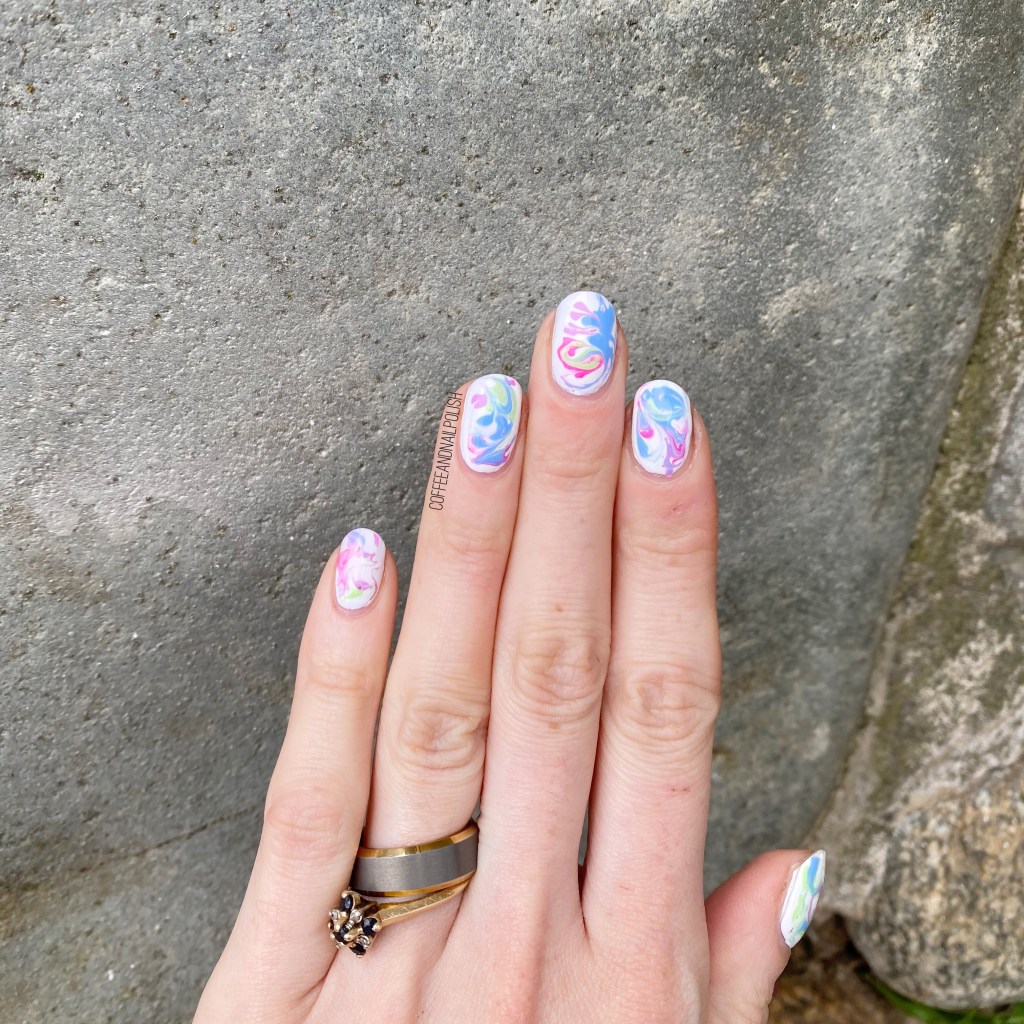
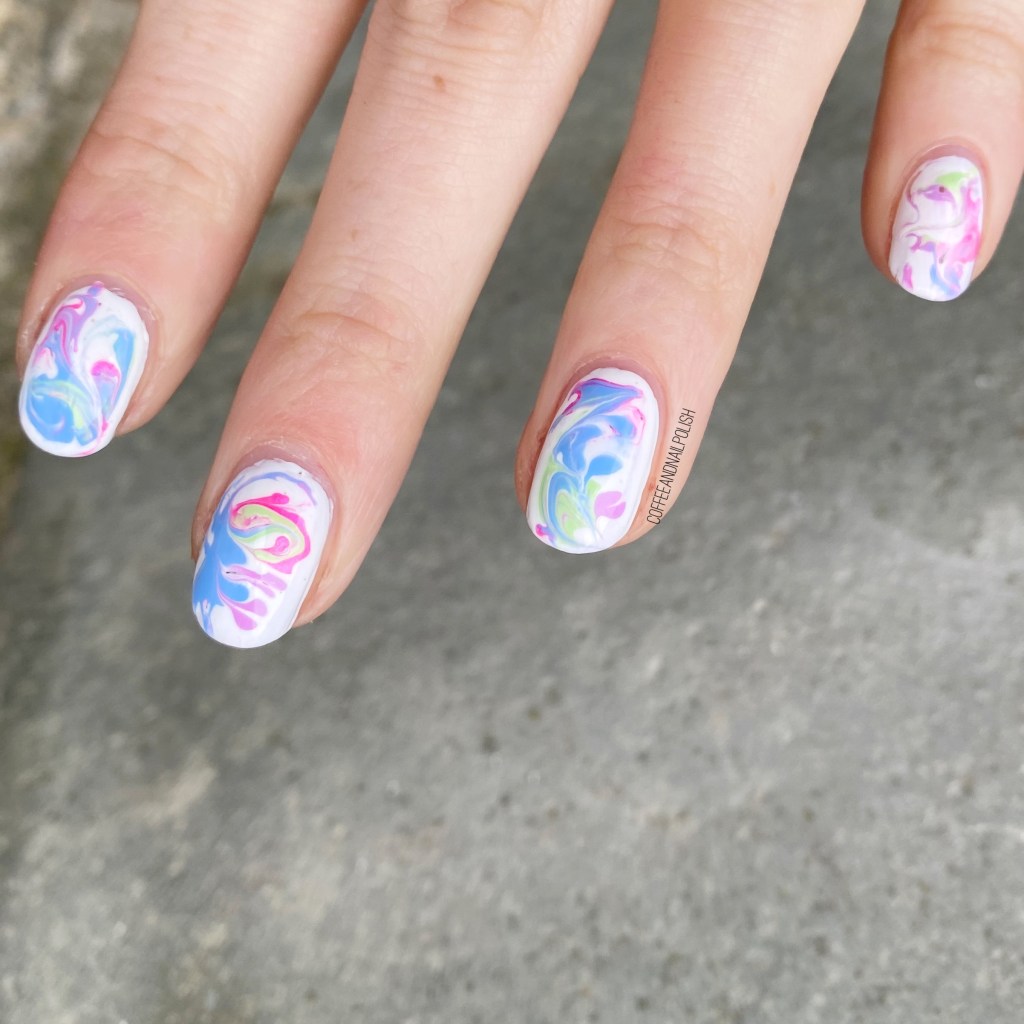
The polishes I used for this manicure are:

  • Base Coat: Essie Hard To Resist Glow & Shine
  • Top Coat: Essie Speed Setter
  • Sally Hansen Miracle Gel Get Mod
  • Sally Hansen MG Floresc-pink
  • Sally Hansen MG Electri-Lime
  • Sally Hansen MG Violet Voltage
  • Sally Hansen MG Sugar Fix
  • NailStuff.ca Dotting Tool Trio

I’m kind of obsessed with how these turned out! They remind me a bit of jawbreakers, which marble nails can do. I like the neon colours popping against the white base. They turned out exactly how I imagined in my head & I’m so happy about it!

Drag marble nails are one of those looks which I always think are going to be so easy, but then surprise me with difficulty, haha. In this case, I had to swirl my four polishes in the while before things started to dry… & I had to work fast! But, you know, I think in the end it gave a really cool effect, & I got lots of compliments on the finished look which always makes my day.

If I had to pick a favourite nail? Probably my middle nail. I think my swirling turned out best on that nail for sure.
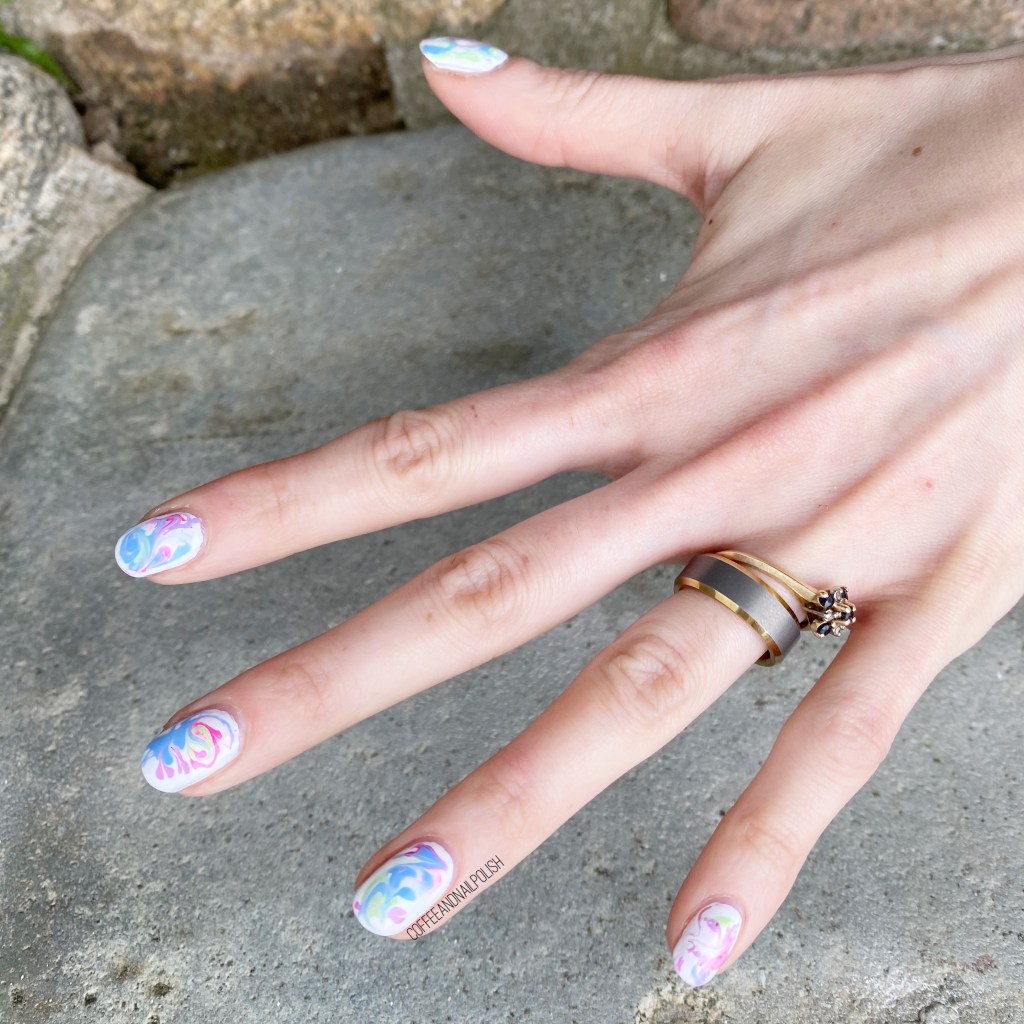
What do you think about this drag marble look? Are you a fan of the neons against the white base?

Let me know all your thoughts in the comments below, & what colour combination you would do for a drag marble look!

Spring Inspired Saran Wrap Splatter

Hello loves & happy almost Easter weekend! It’s been a beautiful week here on the East Coast — very Spring-y! I even had a chance to break out my flip flops. So I’ve been feeling all the Spring colours.

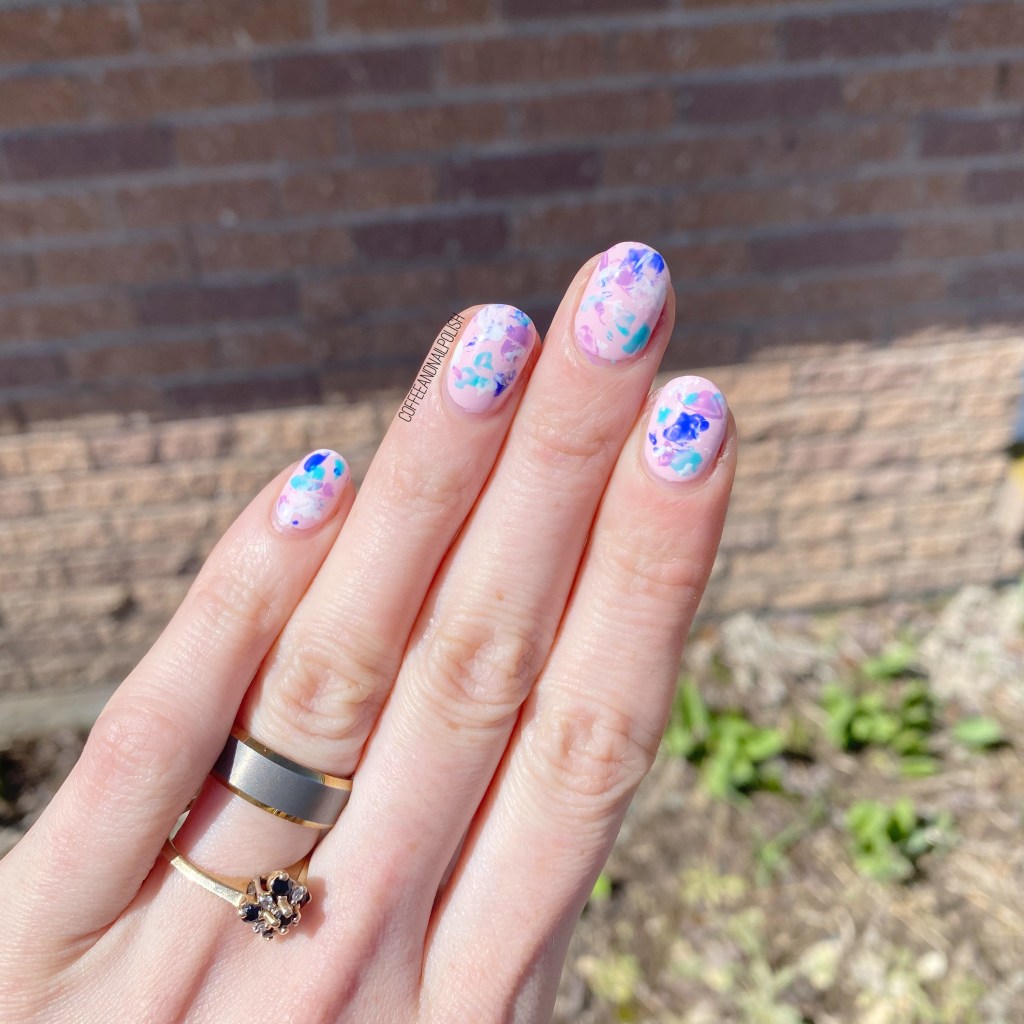
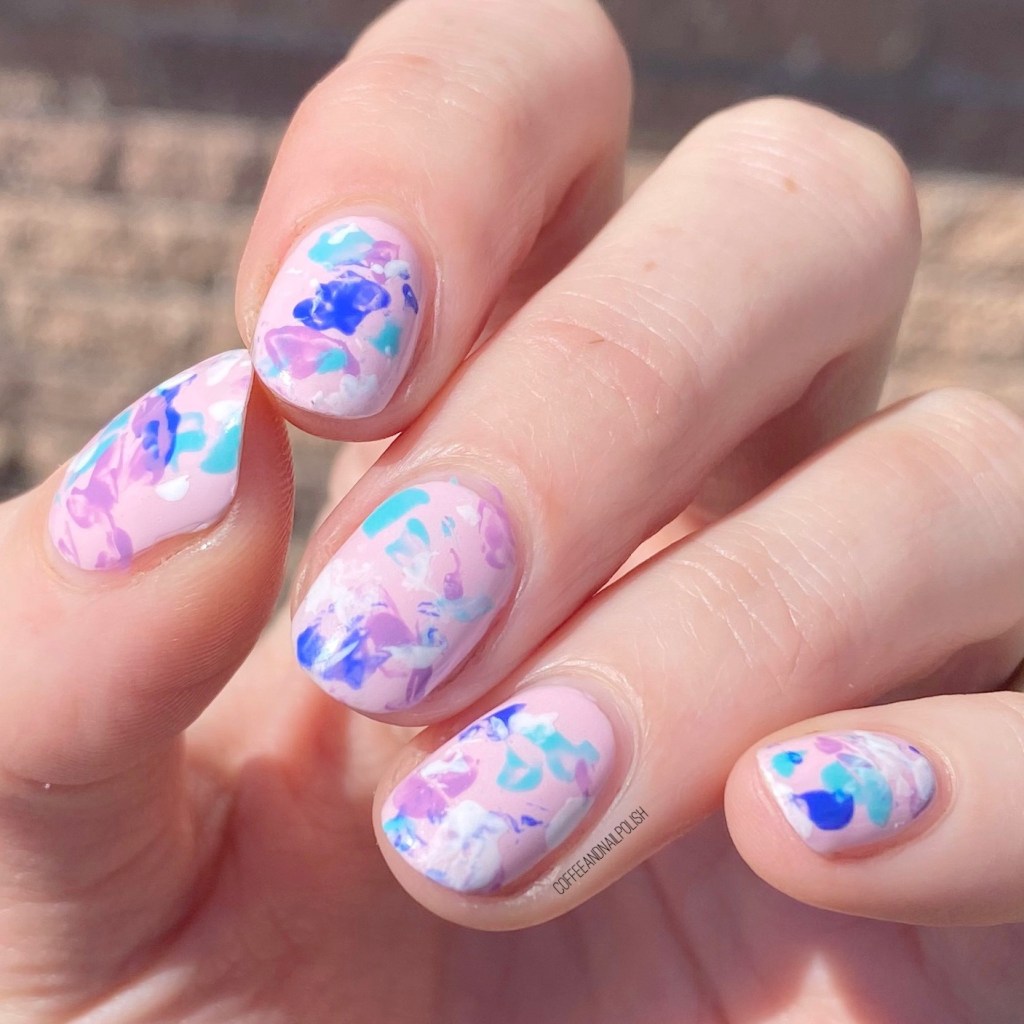
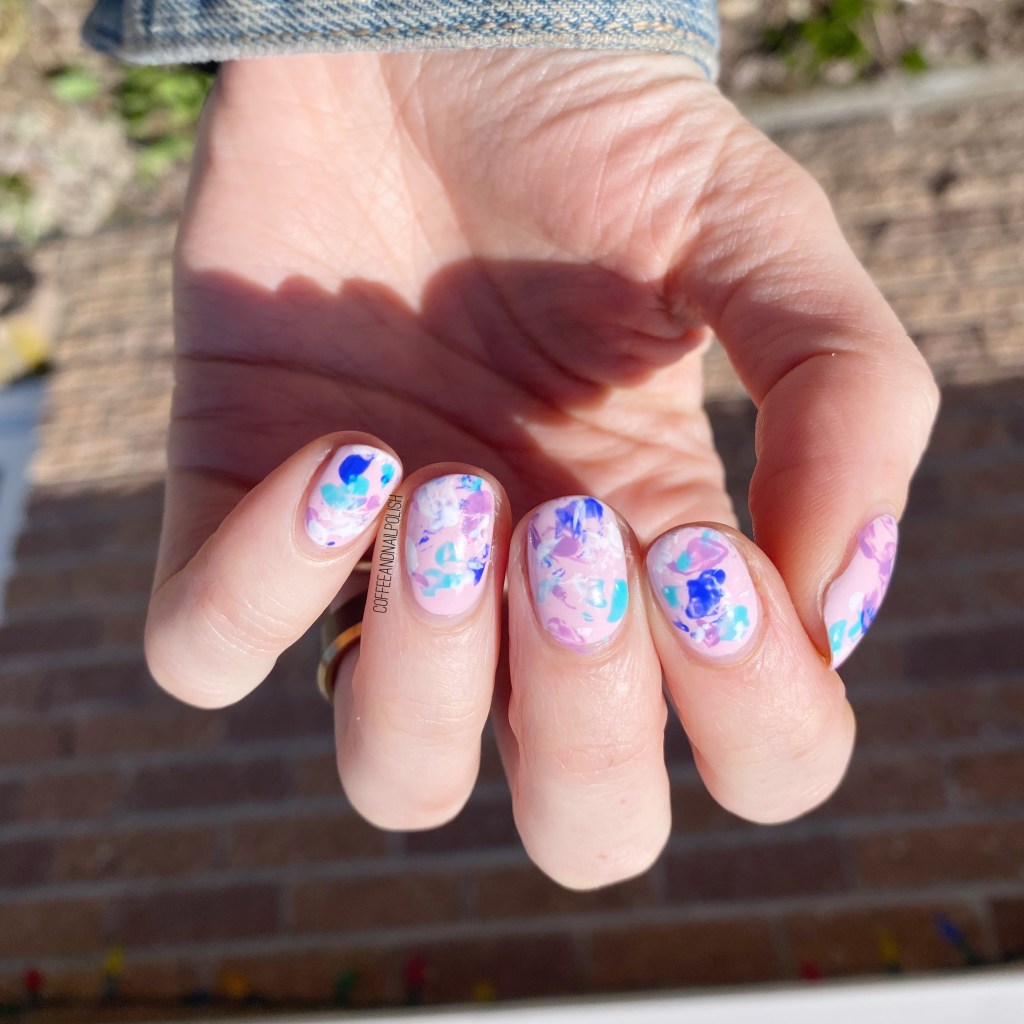
Todays look is a nail art technique I haven’t done in a while — Saran Wrap splatter. This is a technique I’ve done a lot in the past, but it’s been a hot minute since the last time, so I was excited to pull it out of my repertoire.

The polishes I used for this manicure are: 

  • Base Coat: Sally Hansen Good. Kind. Pure Hardener
  • Top Coat: Essie Speed Setter
  • Sally Hansen InstaDri Racing Rose
  • Sally Hansen Miracle Gel Get Mod
  • Essie Butler Please
  • Essie Play Date
  • Icing Matte Nail Polish Neon Blue
  • Crinkled plastic

How fun are these colours together? I feel like these pinks & purples & blues just go so well together. I’ve been doing this technique a very long time, & it never gets old to me. It’s a way easier option than your traditional spatter, & way less clean up. I usually only have a few places I need to clean up with acetone, versus a traditional spatter that makes quite a mess,

What do you think of this Saran Wrap Splatter look? Have you ever tried this technique before? Let me know all your thoughts down in the comments below!

Speckled Easter Eggs

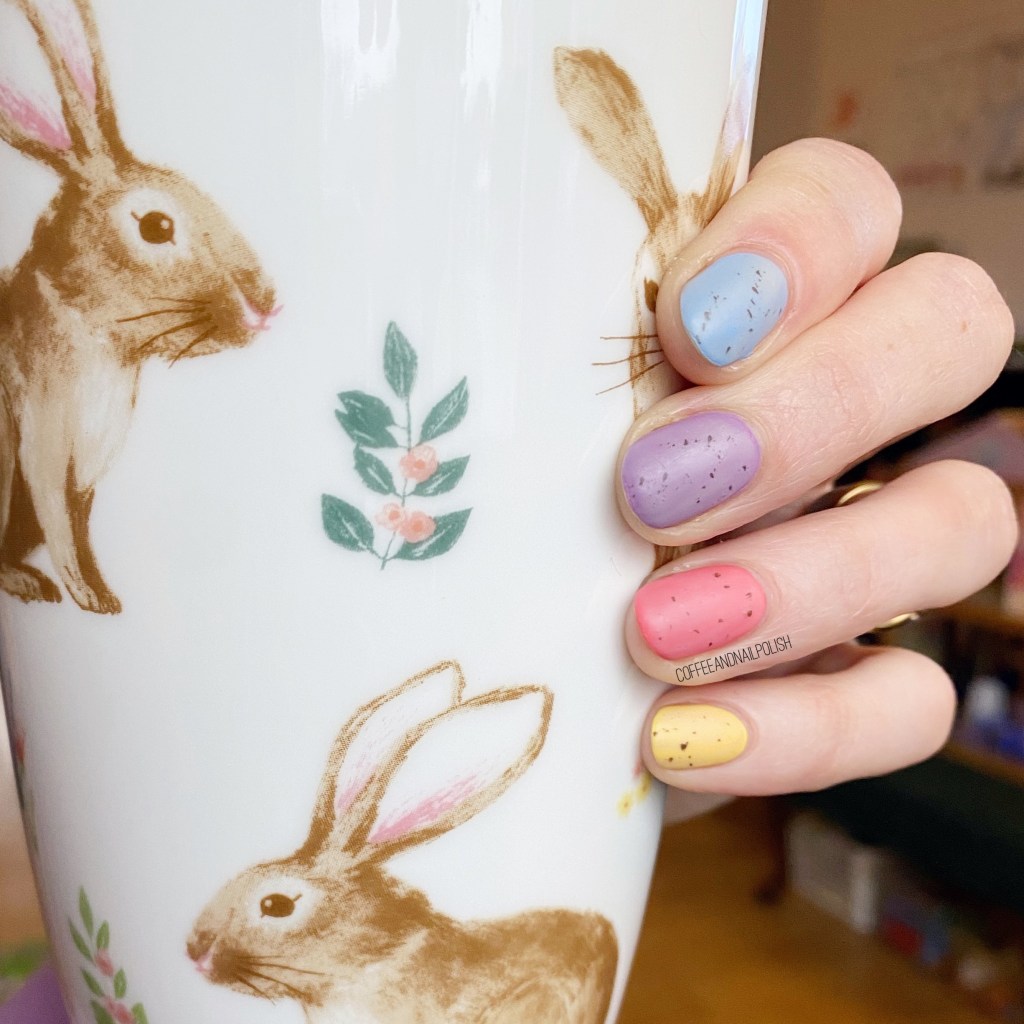
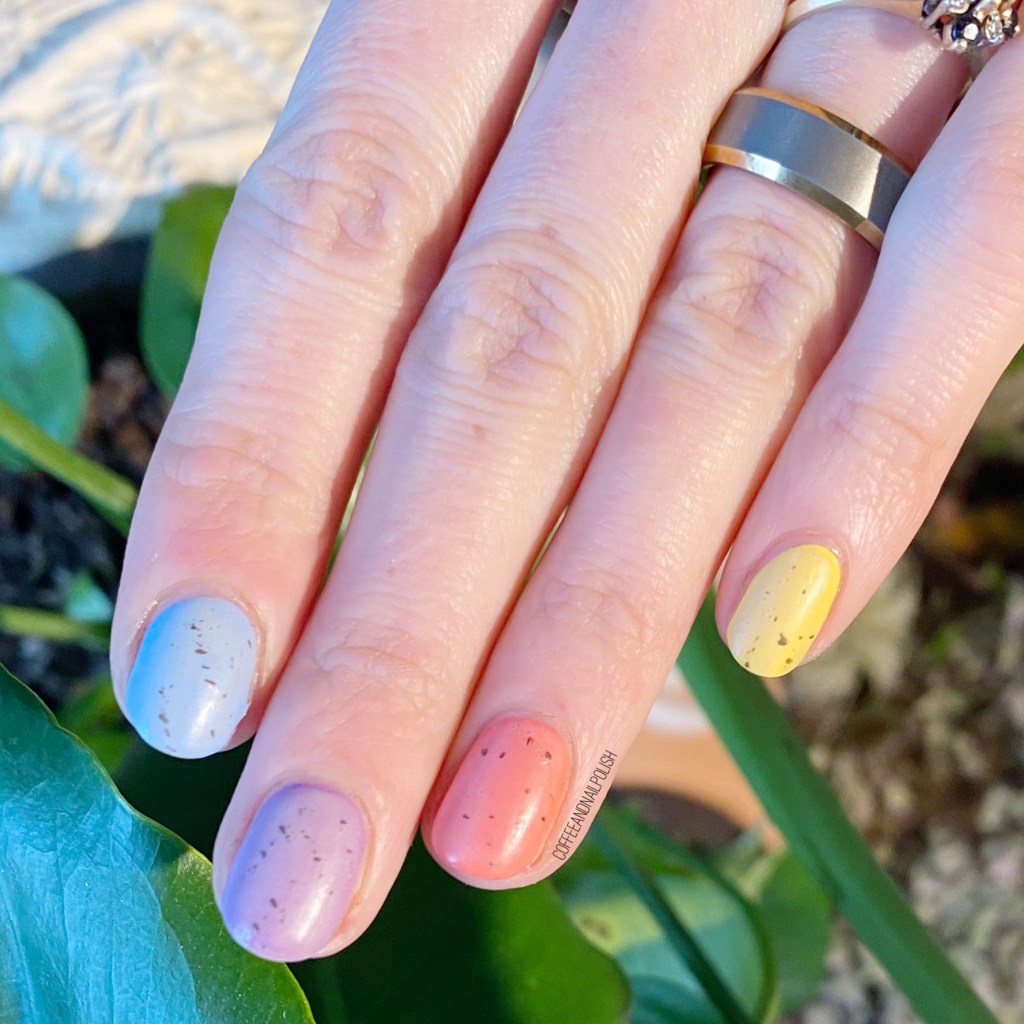
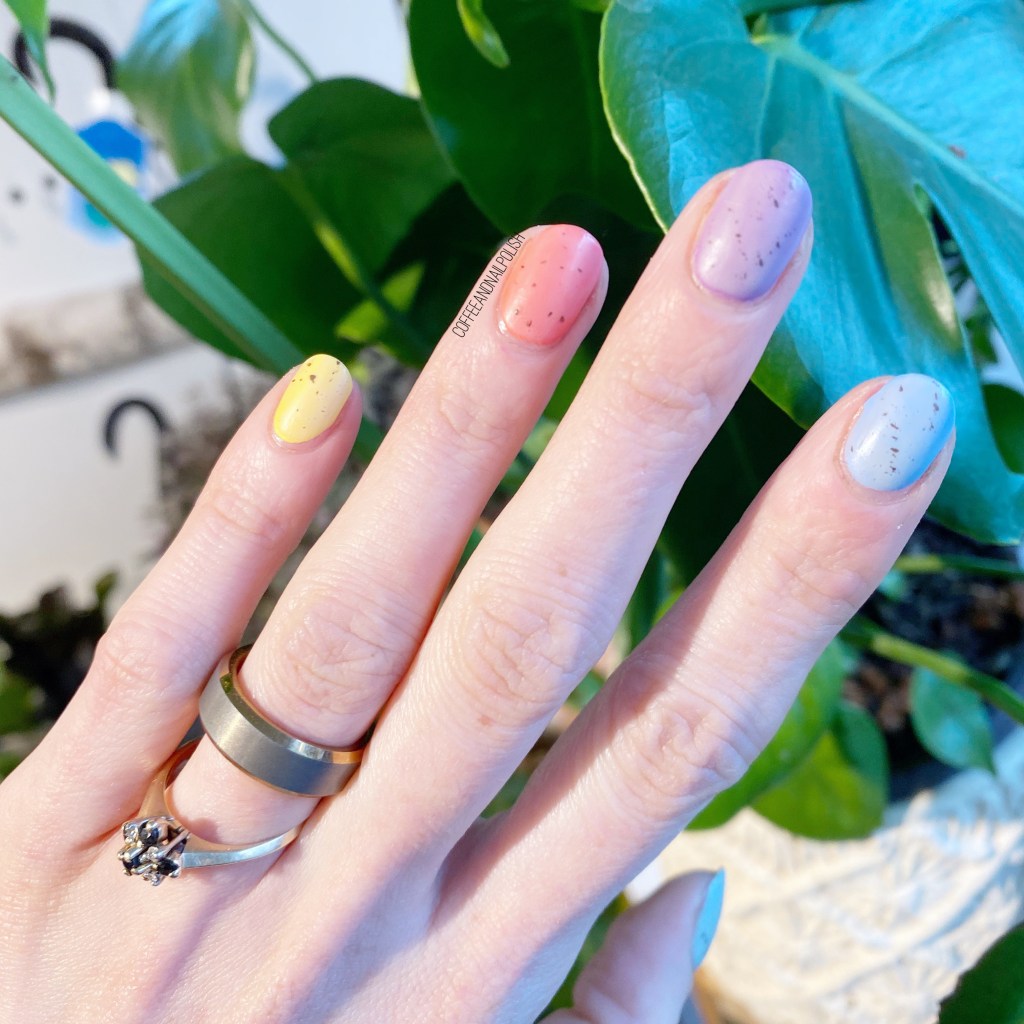
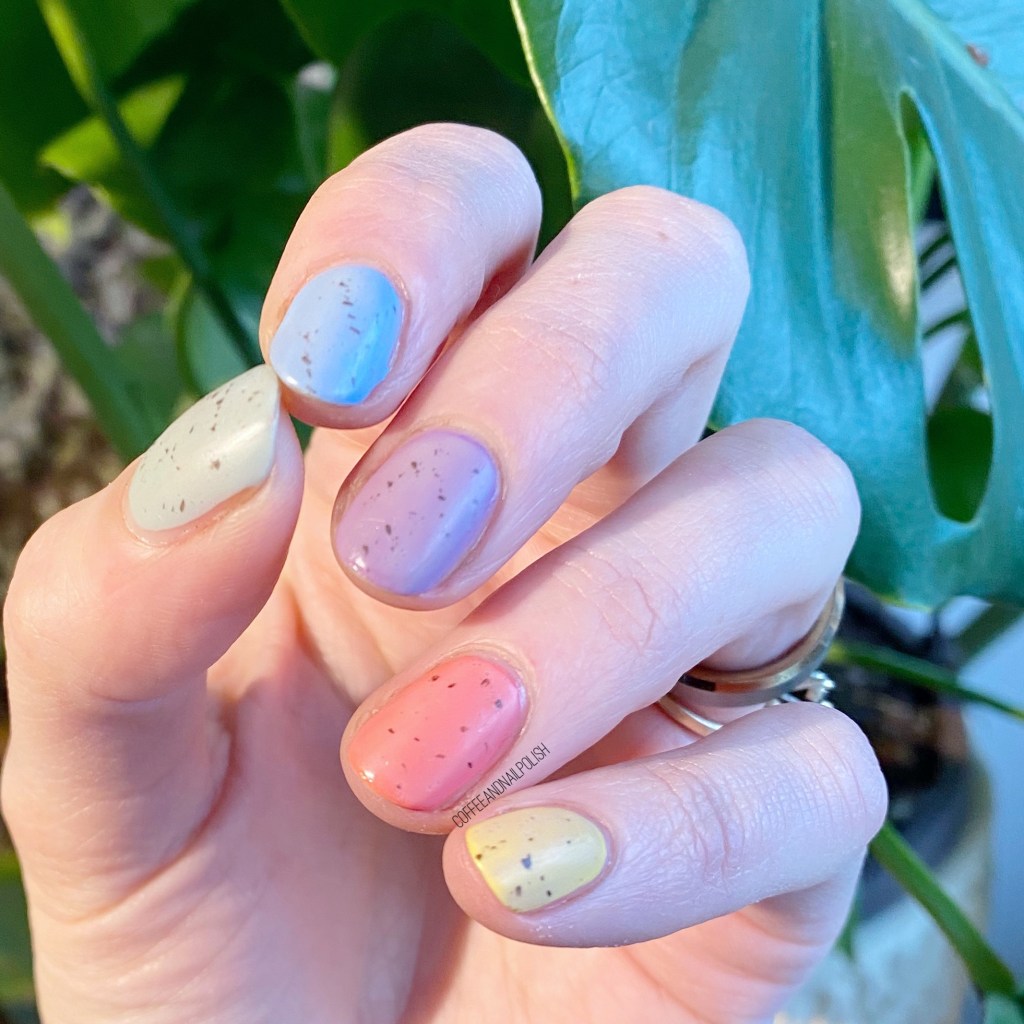
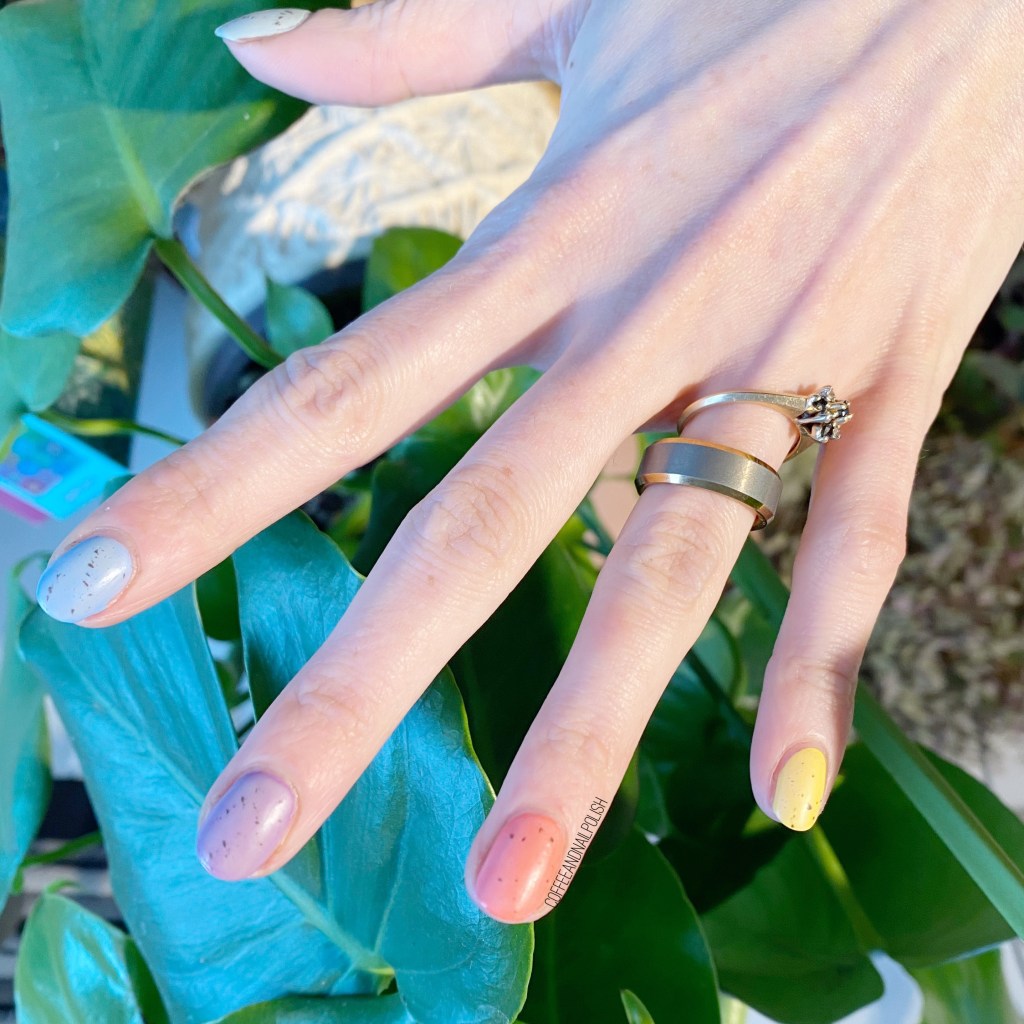
Hello loves & happy Tuesday! I hope everyone is having a lovely week so far. It’s almost Easter, so I thought it was about time to share a somewhat Easter-y design. & what is more fun than a speckled Easter egg design!

I literally do a version of this look every year, & if never gets old to me. It’s such an easy & festive look to do. Plus I always joke since I can’t actually eat mini eggs, wearing them on my nails is the next best thing!

The polishes I used for this manicure are: 

  • Base Coat: Sally Hansen Good. Kind. Pure Hardener
  • Top Coat: Essie Speed Setter
  • Matte Top Coat: Sally Hansen Miracle Gel Matte Top Coat
  • Julep Alyssa (thumb)
  • Sally Hansen Miracle Gel Sugar Fix (pointer)
  • Essie Play Date (Middle)
  • Essie Gel Couture On The List (ring)
  • Sinful Colors Yolo Yellow (pinky)
  • Wet N Wild 2% Milk
  • OPI How Great Is Your Dane?
  • Fan Brush

I’ve tried a few different versions of this look over the years, like I said, but (I think) this was my first time attempting using a fan brush for the speckled look. Usually I used the saran wrap splatter look, but I think I like using a fan brush even more! It gives a much daintier speckled effect. I think this look is much more true to actual speckled eggs, & I’m obsessed.

What do you think about this speckled nail look? Would you wear these for your own Easter festivities? Let me know all your thoughts down in the comments below!

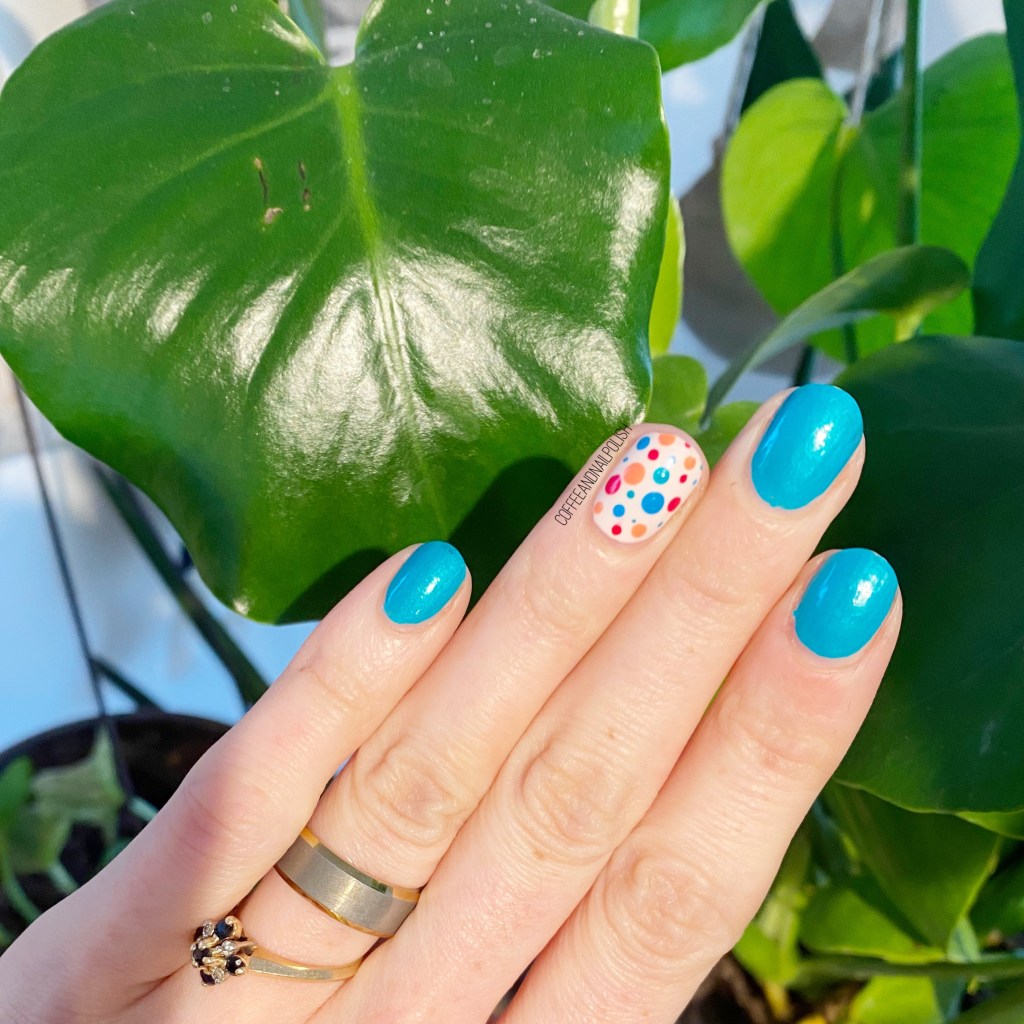
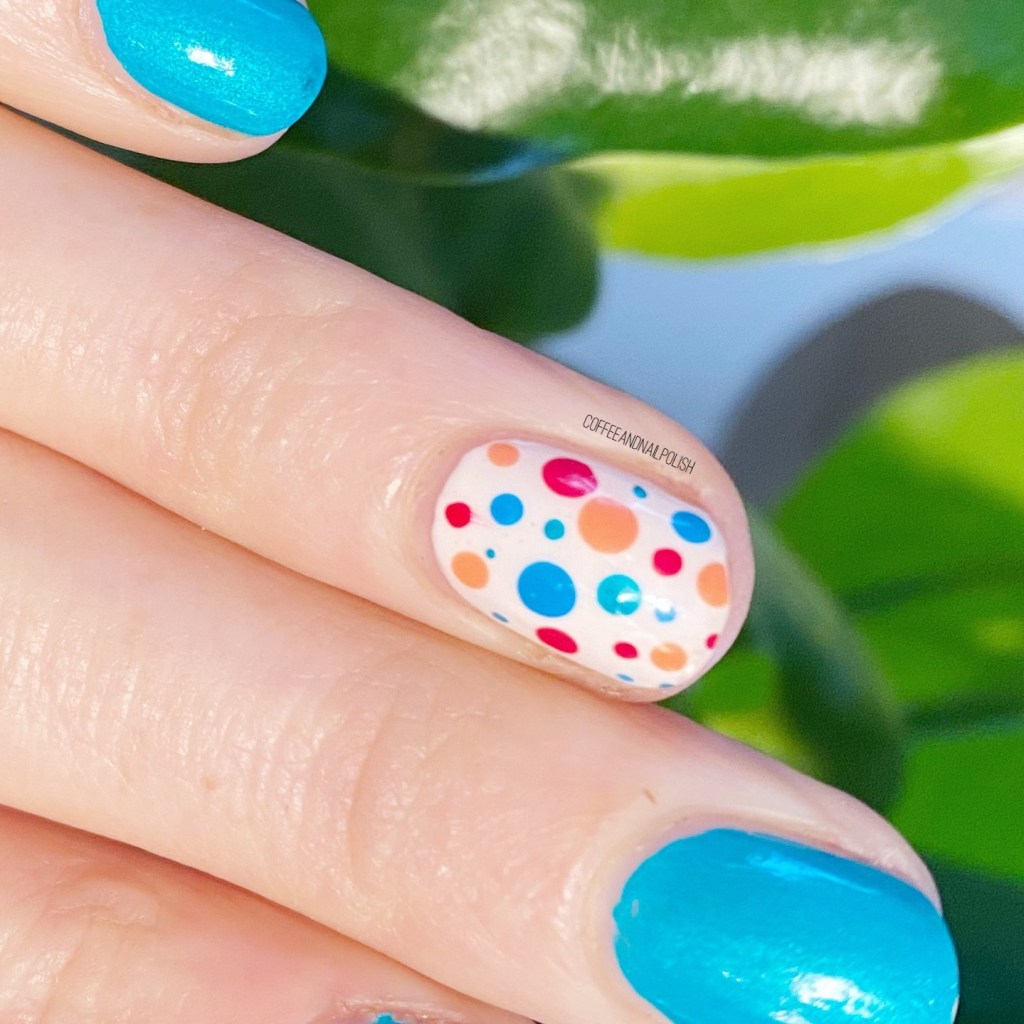
Easy Polka Dot Accent Nail

Hello lovelies & happy Friday. Today I’m sharing a fun, easy accent nail look.

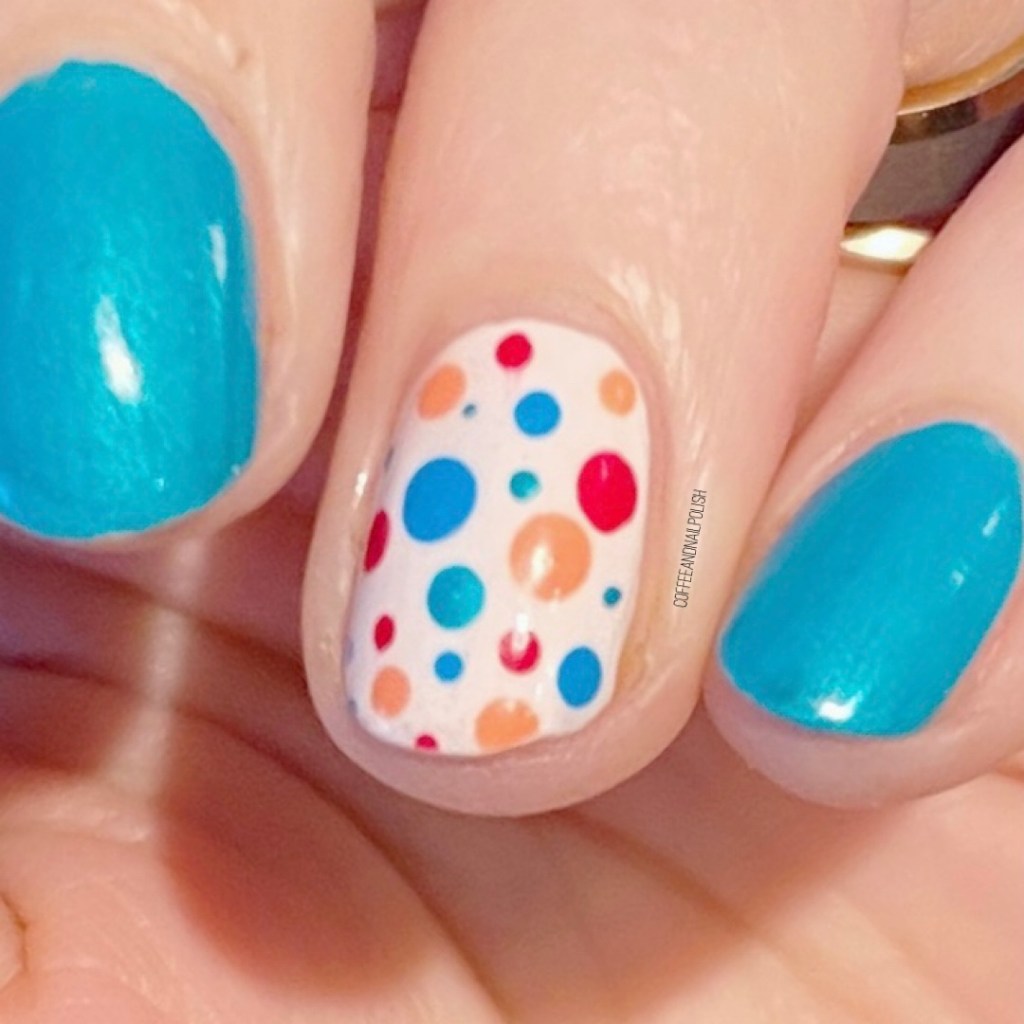
This look was actually inspired an old design I did in the early days of this blog. I loved the fun polka dots with the bright nail polish, & I decided to do an updated version. Obvious I switched up some polishes so these colour scheme turned out a bit different, but I think over all this was a really fun (almost Summer-y) look to wear.

The polishes I used for this manicure are: 

  • Base Coat: Sally Hansen Good. Kind. Pure Hardener
  • Top Coat: Essie Speed Setter
  • China Glaze Turned Up Turquoise
  • Sally Hansen Complete Salon Manicure Let’s Snow
  • Essie Strut Your Stuff
  • Essie Watermelon
  • Sally Hansen Miracle Gel Malibu Peach
  • NailStuff.ca Dotting Tool Trio

At first I wasn’t sure what I thought of this nail art look because the colour scheme is not my usual. But the look definitely grew on me — even if the colours are giving me slight Wonder Bread vibes. I do love a good polka dot accent nail — for a while that was one of the only nail art techniques I could do, so I wore it a lot.

What do you think of these funky polka dots accent nails? Let me know all your thoughts down in the comments below.

Spring-y Pastel Sponge (Happy 8th Birthday Coffee & Nail Polish)

Hello lovelies & happy Wednesday!

Sorry for being MIA this week, so far. It’s been rough — the kids have been & fighting some viruses which has led to a couple hospital trips. I actually originally had planned on posting this look yesterday, but spent the previous evening in the ER with my daughter (she’s fine!), & didn’t get home until 7am.

So not a lot of nail posting was happening yesterday. Just napping. & a very sleepy day at work.

But I did do these fun pastel sponging nails with the intention of sharing for my 8th Blog-iversary yesterday, so I really wanted to share these with you! Especially because they’re pretty, & springy, with just a sprinkling of holo glitter.

The polishes I used for this manicure are: 

  • Base Coat: Sally Hansen Good. Kind. Pure Hardener
  • Top Coat: Essie Speed Setter
  • Sally Hansen Miracle Gel Sun-showers
  • Sally Hansen MG She’ll-ebration
  • Londontown Lakur Mint No Chip
  • Essie Playdate
  • OPI Gelato on my Mind
  • China Glaze Fairy Dust
  • Latex Free Make Up Sponge

Such an easy look to do, & I always love these spongy designs for Spring. They make a great base for other nail art designs, or they’re just pretty on their own! & a layer of China Glaze Fairy Dust is pretty much mandatory, especially when sunny days are expected.

I’ve been doing these sponge nails a long, long time. When I was looking for a nail design to celebrate my blog-iversary, I wanted a look I’ve been doing a while, & this one just felt right!

Can you believe this blog has been around for 8 years now? While I’ve been blogging since it became a thing, 2003 or so, I don’t think I’ve had a continuous blog for this long. So it’s so exciting! & here is to many more years—as many years to come as the internet will have me.

Have a lovely day 💕