OPI Minis Skittle Mani

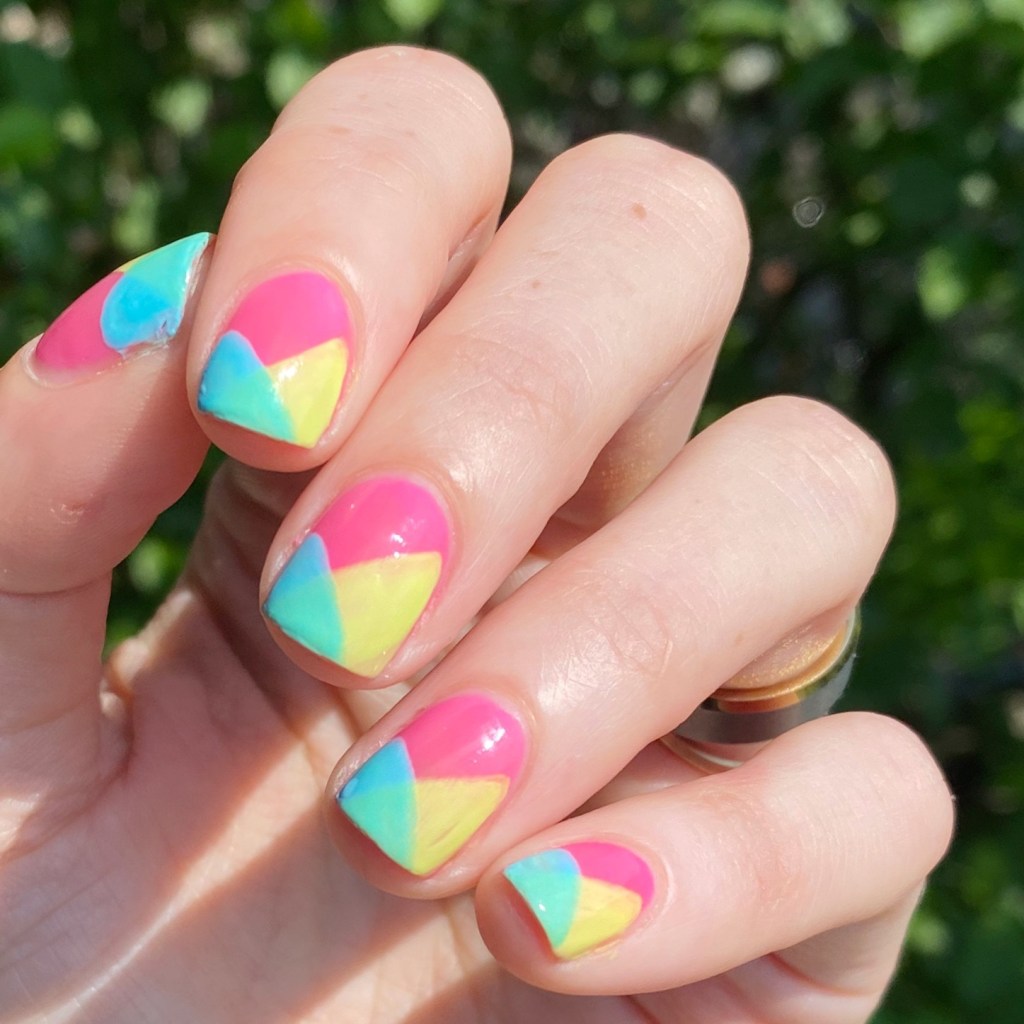
Hello lovelies & happy Wednesday! I hope everyone’s week is off to a good start. Today I’m sharing a simple skittle look for this mid-week slump.

I was recently going through my drawer of mini polishes, & found a few great OPI colours I haven’t worn in a while. Instantly I thought: these would look awesome in a skittle design. Easy manicure accomplished!

The polishes I used for this manicure are: 

  • Base Coat: Londontown KUR Nail Hardener & Base Coat 
  • Top Coat: Seche Vive Fast Dry Top
  • Thumb — OPI Is That A Spear in Your Pocket (2017 Fiji Collection)
  • Pointer — OPI Living On The Bula-vard (2017 Fiji Collection)
  • Middle — OPI Two Timing The Zones (2017 Fiji Collection)
  • Ring — OPI Do You Have This Color in Stock-holm? (2014 Nordic Collection)
  • Pinky — OPI Getting Nadi on My Honeymoon (2017 Fiji Collection)

I really, really like this combination of colours together. As I’ve mentioned before, I’m always jealous when I did these perfectly coordinated skittle manicures on Instagram because I never feel like mine look as good. This is the first time I’ve done one like this where I’ve been like “yes… perfect!” & I’m so happy about it.

As you can see from my product listing, I used 4 shades from the 2017 Fiji collection, & then one from the 2014 Nordic collection. I really felt like I needed one more darker shade to compliment Is That A Spear in your Pocket? & Do You Have This Color in Stock-holm? was perfect for that! I have so many of these little OPI mini bottles from sets I’ve collected over the years, & I really should reach for them more often.

What do you think of my skittle design? I was this close to adding little white “s” on each nail after my co-worker said they reminded her of berry skittles (we work in a candy store, so it would be very fitting!) but I ended up feeling sick that night & not having the energy to do it. Even still, I absolutely love this colour combination. It just looks so good together.

Have a fantastic Wednesday loves! ♥︎

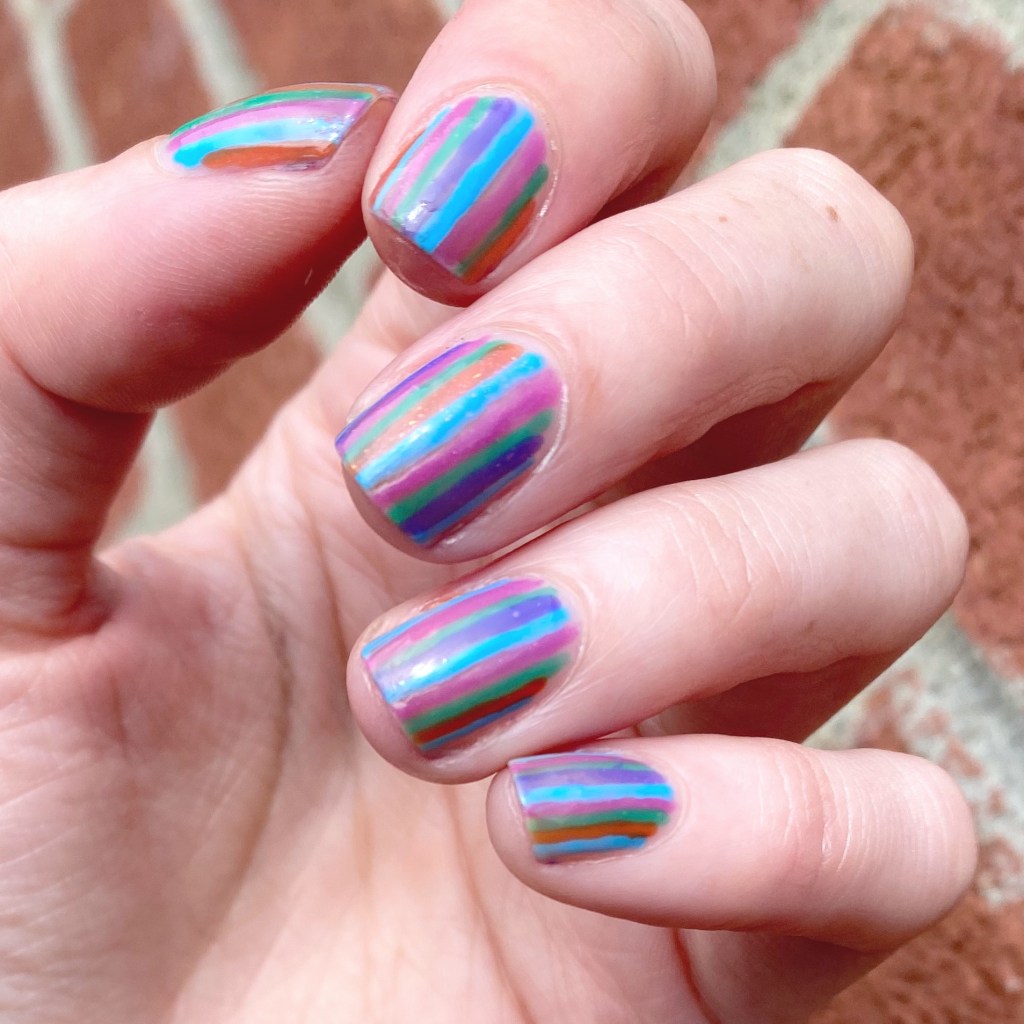
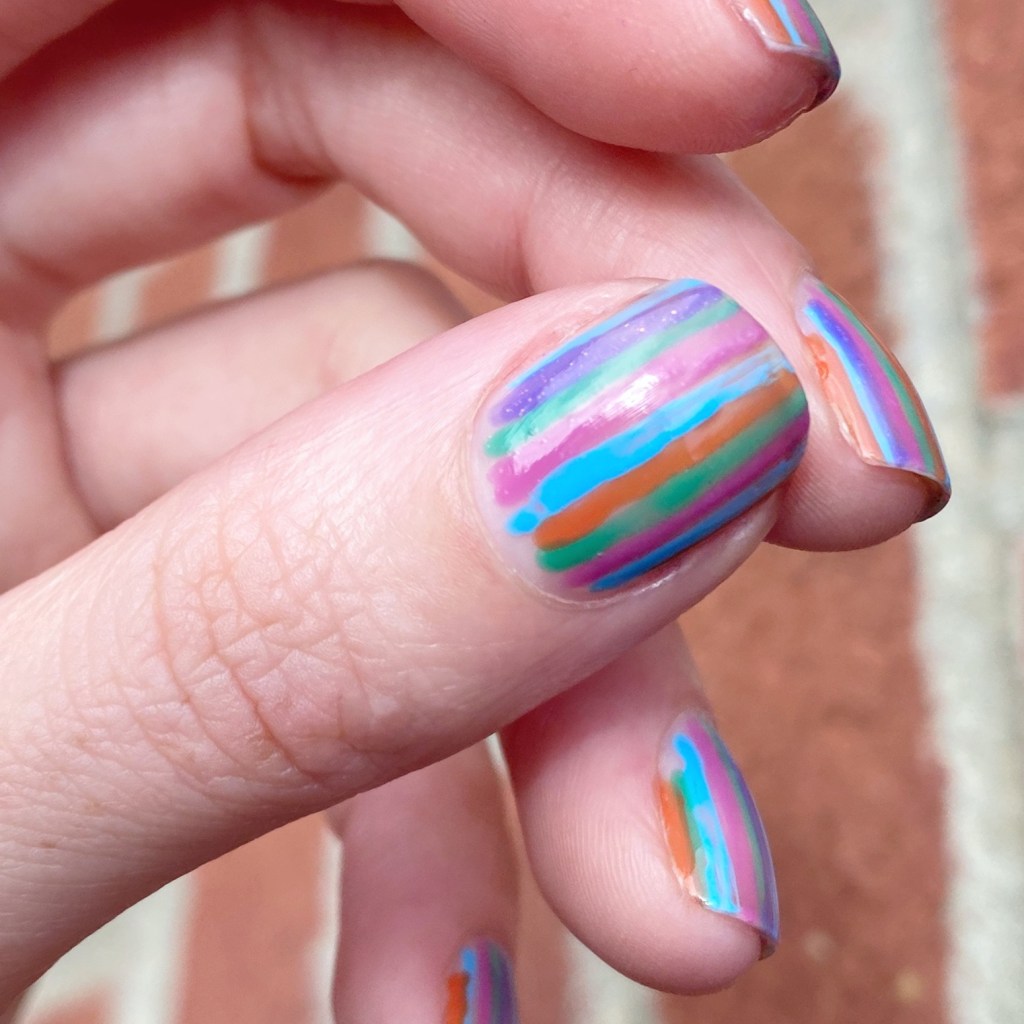
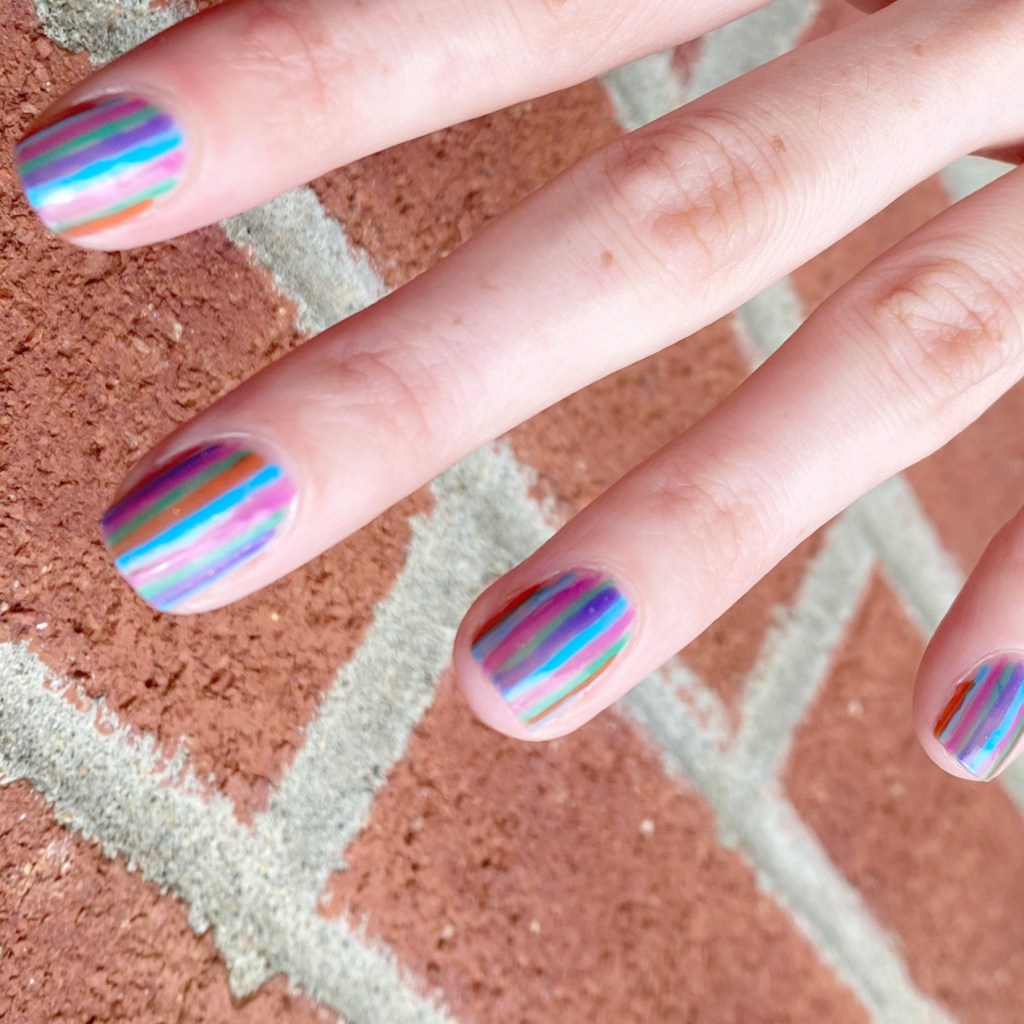
Zany Freehand Swirls

Happy Friday lovelies! 💙

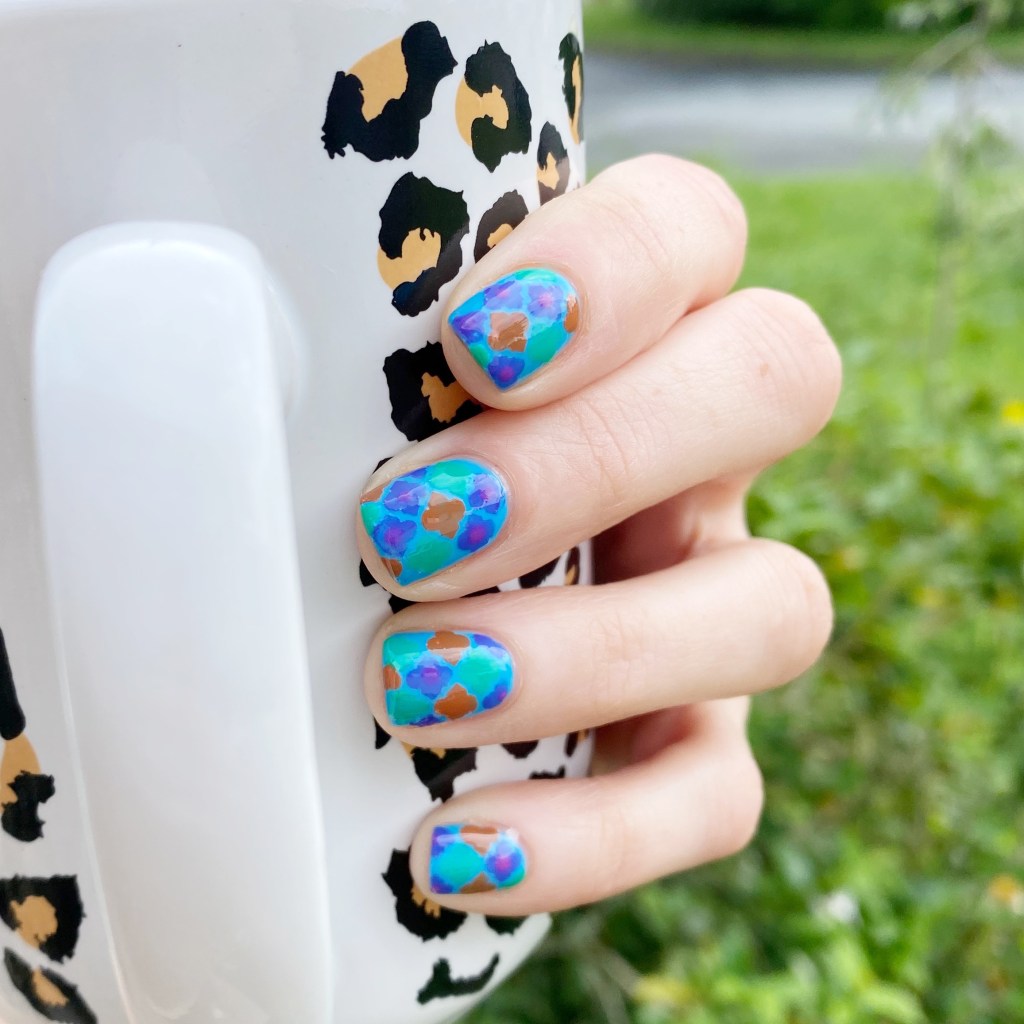
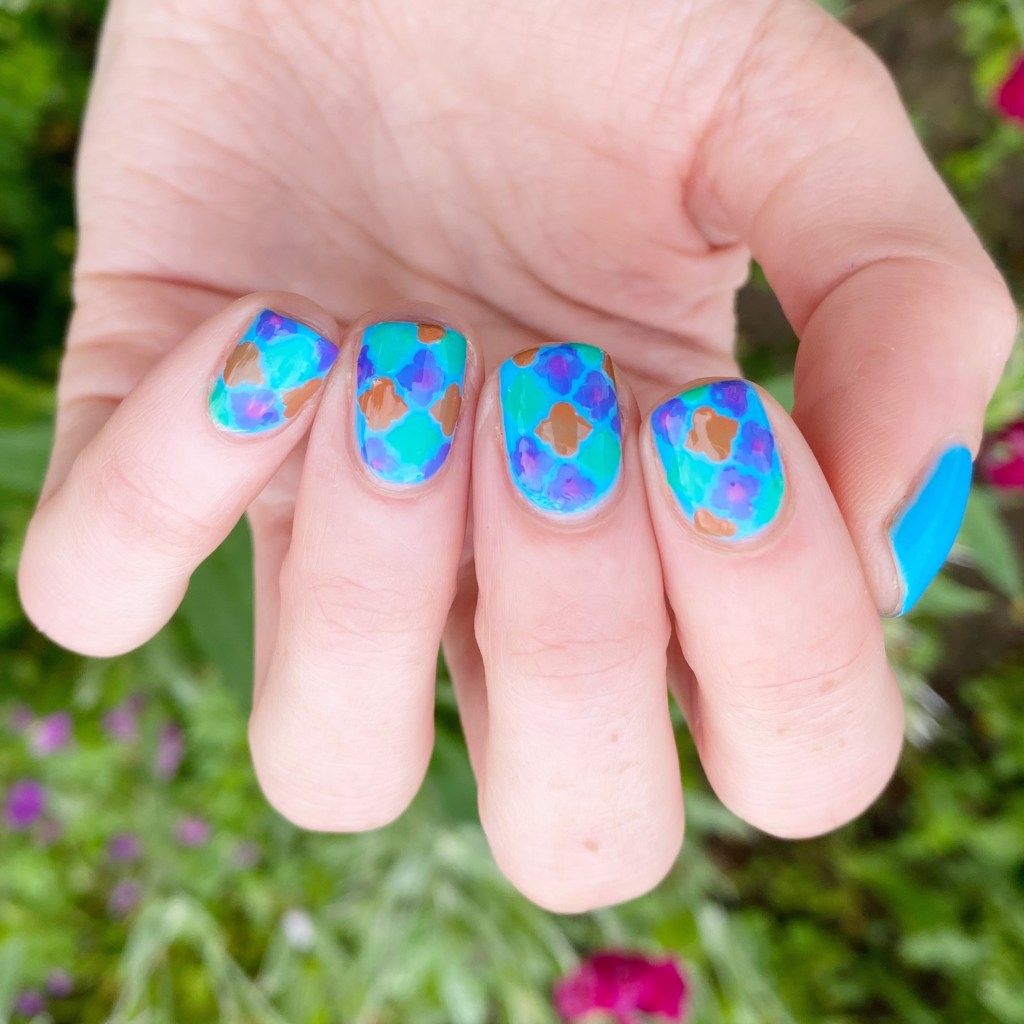
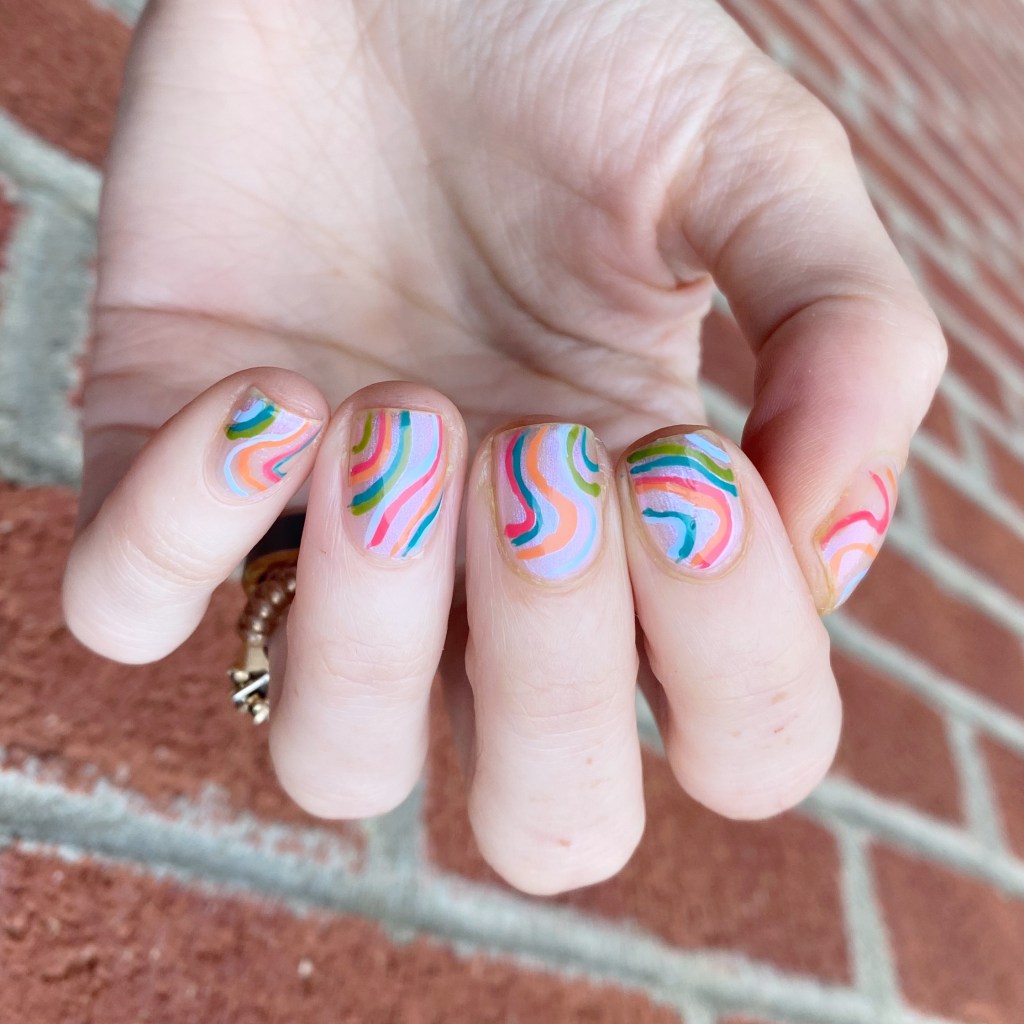
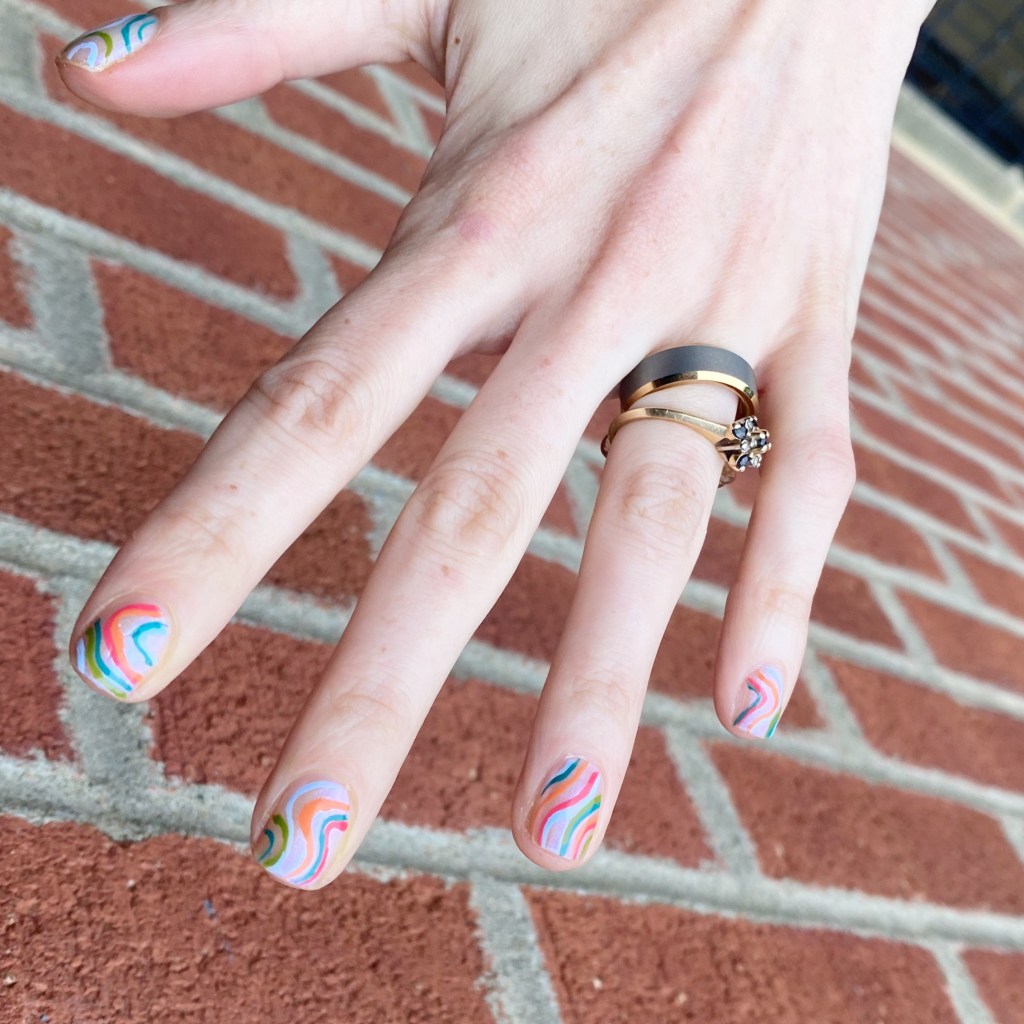
I hope everyone has had the best week! The weekend is (almost) here. & it’s a long weekend at that! What could be more exciting? Well… how about some fun nail art? Today I’m sharing a fun look that was super, super easy to do: these fun & zany freehand swirls.

I recently re-discovered some old Art Club Nail Art Duo pens from years ago, & decided to see if they were still any good. What resulted was this fun look! The colours are a little bit outside my usual wheel house, but I wore this look for over two days, so I ended up really liking it.

The polishes I used for this manicure are: 

  • Base Coat: Londontown KUR Nail Hardener & Base Coat 
  • Top Coat: Seche Vive Fast Dry Top
  • Sally Hansen Miracle Gel Neon Lemon Chillo
  • Sally Hansen MG Get Mod
  • NailStuff.ca 16mm Striper Brush
  • Color Club Art Club Striper Passion Flower
  • Art Club Nail Art Duo Hot Purple
  • Art Club Nail Art Duo Royal Blue

Sometimes I forget that nail art isn’t supposed to be stressful, it’s supposed to be fun! & this nail art look was definitely fun. It definitely has me already planning on buying a whole bunch for stripers, just for fun.

What do you think of this nail art look? Are you a fan of this colour scheme? Would you wear a look like this? Let me know all your thoughts down in the comments below!

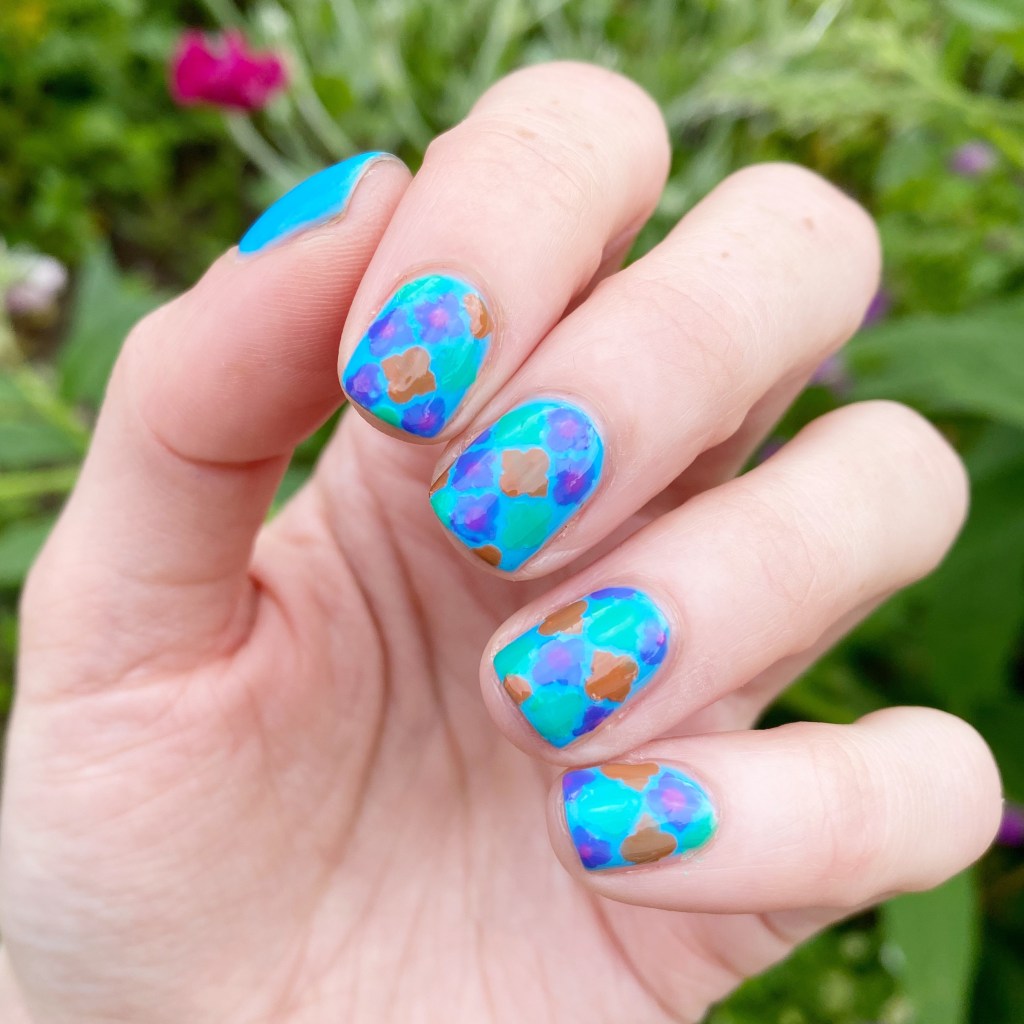
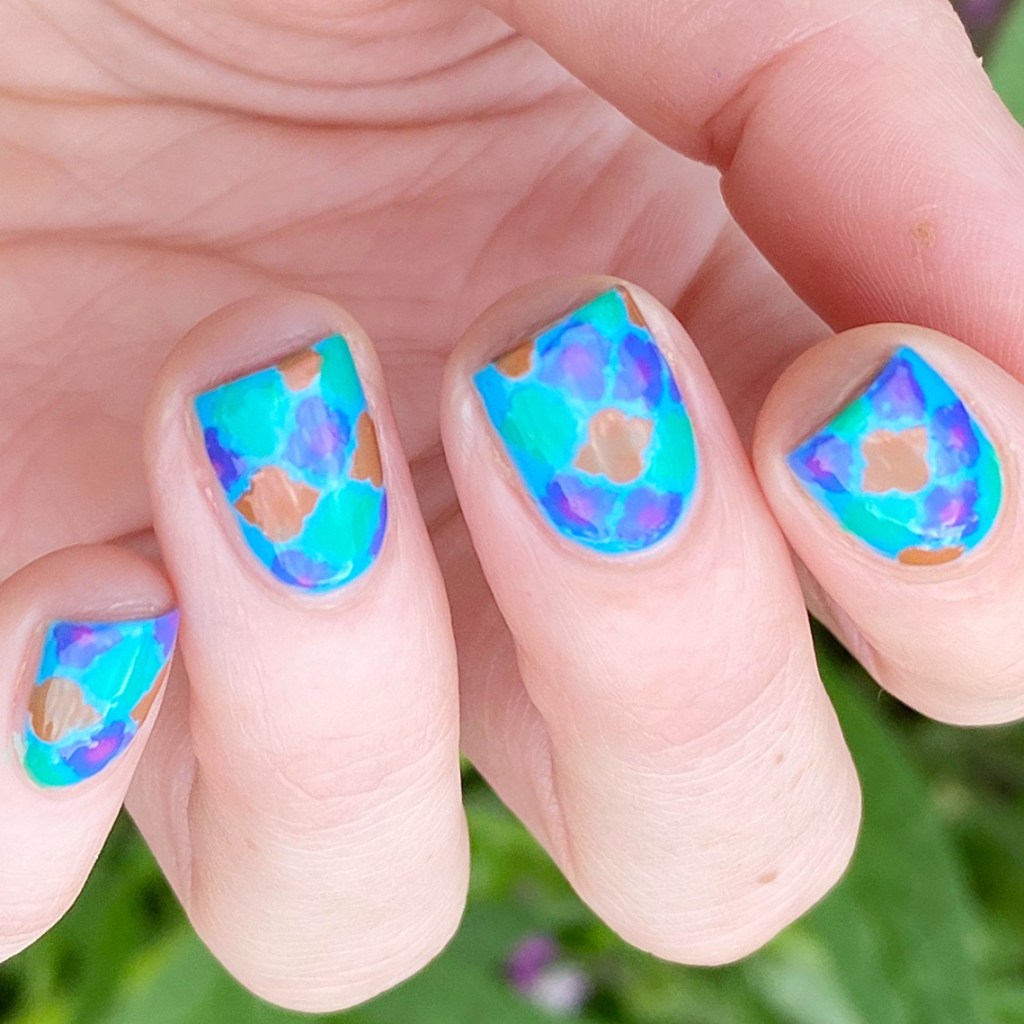
Itty Bitty Gradient Dotticure

Hello lovelies! Yes it’s me — only we’re rocking some shorties again. (Okay, & I’m drinking a matcha lemonade — my other drink aside from coffee!) I mentioned I had a patch on my middle finger nail of a bad crack. I finally decided I was over trying to keep it from cracking worse, & decided to chop my my nails down.

Today I went with a simple but fun look to wear. I love a good gradient dotticure, but I realized it’s been a long time since I actually did one. This design was actually inspired by this look from 2016. I thought since we were back down to shorties, why not find some fun nail art to do on short nails!

The polishes I used for this manicure are: 

  • Base Coat: Londontown KUR Nail Hardener & Base Coat
  • Top Coat: Seche Vive Fast Dry Top
  • Londontown KUR Mint No Chip
  • Sally Hansen I ❤️ Nail Art pen in purple
  • Sally Hansen I ❤️ Nail Art pen in turquoise
  • Sally Hansen I ❤️ Nail Art pen in pink
  • Sally Hansen Miracle Gel Get Mod
  • Itty Bitty Dotting Tool (NailStuff.ca Dotting Tool Trio)

How absolutely adorable as these itty bitty polka dots? You could definitely do this with a tiny dotting tool & an assortment of polishes, but I love those Sally Hansen I ❤️ Nail Art pens because it makes it so easy! I really wish Sally Hansen would bring them back, because they’re amazing for nail art — & mine are starting to empty out after all these years.

What do you think about this Gradient dotticure? Do you think you’d wear this fun (& easy!) look? Let me know all your thoughts down in the comments below.

& feel free to share any nail art you’d love to see me do on my new short nails!

Happy Friday! 🖤

GLAM NAILS CHALLENGE APRIL — Birds 🕊️

Hello lovelies & happy Wednesday! This post probably finds you late in the day — especially those of you not in North America. But this morning was a busy one, so my posting got messed up a smidge. Today, I have another prompt for Glam Nails Challenge April to share & it’s the second to last one of the challenge!

It’s almost May, how crazy is that?

Today’s prompt is birds. I looked through my stamping plates, because I wasn’t sure I was up to free handing a bird, & surprisingly I don’t really have many plates with bird images on them. BUT I did have an Essence one with a flying sparrow design, so I thought that would look pretty.

The polishes I used for this manicure are: 

  • Base Coat: Essie Hard To Resist Glow & Shine 
  • Top Coat: Seche Vive Fast Dry Top
  • Kozmic Colours shimmery blue (no name — bought at Dollarama)
  • Kozmic Colours teal (no name — bought at Dollarama)
  • Kokie Professional Rock Star
  • Starrily Vantablack
  • Essence “Stamp It!” plate (no longer available)
  • Nailstuff.ca clear stamper & scraper set

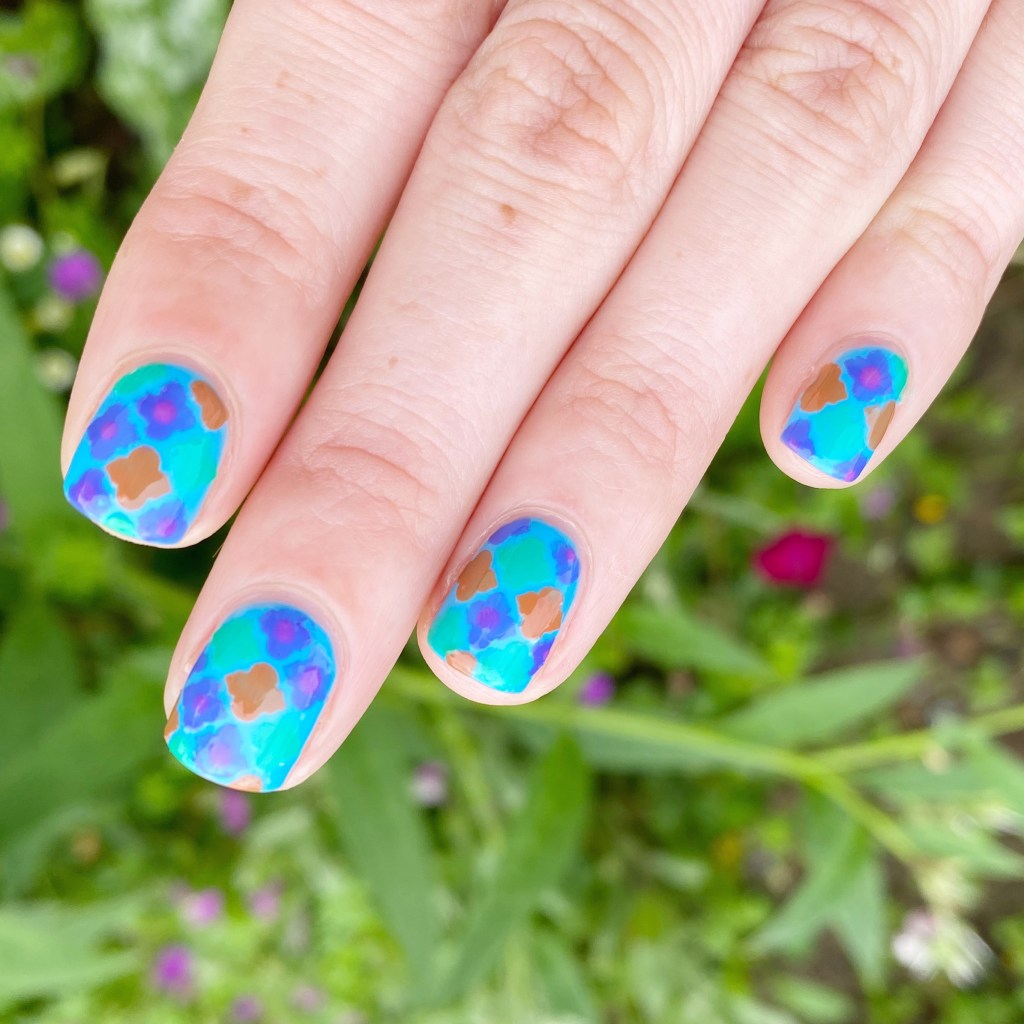
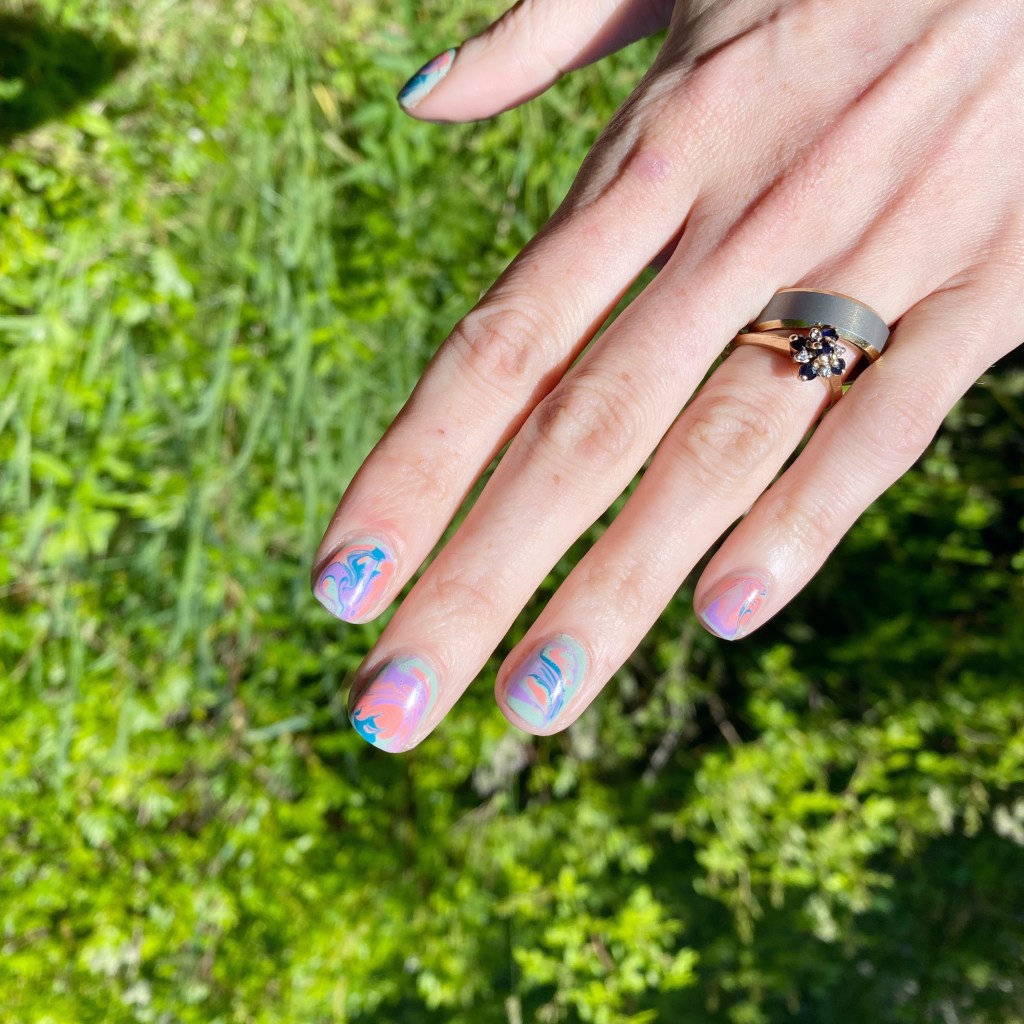
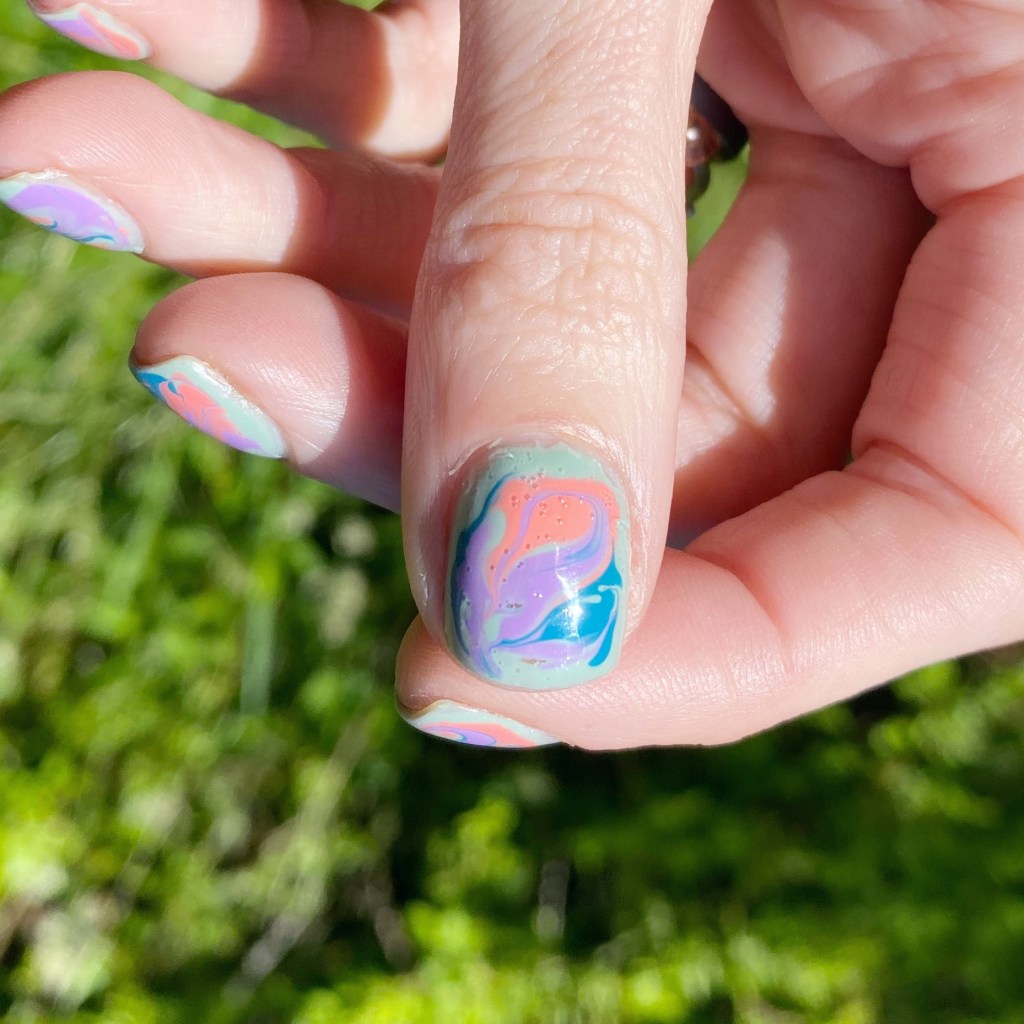
I started off this design by creating a kind of “smoosh” design. My base shade was originally just the Kosmic Colours blue, but I found it a bit thin & patchy, so I decided a kind of marble base would look pretty. I smooshed a few other colours using my stamper & then sealed everything in with top coat. Then one by one, I stamped on the bird image, trying to give it the effect of them kind of flying. Simple, for sure, but I think over all the design turned out really cute.

What do you think of this bird design for Glam Nails Challenge April? Are you a fan of a simpler look like this?

I also have to say I enjoyed taking these pictures in my own garden, listening to all the birds finally fluttering around. Spring is such a beautiful time of year, & I’m excited about these warmer days!

Have a lovely day! ♥︎

GLAM NAILS CHALLENGE APRIL — Rainbow 🌈

Hello lovelies & happy Monday! I hope your day is starting off beautifully. Today I’m in a great mood because I’m sharing another beautiful manicure for Glam Nails Challenge April.

& what is the next prompt? Rainbow 🌈

The polishes I used for this manicure are: 

  • Base Coat: Essie Hard To Resist Glow & Shine 
  • Top Coat: Seche Vive Fast Dry Top
  • Holographic Top Coat: Starrily Eclipse
  • Sally Hansen InstaDri Cerulean (pinky)
  • Sinful Colours Fitspo
  • OPI Nature Strong Make my Daisy (middle)
  • Sally Hansen Complete Salon Manicure Fiery Island (pointer)
  • Essie Too Too Hot (thumb)

How pretty is this rainbow? I thought about hand painting a rainbow, but there is just something about a skittle design. I totally could have freehanded little white ‘s’ in the middle of each nails, & they would have been legit skittles! Simple, but effective.

Also the kiddos loved the look so much, they asked me to give them both rainbow nails! So here is a bonus shot of their fun rainbow nails. Even though I sometimes get a little on edge painting their nails — mostly because they hate sitting still — I do adore anytime they ask for me to paint their nails!

What do you think of these rainbow nails? Are you a fan of a rainbow skittle look? Let me know down in the comments below!

& just for fun: what is your favourite skittle flavour. I’m controversial because I will die on the hill that the green apple skittle was the best, especially in sour, but I know not everyone shares that opinion.

Have a lovely Monday!