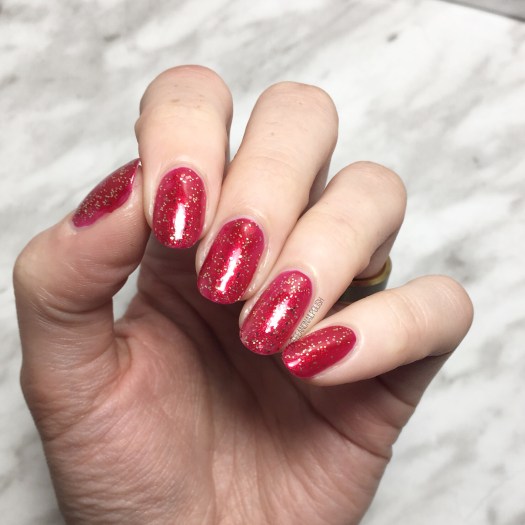
Gold Lines & Pretty Pink Nails

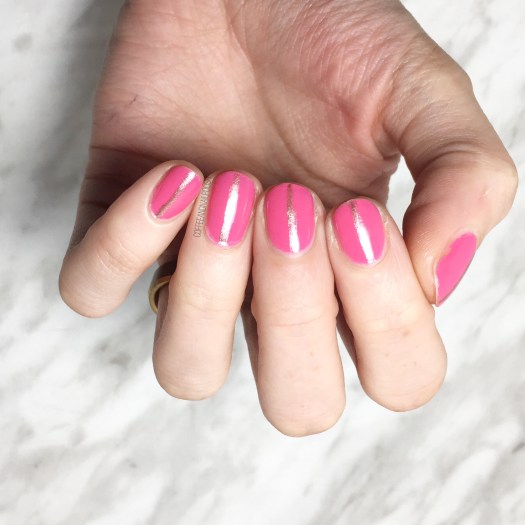
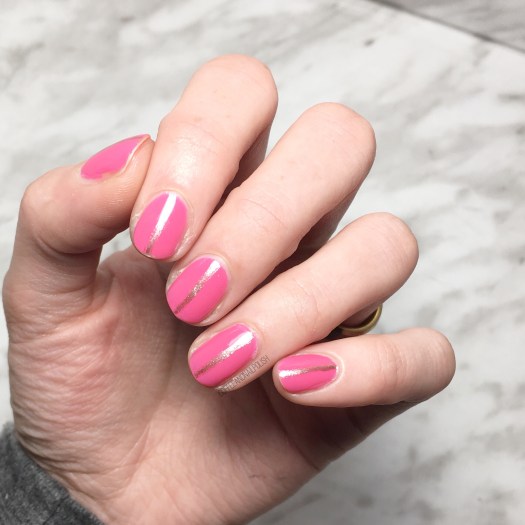
Happy Friday lovelies! I hope you’re all excited for the weekend as much as I am! Today I’m sharing a design I was actually wearing the last couple days. I’m in a bit of a nail art rut right now, so I decided to add something simple to my pretty pink nails.

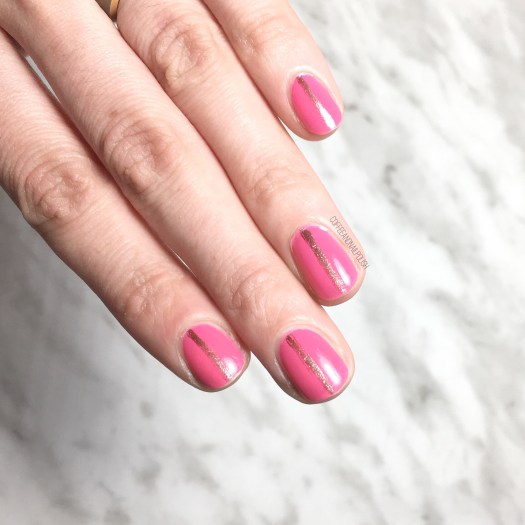
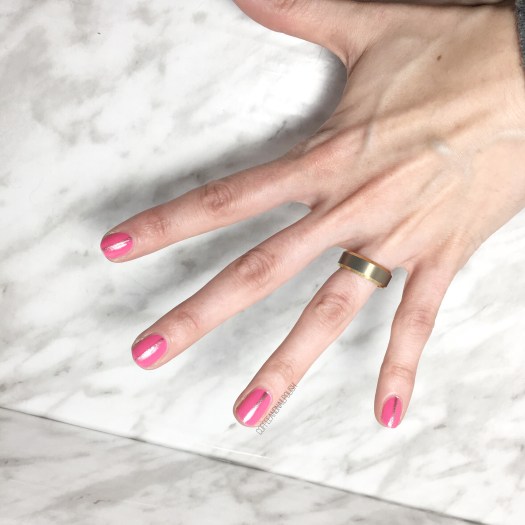
I’ve also been wearing my Quo by Orly shade polishes as my nails have been in super rough shape (hence why my nails have been trimmed down… again). I decided some gold lines might make my nubs look slightly longer, so I freehanded them over top. A simple design, but enough of a pop for me!

For this design, the polishes I used were:

  • Base Coat: Quo by ORLY Breathable Kiss Me I’m Kind
  • Top Coat: Essie Speed Setter
  • Quo by ORLY Breathable Pep in Your Step
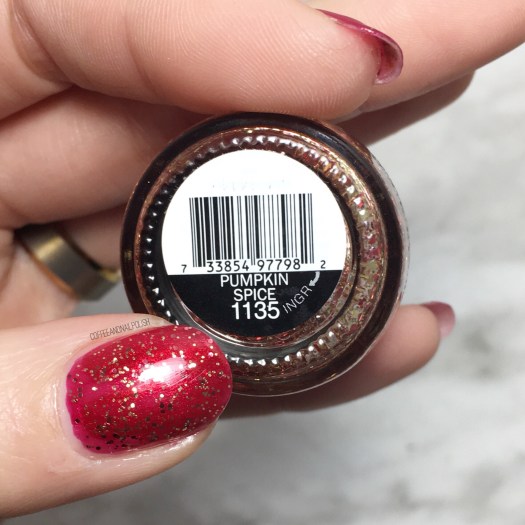
  • Quo by ORLY Breathable Fairy Godmother
  • Bundle Monster small detail brush

This gorgeous pink from Quo by ORLY has to be one of my favourites from the Breathable line. In fact, I added it to my toes at the same time! I’ve raved in the past just how much I adore this polish line because it’s designed to help the health of your nails. & trust me–I need it! Between boxes of stock & hand sanitizer, I’ve been finding I’m having so much trouble keeping my nails healthy. I’m upping my moisturizer & oil routine, but even still I need a little extra help & this polish is a god send!

Plus thanks to all the cute colours in my stash, I can create lots of cute nail art looks too!

what are you wearing on your nails for the weekend? Let me know in the comments below!

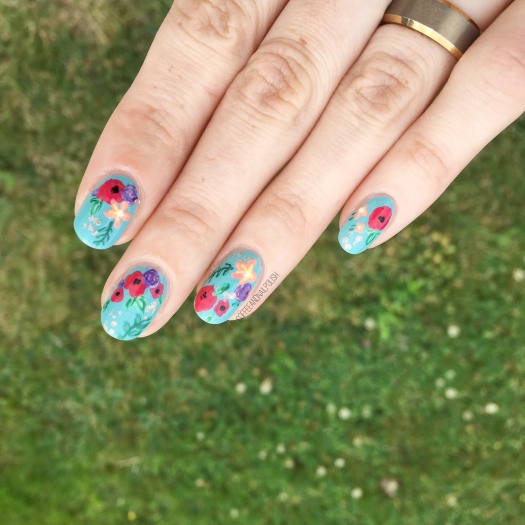
Floral & Gold Nails inspired by @thelittlecanvas

Happy Saturday! & Happy Royal wedding day! Who else was up early watching all the Royal wedding coverage? The Bubs had me up at 5:30am, but I was already planning on getting up to watch coverage of the event.

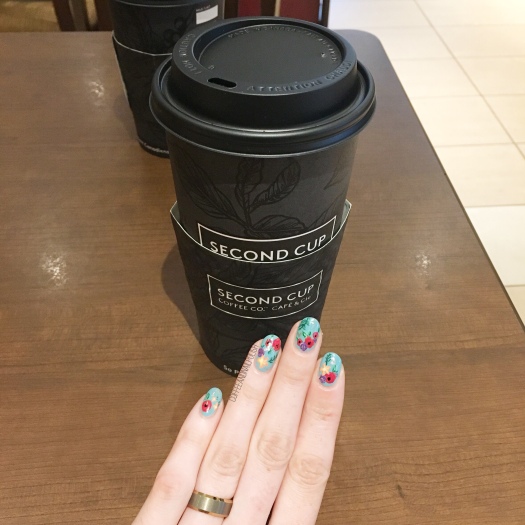
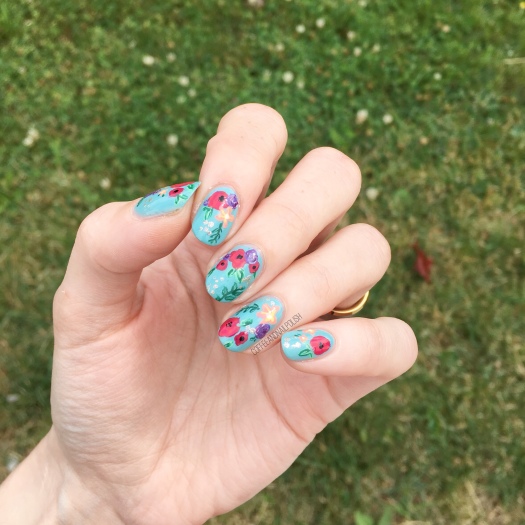
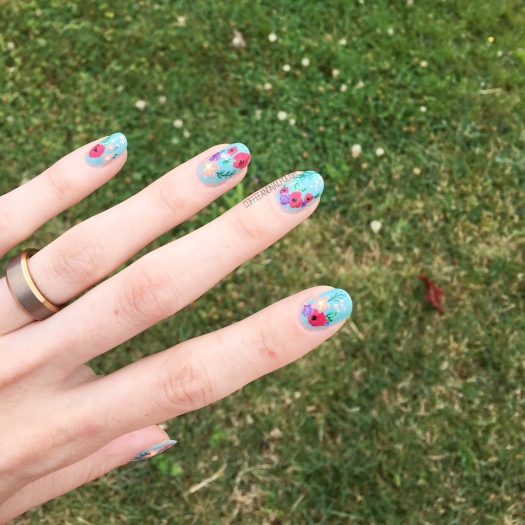
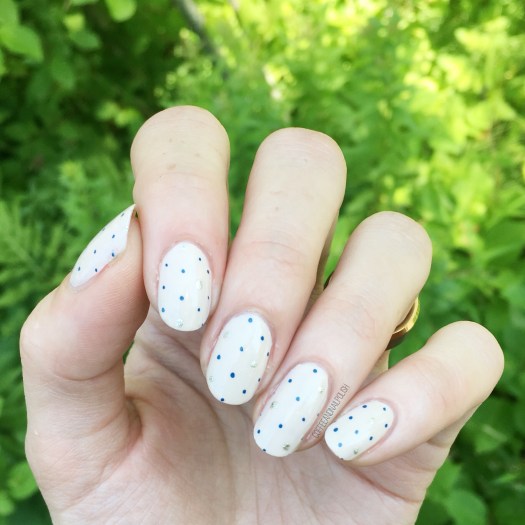
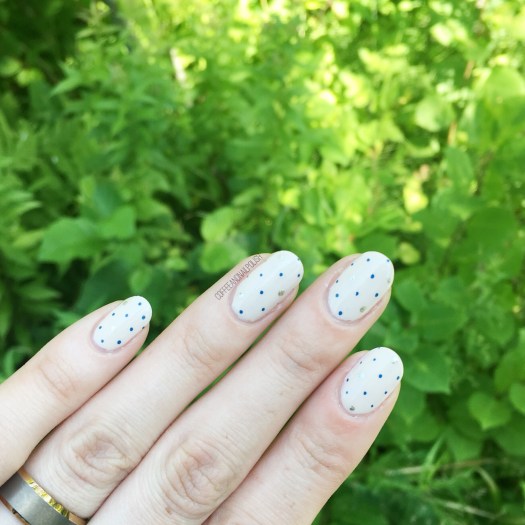
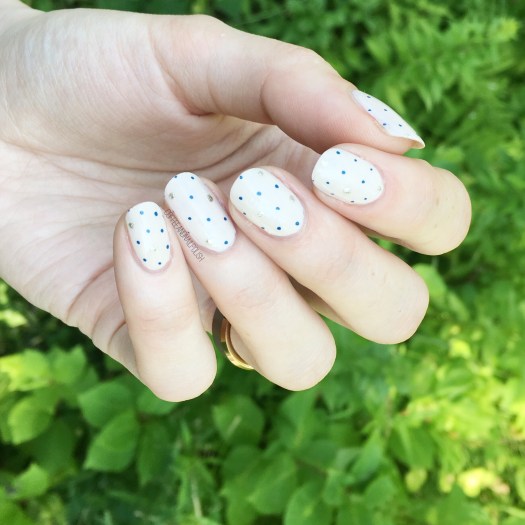
I don’t have royal themed nails to share with you today, although personally I think this floral design would be perfect for any wedding! Today’s design was inspired by a manicure @thelittlecanvas posted back in March. I loved everything about it (Alaina always does the prettiest accent nail designs!), so naturally I had to recreate. Plus it was an opportunity to pull out one of my favourite vibrant blues that I haven’t worn in a while.

For this manicure, the polishes I used were:

  • Base Coat: Nailtek 2
  • Top Coat: Seche Vive
  • ACO by Ardene Whacky
  • OPI My Favourite Ornament
  • OPI Chiffon My Mind
  • Sally Hansen Miracle Gel Pretty Piggy
  • Sally Hansen Miracle Gel Super Charge
  • Essence The Green & The Grunge
  • Sally Hansen I ♥️ Nail Art Pen in Black
  • Bundle Monster detail brush
  • Bundle Monster large & small dotting tools

I love that event though this is a relatively easy design to create, the combination of everything just makes your nails look so fancy. Plus they look way more complicated than they actually are. I’m still trying to find more floral designs to do that aren’t just my typical roses that I can pull out when I’m feeling floral on my nails. Which, lets be honest, is 95% of the time.

What do you think of this floral? Do you think I stayed true to my inspiration? & if you’re on the hunt for new nail art inspiration & haven’t already discovered Alaina, definitely check out her Instagram & blog because she always come out with the most amazing patterns & designs!

SWATCH SUNDAY — Sally Hansen Miracle Gel Pastel Punk Collection! 💀💅🏻

Good morning lovelies! & happy Mother’s Day to all my fellow Moms out there. I hope everyone is having a fantastic start to their Sunday! I was up early enjoying so cold brew & finishing up today’s very special blog post featuring swatches of the brand new Sally Hansen Canada Pastel Punk Collection! This is a Canada Exclusive collection so apologies in advance to my international & American friends.

I received this 6 polishes collection from Sally Hansen themselves & the packaging was awesome. Not only were my polishes & Miracle Gel Top Coat wrapped up in the funky fanny pack you see above, but they included the cassette tape you see above… which is actually a USB! One of the cutest PR packages I’ve ever gotten in the mail!

Also that fanny pack is all kinds of nail art inspo!

PR SAMPLE

Continue reading “SWATCH SUNDAY — Sally Hansen Miracle Gel Pastel Punk Collection! 💀💅🏻”

Valentine’s Day Chevron Accent Nails

Another day, another fun Valentine’s Day appropriate design to share with you! The day is quickly approaching, so I’ve been trying to get creative while I have time. Last year with having a newborn (& spending extra days in the hospital) I wasn’t able to do anything Valentine’s Day related on my nails, so I’m definitely making up for it this year!

For this design, I decided to grab a few of the colours I picked from my “6 Polishes I’m Loving for Valentine’s Day” post on Sunday. To pair all these shades together, I decided on son stacked chevrons to show off all these pretty shades! This is definitely a design that is all about Valentine’s Day–it might be too flashy of a design to wear, for example, to the office (depending on where you work) but would be awesome for date night, or a Valentine’s Day themed party!

For this design, the polishes I used were:

  • Base Coat: Quo by ORLY Kiss Me, I’m Kind
  • Top Coat: Seche Vive
  • Christian Louboutin Beauty Rouge Louboutin
  • China Glaze Seduce Me
  • L’Oreal Jardin Des Roses
  • ACO by Ardene Ice Mist
  • Quo by ORLY Nail Art Striper in Gold
  • NailStuff.ca Heart Stud — Gold Mixed Decoration Nail wheel
  • UR SUGAR Stacked Chevron Nail Stencils item #AUB39877 — click to buy
  • Dotting Tool

I think these turned out so cute with the mix of colours together!  Next time I might use the stacked chevron vinyls upside down so it matches the V-shade of the heart. But I’m really happy with how these turned out, & the addition of the little heart stud just makes it even more perfect! ♥

Do you like these Valentine’s Day themed nails? Have you figured out what you’re doing on the day yet? My hubby & I usually stay in–because trying to make reservations is hell on Earth–& make heart shaped gluten free pizza or something else delicious. & of course, cupcakes! It’s become holiday tradition for me to make him cupcakes for special occasions.


Let me know your thoughts on this design in the comments below!

Chevron & Deer Stamped Design

Hello lovelies! Today I have a really fun design to share with you. Back in early December, I made an order through Born Pretty Store & just recently received my goodies which included 6 new stamping plates! Obviously, I couldn’t wait to play with my new plates, because I’ve been using the same ones I bought in 2014 for ages. Today’s design was semi inspired by all the fun stag head designs that have been popping up on my Instagram feed! Finally I can create my own cute deer designs!

For this design, the polishes I used were:

  • Base Coat: Nailtek 2
  • Top Coat: Seche Vive
  • Matte Top Coat: Butter London
  • Sally Hansen Complete Salon Manicure Trouble Maker
  • Quo by Orly Breathable Barely There
  • ACO by Ardene Daydreamer
  • L’Oreal Feeling Kilty
  • Sally Hansen Hard as Nails Black Heart
  • Born Pretty Store Clear Stamper
  • Born Pretty Store Image Plate BP-L006 (item #17924)
  • Born Pretty Store Image Plate BP-L03 (item #23268)
  • Small dotting tool
  • Edge Perfection Cuticle Barrier.

Seriously, just how cute is this manicure?! I’m a little disappointed that I didn’t order these in time to get them for Christmas, so I could do cute reindeer nails, but I’m very excited for all the upcoming designs I’ll be able to do. I’m also very happy to have a brand new jelly stamper because mine as certainly seen better days & will need to be retired very soon. Don’t get me wrong, I still love doing freehand/nail vinyl designs, but there is something a little more convenient about stamping–you don’t have to spend an hour trying to paint a design, or worry about having to wait for you base to dry to apply nail vinyls (even with quick dry top coat). It’s taken me a while to finally get the hang of stamping, & while I’m not a pro by any means, I definitely feel like I’m so much better than I used to be!

What do you think of this design? Are you a fan of stamping? Let me know all your thoughts (or tips & tricks!) in the comments below.