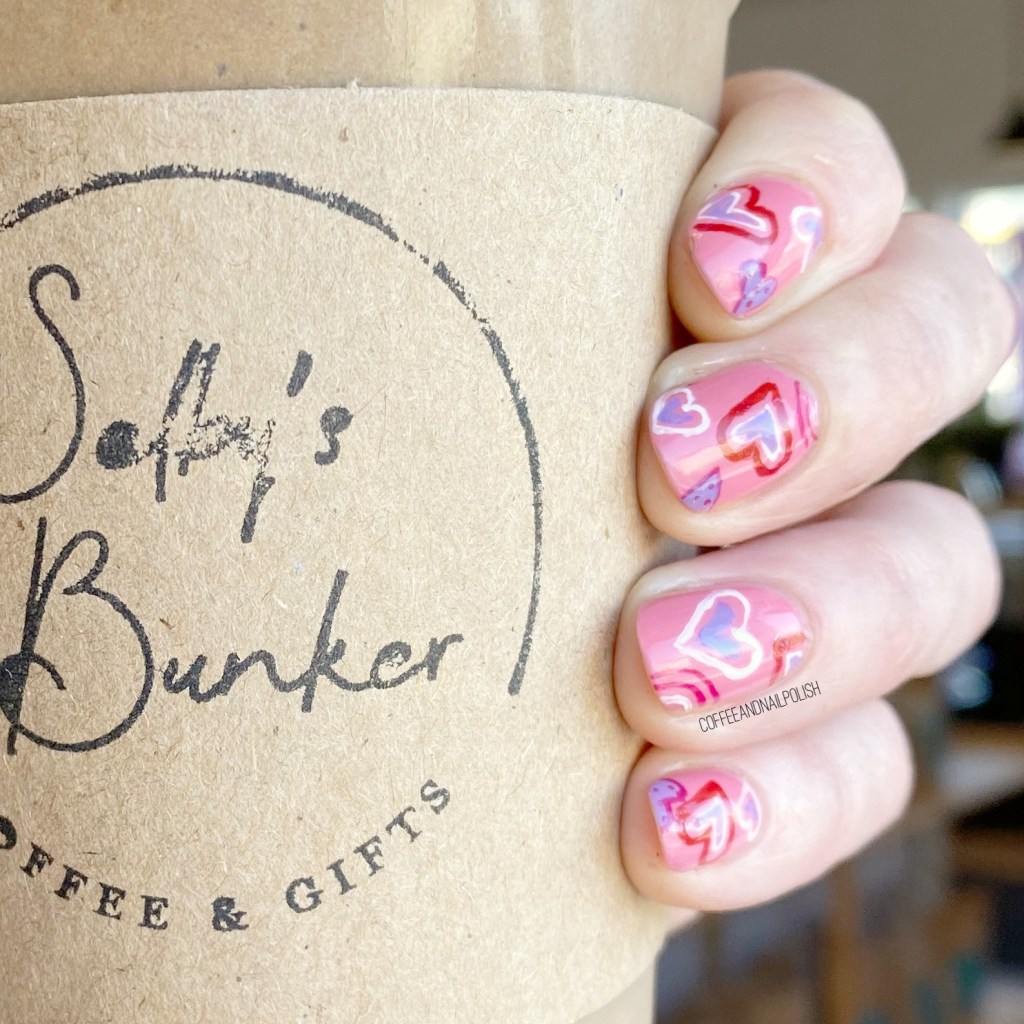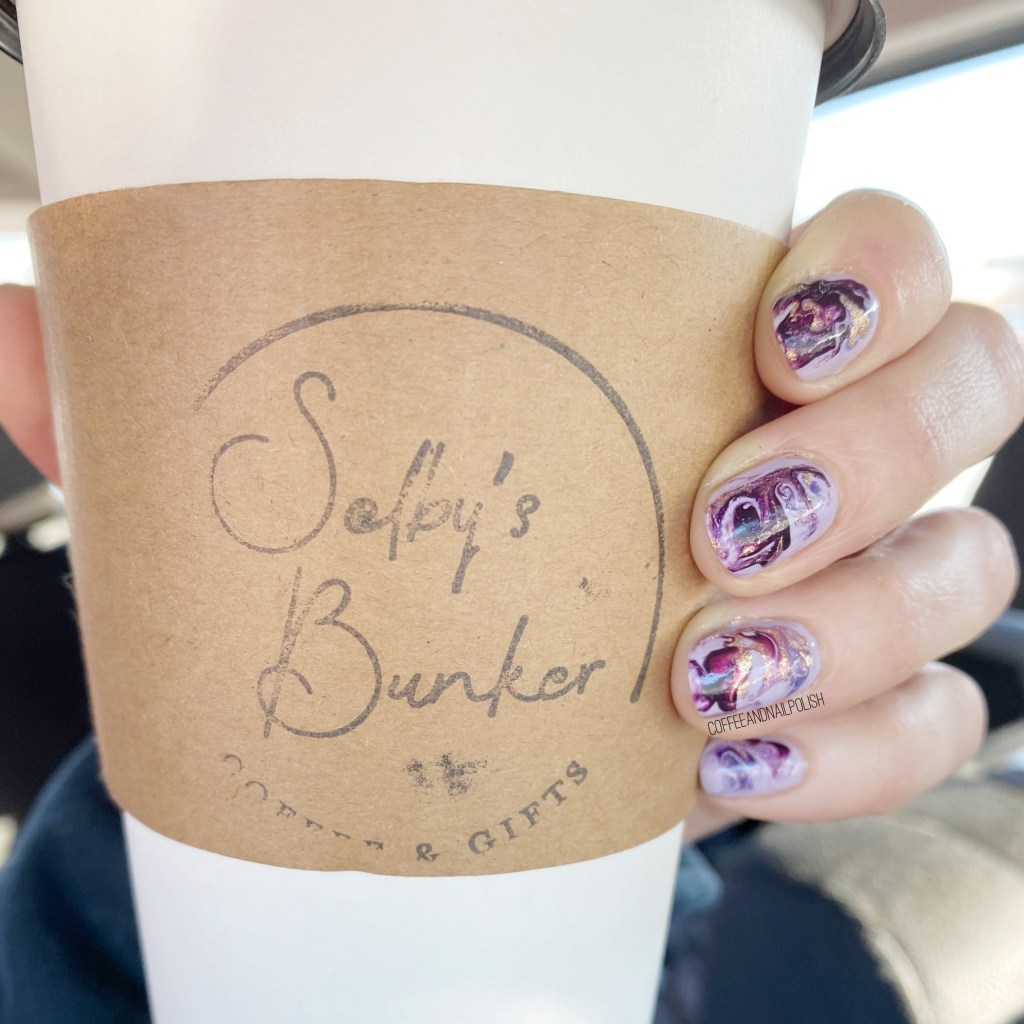
Hello lovelies & happy Wednesday! I hope everyone’s day is off to a lovely start. It’s super freezing here in Halifax today (-8 degrees BEFORE wind chill), & I am not a fan of the cold at all. But at least I got to start my day off with a sugar free caramel hazelnut soy latte.
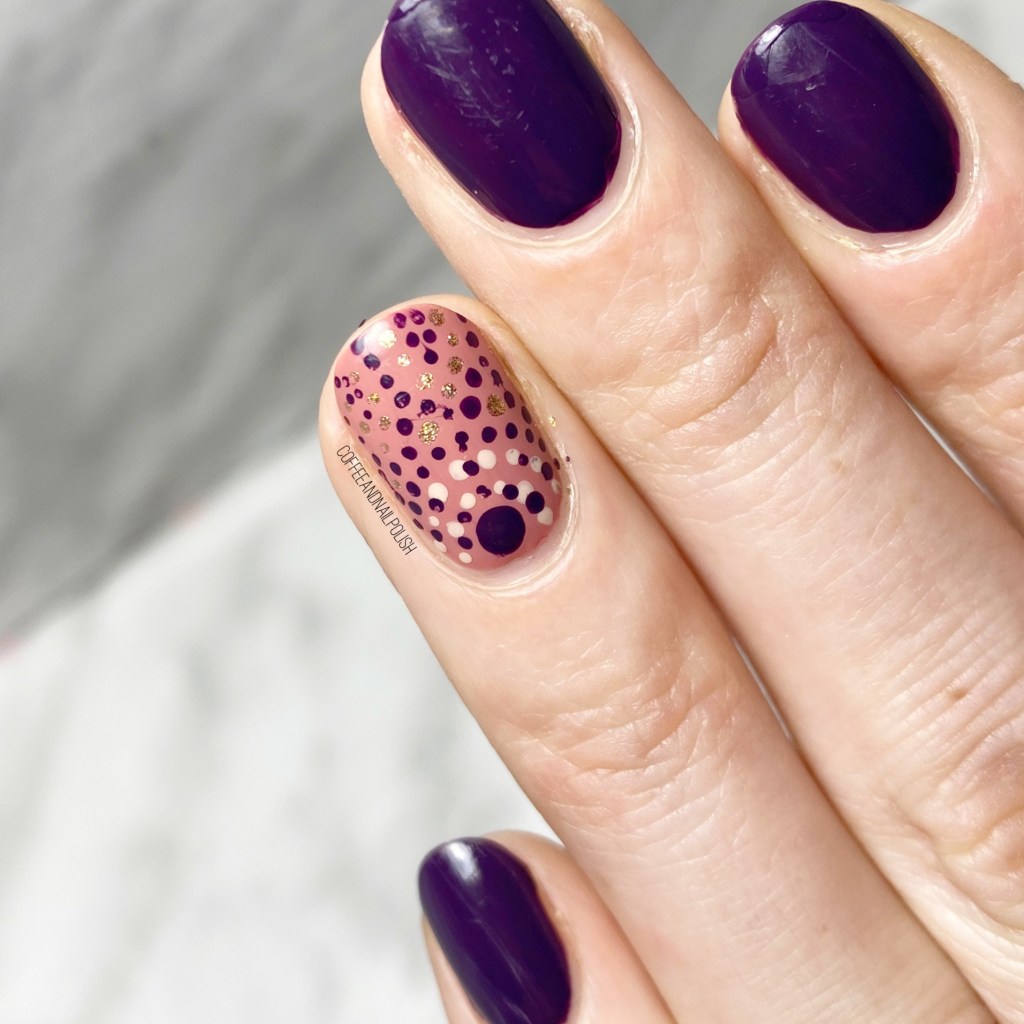
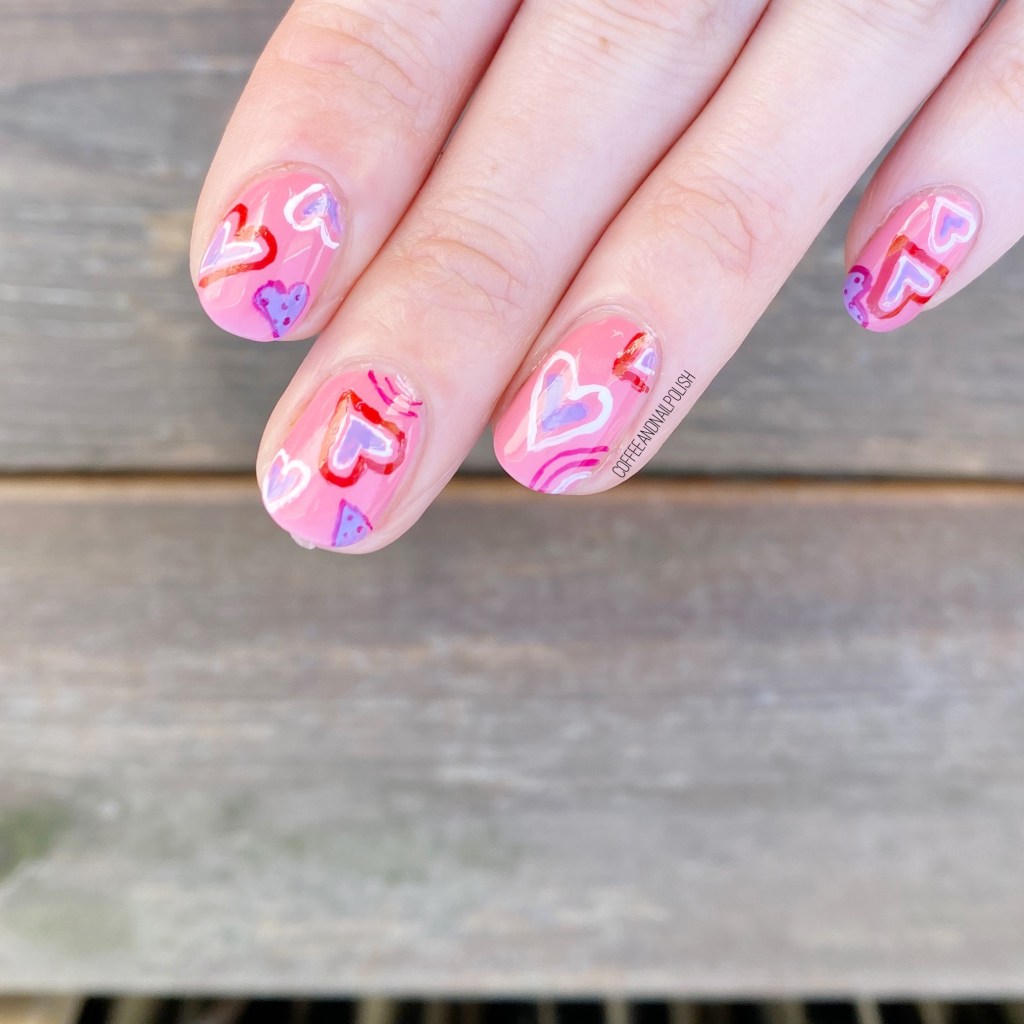
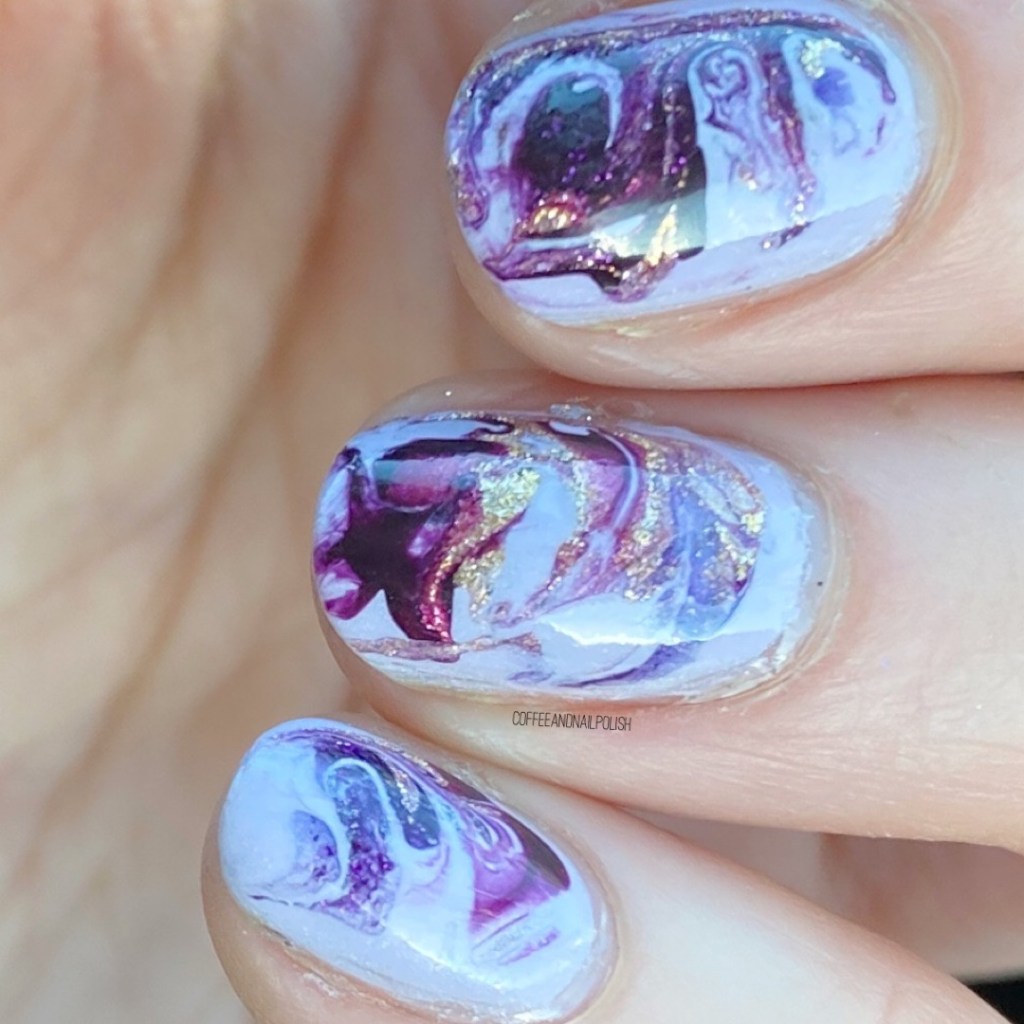
Today’s nail art look was a random decision. I actually had originally planned on doing some floral nails, but it was late, I was tired, & I needed something faster. I haven’t done any marble nails in a while, especially a drab marble, so it felt like a good time to do them.


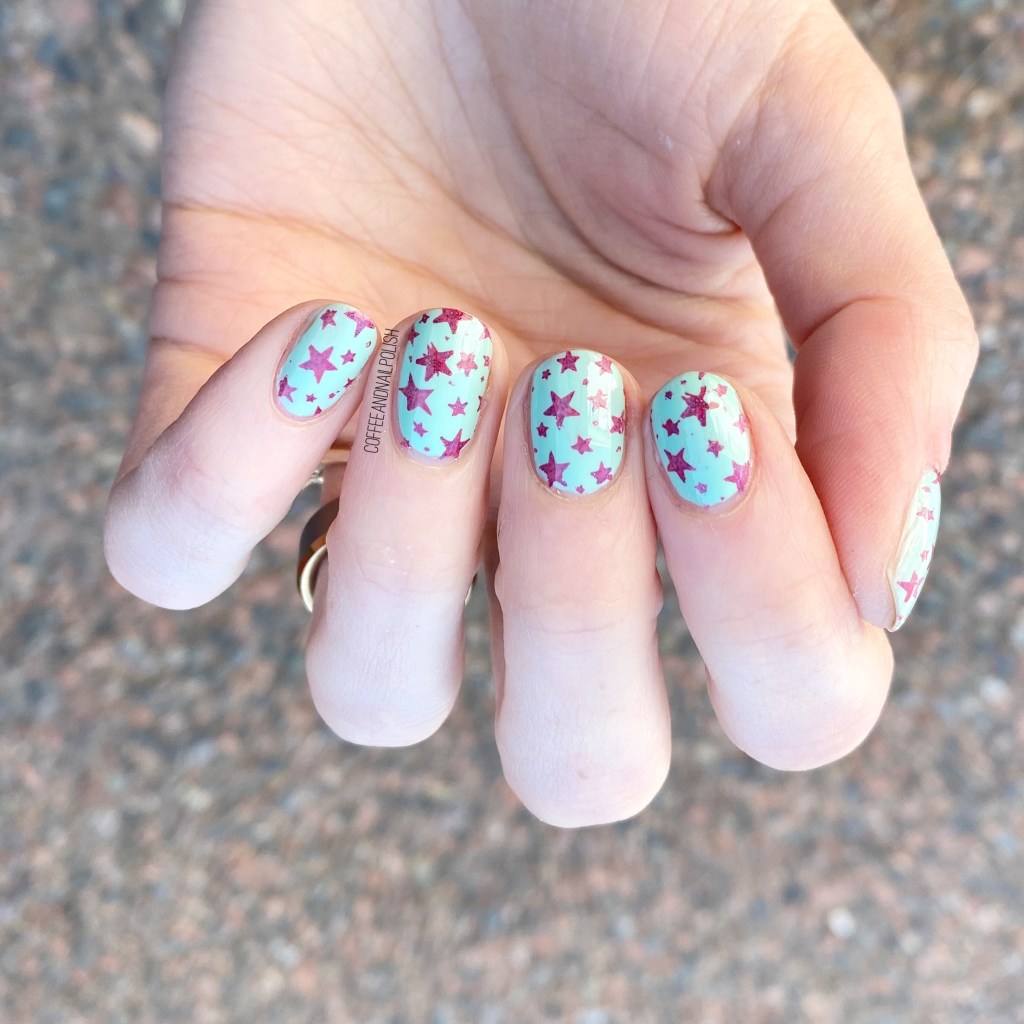
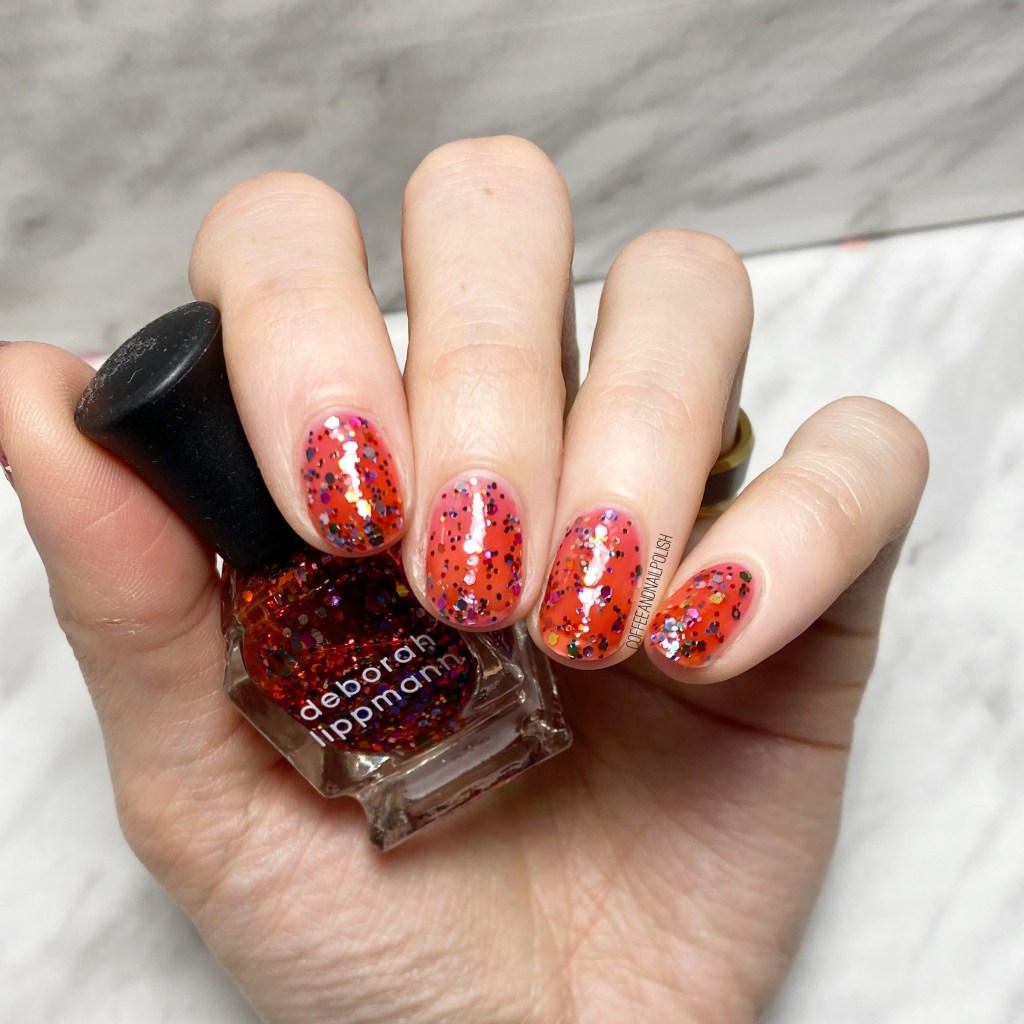
For this manicure, the polishes I used were:
- Base Coat: Sally Hansen Nailgrowth Miracle
- Top Coat: Essie Good to Go
- Beyond the Nail Flowing Unicorn Mane
- Sally Hansen CSM Pat On The Black
- Essence Best Dressed
- Essie Mosiac On Down
- NailStuff.ca Dotting Tool Trio
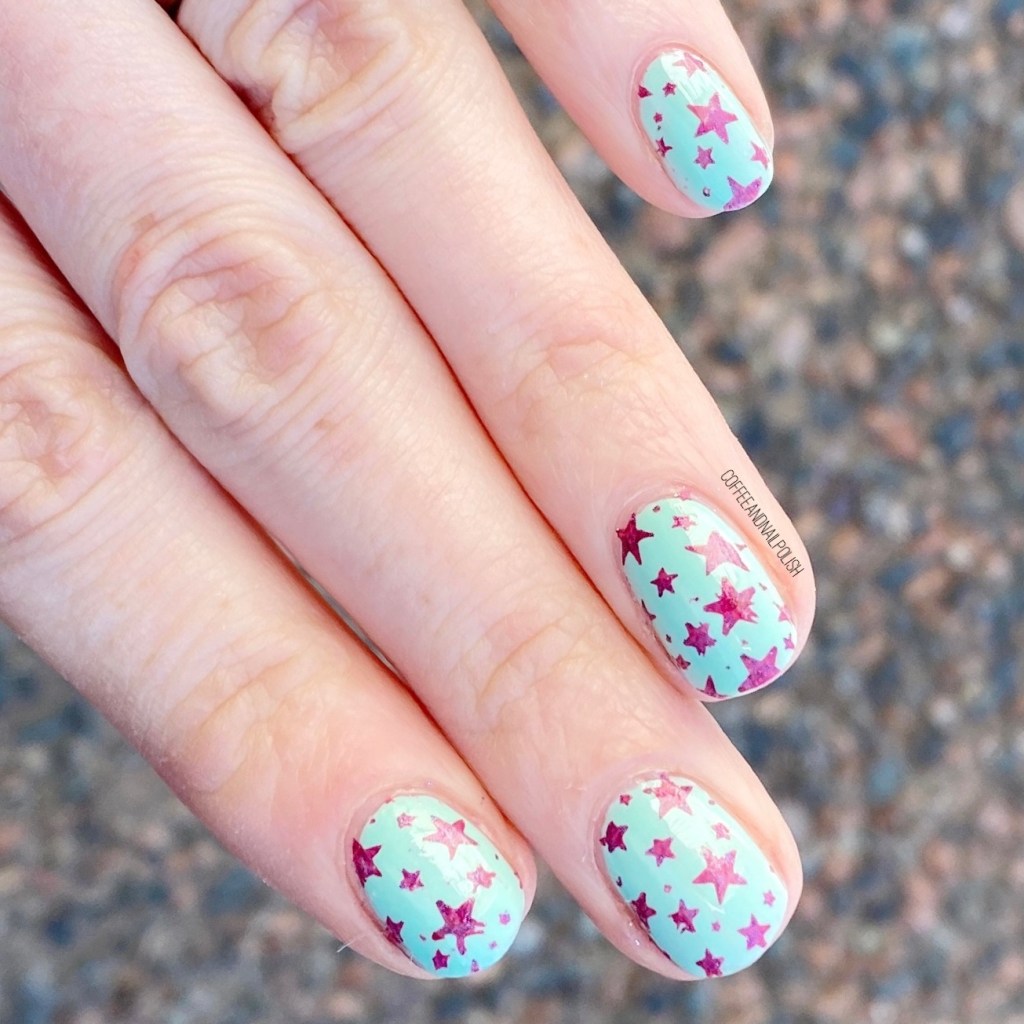
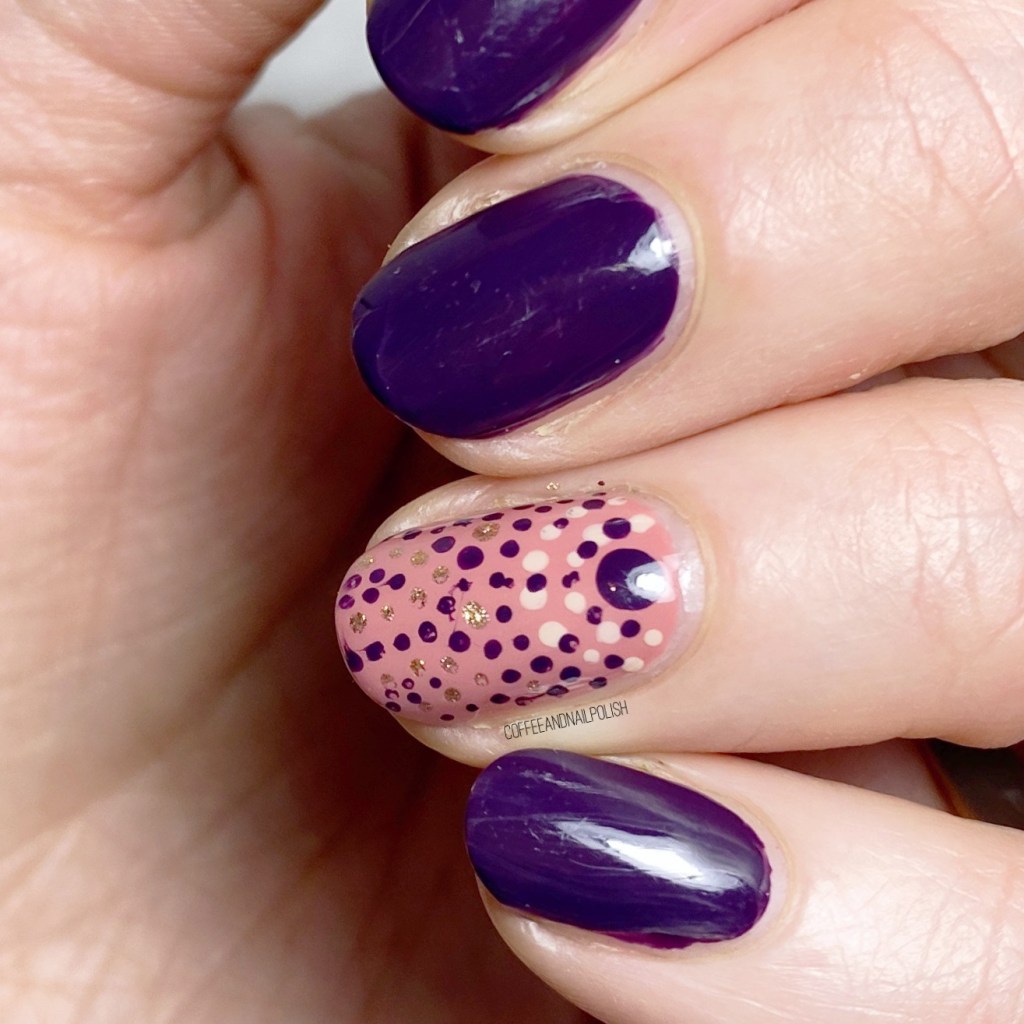
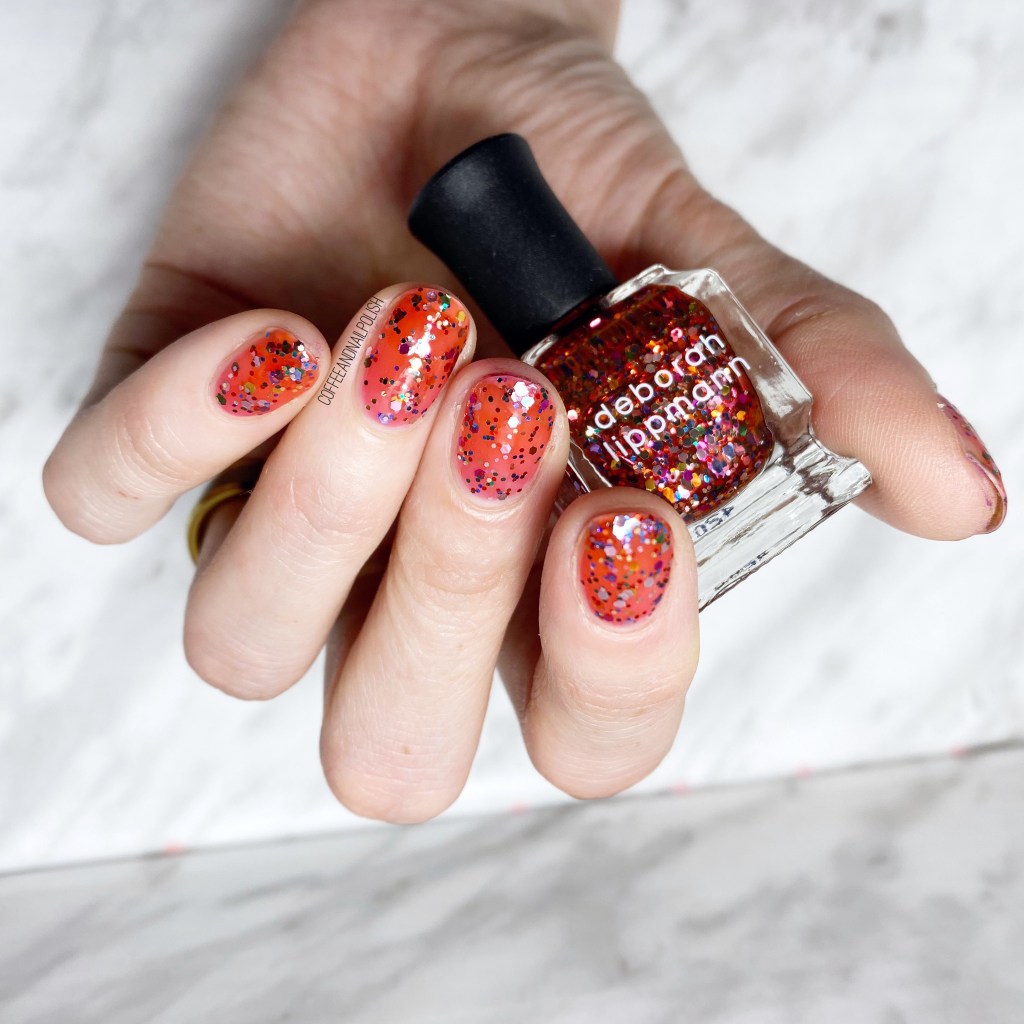
Please excuse my dry cuticles. No matter how much hand cream or cuticle oil I apply, I just can’t seem to keep up with this horrendously cold weather/hand sanitizer combo. Ugh. But, at least my nails look pretty!
& that’s what is most important, right?
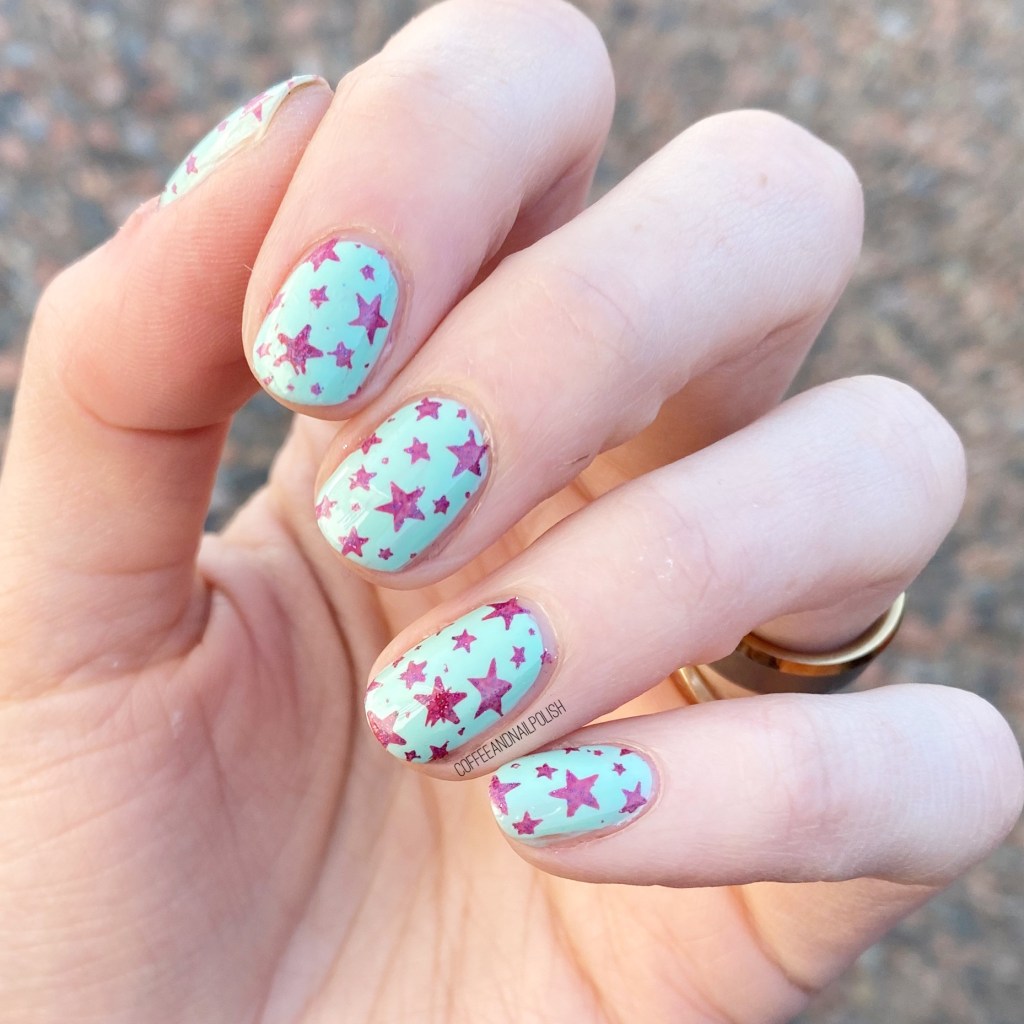
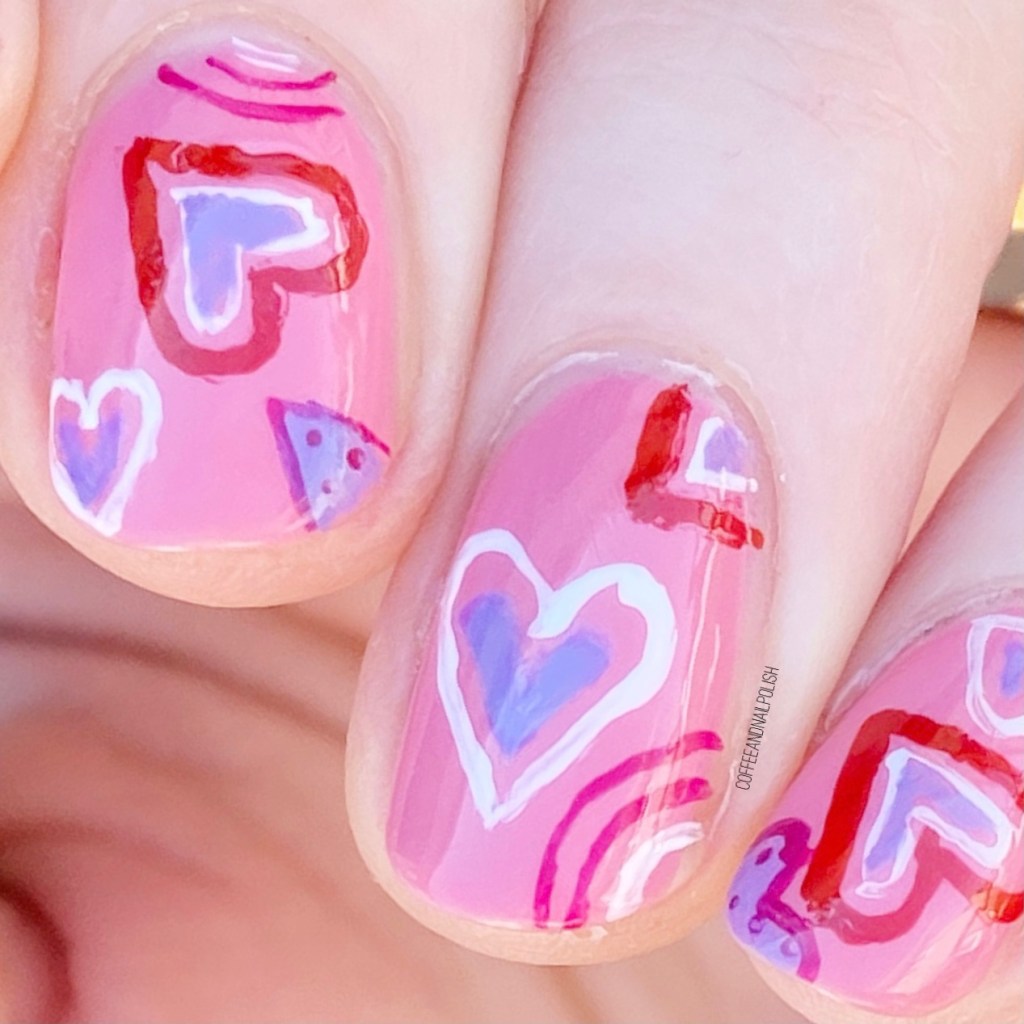
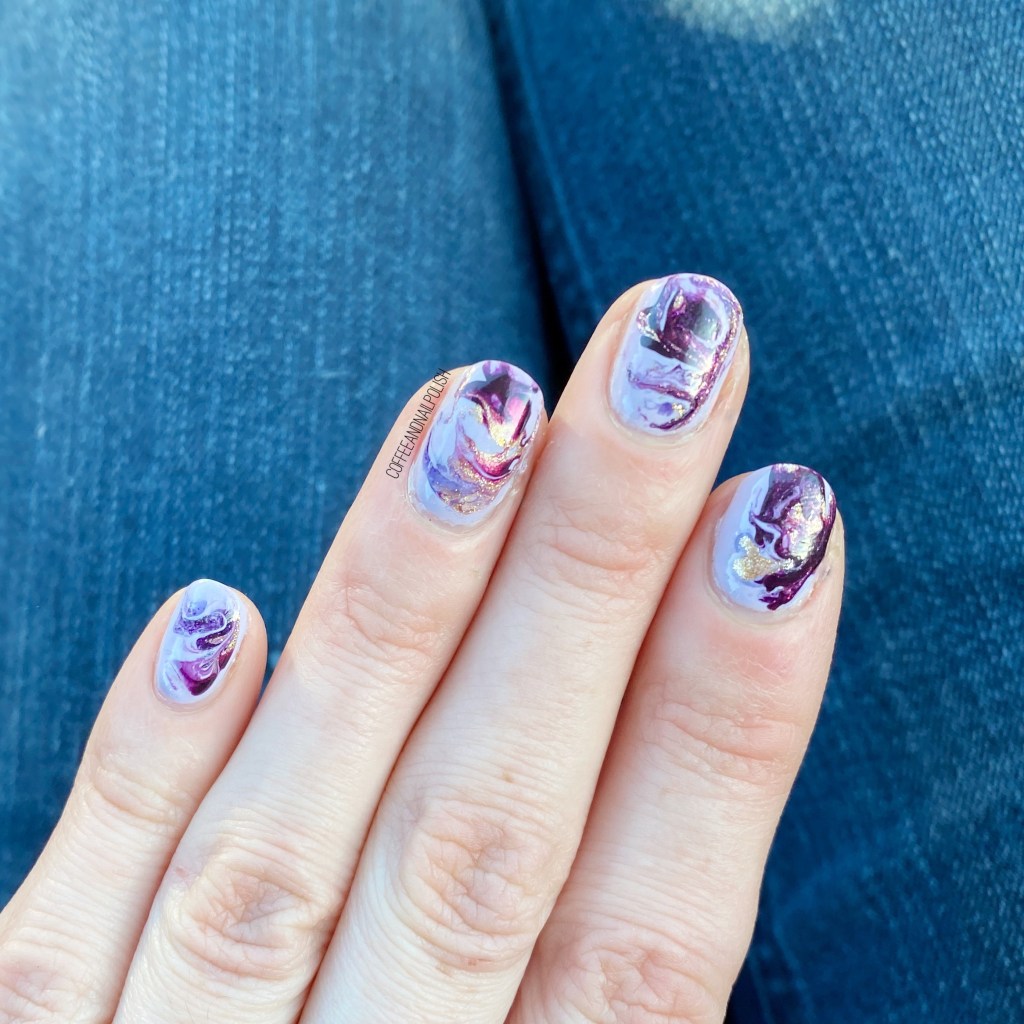
Really loving the end result of this marbling. I always have a bit of trouble with the first few nails, but we always get it figured it. Also I love the purple & gold colour combination forever. I don’t think I could ever get tired of purple nail polish! Plus I don’t think I’ve ever worn this pretty purple I won from Beyond the Nail a few years ago (via Instagram). They actually moved bases to my city, so I’m excited to start purchasing more shades from them in the future because they make gorgeous polishes!

What do you think about this purple marble? What nail art are you planning for this month. We’ve got St Patrick’s Day & Easter at the beginning of next month, so lots of fun nail art to come!
Have a great day lovelies! 💜