Hello lovelies! Today I have another edition of Fashion Friday, featuring a bit of a throwback. I had so much fun with my previous try-on post, so I thought it would be really fun to do a similar post, but this time trying on my old prom dresses!
I actually went to prom three times — my own, with one of my best friends, & then to my high school boyfriends. & each time, I wore a completely different dress in a completely different style! I was never a huge fan of the traditional princess-y prom dress, so I’ve never worn one. It’s just not my style.
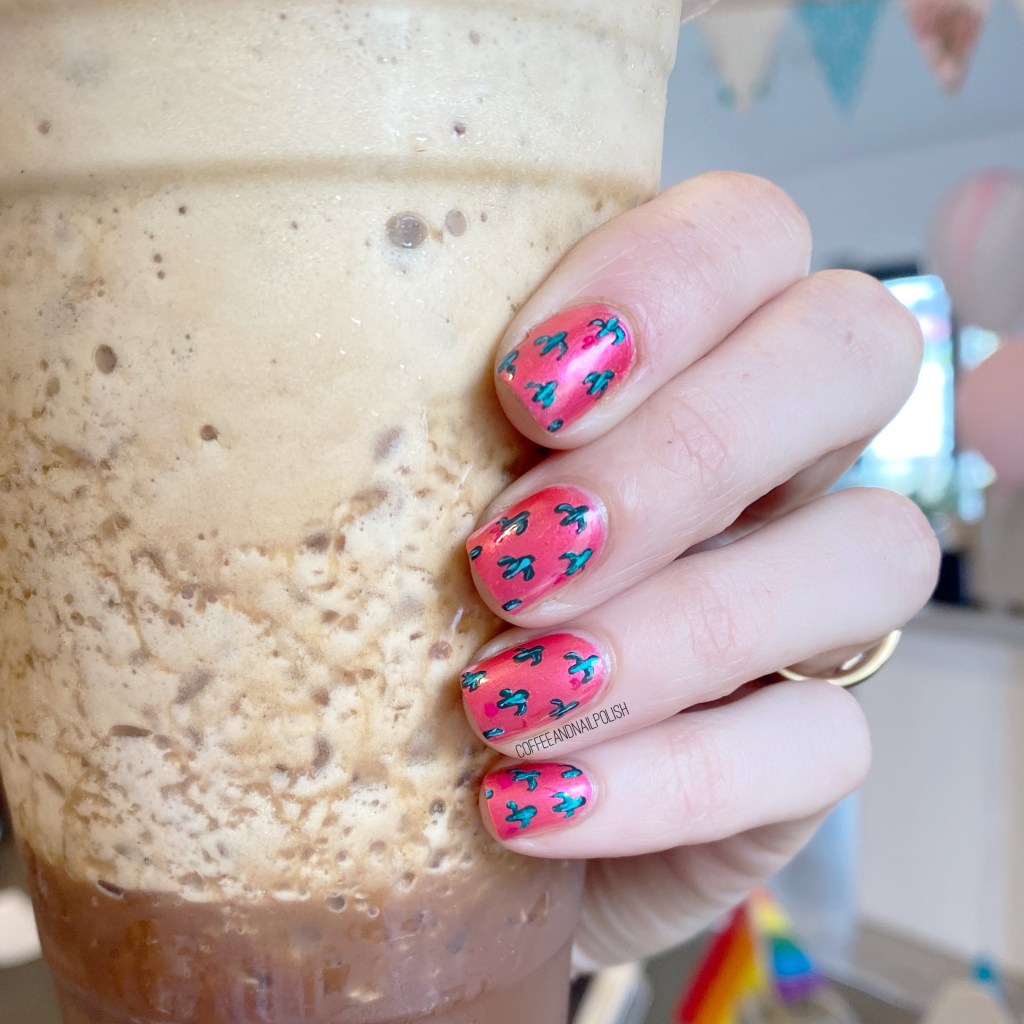
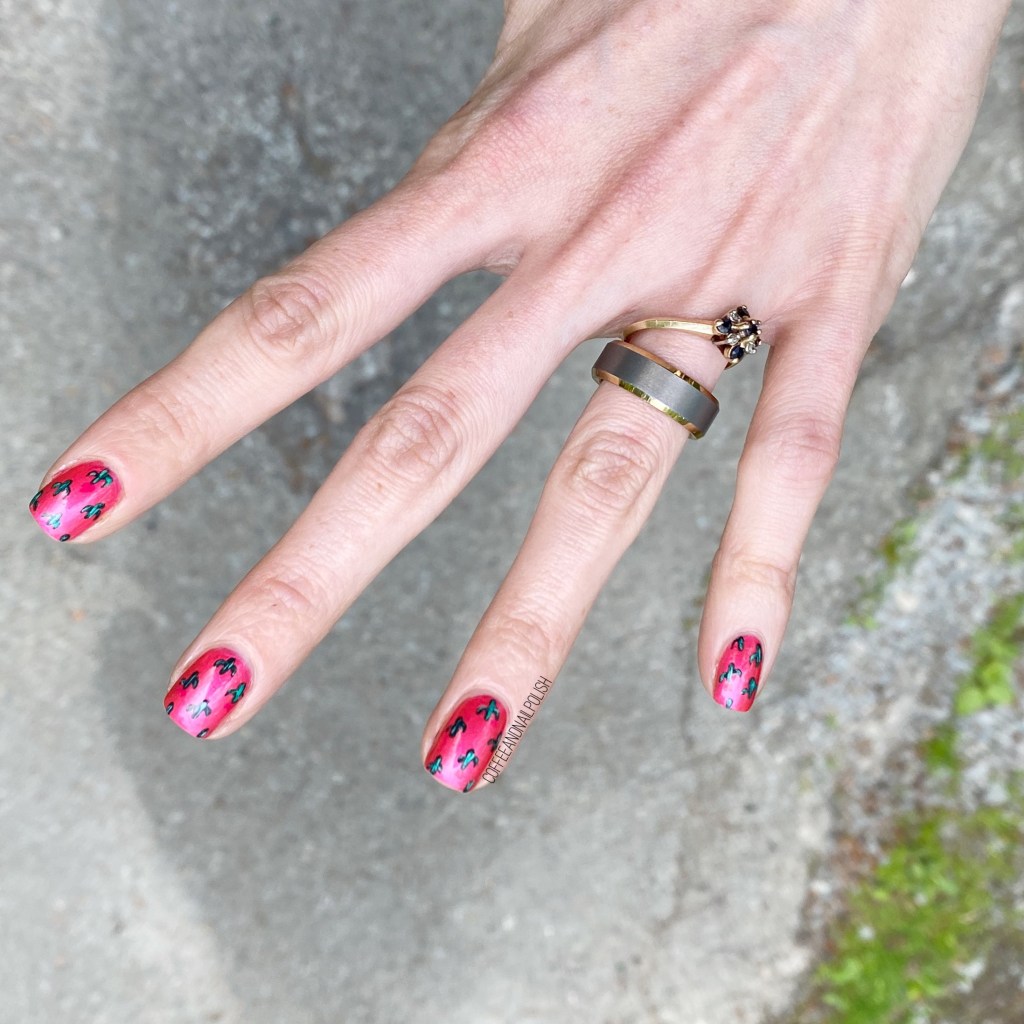
Hello lovelies & happy Tuesday! It’s hot & balmy here on the East coast (our second day of heat warnings) but that’s exactly my kind of weather. As someone who is always cold, I live for this kind of weather! So I though, why not paint some bright, poppy nails to match the weather!
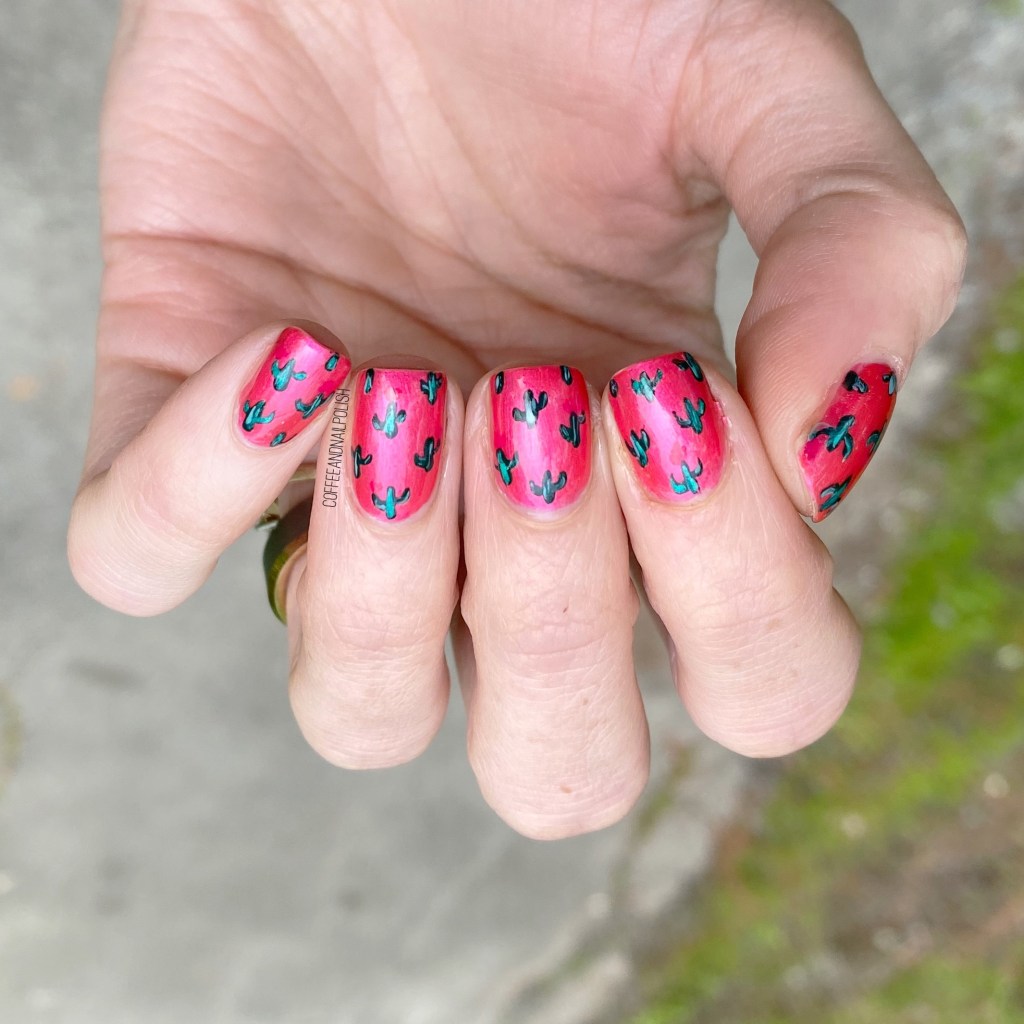
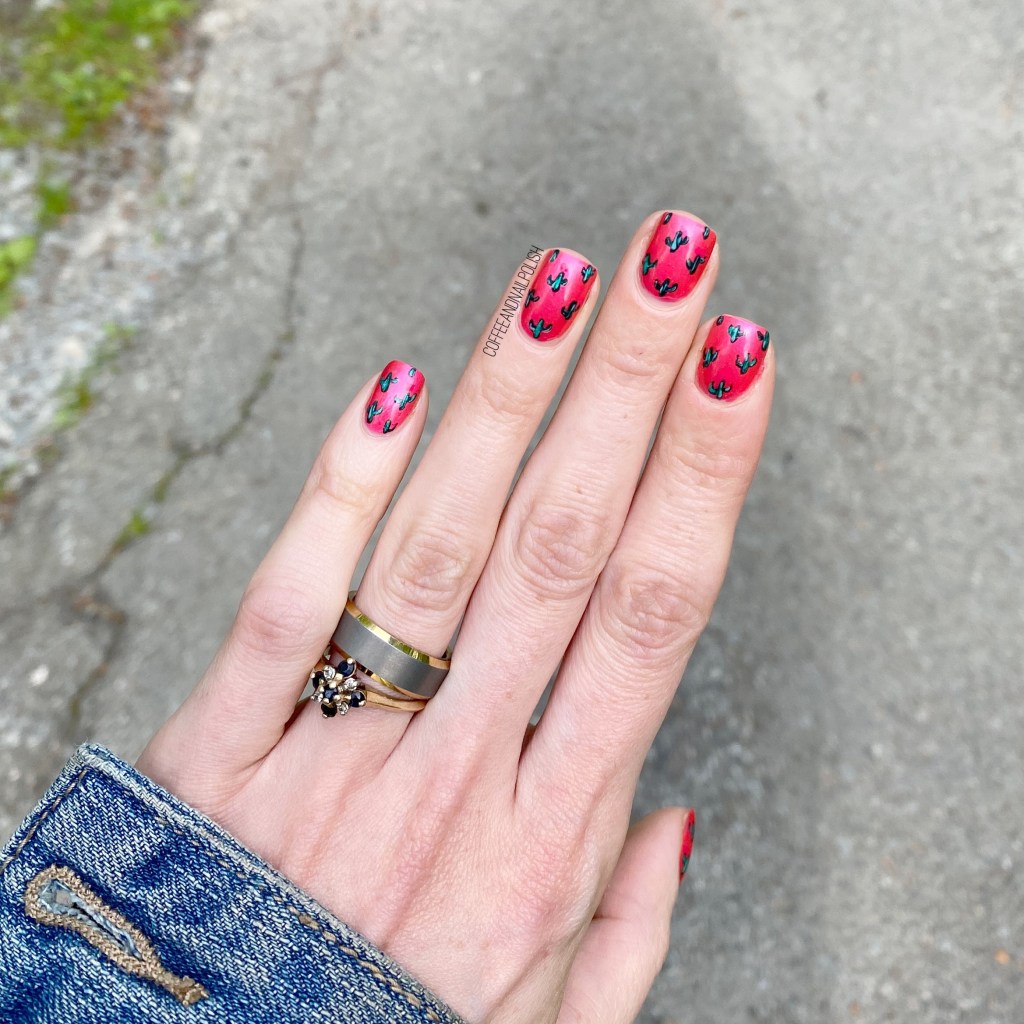
It’s been way too long since I rocked some cactus print nails, & I thought they would look gorgeous over a base of Essie Pucker Up.
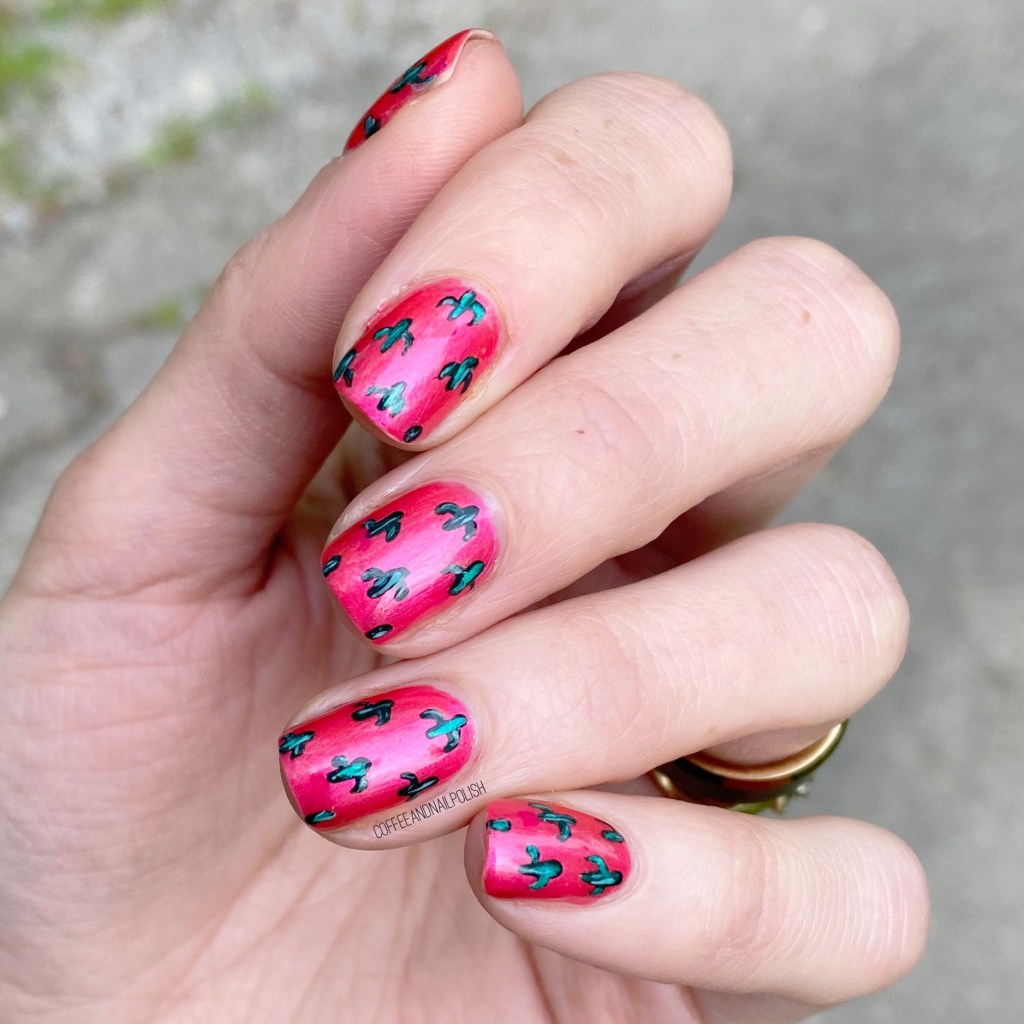
Oh man, these are so bright & colourful! They are definitely giving me Summer vibes. I got so many compliments on them at work as well (which always makes me feel awesome). I’m also not sure why I haven’t painted any cactus nails in a while, but it was definitely an oversight. I won’t be waiting this long again!
What do you think about this cactus pattern look?
I’m absolutely loving this Essie shade, which is from their Summer 2021 collection! I had planned to share swatches this past Sunday, but real life got in the way. So hopefully this coming weekend!
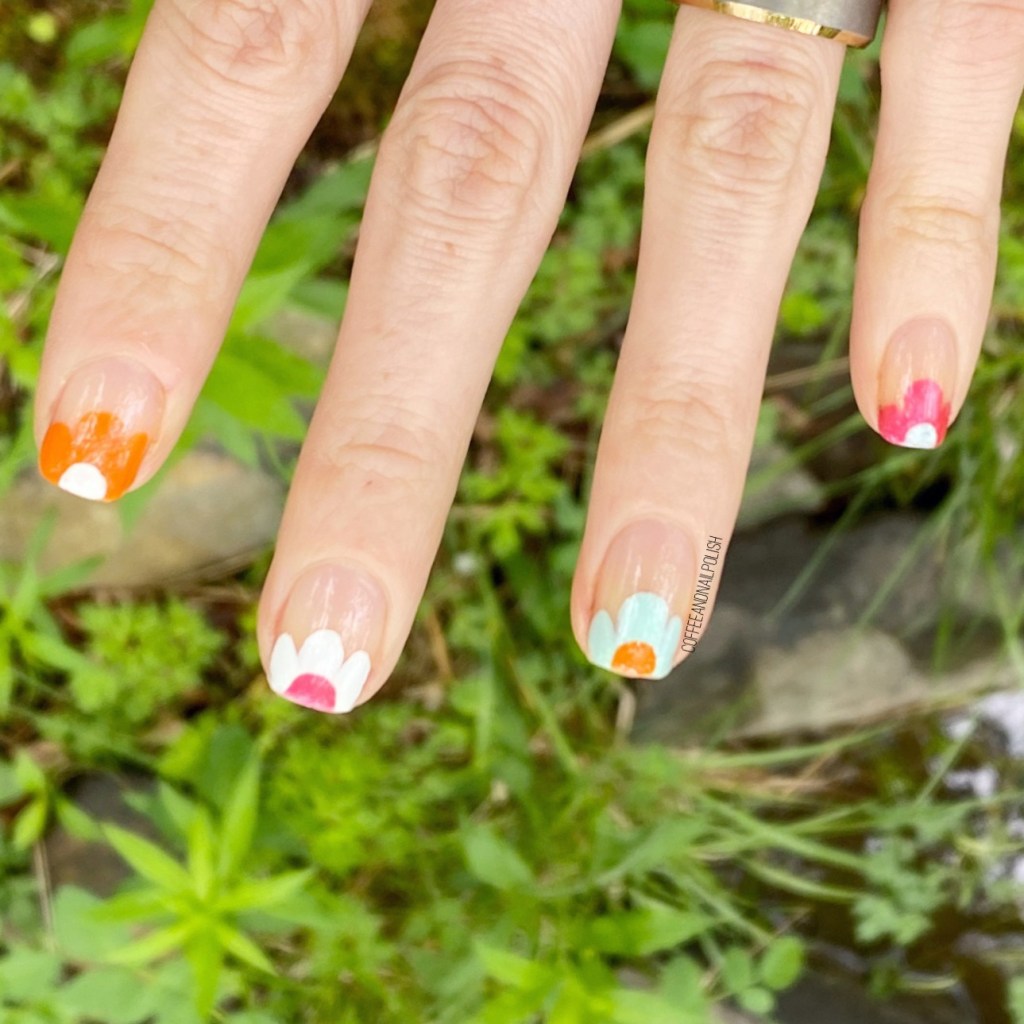
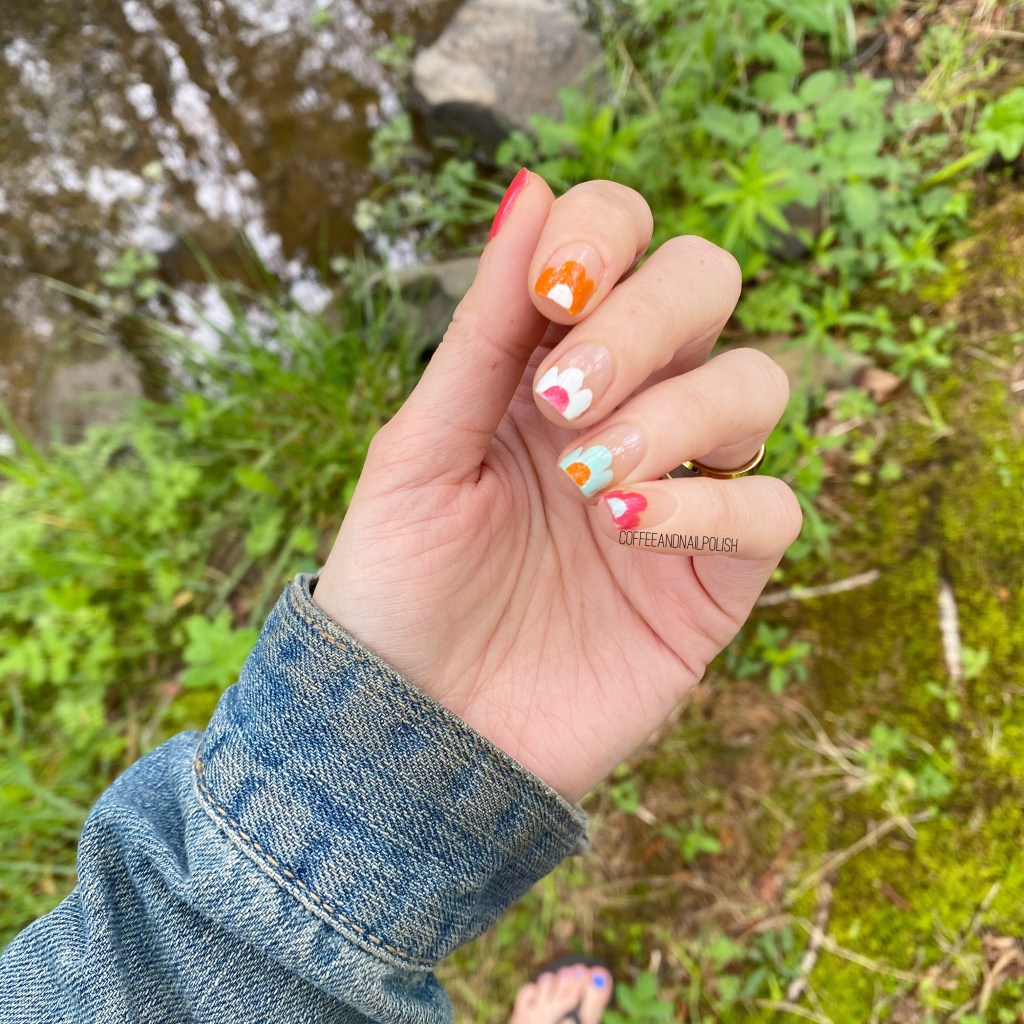
Hello lovelies & happy sunny, beautiful Thursday! I’m finally feeling excited about Summer — because it’s finally starting to feel like Summer! & what is more summery & fun than an easy floral look using some very Summery shades?
On Tuesday, for National Nail Polish Day, I was invited to participate in a Zoom event with Essie Canada with Rita Remark, who is Essie’s global lead educator. This was my first opportunity participating in an event like this, & it was super fun to hear about Summer trends, & polish shades, manicure tips, & even follow a live tutorial on how to create a very cute (& very easy!) floral look created by Rita. They even sent each one of us who attended a selection of polishes so we could follow along while we watched!
For this manicure, the polishes I used were:
Base Coat: Sally Hansen Nailgrowth Miracle
Top Coat: Essie Gel Setter
Essie Tangerine Tease
Essie Pucker Up
Essie Mint CandyApple
Essie Blanc
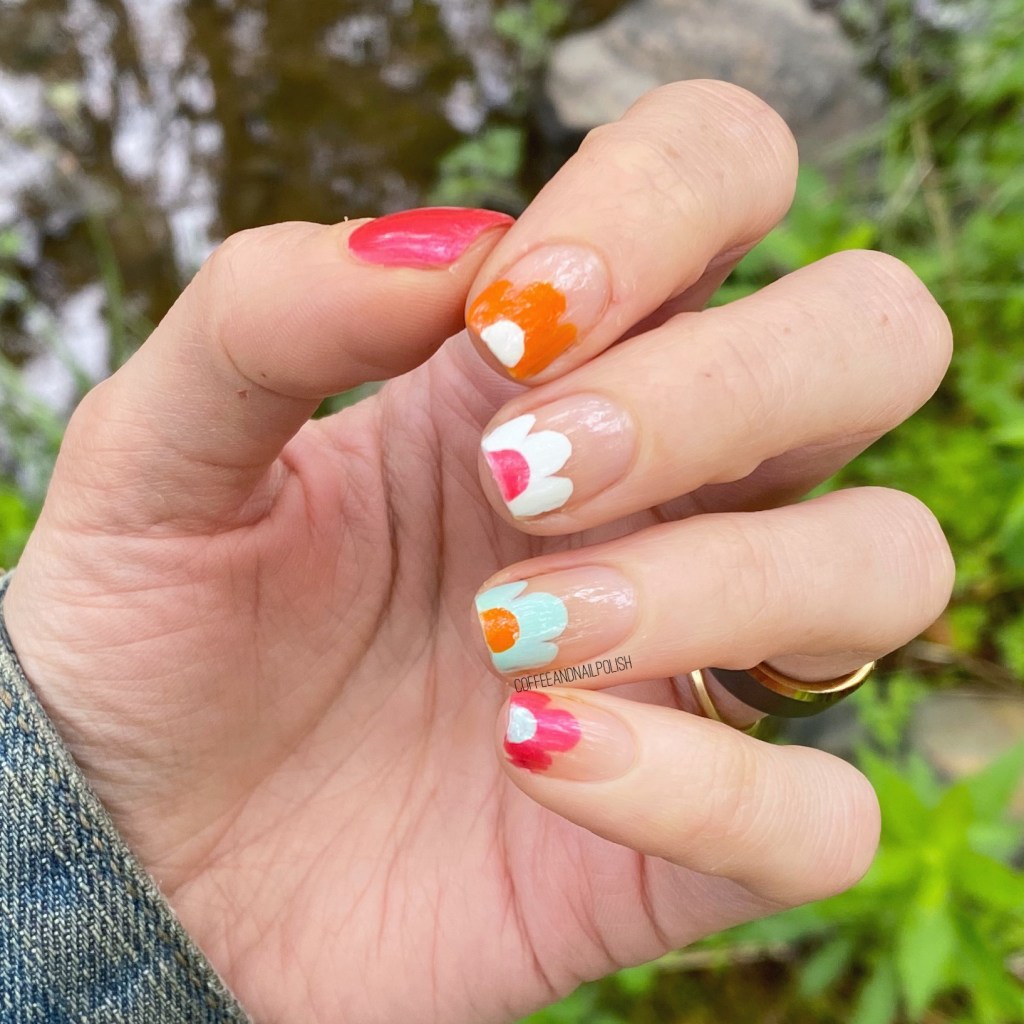
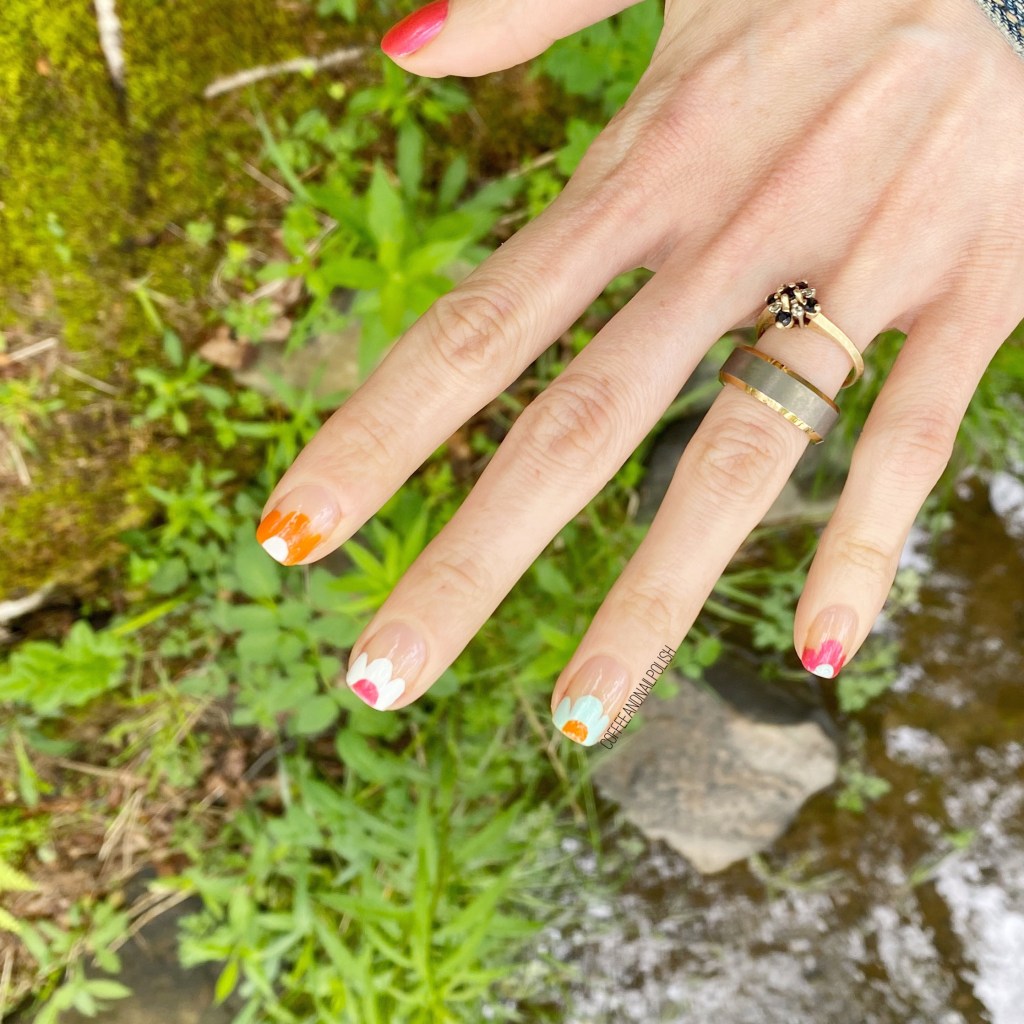
How seriously adorable are these colours together? Two shades (Tangerine Tease & Pucker Up) are from the Summer 2021 collection, & the other two (Mint Candy Apple & Blanc) are core shades, but all 4 go so beautifully together to create this fun, groovy, poppy nail art look. I really love it!
In fact, I can already picture some more Summery nail art looks that I’ll be creating using these shades. I need some brightness in my life.
What do you think of this super cute, super easy nail art look? This was my first time following a live tutorial, & I think it turned out really awesome! Also stay tuned, because I’ll be sharing swatches of Tangerine Tease & Pucker Up! this weekend.
Hello lovelies — happy June 1st! & happy National Nail Polish Day!
Here we are, almost at Summer! Can you believe it?
I feel like May has really, really sped by. Which is crazy, considering we spent it in lockdown here. But it’s officially June, things are finally starting to open up, & it’s also National Nail Polish Day. So far, everything about June is looking up!
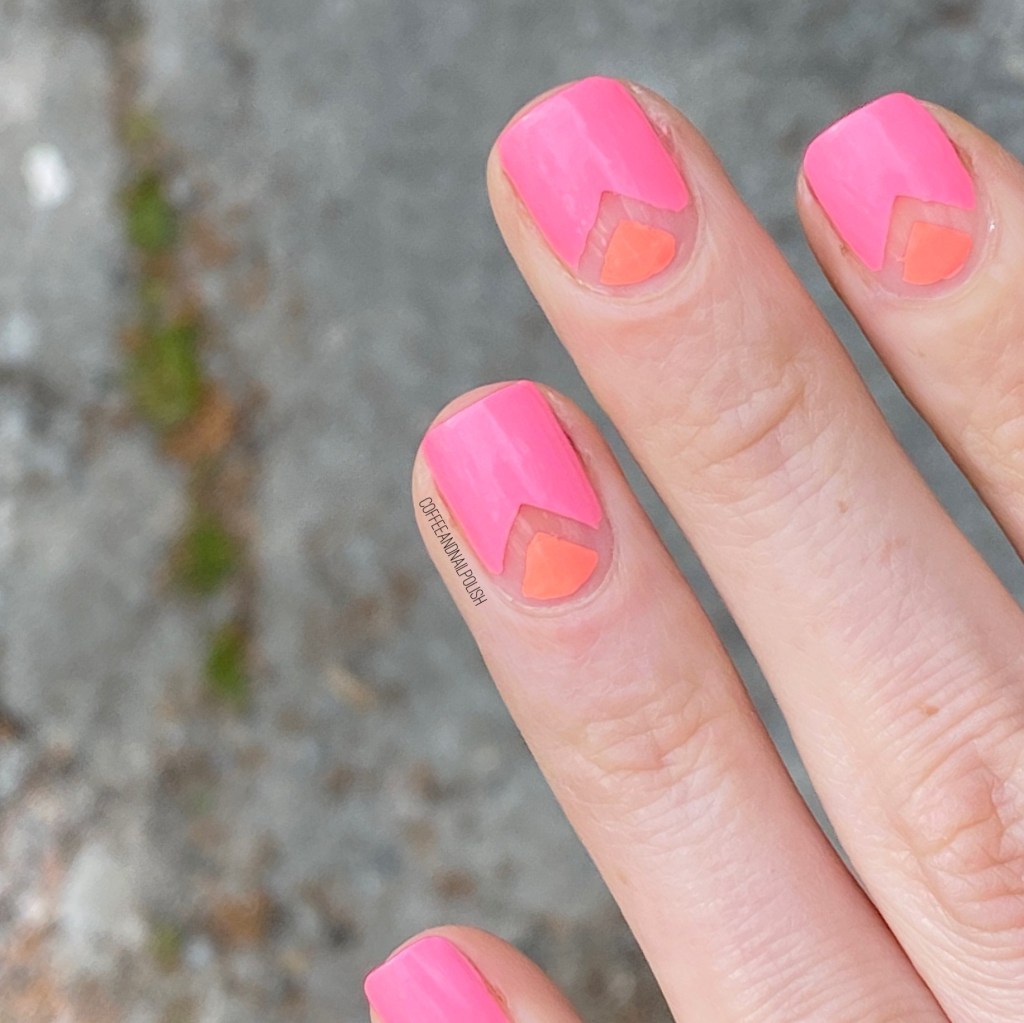
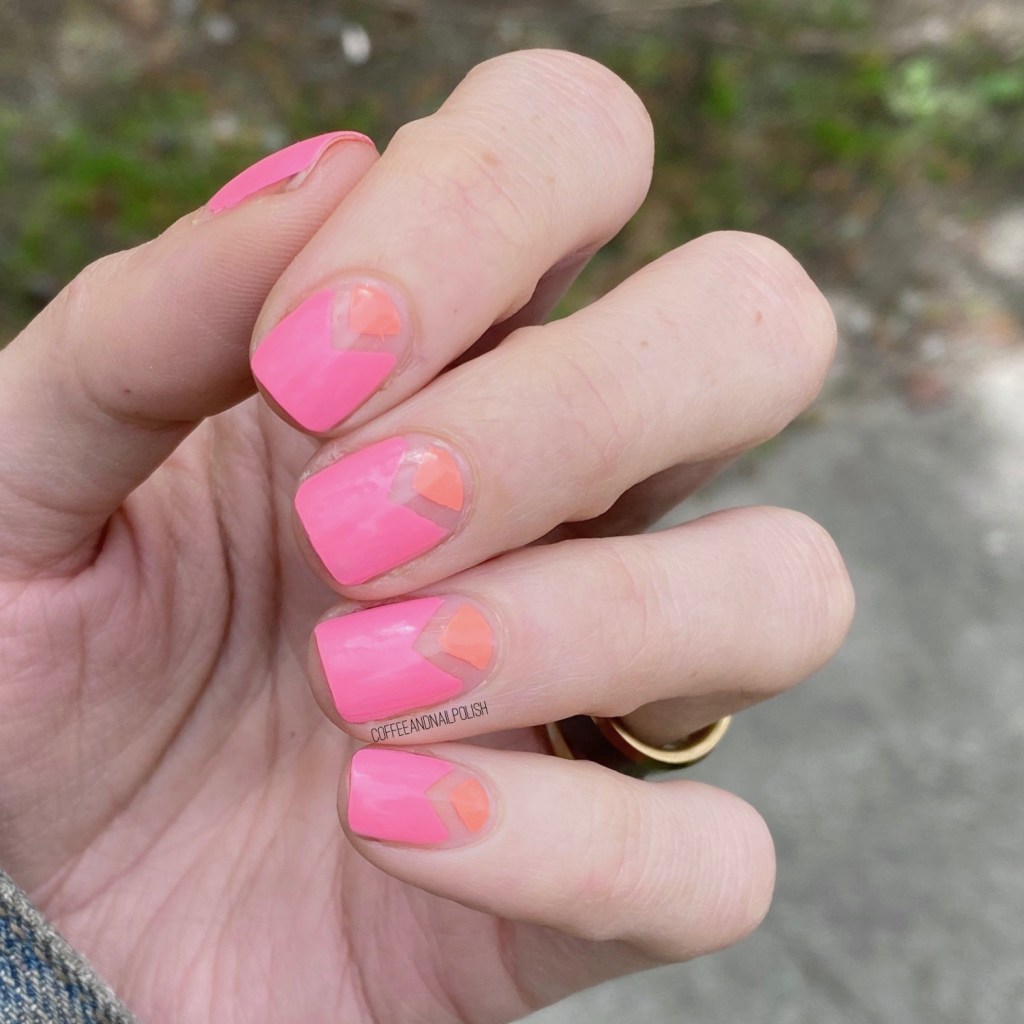
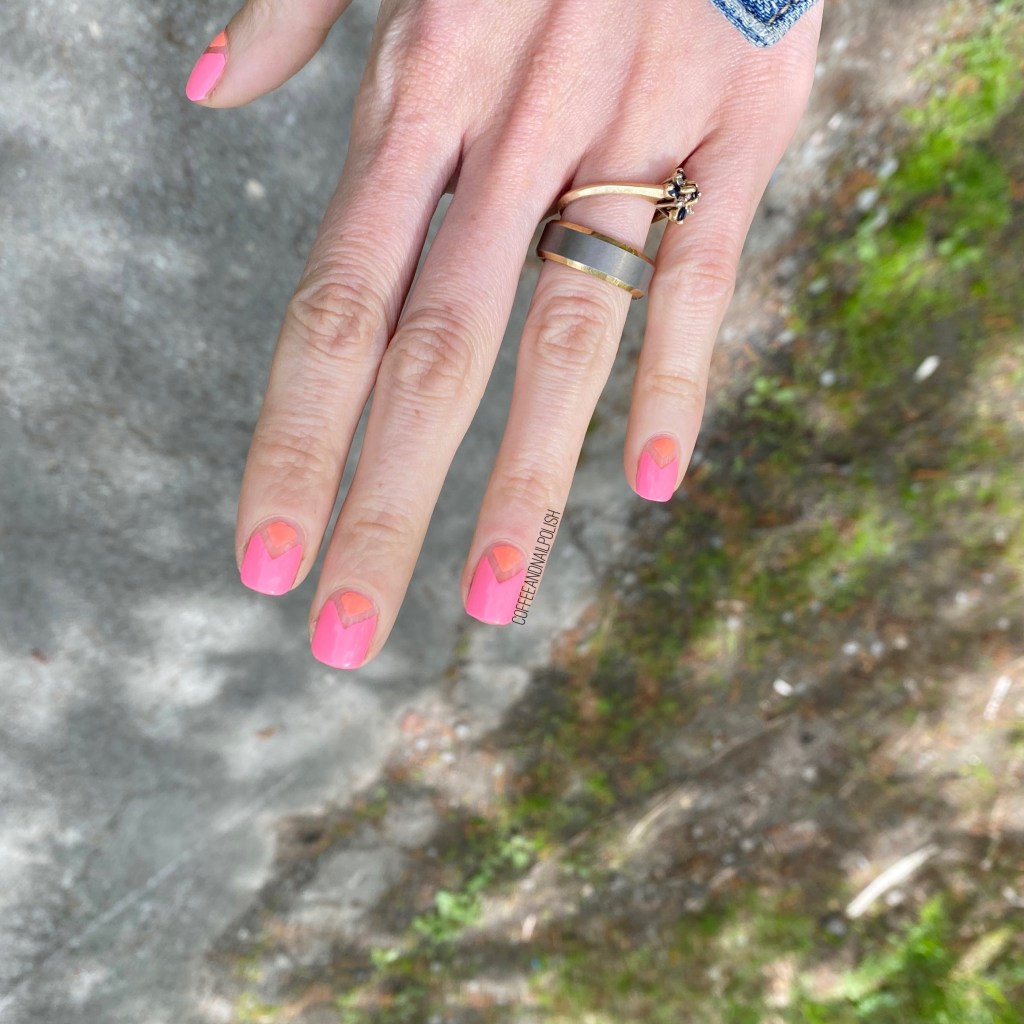
In honour of my new favourite holiday, I decided I needed to do one of my favourite designs, in some bright crazy colours. It’s been ages since I wore any kind of chevron moon, so it was long overdue. & who doesn’t love some neon!
Hello brightness, my old friend. It’s been ages since I wore anything this neon, & it’s been way overdue. Also it gave me a reason to test out my new half chevron vinyls I picked up from Beyond the Nail a few weeks back. I’m actually really loving the shape of them, because I feel like they give me a really good chevron shape — sometimes I get frustrated with vinyls that are a bit more rounded, & you end up with more of a half moon than a chevron moon. These look great though, & we’re super easy to use!
What do you think of my mani pick for National Nail Polish Day? Do you have plans to celebrate today? I do—but they’re top secret! I promise I’ll be able to share soon though!
Hello lovelies & happy Thursday. We’re that much closer to the weekend, which is pretty exciting. Also how is this month almost over?
Wasn’t it just the beginning of May, like a week ago?
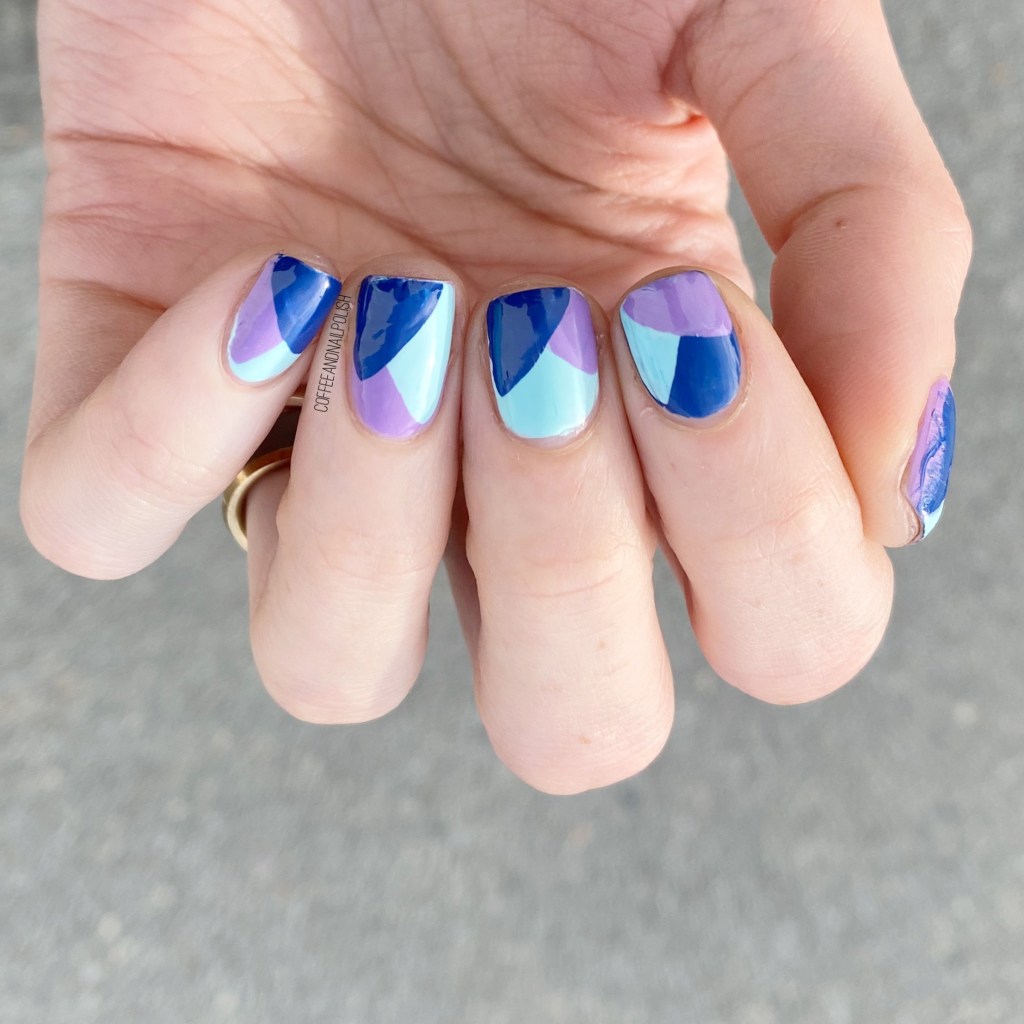
Today I’ve got a brand new look to share with you that was inspired by @nailsuponatime on Instagram. She recently posted a very pretty pastel geometric look, & I was inspired to fancy up my shorties with my own colour block look.
For this manicure, the polishes I used were:
Base Coat: Sally Hansen Nailgrowth Miracle
Top Coat: Essie Gel Setter
Essie All The Wave
Essie Mint Candy Apple (greener version)
Essie Worth The Tassel
First off, an apology for my rough looking cuticles. Trying to remember my cuticle oil during the day, but when it gets busy at work — & I mean BUSY — it definitely is the last thing I concentrate on haha.
Next up, it’s been a while since I attempted some freehanded straight lines like this, so I feel like they aren’t perfect. But I do love this colour combination. I always forget to wear Mint Candy Apple from Essie — I have both versions of it, & I do adore the colour, but for some reason always forget I own it. So silly.
What do you think about this colour combination & colour blocking? What colours are you loving right now? I’ve been feeling a lot of blues & purples right now (if you haven’t noticed) so I might have to kick up the neons really soon! It’s been too long.